Wondering how to draw landscape scenes that look natural and detailed? Learning the basics can make the process easier and more enjoyable.
For a simple landscape drawing or landscape sketch, mastering a few basics goes a long way.
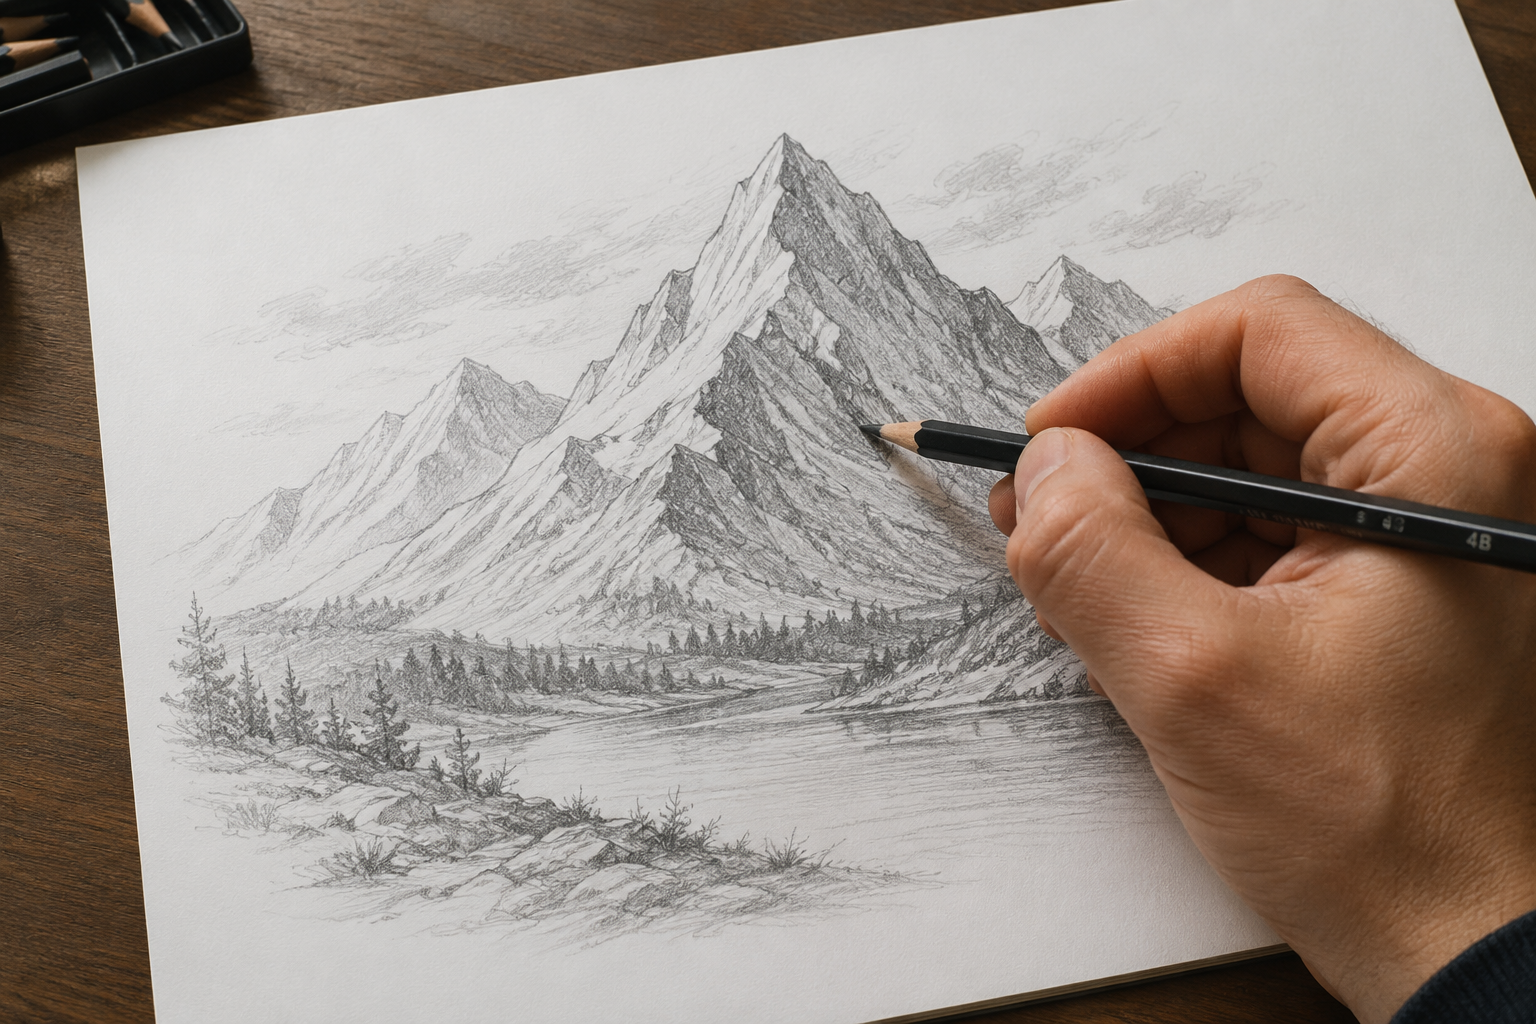
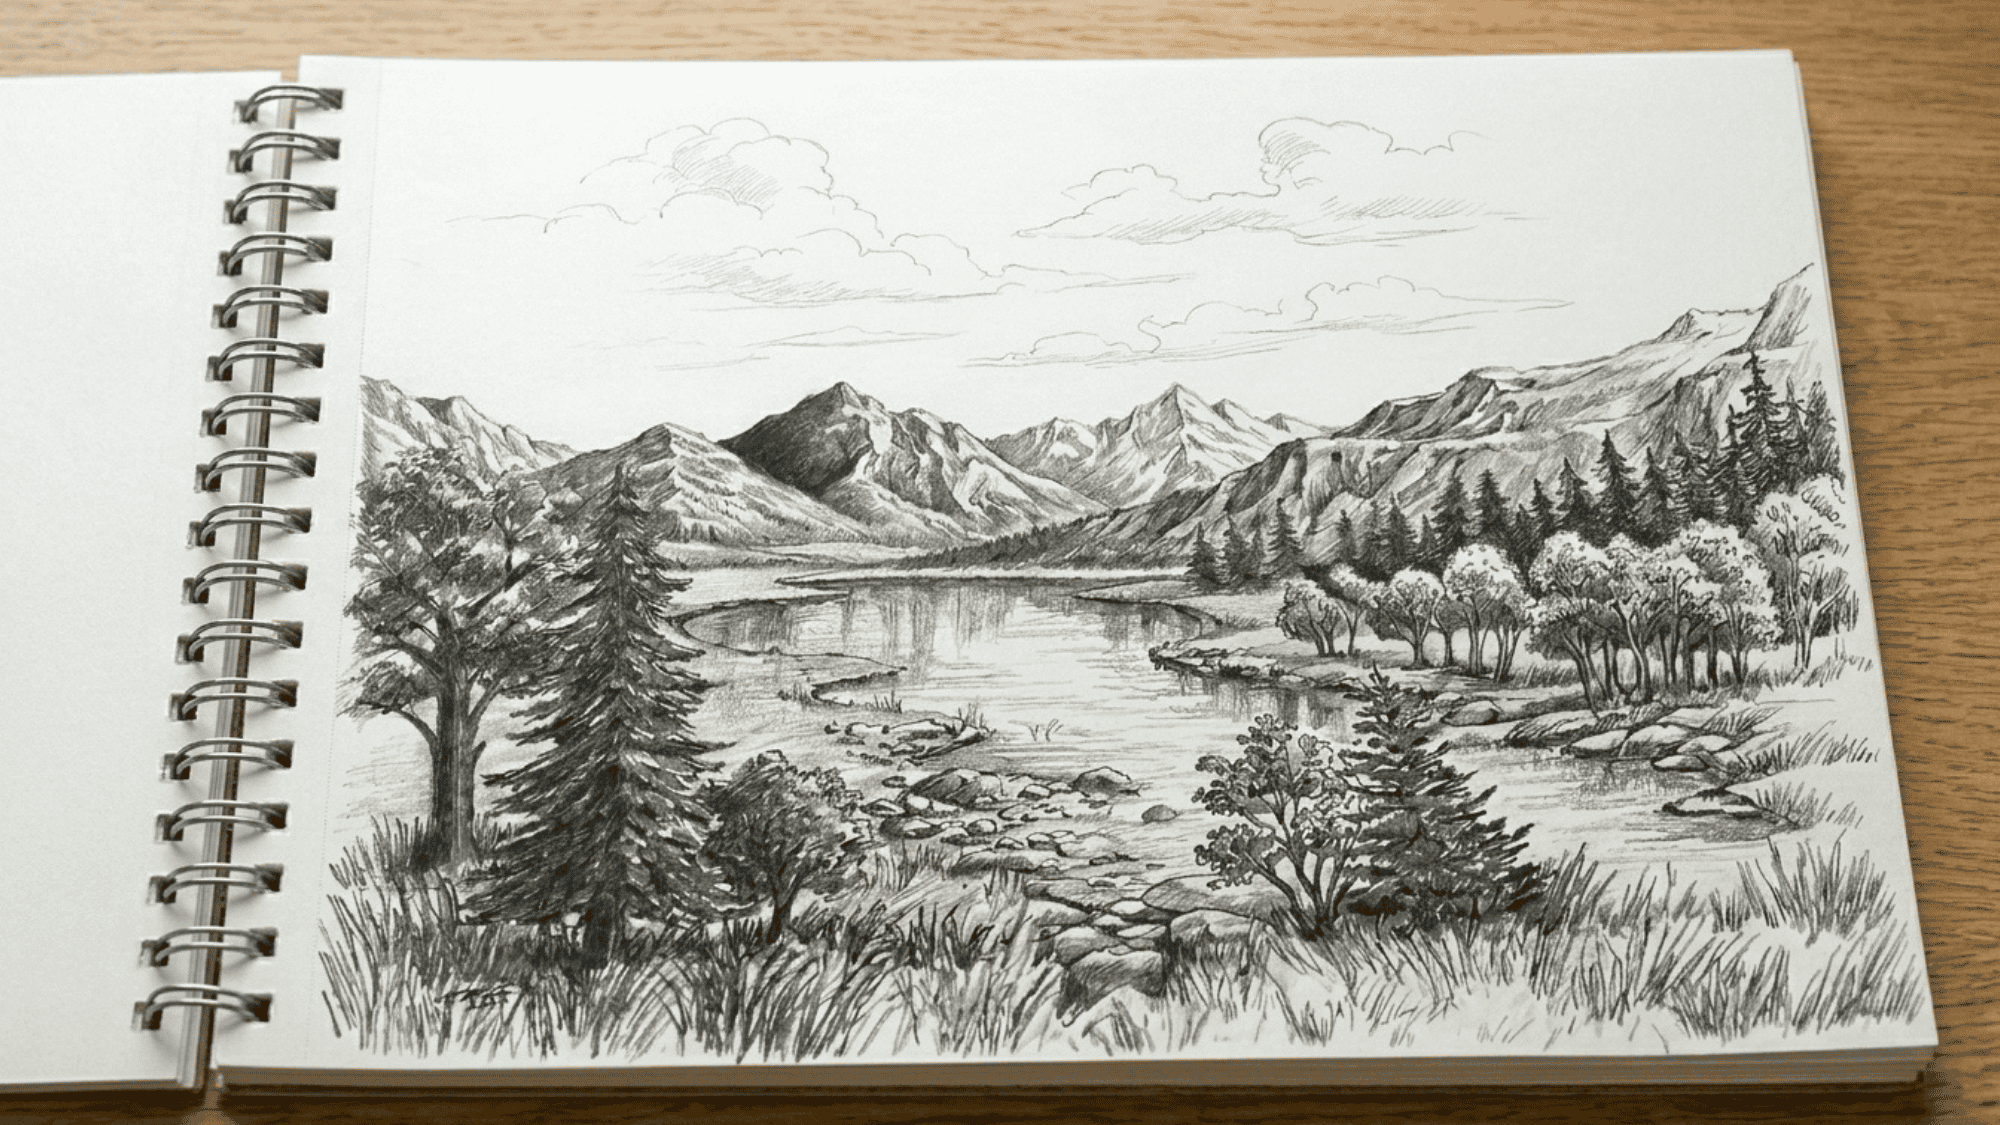
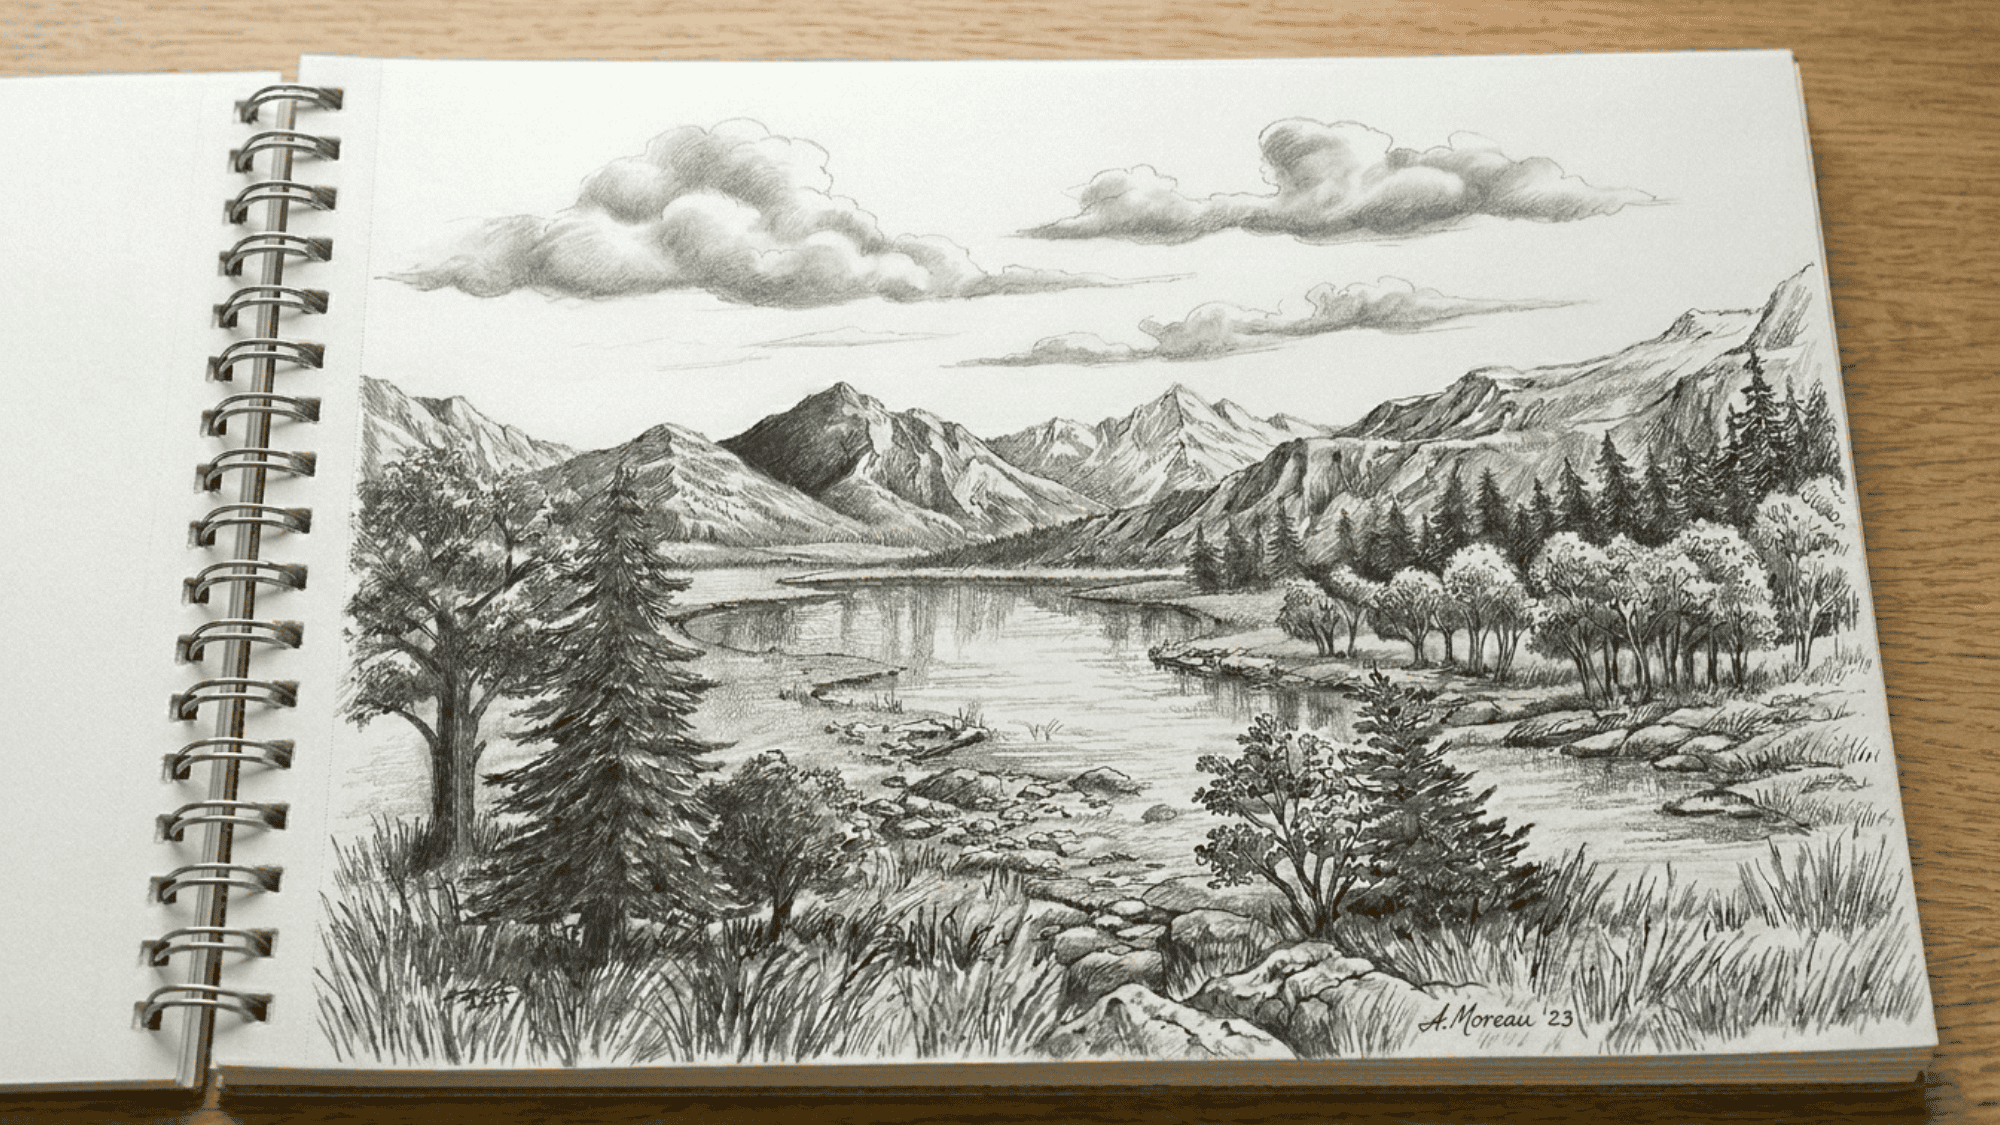
From rolling hills and trees to rivers and mountains, landscape drawing lets you capture the beauty of nature on paper.
You’ll learn simple tips and steps to improve your drawing skills with confidence.
Understanding the Basics of Landscape Drawing
Landscape drawing is the art of depicting natural scenery to create visually appealing outdoor scenes.
These drawings can range from simple sketches of rolling hills to detailed illustrations of forests and seascapes.
Common landscape elements include water features, clouds, and open fields, all of which help create depth and perspective.
To begin, artists need essential materials like pencils, erasers, and a sketchbook; optional tools such as blending stumps and colored pencils can enhance shading, texture, and overall realism in landscape artwork.
Step-by-Step Beginner Landscape Drawing Exercise
Follow this simple landscape drawing exercise to practice composition, perspective, shading, and detail while building confidence in your artistic skills.
Step 1: Draw the Horizon Line

Start by drawing a light horizontal line across your paper to represent the horizon, as this line separates the sky from the land and sets the foundation for your entire landscape.
Adjust its position for better visibility,higher placement makes it stand out, while lower highlights the sky behind. Choose what suits your scene!
Step 2: Sketch the Main Shapes

Lightly outline the largest elements in your scene, such as mountains, hills, lakes, or trees, and focus on simple shapes rather than details.
This helps you plan the composition and ensures everything is balanced before moving forward. Keep your pencil strokes light so adjustments can be made easily.
Step 3: Add Foreground, Middle Ground, and Background
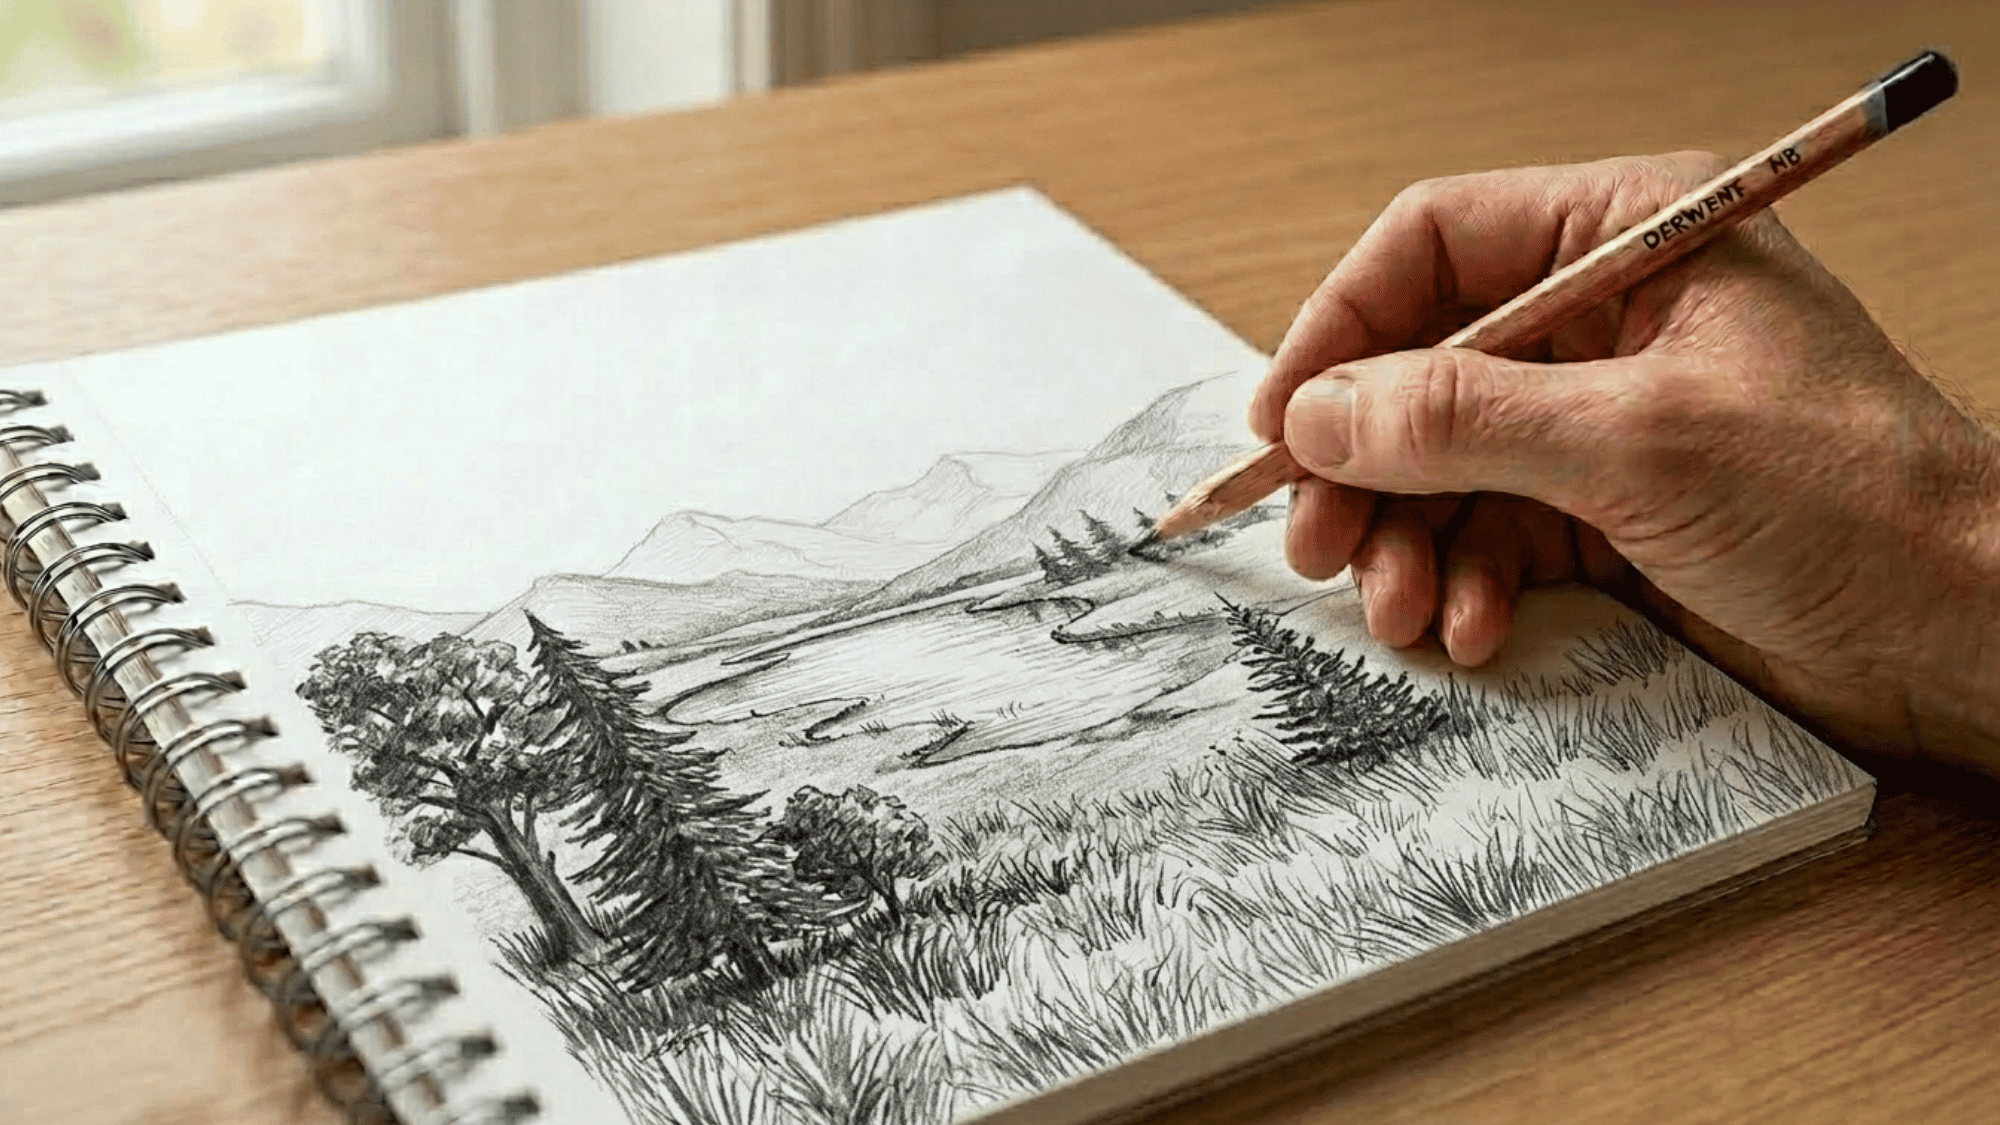
Create depth by bifurcating your landscape into three layers: draw larger, darker objects in the foreground, medium-sized features in the middle ground, and lighter, less detailed elements in the background.
This simple technique makes your drawing feel more realistic and gives viewers a sense of distance.
Understanding how linear perspective works in art will make this step significantly easier and give your landscapes a more convincing sense of space.
Step 4: Refine Natural Features
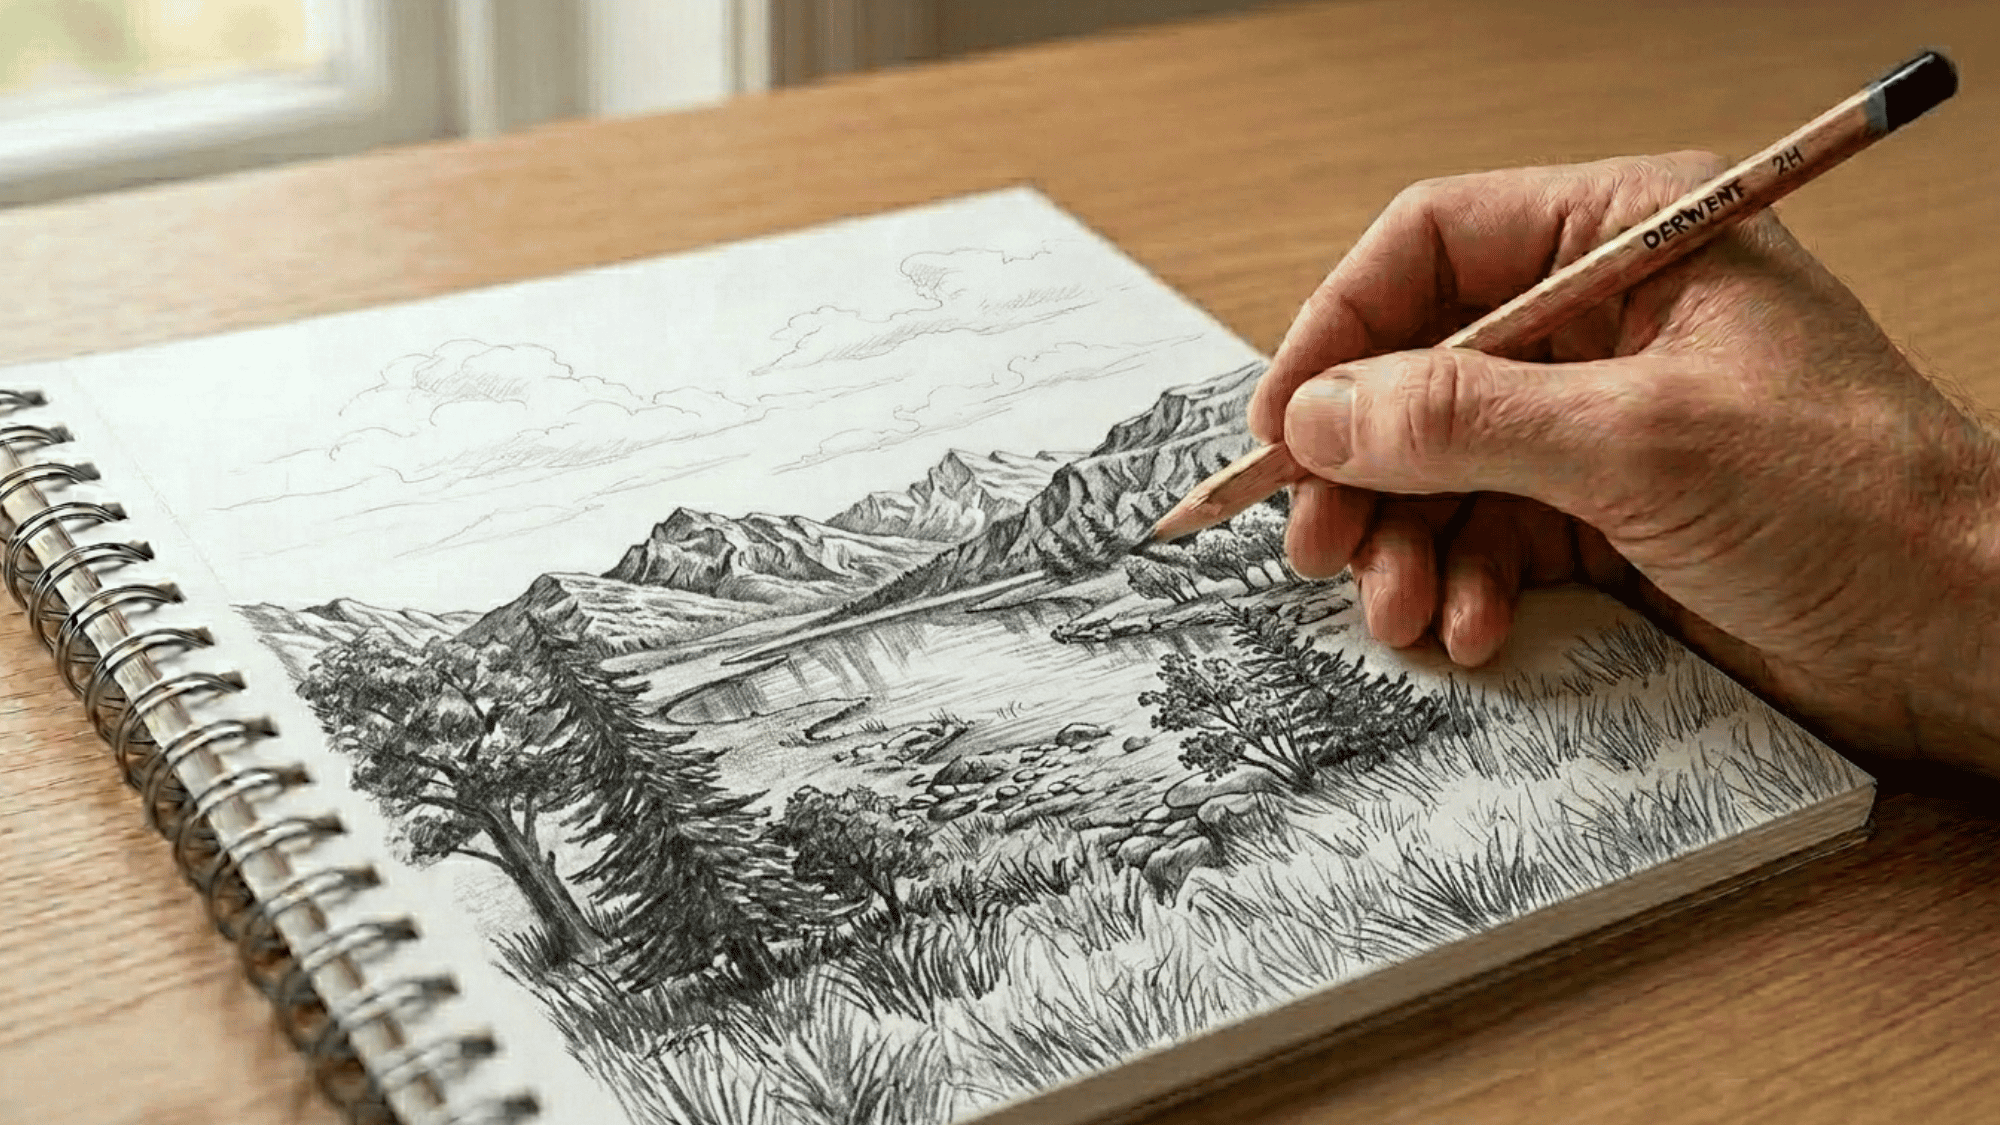
Begin shaping your mountains, trees, water, and clouds with more defined lines, like making the mountains uneven, varying tree sizes, and using smooth horizontal strokes for water.
Try to add some variety to your elements, since natural landscapes are full of unique details and differences.
Step 5: Add Shading and Shadows
Decide where your light source is coming from and add shadows accordingly; shade one side of the mountains, trees, and rocks to create depth and dimension.
Use gentle pencil strokes and gradually build darker areas. Proper shading helps transform flat sketches into realistic landscape scenes.
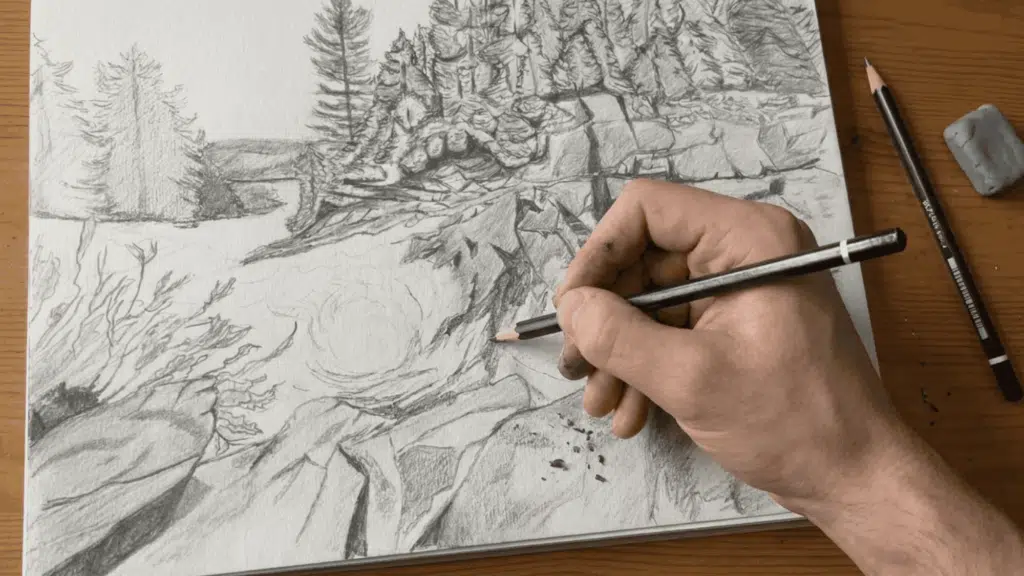
Step 6: Include Texture and Fine Details
Add texture to different surfaces using appropriate marks, such as short strokes for grass, irregular lines for rocks, and soft shading for clouds.
Improve on focal areas with extra detail while keeping distant objects simpler; these finishing touches bring personality, realism, and visual interest to your landscape drawing.
Tips to Improve Your Landscape Drawing Skills Quickly
Improving landscape drawing requires patience, observation, and regular practice, and by developing strong fundamentals and consistent habits, you can steadily enhance your skills and confidence.
- Draw regularly: Even 15–20 minutes of daily practice can help improve your skills and build muscle memory.
- Use reference photos: Study real landscapes to understand composition, perspective, textures, and natural details.
- Master basic shapes first: Break complex scenes into simple forms before adding intricate details.
- Experiment with lighting: Practice drawing landscapes at different times of the day to learn how light and shadows affect a scene.
- Focus on depth and perspective: Use foreground, middle ground, and background elements to create a sense of realistic distance.
- Review your work: Compare older drawings with newer ones to identify improvements and areas that need more practice.
Best Tutorials for Beginners to Improve Skills Quickly
Finding the right tutorial can make learning to draw landscapes much easier and more enjoyable.
If you prefer video lessons or detailed written guides, these beginner-friendly resources will help you master essential techniques like perspective, shading, composition, and depth in no time.
- RapidFireArt: Clear instructions, simple techniques, and detailed explanations of perspective, shading, and composition.
- Art for Kids Hub: Easy-to-follow drawing lessons with a friendly teaching style.
- Circle Line Art School: perspective and realistic scenery, including mountains, forests, and lakes.
- The Virtual Instructor: Comprehensive landscape drawing tutorials covering pencil techniques, textures, and shading.
- Draw Paint Academy: landscape fundamentals such as composition, values, and atmospheric perspective.
- Alphonso Dunn: Excellent explanations of pencil techniques, texture creation, and realistic rendering.
The Last Stroke
Learning how to draw landscapes takes patience and practice. The more you draw, the better you’ll understand shapes, depth, and natural details.
A simple landscape drawing or landscape sketch helps build your skills with every attempt.
Grab your pencil, explore new ideas, and start drawing landscapes that reflect your creativity today. Pick up your pencil and start your next landscape sketch today.