Ever caught yourself filling the corner of a notebook with little lines, loops, or shapes?
That simple habit is closer to Zentangle art than you might think; it’s not far off from the kind of aimless doodling most people already do without thinking.
Each tile starts blank and ends up looking intricate, even though every mark on it was just one small, deliberate stroke at a time.
In this blog, You will learn Zentangle patterns for beginners that anyone can learn step by step, so you can turn a few idle minutes into a calm, creative habit. Grab your pen and let’s get started.
How Zentangle Turns Simple Lines Into Art?
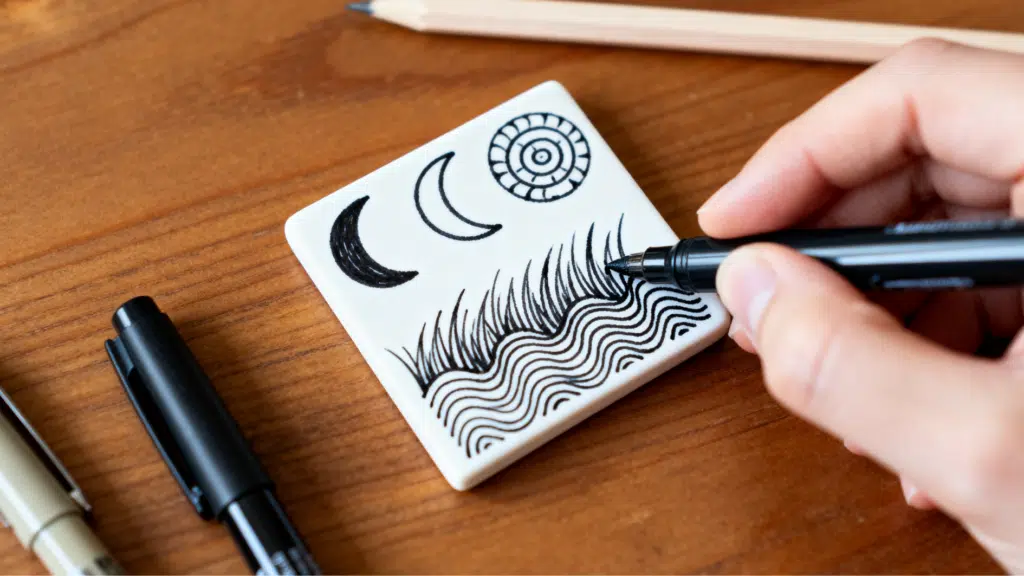
Zentangle is structured doodling: you draw simple, repetitive patterns, one deliberate stroke at a time, without planning the final image.
It uses small tiles and repeated shapes (called “tangles”) like dots, curves, and lines that come together to form a larger design as you go, the same repetition-based logic behind patterns in art more broadly.
The focus isn’t on the outcome; it’s on the calm, meditative process of creating. You build one pattern at a time, stroke by stroke, without knowing exactly how the final piece will look.
That’s the beauty of it. There’s no plan to follow and no wrong way to do it. Every line adds to the design, even the wobbly ones.
How to Start Zentangle the Right Way: Beginner Basics and Techniques
Starting an easy basic Zentangle pattern is simple once you learn the basic steps, tools, and beginner sketching techniques to create beautiful patterns.
- Draw a border: Use a pencil to trace a light square or rectangle near the edge of your paper.
- Add a string: Within the border, draw a few light, curvy pencil lines to divide the space into sections.
- Fill one section at a time: Pick a pattern and fill a single section completely before moving to the next.
- Rotate your tile as you go: Turning the paper lets you draw each stroke in whatever direction feels most natural, keeping your lines steadier and less shaky.
Easy Zentangle Patterns for Beginners
These patterns are a great place to start. Each one uses just a few strokes, and they all look more impressive than they actually are to draw.
1. Crescent Moon Pattern (Bales)
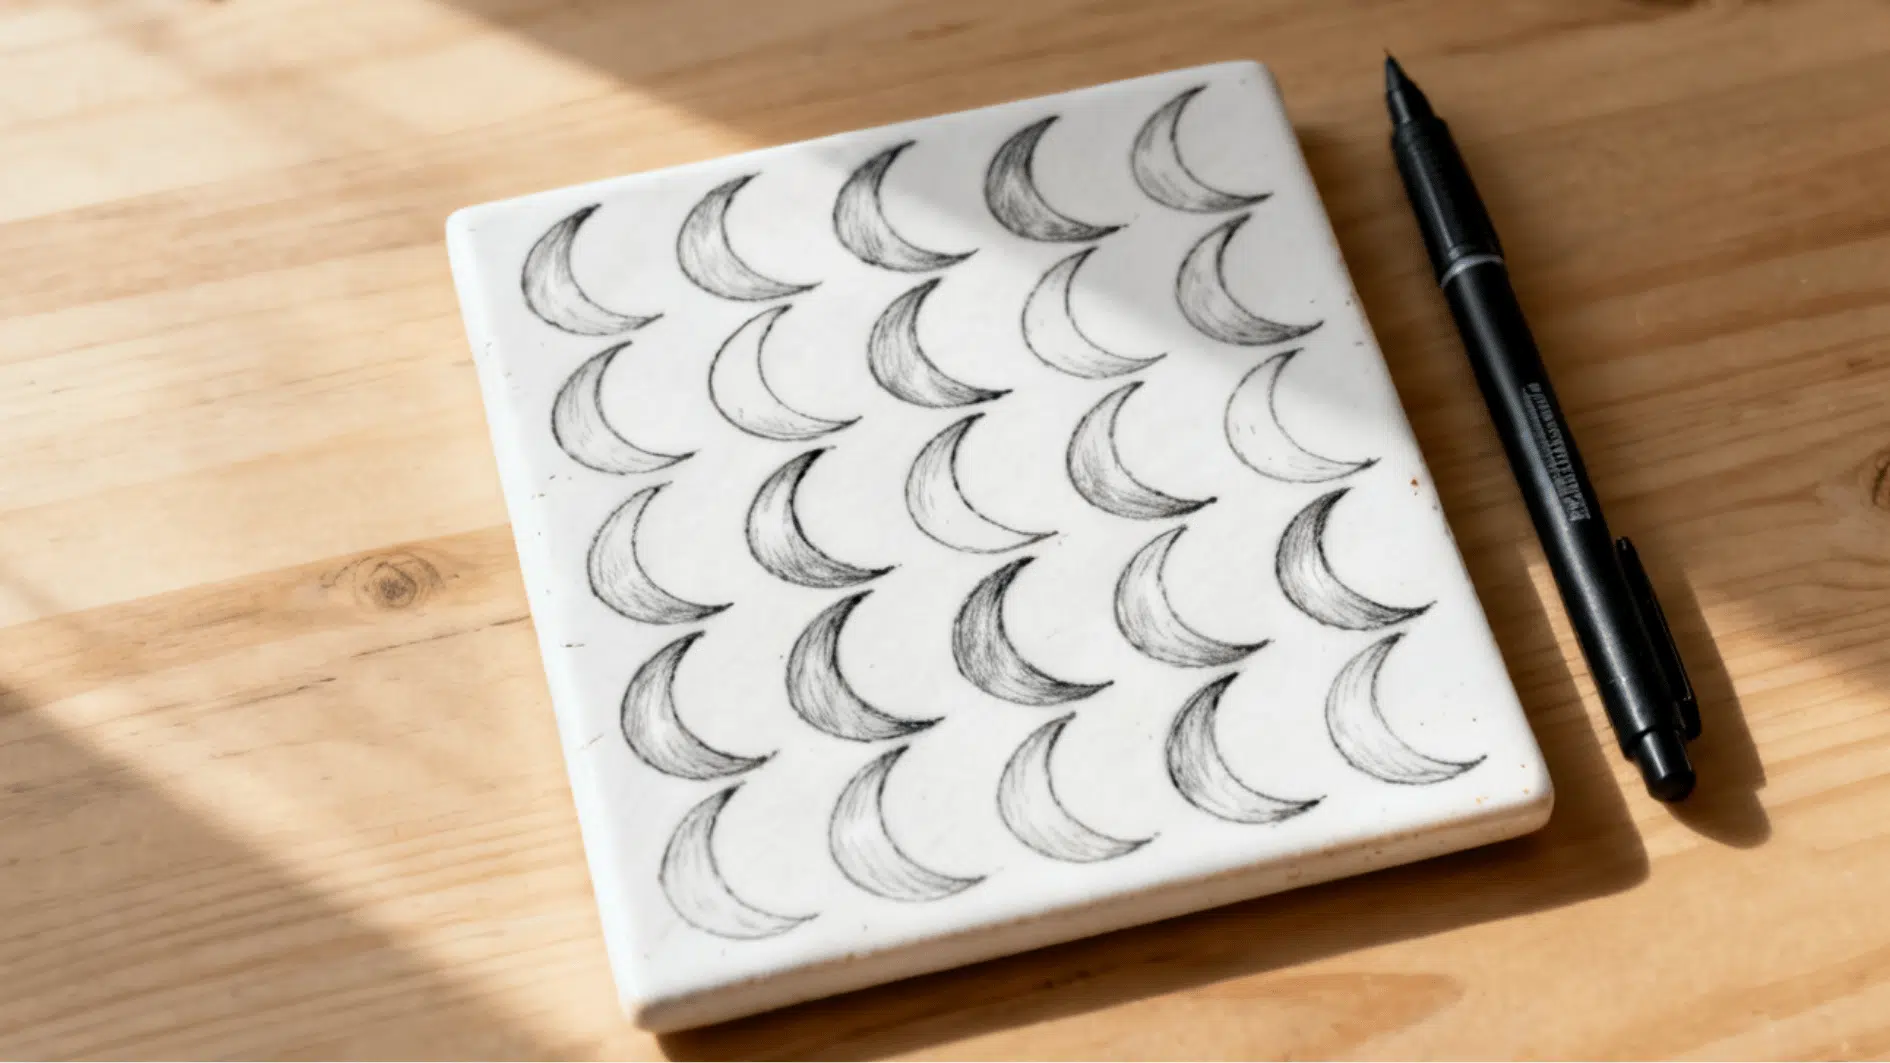
Built from simple curved lines, it fills space fast once you find the rhythm. The crescents look complicated at a glance, but it’s really just one wavy line mirrored right next to another.
Steps:
- Draw a series of evenly spaced vertical wavy lines across the section.
- Draw a second wavy line right next to each first one, mirroring its curve to form a narrow crescent shape between them
- Shade inside each crescent, leaving a thin sliver of white to catch the eye.
- Add a few dots in the gaps between crescents for texture.
2. Print Zentangle Pattern
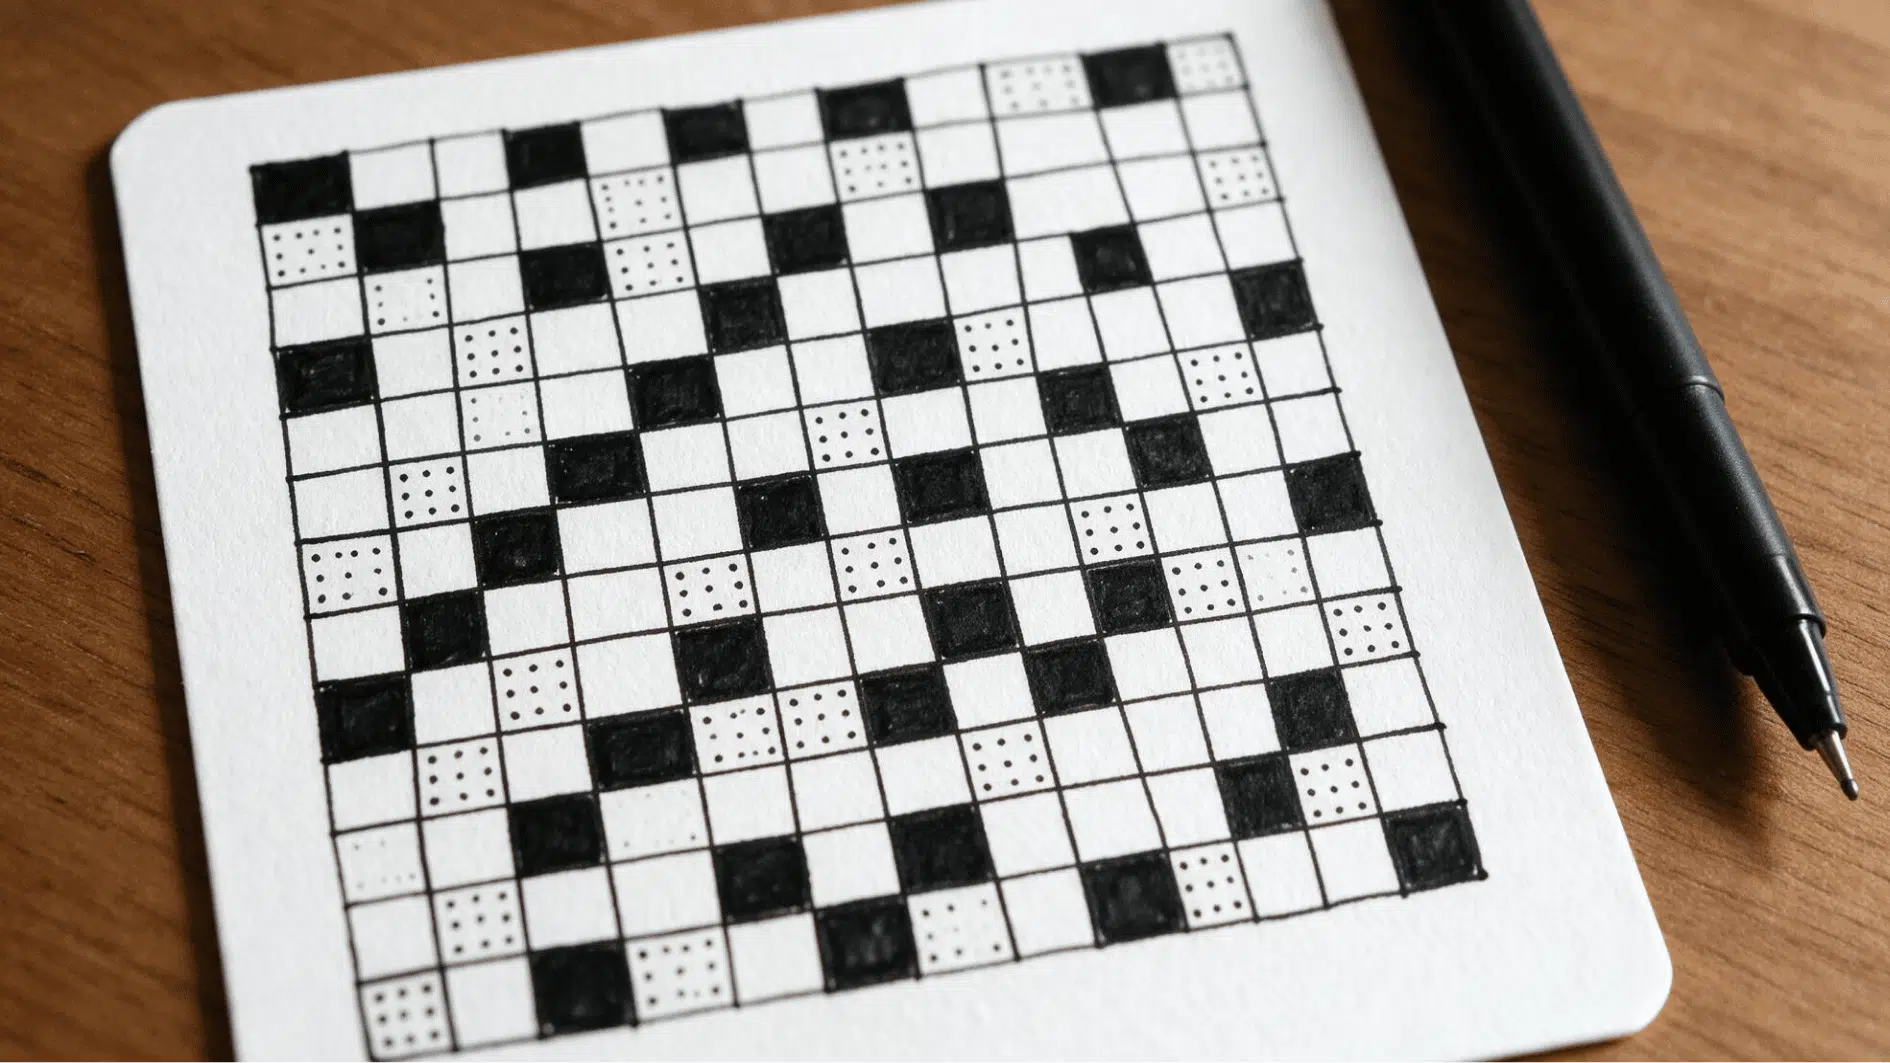
Small stamped marks that build texture almost instantly. Think of it as a grid full of tiny commas, each one nudged slightly so the section doesn’t look mechanical.
Steps:
- Draw a loose grid of small sections.
- Add a small curved “comma” mark in each section.
- Vary the direction slightly from section to section.
- Add a few dots in some sections.
3. Basic Spiral
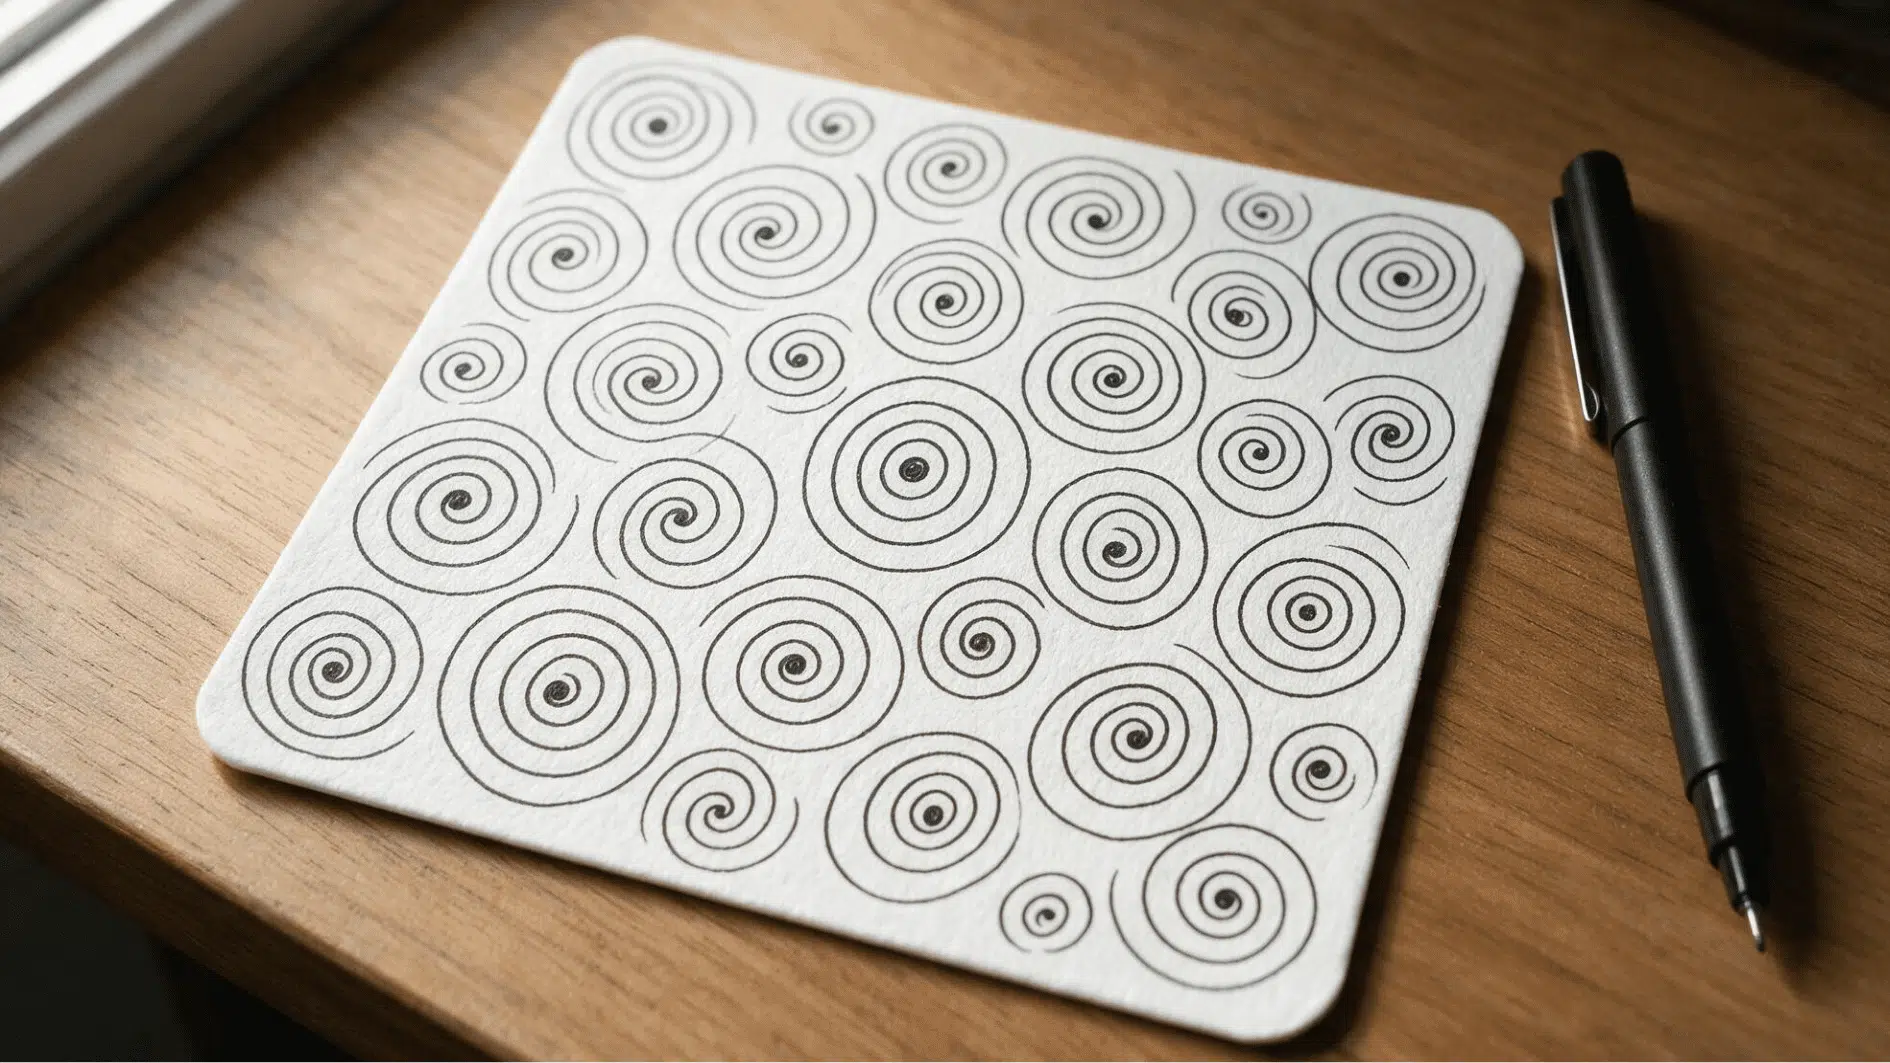
About as simple as tangles get. Start with a dot, curve outward once, and keep going until you hit the edge.
There’s something genuinely calming about watching one grow stroke by stroke, and it’s a good pattern to fall back on when you want to zone out for a few minutes; it leans on the same circle-drawing control as a lot of other tangles on this list.
Steps:
- Start with a dot in the center.
- Curve a line outward around it once.
- Keep spiraling out to the edge.
- Add a second spiral nearby if there’s space.
4. Wavy Line Pattern (Fescu)
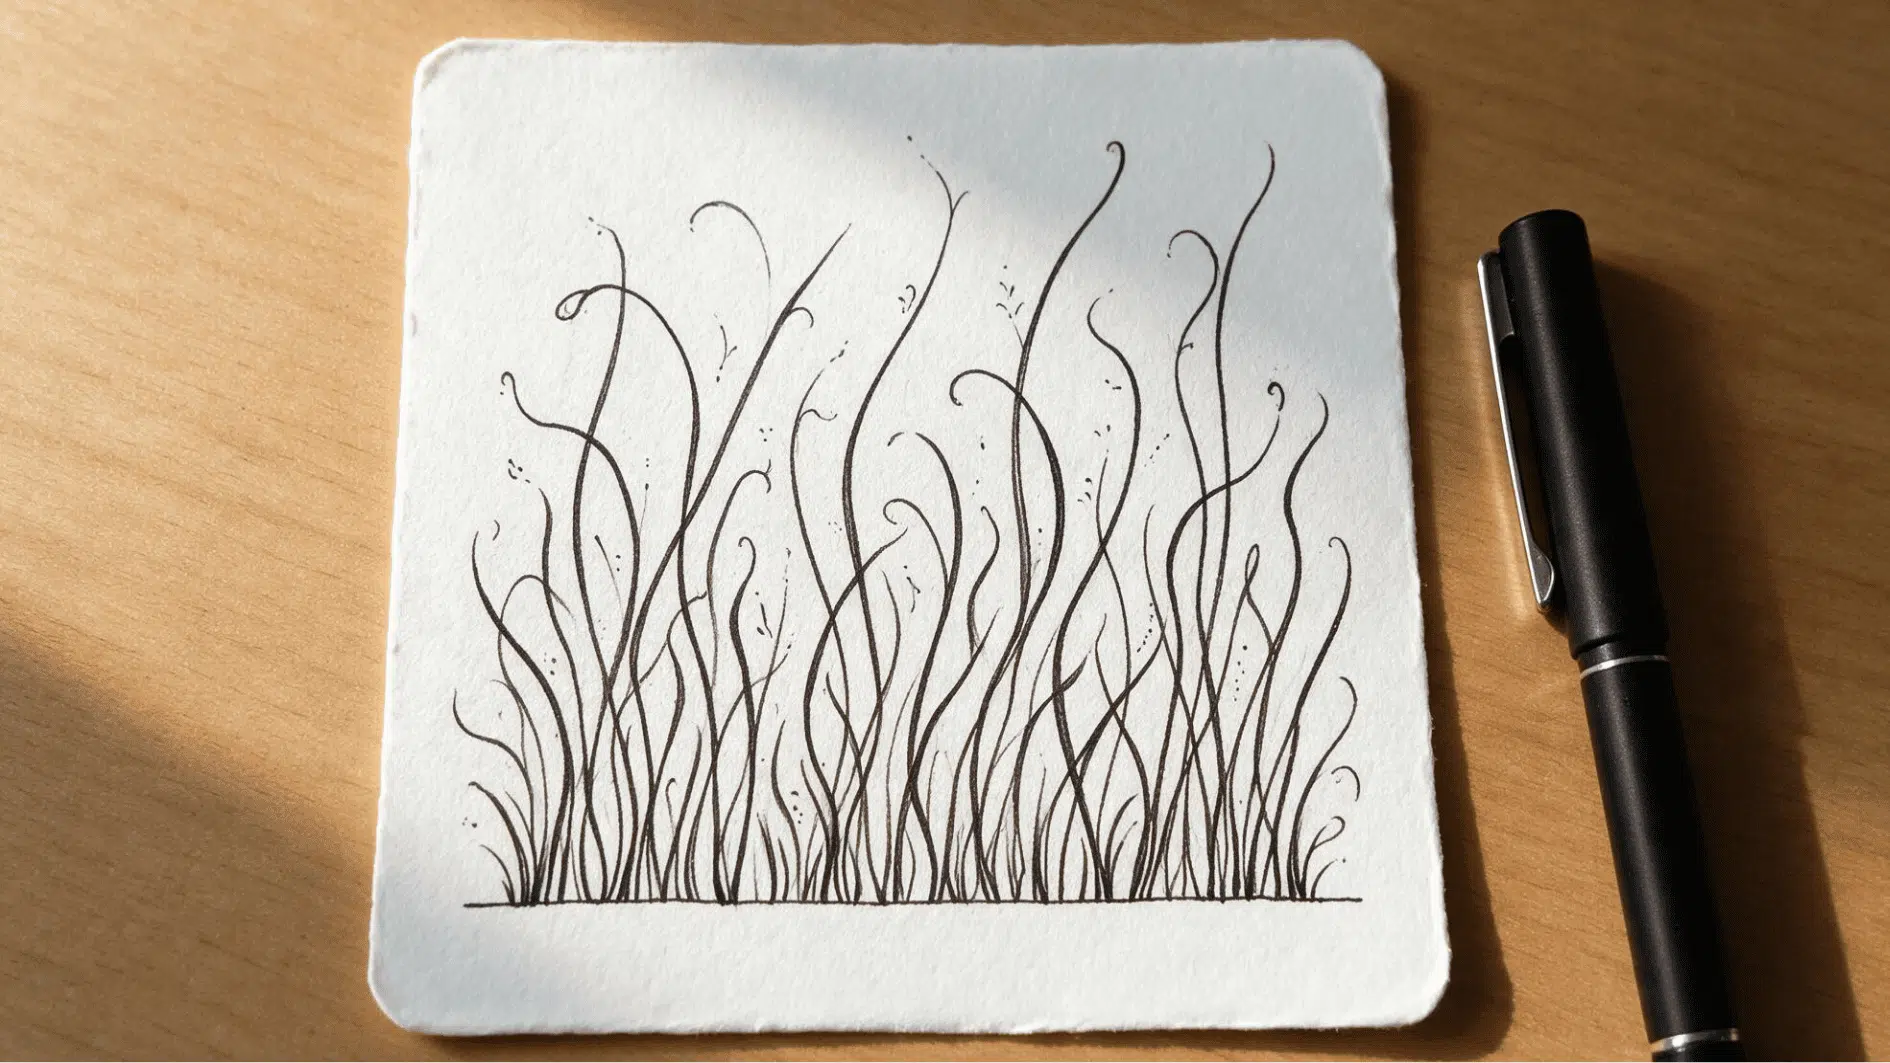
Looks like a patch of swaying grass.
It’s one of the most forgiving patterns to draw, since a little wobble in your lines only adds to the charm, and the varied height between blades hides most beginner mistakes anyway.
Steps:
- Draw a baseline at the bottom.
- Add tall, wavy lines above it, like grass.
- Vary the height and curve of each one.
- Fill gaps with a few short lines.
5. Easy Flower Dot Pattern
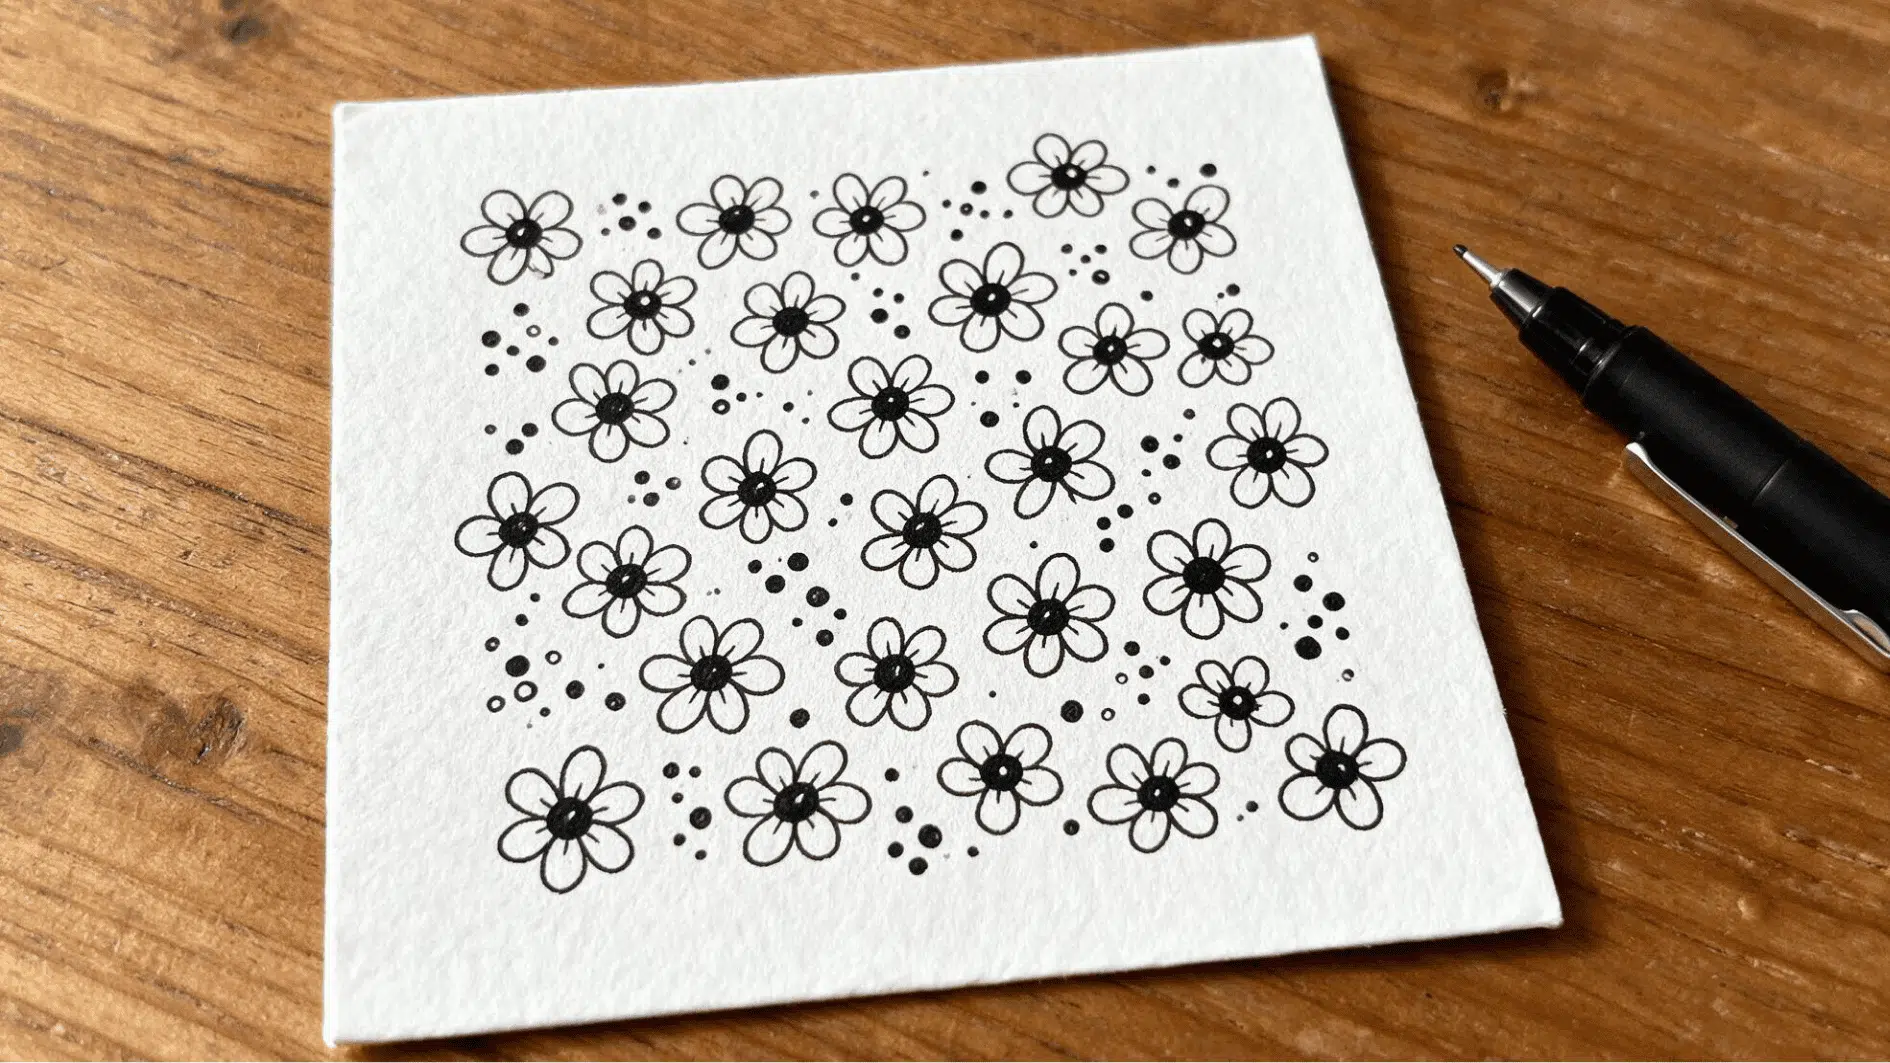
A soft, organic touch for a tile. Circles with five or six petals repeated unevenly, with dots filling whatever gaps are left between them.
Great for breaking up sections that lean too geometric.
Steps:
- Draw a small circle for the center.
- Add five or six petals around it.
- Repeat unevenly across the section.
- Fill gaps between flowers with dots.
6. Hollibaugh
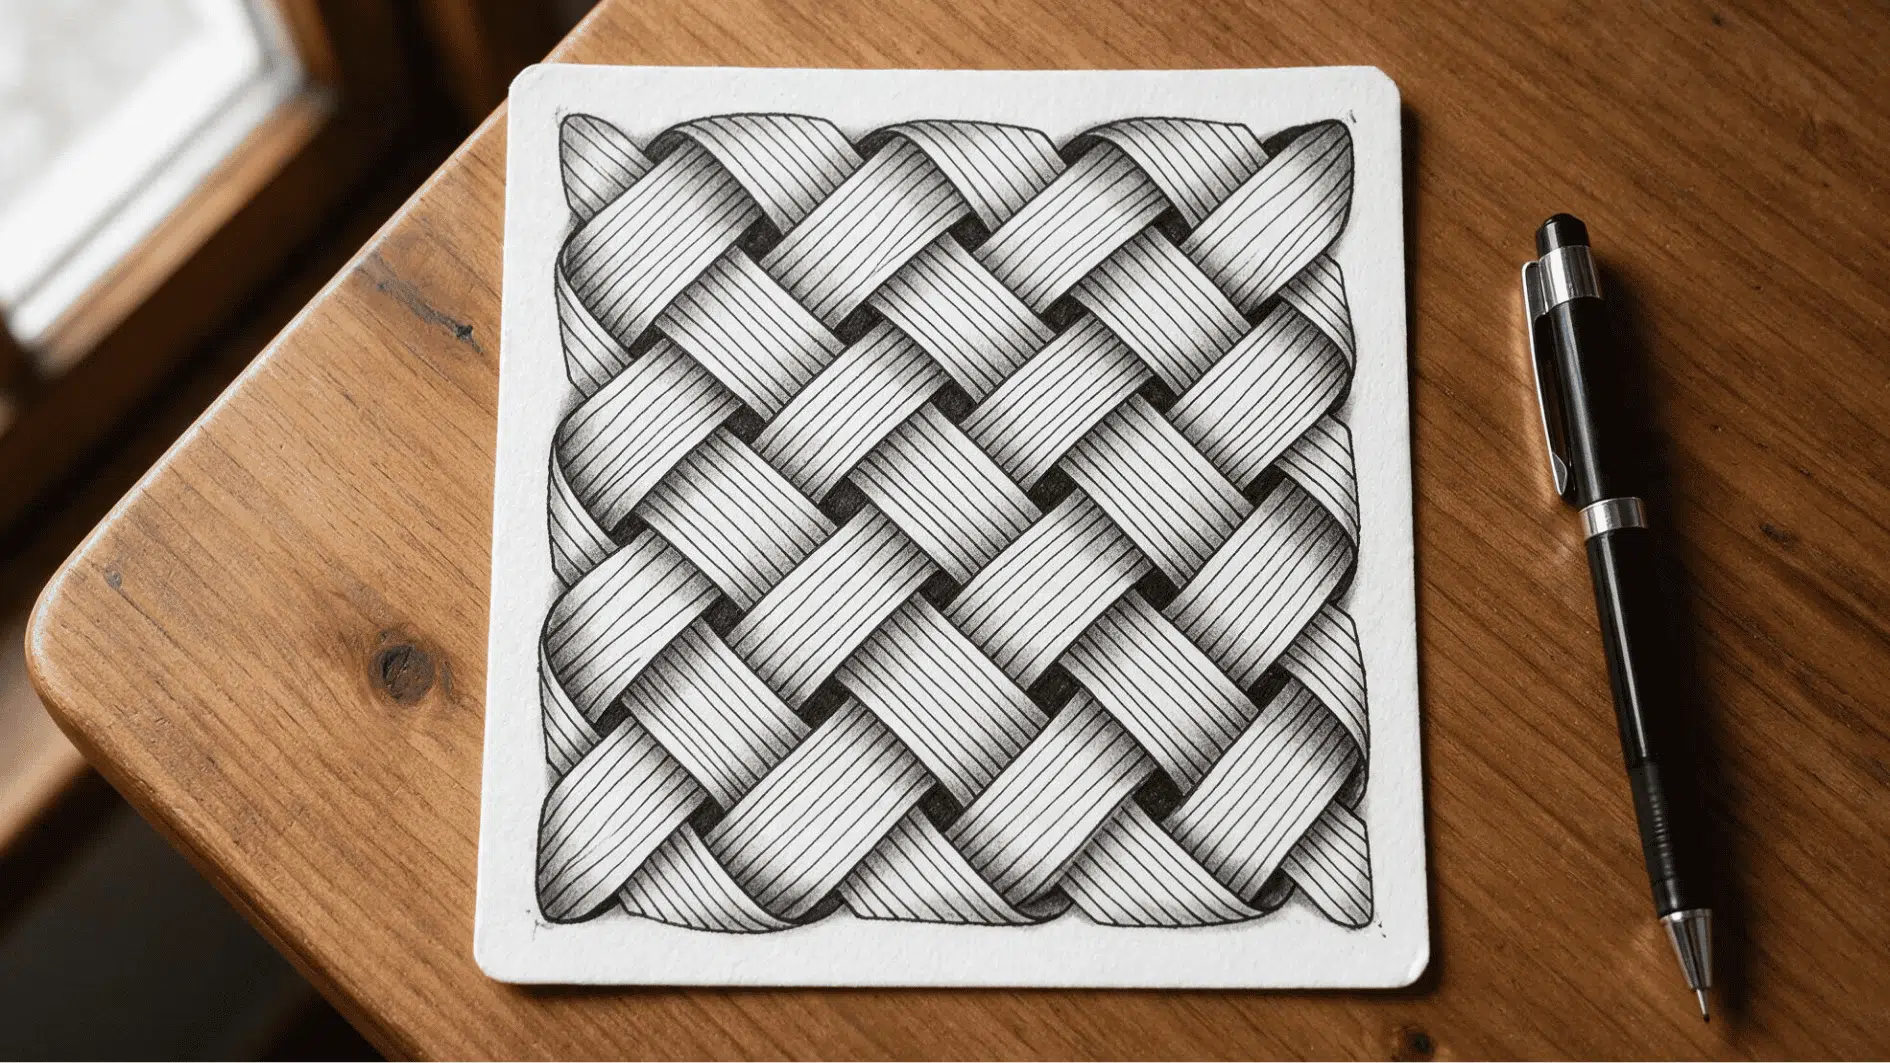
Diagonal bands that fold over each other like ribbon. Two parallel lines, a gap, then two more, repeated until the section is fully striped. Shading one edge of each band is what sells the folded look.
Steps:
- Draw two parallel diagonal lines across the section.
- Leave a gap, then draw two more parallel lines beside them.
- Repeat until the whole section is striped.
- Shade one edge of each band for a folded, ribbon-like effect.
7. Knightsbridge
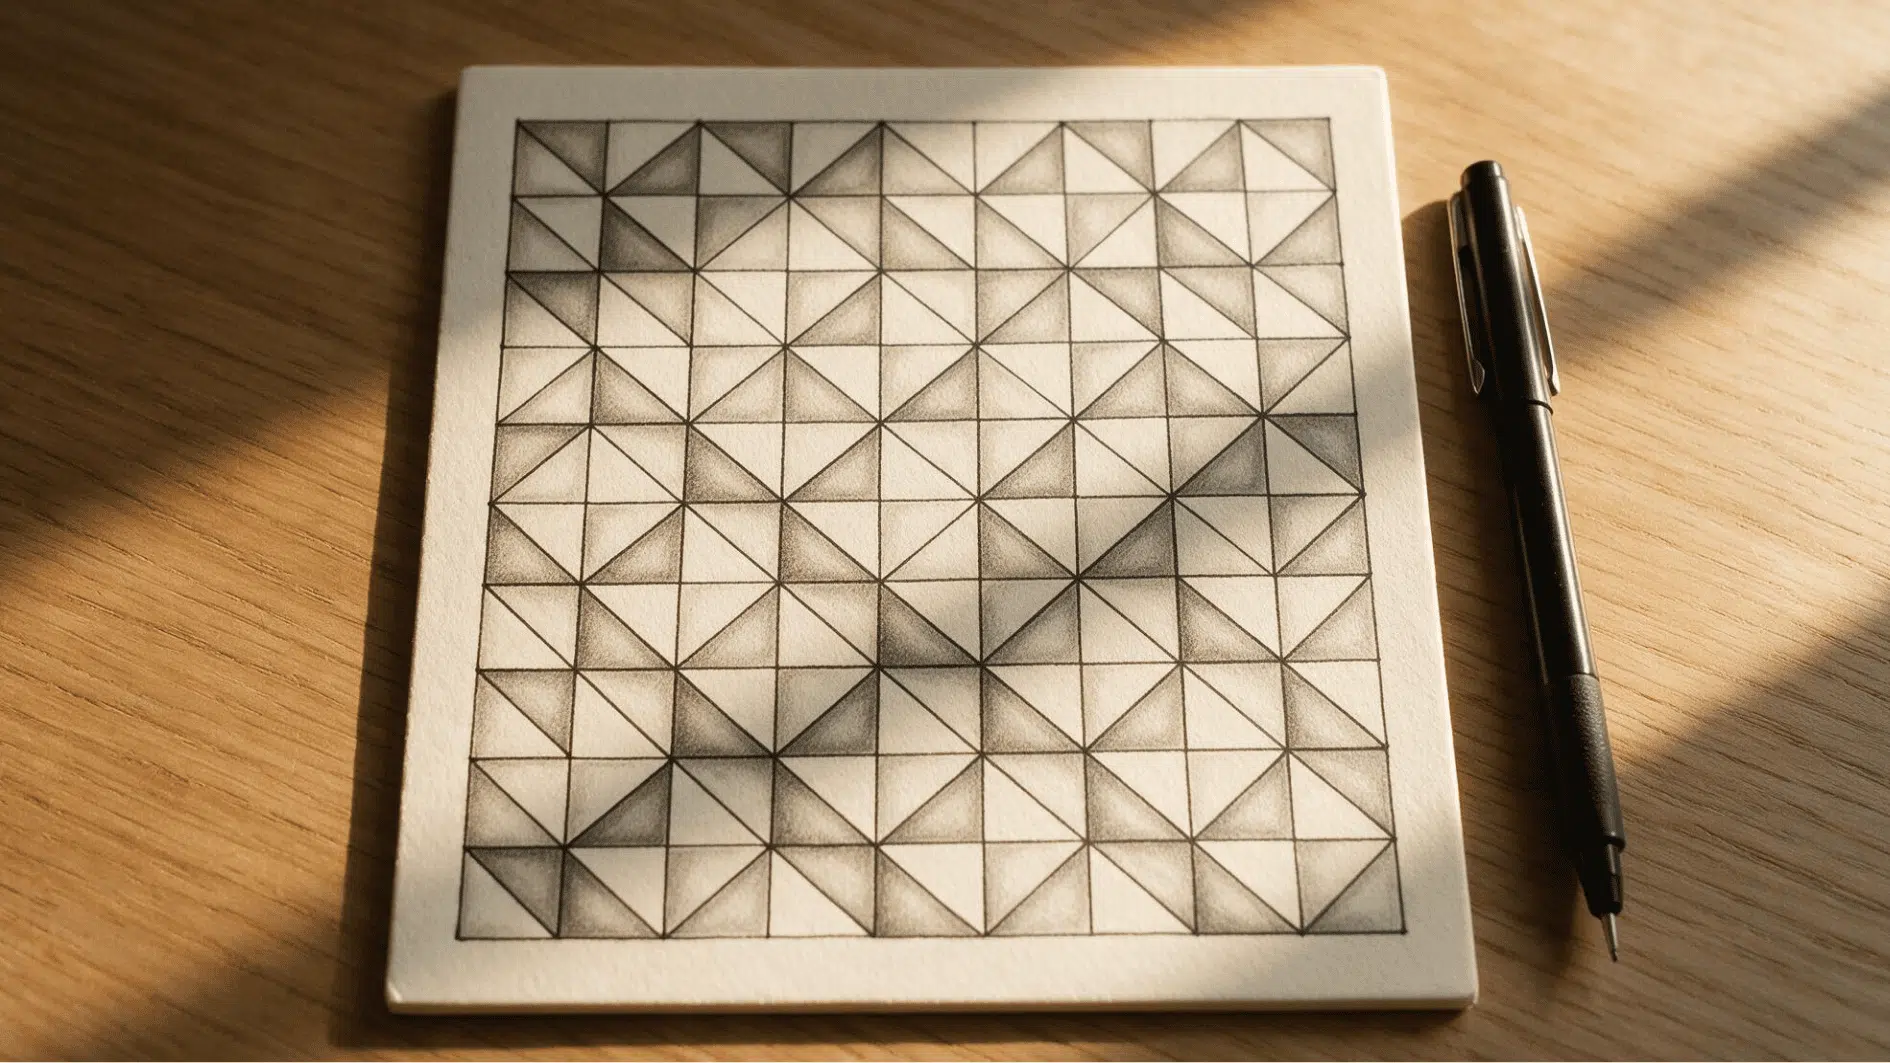
A classic grid tangle. Evenly spaced squares, each with a small diagonal in one corner, alternating direction from square to square.
It ends up looking woven, almost like fabric, once the whole grid fills in.
Steps:
- Draw a grid of evenly spaced squares.
- Add a small diagonal line in one corner of each square.
- Rotate the diagonal direction in alternating squares.
- Shade lightly along one side of each diagonal line.
8. Static
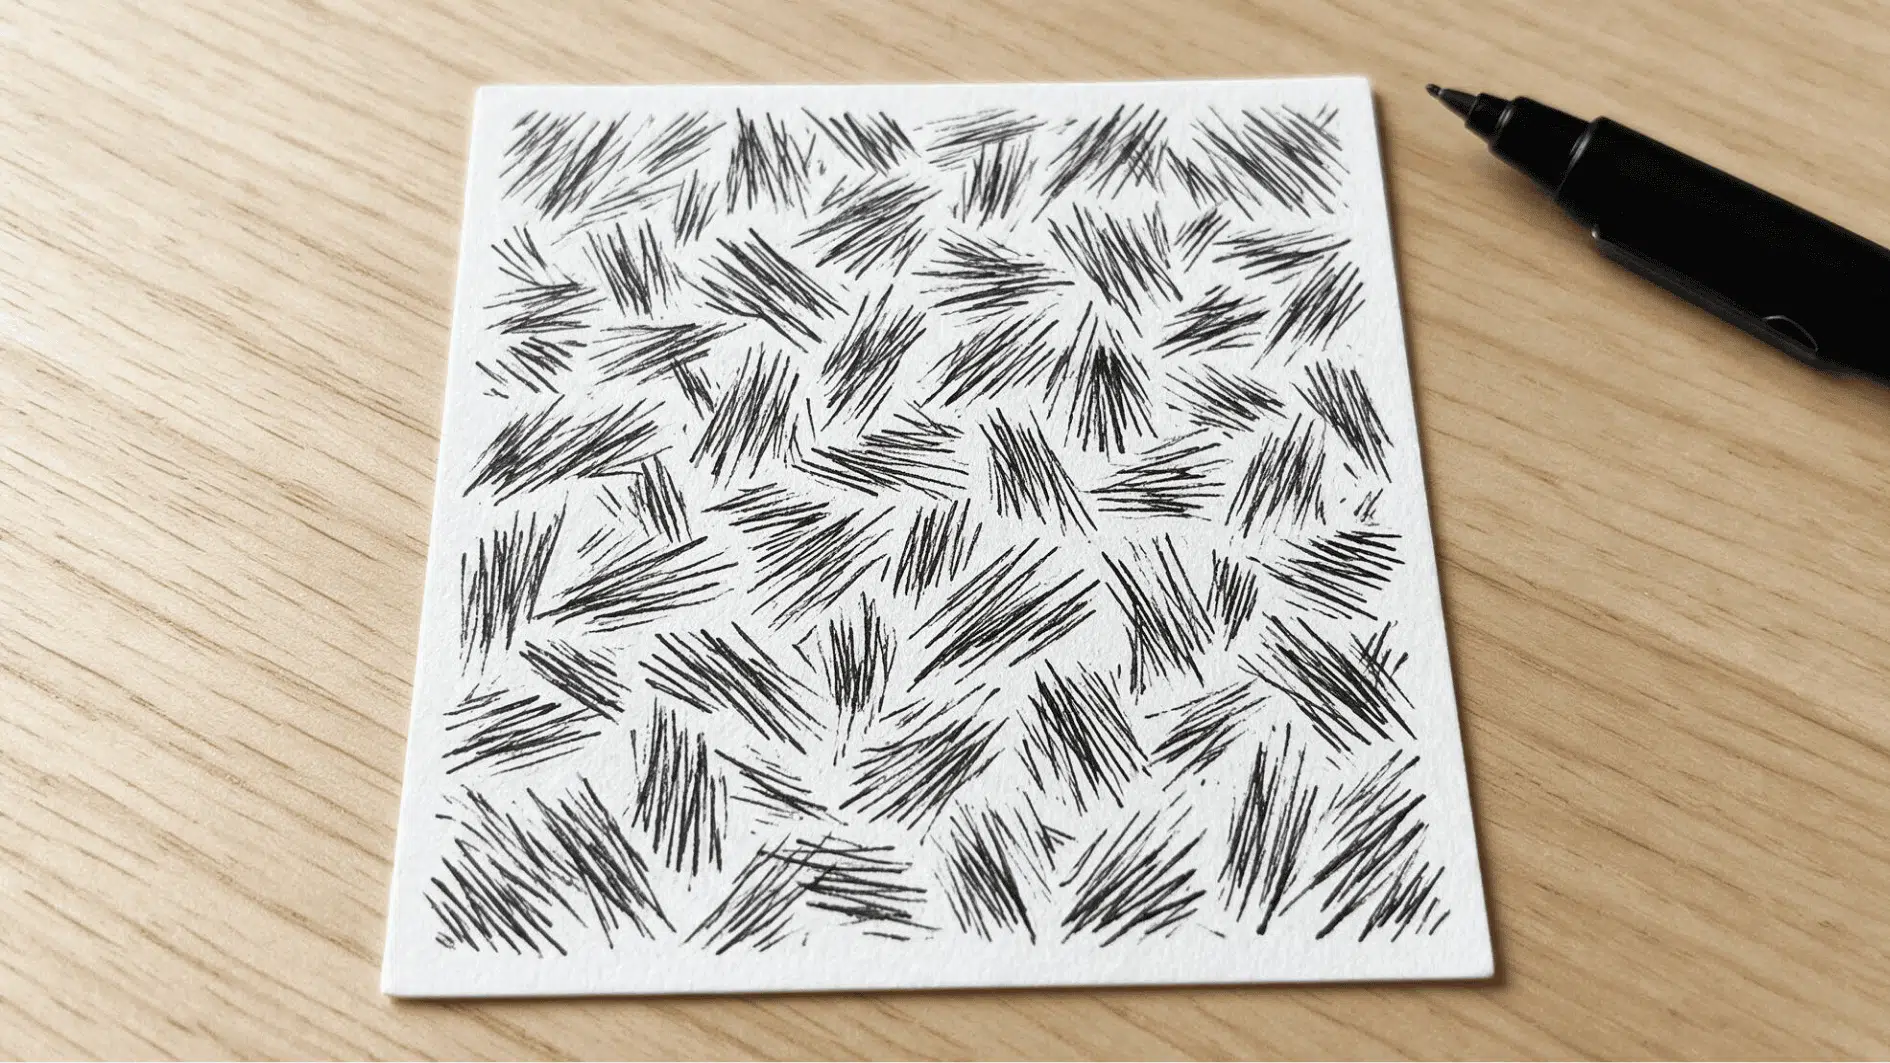
Short, scratchy lines that fill space fast, which makes it one of the better filler patterns for small or awkward sections.
Start with one jagged line, then shoot short lines off it in different directions until the space feels full. Leave a few gaps unfilled for contrast.
Steps:
- Draw a jagged, uneven line across the section.
- Add short straight lines shooting off in different directions from it.
- Fill the rest of the space with more short lines, all slightly different lengths.
- Leave a few small gaps unfilled for contrast.
9. Purk
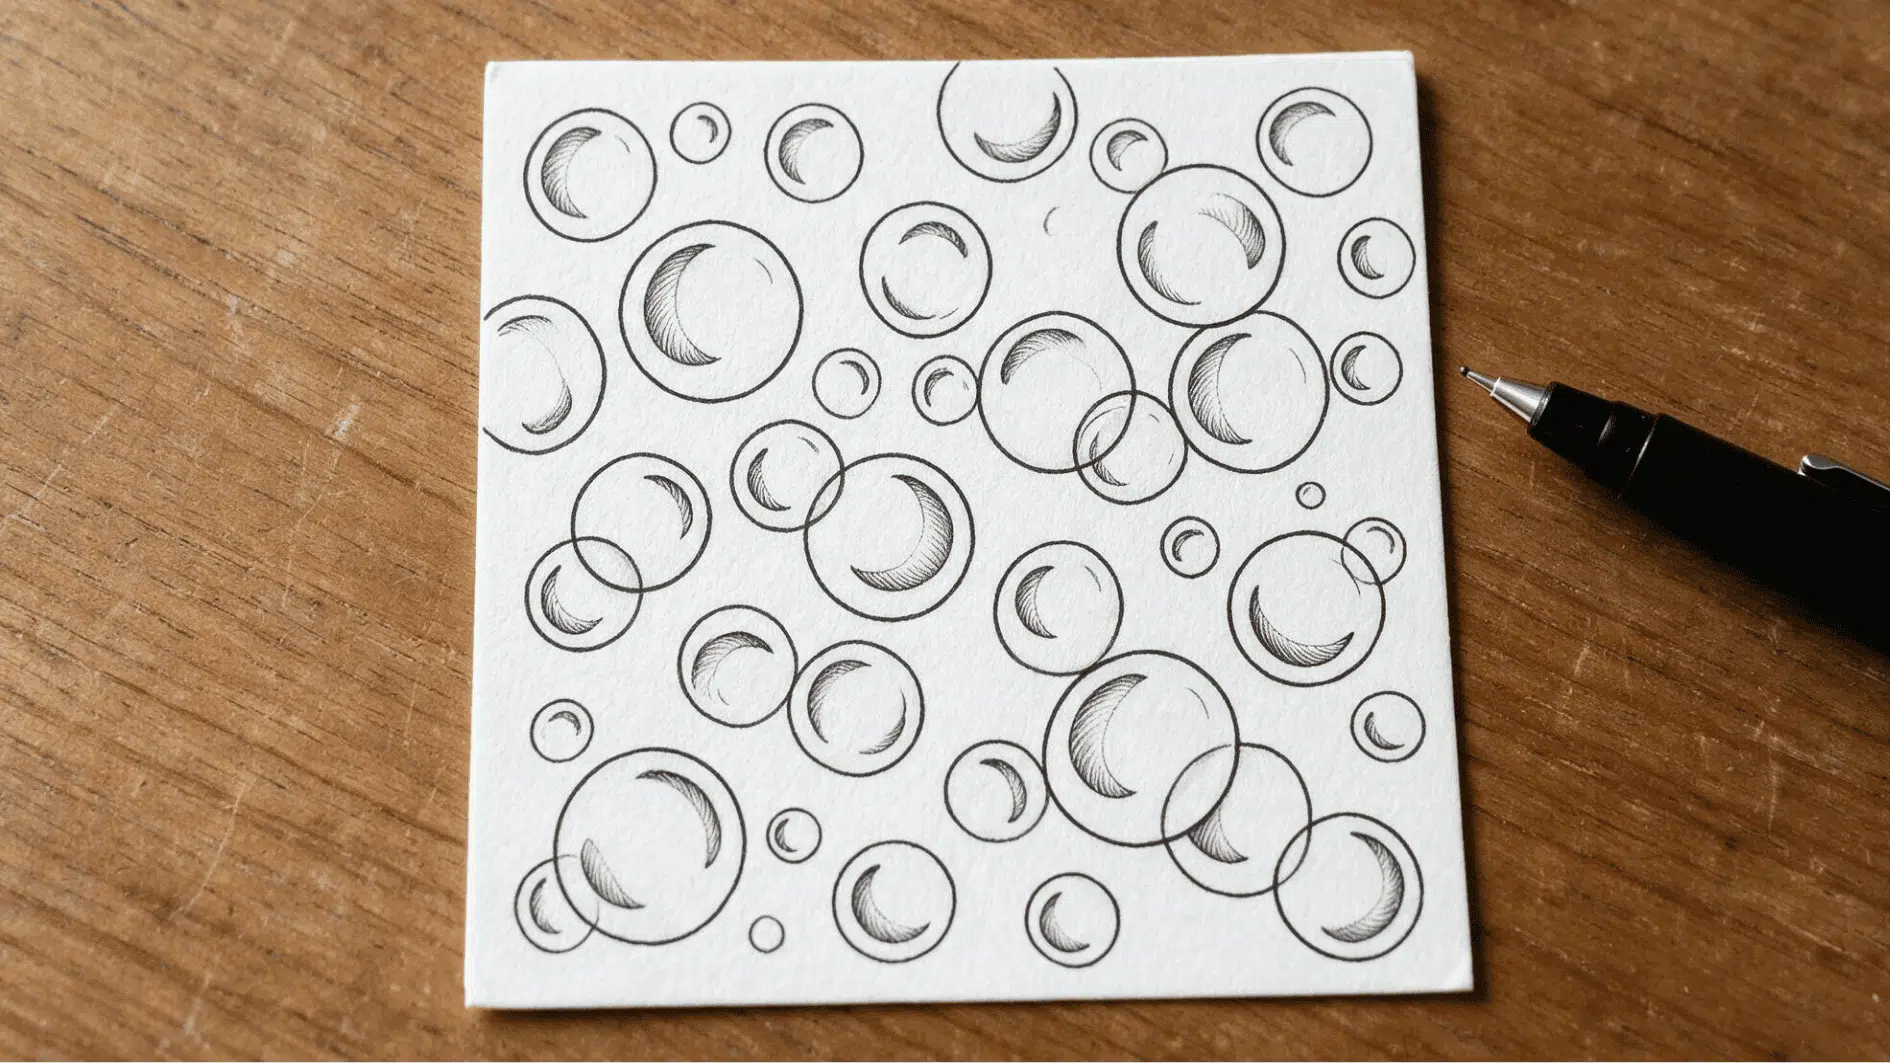
Looks like a cluster of bubbles. Draw one circle, then keep adding circles of different sizes around it, letting some overlap.
Shading a thin crescent inside each one is what gives it that bubble-like shine, and it’s an easy way to fill awkward-shaped spaces without much planning.
Steps:
- Draw a small circle anywhere in the section.
- Add more circles of different sizes around the first one.
- Let some circles overlap slightly.
- Shade a thin crescent inside each circle for a bubble-like look.
10. Pokeroot
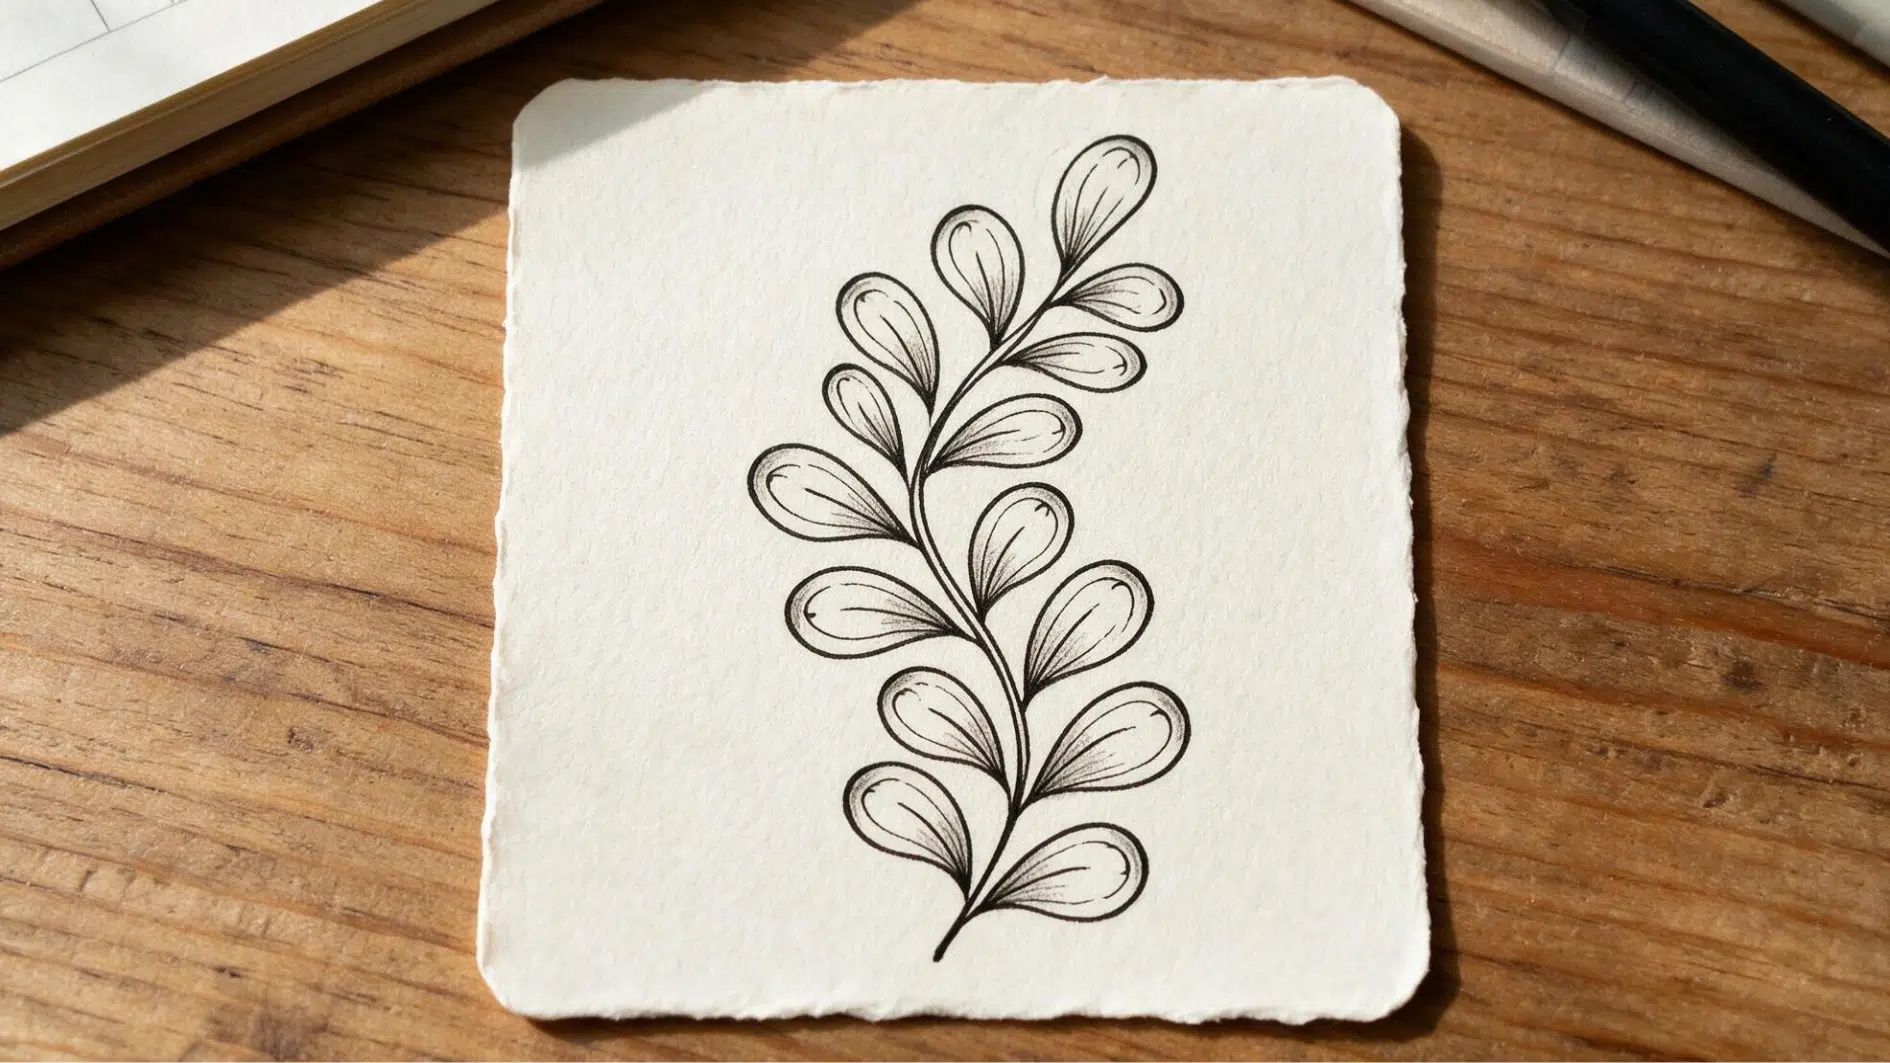
Mimics a plant stem. A curved line for the stem, small oval leaves branching off both sides, shaded at the base where each leaf meets the stem.
It adds a nice organic break next to patterns with sharp angles.
Steps:
- Draw a curved line to act as the stem.
- Add small oval leaves branching off the stem on both sides.
- Repeat leaves along the entire length of the stem.
- Shade the base of each leaf where it meets the stem.
11. Tipple
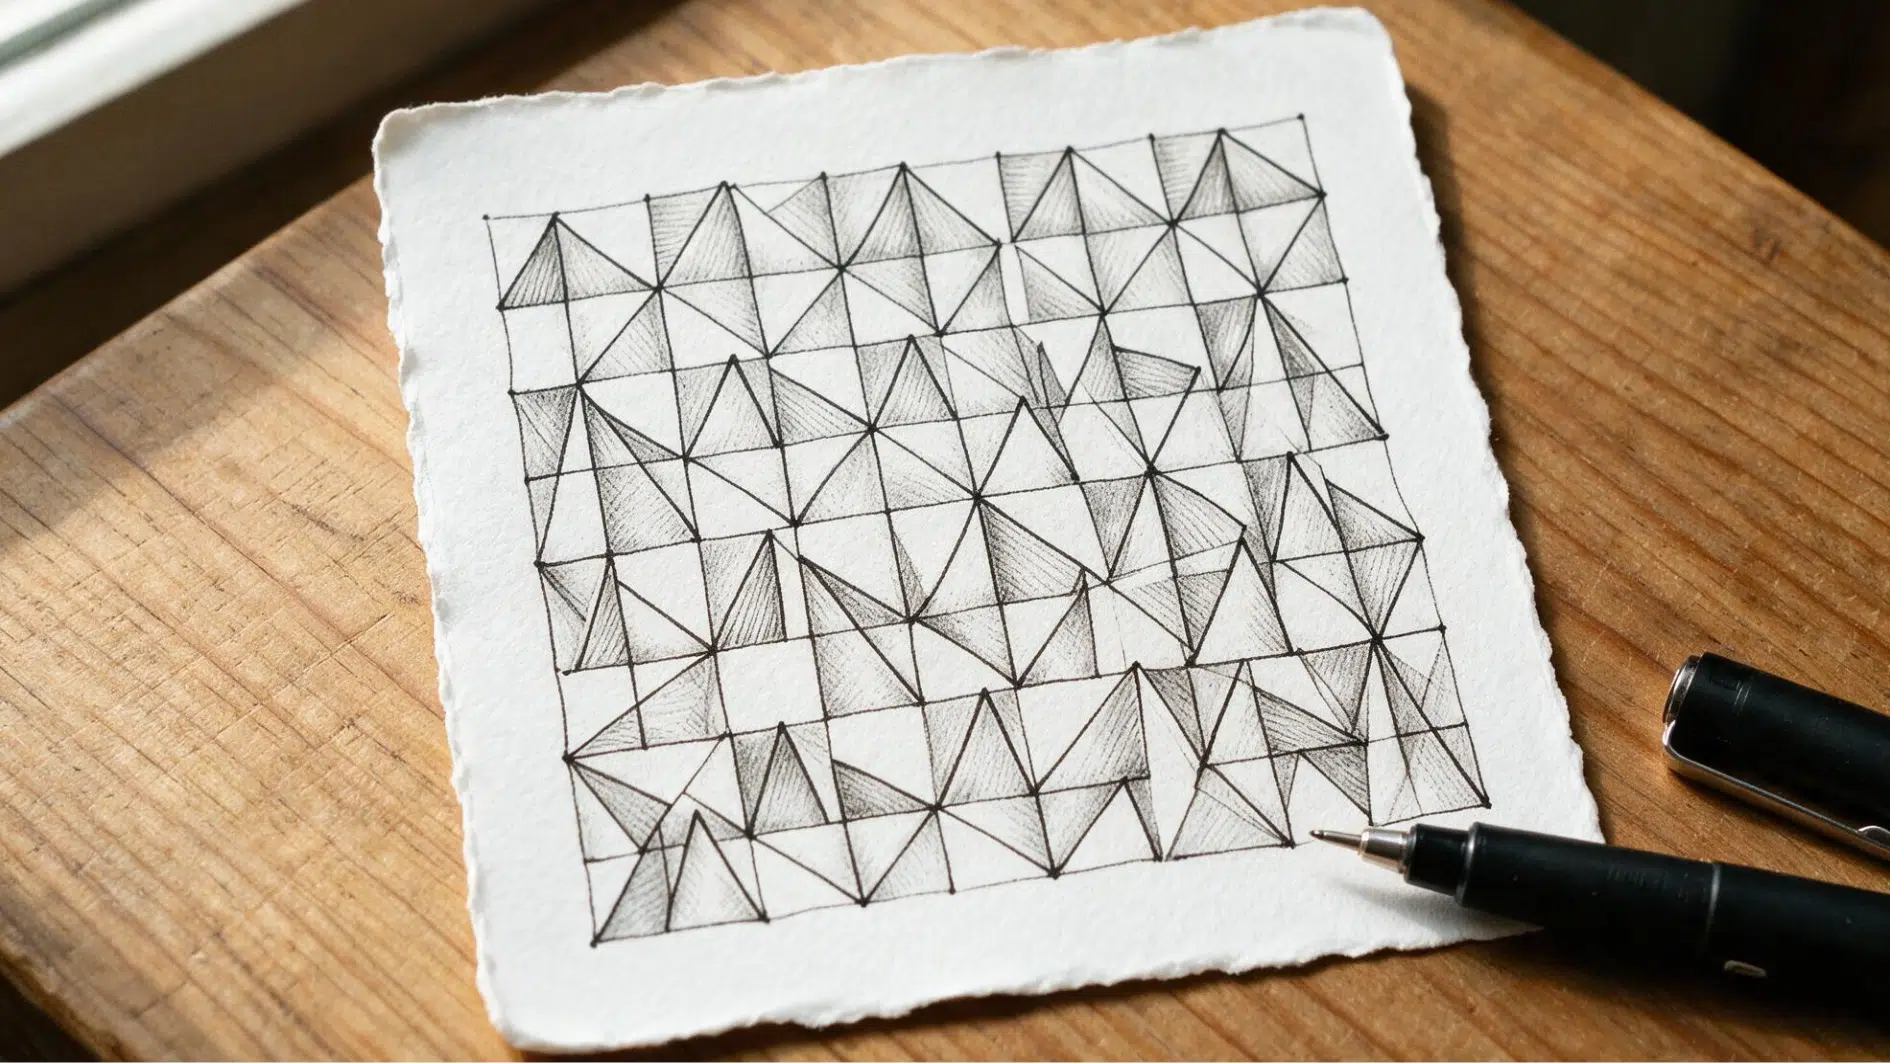
Tall triangles stacked into something that reads almost like crystal. One row pointing up, the next pointing down, repeated until the section fills. Shading alternating triangles is what gives it that faceted look.
Steps:
- Draw a row of tall, narrow triangles side by side.
- Add a second row of triangles pointing in the opposite direction.
- Keep stacking rows until the section is full.
- Shade alternating triangles for a faceted look.
12. Cadent
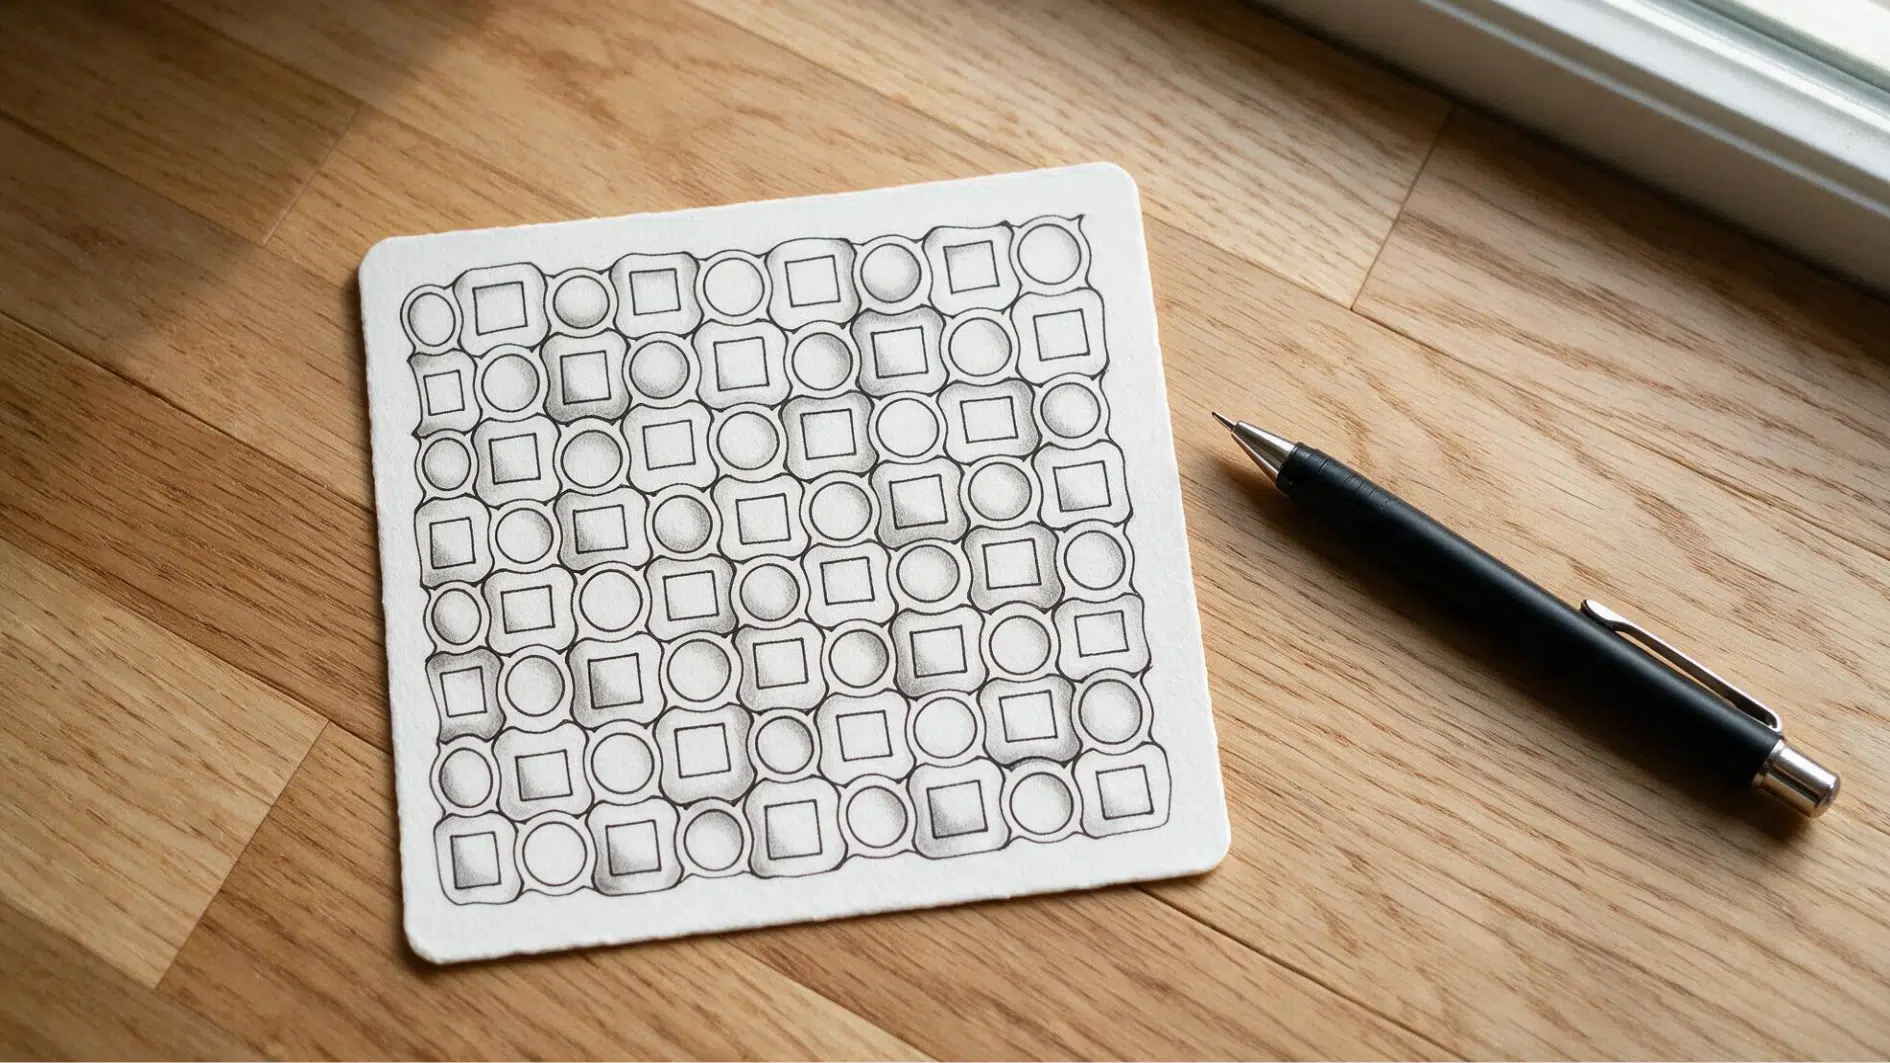
Combines a circle, a square, and a curved line into a repeating set. Line up a few rows of the same three shapes, then shade one shape per set to add rhythm.
It’s one of the more versatile beginner tangles, since it plays well with almost anything. A nice entry point into tessellating, repeat-based patterns once you’re comfortable with the basics.
Steps:
- Draw a small circle, then a square beside it, then a curved line beside that.
- Repeat the same three shapes in a row.
- Stack additional rows underneath, lining up the shapes.
- Shade one shape in each set to add rhythm to the pattern.
13. Onomatopoeia
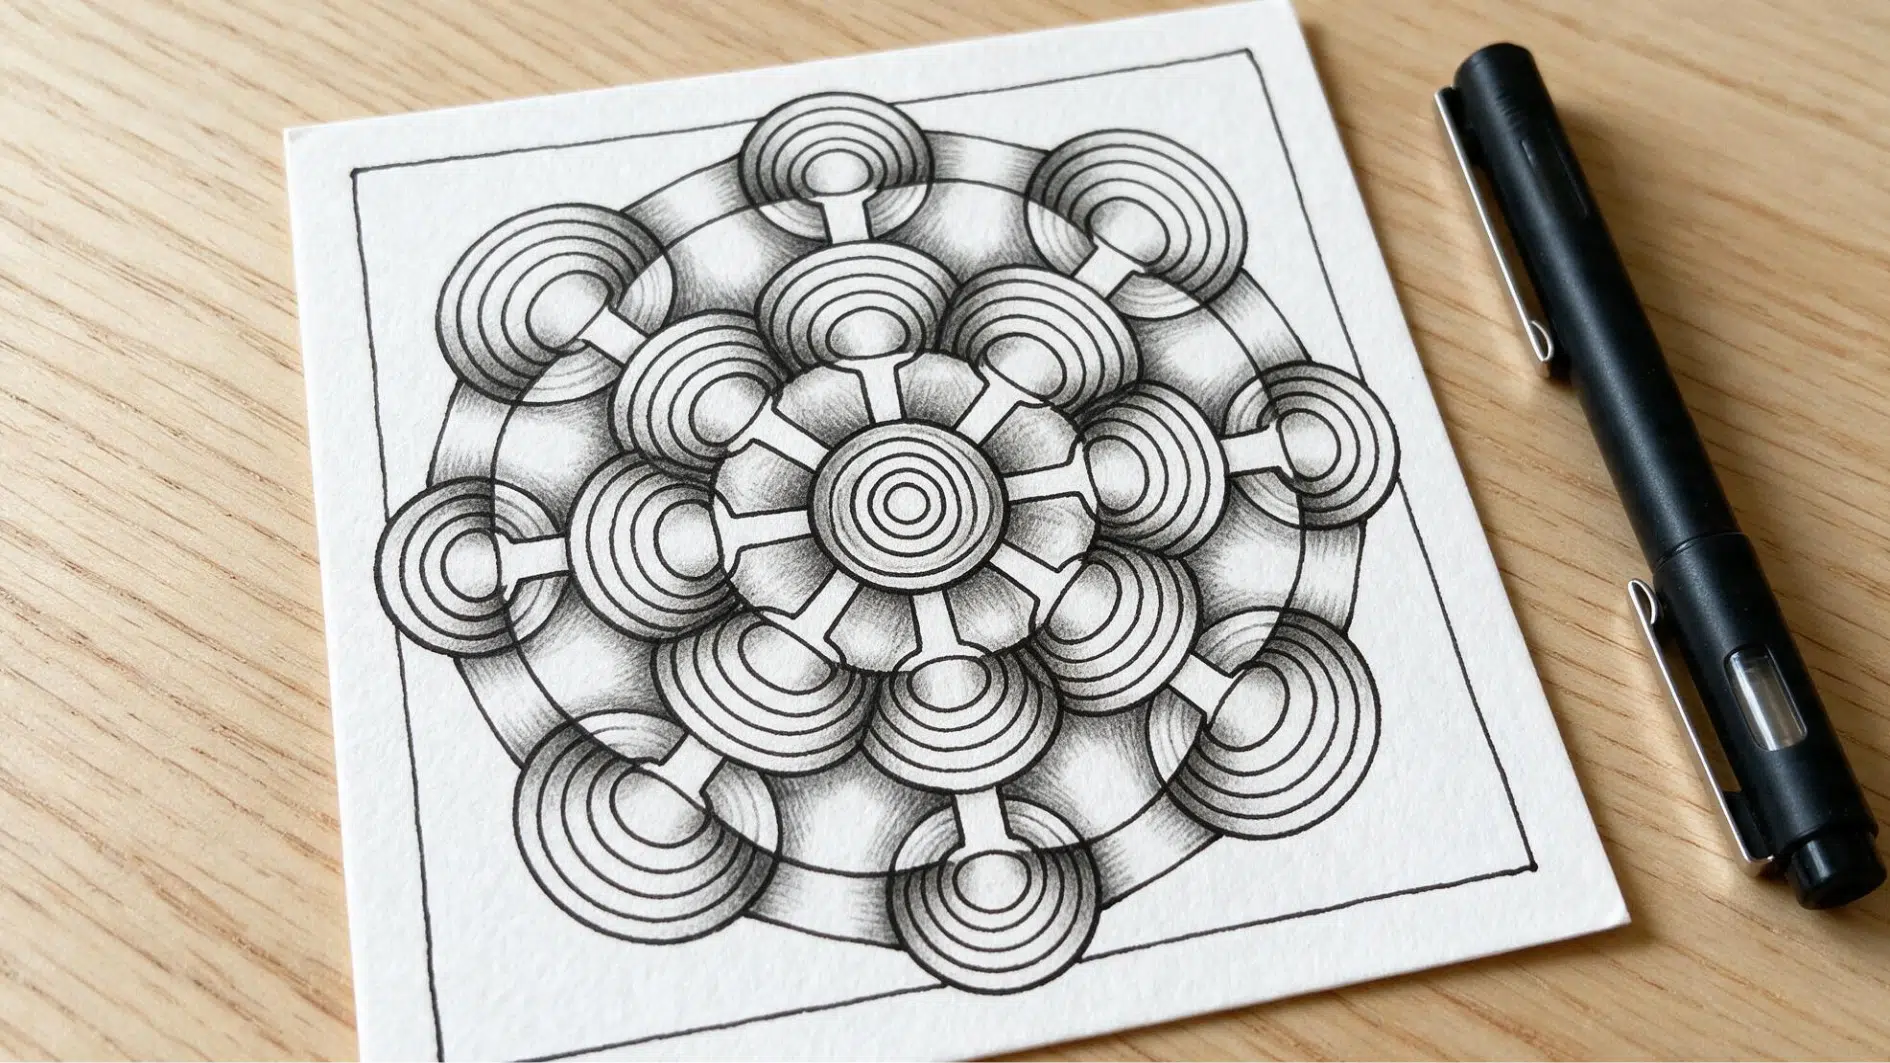
Simple ring shapes, low effort and quick to fill a section with. Good pattern to reach for when you want texture without much planning behind it.
Steps:
- Draw a small circle, then a slightly larger circle around it, leaving a gap between them.
- Repeat this ringed circle a few times across the section.
- Connect nearby rings with a single short line.
- Shade the gap between the two circles in each ring.
Common Beginner Mistakes and Solutions
Everyone runs into a few snags when they first start tangling. Here’s how to fix the most common ones.
| Mistake | Simple Fix | Why It Matters |
|---|---|---|
| Pressing too hard | Use a light grip | Keeps lines smooth |
| Planning everything | Work one section at a time | Makes drawing feel easier |
| Erasing small errors | Keep drawing around them | Small flaws blend in |
| Rushing strokes | Slow down and finish each line | Improves control |
| Skipping shading | Add light pencil shading | Creates more depth |
Wrapping It Up
You really don’t need any special talent to make something beautiful.
These Zentangle patterns for beginners prove that a pen, a few simple strokes, and a bit of patience are all it takes; no sketching skills required, and no perfectly straight lines either, and nobody expects you to nail it on the first try.
So go easy on yourself and just start by grabbing a pen, picking a pattern from this blog, and giving it a go today.
You might just end up loving it, and if the calming side of it appeals to you, it’s worth a look at how art therapy worksheets use similar repetitive mark-making for emotional relief.
Frequently Asked Questions
Is Zentangle the Same as Doodling?
Not quite. Doodling is unstructured, while Zentangle follows a deliberate method- border, string, then patterns- making it more mindful and repeatable than random scribbling.
Can I Combine Multiple Patterns on One Tile?
Absolutely. Most finished tiles mix several patterns across different sections, which is part of what makes each Zentangle piece look unique.
Can I Use Color in Zentangle Instead of Black Ink?
Traditional Zentangle sticks to black and white, but plenty of tanglers add color afterward for a more personalized, decorative look.
Can Zentangle Help with Stress or Anxiety?
Many beginners find the repetitive strokes calming, similar to meditation. Focusing on one small pattern at a time can quiet a busy mind for a while.