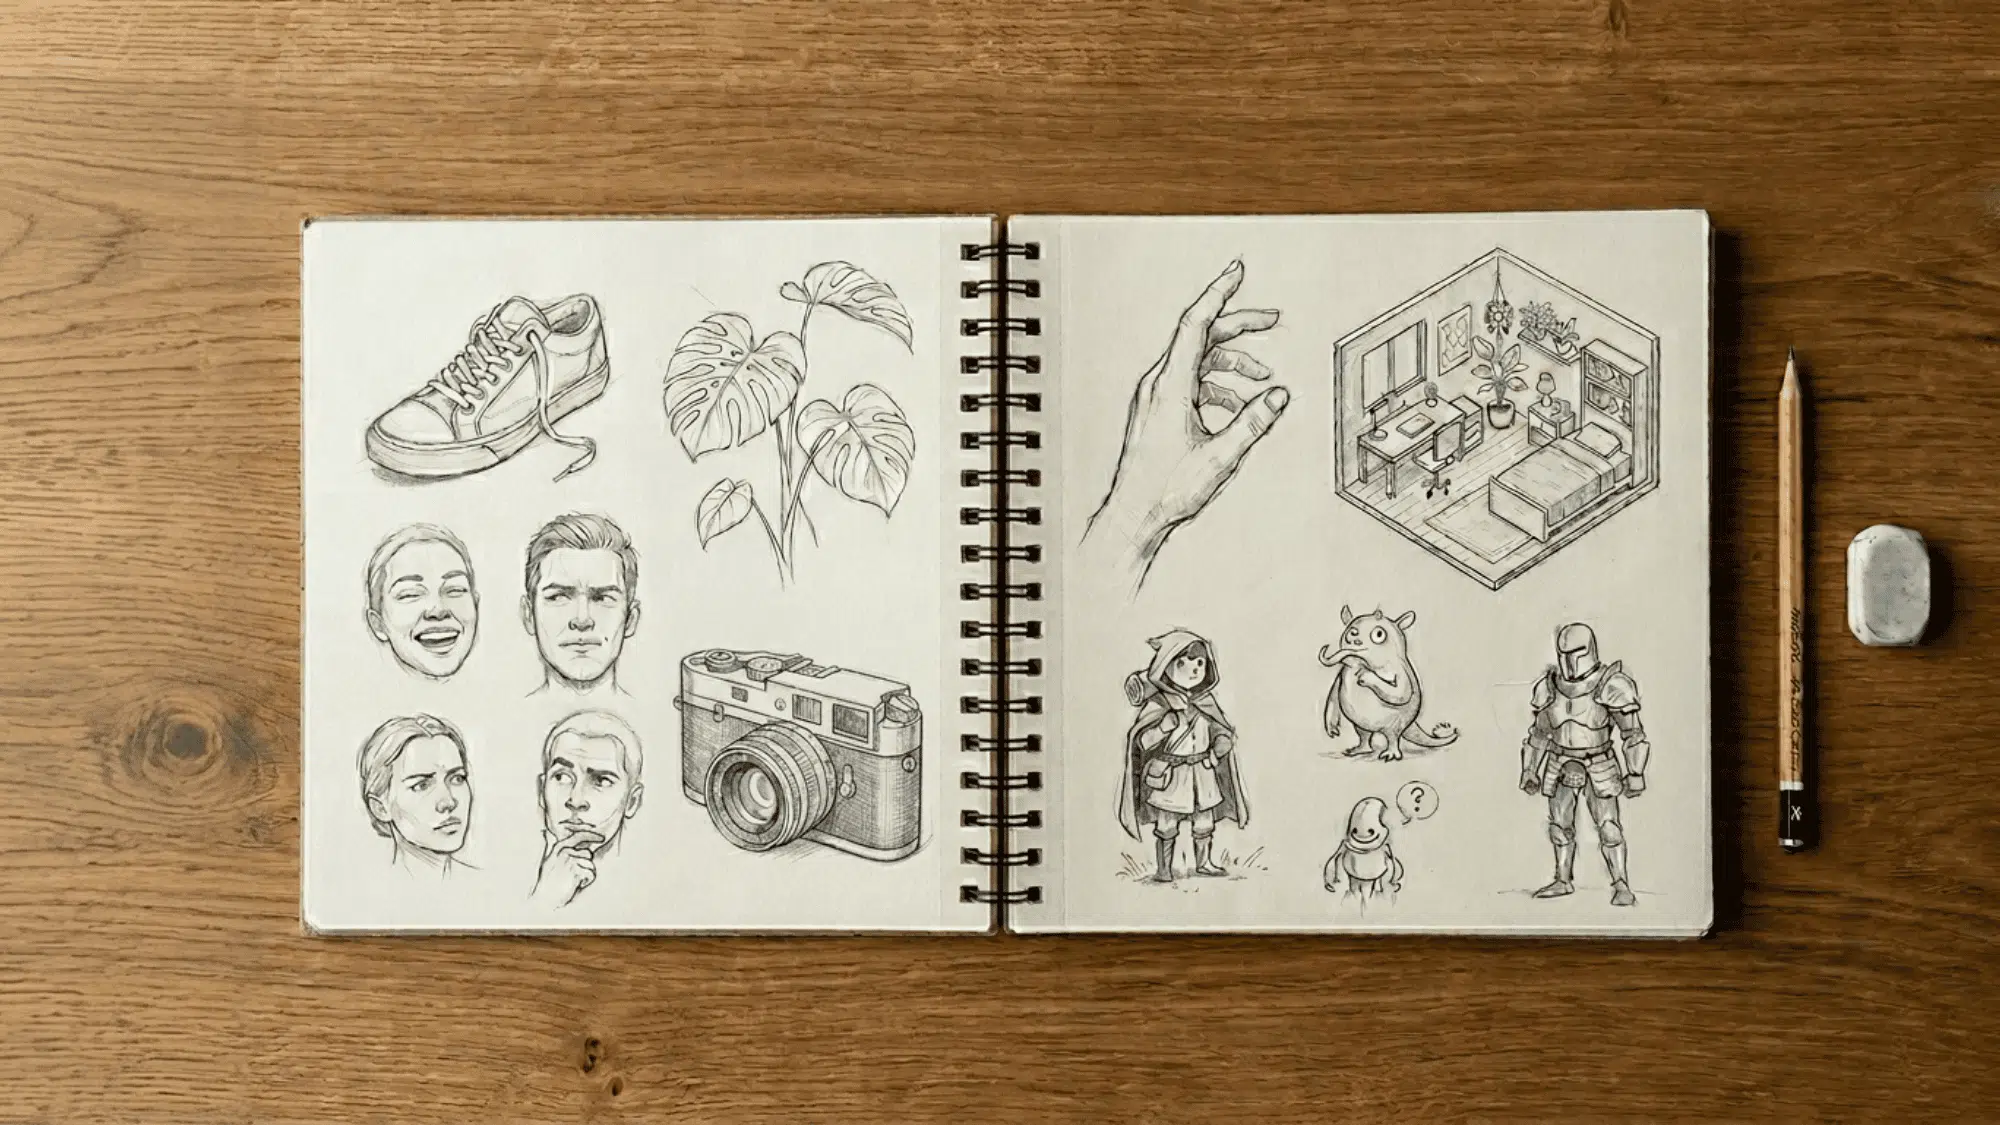
Improving your drawing does not always mean spending more time on the page. Sometimes it starts with learning a new approach.
A few simple methods can help you understand shape, shadow, texture, and movement more clearly. With practice, these drawing techniques can make each sketch feel more focused.
This blog provides practical methods you can try with a pencil, paper, and a little patience. Pick one that suits what you are working on, start with light lines, and let the practice build from there.
Before You Start: What You Will Need
A good drawing setup does not have to be expensive or complicated. Most practice sessions only need a few pencils, a sketchbook, and something to clean up or soften your lines. What you need to remember is:
- Pencils, such as HB, 2B, 4B, and 6B, will give you a good range of light and dark marks.
- Keep a sketchbook, a clean eraser, and a blending stump or tortillon nearby.
- A sketchbook with medium-weight paper is usually a good choice because it can handle light shading, blending, and repeated practice without wearing out too quickly.
- Do not worry about buying expensive materials right away. Consistent practice matters far more than having a large collection of supplies.
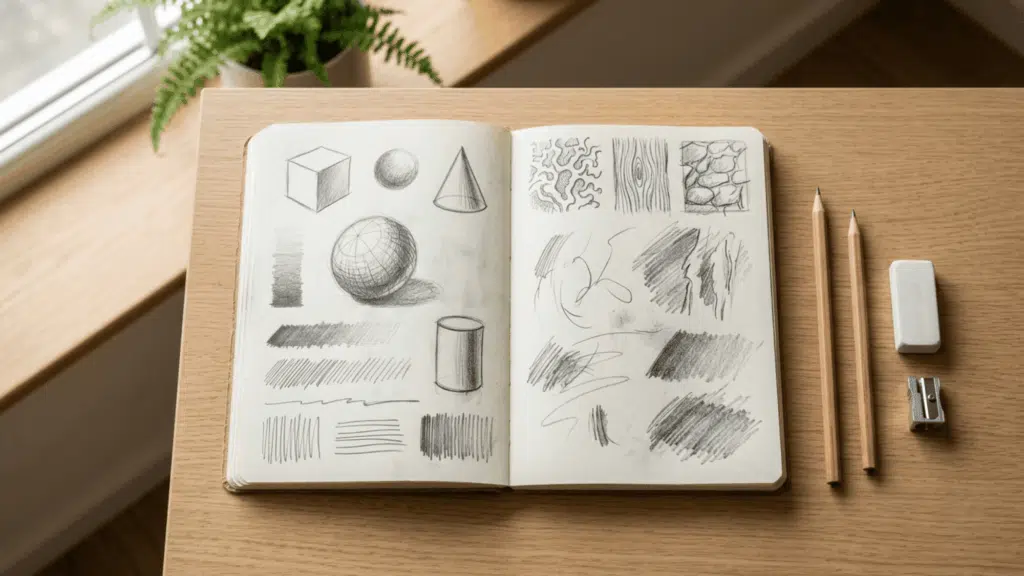
Drawing Techniques to Help Improve Your Skills
These methods cover many parts of drawing, from tone and line to texture, proportion, and movement. Some are easy to try as a beginner, while others can help you add more control and detail.
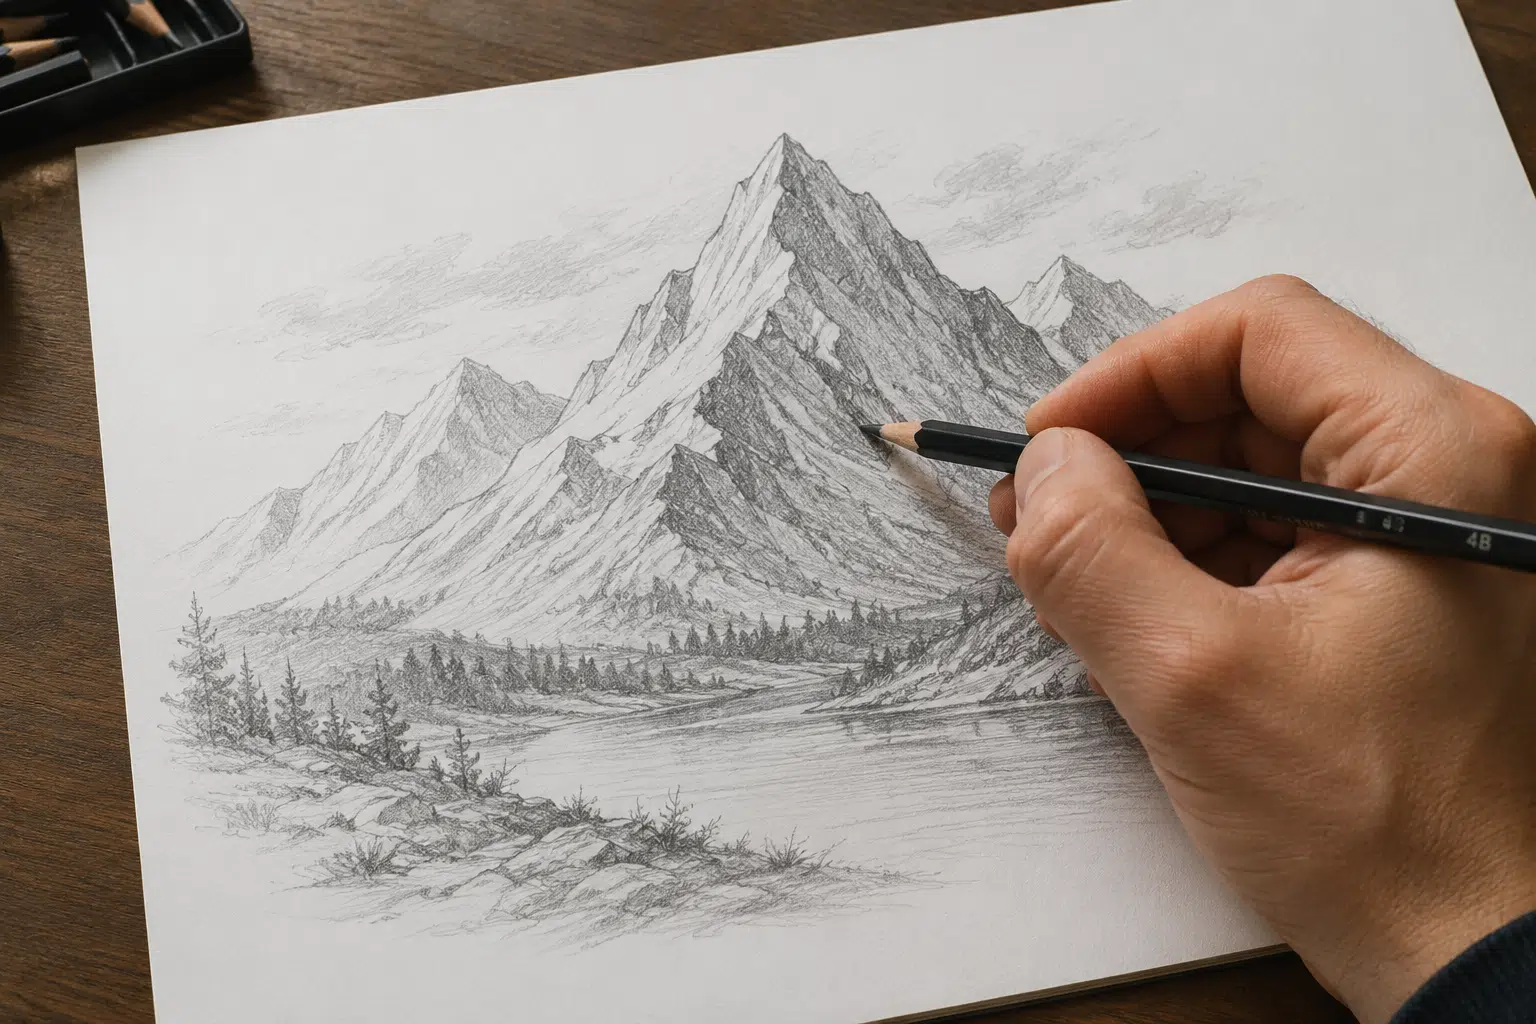
1. Hatching
Hatching is one of the most common shading methods used in drawing. It relies on a series of closely spaced parallel lines to create the illusion of shadow and form.
The spacing between the lines controls the value. Wider gaps create lighter areas, while tightly packed lines create darker sections.
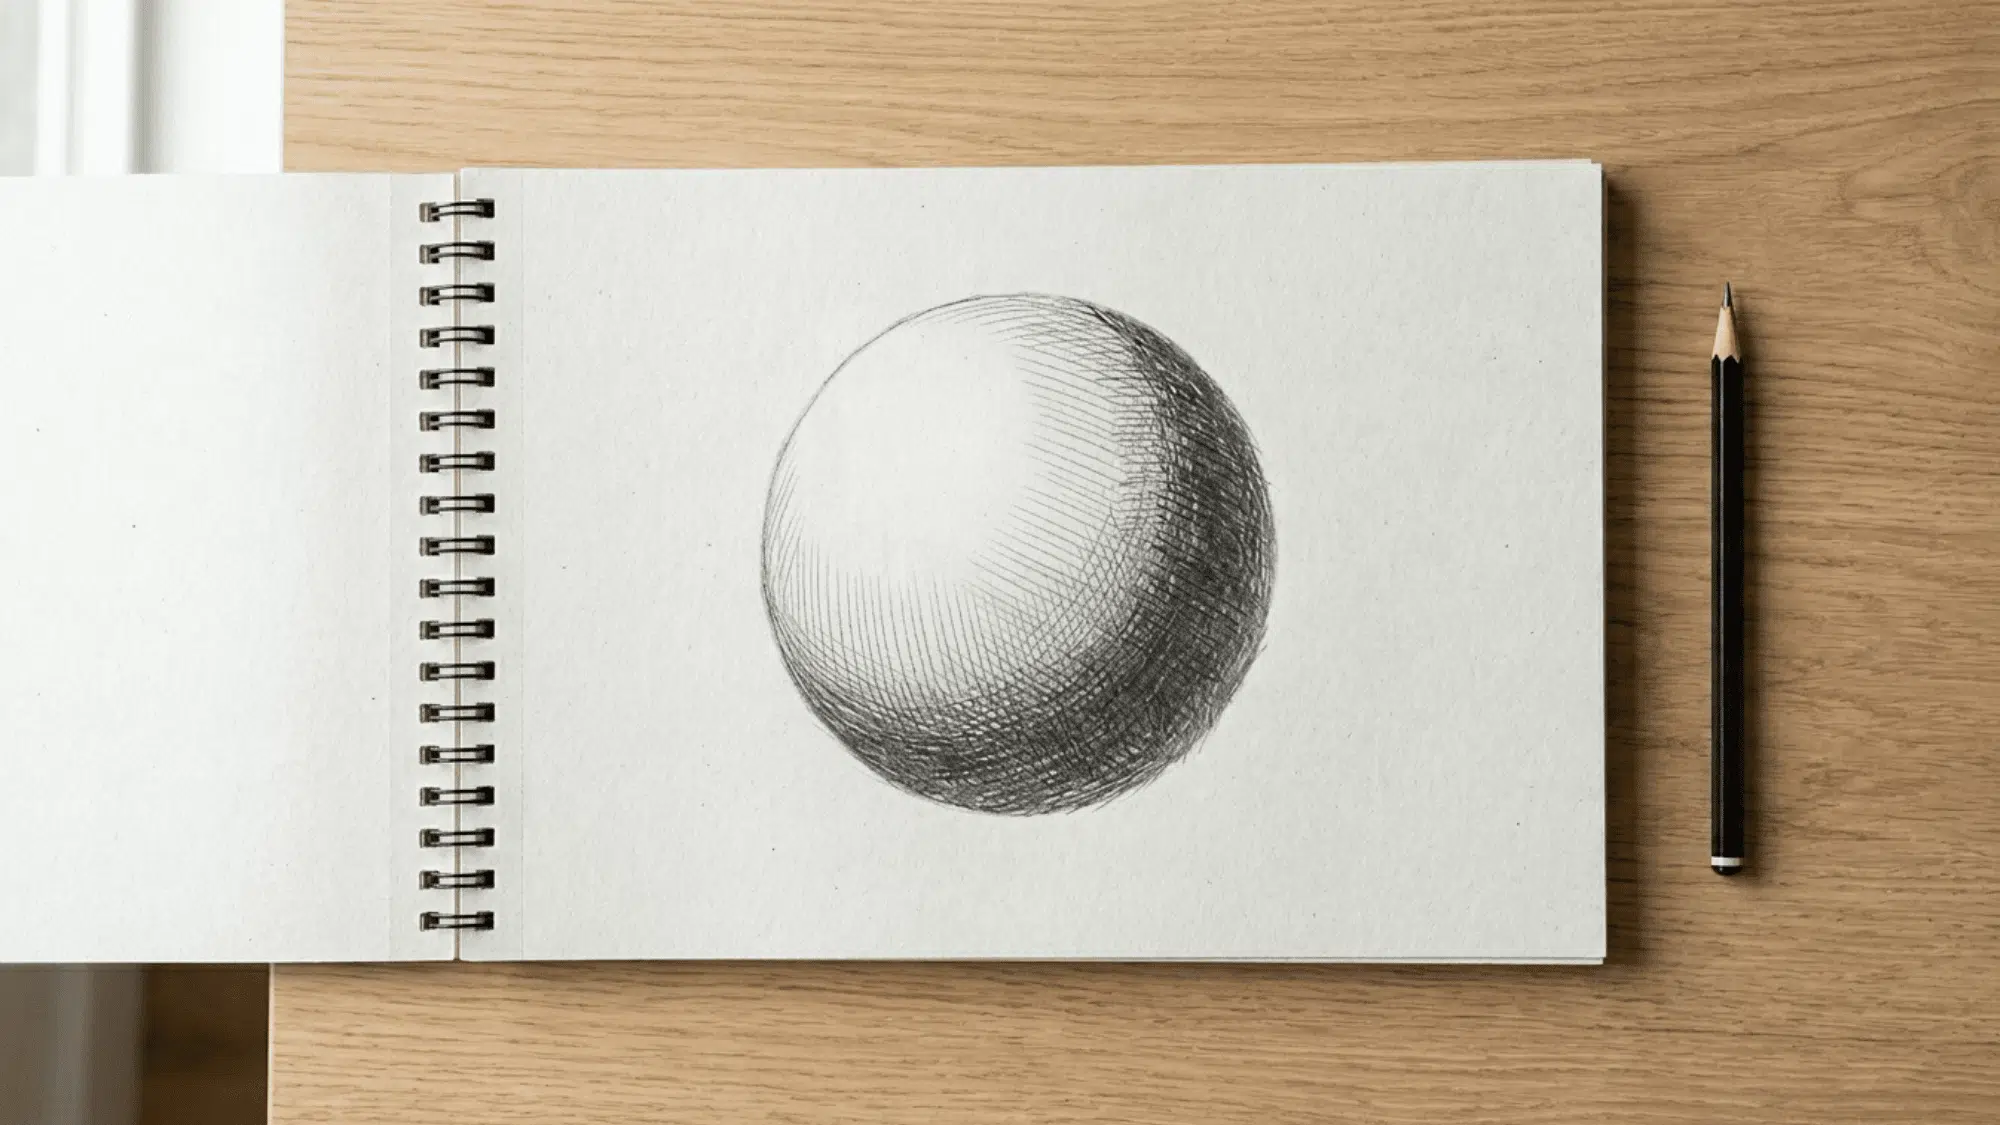
2. Cross-Hatching
Cross-hatching builds on basic hatching by adding additional layers of lines over the first set. These layers usually intersect at different angles.
Each new layer increases the darkness of the area and adds more visual depth. This method is especially useful when working with ink because it allows you to create shadows without blending.
Start with two layers of lines before experimenting with three or four. Too many layers can make a drawing look muddy if they are not placed carefully.
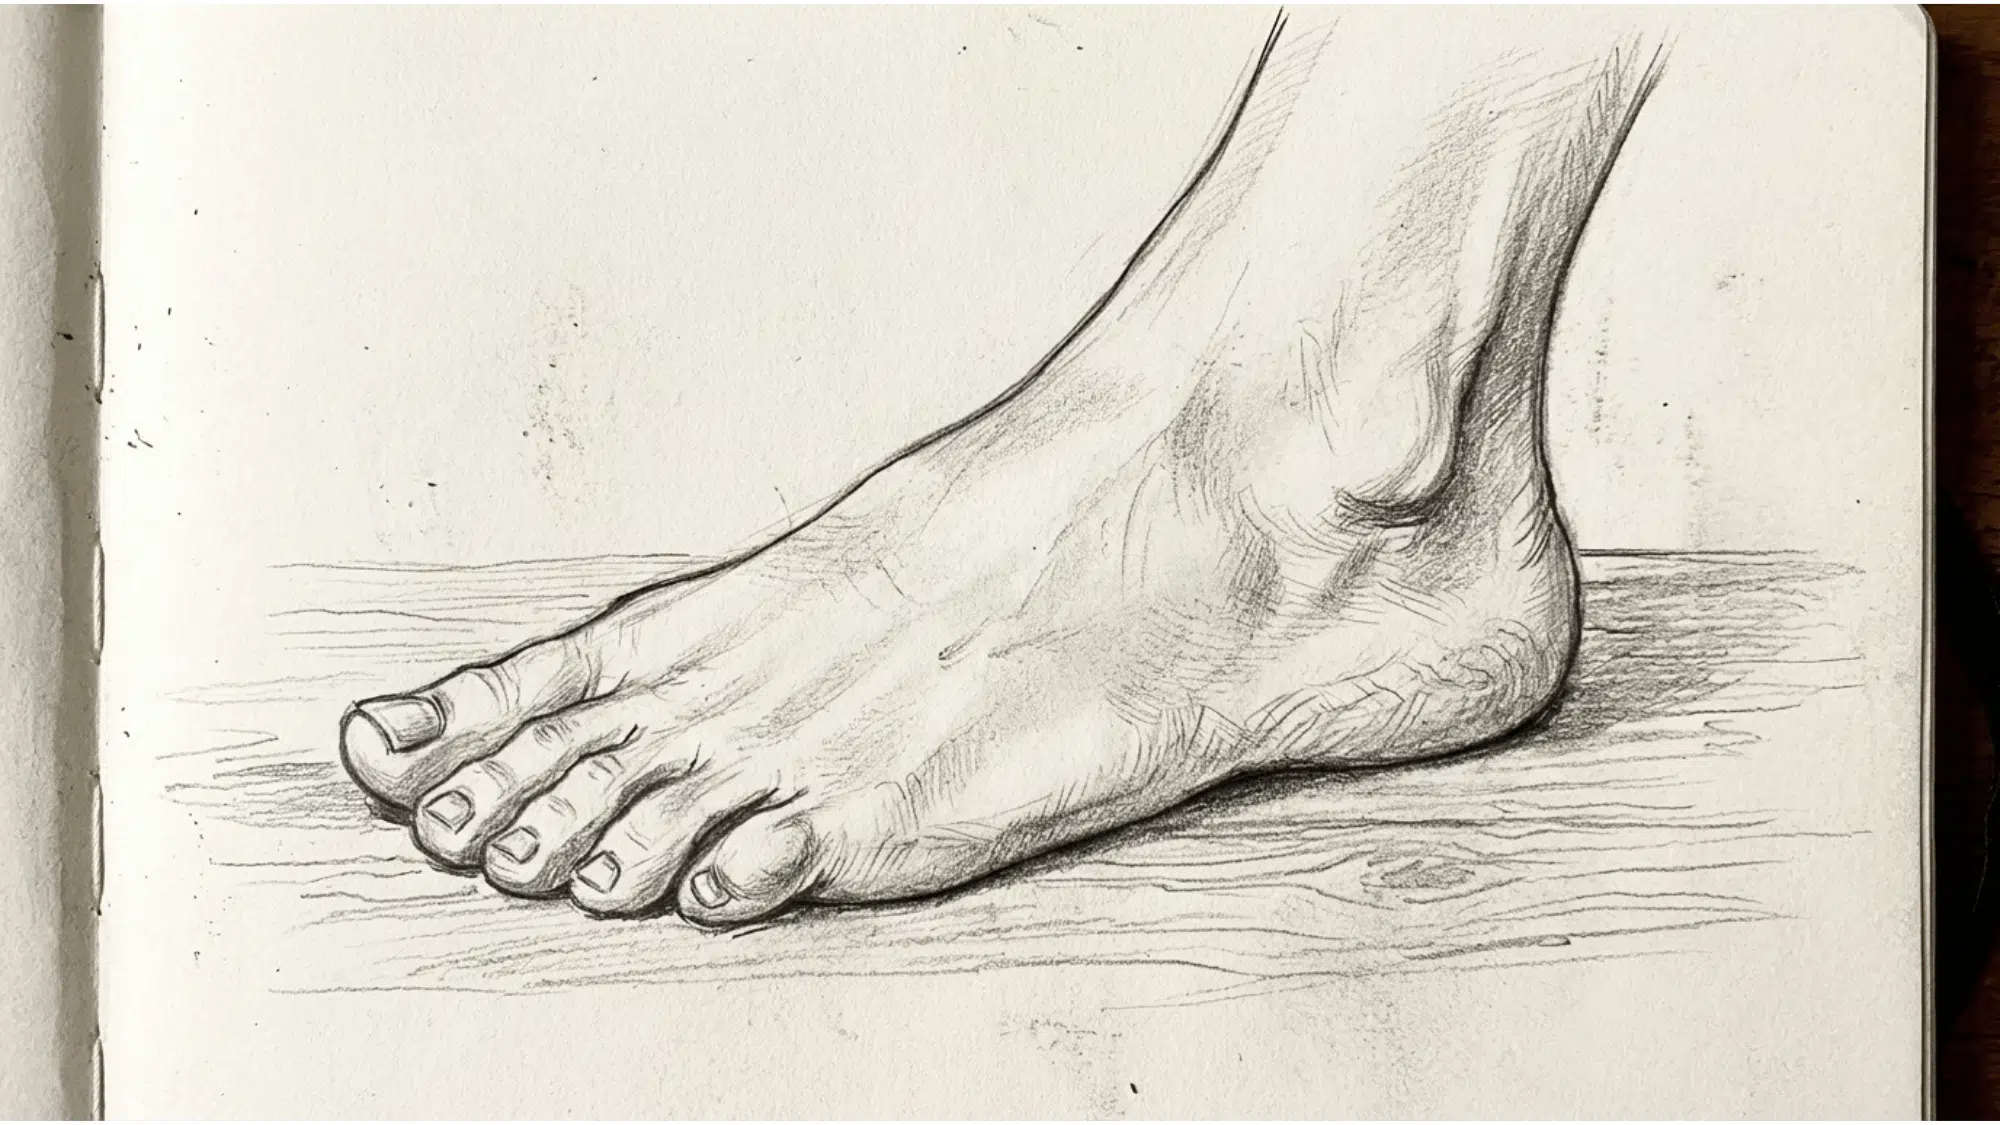
3. Free Hatching
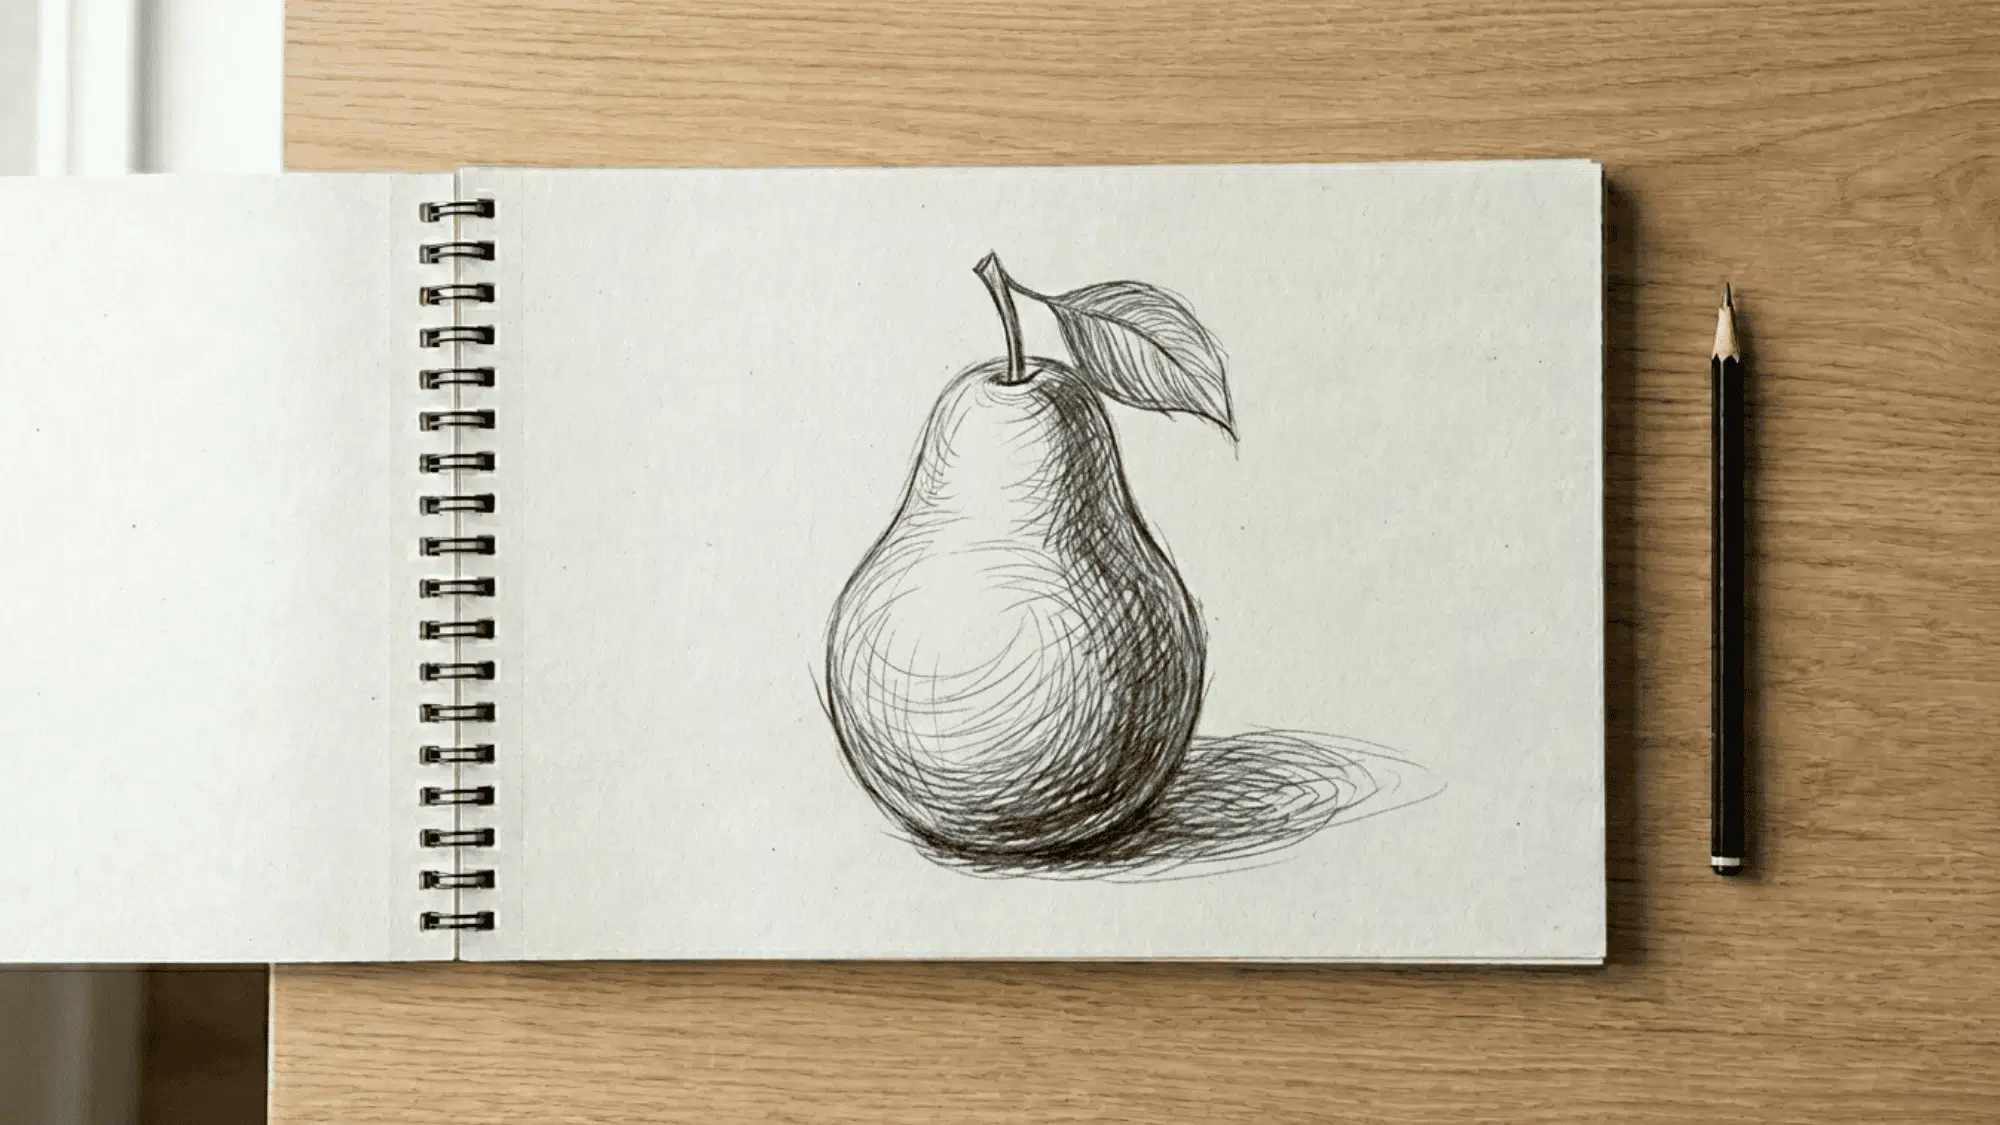
Free hatching follows the same idea as traditional hatching but uses more relaxed line placement.
Instead of keeping every line perfectly parallel, allow the marks to follow the curves and contours of the subject. It works particularly well for organic subjects such as plants, animals, and flowing fabric.
4. Stippling
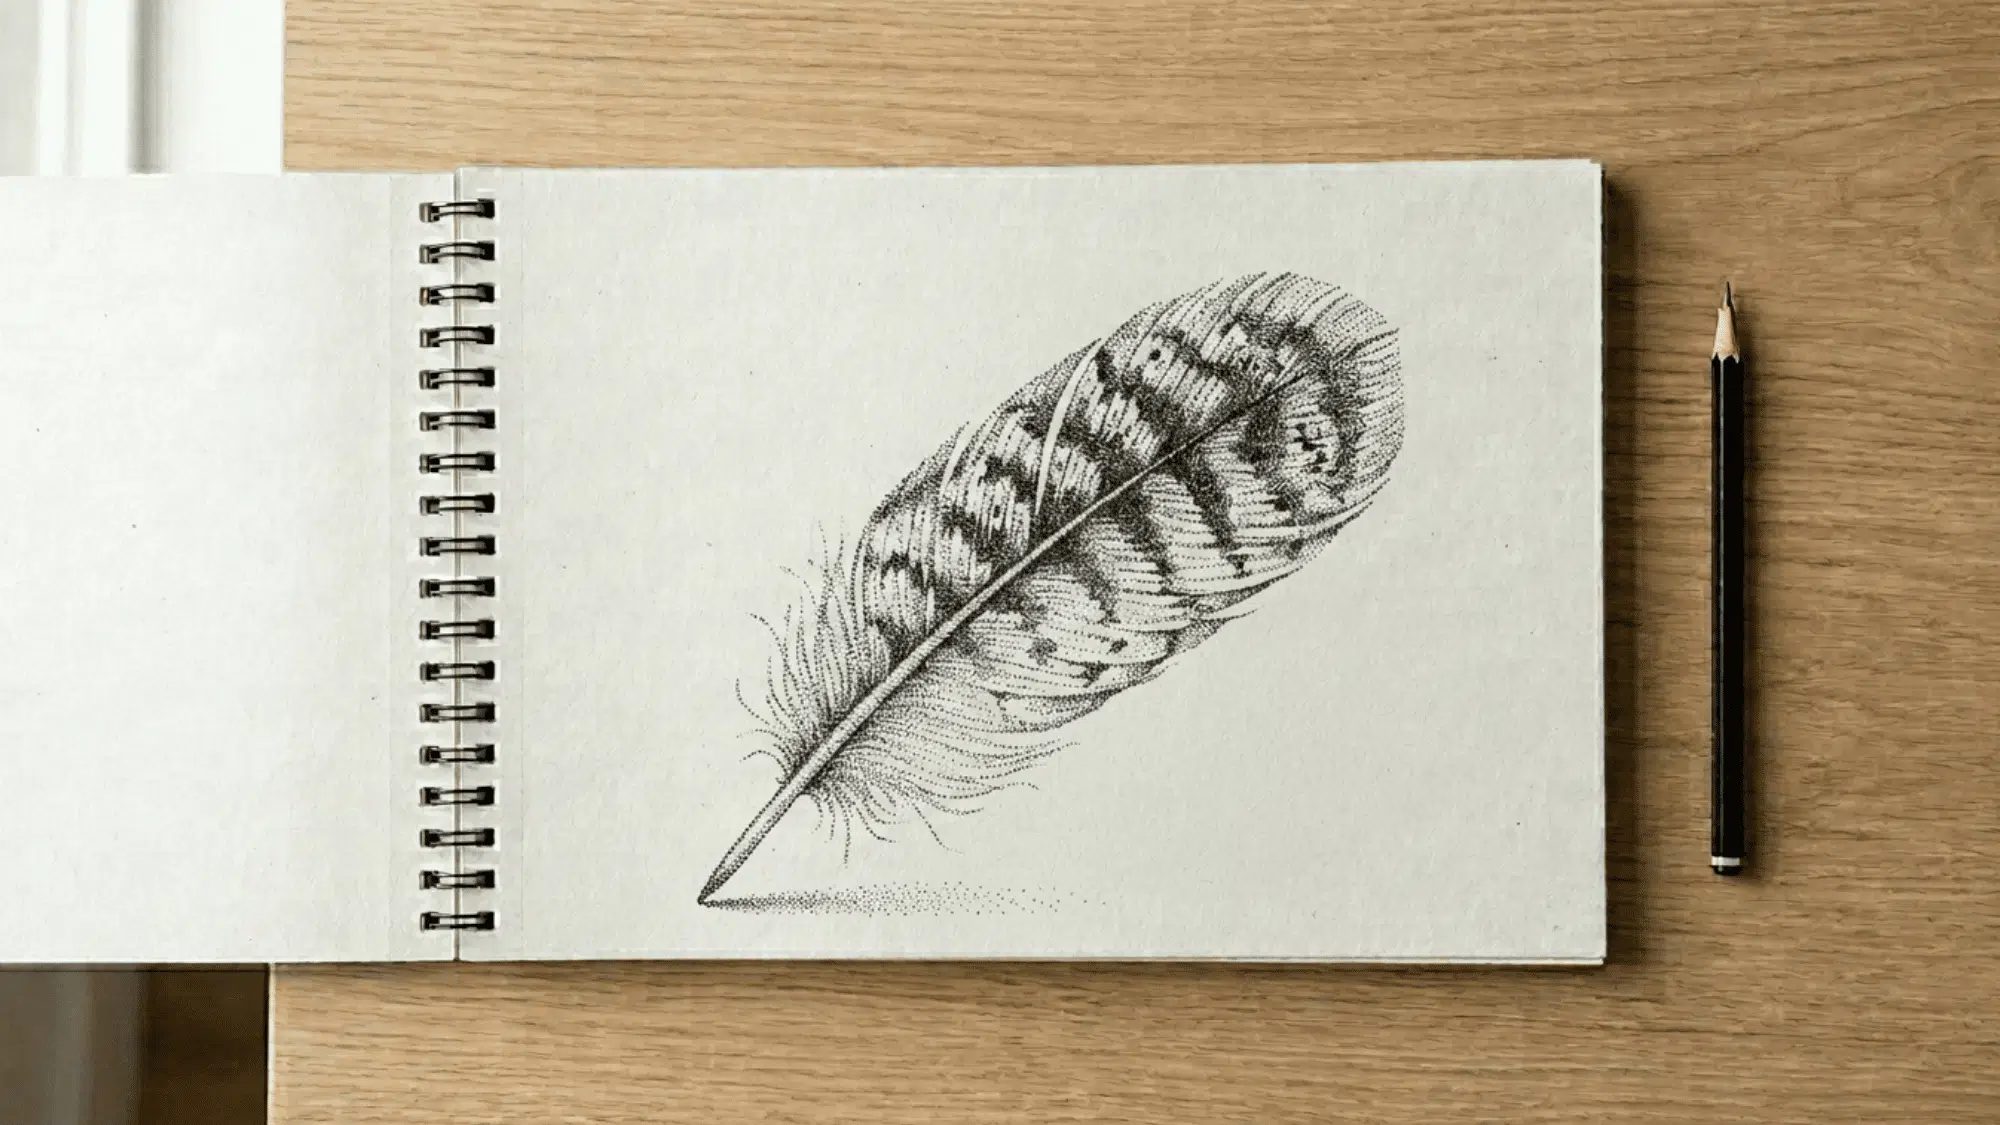
Stippling creates tone through dots rather than lines. The closer the dots are placed together, the darker the area appears.
This technique requires patience because building large shaded areas can take time.
Many artists enjoy stippling because it offers a high level of control over texture and value. It is commonly used for botanical illustrations, animal studies, portraits, and detailed pen drawings.
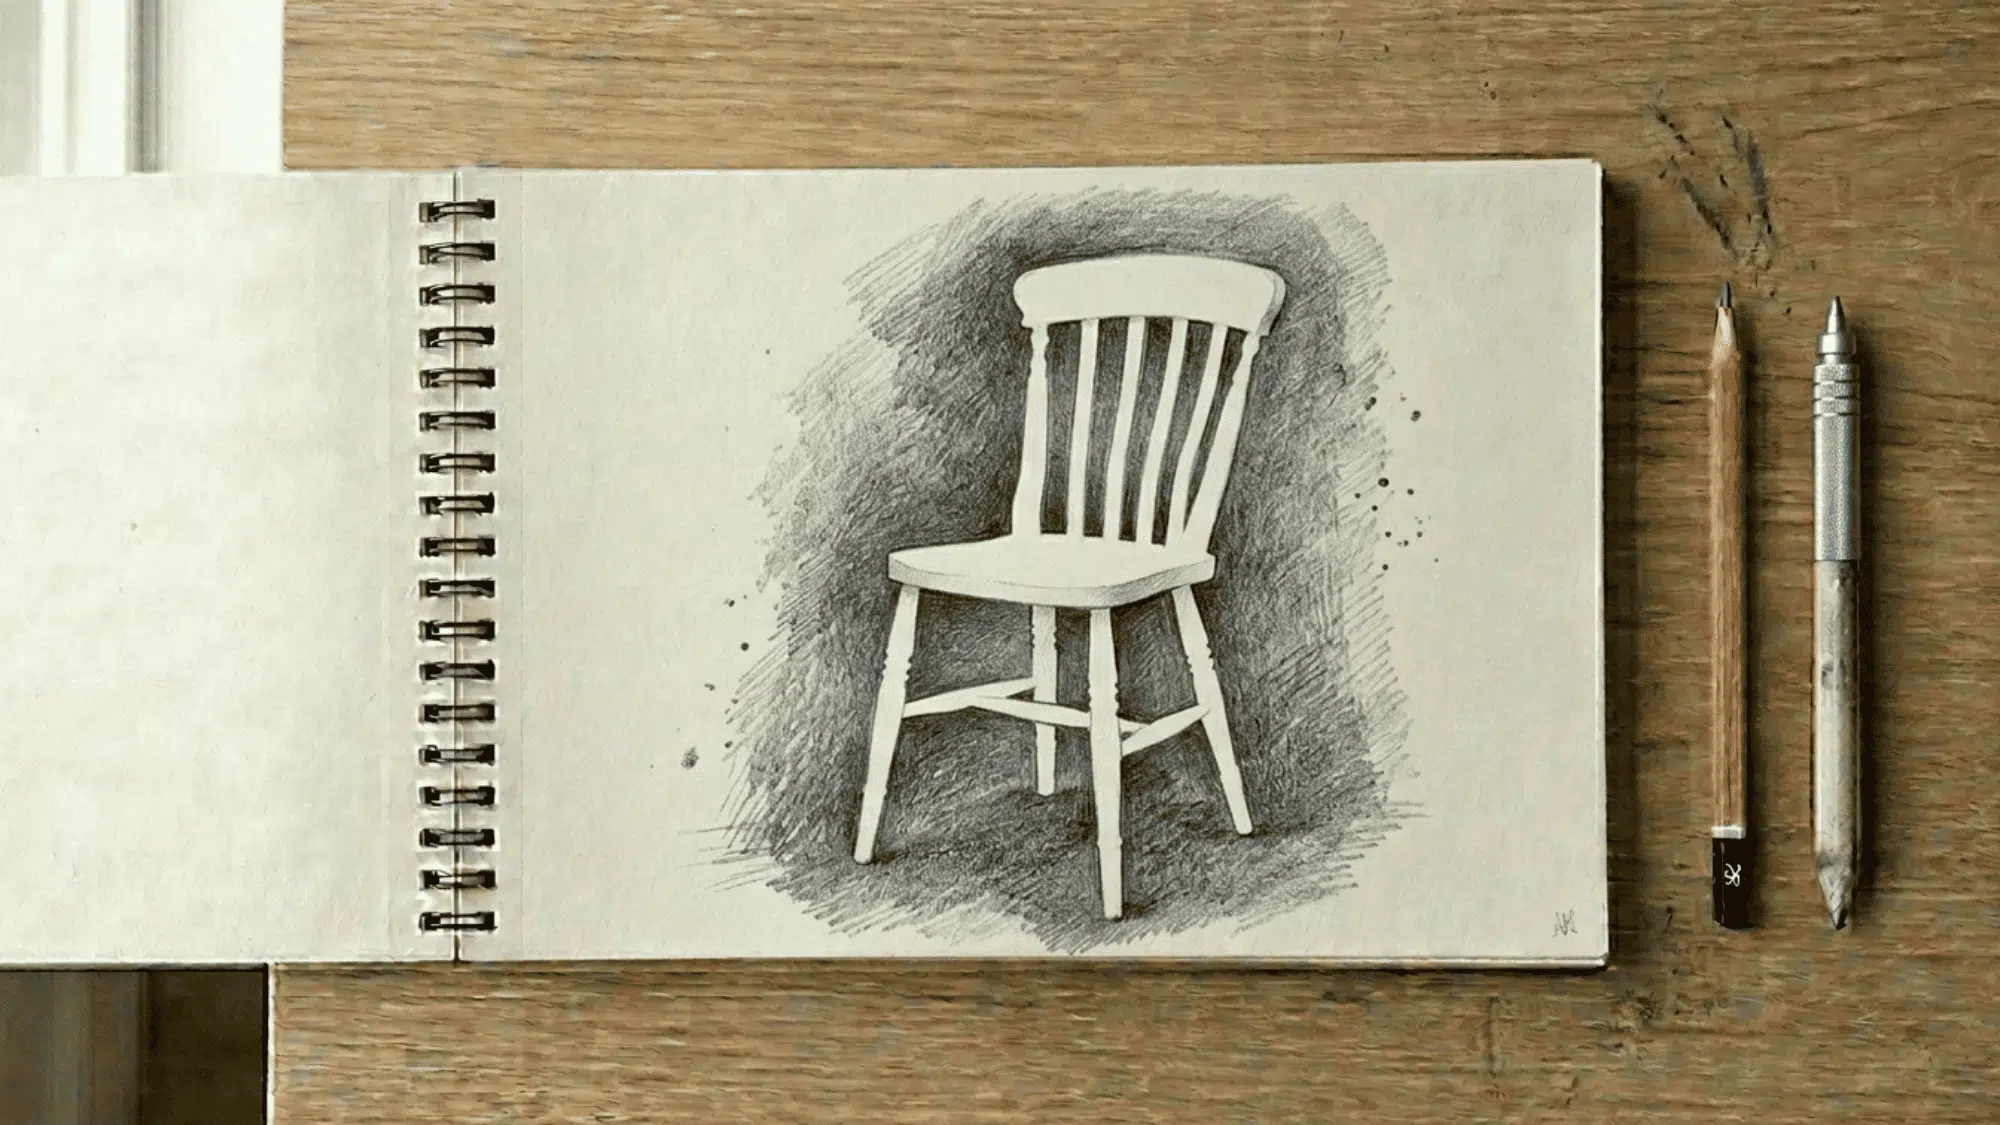
5. Blending

Blending helps create smooth transitions between light and dark values. It is commonly used with graphite, charcoal, and other soft drawing materials.
This technique is especially useful for portraits because skin often contains gradual tonal changes rather than sharp edges.
Blending can also improve still-life drawings by making objects appear more rounded and realistic. A good exercise is to create a value scale from light to dark and blend each section evenly.
6. Smudging
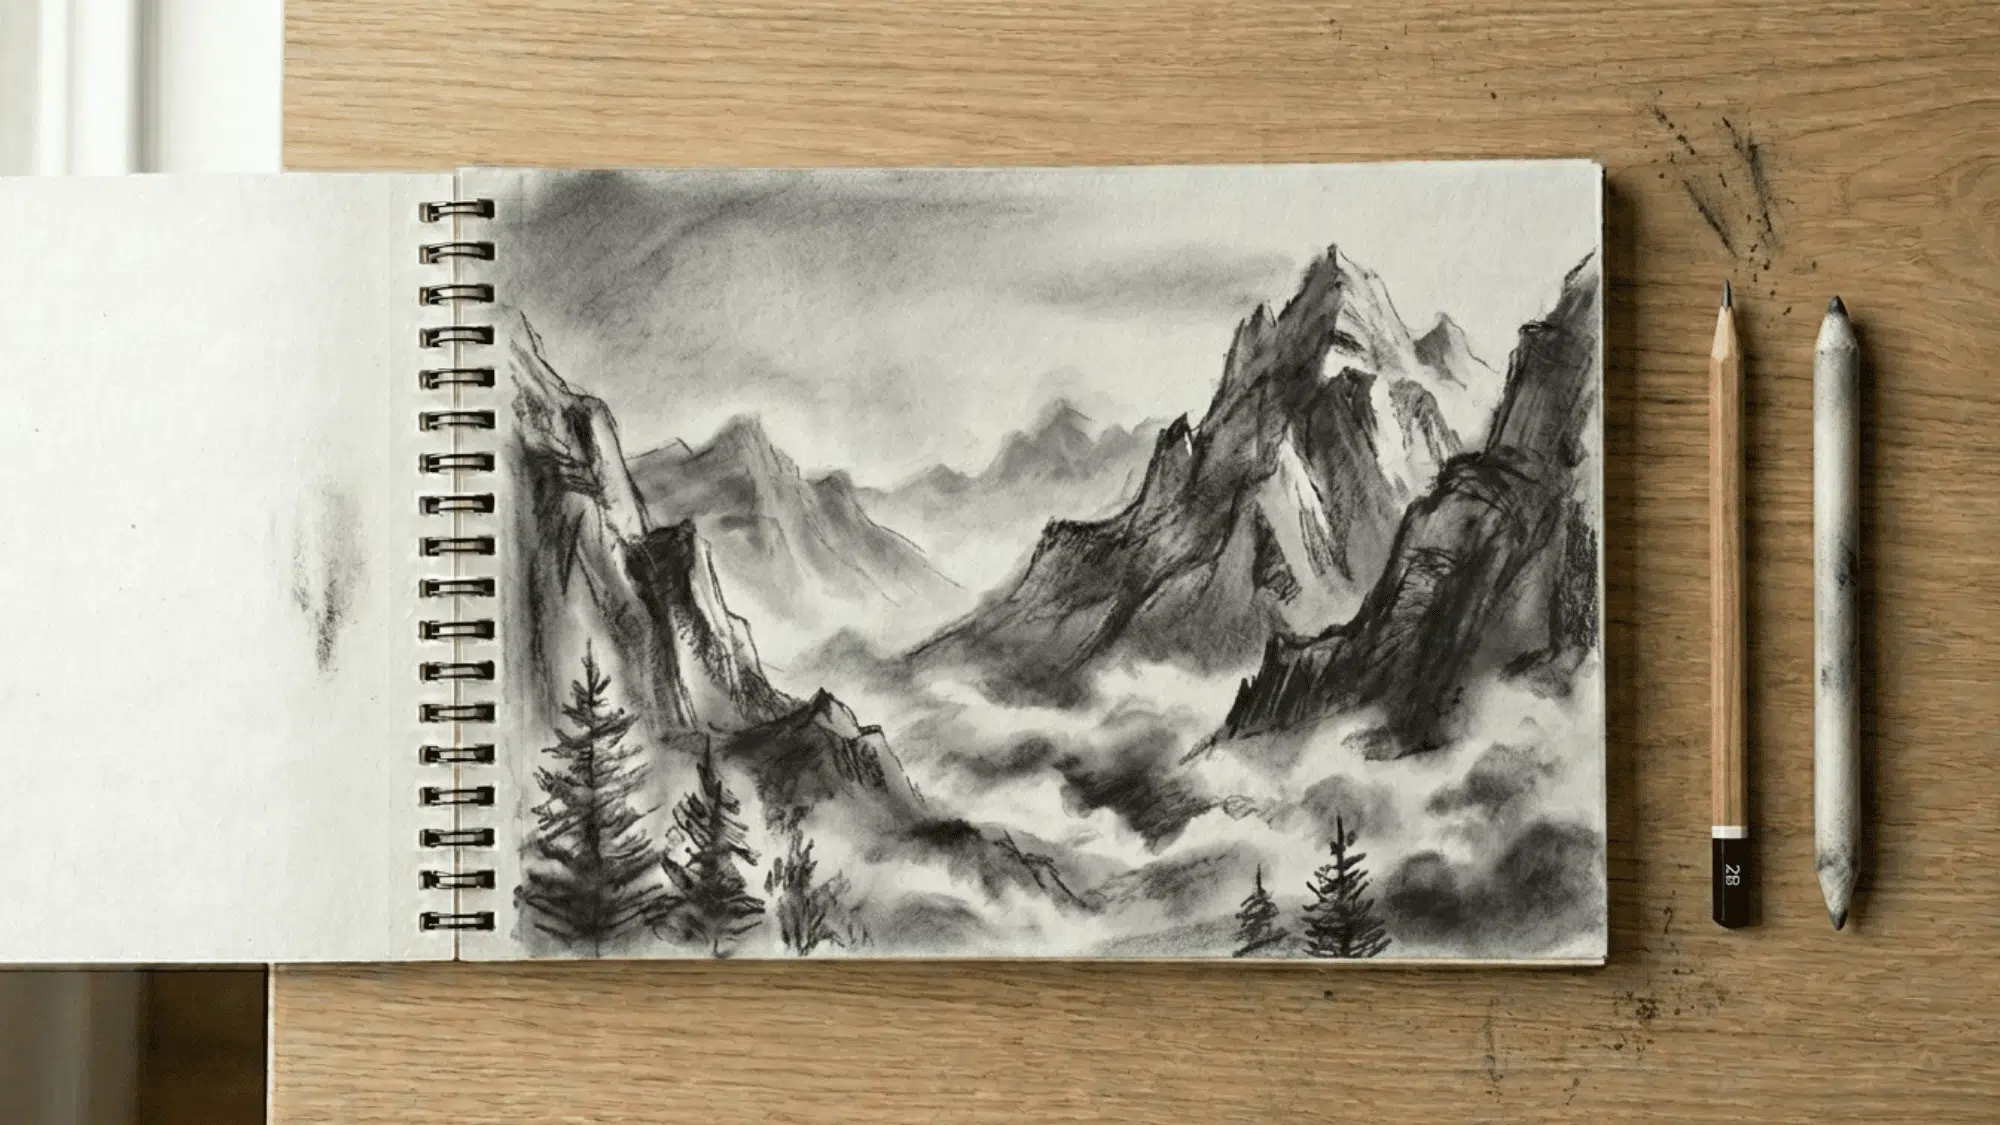
Smudging is often confused with blending, but the result is usually less controlled and more expressive. Instead of creating perfectly smooth transitions, smudging spreads material across the page.
This method works well for dramatic portraits, landscapes, and studies with strong contrast. You can use your finger, tissue, or cloth to move the material around the page.
7. Contour Drawing
Contour drawing focuses on the visible edges of a subject. Rather than worrying about shading, you concentrate on observing and recording the outline.
Many beginners rush through shapes without truly looking at what they are drawing. Contour drawing helps correct that habit.
8. Gesture Drawing
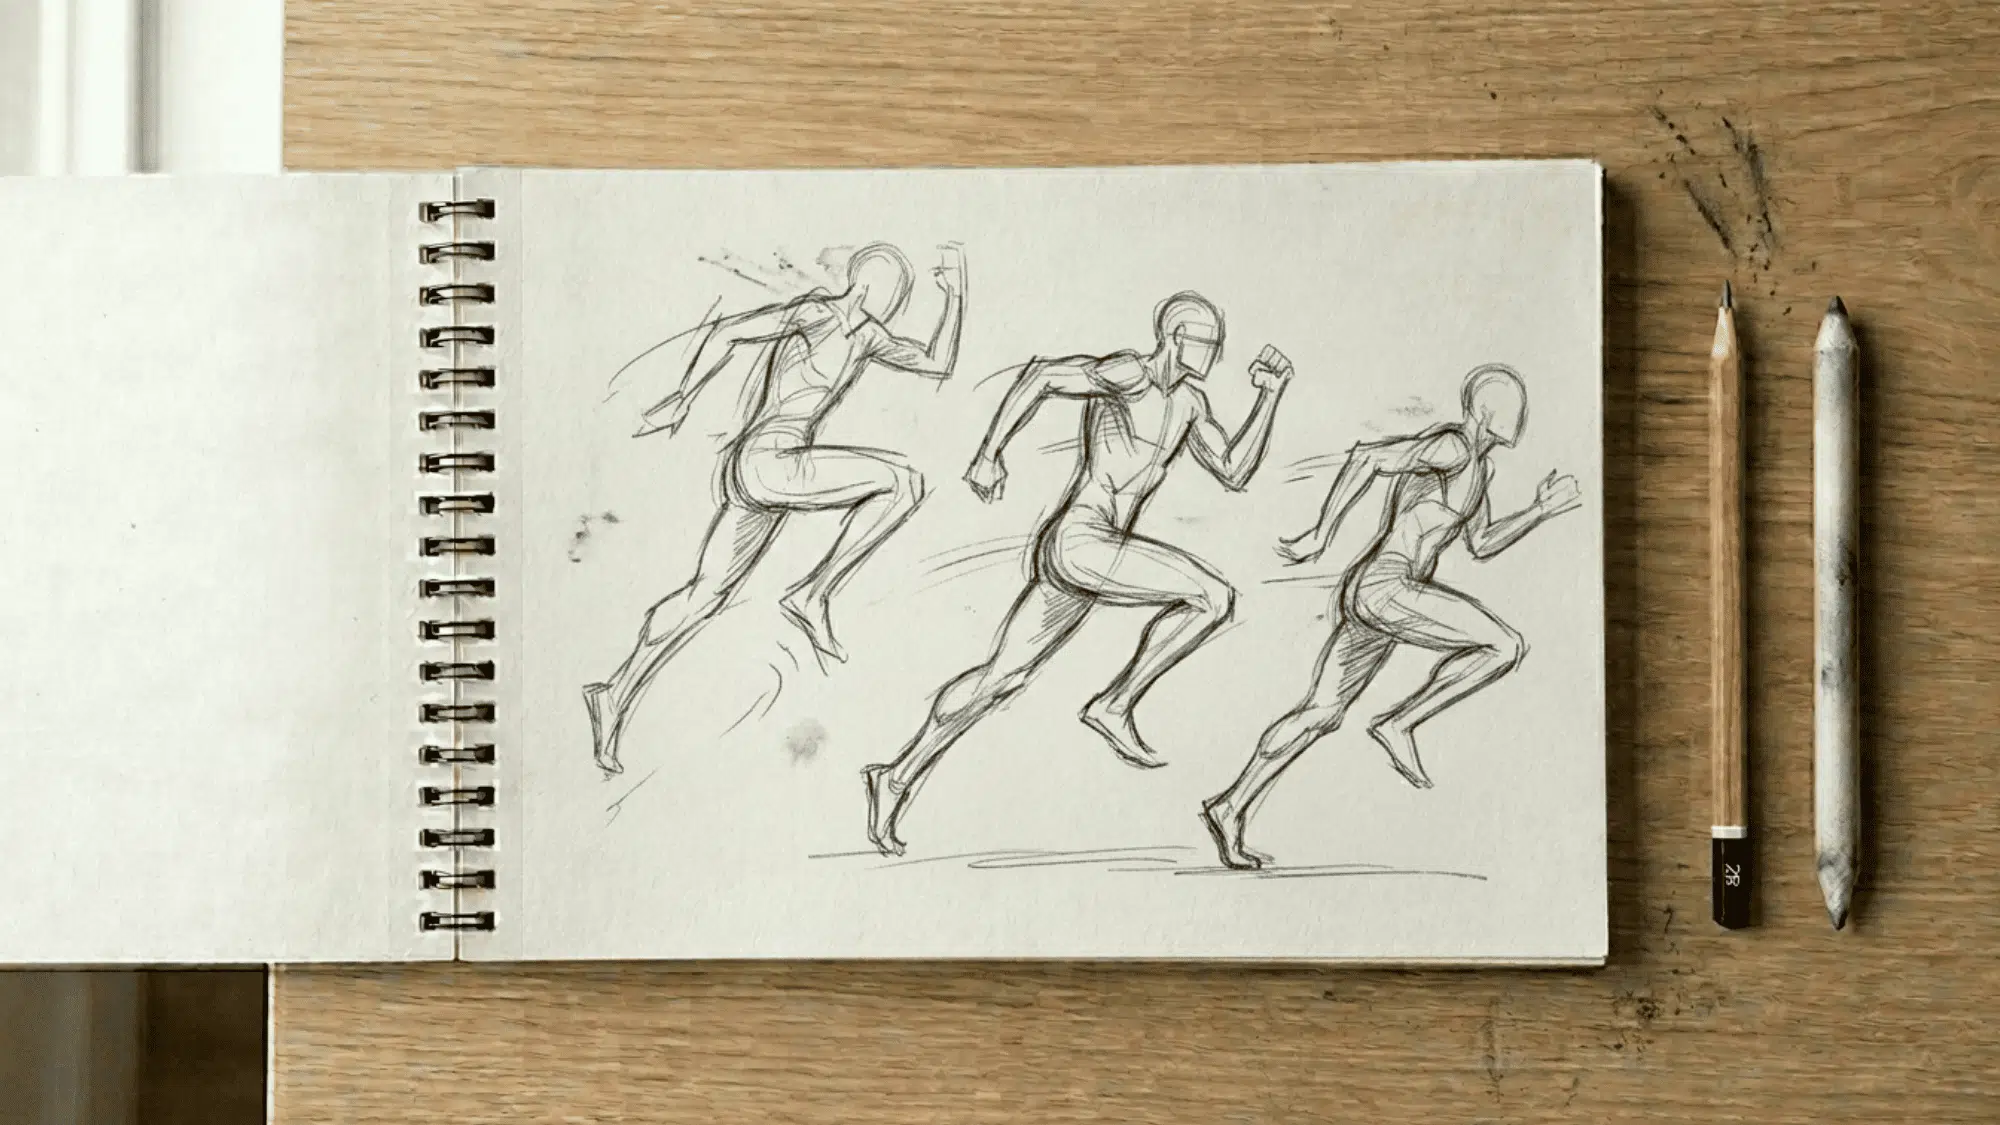
Gesture drawing captures movement rather than detail. It focuses on the overall action and flow of a subject.
These sketches are usually completed quickly, often within 30 seconds to two minutes. Because there is little time to focus on details, you learn to identify the most important shapes first.
Gesture drawing is especially useful for people, animals, and moving subjects. Many artists begin each practice session with several gesture sketches.
9. Continuous Line Drawing
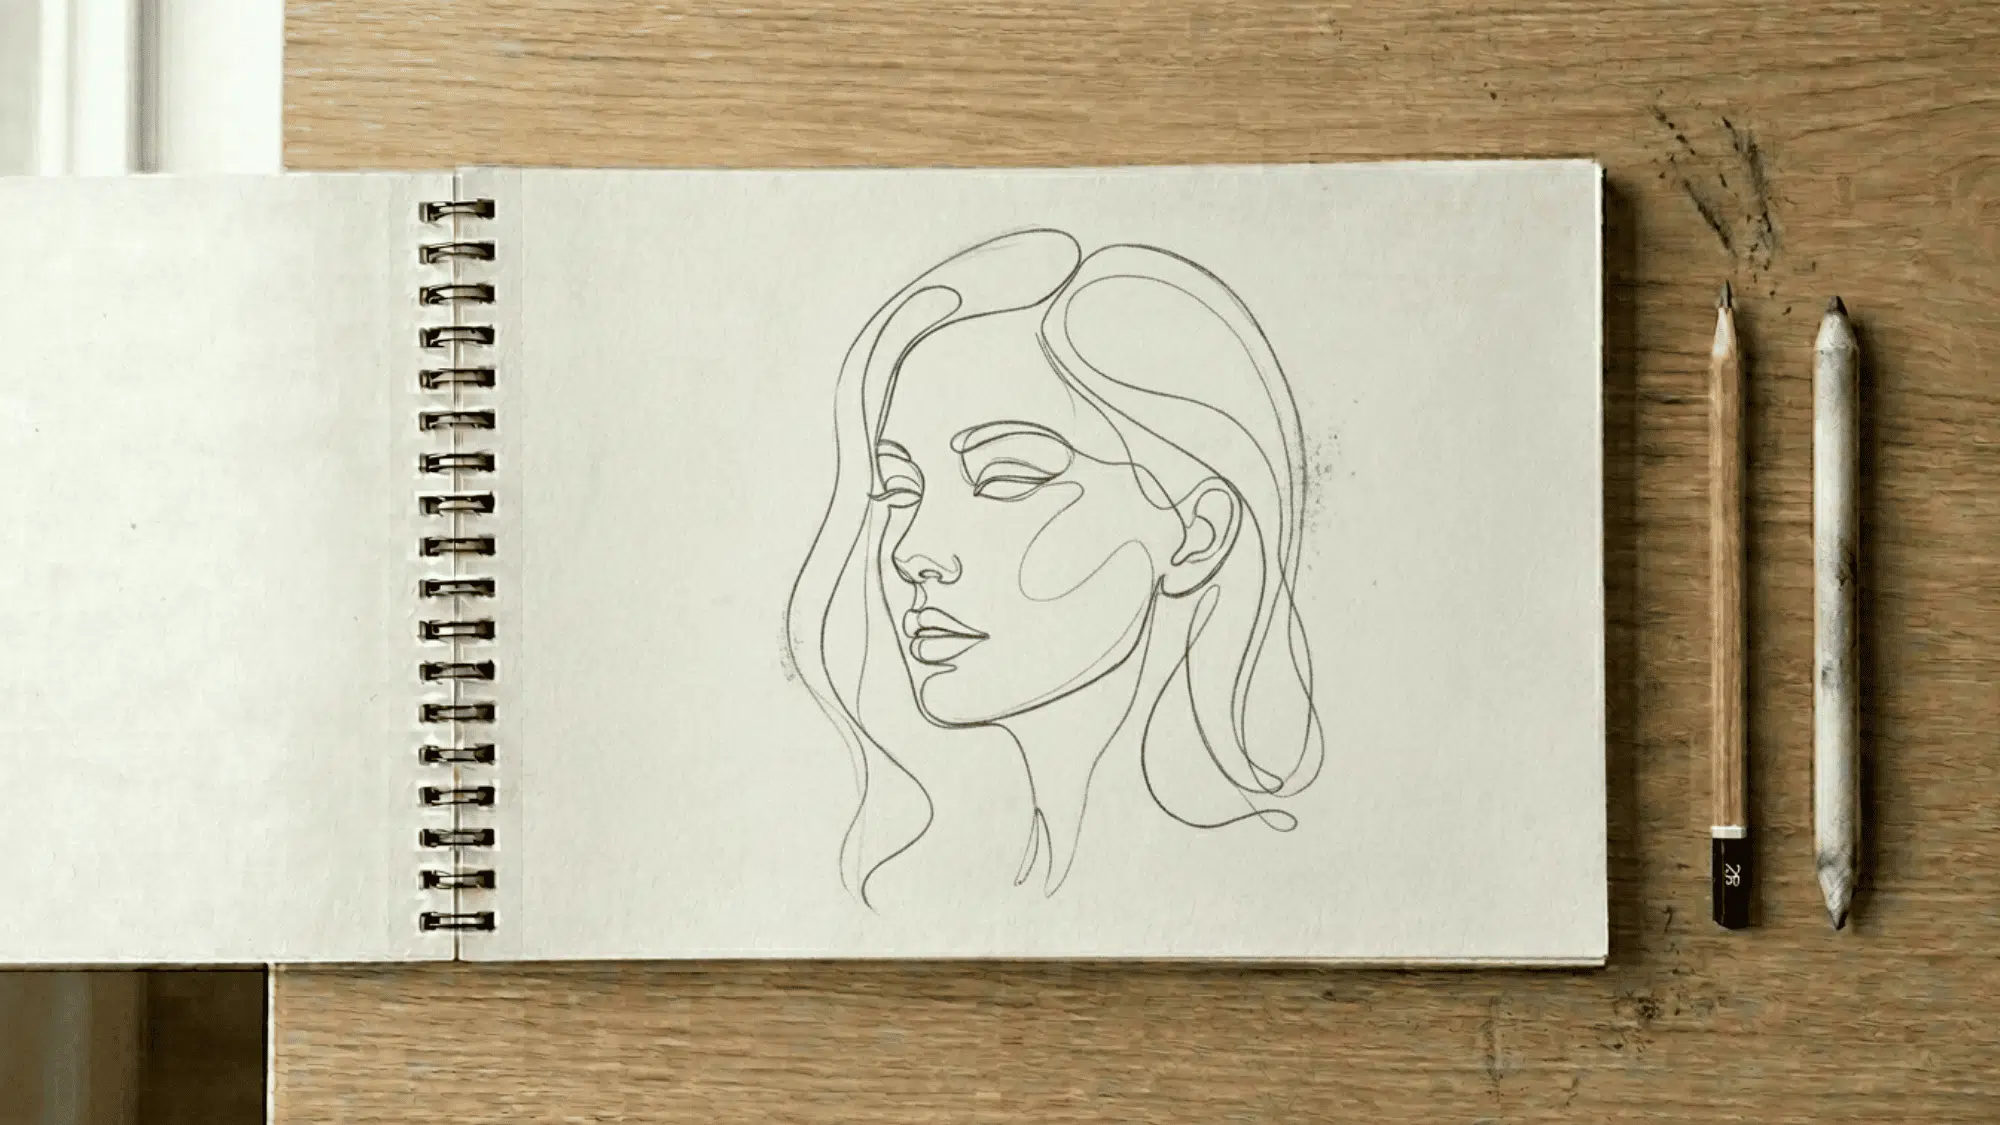
Continuous line drawing requires you to keep the pencil on the paper throughout the entire sketch. The line may overlap, loop, and cross itself as you move around the subject.
It also helps loosen up stiff drawing habits and encourages more confident mark-making. Try drawing simple household objects before moving on to more detailed subjects.
10. Tonal Scribbling
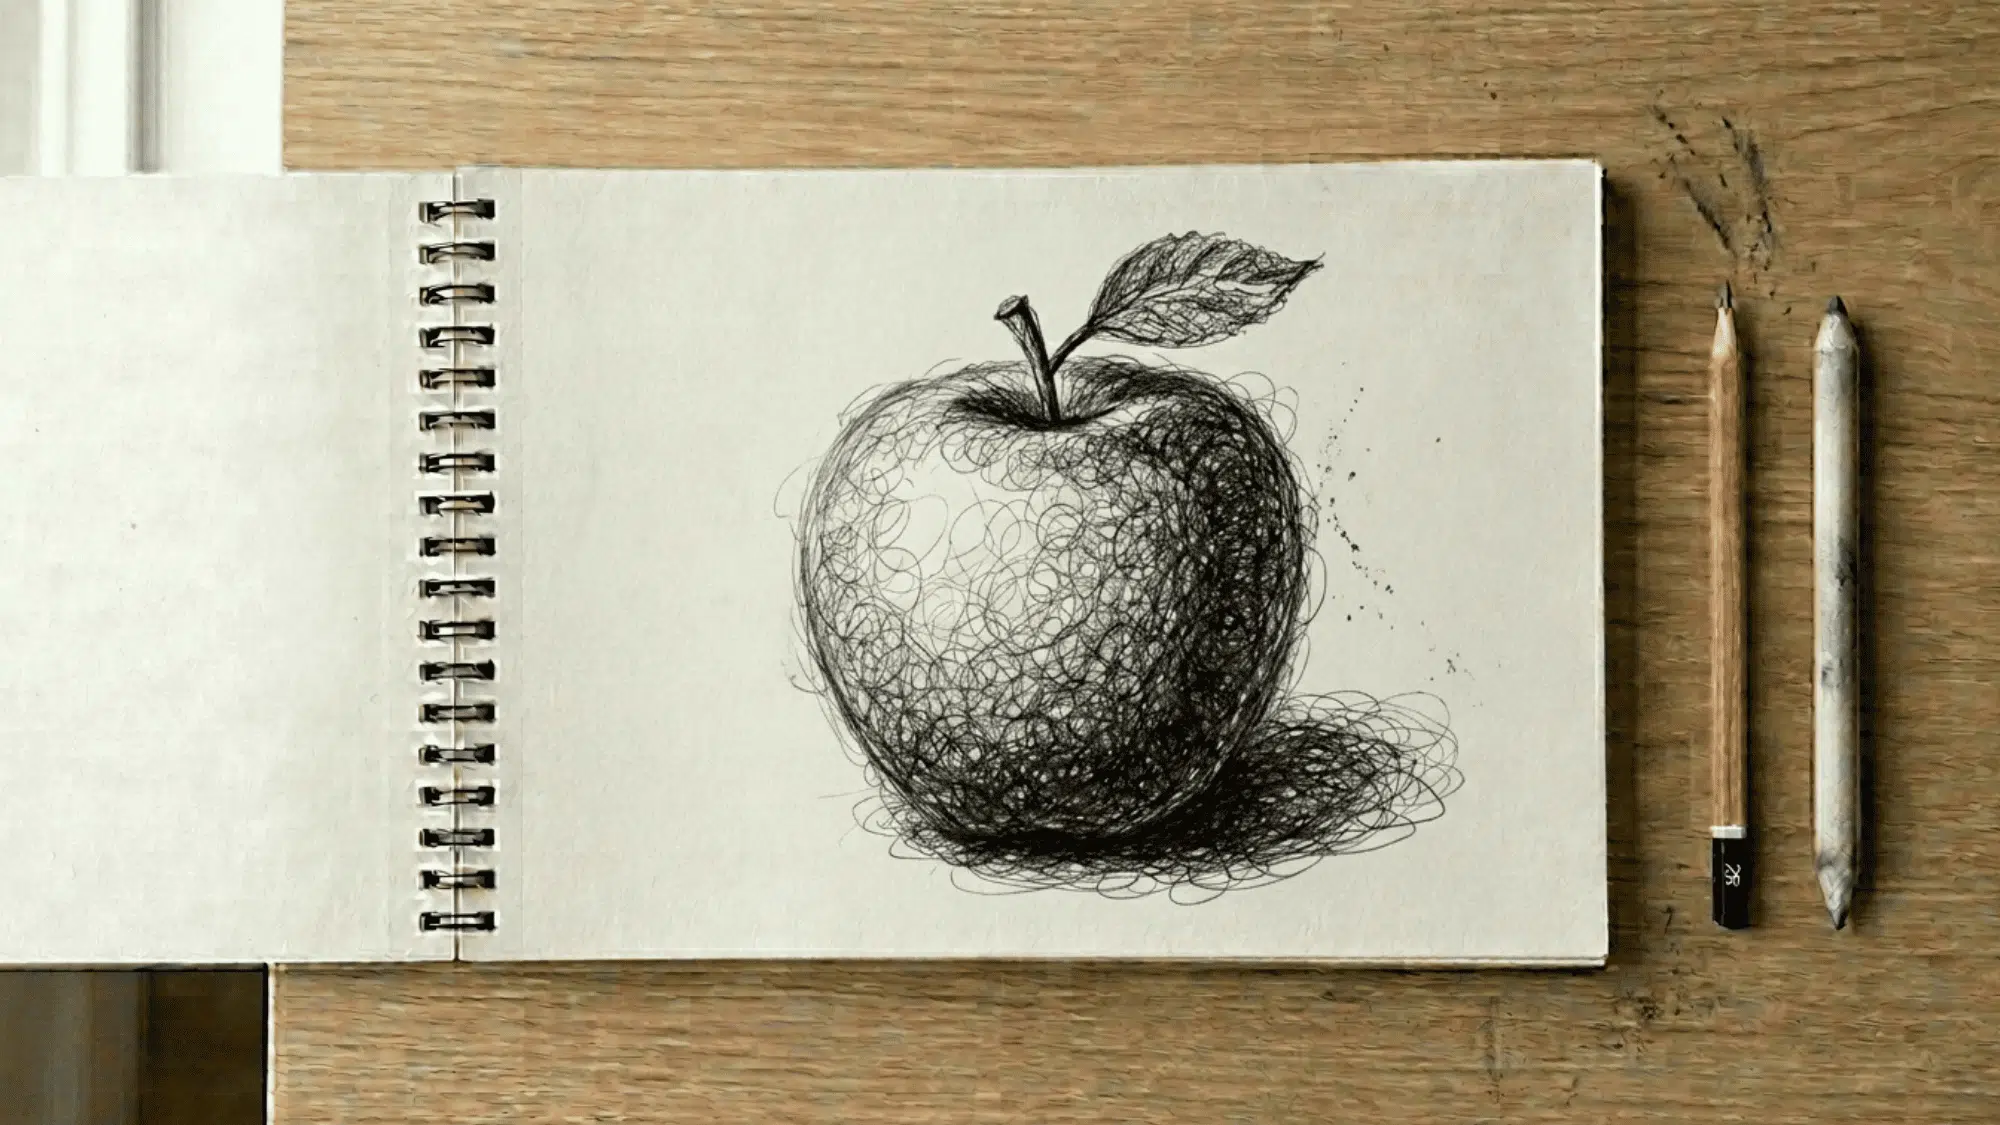
Tonal scribbling uses repeated circular or irregular marks to build value. Instead of smooth shading, the texture remains visible throughout the drawing.
This creates a lively appearance that can add energy to sketches. The technique works well for portraits, landscapes, and expressive studies.
Layering more scribbles creates darker values, while lighter pressure keeps areas bright. It is also a useful method for artists who prefer a less polished look.
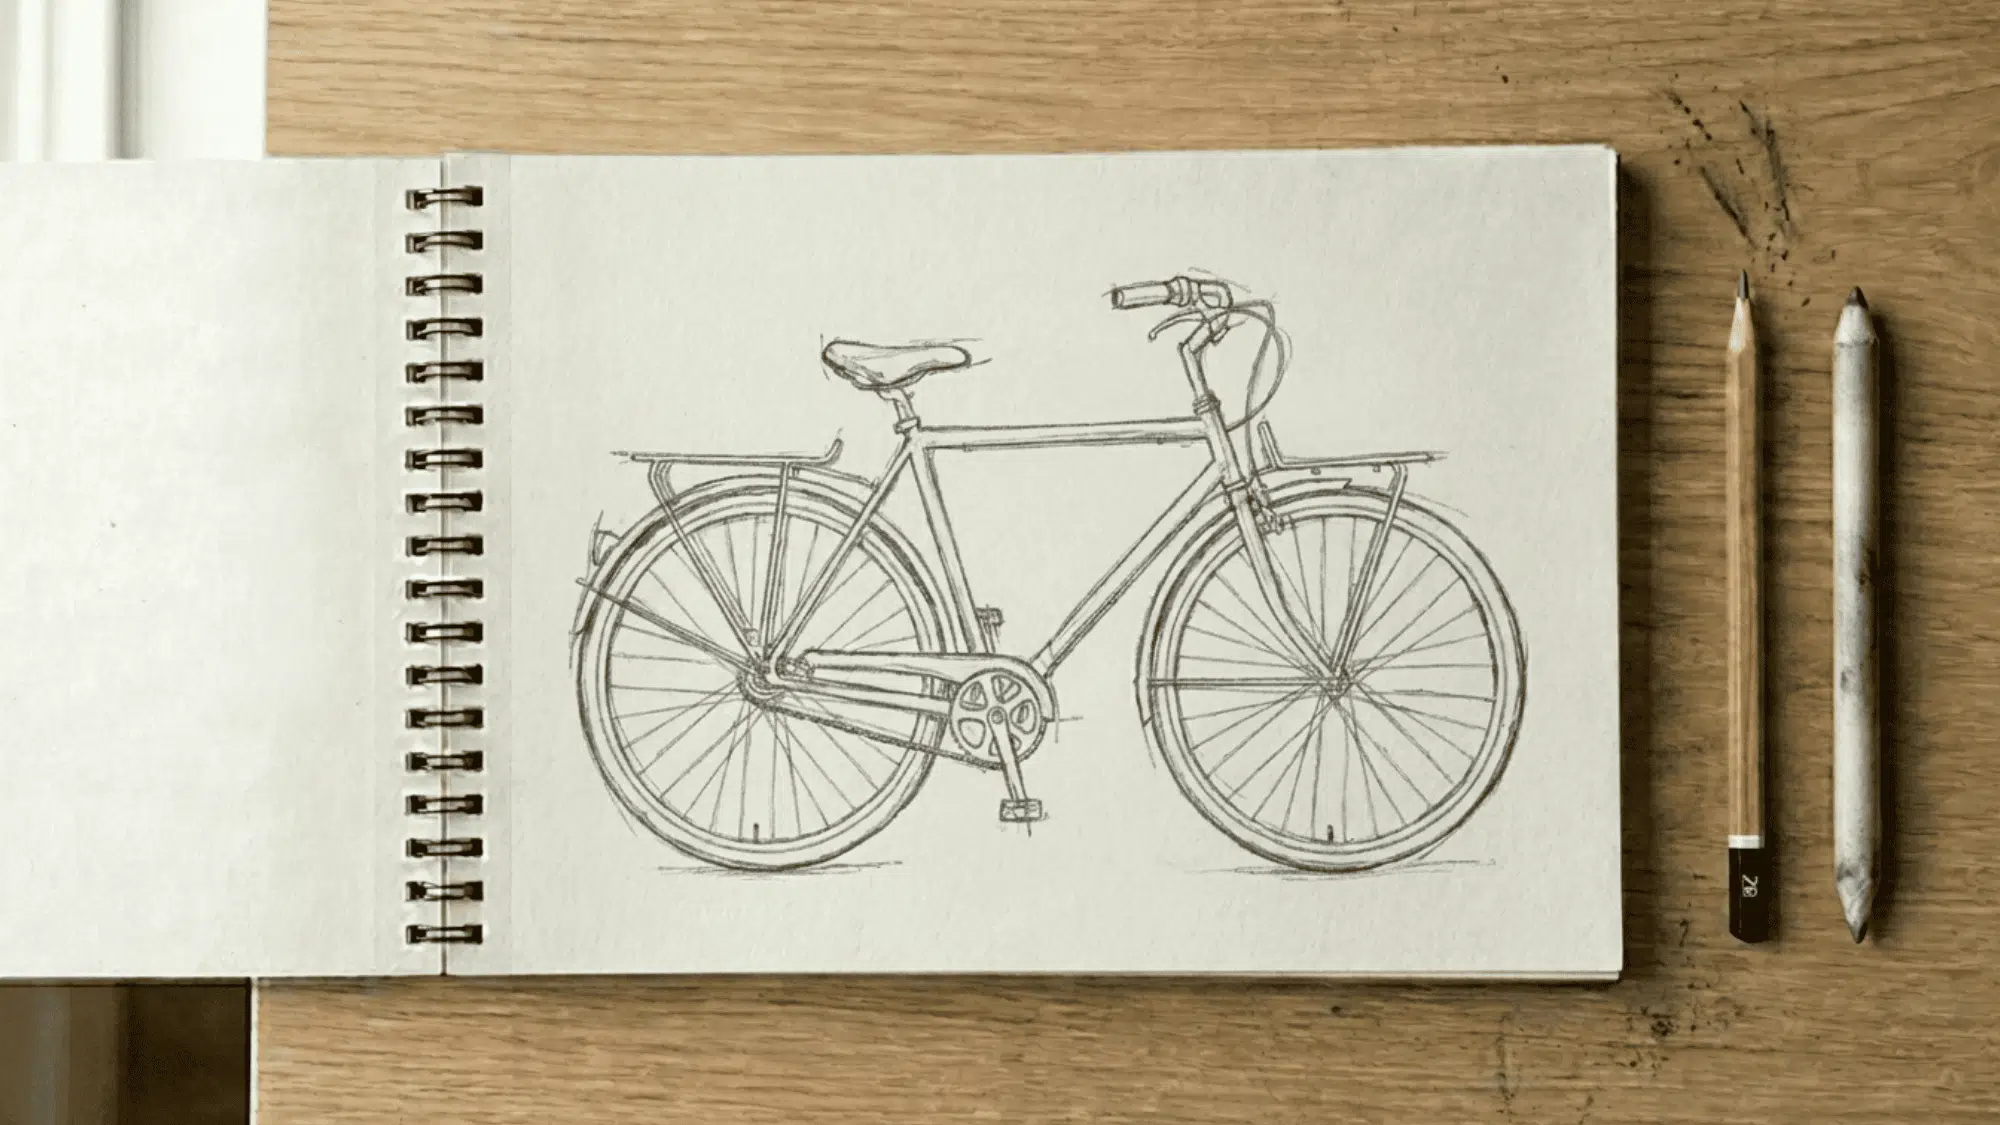
11. Line Weight Variation
Line weight refers to the thickness of a line. Changing line weight can make a drawing feel more dimensional.
Thicker lines often draw attention and suggest areas closer to the viewer. Lighter lines can indicate distance, softer edges, or less important details.
This technique is simple but highly effective for improving readability. Practice drawing the same object several times while varying line thickness throughout the sketch.
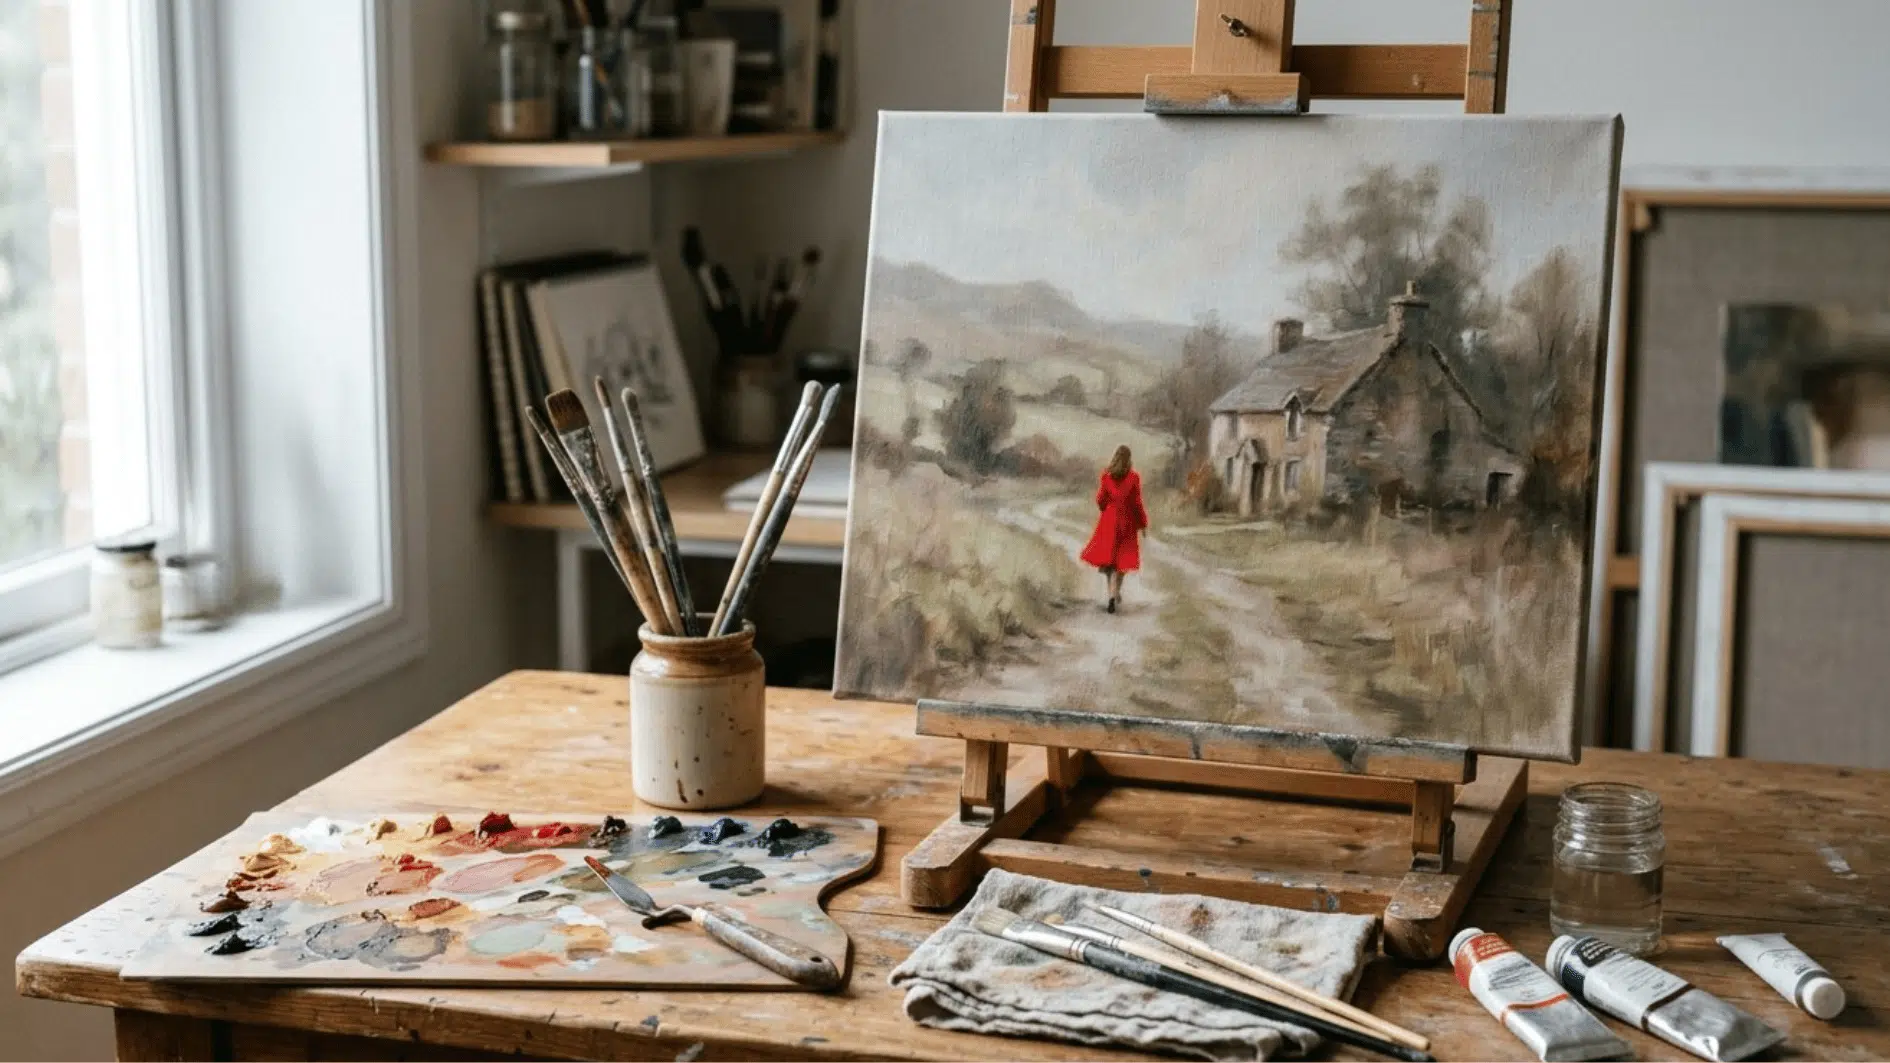
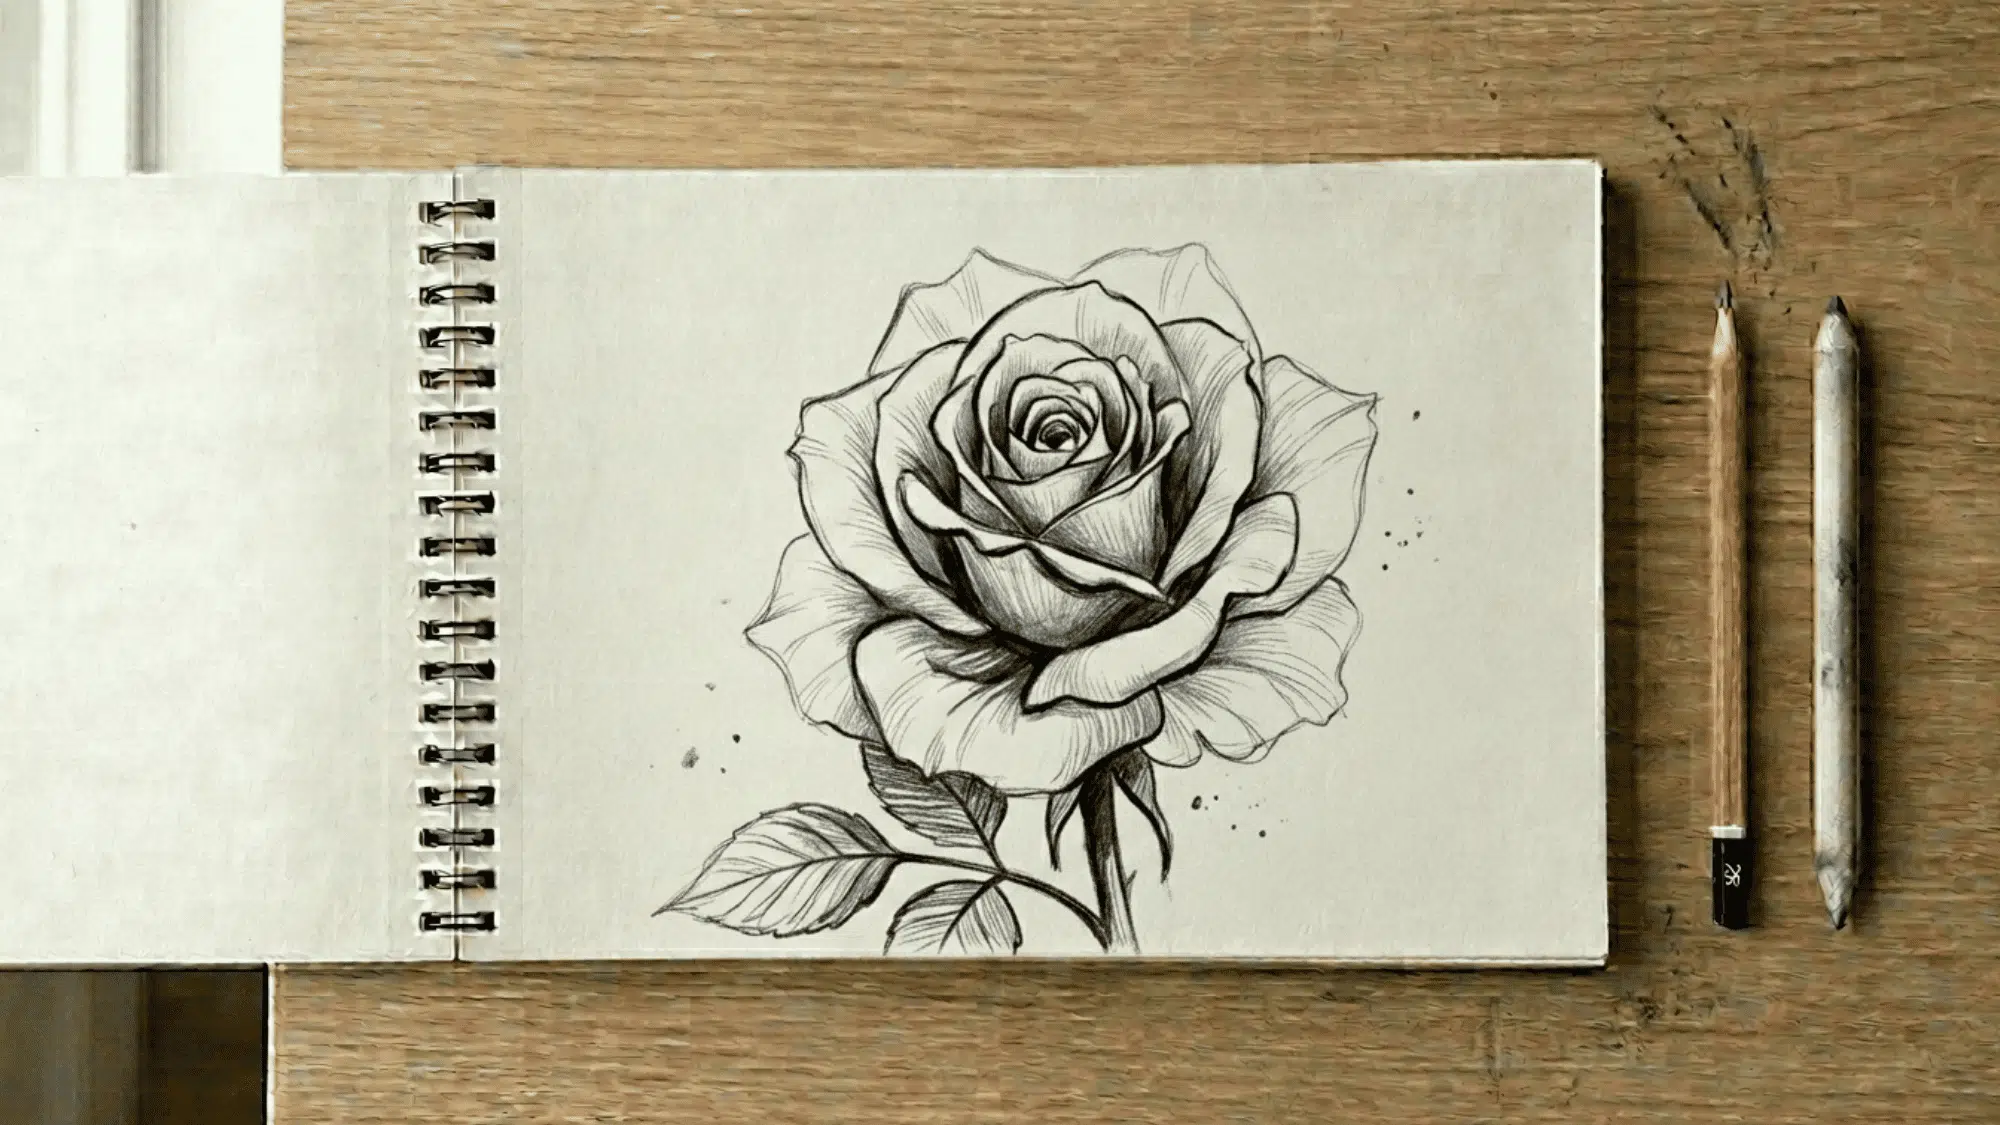
12. Rendering
Rendering is the process of carefully building realistic light, shadow, and form. It often involves multiple layers of graphite applied gradually over time.
Artists use rendering to create convincing portraits, still life studies, and detailed object drawings. Patience is important because realistic results usually develop through many small changes rather than a few large ones.
13. Negative Space Drawing
Negative space drawing shifts attention away from the object itself. Instead, you focus on the shapes around and between objects.
It is particularly useful when drawing complex arrangements or overlapping forms. Many artists use negative space to improve accuracy and proportion.
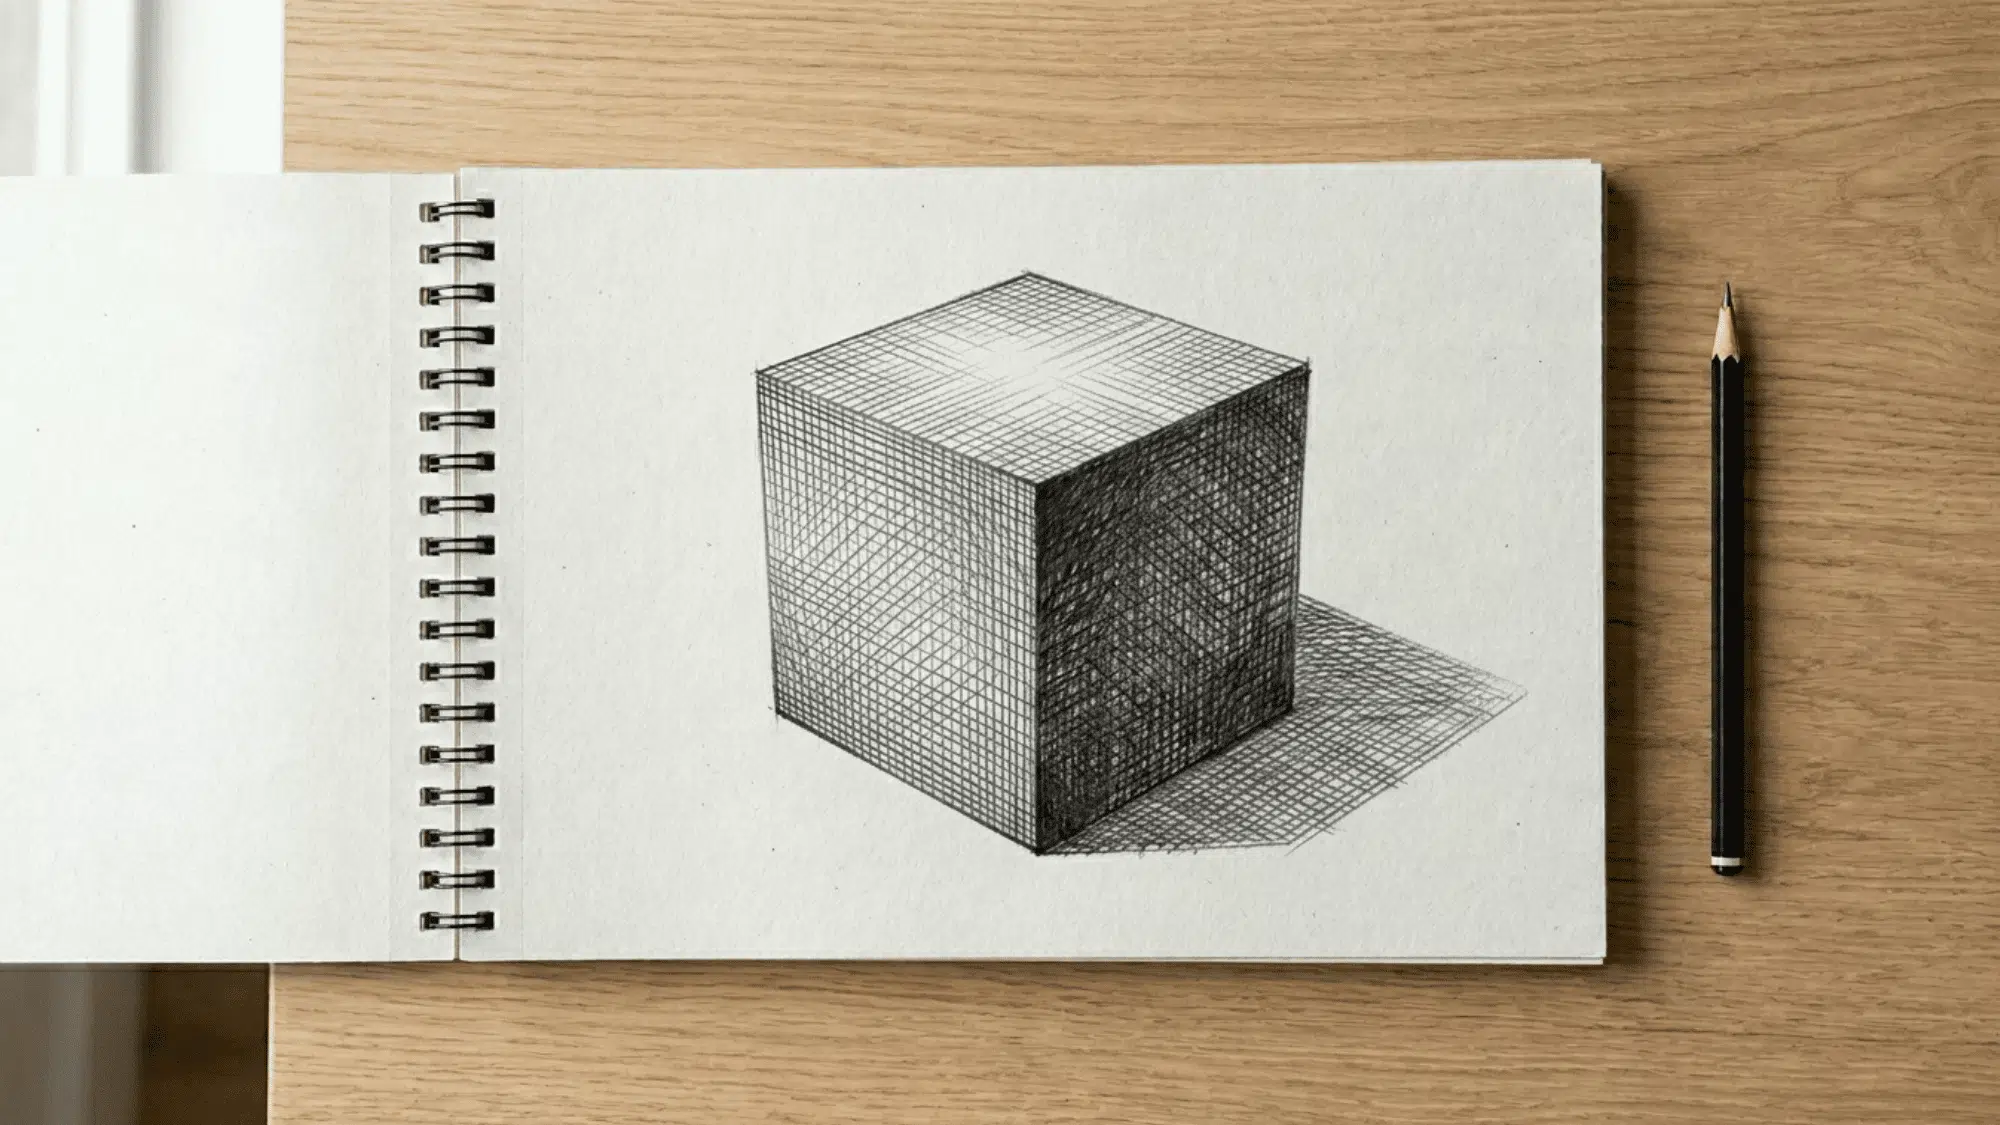
14. Perspective Drawing

Perspective drawing helps create the illusion of depth on a flat page. One-point perspective uses a single vanishing point, while two-point perspective uses two.
These systems help objects appear consistent as they move farther away. Start with simple boxes before attempting larger scenes.
15. Proportional Sketching
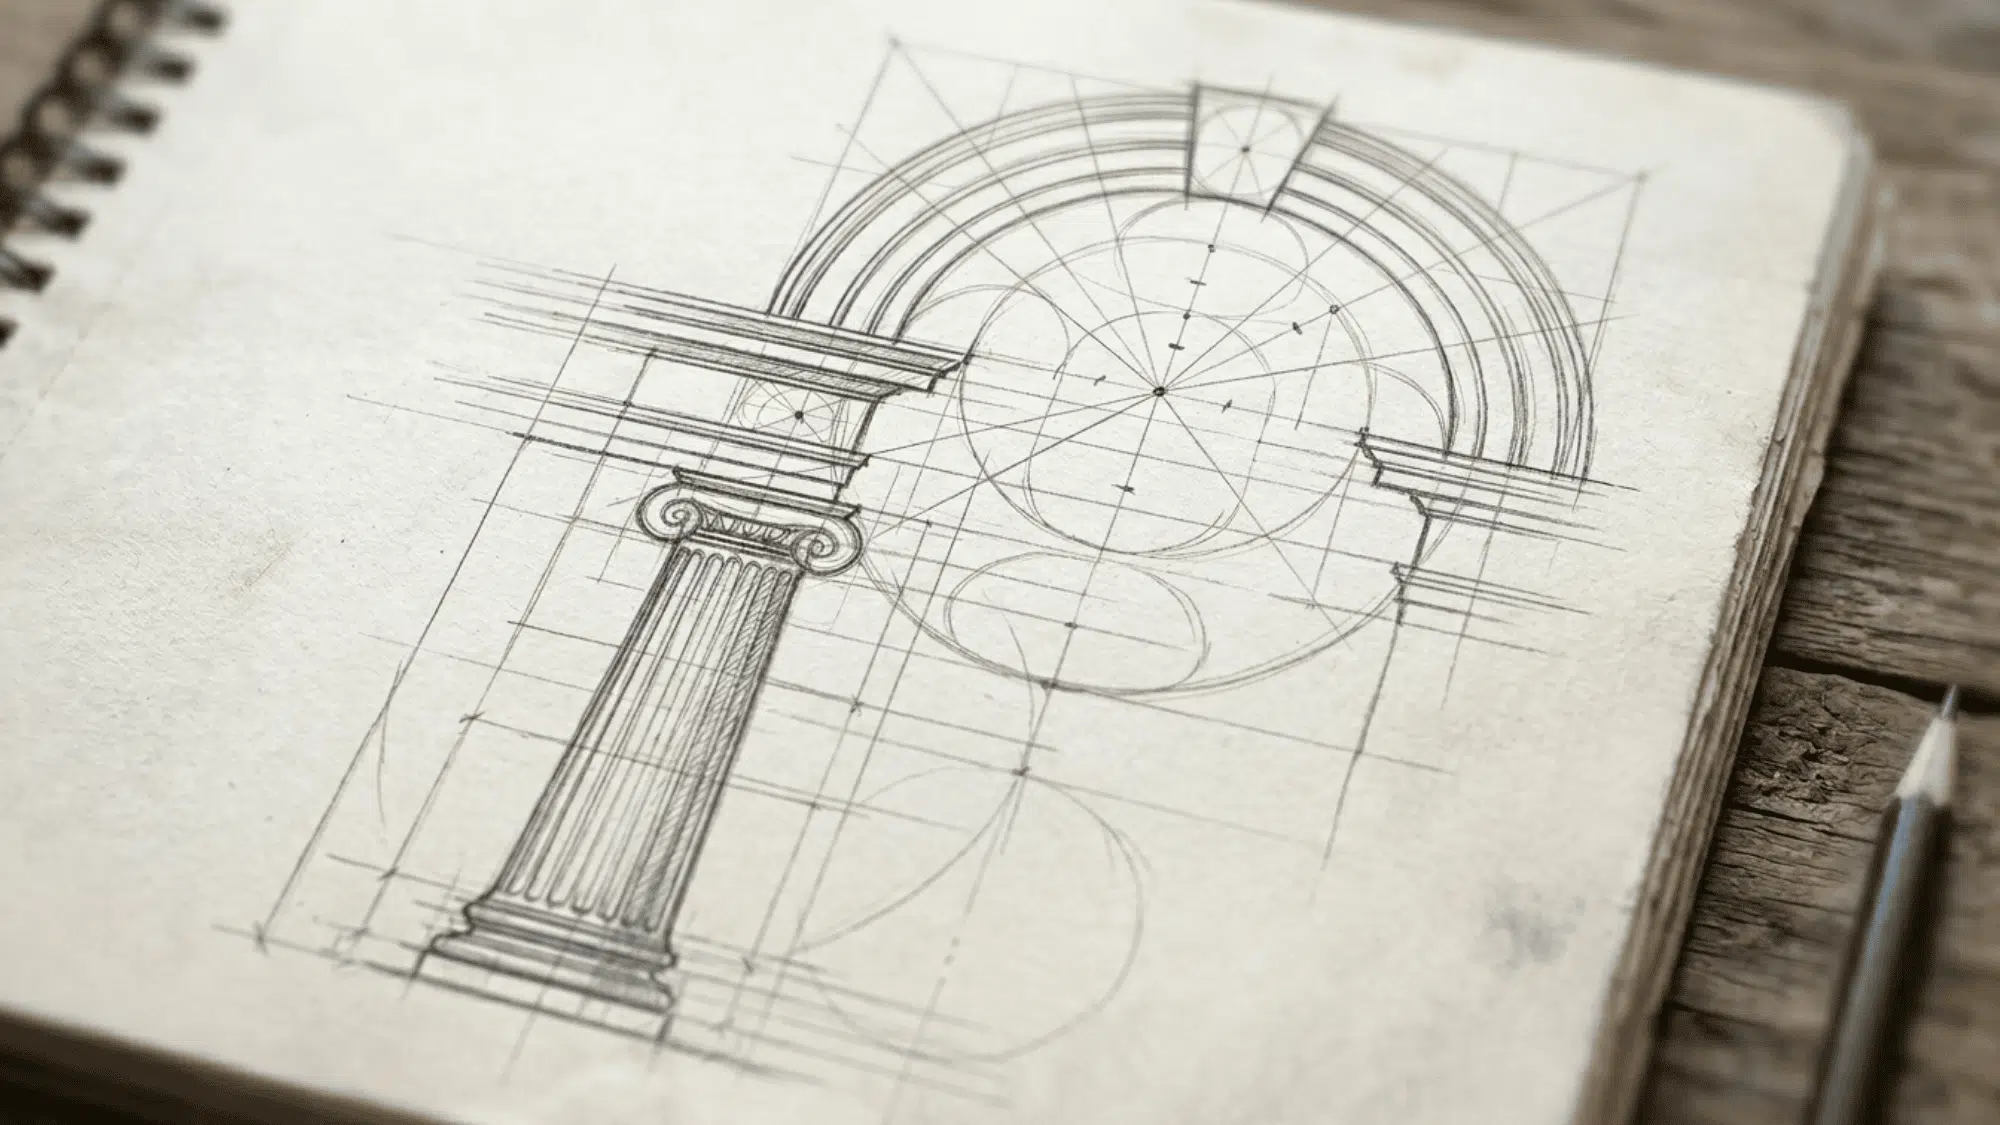
Proportional sketching focuses on measuring relationships between different parts of a subject.
This technique helps reduce the proportion of mistakes before darker lines are added.
It is especially useful for portraits and figure drawing. Taking a few minutes to measure can save a lot of correction later.
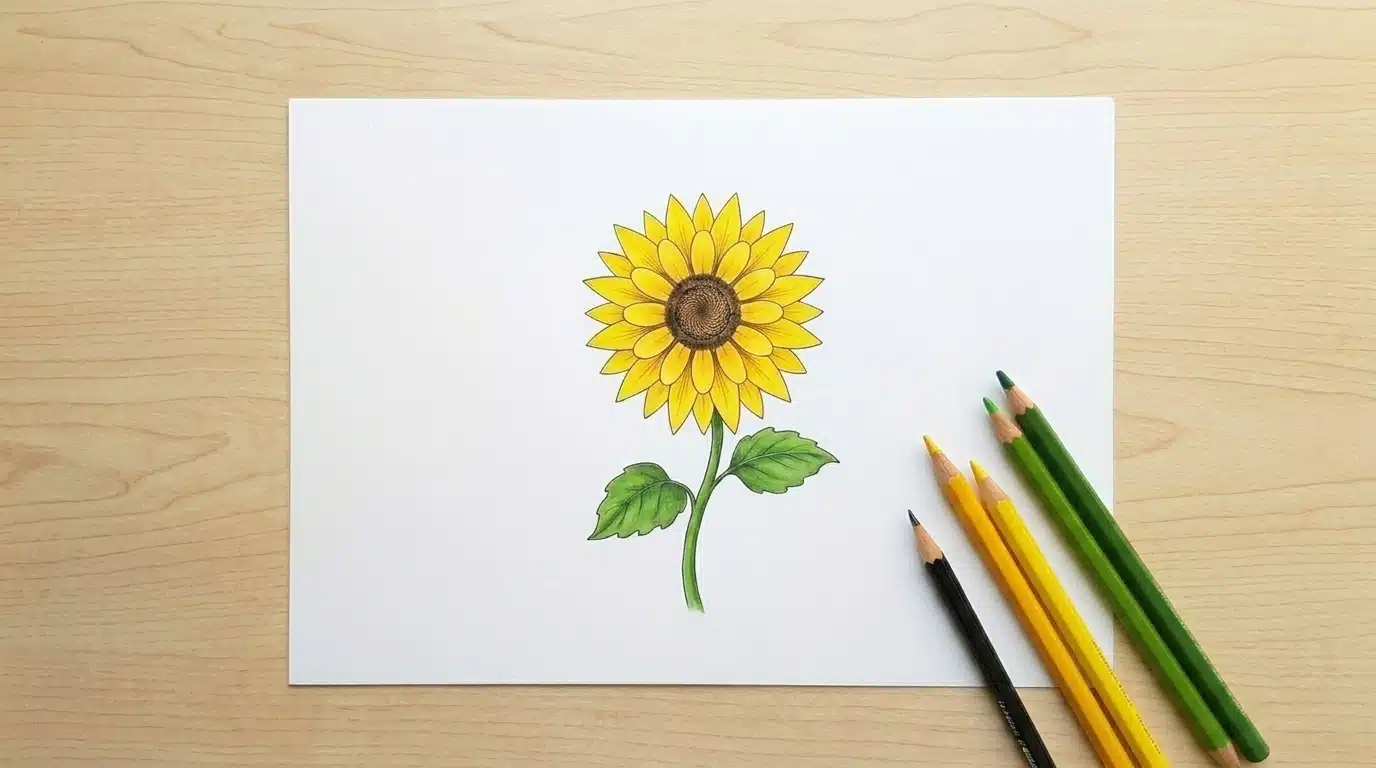
16. Texture Drawing
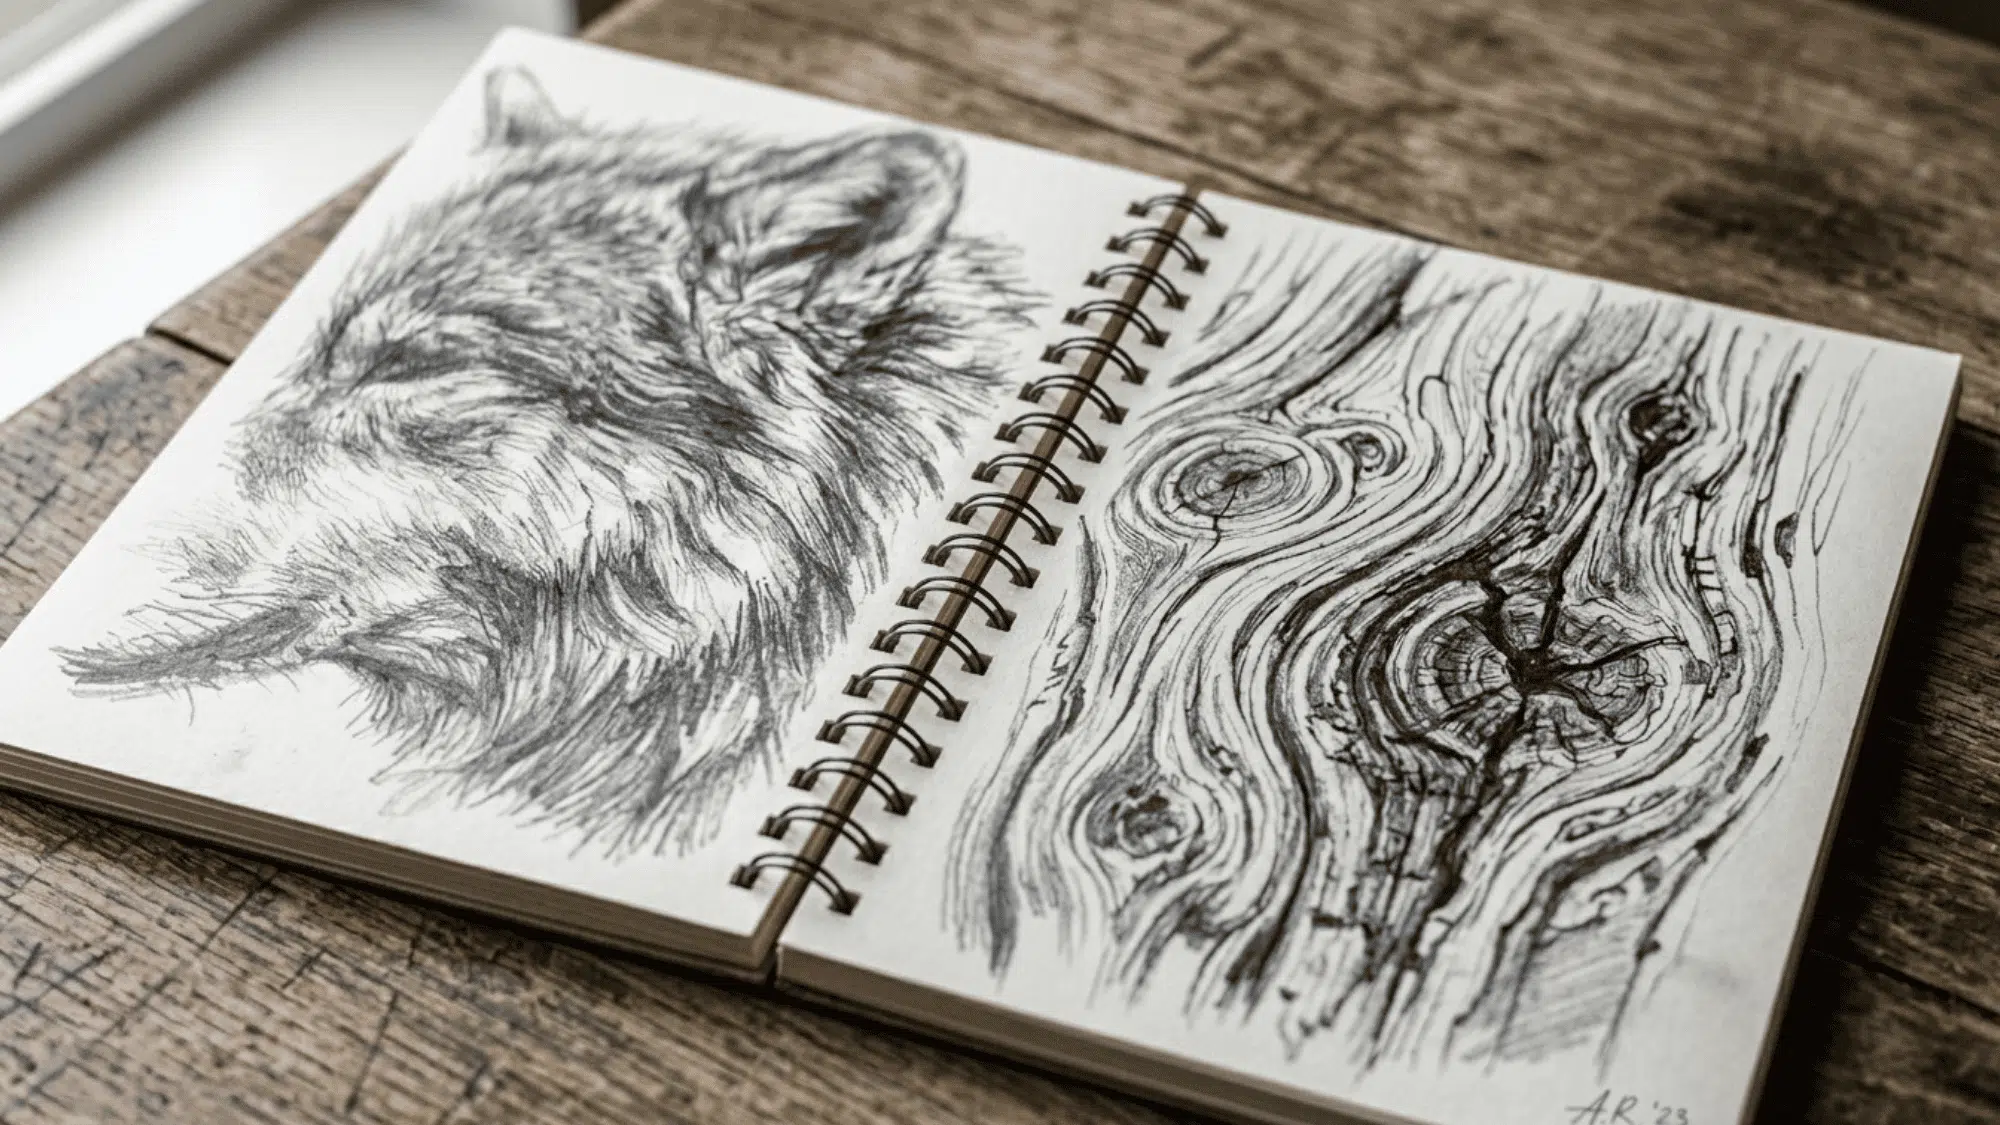
Texture drawing teaches you how to represent different surfaces through marks and shading. Wood grain, fur, fabric, stone, and skin all require different approaches.
Focus on one material at a time and experiment with different marks. These studies can later be applied to larger finished drawings.
17. Combination Technique
Once individual methods feel comfortable, try combining them within the same drawing. A portrait might include contour lines, blending, texture studies, and line weight variation all at once.
Mixing techniques helps you choose the right approach for different parts of a subject. It also encourages flexibility rather than relying on a single method.
Some Practical Drawing Tips
For anyone sketching for fun or aiming to go professional, these practical tips will help you draw better, faster, and with more confidence.
- Observe the edges, light, and shapes before starting, so initial marks are placed with greater accuracy and less guesswork.
- Keep drawing work in short, timed rounds so attention stays steady and each exercise has a clear purpose.
- Set light and dark values early in the drawing so the structure feels more stable before adding smaller details.
- Combine different methods, such as line work, shading, and surface detail, into a single sketch to broaden your choice of techniques.
- Revisit basic exercises regularly, such as simple line work and shape studies, to maintain control and consistency over time.
Wrapping it Up
No one learns every method at once, and there is no need to rush. Drawing improves one page at a time, one practice session at a time.
Choose one or two methods from this list and spend a week with them. Even experienced artists return to basics often because the basics keep their work strong.
Pick the drawing techniques that feel most useful right now, sharpen your pencil, and give yourself time to practice.
Skill builds slowly. Some pages will look strong, and others may feel messy, but each one will teach you something.