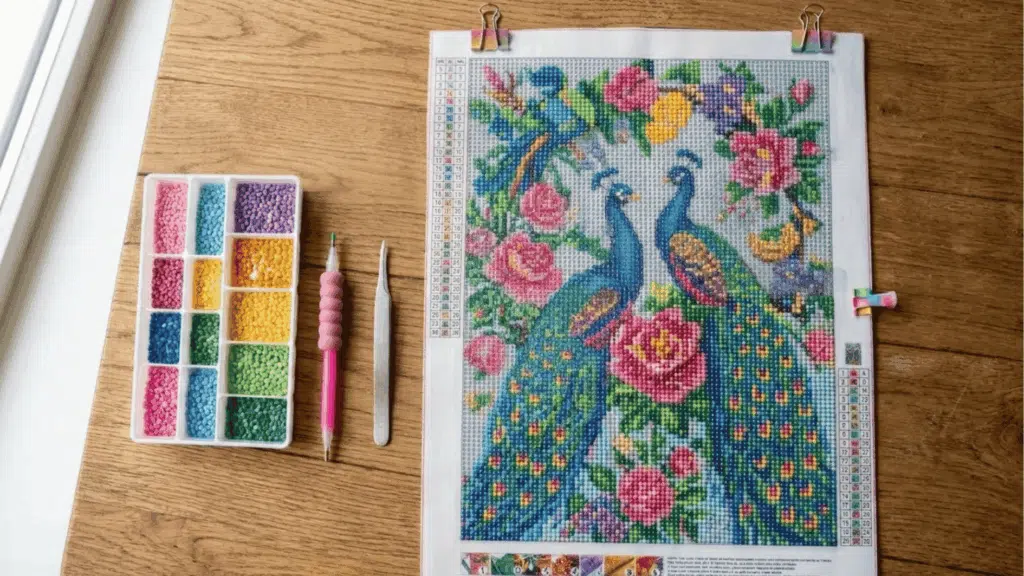
A lot of people search for what is diamond art or diamond painting is. Have you seen a sparkling piece of art on someone’s wall and not known how it was made? That hobby is likely diamond painting.
It is easier to start than it looks. This blog covers what diamond painting actually is. You will also see what you need to make one, plus a few real examples.
By the end, you will know enough to try your first kit.
What Is Diamond Painting?
Diamond painting uses small, flat-backed resin drills to fill a printed canvas design. Each drill sits on a numbered or color-coded spot, like paint-by-numbers.
The canvas has a sticky layer under a protective film. Peel back a section, then press each drill into place with a small pen.
This surface differs from the stretched fabric used for canvas material in traditional painting. It’s built to hold resin drills, not wet paint.
The craft also goes by diamond art, faux diamond painting, or 5D diamond painting, names that reflect how many facets each drill has. The method stays the same across all.
Note: Diamond painting and diamond art are not different; they are two different names for the exact same craft.
Diamond Painting Supplies and Tools
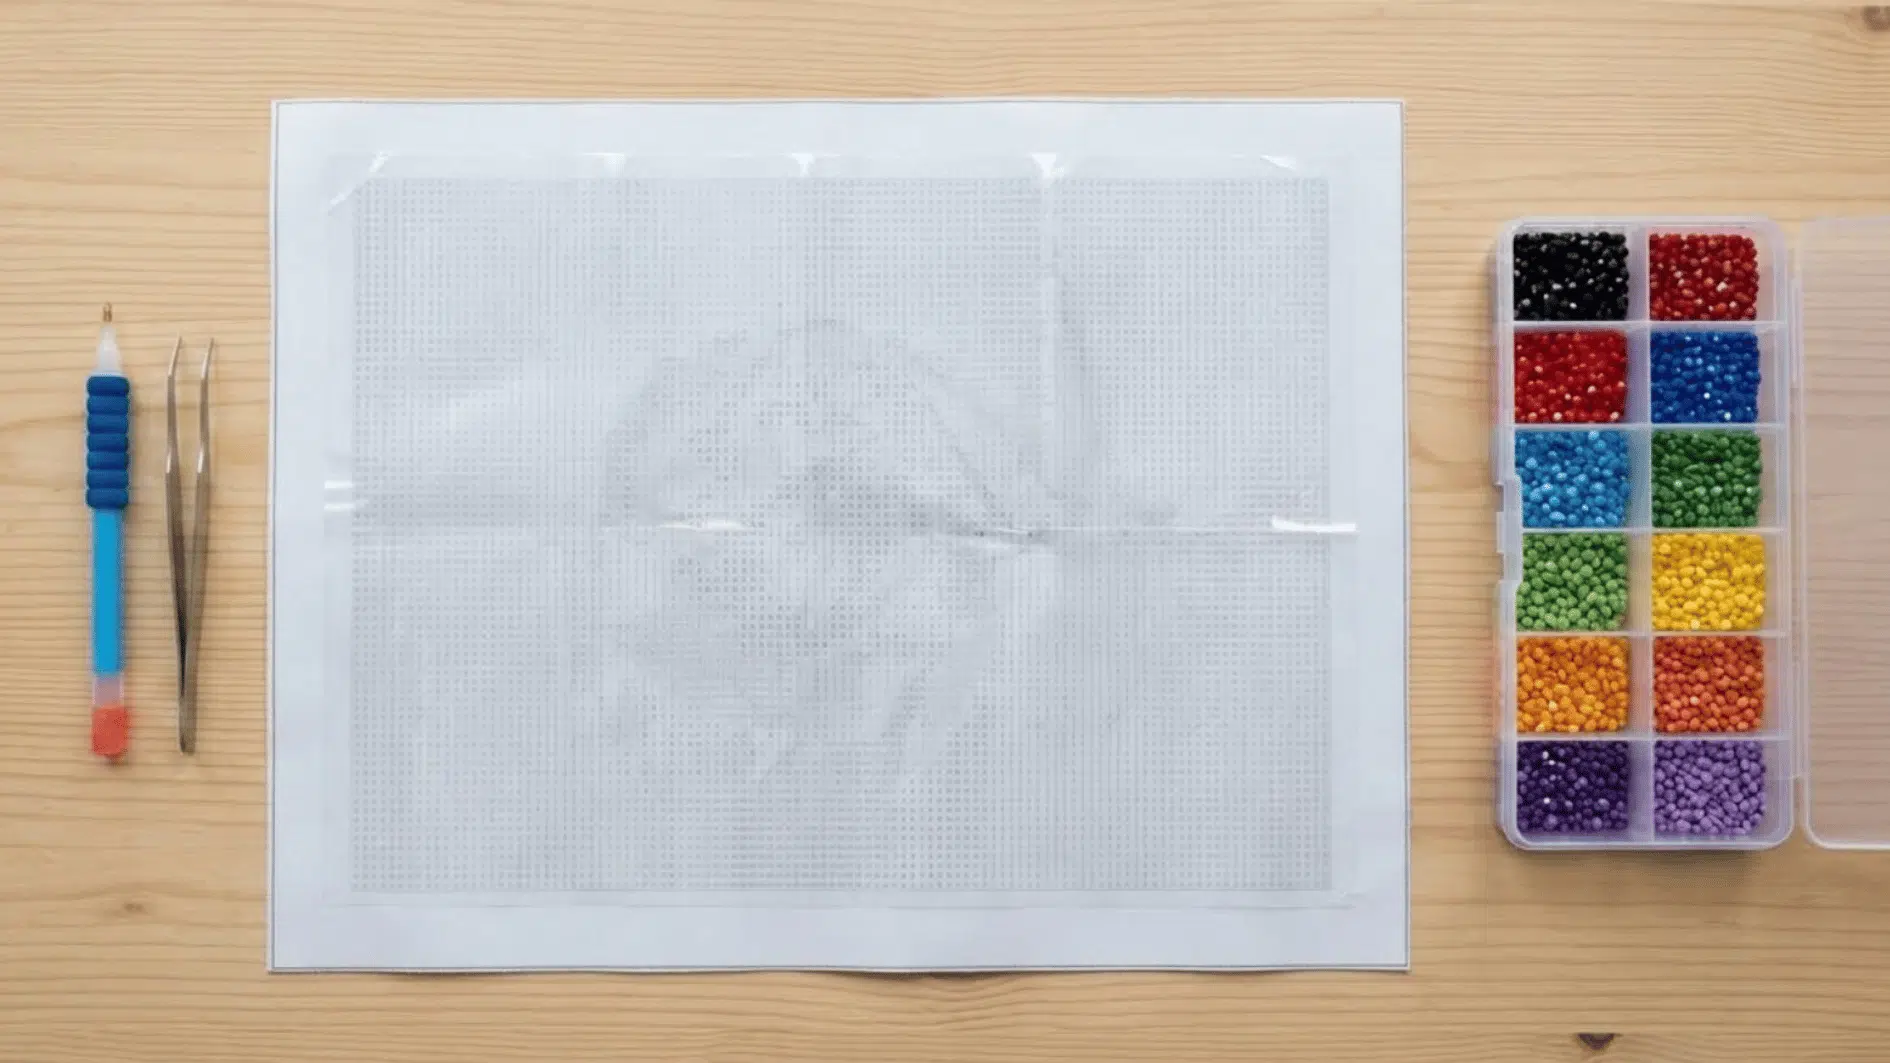
Making a diamond painting starts with a few basic supplies for placing each tiny drill accurately. Most beginner kits include everything needed, much like a starter set of acrylic painting ideas gives a beginner everything to get going.
Materials You Need
- Canvas: A printed design with a sticky surface that holds the drills in place.
- Drills: Small resin pieces sorted by color or symbol to match the canvas pattern.
- Applicator pen: A wax-tipped tool used to pick up and place individual drills.
- Tray: A small container that keeps loose drills organized and easy to pick up.
- Tweezers: Helpful for adjusting misplaced drills or working on detailed areas.
Step-by-Step Process to Make a Diamond Painting
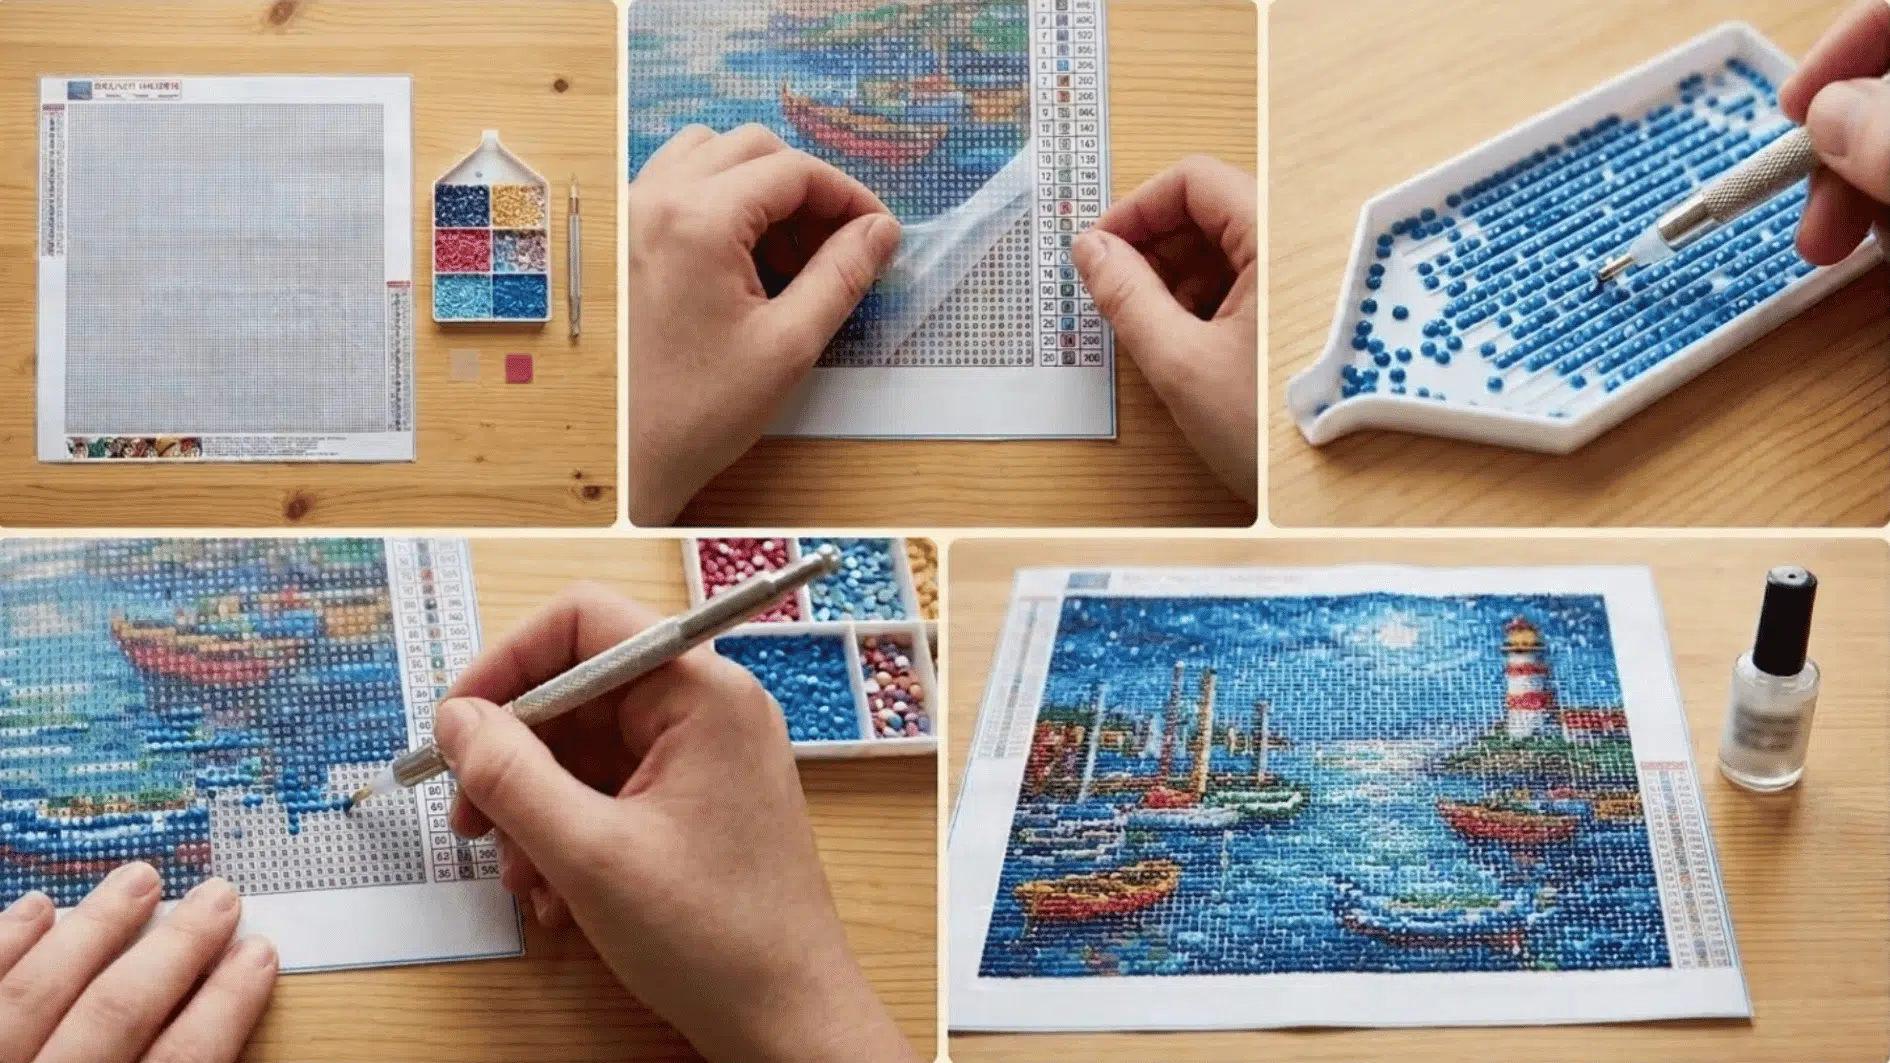
Making a diamond painting is a simple process that involves placing tiny drills onto a coded canvas.
Follow these steps to turn a blank canvas into a sparkling piece of artwork.
1. Set Up Your Space
Lay the canvas flat on a clean table or workspace before starting. A hard, even surface works better than a soft one like a bed or couch, since the canvas needs firm backing for the drills to press in properly.
Organize your drills in the tray by color or symbol to make them easier to find as you work through the pattern.
Tip: Use a storage box or labeled containers to keep different drill colors organized.
2. Peel a Small Section
Remove the protective film from a small area of the canvas at a time, roughly a few inches at once rather than the whole sheet.
This keeps the adhesive clean and prevents dust, hair, or stray drills from sticking to the surface before you’re ready.
Tip: Cover unused areas with the protective film to keep the canvas fresh.
3. Pick Up a Drill
Press the applicator pen into the wax pad to prepare it for use, just enough to coat the tip. Touch the pen to a drill so it sticks, then lift it carefully from the tray without dragging it across other pieces.
If the drill does not stick on the first try, press the pen into the wax again and attempt the pickup once more.
Tip: Shake the tray gently to turn drills face-up before picking them up.
4. Place the Drill
Match the drill with the correct symbol or number on the canvas, checking the shape and color against the legend if the kit includes one.
Press it down gently to secure it without damaging the adhesive layer, using light, even pressure rather than pushing hard.
Tip: Check the alignment after placing a few rows to keep the pattern straight.
5. Repeat and Seal the Design
Continue placing drills row by row until the entire canvas is filled with the design.
Once finished, flatten the artwork under a heavy, flat object for a day or two to smooth out any curling, then apply sealant if you want extra protection against drills lifting over time.
Tip: Clean the finished piece gently before sealing to remove dust or loose particles.
Popular Diamond Painting Design Ideas
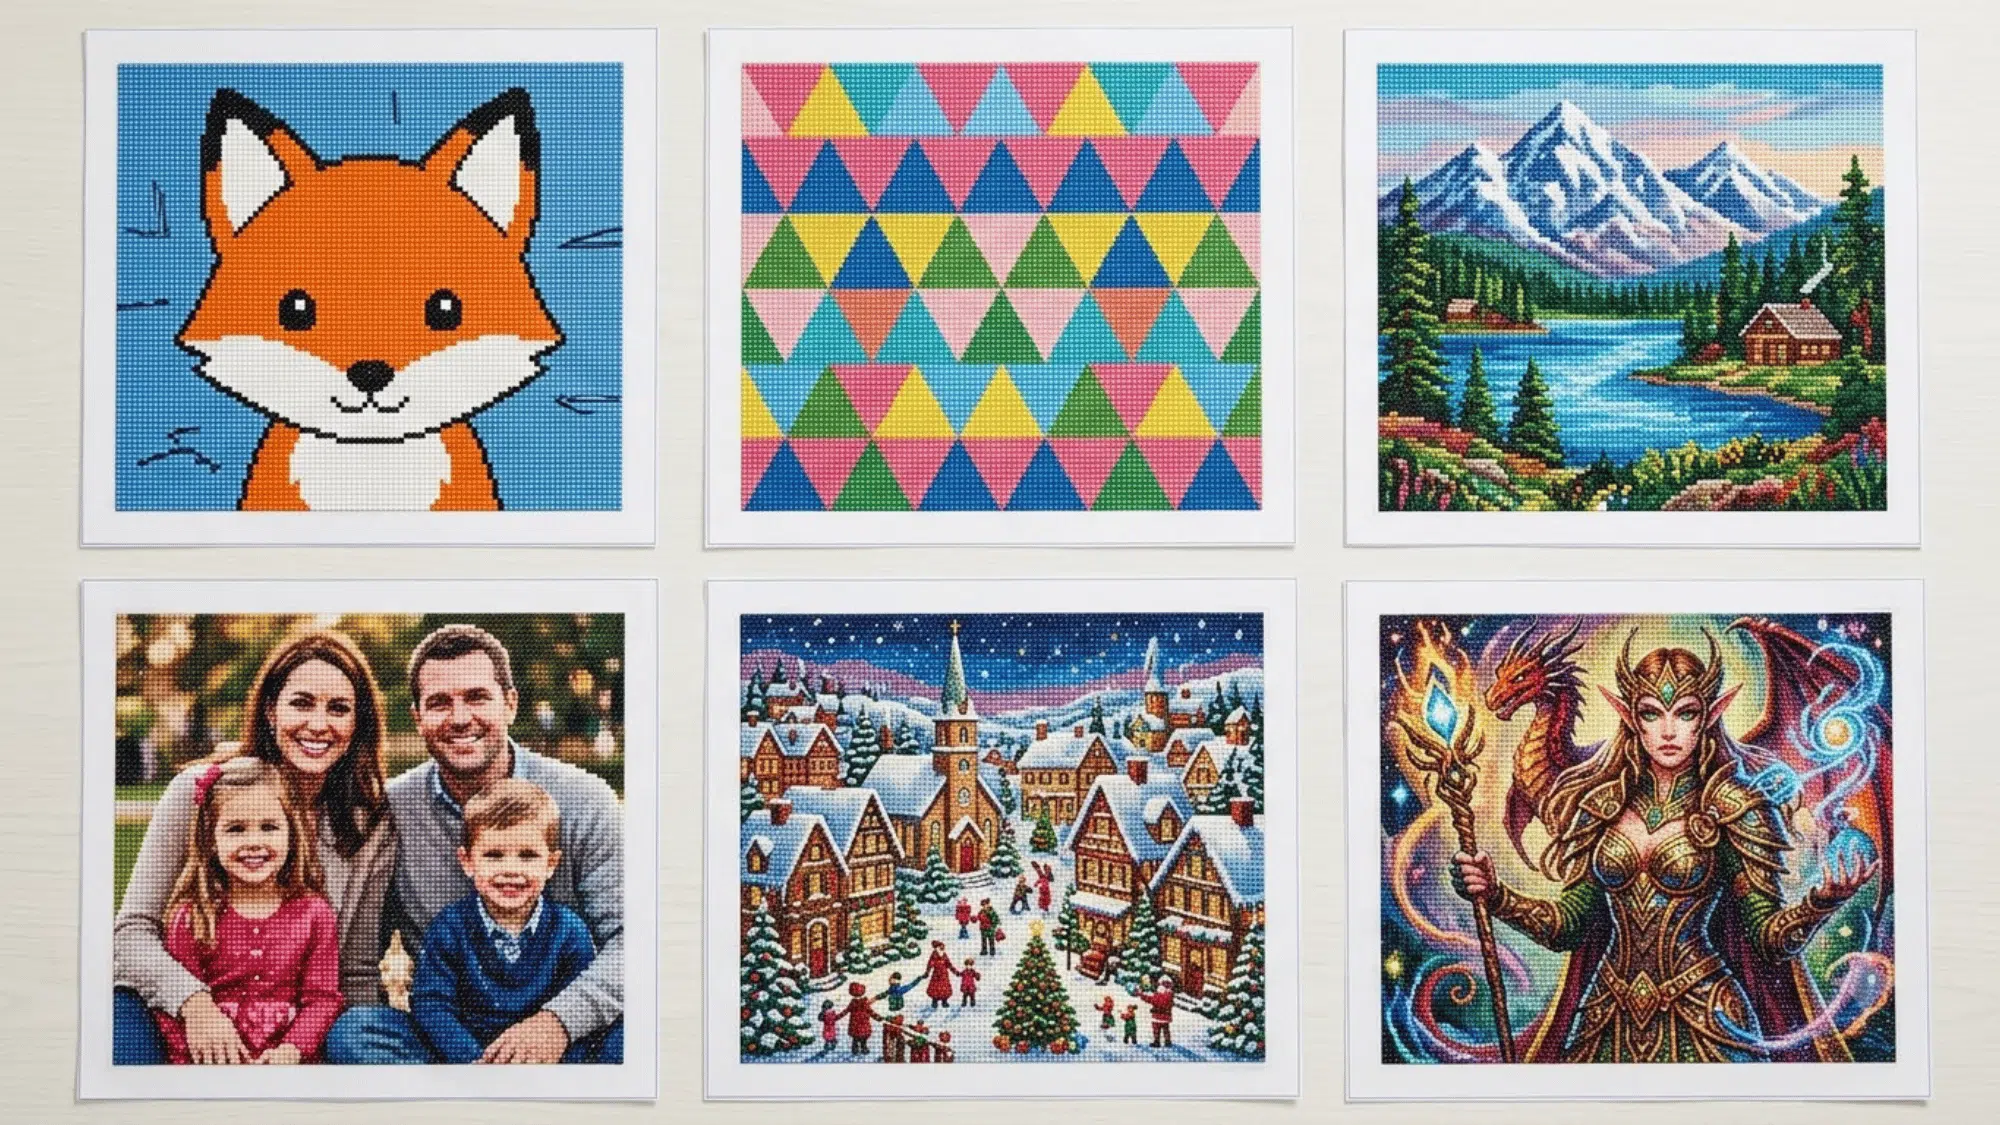
Diamond painting kits come in different styles, sizes, and difficulty levels. Beginners can start with simple designs, while detailed artwork may need more time and practice.
If you like this kind of colorful, pattern-based craft, rock painting ideas offer a similar low-cost way to experiment with color and pattern outdoors.
| Design Type | Size | Skill Level |
|---|---|---|
| Animal Portraits | Small–Medium | Beginner |
| Nature Landscapes | Medium–Large | Intermediate |
| Abstract Patterns | Small–Medium | Beginner |
| Custom Photo Art | Custom | Intermediate |
| Holiday Designs | Large | Advanced |
| Fantasy and Character Art | Medium–Large | Intermediate |
Tips for Diamond Painting
A few simple techniques can make diamond painting easier, cleaner, and more enjoyable. These tips help beginners avoid common mistakes and create a neat finished design.
- Start with a small kit: Choose a simple design to learn the basics easily.
- Work in sections: Peel small areas to keep the canvas clean.
- Organize drills: Store colors separately to avoid mixing.
- Place drills gently: Press carefully to protect the adhesive.
- Use good lighting: Bright light helps you see symbols clearly.
- Flatten the canvas: Remove curls before starting your project.
- Take breaks: Rest your eyes and hands during long sessions.
- Seal and store: Protect the finished artwork with sealant or a frame.
The Last Stroke
Now you know what is Diamond painting and that it needs patience more than skill. Each tiny drill takes a few seconds, but a finished canvas can take hours, and that slow pace is exactly what draws people to it.
If you are just starting out, pick something small: a single flower, a simple animal shape, anything that lets you finish without burning out halfway through.
Save the large, detailed designs for once you have a few pieces under your belt.
With the right kit, organized supplies, and a little patience, anyone can create a sparkling piece of art. It is a hobby that lets you slow down while making something personal.
Frequently Asked Questions
How Long Does a Diamond Painting Take to Finish?
It depends on canvas size and drill count, but a small design can take a few hours, while a large, detailed piece can take several weeks of casual sessions.
Can You Frame a Diamond Painting without Glass?
Yes. Once sealed, the drills sit flat enough to frame directly, and many people skip glass entirely since it can flatten the shimmer effect.
Do Diamond Paintings Fade Over Time?
Resin drills hold color well and resist fading, but keeping the finished piece out of direct sunlight helps it stay vibrant for years.