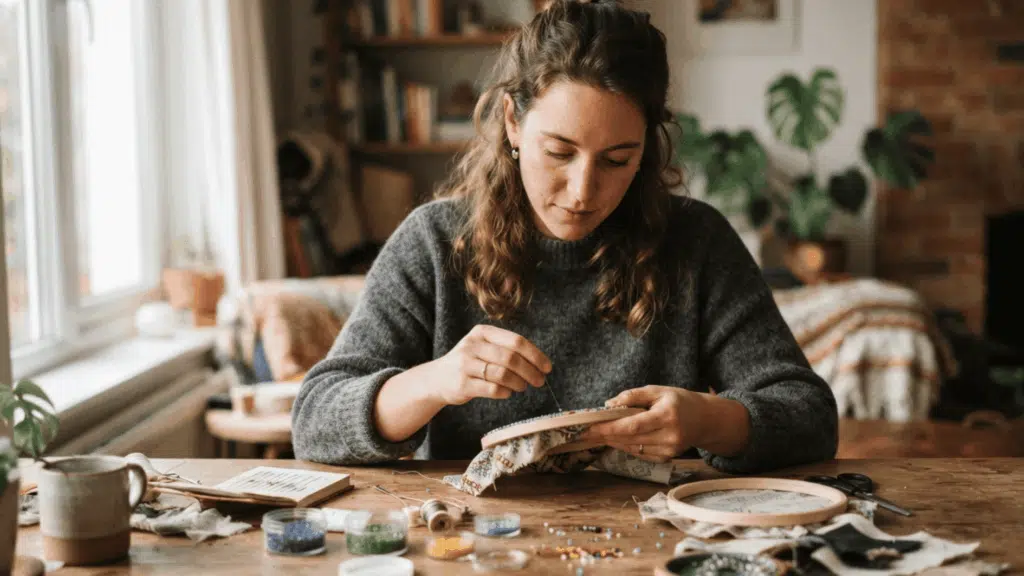
Arts and crafts are not only for children. For adults, crafting can offer a relaxing break from screens, a chance to learn a practical skill, and a simple way to make personalized décor, gifts, or accessories.
From macramé and pottery-inspired clay projects to upcycled storage and handmade jewelry, there is an option for almost every budget and skill level.
This blog shares these easy arts and crafts ideas for adults, along with beginner supplies, safety advice, and tips for choosing the right project.
What are the Benefits of Crafting for Adults
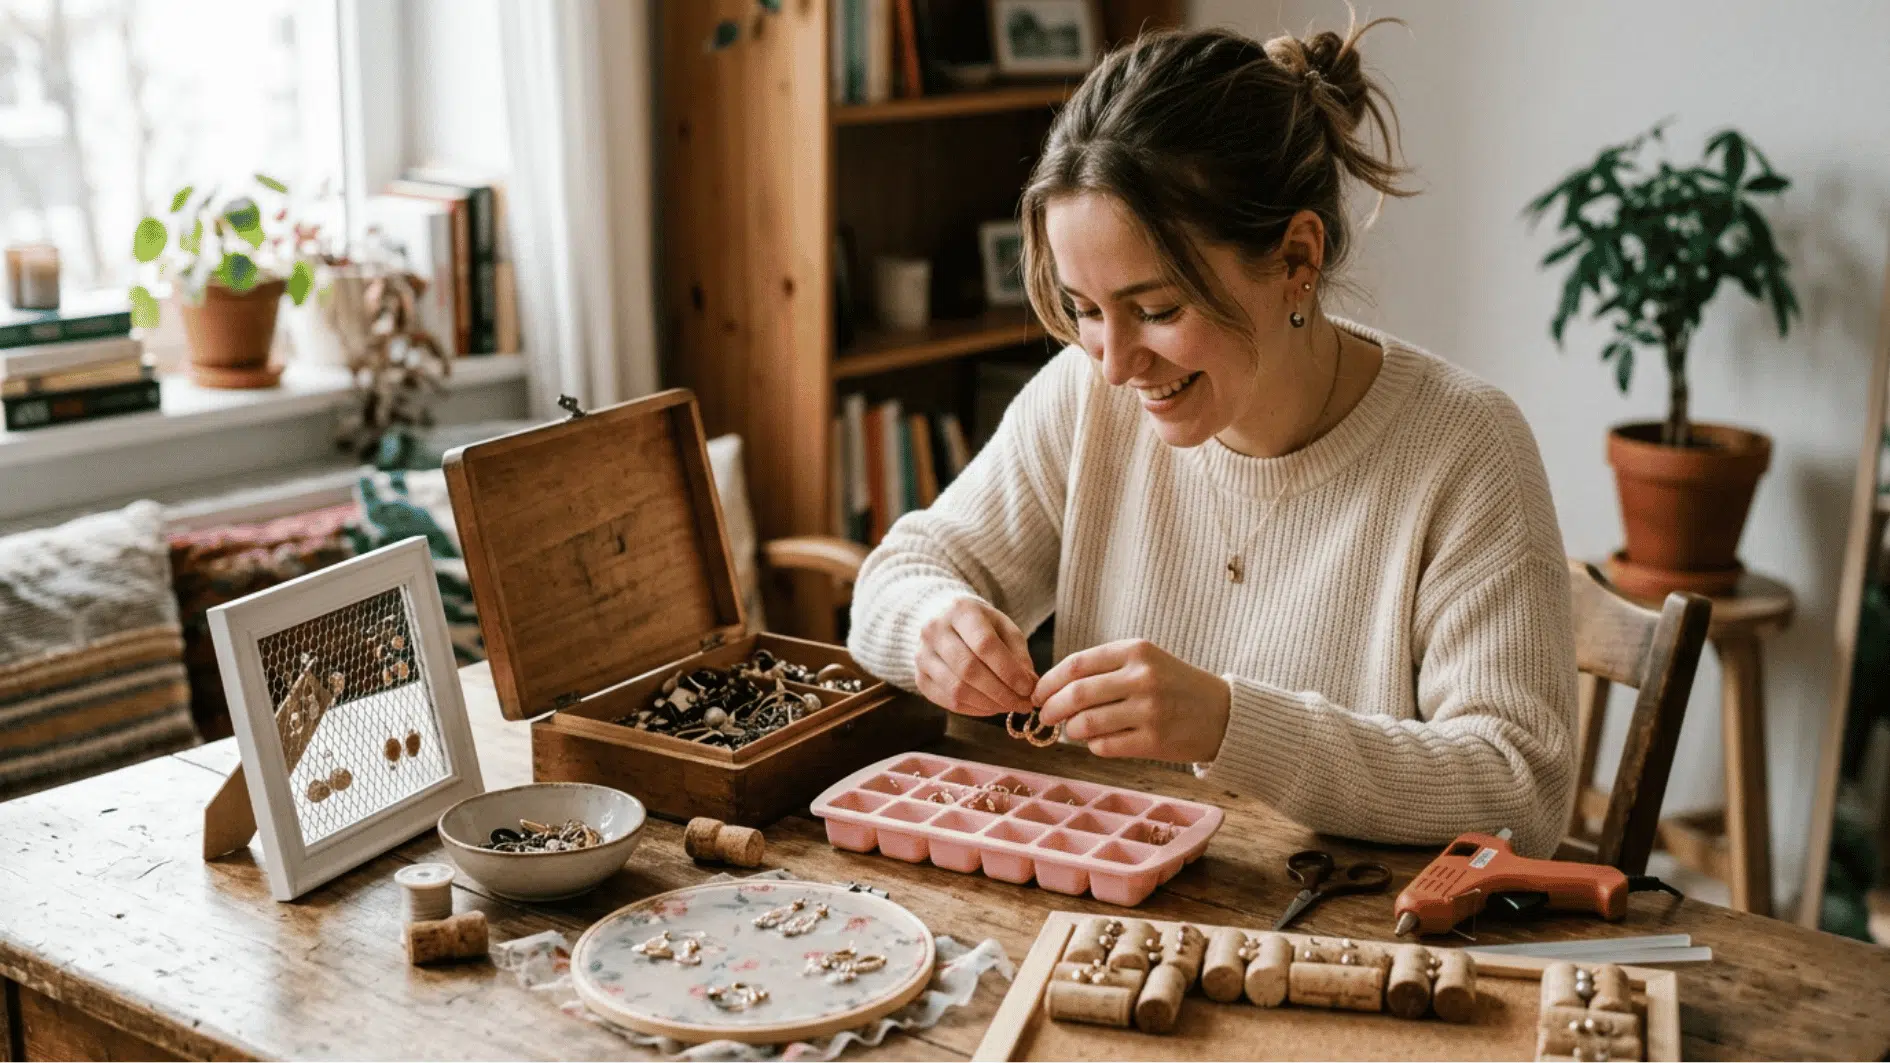
Crafting gives adults a practical way to step away from screens and slow down for a while. Focusing on one task with your hands can feel like a mini reset for a busy mind.
Repetitive motions like stitching, painting, knotting, and shaping clay tend to feel calming. They keep your hands and mind occupied, which leaves less room for stress or scattered thoughts to creep in.
You start with plain materials and end up with something real, whether that’s home décor, a handmade gift, a new accessory, or a useful item for your kitchen or desk. No formal art training required.
It’s a flexible hobby too. Some days call for quiet, solo focus. Other days, it turns into a fun group activity with friends over snacks and good conversation.
Easy Arts and Crafts Ideas for Adults
You don’t need fancy tools or artistic training to enjoy a satisfying craft project.
These arts and crafts ideasfor adults use simple, affordable materials and beginner-friendly techniques, making them perfect for a relaxing weekend, a girls’ night in, or a solo creative break.
1. DIY Macramé Wall Hanging
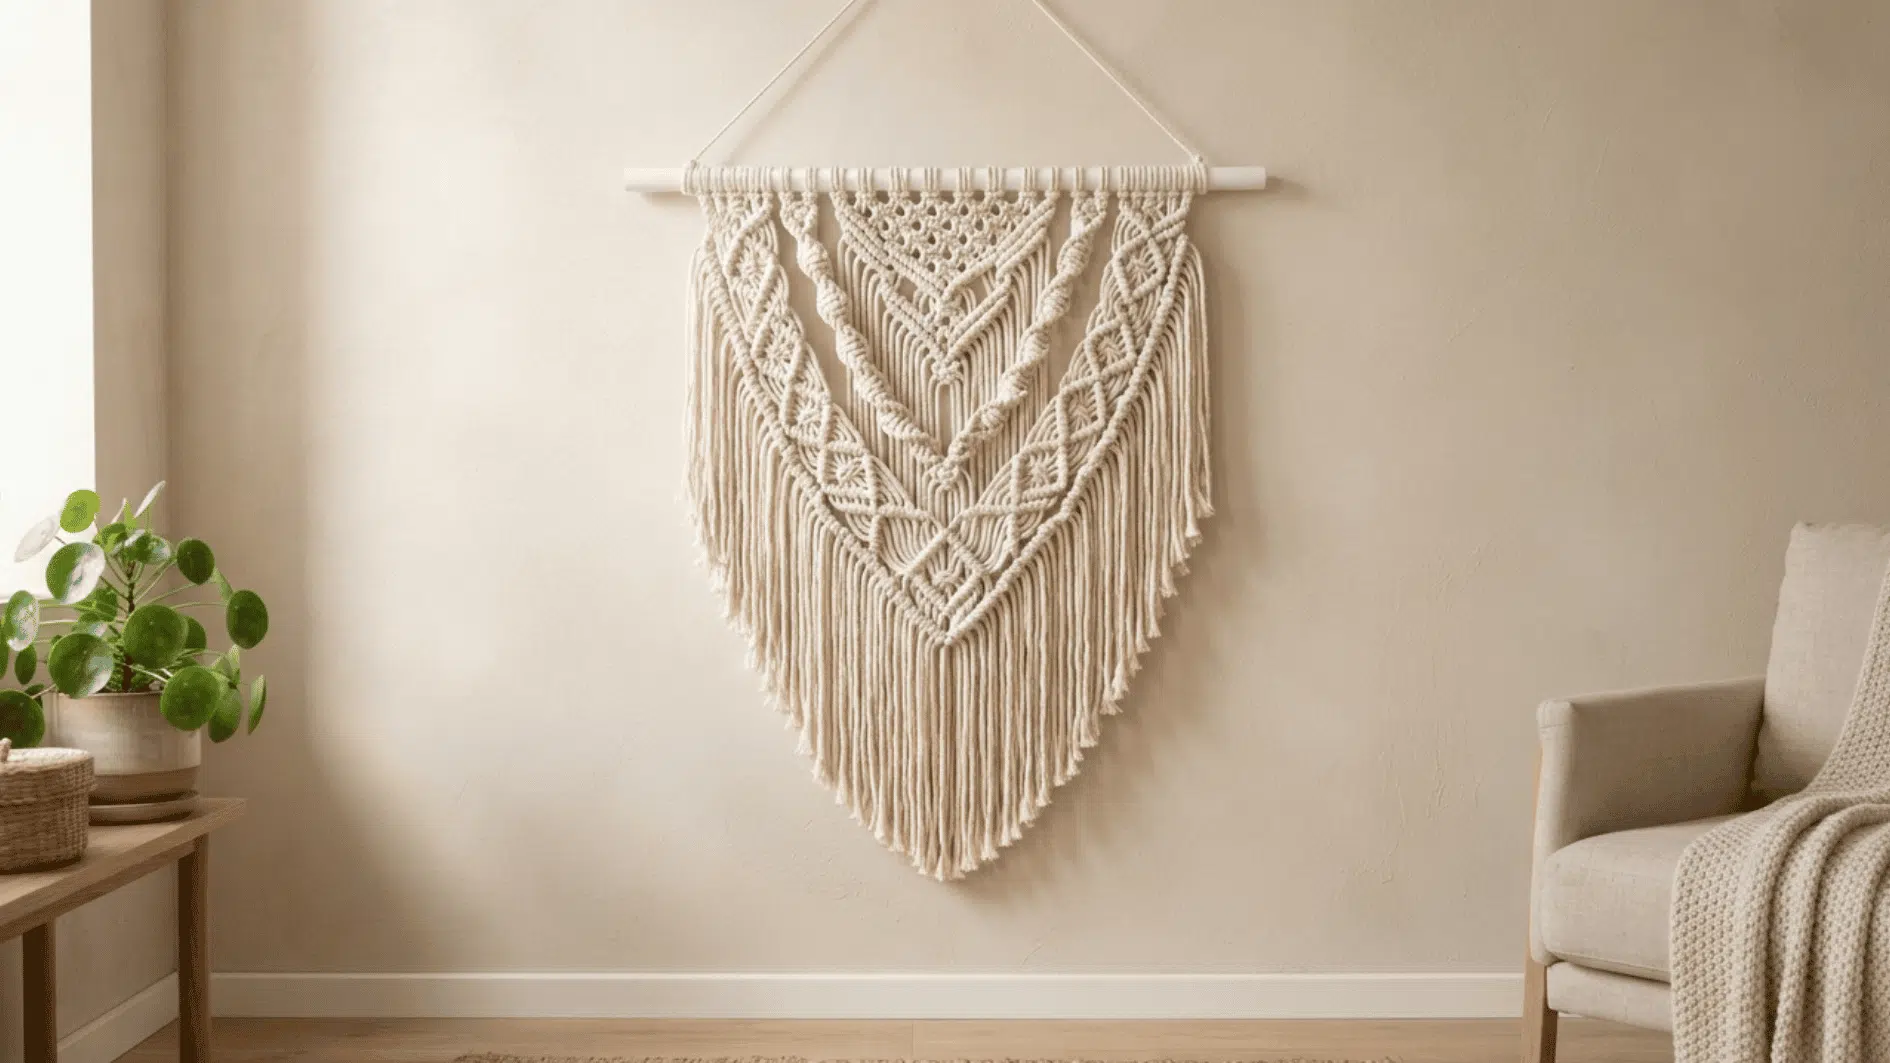
Macramé has made a huge comeback in home décor, and it’s easier to learn than it looks.
Using just knotting techniques and cord, you can create a boho-style wall hanging that instantly elevates any room, similar to the knotting steps in this macrame plant hanger tutorial.
It’s a meditative, repetitive craft that’s great for beginners looking to build patience and precision.
Materials Required: Cotton cord (4 mm thick, 10 meters), wooden dowel (12 inches long), scissors (1 pair), and a comb for fringe (1).
How to Make It:
- Cut 8 to 10 cord pieces, each about 2 meters long.
- Fold each piece in half and attach it to the dowel using a lark’s head knot.
- Create rows of square knots or spiral knots.
- Trim the ends evenly and comb out the fringe.
- Tie twine to both ends of the dowel for hanging.
- Hand-Painted Terracotta Planters
2. Hand-Painted Terracotta Planters
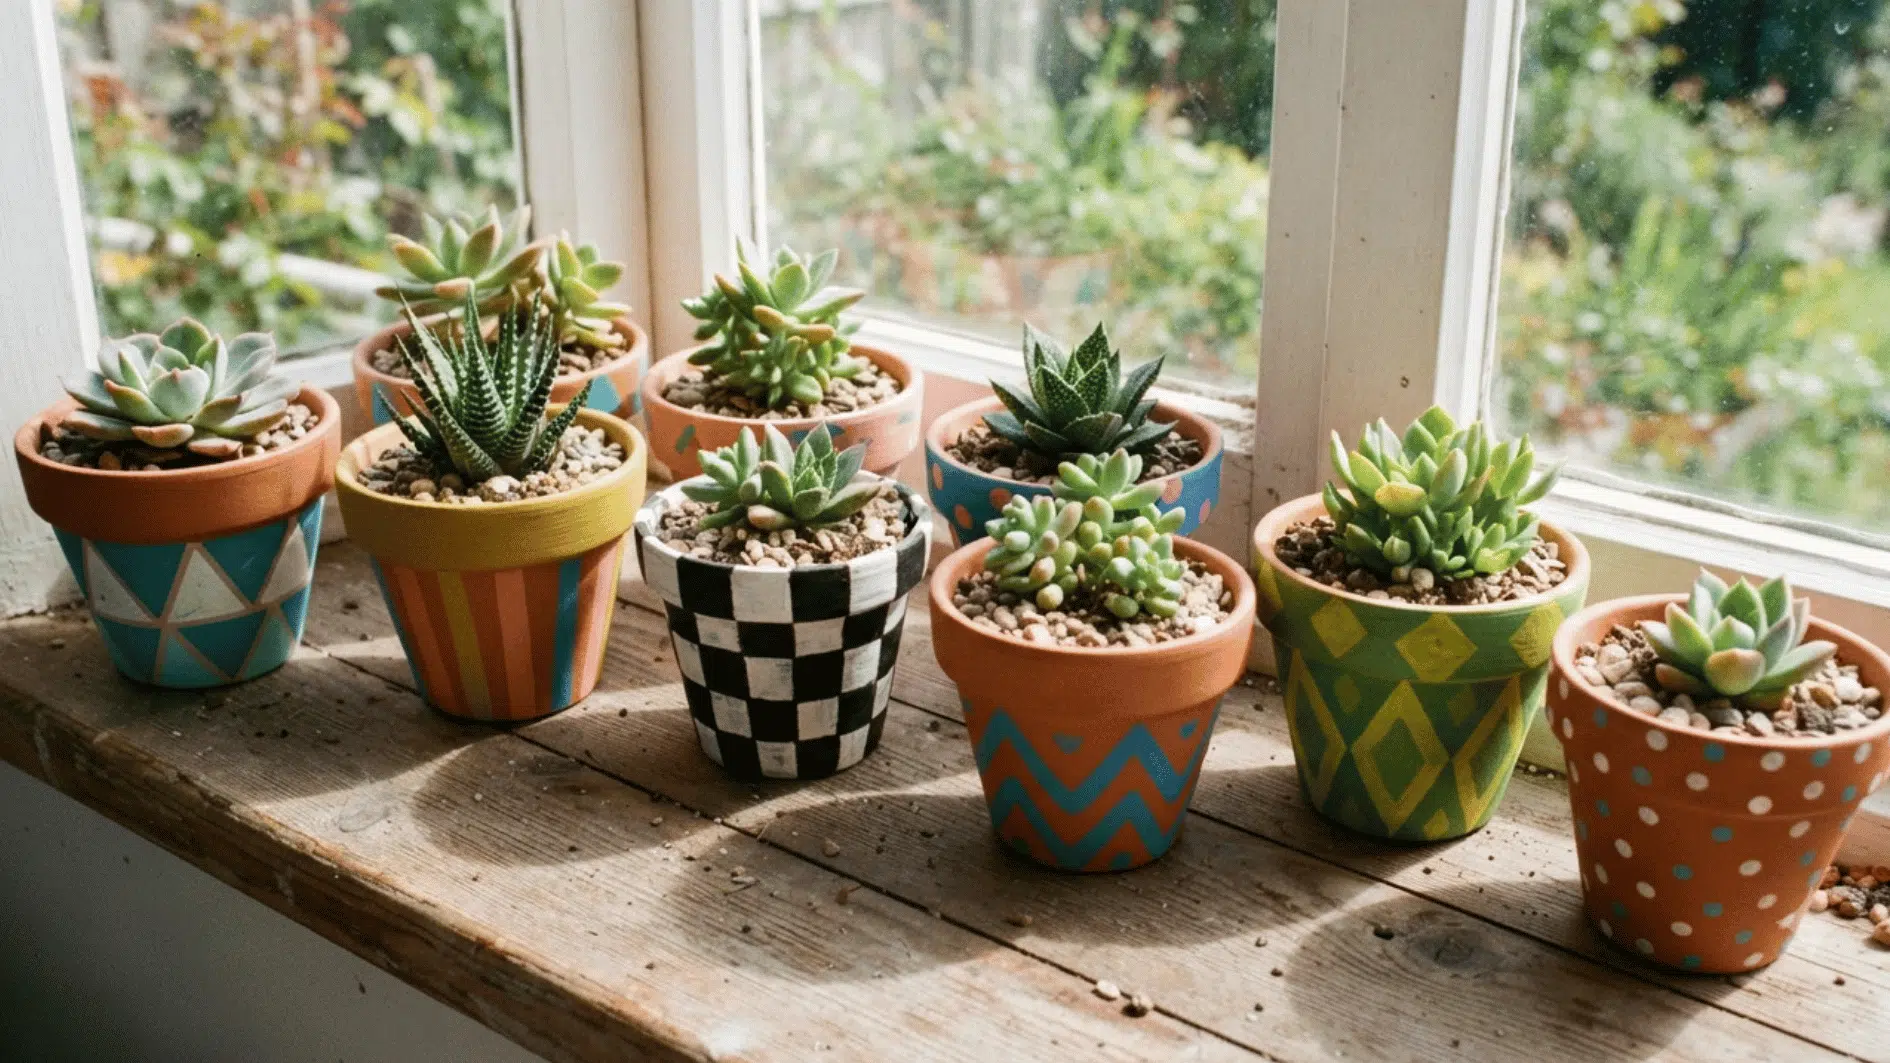
Plain terracotta pots are cheap, widely available, and the perfect blank canvas for a quick, colorful project. This craft works well solo or with friends, since everyone can paint their own unique design.
It’s also a great way to spruce up your garden, balcony, or windowsill with a personal touch.
Materials Required: Terracotta pot (4 to 6 inches), acrylic paint (2 to 3 colors), small and medium paintbrushes, and clear sealant spray (1 can).
How to Make It:
- Clean and dry the pot.
- Lightly sketch a design in pencil, if desired.
- Paint the base color and let it dry for 30 minutes.
- Add dots, stripes, or other patterns with a smaller brush.
- Apply clear sealant after the paint has dried.
3. Upcycled Denim Tote Bag
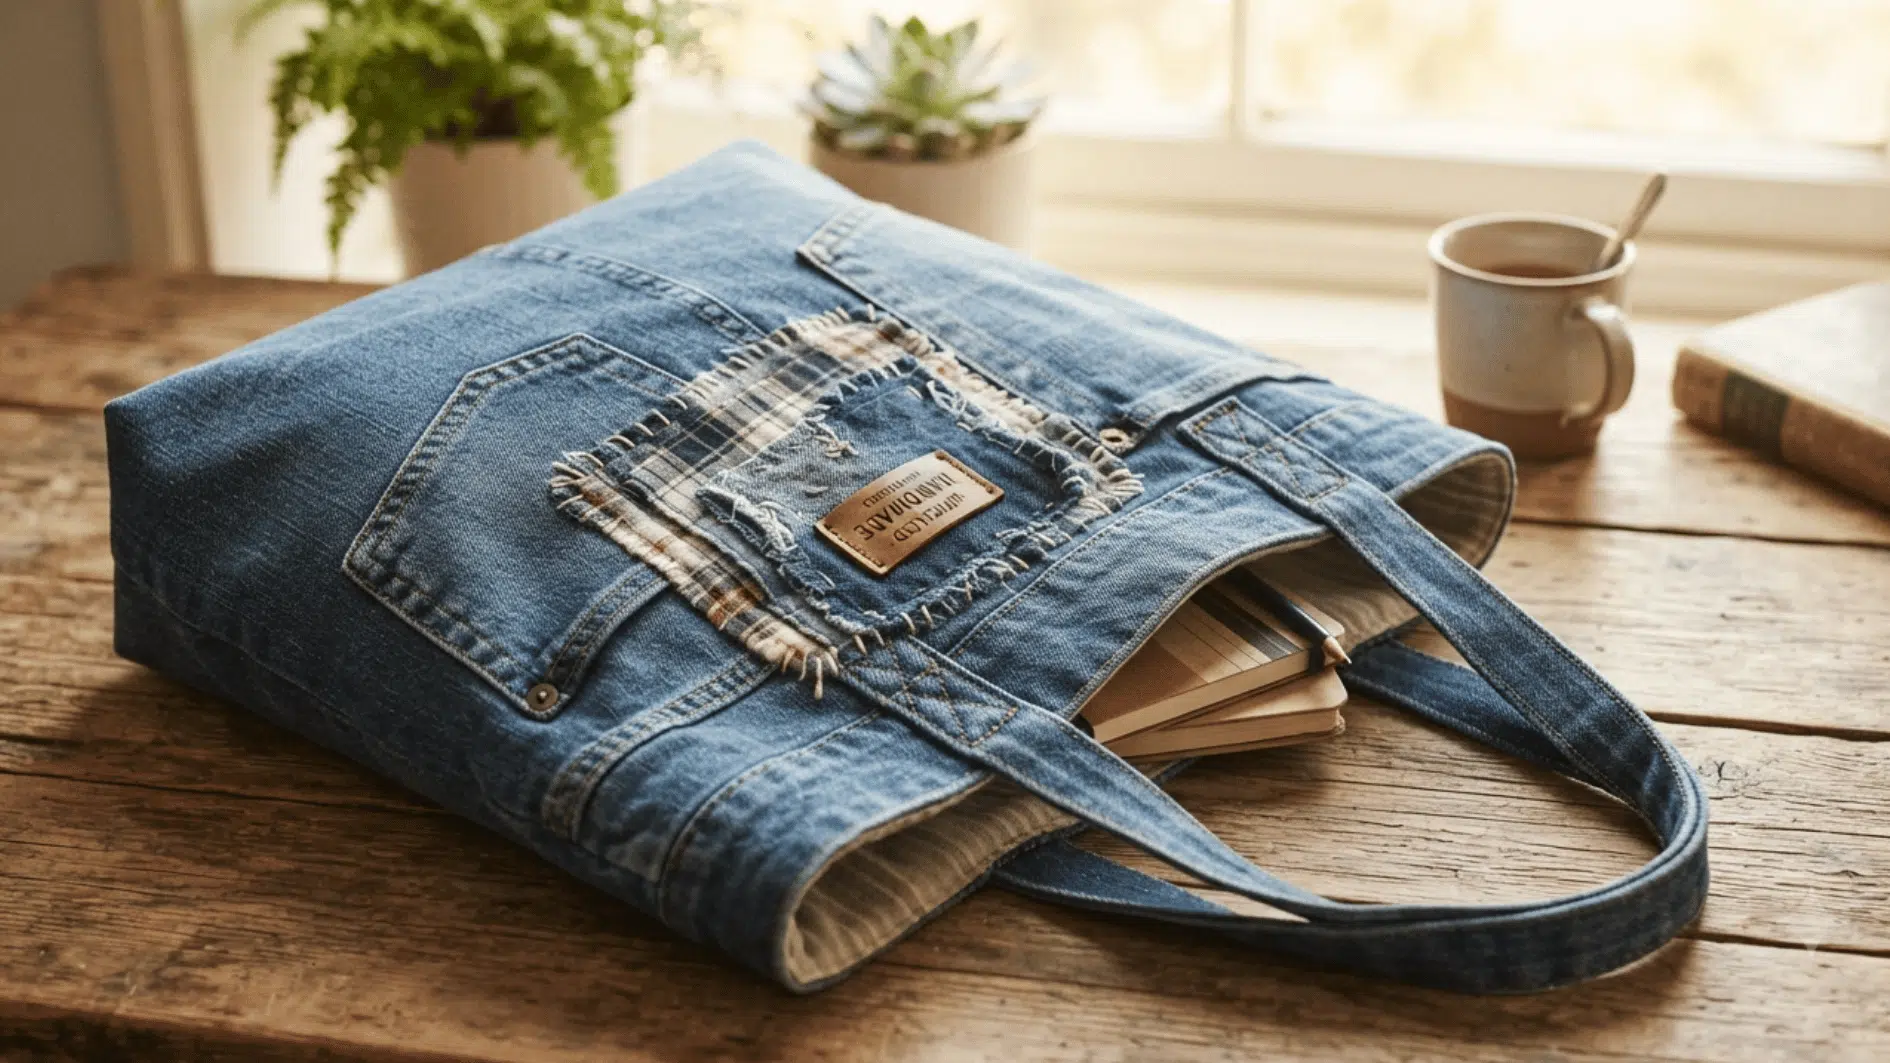
Got an old pair of jeans collecting dust? Turn them into a sturdy, stylish tote instead of tossing them out.
This project combines sustainability and practicality, giving you a reusable bag for groceries, books, or everyday essentials while reducing textile waste.
Materials Required: Old jeans (1 pair), fabric scissors (1 pair), sewing machine or needle and thread, and fabric glue if needed.
How to Make It:
- Cut the jeans below the waistband while keeping the leg seams intact.
- Turn the fabric inside out and sew the bottom edge closed.
- Attach cord or fabric handles through the belt loops.
- Turn the bag right side out.
- Add extra stitching to secure the handles.
- Add patches or embroidery if desired.
4. Pressed Flower Resin Coasters
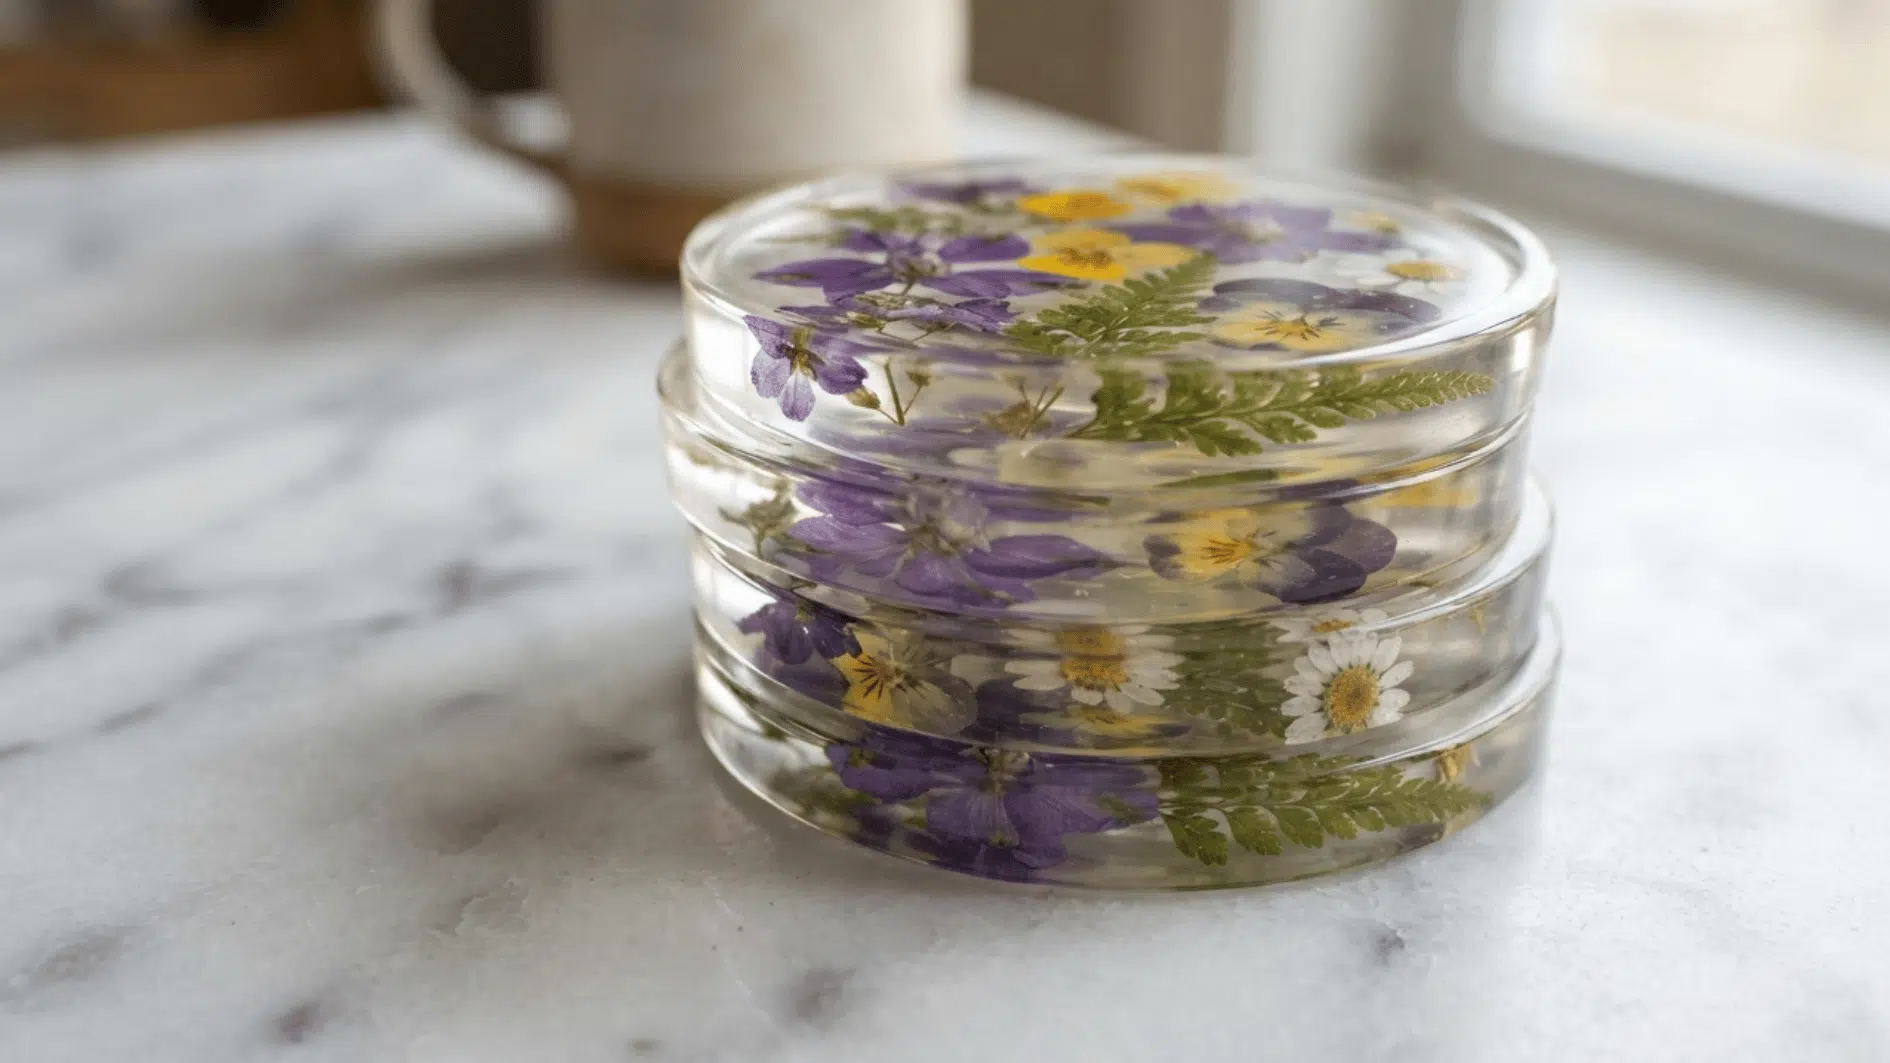
If you love flowers but hate watching them wilt, resin coasters let you preserve their beauty indefinitely. This craft is oddly satisfying to make and results in functional, giftable home items.
It’s one of the fun crafts for adults, perfect for anyone who enjoys a bit of trial and error with mixing and pouring.
Materials Required: Clear epoxy resin (4-ounce kit), silicone coaster molds (set of 4), dried pressed flowers (8 to 10), and mixing cups and sticks (2 sets).
How to Make It:
- Mix the resin and hardener according to the package directions.
- Pour a thin base layer into each mold.
- Let the resin set slightly.
- Arrange the pressed flowers on the tacky layer.
- Pour another layer of resin over the flowers.
- Allow the coasters to cure for 24 to 48 hours.
- Remove them from the molds.
5. Hand-Lettered Watercolor Quote Art
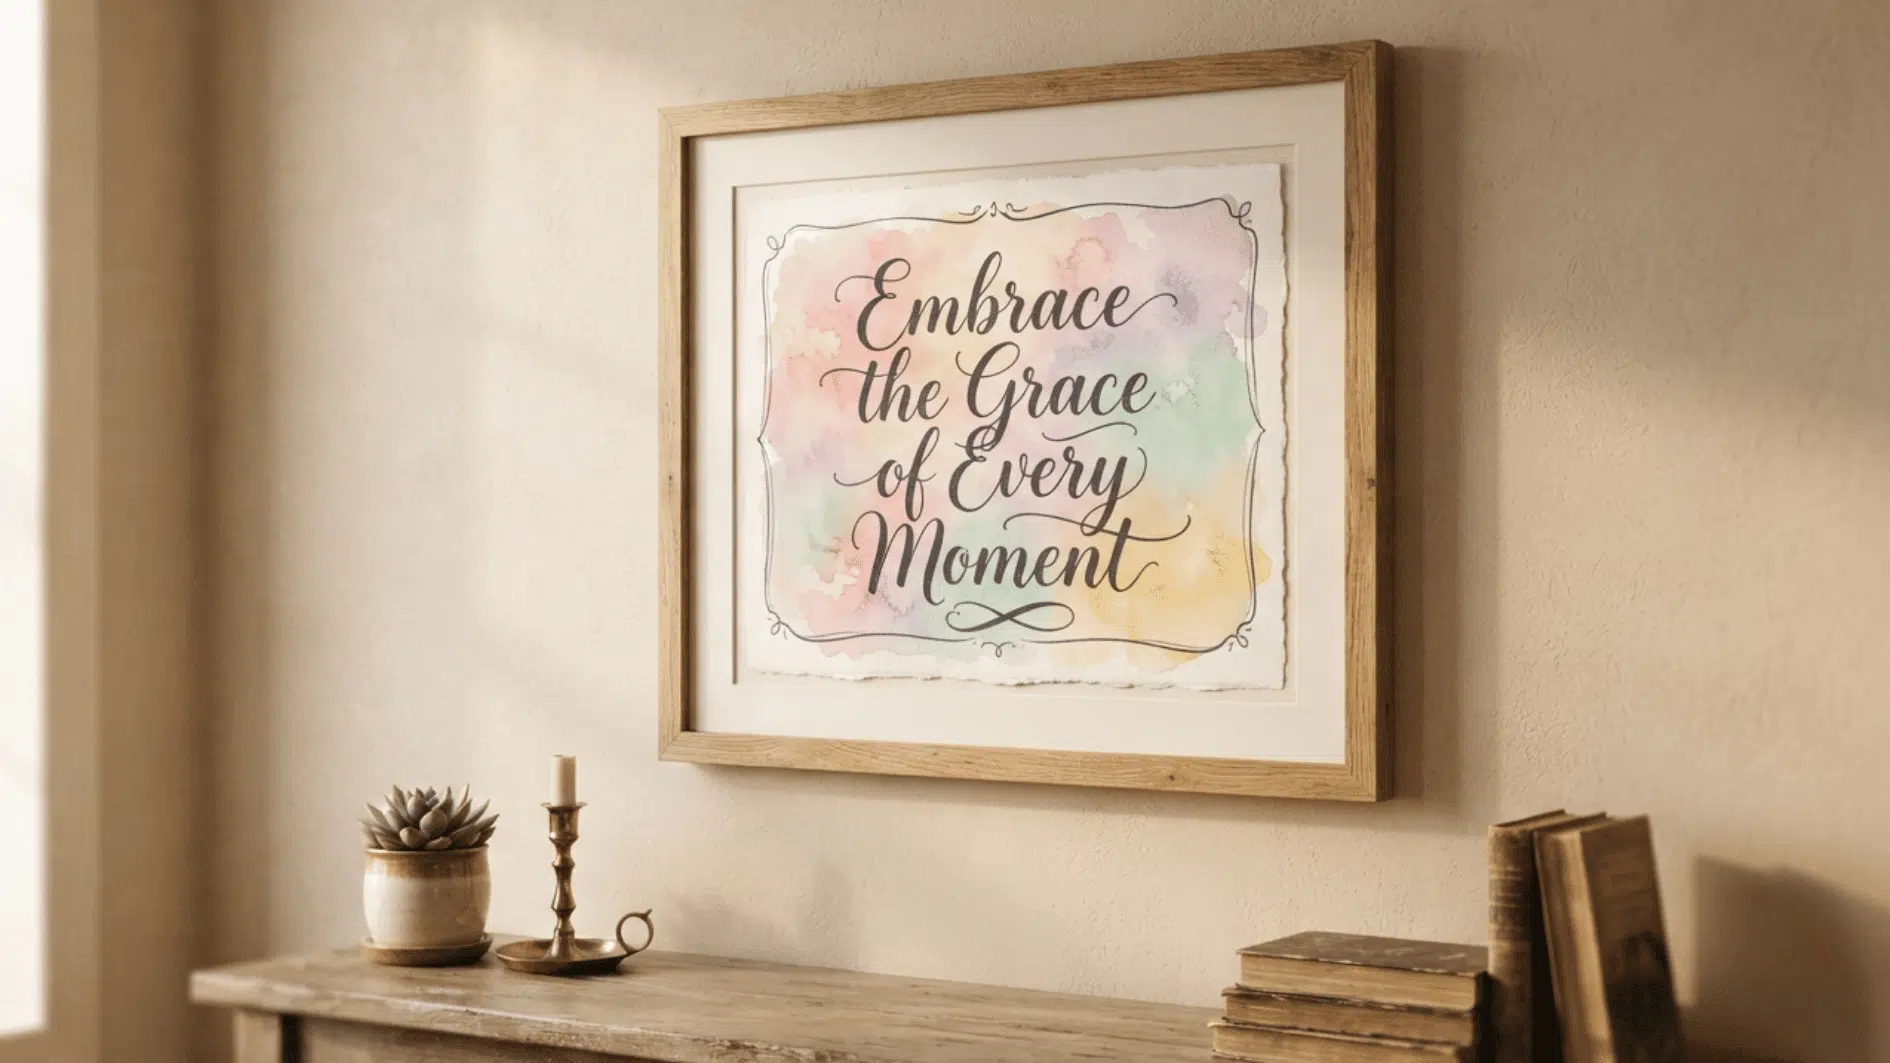
Combining lettering with light watercolor washes is a beginner-friendly way to create wall art that feels personal and intentional, an approach covered further in these beginner-friendly watercolor ideas.
Pick a favorite quote, song lyric line, or motivational phrase, and turn it into a piece worth framing.
It’s a low-pressure craft that builds confidence in both handwriting and painting, and browsing a few hand-lettering name art styles can help you settle on a font before you sketch.
Materials Required: Watercolor paper (9 by 12 inches), a watercolor paint set, fine-tip brush pens (2 to 3 sizes), a pencil, and an eraser.
How to Make It:
- Sketch your chosen quote lightly in pencil.
- Add a soft watercolor background.
- Let the paper dry completely.
- Trace the pencil lines with brush pens.
- Erase any visible pencil marks after the ink dries.
- Frame the artwork or mount it on cardstock.
6. DIY Candle Making with Dried Herbs
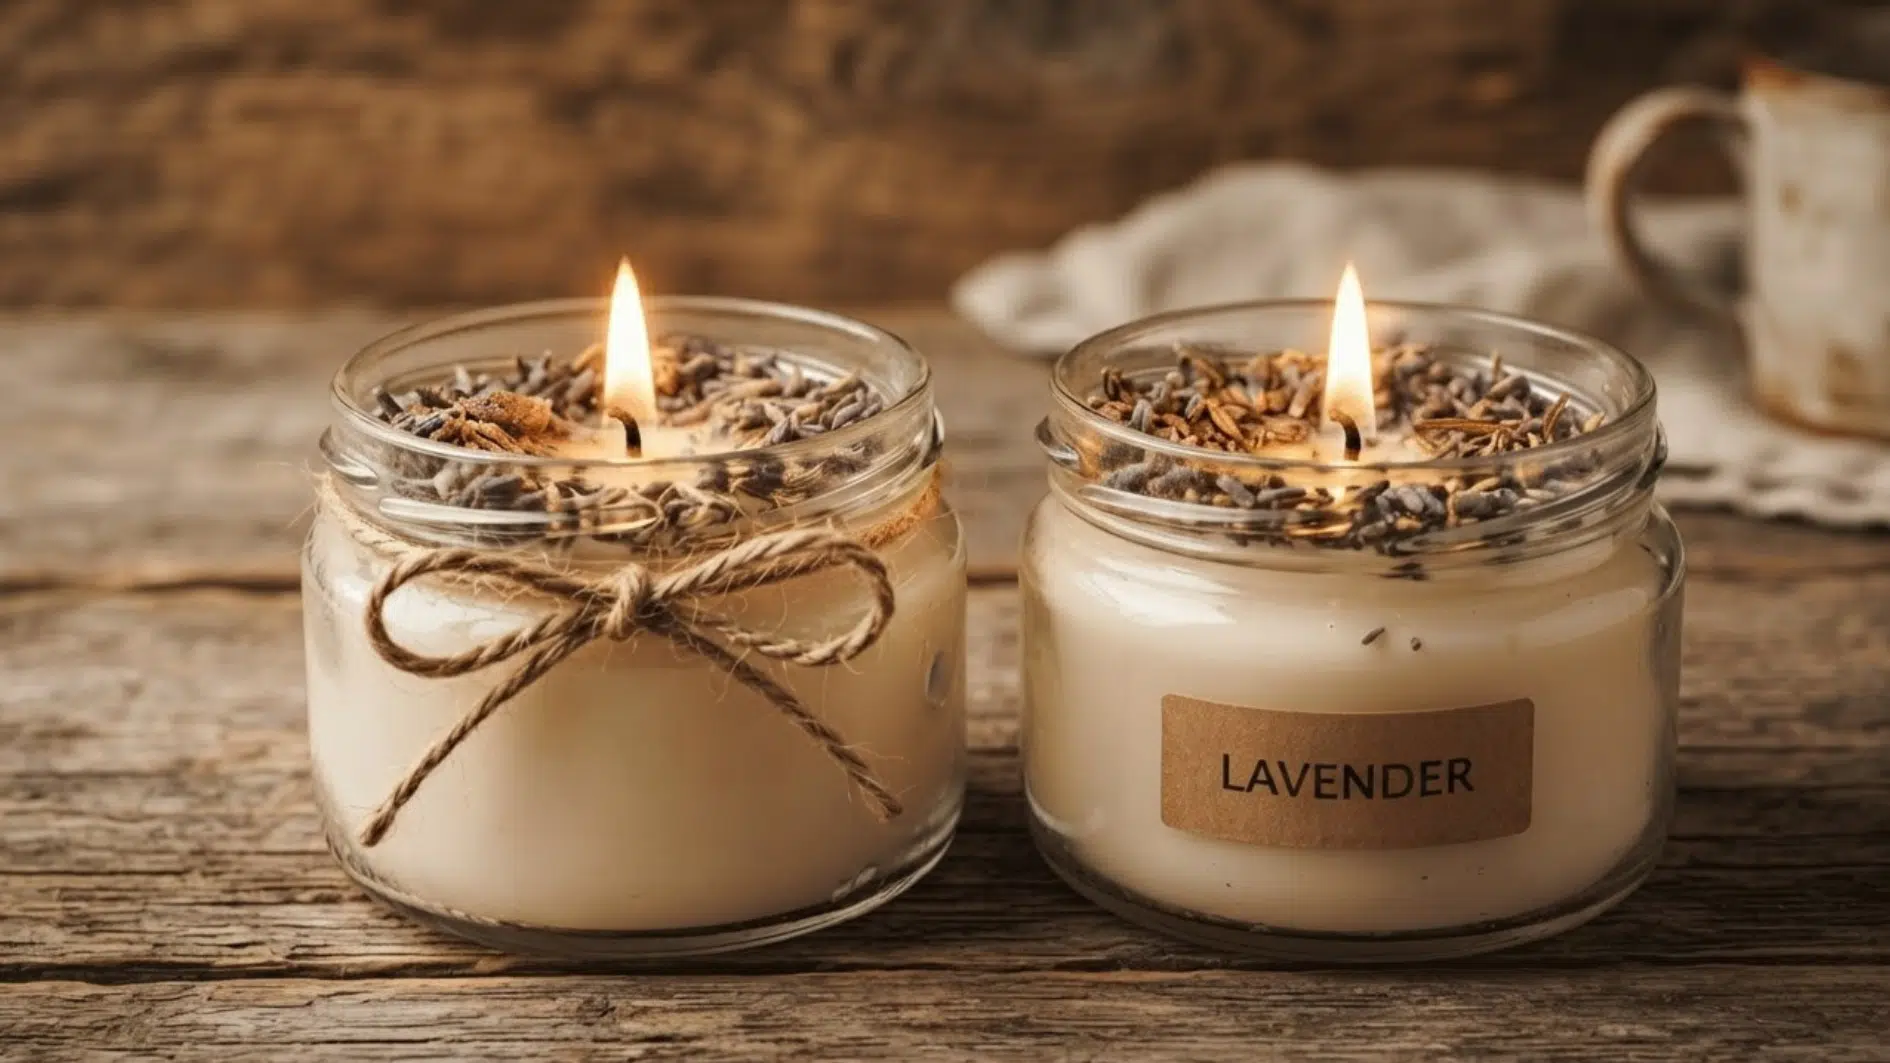
Candle making is one of the most popularfun crafts for adults because it’s simple, affordable, and results in something you’ll use every day.
Adding dried herbs like lavender or rosemary gives your candles a natural, aromatic touch. It’s a cozy project perfect for gifting during the holidays.
Materials Required: Soy wax flakes (2 cups), pre-tabbed candle wicks (2 to 3), glass jars (two 8-ounce jars), dried herbs (2 to 3 tablespoons), and essential oil if desired (10 to 15 drops).
How to Make It:
- Melt the wax flakes in a double boiler over low heat.
- Add essential oil after the wax melts.
- Secure a wick in the center of each jar with a small amount of hot wax.
- Slowly pour the melted wax into the jars.
- Sprinkle dried herbs on top before the wax sets.
- Let the candles cool for 4 to 6 hours before lighting them.
7. Painted Rock Garden Markers
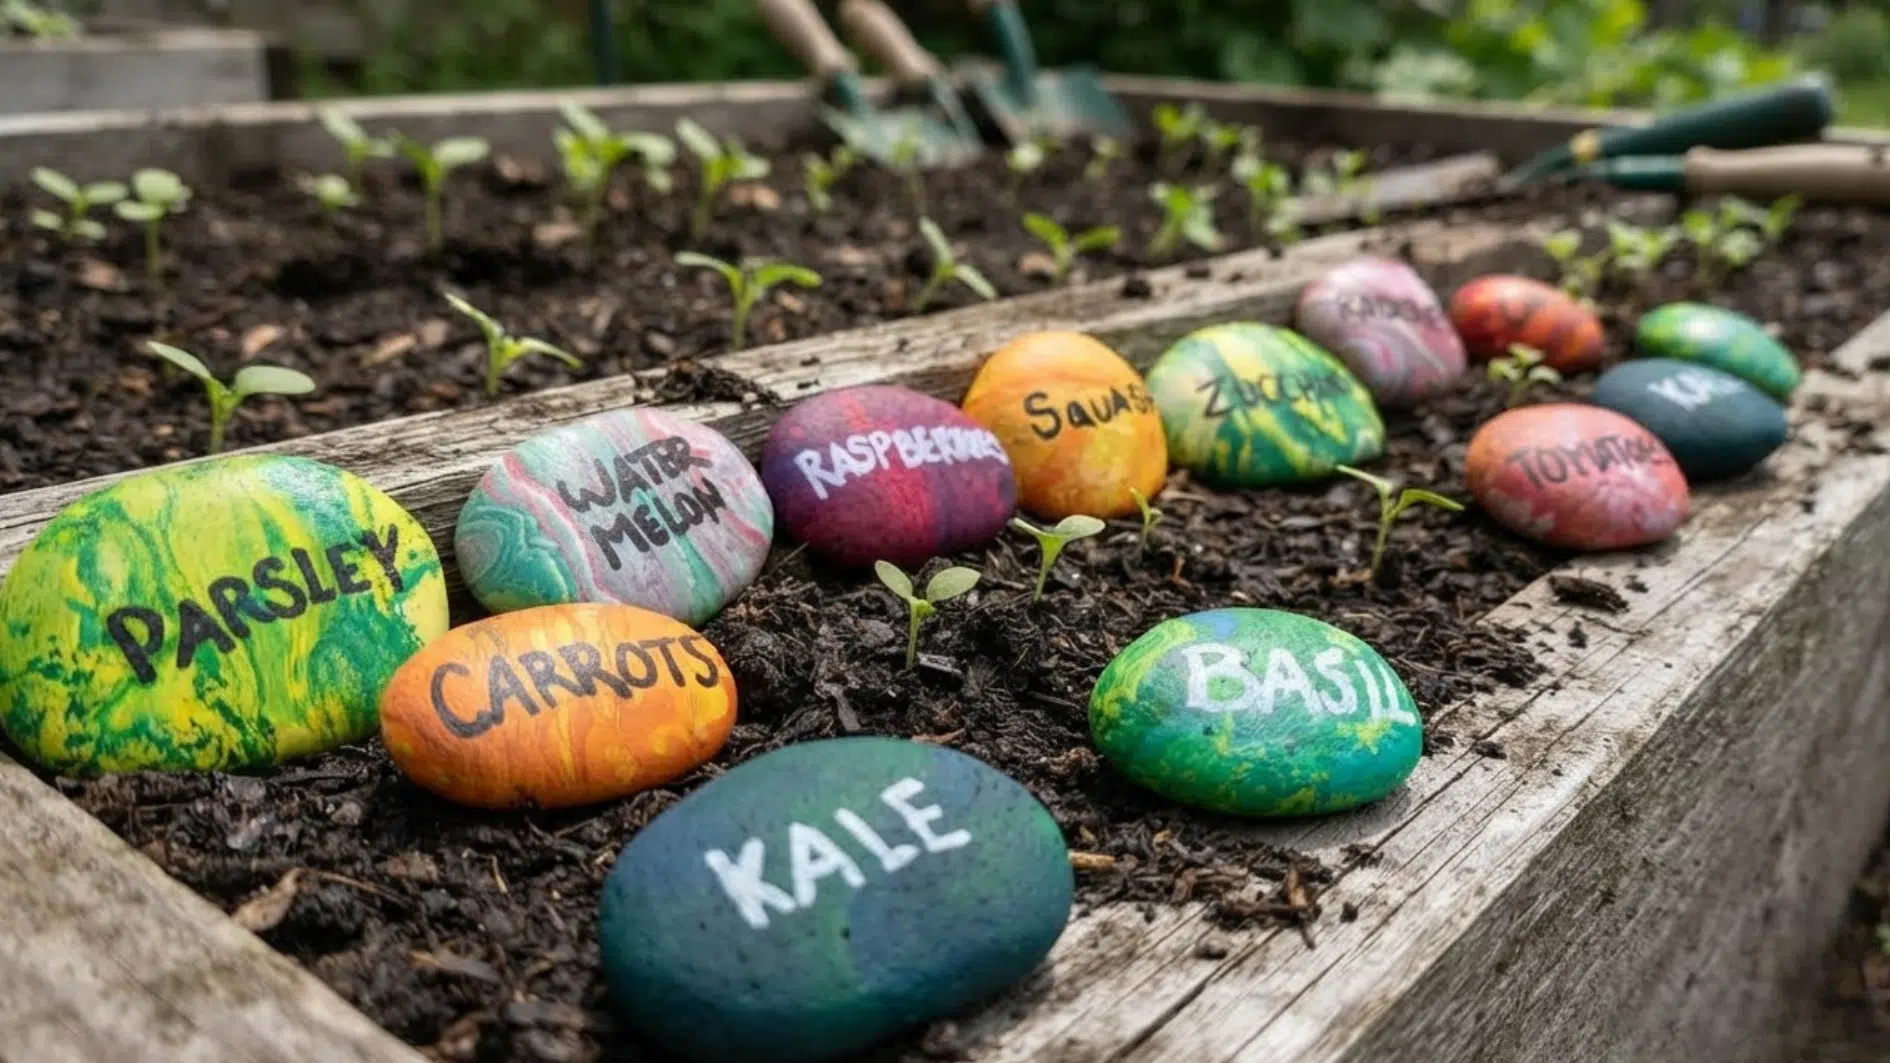
This is one of the easiest adult craft ideas for anyone who loves gardening. Painted rocks make charming, weatherproof markers for herbs, vegetables, or flower beds.
It’s a low-cost project that also makes a thoughtful housewarming gift for plant lovers.
Materials Required: Smooth, flat rocks (6 to 8), acrylic paint (3 to 4 colors), a fine paintbrush, and clear outdoor sealant.
How to Make It:
- Wash and dry the rocks.
- Paint a base coat on each rock.
- Let the paint dry for 20 minutes.
- Add plant names or small designs.
- Allow the paint to dry overnight.
- Apply outdoor sealant.
8. DIY Beaded Jewelry Set
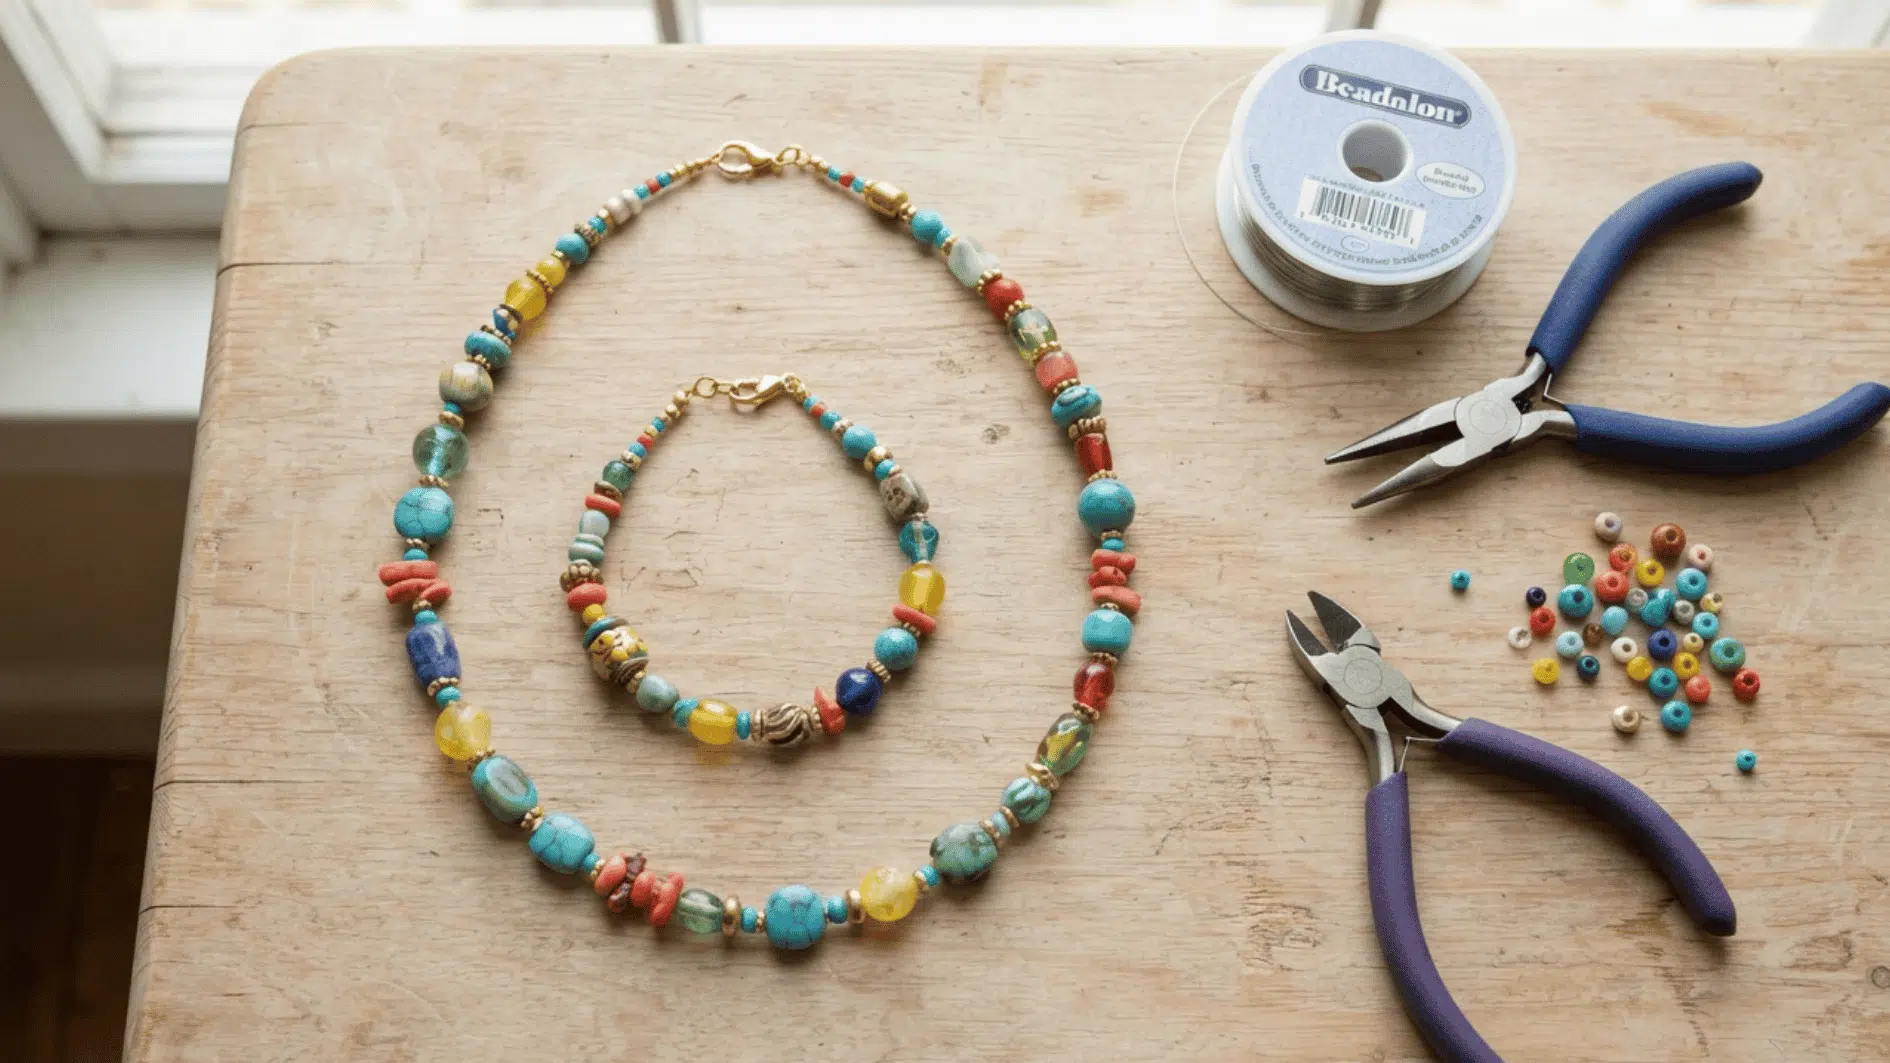
Beading is a relaxing, portable craft that fits easily into any arts and crafts ideas for adults list. With just a few tools, you can create custom necklaces, bracelets, or earrings that match your personal style.
It’s also an easy project to do while watching TV or chatting with friends.
Materials Required: Assorted beads (100 to 150), beading wire (3 feet), clasps (2 to 3 sets), and jewelry pliers.
How to Make It:
- Plan the bead pattern.
- Cut the wire to the required length.
- String the beads onto the wire.
- Use pliers to attach clasps at both ends.
- Trim any extra wire.
- Check that each clasp is secure.
9. Fabric Scrap Memory Quilt Square
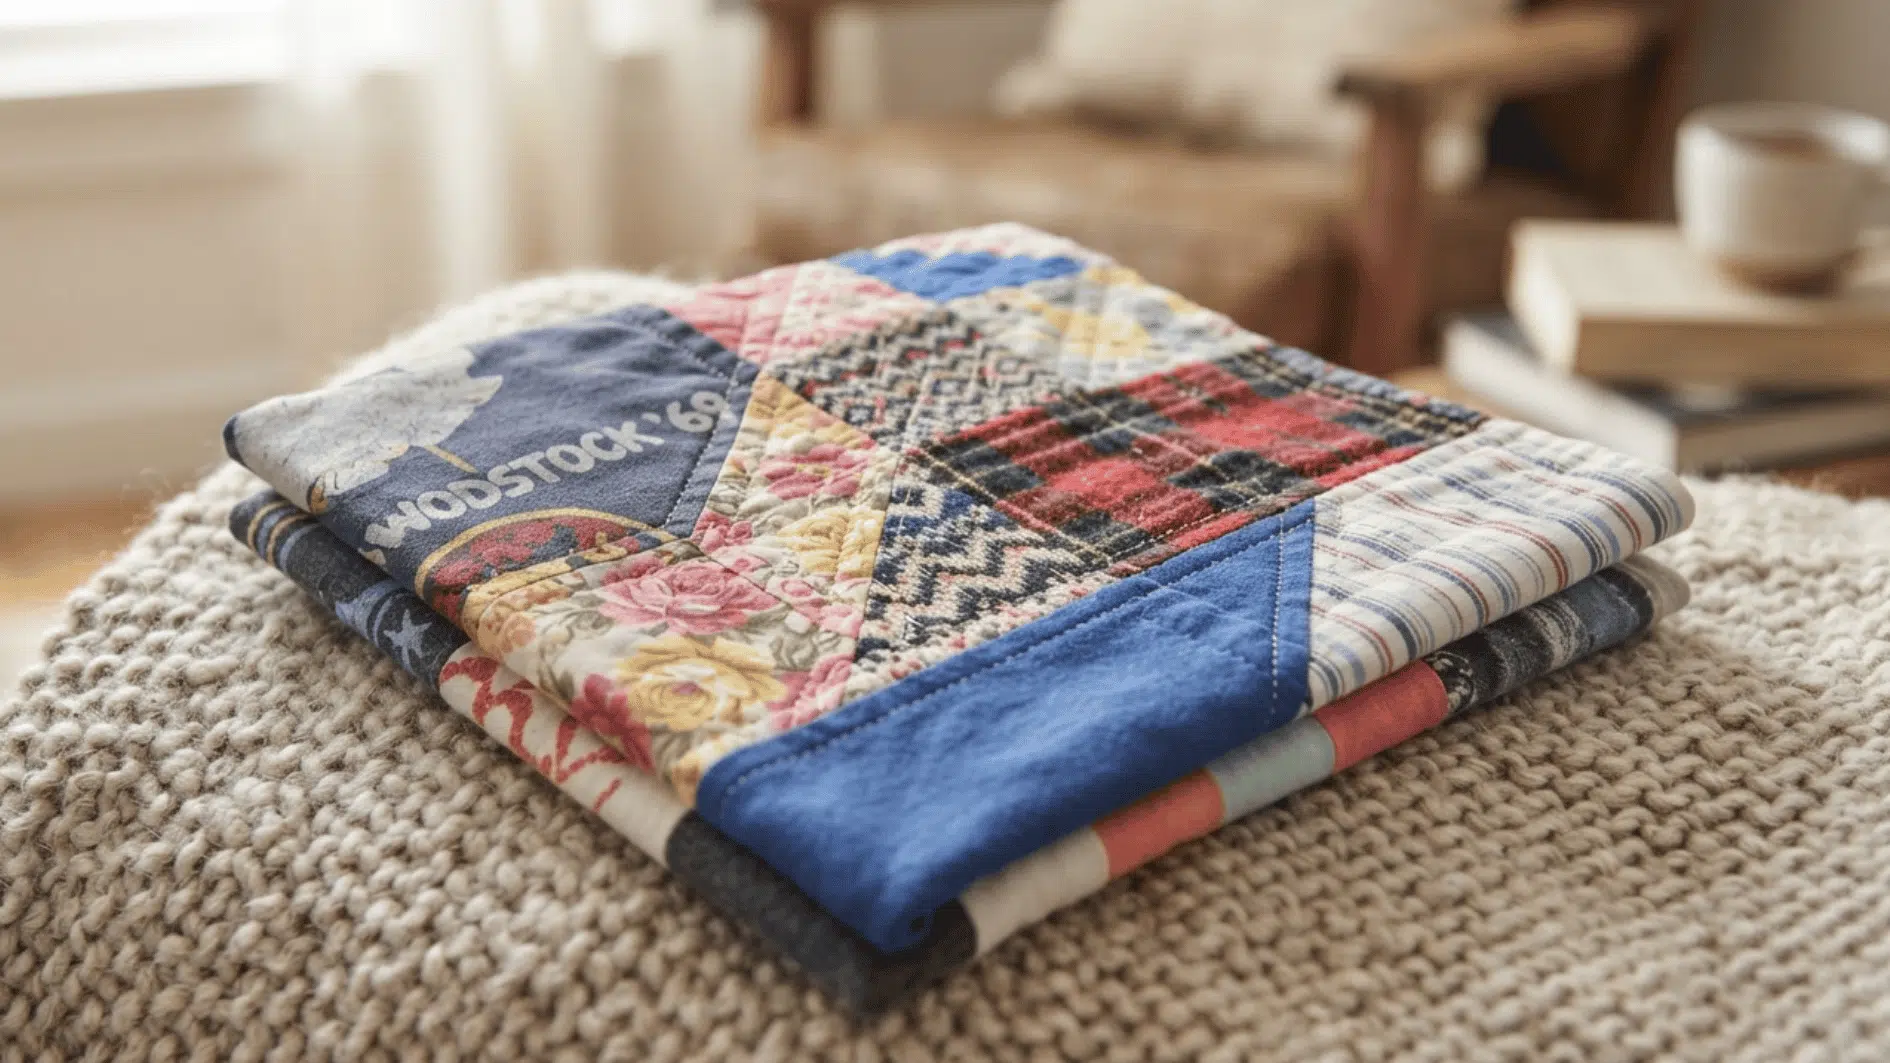
Turning old T-shirts or fabric scraps into a quilt square is a sentimental, beginner-friendly sewing project. It’s ideal for preserving memories from concerts, vacations, childhood, or clothing.
Over time, you can combine several squares into a full memory quilt.
Materials Required: Fabric scraps (6 to 8 pieces measuring 6 by 6 inches), quilt batting (18 by 18 inches), backing fabric (18 by 18 inches), and a sewing machine or needle and thread.
How to Make It:
- Arrange the scraps in your preferred layout.
- Sew the pieces together to form one square.
- Layer the patchwork top, batting, and backing fabric.
- Sew around the edges, leaving a small opening.
- Turn the square right side out.
- Sew the opening closed by hand.
10. DIY Air-Dry Clay Trinket Dish
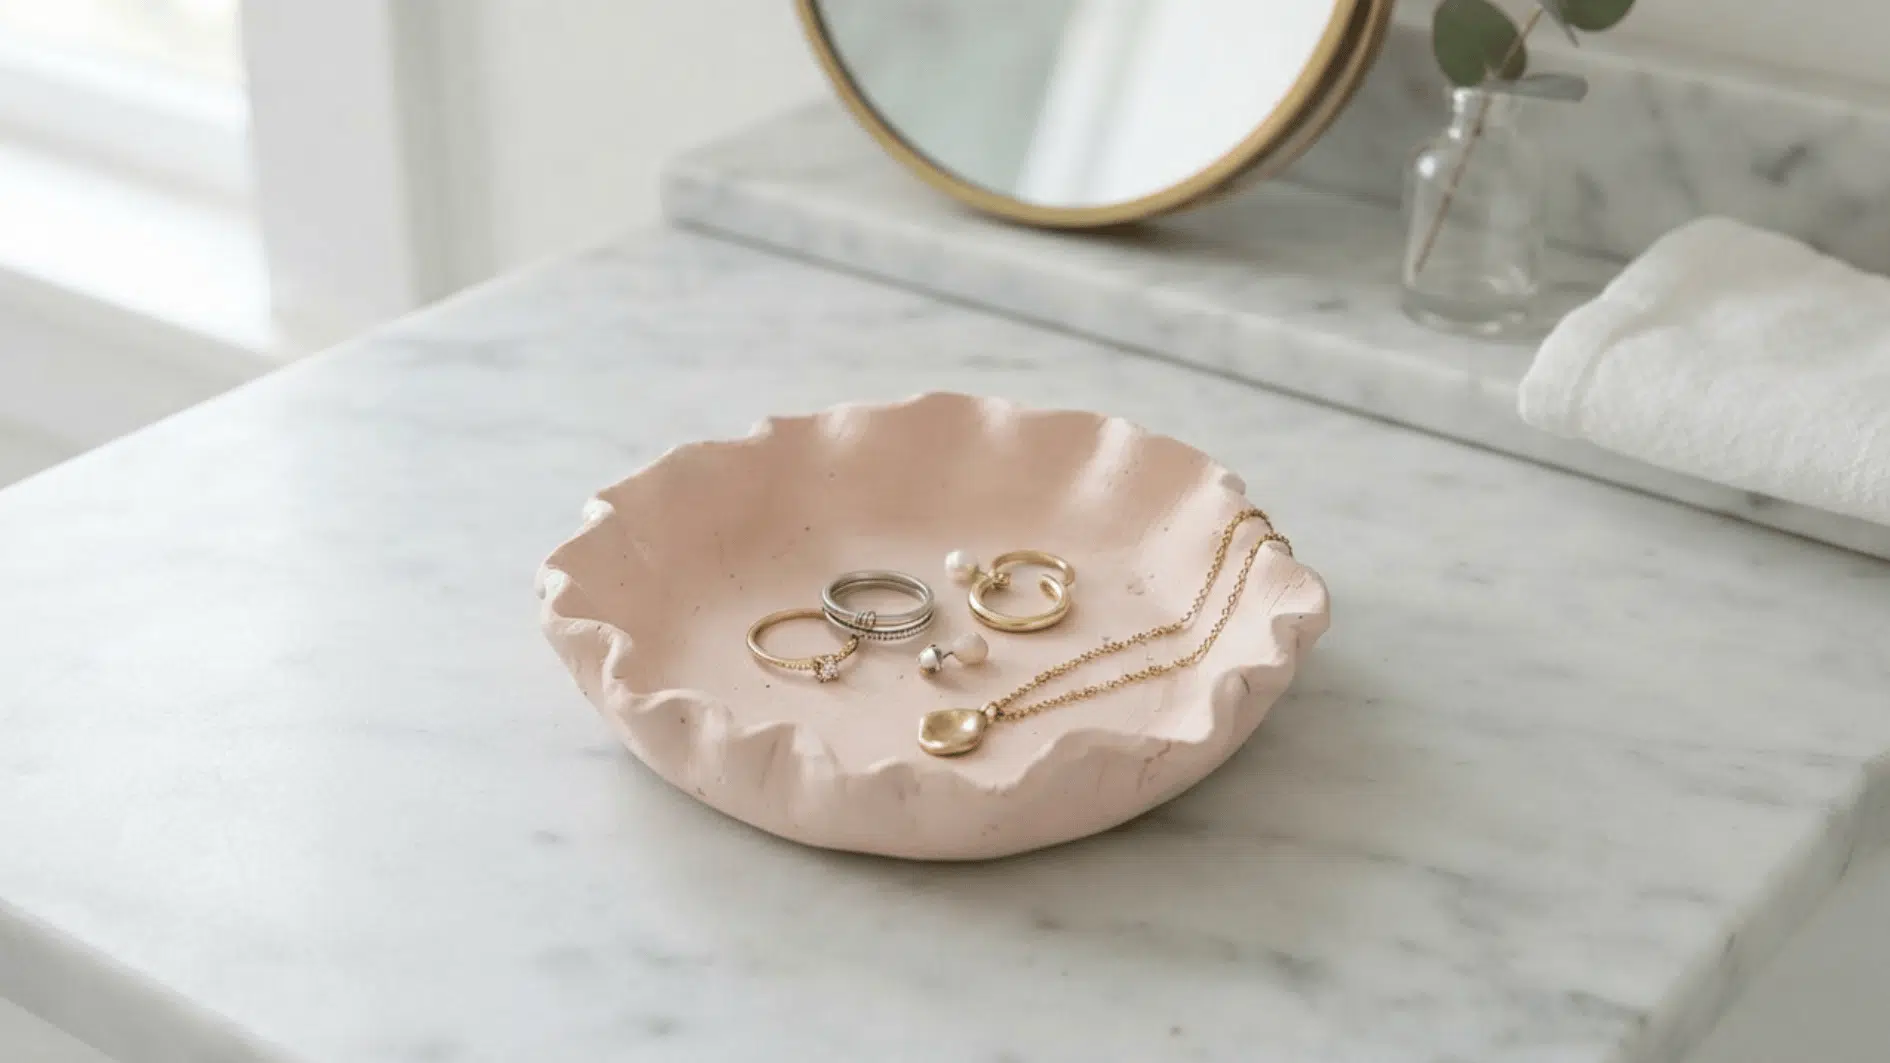
Clay trinket dishes are a favorite among fun crafts for adults because they require no kiln or special equipment.
Perfect for holding jewelry, keys, or small everyday items, this craft is simple enough for a first-timer but customizable enough for more advanced crafters.
Materials Required: Air-dry clay (about 1 pound), a rolling pin, a small bowl (4 to 5 inches), and acrylic paint (optional).
How to Make It:
- Roll the clay to about ¼-inch thickness.
- Place the clay over a small bowl to form a dish.
- Trim rough edges with a butter knife.
- Let the clay dry for 24 to 48 hours.
- Turn it over halfway through the drying time.
- Paint or seal the dish after it dries.
11. DIY Photo Transfer Tote Bag
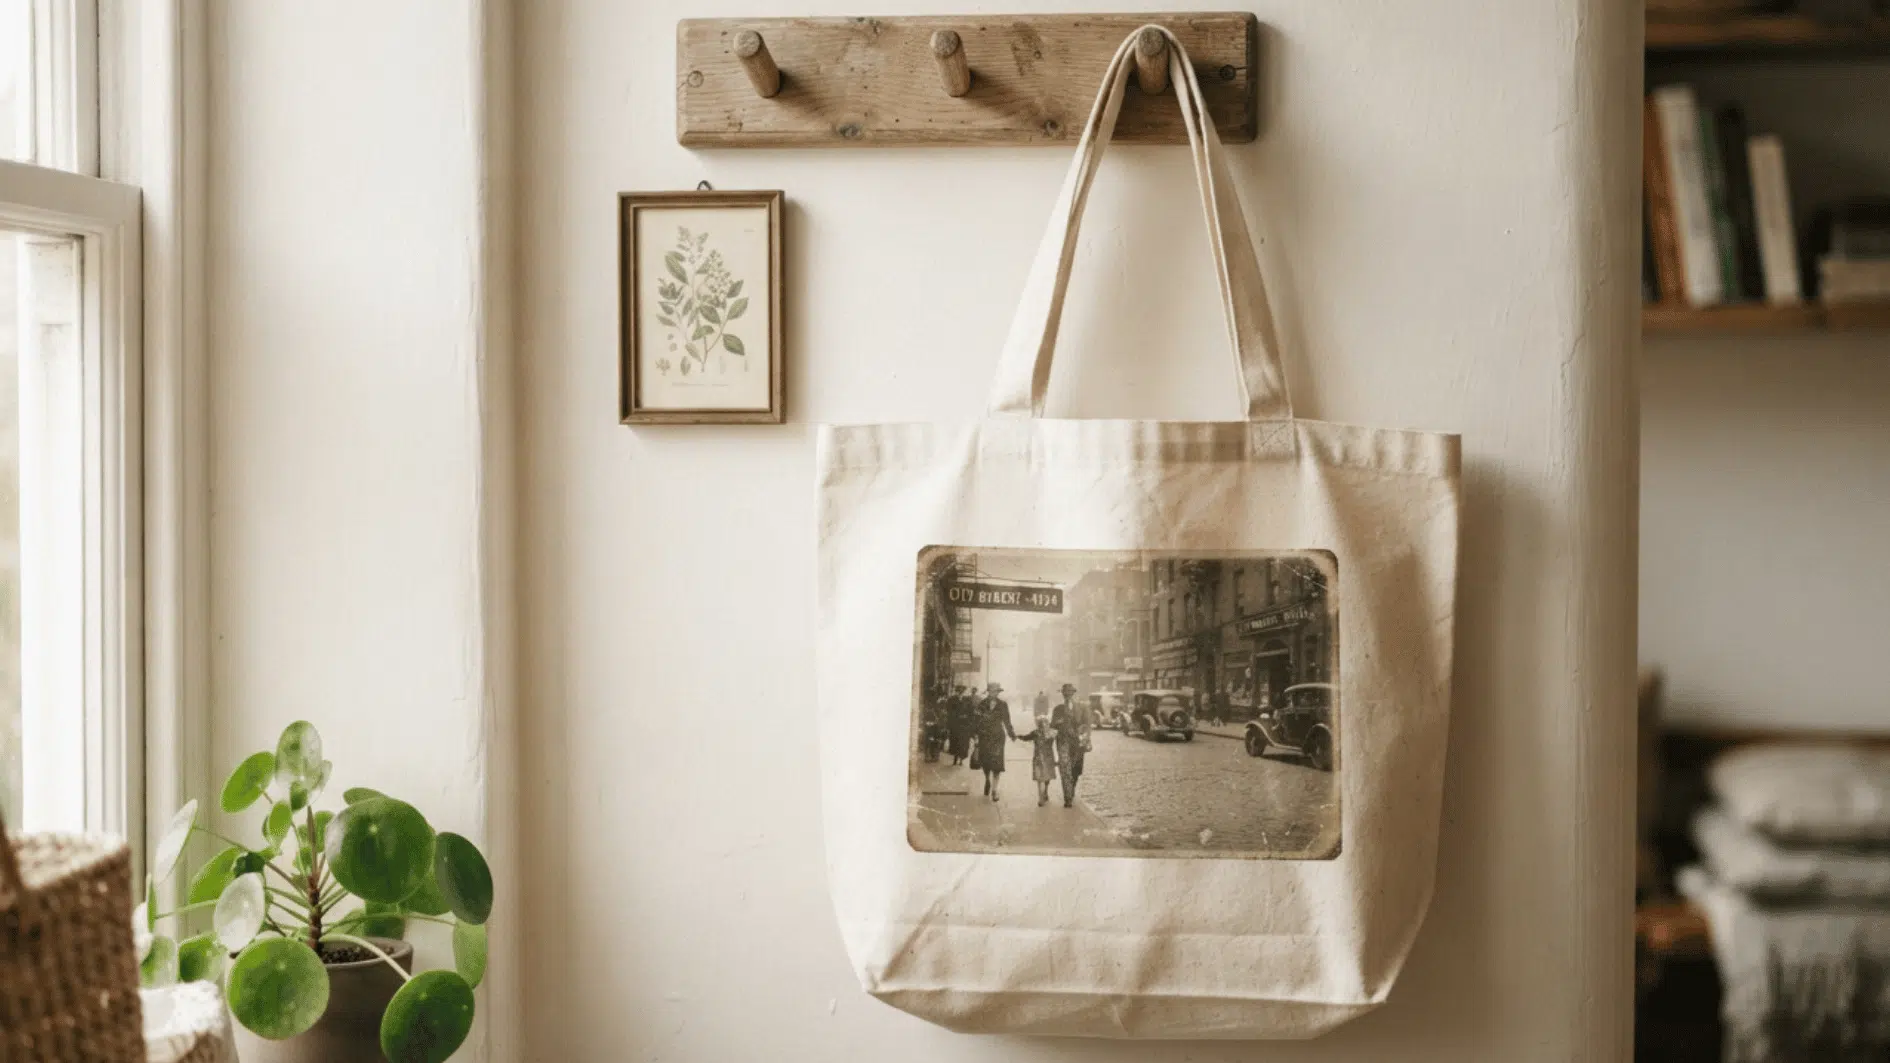
This craft is a fun twist on traditional tote-making, letting you transfer your favorite photo directly onto fabric.
It’s a great way to personalize a bag with a meaningful image, whether it’s a pet, a vacation photo, or a family portrait.
Materials Required: Plain canvas tote, photo transfer paper, inkjet printer, and iron.
How to Make It:
- Print the selected image on transfer paper.
- Mirror the image first if the paper instructions require it.
- Heat the iron according to the transfer paper directions.
- Place the transfer face down on the tote.
- Press it firmly with the iron for 2 to 3 minutes.
- Let it cool slightly before removing the backing.
- Wait 24 hours before washing the tote.
12. Hand-Stamped Leather Keychains
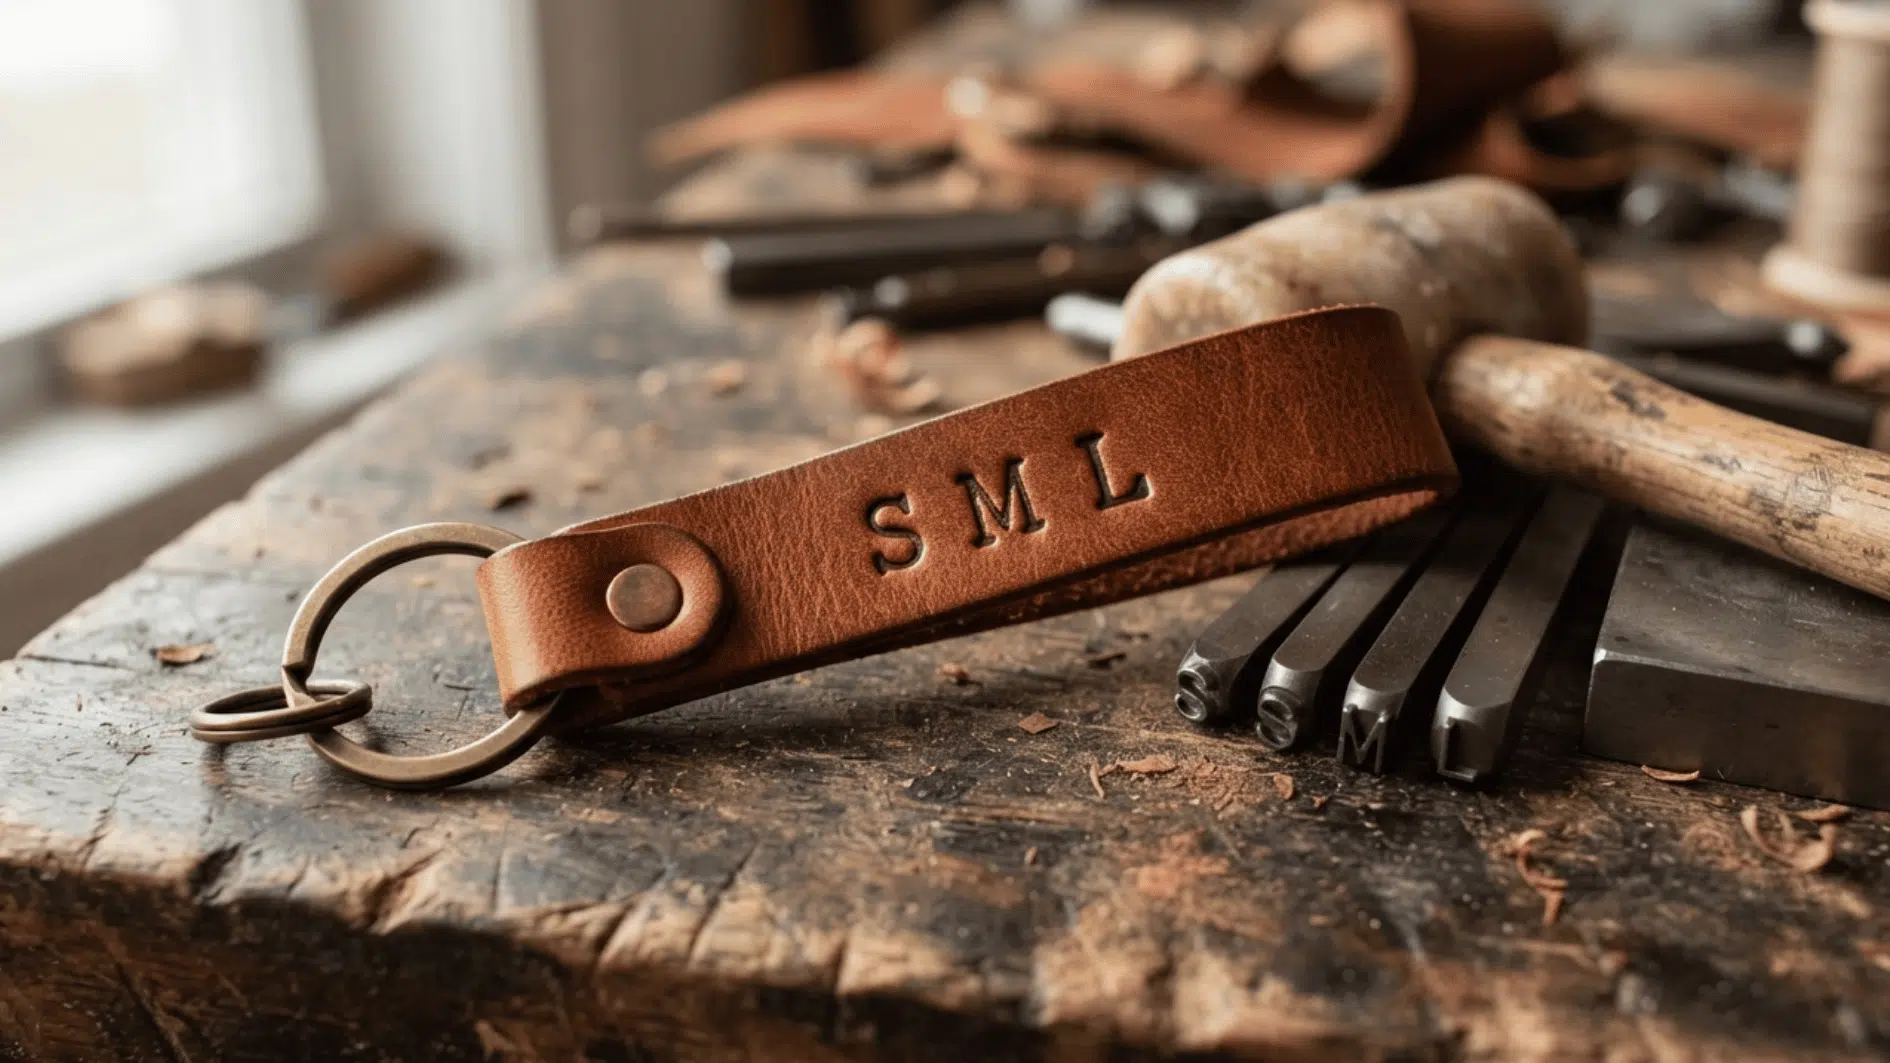
Leather stamping brings a rustic, artisanal feel to a simple accessory.
This project is one of the more advanced adult craft ideas on this list, but it’s still approachable for beginners willing to practice a few extra times.
Materials Required: Leather strip (1 by 4 inches), letter or number stamp set, mallet, and keyring hardware.
How to Make It:
- Dampen the leather.
- Arrange the stamps to form a name, date, or initials.
- Strike each stamp firmly with the mallet.
- Check the alignment as you work.
- Let the leather dry.
- Attach the keyring hardware.
13. DIY Embroidery Hoop Art
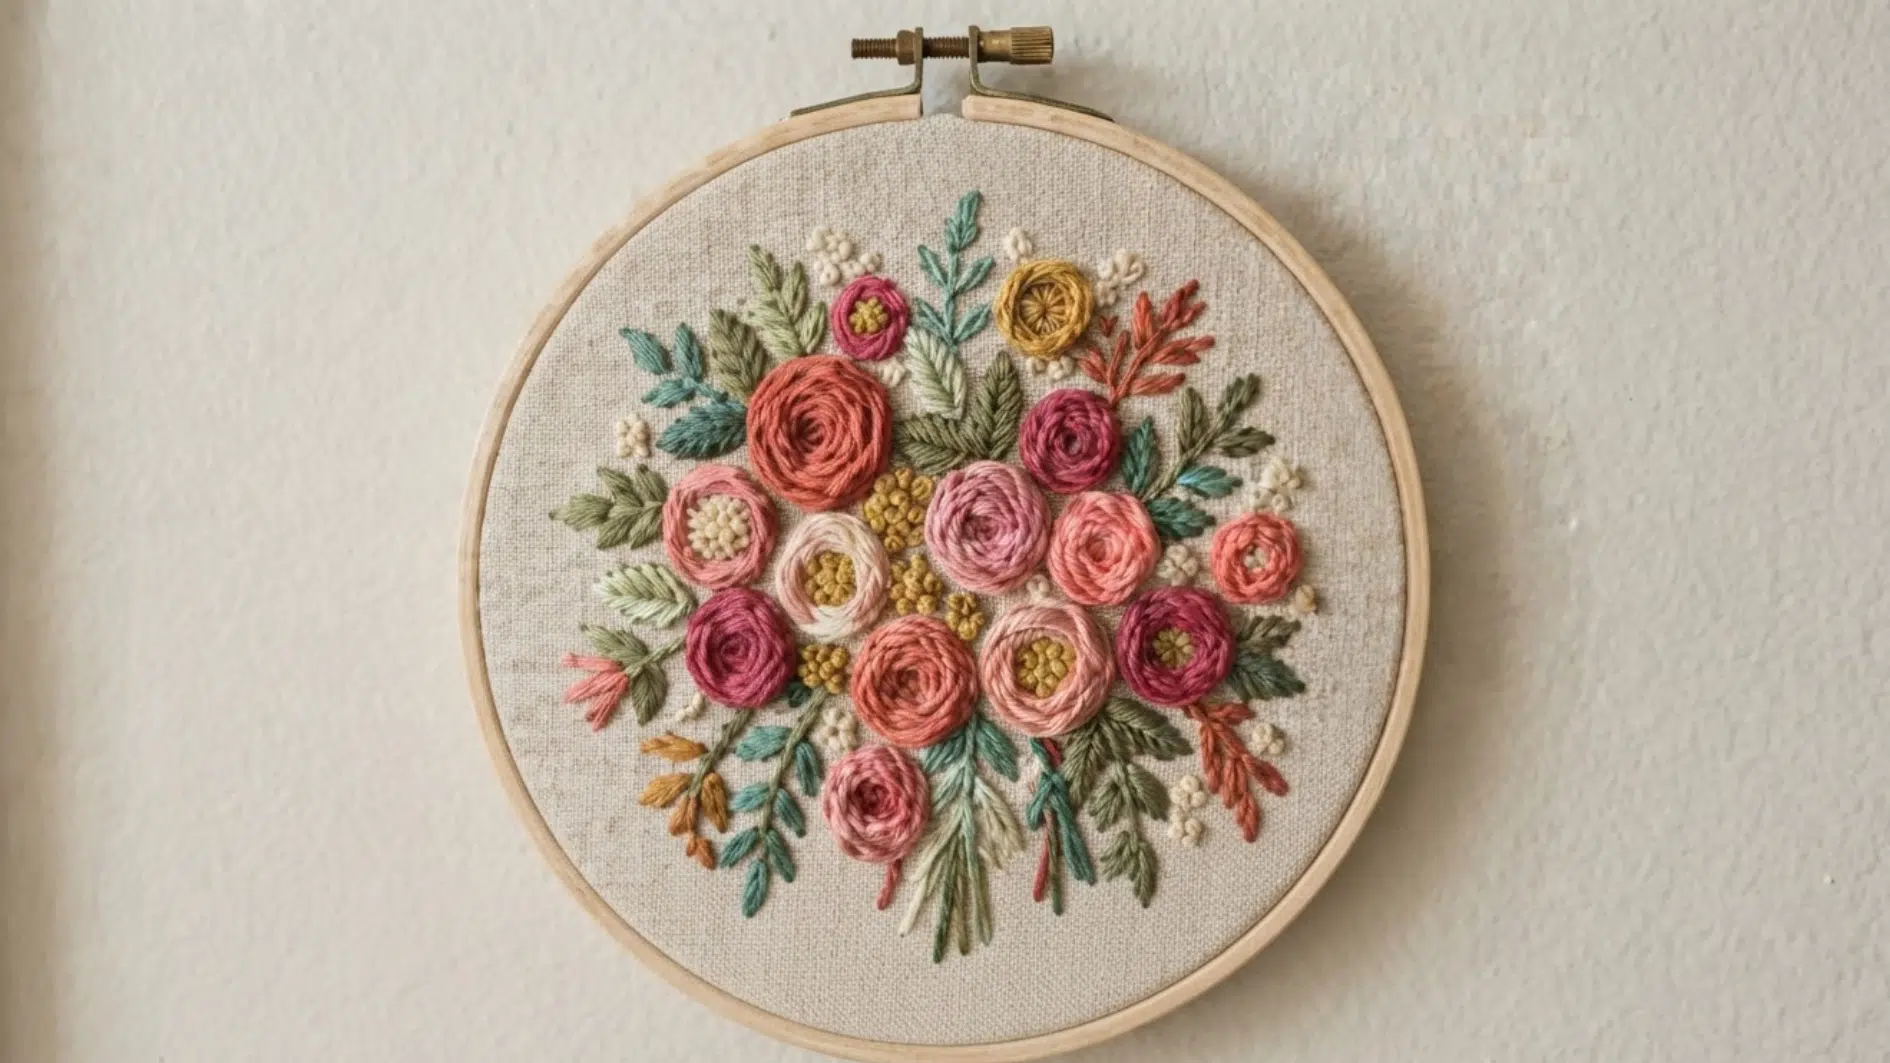
Embroidery is a slow, satisfying craft that’s seen a major resurgence among adults looking for fun crafts that double as a mindfulness practice.
A simple hoop and a few stitches can create surprisingly detailed, gallery-worthy art, using the same backstitch foundation used in this embroidery felt craft project.
Materials Required: Embroidery hoop (6 to 8 inches), embroidery fabric (10 by 10 inches), embroidery floss (3 to 4 colors), and embroidery needles (2 to 3 sizes).
How to Make It:
- Secure the fabric inside the hoop.
- Lightly draw a design on the fabric.
- Sew the outline with a backstitch.
- Fill the design with satin stitches or French knots.
- Trim the extra fabric.
- Secure the back with fabric glue.
14. Upcycled Glass Jar Lanterns
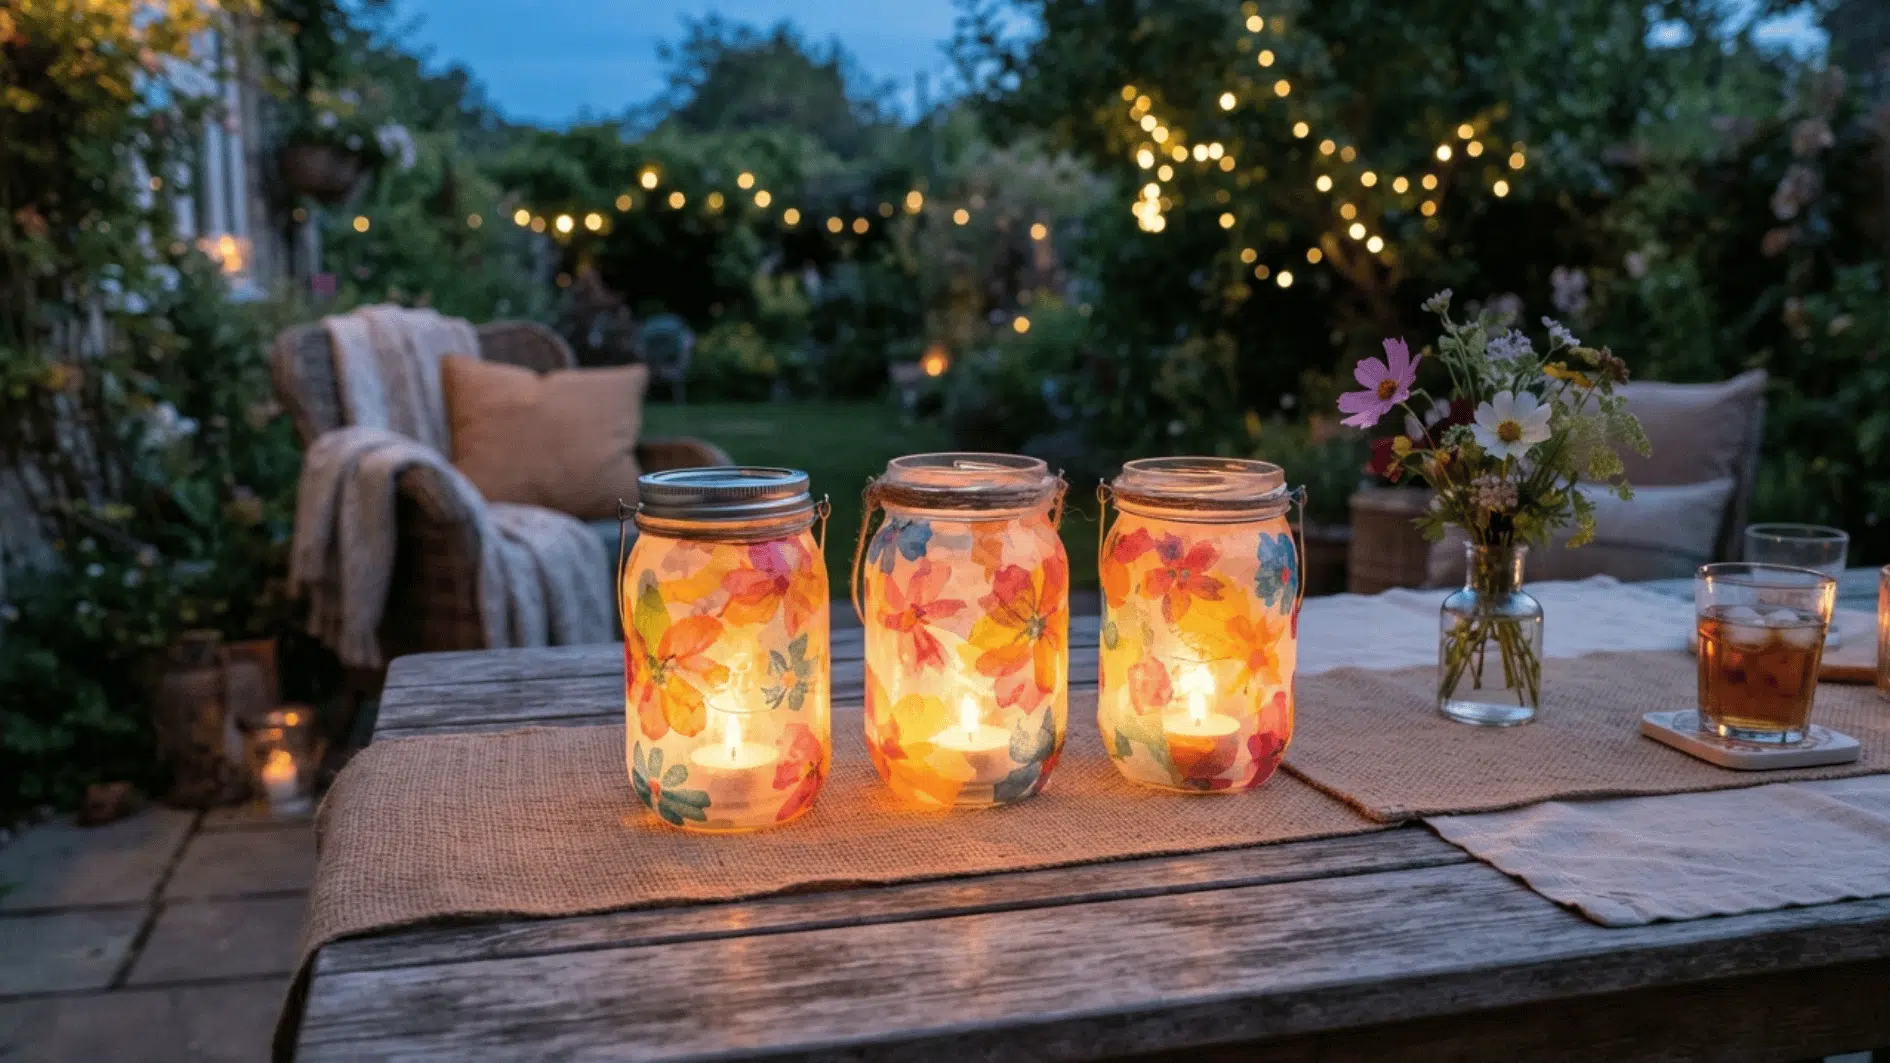
Turning empty glass jars into lanterns is one of the most budget-friendly arts and crafts ideas for adults, requiring materials you likely already have at home.
These lanterns work beautifully for patio decor, outdoor dinners, or cozy indoor lighting.
Materials Required: Glass jars (2 to 3), tissue paper or paint, wire for handles (12 inches per jar), and tea light candles (2 to 3).
How to Make It:
- Clean the jars and remove the labels.
- Add tissue-paper decoupage or painted designs.
- Let the decorations dry for 1 to 2 hours.
- Wrap wire around the neck of each jar to create a handle.
- Place a tea light inside each jar.
15. DIY Woven Paper Basket
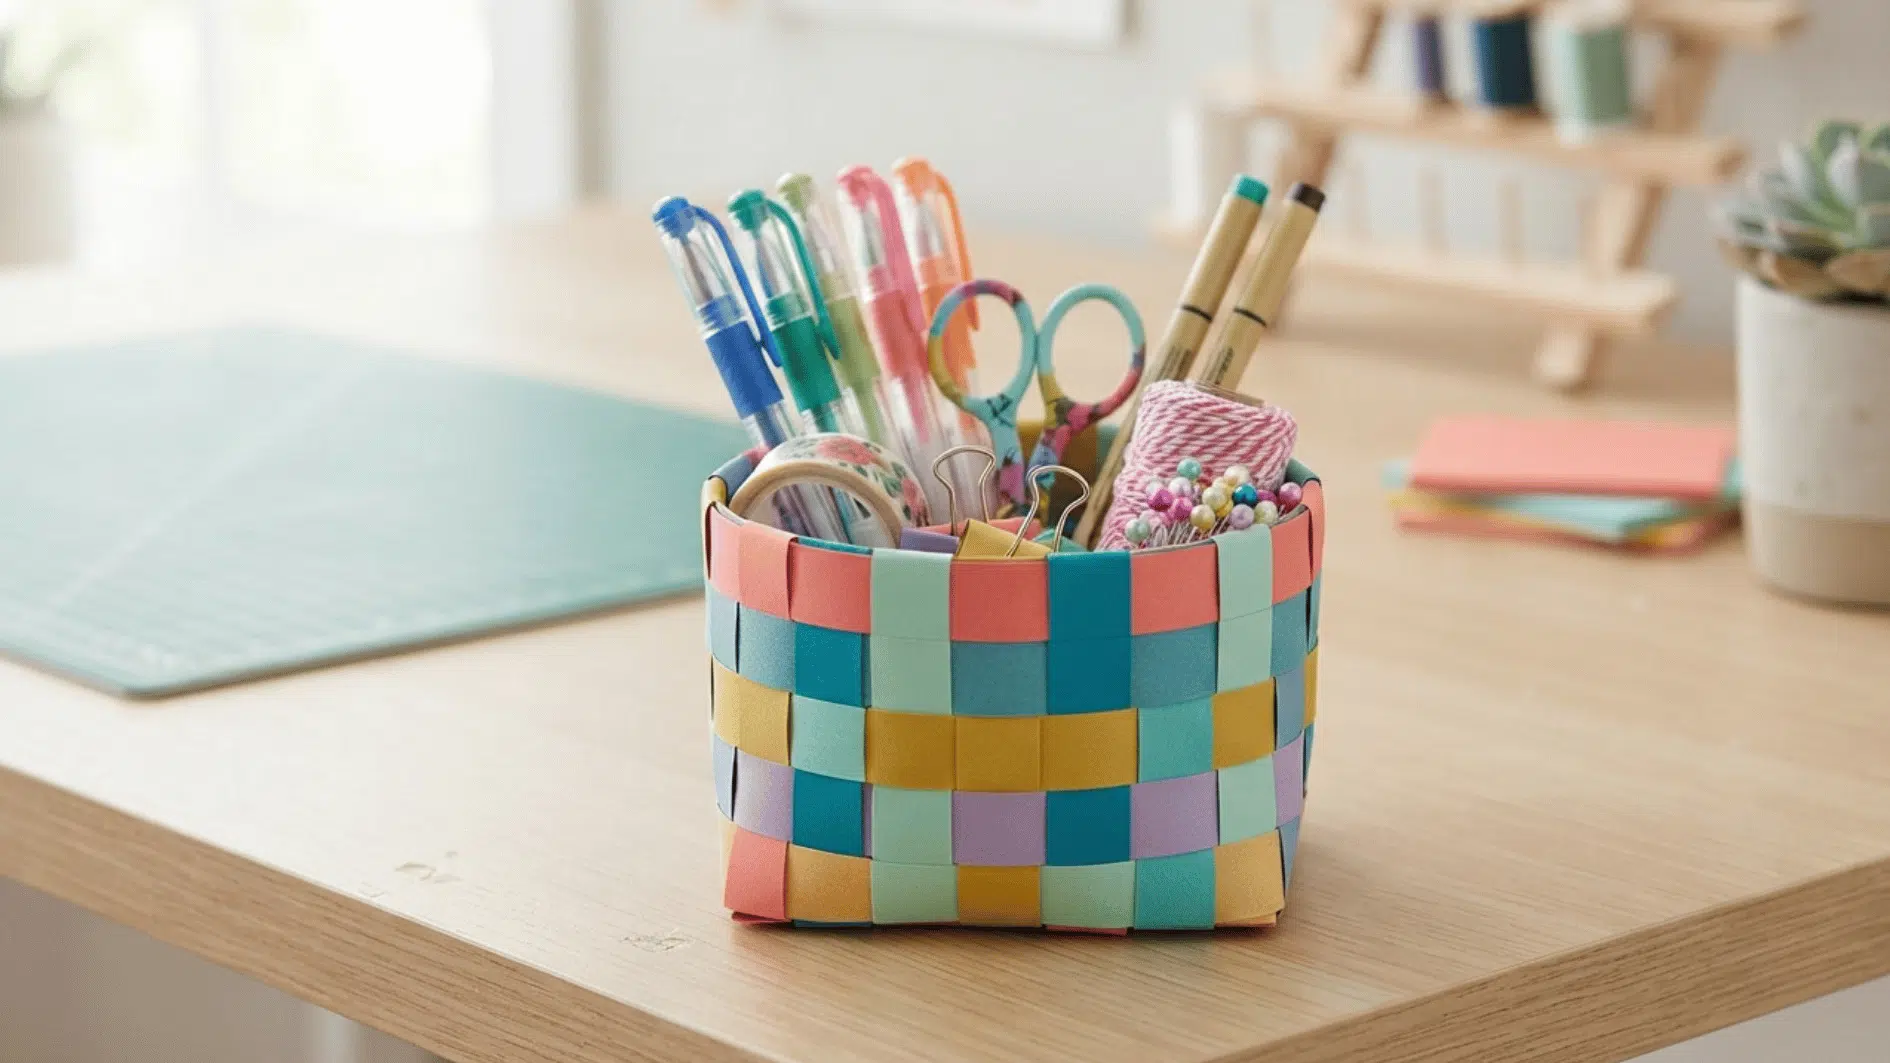
This paper-weaving project turns simple strips of paper into a sturdy, decorative basket.
It’s a low-cost, accessible craft that works well for organizing small items like mail, pens, or craft supplies, making it as practical as it is fun.
Materials Required: Cardstock strips (20 to 24 strips measuring 1 by 12 inches), glue stick, scissors, and clothespins (4 to 6).
How to Make It:
- Create a base by arranging the strips in an over-and-under pattern.
- Fold the upright strips to form the basket walls.
- Place horizontal strips around the sides.
- Add glue where needed.
- Hold the shape with clothespins while the glue dries.
- Trim the extra paper.
16. DIY Mosaic Picture Frame
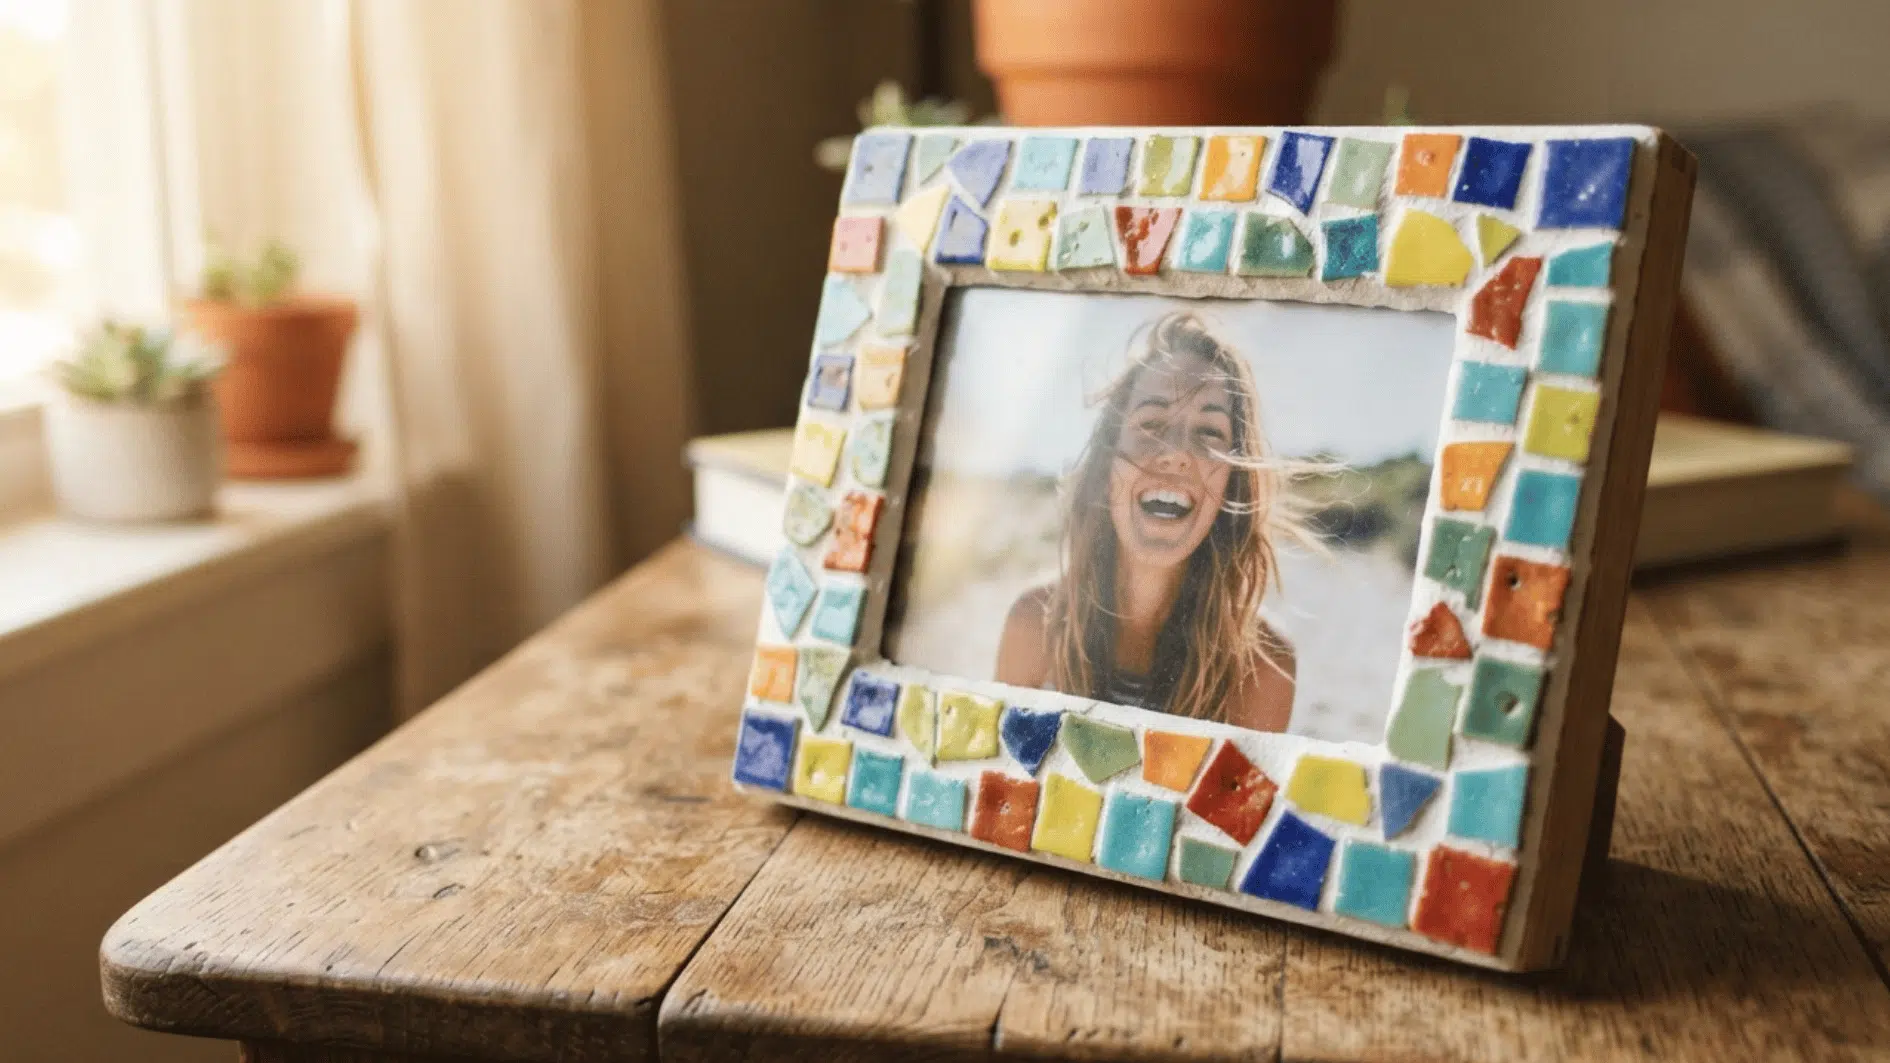
Mosaic art turns broken tile or glass pieces into a stunning, textured frame that instantly upgrades any photo display.
It’s a satisfying way to repurpose leftover materials into something eye-catching. This project rewards patience over precision, since irregular pieces add to the charm rather than detract from it.
Materials Required: Wooden photo frame (5 by 7 inches), mosaic tile pieces, tile adhesive, and premixed grout.
How to Make It:
- Arrange the tile pieces on the frame.
- Glue each piece in place while leaving small gaps.
- Let the adhesive set for 2 to 3 hours.
- Spread grout across the frame and into the gaps.
- Remove extra grout with a damp cloth.
- Let the frame dry overnight.
17. Hand-Poured Soy Wax Melts
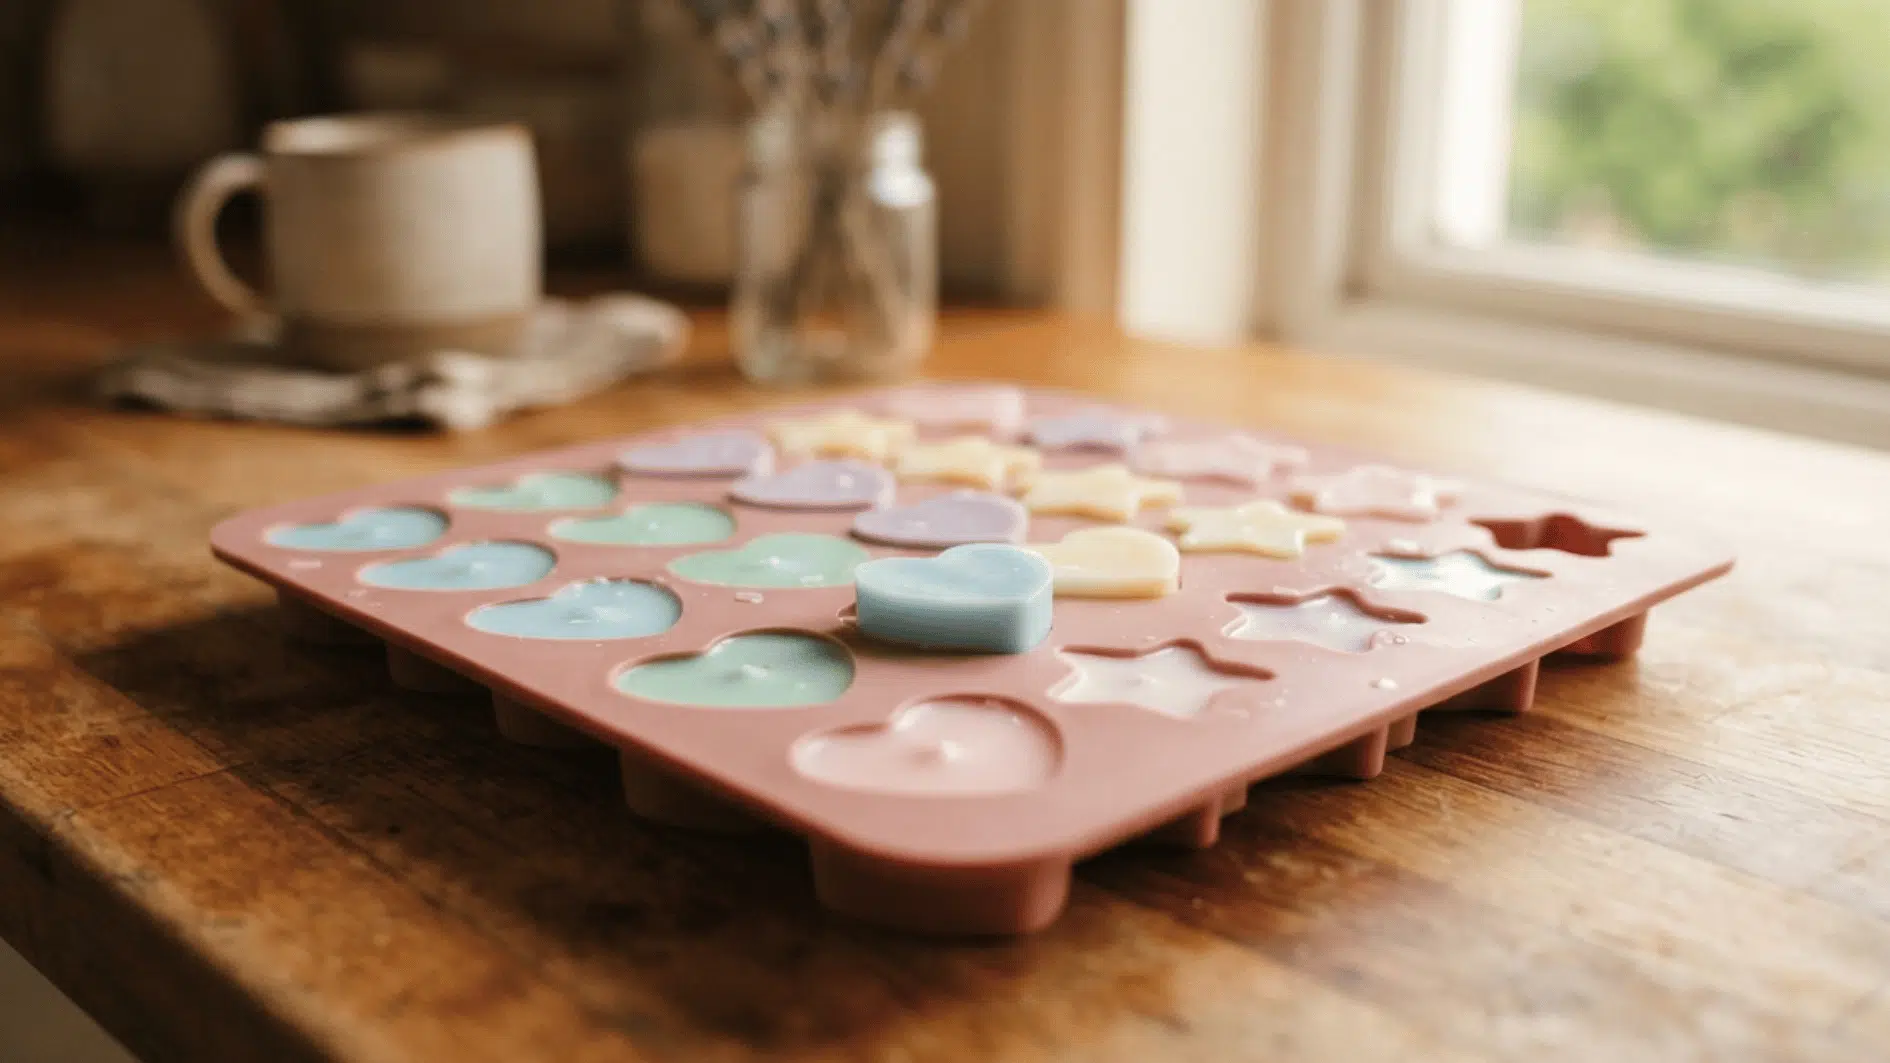
Wax melts are a low-effort alternative to candle making, perfect for adults who want a scented home accent without an open flame. They also make thoughtful, budget-friendly gifts.
Batches come together quickly, making this a great project for a short creative break.
Materials Required: Soy wax flakes (2 cups), silicone wax-melt mold, fragrance oil (1 ounce), and a double boiler or microwave-safe bowl.
How to Make It:
- Melt the wax slowly.
- Stir in the fragrance oil.
- Pour the wax into the mold.
- Let it cool for 2 to 3 hours.
- Remove the melts once they’ve set.
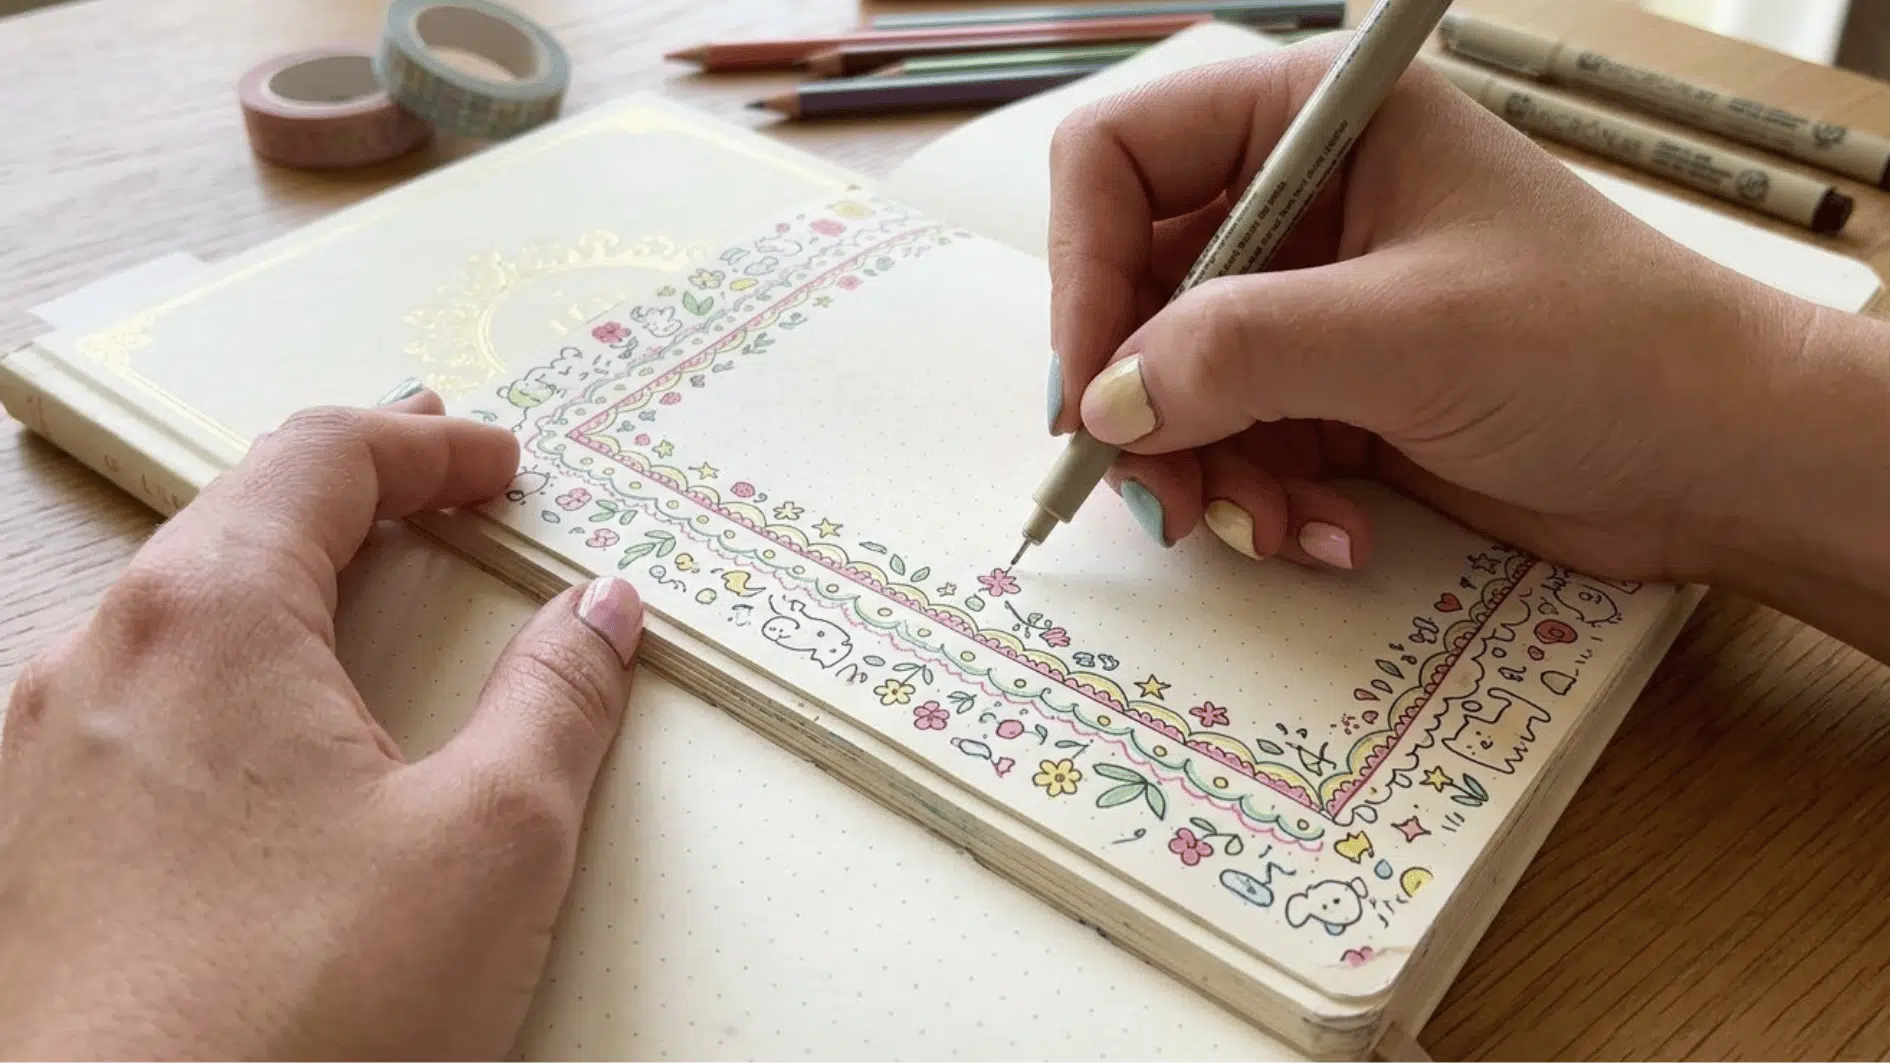
18. DIY Washi Tape Journal Cover
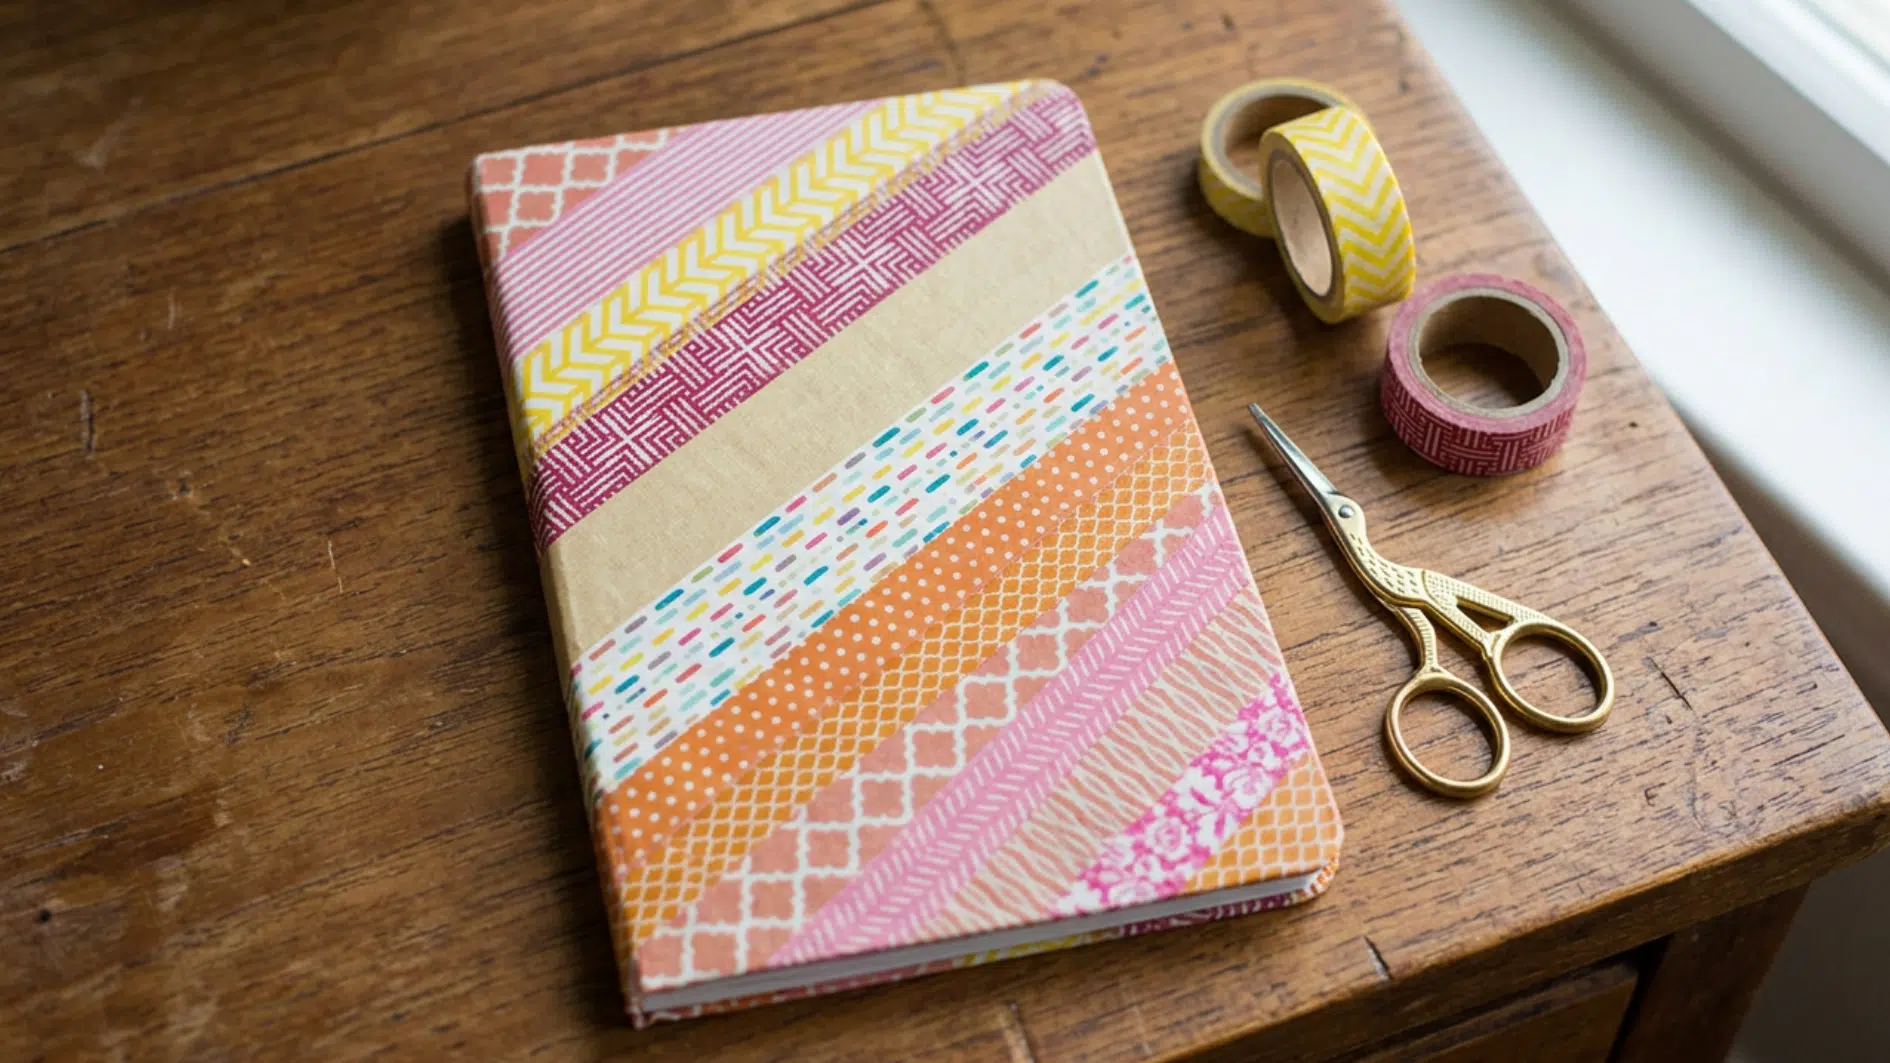
Decorating a plain notebook with washi tape is one of the simplest ways to personalize a journal without any painting or sewing skills required. It’s an ideal craft for a quick, low-mess afternoon.
The finished journal makes a lovely handmade gift or a fun way to start a new habit tracker.
Materials Required: Plain notebook, washi tape (3 to 4 patterns), scissors, and clear laminate sheet if desired.
How to Make It:
- Plan the tape pattern.
- Place strips of tape across the notebook cover.
- Trim extra tape around the edges.
- Add clear laminate for added protection if desired.
- Press the cover firmly to remove air bubbles.
19. Upcycled Wine Bottle Vase
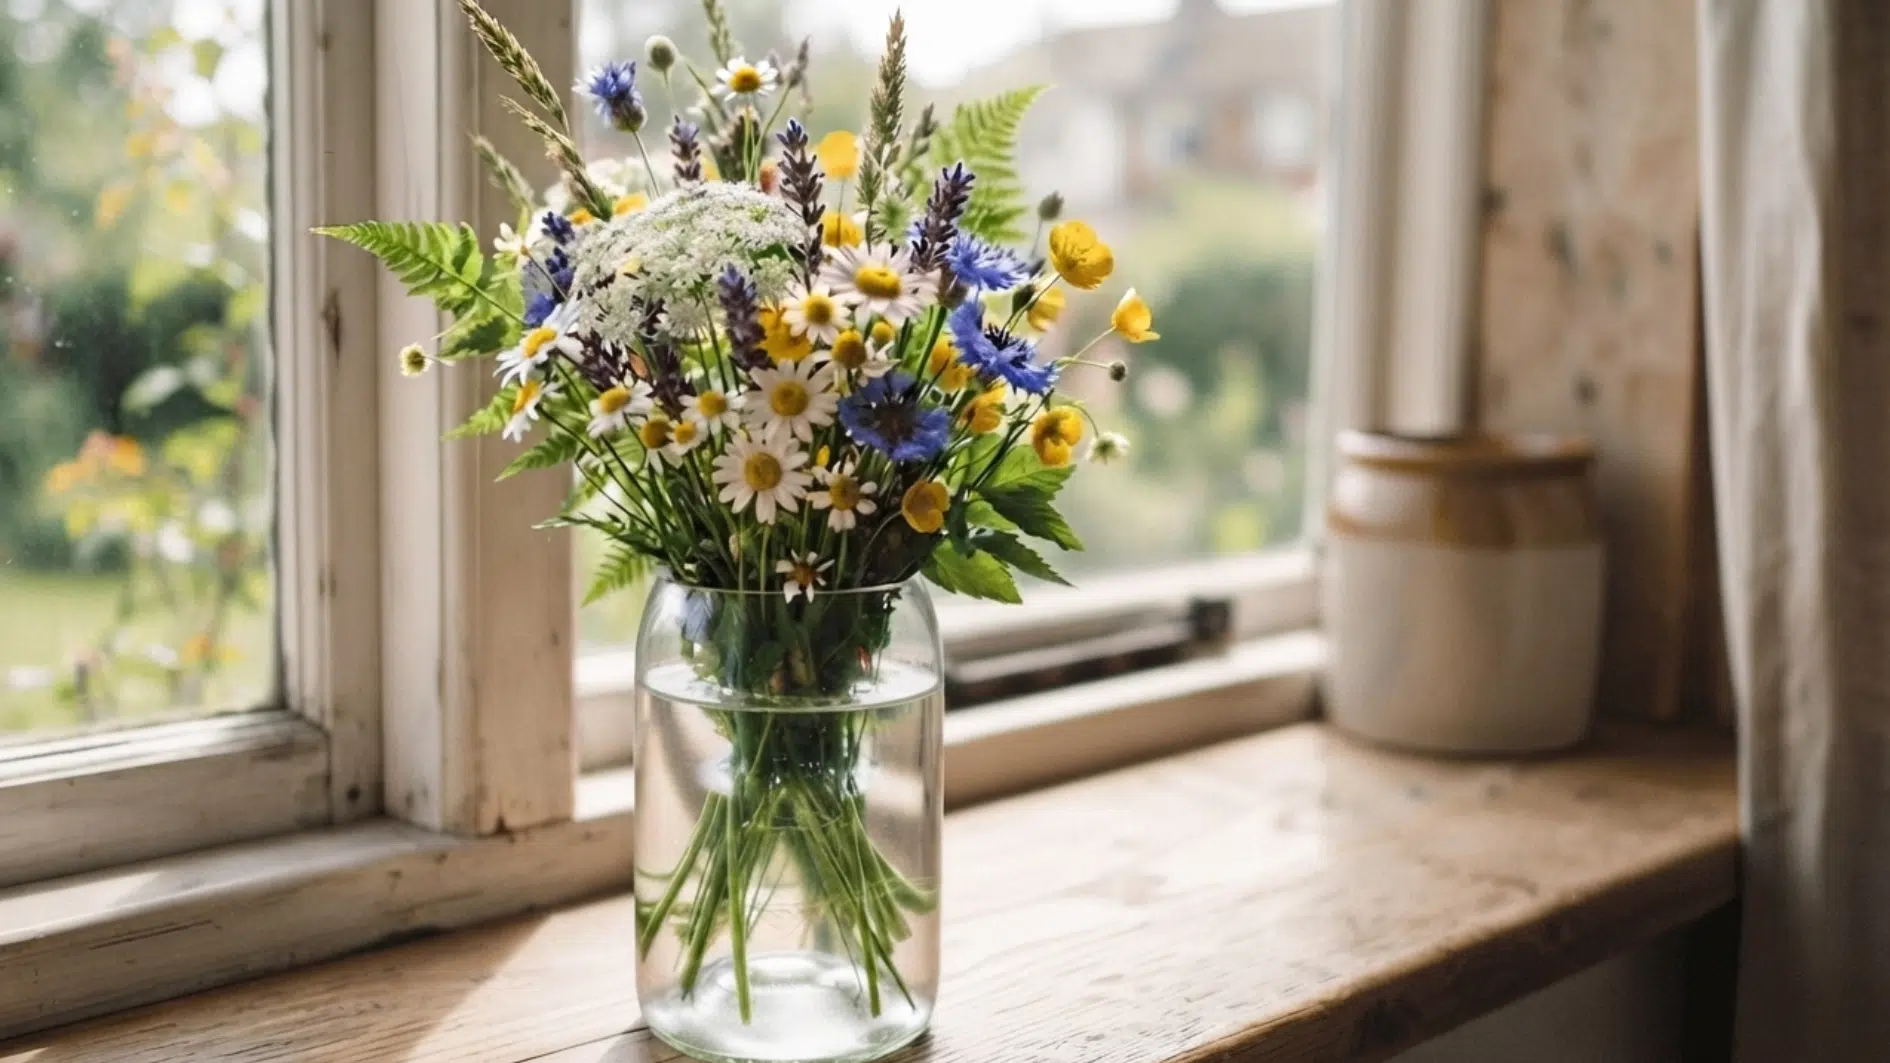
Empty wine bottles make elegant, minimalist vases with just a little cutting and sanding. This project is both a sustainability win and a stylish home décor upgrade.
It works well as a set, since mismatched bottle shapes look intentional when grouped together.
Materials Required: Glass wine bottles (1 to 3), bottle-cutting kit, 220-grit and 400-grit sandpaper, and a candle for smoothing the edges.
How to Make It:
- Mark and score the bottle with the cutting tool.
- Alternate hot and cold water until the glass separates.
- Sand the cut edge with 220-grit sandpaper.
- Finish smoothing it with 400-grit sandpaper.
- Carefully smooth the rim further if needed.
- Add fresh or dried flowers.
20. DIY Polymer Clay Earrings
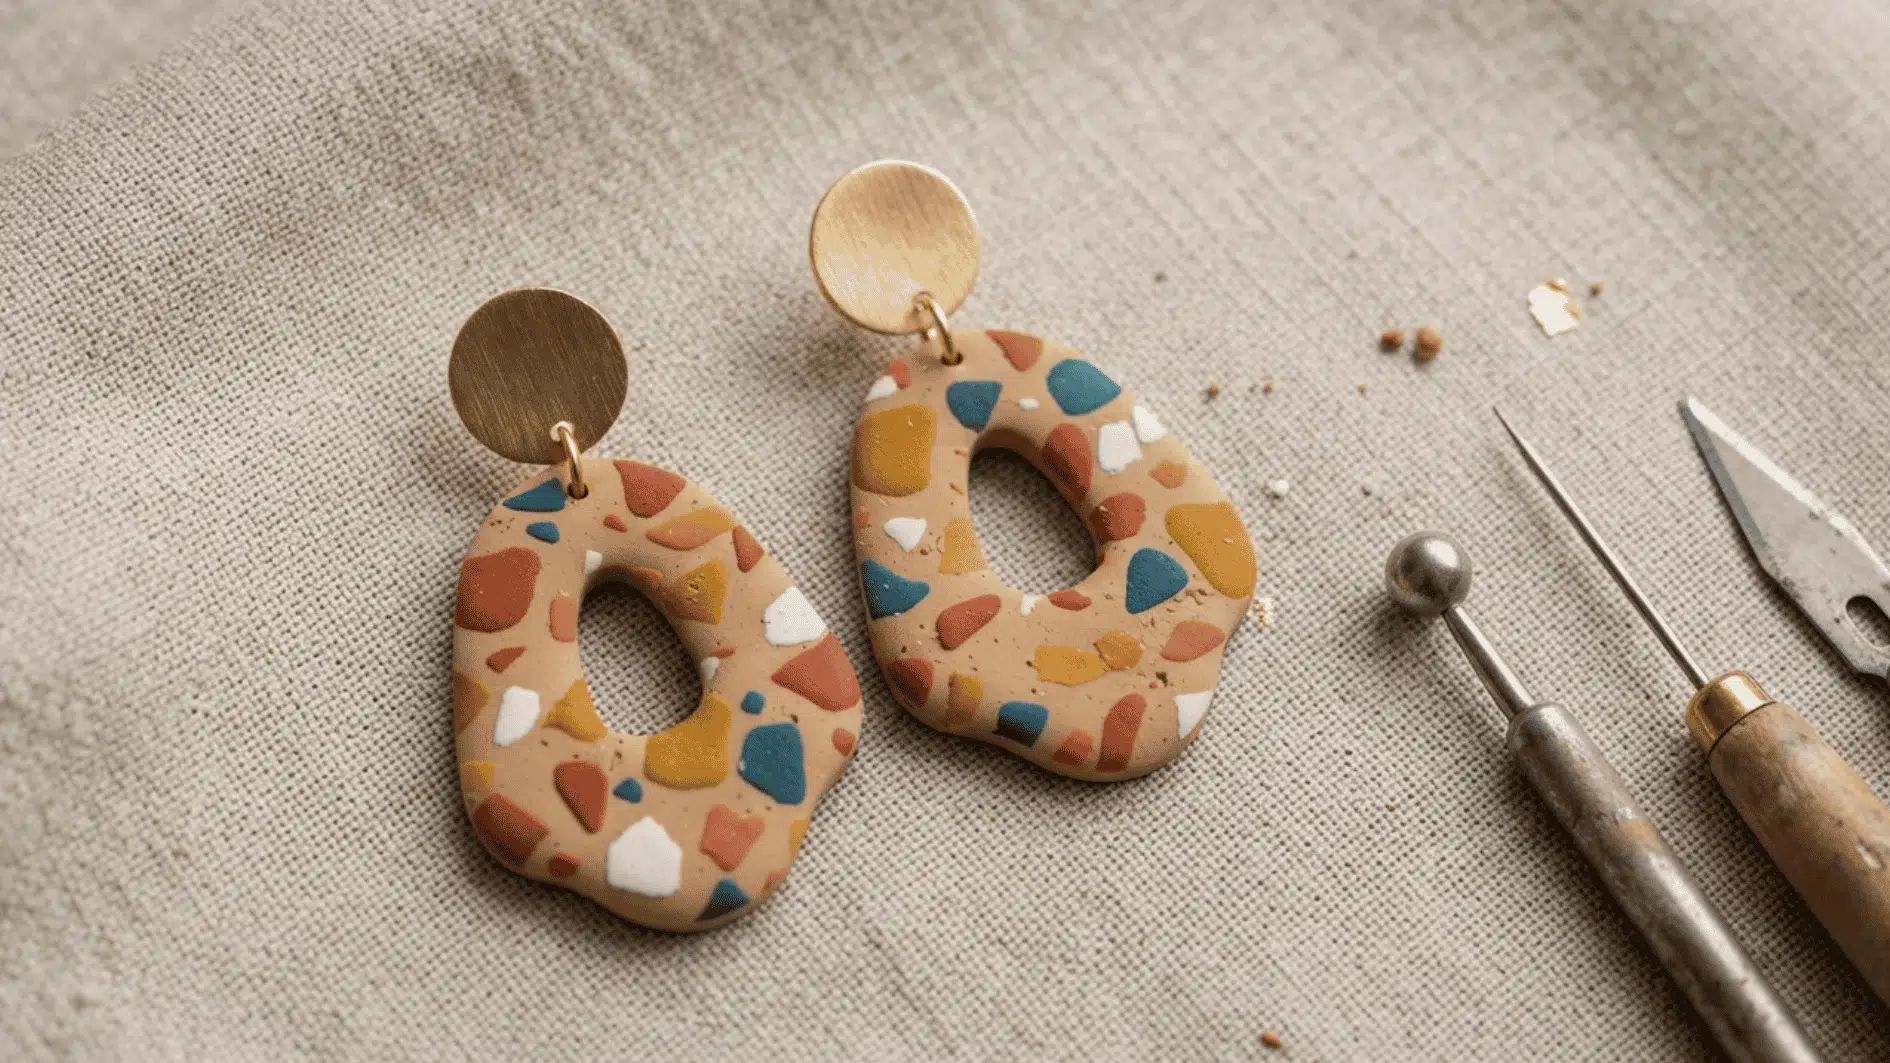
Polymer clay is endlessly customizable, letting you shape, color, and bake your own one-of-a-kind earrings. It’s an approachable entry point into jewelry-making that doesn’t require any specialized tools.
Since the clay bakes at home in a standard oven, this project fits easily into a single afternoon.
Materials Required: Polymer clay (2 to 3 colors), earring hooks, small cutting tools or shape cutters, and jump rings (2).
How to Make It:
- Knead the clay until it becomes soft.
- Roll the clay and cut out the earring shapes.
- Make a small hole at the top of each piece.
- Bake the pieces according to the package directions.
- Let them cool.
- Attach the jump rings and earring hooks.
21. DIY Botanical Pressed Flower Bookmark
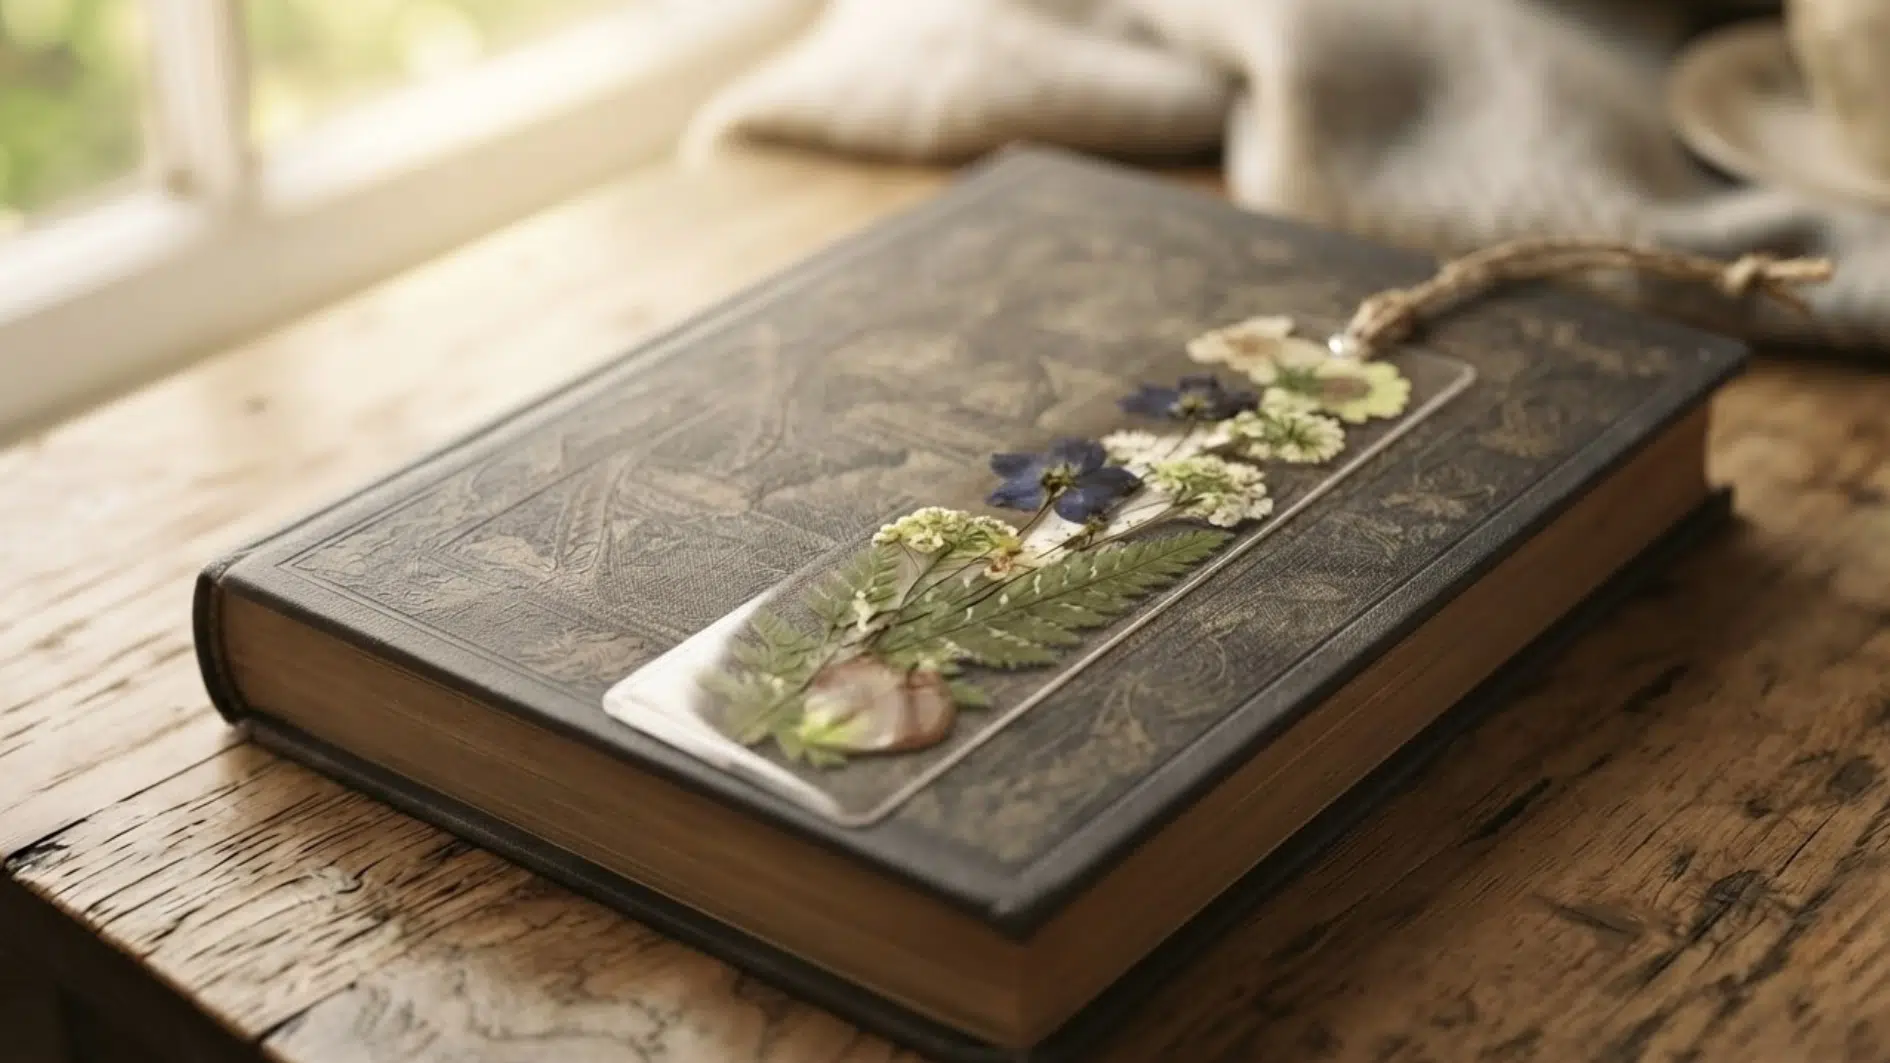
Pressed flower bookmarks combine two relaxing hobbies, gardening and reading, into a single delicate keepsake project. They’re quick to make and cost very little.
This is an especially good project for using up flowers that are already past their prime for a vase.
Materials Required: Pressed flowers (2 to 3 per bookmark), cardstock (2 by 6 inches), clear laminating sheet, small hole punch, and ribbon.
How to Make It:
- Arrange the flowers on the cardstock.
- Cover the bookmark with clear laminate.
- Press it flat.
- Trim the laminate around the edges.
- Make a hole at one end.
- Thread ribbon through the hole and tie a knot.
22. DIY Concrete Planter
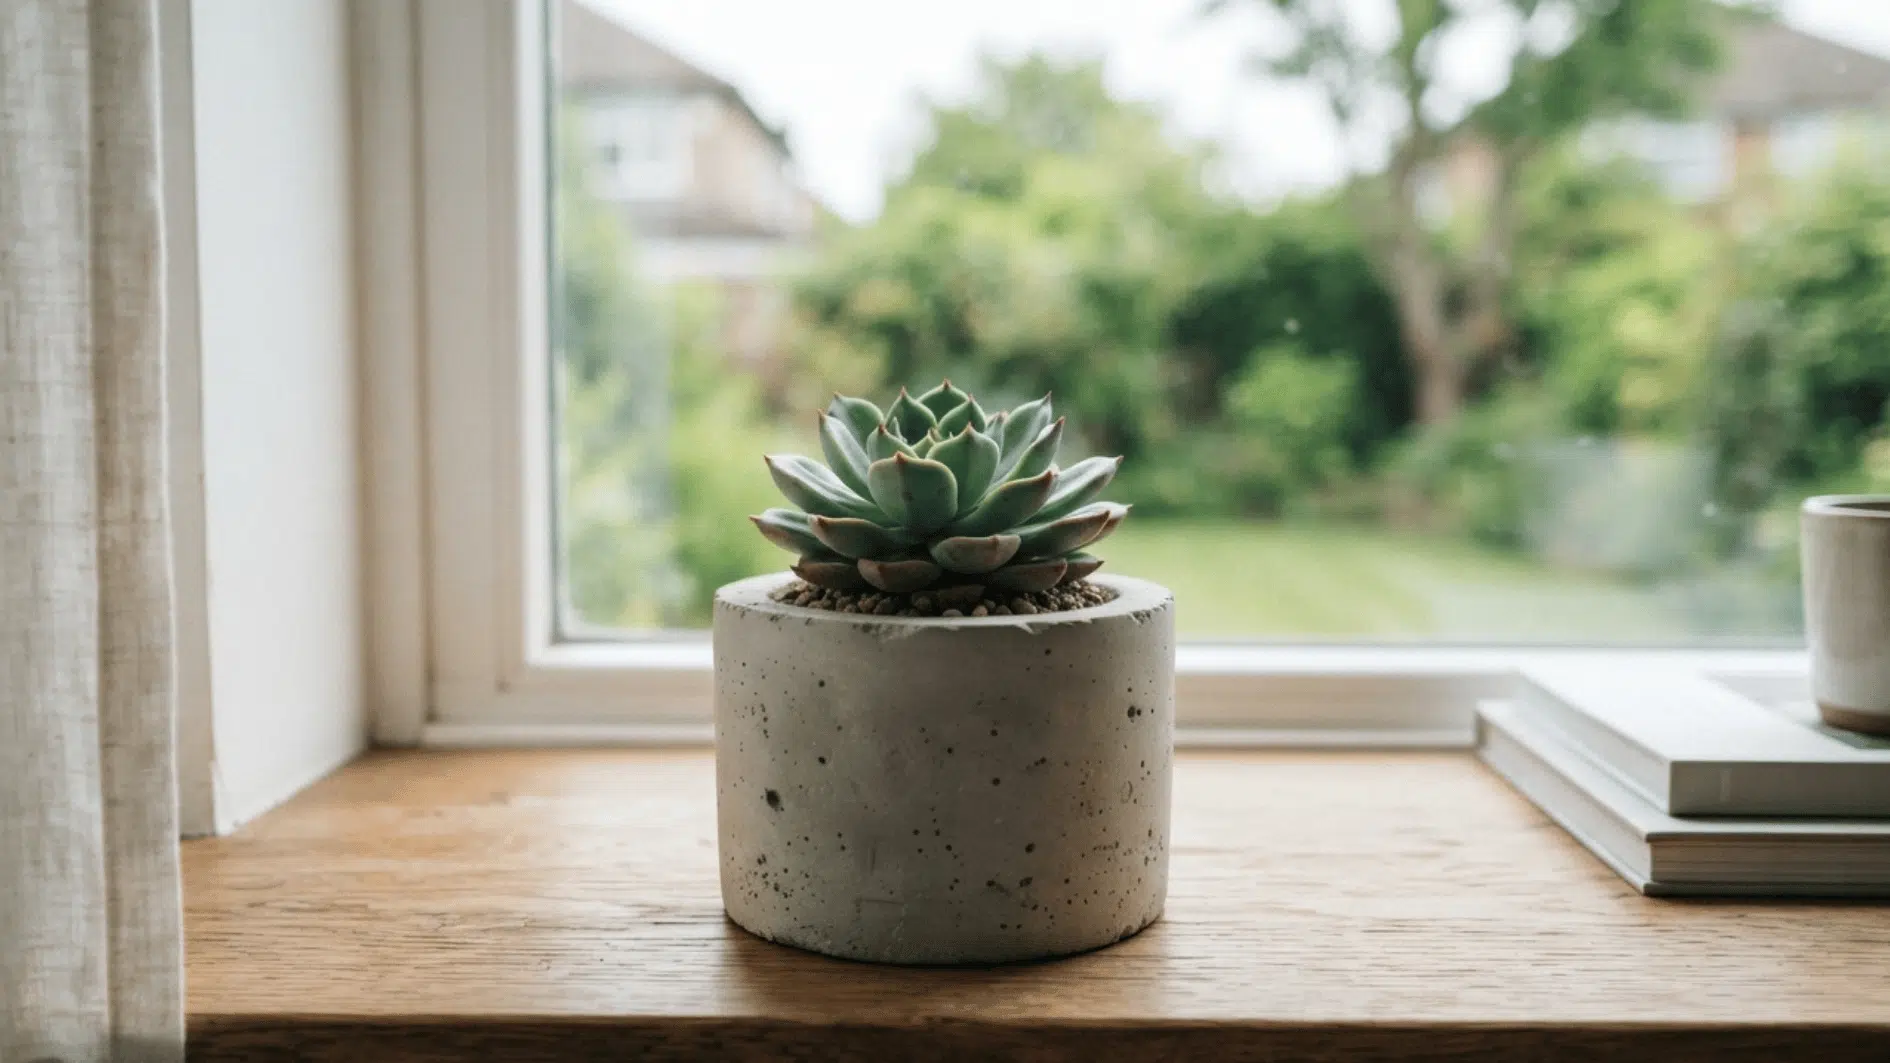
Concrete planters have a modern, industrial look that pairs well with succulents or small houseplants. Working with concrete also feels different from most crafts, offering a satisfying weight and texture.
This project takes some patience for curing time, but the payoff is a durable, long-lasting planter.
Materials Required: Quick-set concrete mix (2 pounds), two nested plastic containers, mixing bucket, and cooking oil spray.
How to Make It:
- Spray both containers with cooking oil.
- Mix the concrete with water until it can be poured.
- Pour the concrete into the larger container.
- Press the smaller container into the center.
- Let the concrete set for 24 to 48 hours.
- Remove both containers.
- Sand any rough edges.
23. Hand-Embroidered Patch
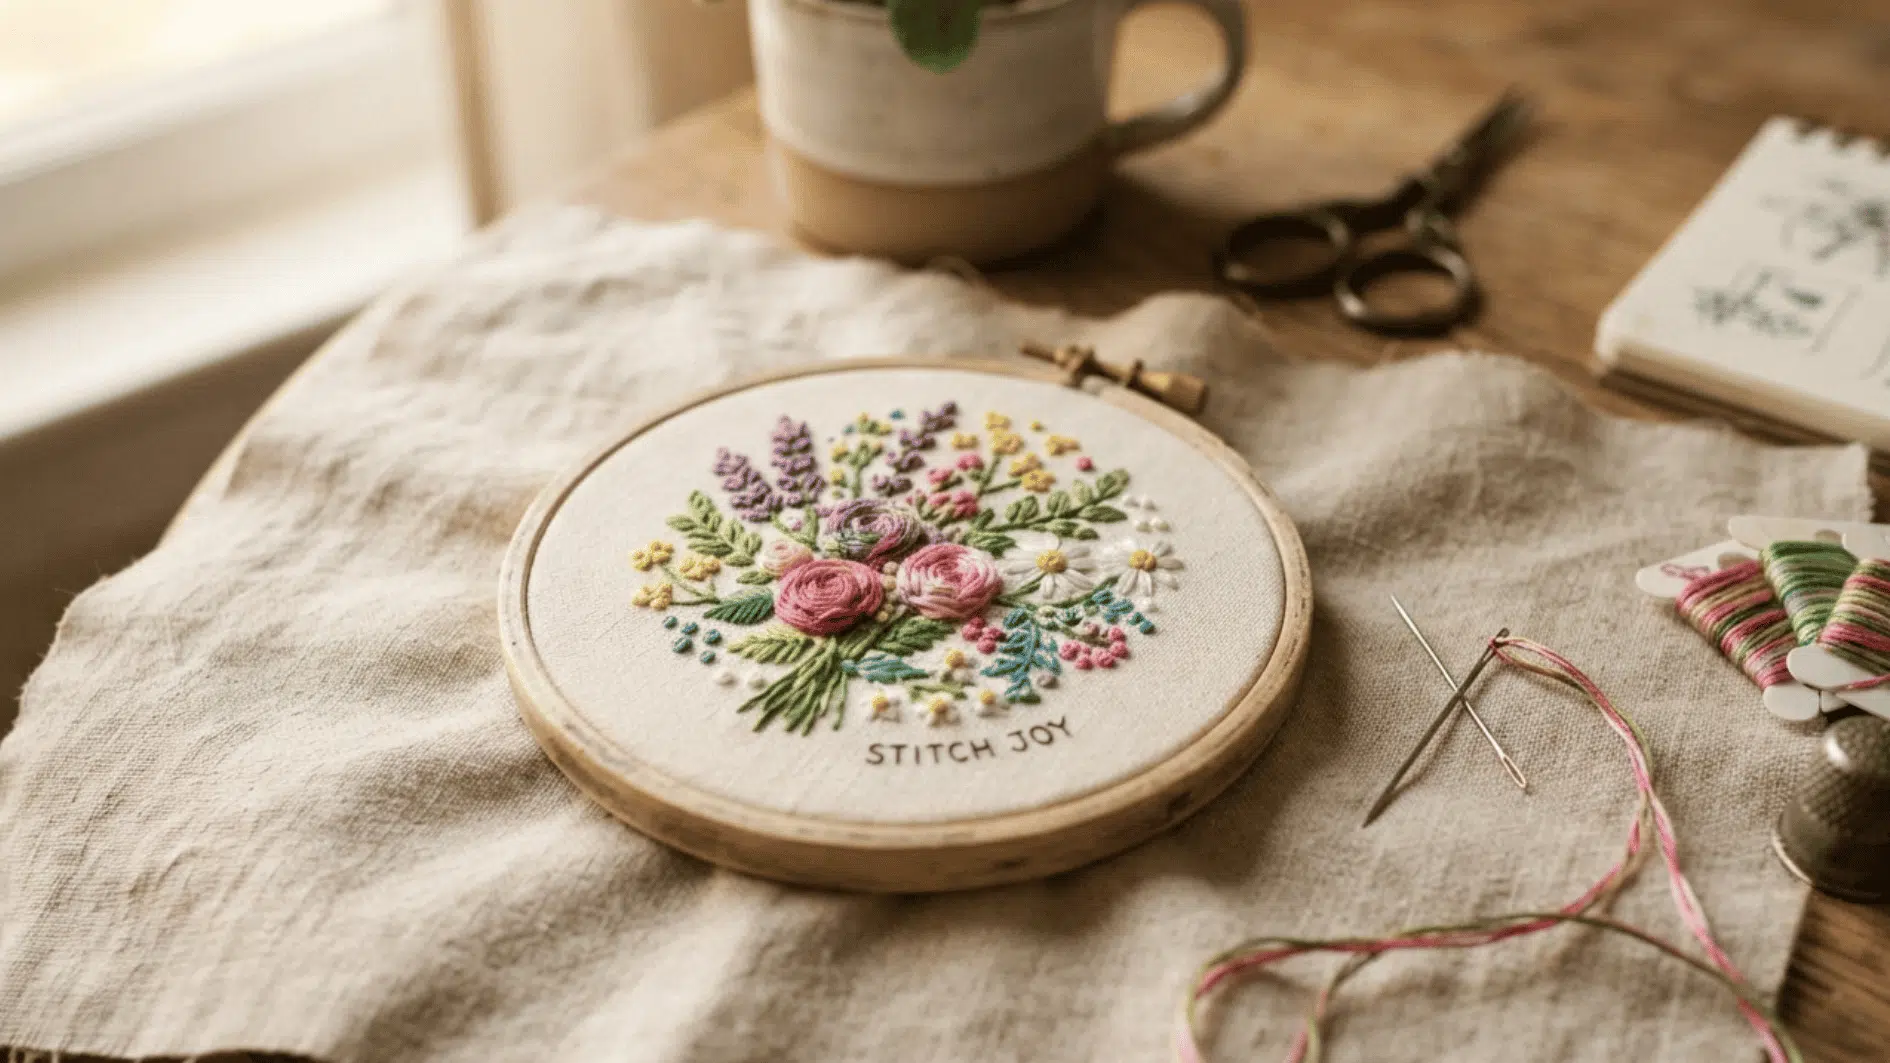
Small embroidered patches are quick to finish and can be sewn onto jackets, bags, or hats for a personalized touch. They’re an ideal project for practicing new stitches without committing to a large piece.
Since patches are small, they’re also easy to carry along for crafting on the go.
Materials Required: Small embroidery hoop (3 to 4 inches), felt fabric (4 by 4 inches), embroidery floss (2 to 3 colors), and an embroidery needle.
How to Make It:
- Place the felt inside the hoop.
- Draw a simple design on the felt.
- Sew the design with backstitches and satin stitches.
- Remove the felt from the hoop.
- Cut around the design while leaving a small border.
- Sew or iron the patch onto an item.
24. DIY Fabric-Wrapped Storage Boxes
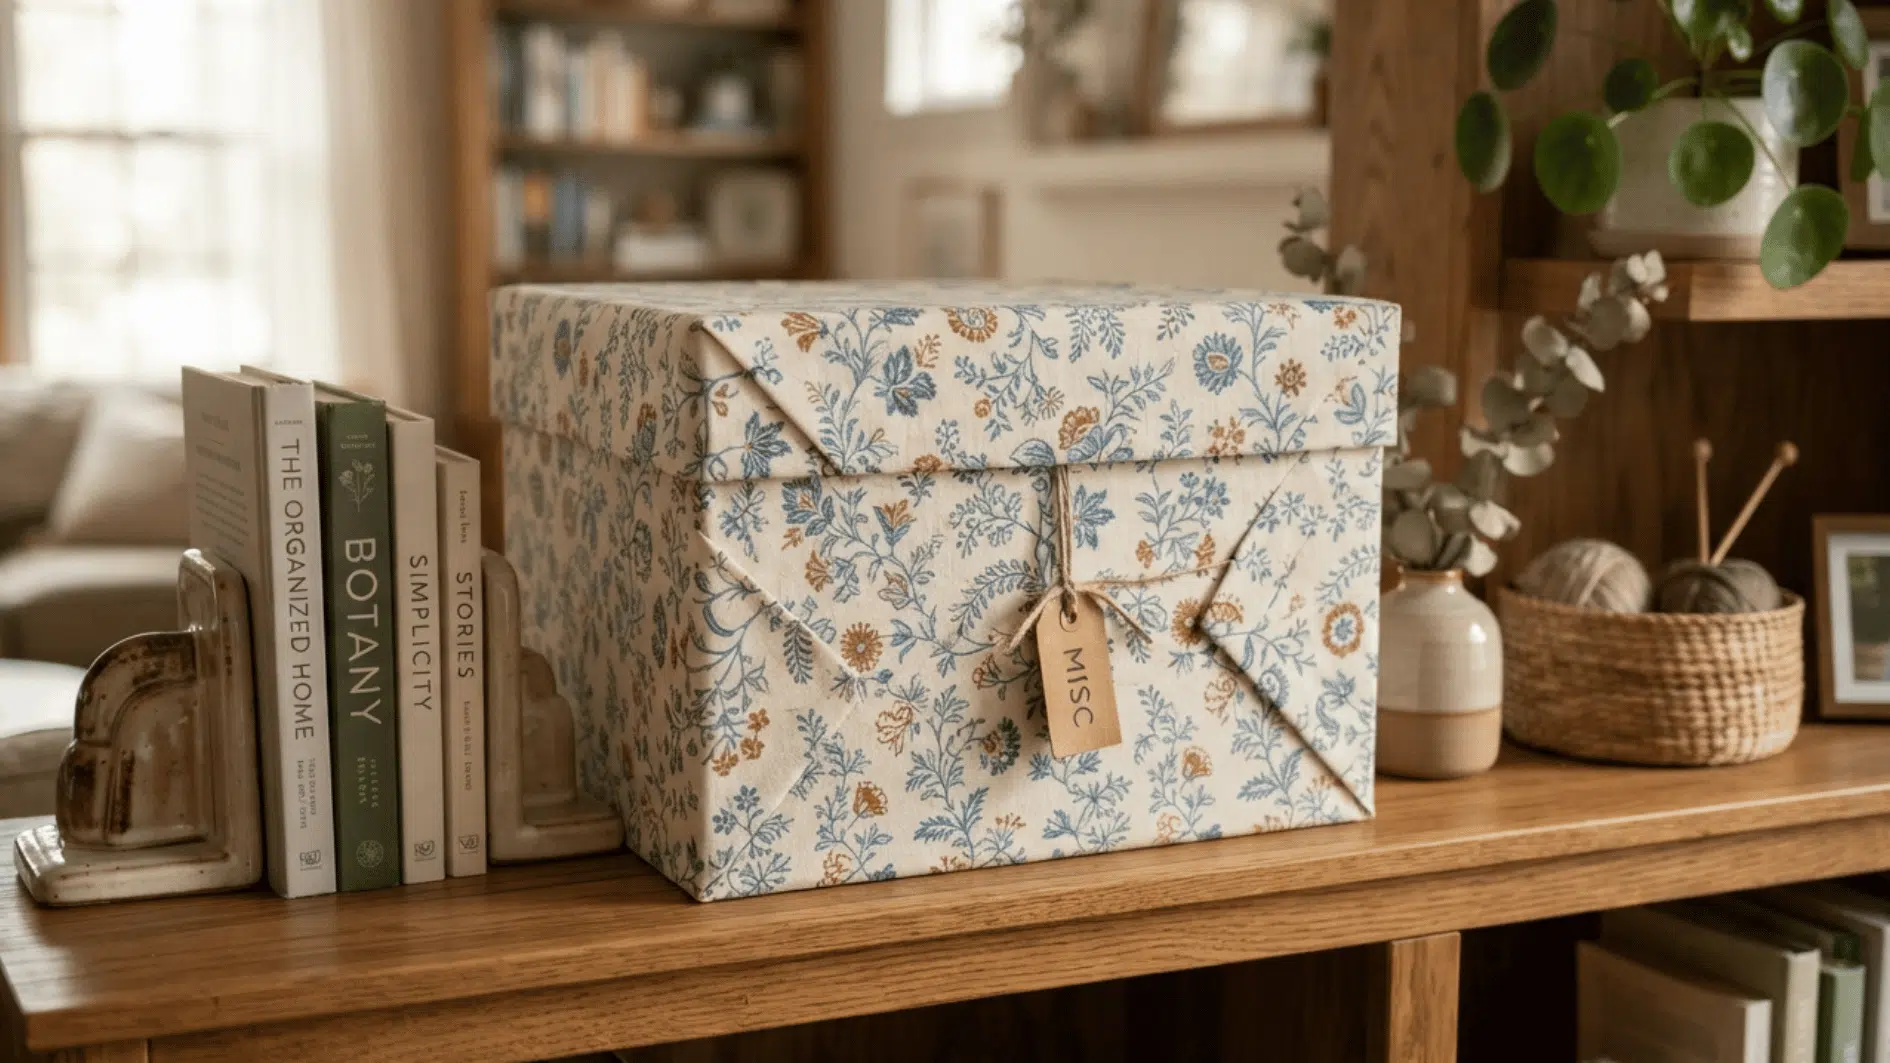
Wrapping plain cardboard boxes in fabric turns basic storage into a decorative addition to any shelf. This craft is a great way to repurpose shipping boxes or shoeboxes you’d otherwise toss.
It’s also a flexible project, since you can resize it to fit whatever boxes you have on hand.
Materials Required: Cardboard box, enough fabric to cover the box with a 2-inch overlap, fabric glue, and scissors.
How to Make It:
- Measure and cut the fabric.
- Apply glue to one part of the box at a time.
- Press the fabric smoothly over each glued area.
- Fold and glue the fabric at the corners.
- Let the box dry before using it.
25. DIY Beeswax Food Wraps
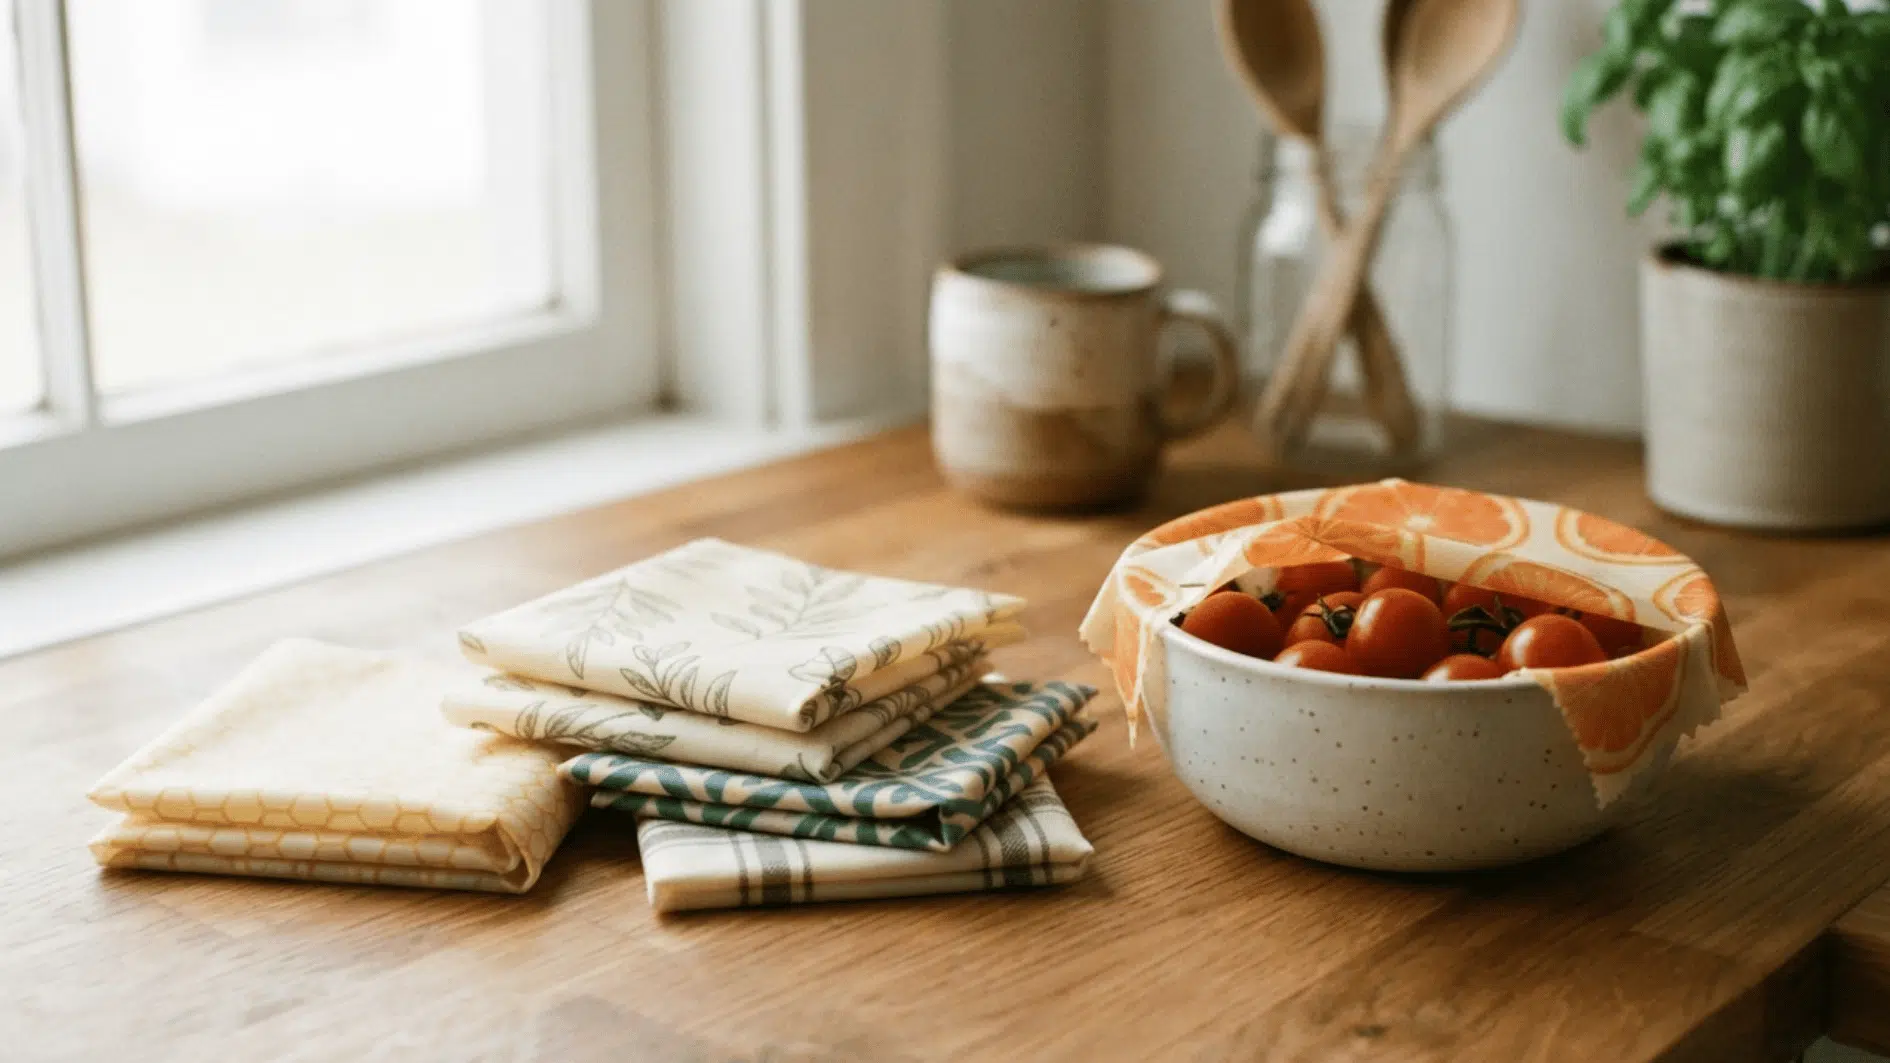
Beeswax wraps are a practical, eco-friendly craft that replaces single-use plastic wrap in the kitchen. They’re simple to make and reusable for months with basic care.
This project also makes a useful, sustainability-minded gift for anyone looking to reduce household waste.
Materials Required: Cotton fabric squares (2 to 3 pieces measuring 8 by 8 inches), beeswax pellets (¼ cup), parchment paper (2 sheets), and an iron.
How to Make It:
- Place a fabric square between two sheets of parchment paper.
- Spread beeswax pellets evenly over the fabric.
- Press it with an iron on low heat.
- Continue until the wax melts into the fabric.
- Remove the parchment while the wrap is warm.
- Let the wrap cool before using it.
26. DIY Paper Marbling Art

Paper marbling creates swirling, one-of-a-kind patterns using just water, paint, and paper. It’s a mesmerizing process to watch unfold, resulting in unique art every single time.
The finished sheets work well framed or repurposed into cards and gift wrap.
Materials Required: Shallow tray, marbling paint or thinned oil paint (2 to 3 colors), cardstock or watercolor paper (8 by 10 inches), and a toothpick or skewer.
How to Make It:
- Fill the tray with water.
- Place drops of paint on the water.
- Swirl the colors with a toothpick.
- Place the paper flat on the surface for a few seconds.
- Lift the paper and allow extra water to drip off.
- Lay the paper flat to dry.
27. DIY Yarn Pom-Pom Garland
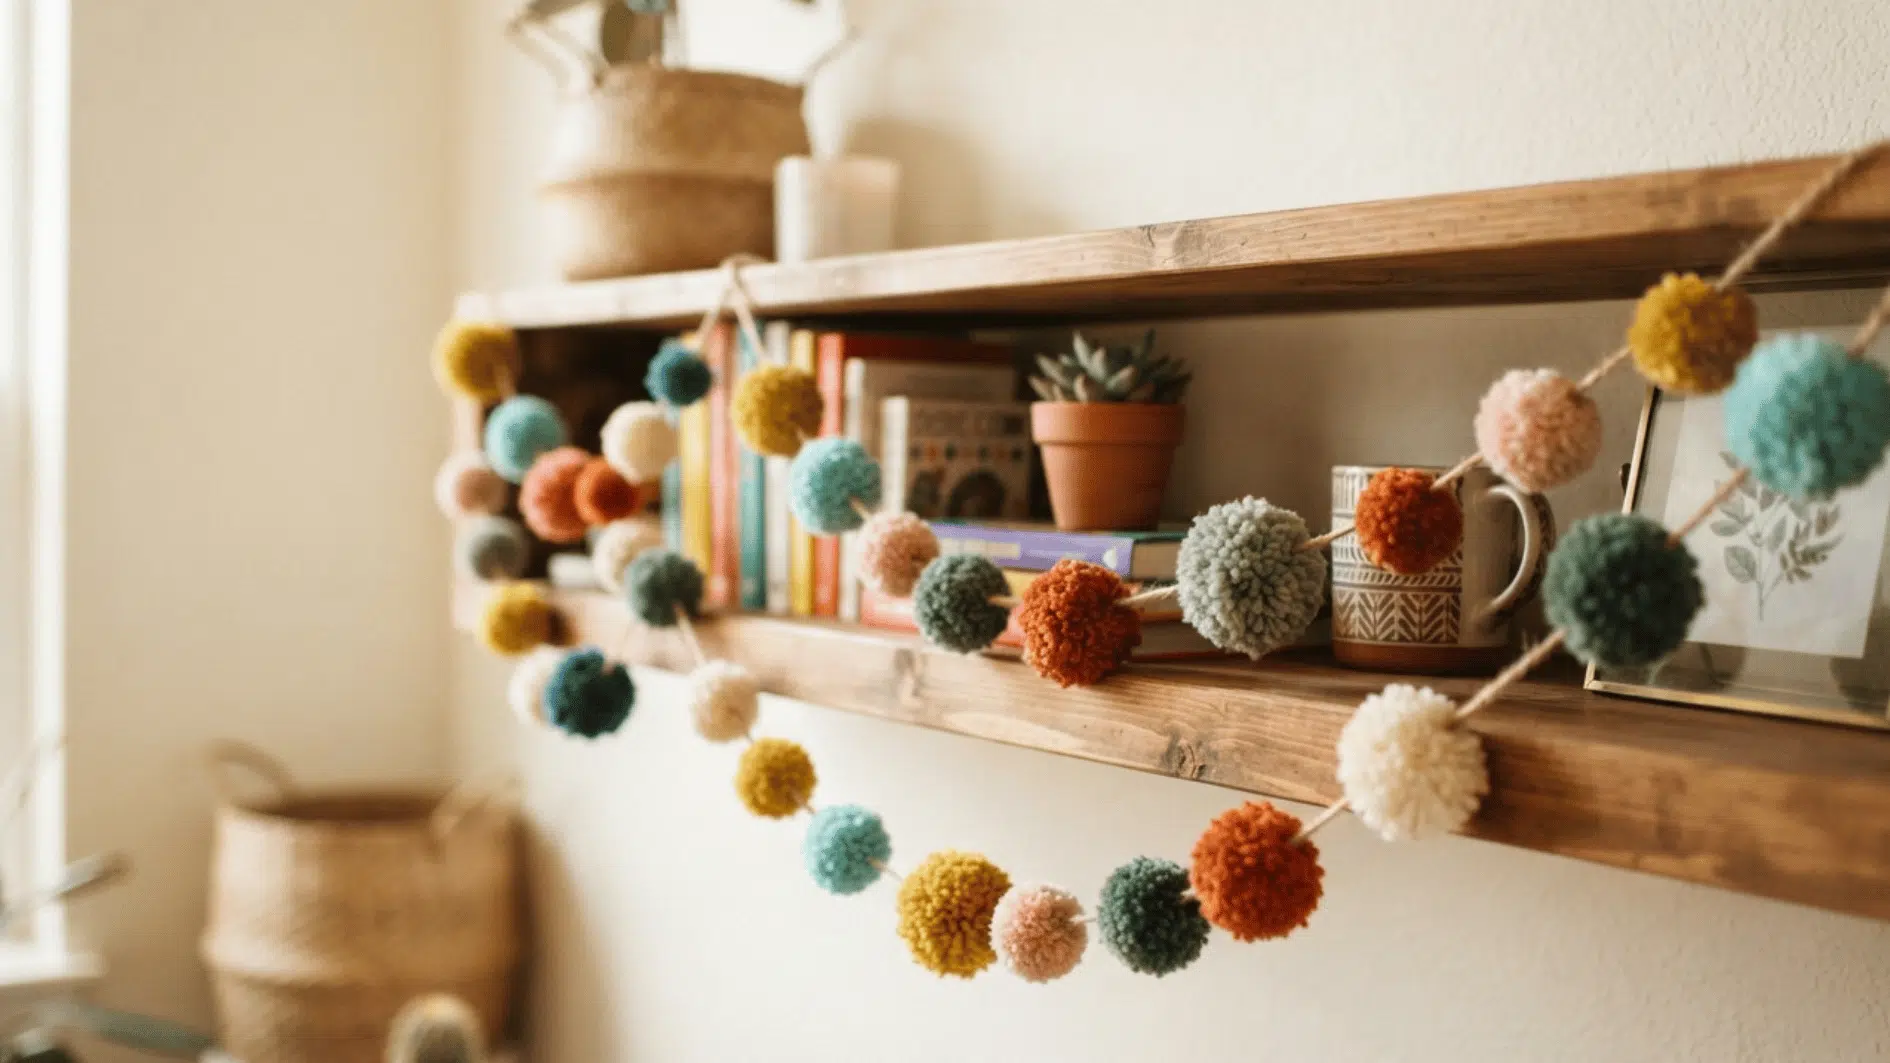
Pom-pom garlands add instant color and texture to any room, and they come together faster than most people expect. This is a great group project for a craft night with friends.
Once you’ve made a batch, stringing them together takes just a few minutes.
Materials Required: Yarn (3 to 4 colors), pom-pom maker or cardboard circles, scissors, and twine or string (3 to 4 feet).
How to Make It:
- Wrap yarn around the pom-pom maker.
- Tie the yarn tightly around the center.
- Cut through the looped edges.
- Fluff and trim the pom-pom into a round shape.
- Repeat to make more pom-poms.
- Tie them along a piece of twine.
28. DIY Hand-Dipped Ombre Candles
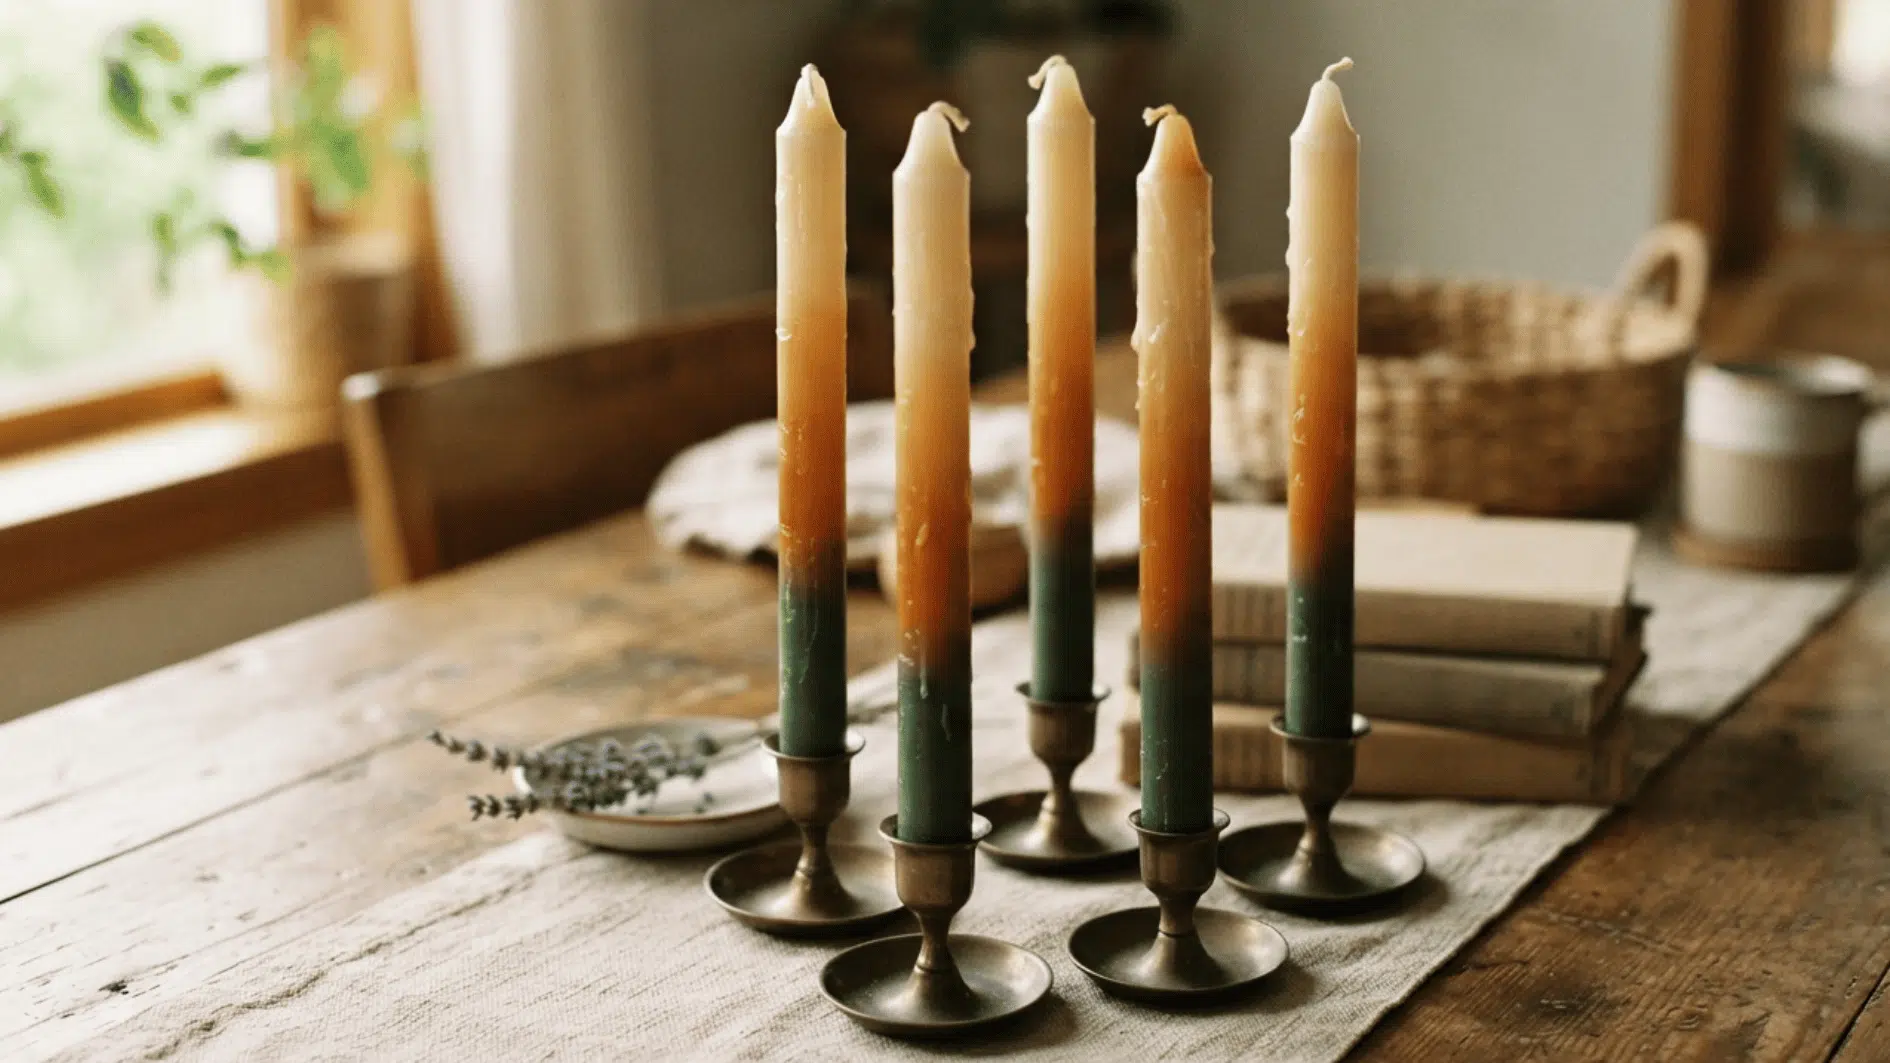
Dipping your own candles creates a soft, gradient color effect that’s difficult to replicate with store-bought options. It’s a slower, more hands-on process than pouring wax into a mold.
The repetitive dipping motion makes this an especially calming project to work through.
Materials Required: Paraffin or soy wax (2 to 3 pounds), pre-tabbed candle wicks (4 to 6), wax dye chips (2 to 3 shades), and tall containers (2 to 3).
How to Make It:
- Melt the wax and divide it among the containers.
- Add a different dye shade to each container.
- Dip a wick into the lightest shade several times.
- Let the wax cool between dips.
- Continue with the darker shades.
- Repeat until the candle reaches the required thickness.
- Trim the base and let the candle set before lighting it.
29. DIY Recycled Cardboard Wall Art
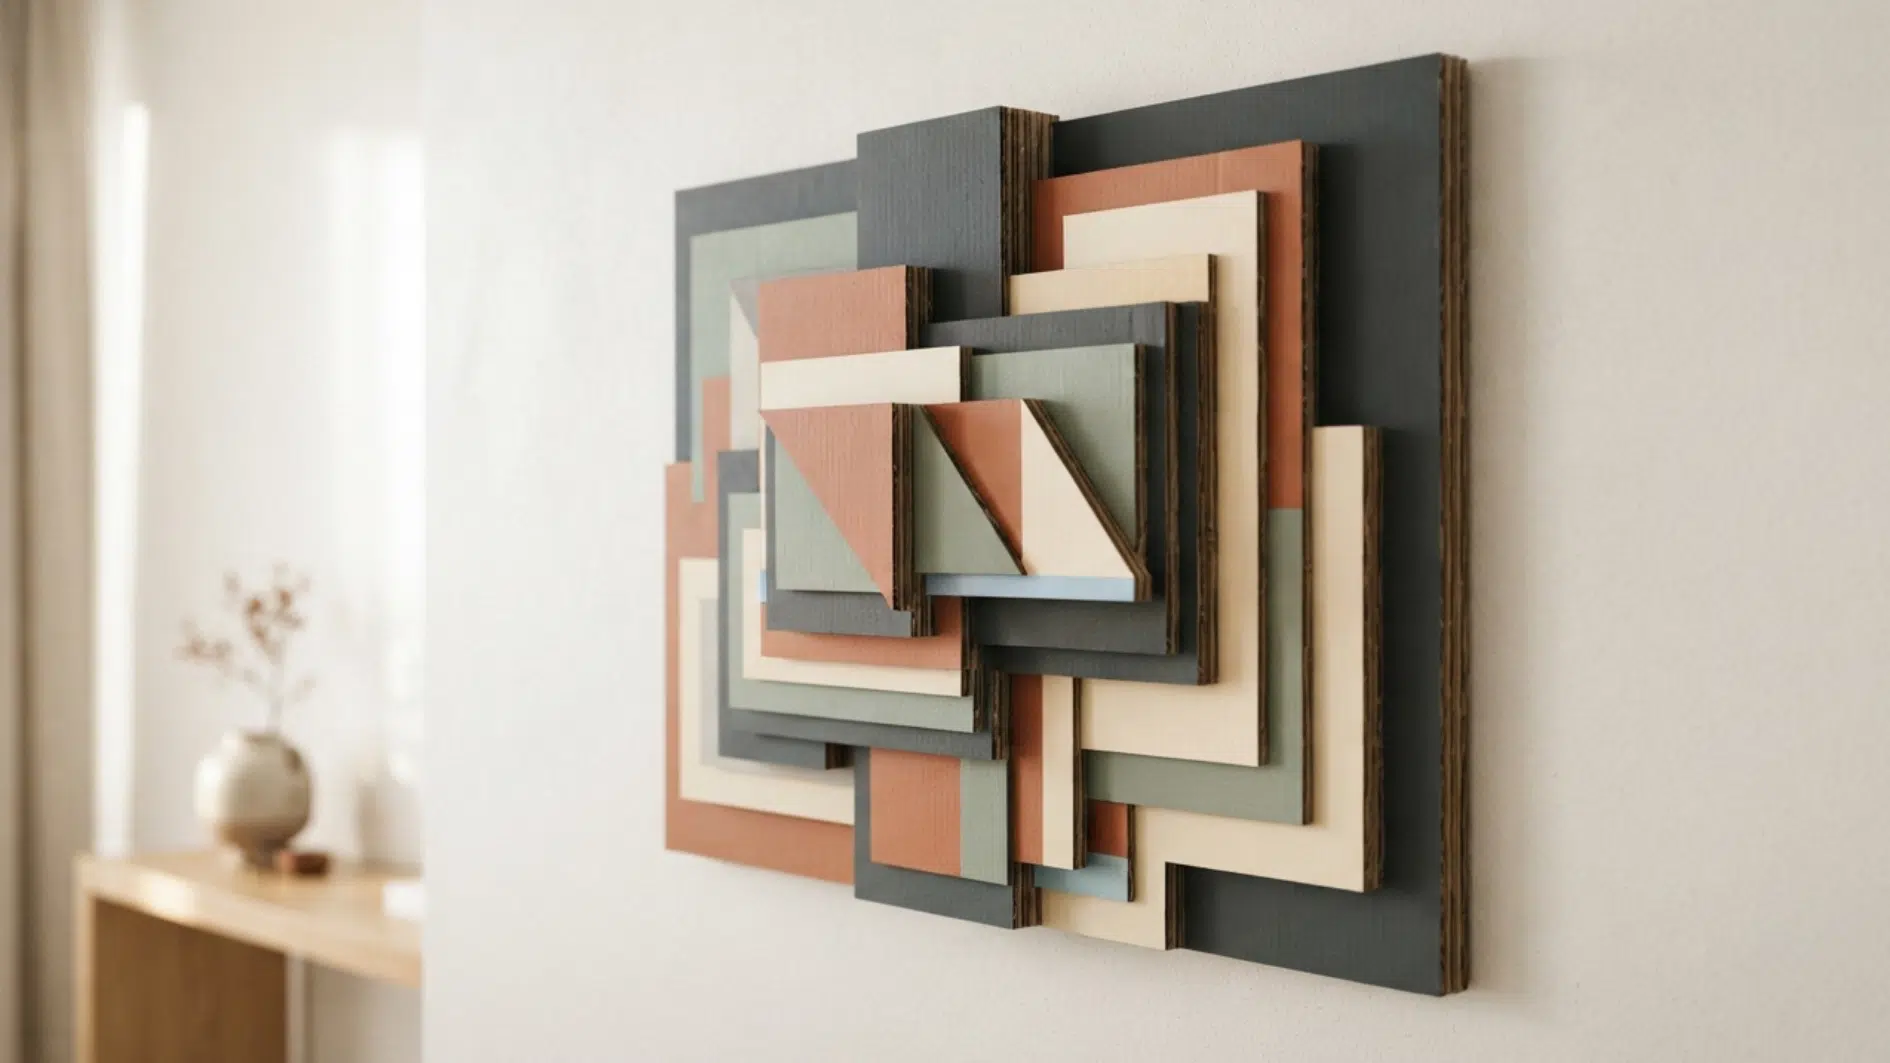
Layered cardboard cutouts can create surprisingly dimensional, textured wall art once painted. This project is nearly free to make, since it relies entirely on materials you’d normally recycle.
It’s a good option for anyone who enjoys a more sculptural, hands-on approach to art.
Materials Required: Cardboard sheets (3 to 4), craft knife, hot glue gun, and acrylic paint (2 to 3 colors).
How to Make It:
- Draw the design on the cardboard.
- Cut out the required shapes.
- Layer and glue the pieces together.
- Let the glue set.
- Paint the finished design.
- Add a hanging loop to the back after the paint dries.
30. DIY Herb-Infused Bath Salts
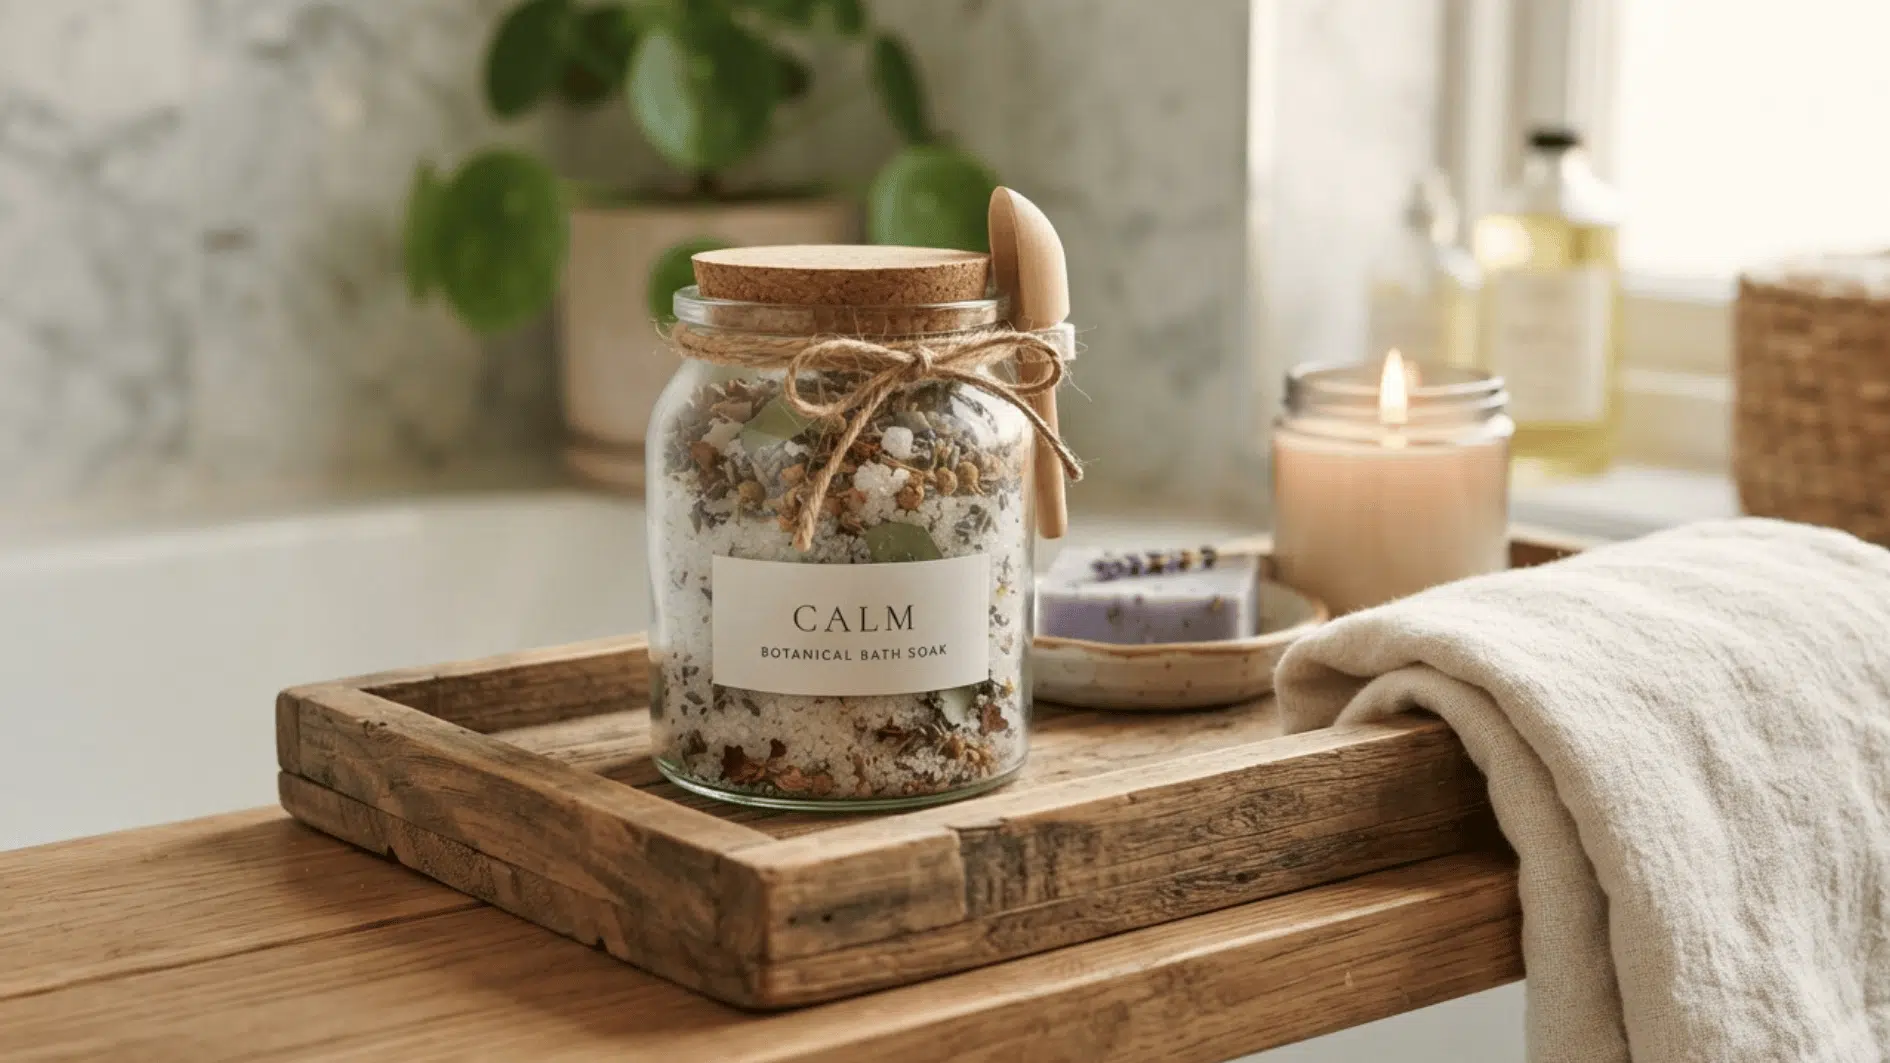
Bath salts are a simple, spa-like project that combines basic pantry ingredients with dried herbs or essential oils. They come together in minutes and store well for months.
This is an easy, low-cost gift project, especially around the holidays.
Materials Required: Epsom salt (2 cups), dried herbs or flower petals (2 to 3 tablespoons), essential oil (10 to 15 drops), and an 8-ounce glass jar with a lid.
How to Make It:
- Place the Epsom salt and dried herbs in a bowl.
- Add the essential oil a few drops at a time.
- Stir until everything is mixed evenly.
- Transfer the bath salts to the jar.
- Close the lid and store the jar in a cool, dry place.
31. DIY String Art
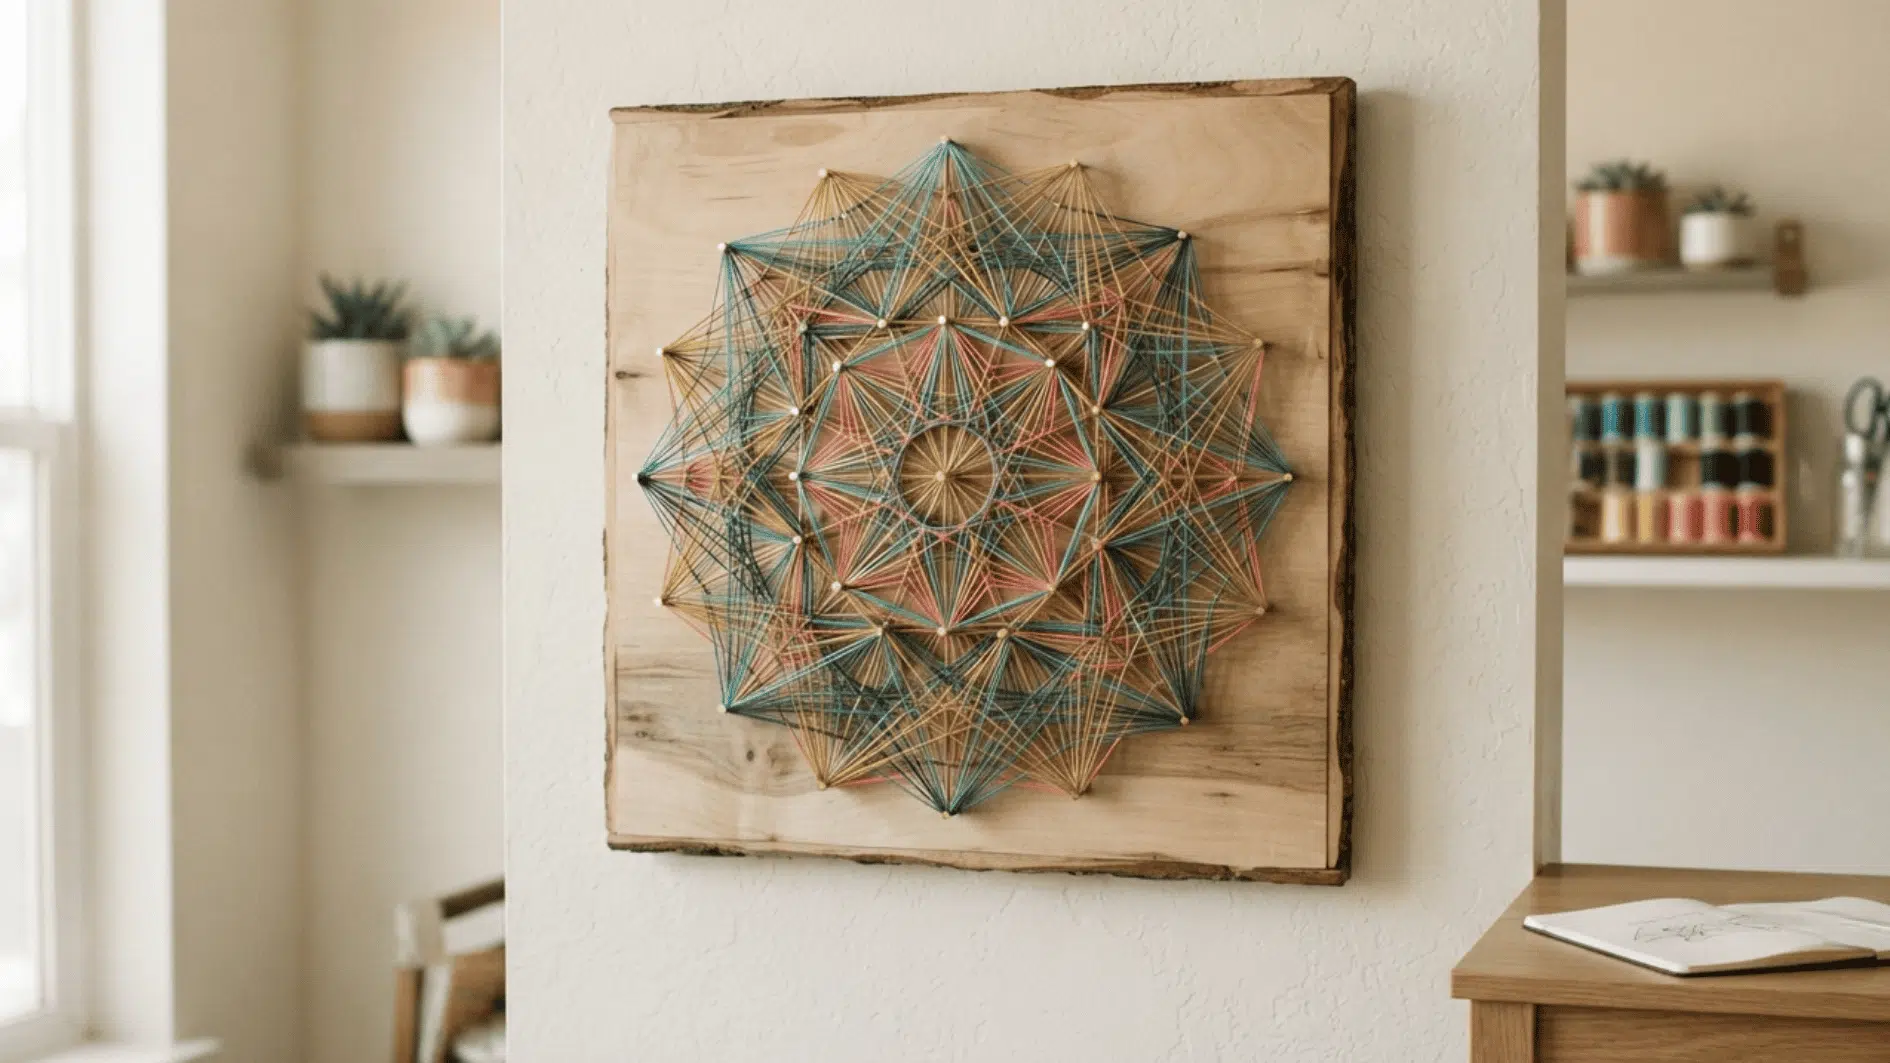
String art uses nails and colorful thread to form geometric or freeform patterns on a wood board. It looks intricate but only requires patience and careful spacing.
This project works especially well for anyone who enjoys a satisfying, methodical process with a bold visual payoff.
Materials Required: Wood board (8 by 10 inches), small nails (40 to 60), embroidery floss or string (2 to 3 colors), and a hammer.
How to Make It:
- Draw or transfer the design onto the wood.
- Hammer nails around the outline at even spaces.
- Tie the string to one nail.
- Wrap the string between the nails to fill the pattern.
- Cut and secure the end after completing the design.
32. DIY Recycled Paper Seed Bombs
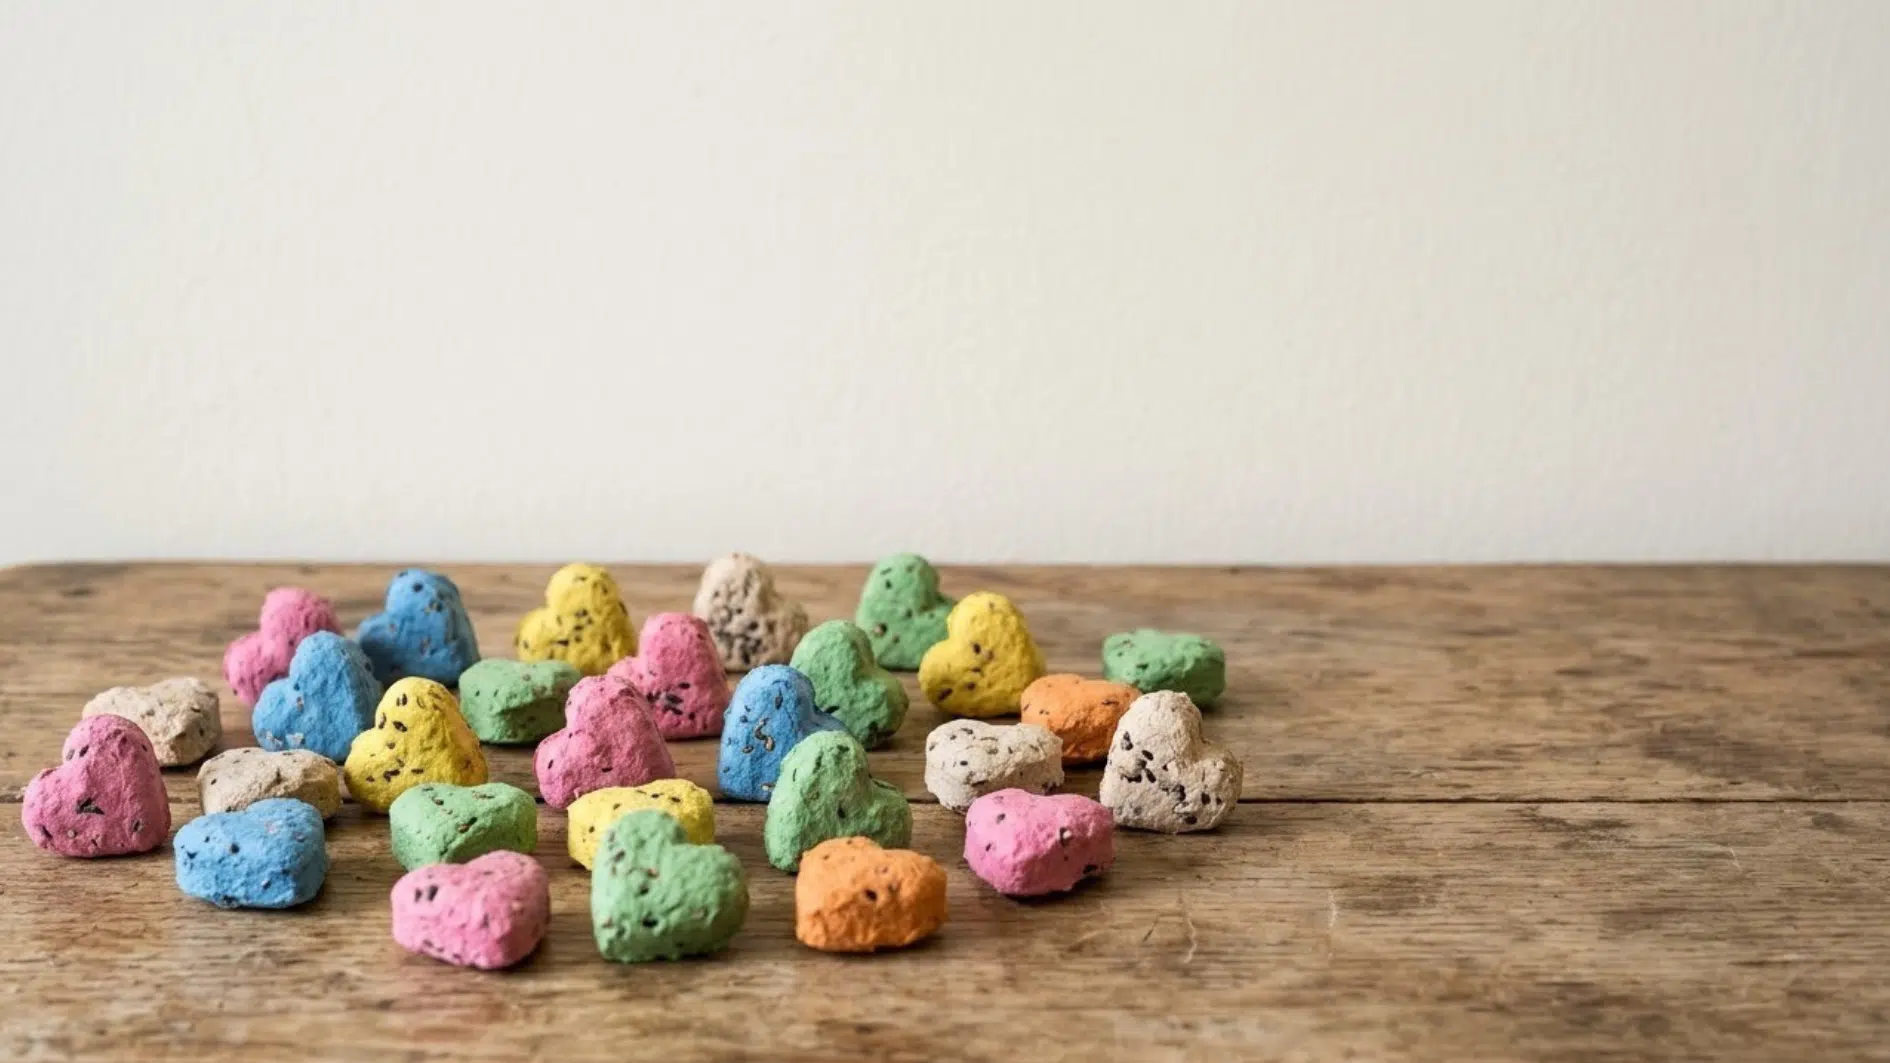
Seed bombs combine papermaking and gardening into one eco-friendly project, perfect for scattering wildflowers in your yard or gifting to fellow plant lovers. They’re a fun way to repurpose scrap paper.
This project also supports local pollinators, adding a small act of sustainability.
Materials Required: Scrap paper (1 cup), wildflower seeds (2 tablespoons), water (1 cup), and a blender.
How to Make It:
- Tear the paper into small pieces.
- Soak it in water for 30 minutes.
- Blend the wet paper into a pulp.
- Mix the seeds into the pulp by hand.
- Form the mixture into small balls.
- Let the seed bombs dry for 24 to 48 hours before using them.
Safety Tips for Adult Crafting
A few simple precautions can prevent cuts, burns, breathing problems, and damage while keeping every crafting session comfortable and controlled.
- Protect Your Work Surface: Cover the table with a cutting mat, cloth, or protective sheet before using paint, glue, or sharp tools.
- Use Sharp Tools Carefully: Cut away from your body and keep fingers clear of blades, scissors, needles, and rotary cutters.
- Work in a Ventilated Area: Open windows or use a fan when working with spray paint, resin, strong adhesives, or chemical-based finishes.
- Wear Suitable Protection: Use gloves, safety glasses, or a dust mask when the materials or tools could irritate your skin, eyes, or lungs.
- Handle Heat Tools Safely: Place glue guns, irons, and heat tools on stable, heat-resistant surfaces and unplug them after use.
- Follow Product Instructions: Read labels carefully for drying times, safe handling directions, and warnings about mixing different materials.
- Clean and Store Supplies Properly: Wipe spills promptly and keep sharp tools, chemicals, and small craft pieces in secure storage after finishing.
The Bottom Line
Crafting isn’t just a kids’ activity; it’s a genuinely rewarding way for adults to unwind, express creativity, and make something tangible with their hands.
From macramé and resin coasters to embroidery and upcycled totes, these arts-and-crafts ideas for adults prove there’s a project for every interest, budget, and skill level.
If you’re looking for a relaxing solo hobby or a fun group activity with friends, this list offers enough variety to keep you inspired for months.
Pick a project, gather a few basic supplies, and enjoy the simple satisfaction of creating something yourself- no artistic background required, just curiosity and a little patience.
Frequently Asked Questions
Is It Expensive to Start Crafting as A Hobby?
Not necessarily; many beginner projects use inexpensive, easy-to-find materials like paper, rocks, or old fabric scraps.
Can Crafting Help Reduce Stress?
Yes, repetitive, hands-on activities like knotting, painting, or stitching are often used as mindfulness practices to ease anxiety.
How Do I Store My Craft Supplies Neatly?
Clear bins, labeled drawers, or a rolling cart help keep small items like beads, paints, and tools organized and easy to find.