Creating beautiful fabric patterns at home does not always require expensive tools or advanced skills.
With a few simple materials and some patience, you can turn plain fabric into something unique and handmade.
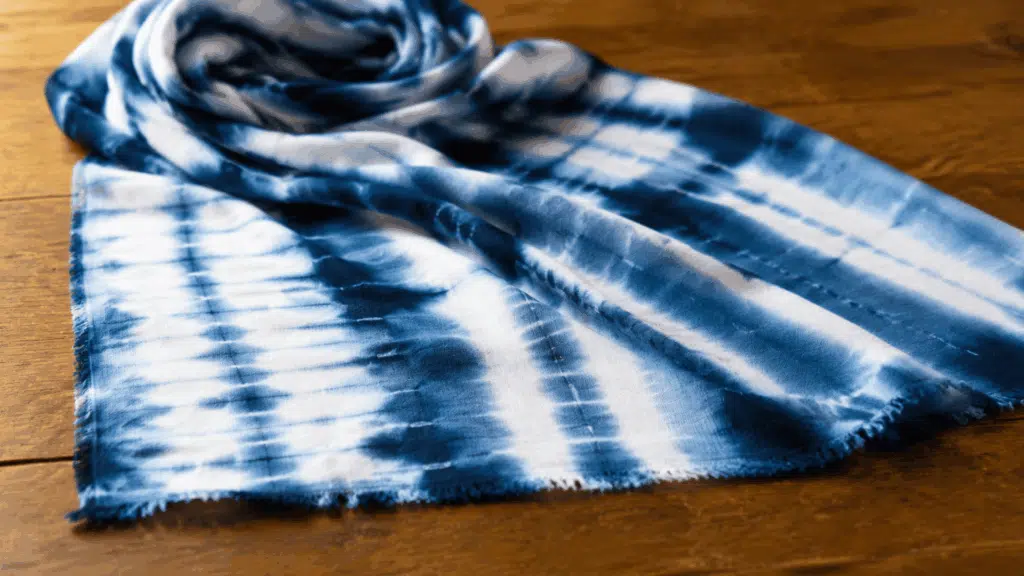
Shibori tie-dye is a traditional technique that uses folding, tying, wrapping, and dyeing methods to create eye-catching designs.
This blog covers the basics, supplies, beginner-friendly steps, and simple patterns you can try at home.
If you are making your first dyed fabric or experimenting with a new craft, these techniques can help you achieve clean, interesting results.
What is Shibori Tie-Dye?
Shibori tie-dye is a traditional Japanese fabric-dyeing method that creates patterns by controlling how the dye reaches the cloth.
Instead of applying color freely, the fabric is folded, bound, stitched, or wrapped to block certain areas from absorbing dye.
These covered sections stay lighter, forming unique shapes and designs after the fabric is dyed.
While regular tie-dye often uses twisting and tying methods for bold, free-flowing patterns, shibori focuses more on careful folding and precise techniques.
This makes each piece detailed, balanced, and slightly different from the next.
If you want to plan a palette before you commit, it helps to understand how colors interact on fabric as well as on paper.
Supplies Needed for Shibori Dyeing at Home
Gathering the right materials makes the dyeing process easier and helps create cleaner patterns. Most beginner projects only need a few simple tools and household items.
| Supply | Purpose |
|---|---|
| Cotton, linen, or silk fabric | Absorbs dye well and creates clear patterns |
| Fabric dye or indigo dye | Adds color and creates the final design |
| Rubber bands, string, or thread | Holds folds, gathers, and stitched areas in place |
| Wooden blocks, clips, and clamps | Creates shapes by blocking dye from certain sections |
| PVC pipe or smooth pole | Helps make wrapped and diagonal patterns |
| Gloves | Protects hands while handling dye |
| Buckets and stirring tools | Used for mixing and applying dye |
| Plastic sheet or old towels | Protects surfaces from spills and stains |
Beginner Shibori Tie Dye Tutorial
Follow these simple steps to create your first dyed fabric at home. Each stage helps you build neat folds, clear patterns, and better color results with simple techniques.
Step 1: Choose a Simple Pattern
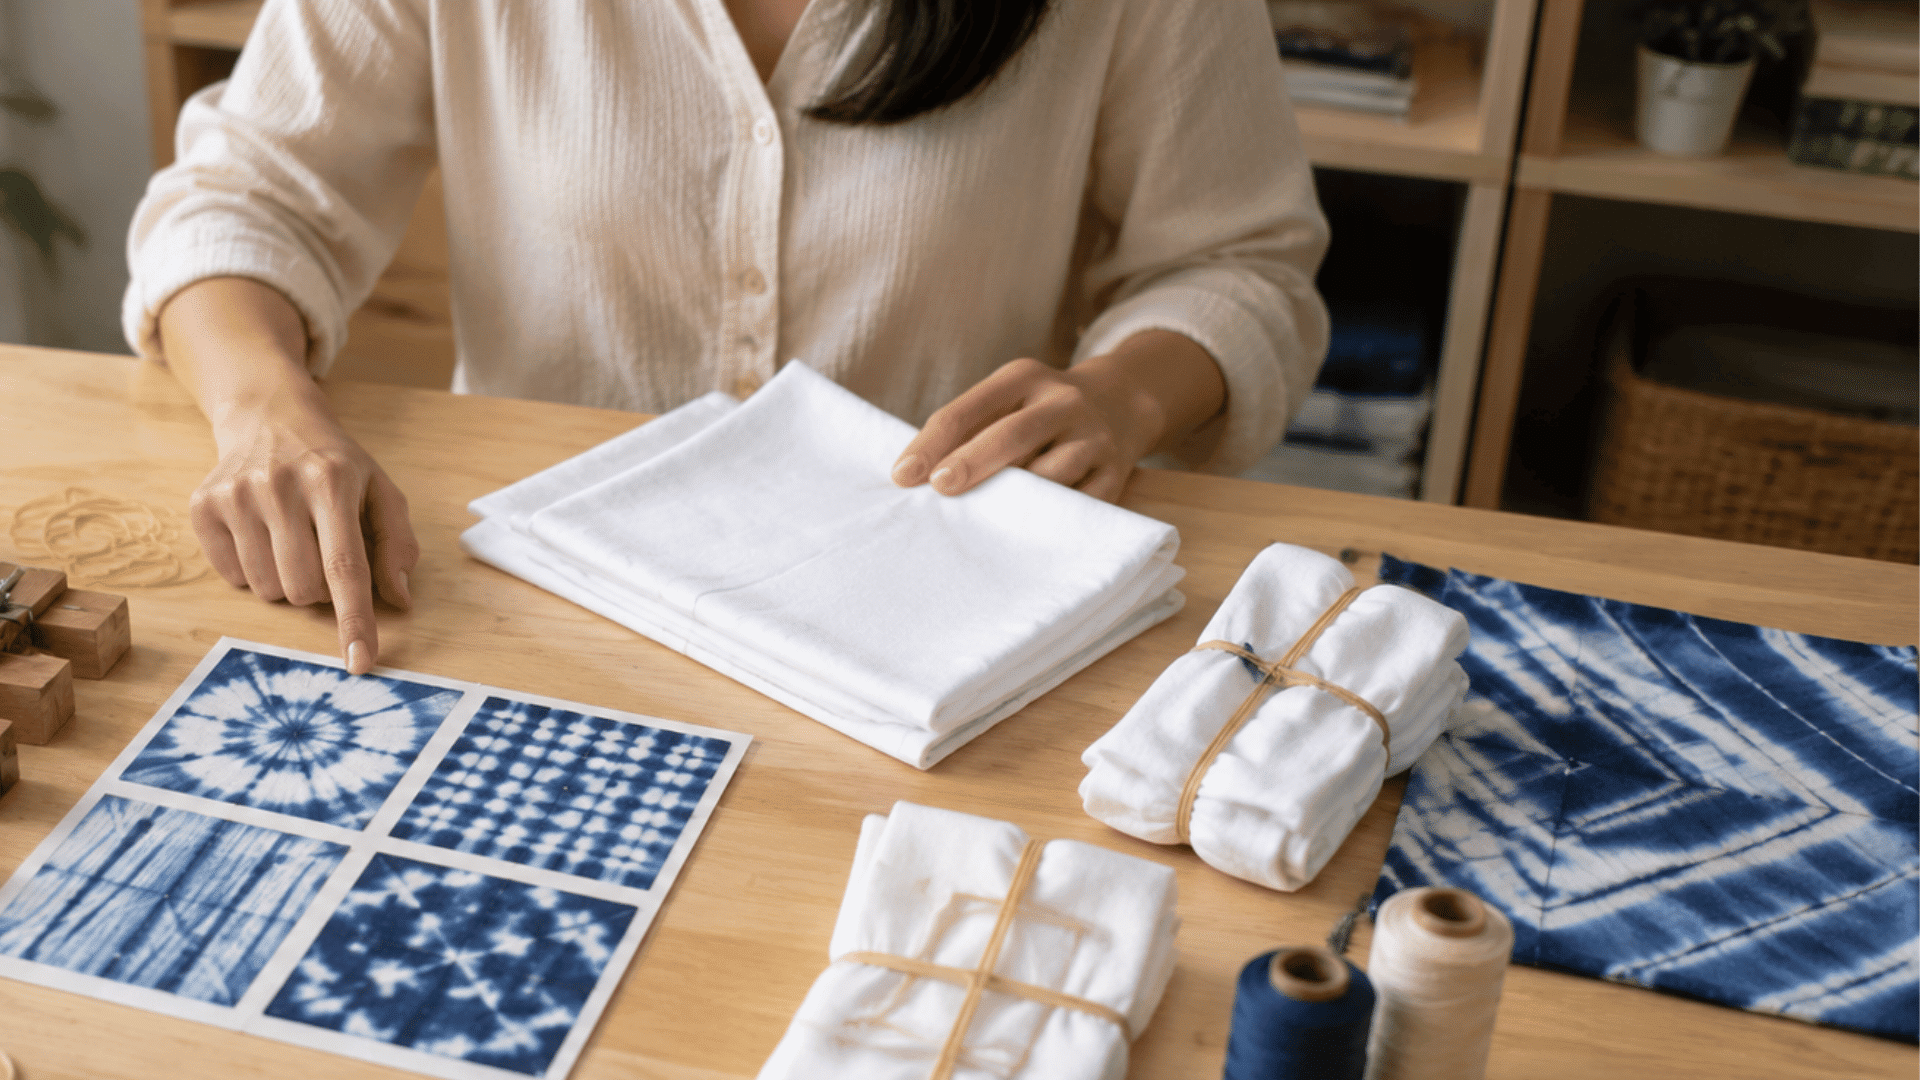
Start by deciding the type of design you want to create before working with the fabric. Beginners can try basic folding, binding, or clamping methods because they are easier to control.
Choose a technique based on the tools you have, such as rubber bands for circular patterns or blocks for geometric shapes. Planning your design first helps you create a more balanced and attractive result.
Step 2: Fold or Bind the Fabric
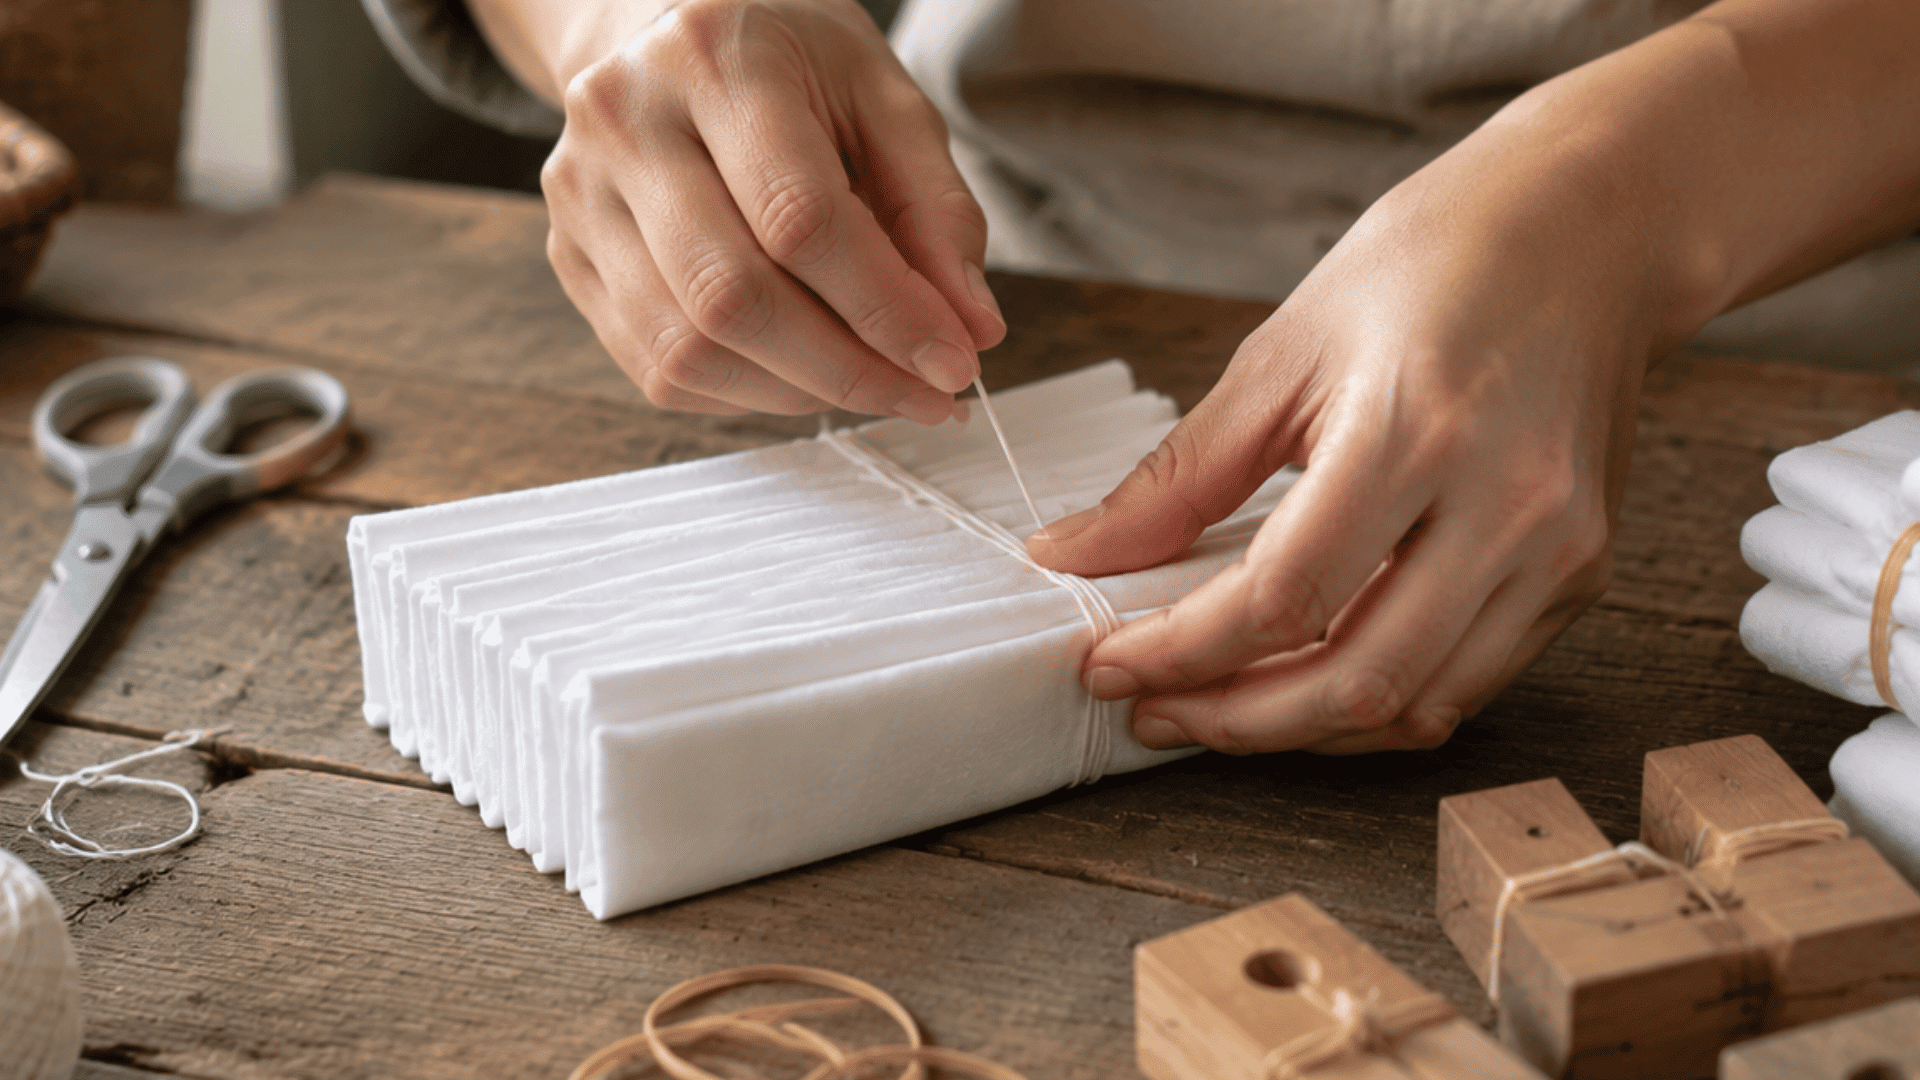
Fold the fabric carefully and try to keep each section even for a more consistent pattern. Use rubber bands, string, thread, or clamps to hold the folds tightly in place.
These secured areas prevent the dye from reaching certain parts of the fabric, creating lighter sections in the final design.
Tight and secure bindings usually create sharper patterns, while loose folds create softer effects.
Step 3: Prepare the Dye Bath
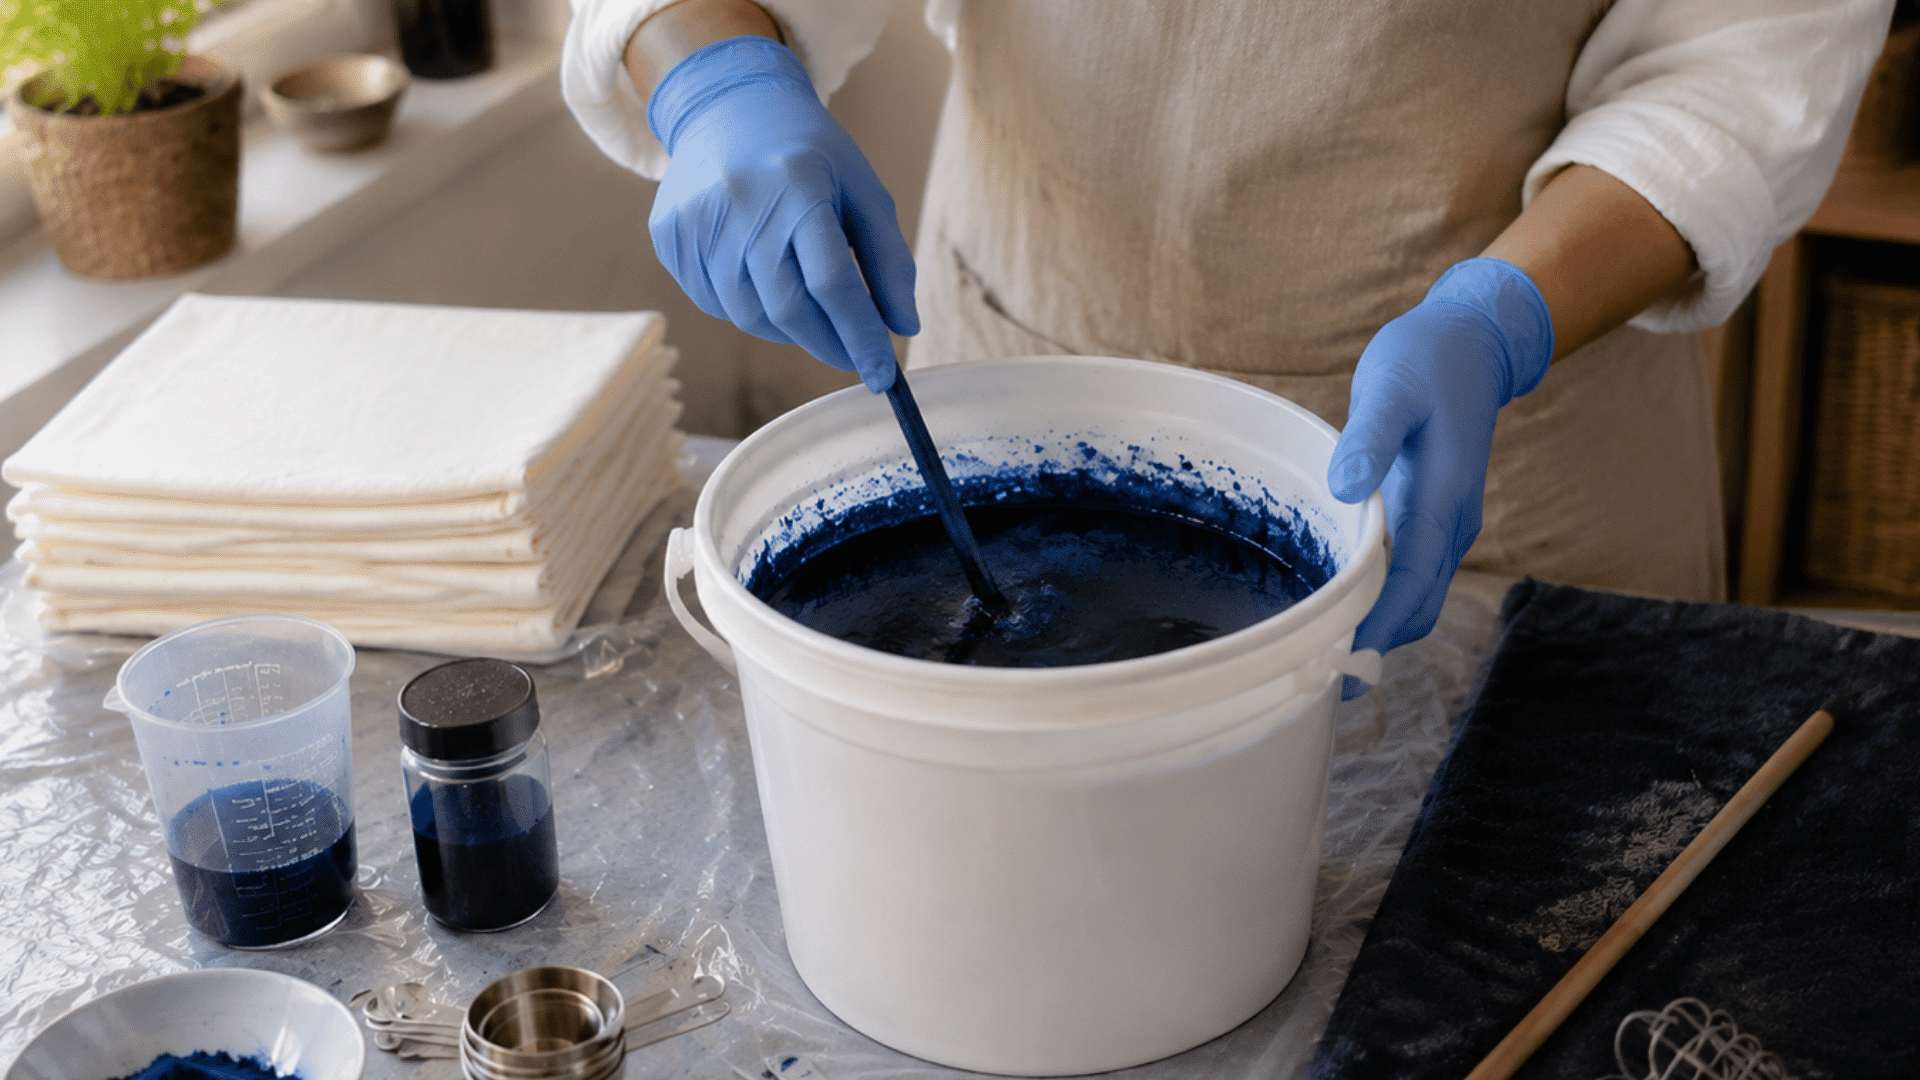
Prepare the dye according to the instructions provided on the package or dye kit. Wear gloves and cover your workspace with plastic sheets or old towels to protect surfaces from spills.
Mix the dye thoroughly so the color spreads evenly throughout the fabric. Preparing everything before adding the fabric makes the dyeing process easier and helps you avoid interruptions while working.
Step 4: Dye the Fabric
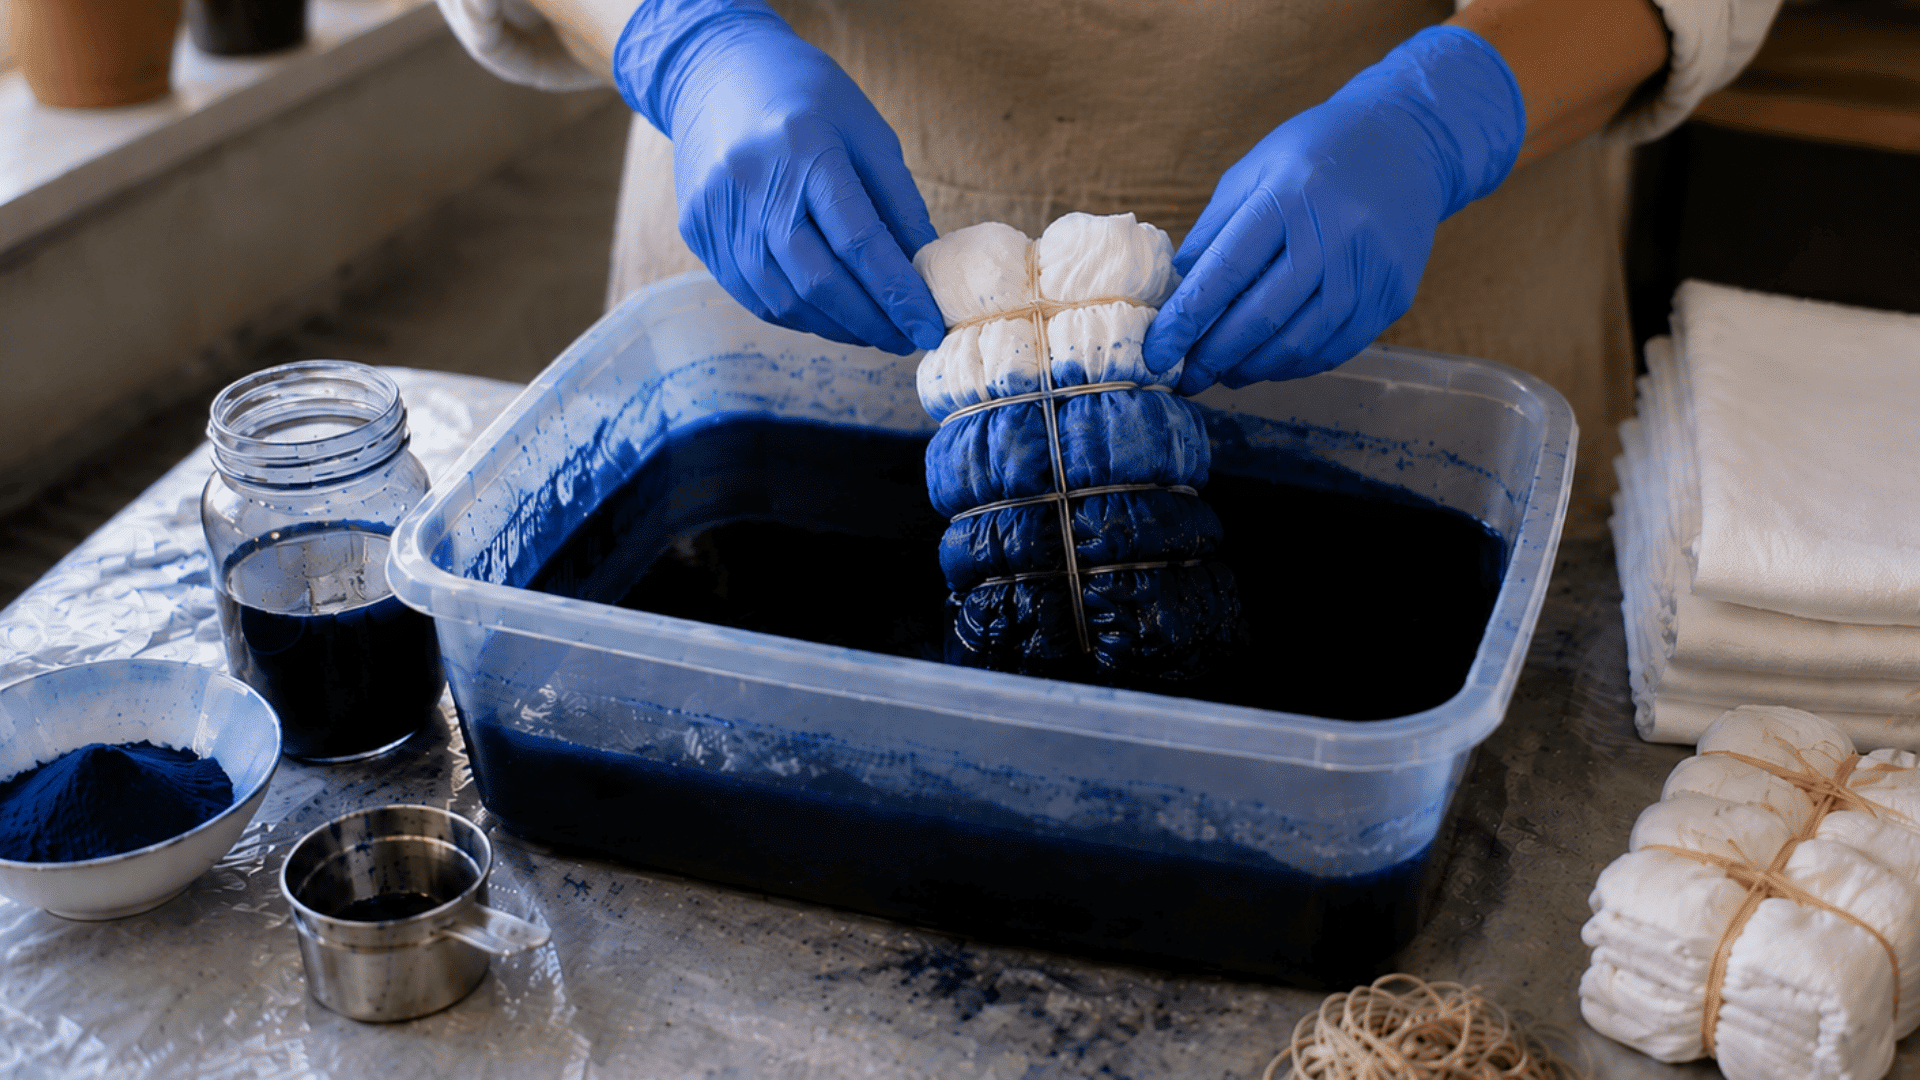
Slowly place the folded or bound fabric into the dye bath, making sure the exposed areas receive enough color. Turn and gently move the fabric so the dye reaches all sections evenly.
Allow the fabric to remain in the dye for the recommended amount of time to develop the desired shade. A longer dyeing time can create deeper colors, while a shorter time may produce lighter tones.
Step 5: Remove the Fabric
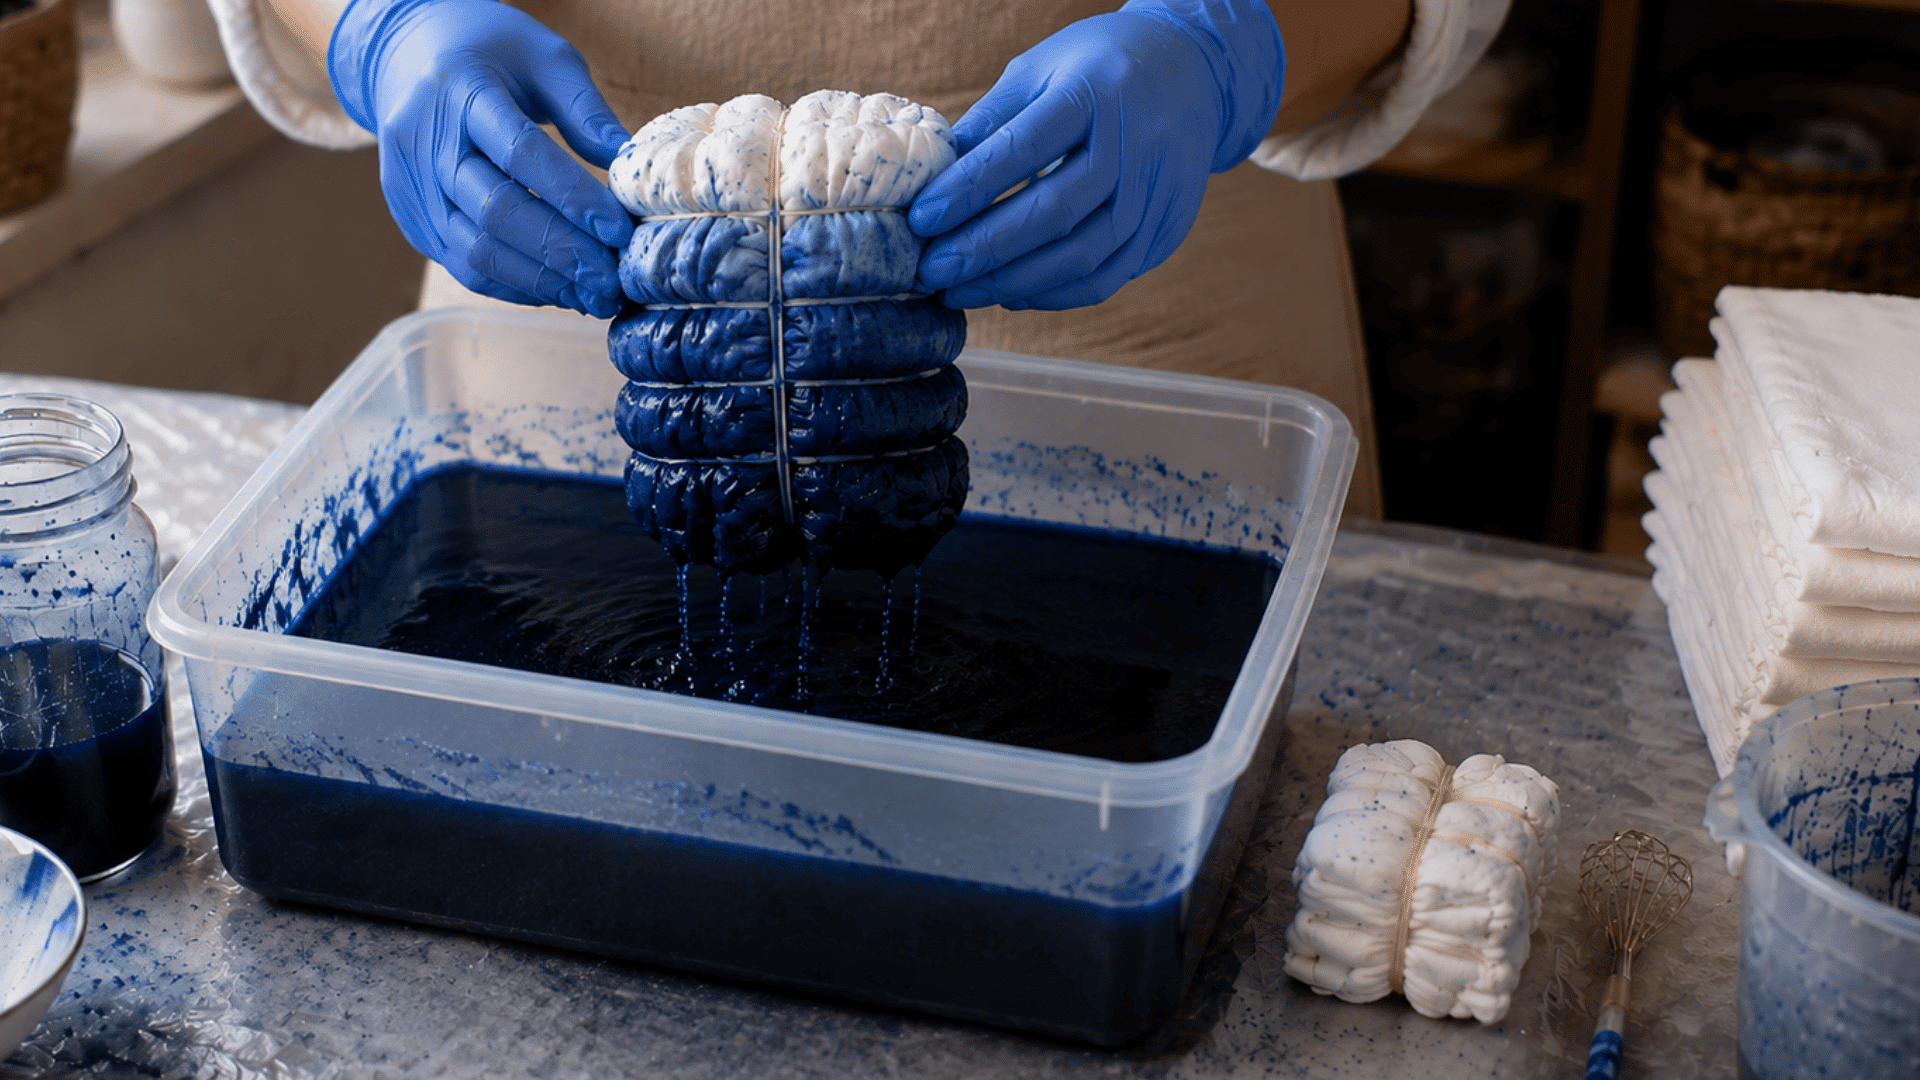
Carefully lift the fabric from the dye bath and allow the extra dye to drip back into the container.
Avoid squeezing or twisting the fabric too much, as this can cause colors to bleed into areas meant to stay lighter. Handle the dyed material gently and keep the folds secure until you are ready the rinse.
Step 6: Rinse and Unwrap
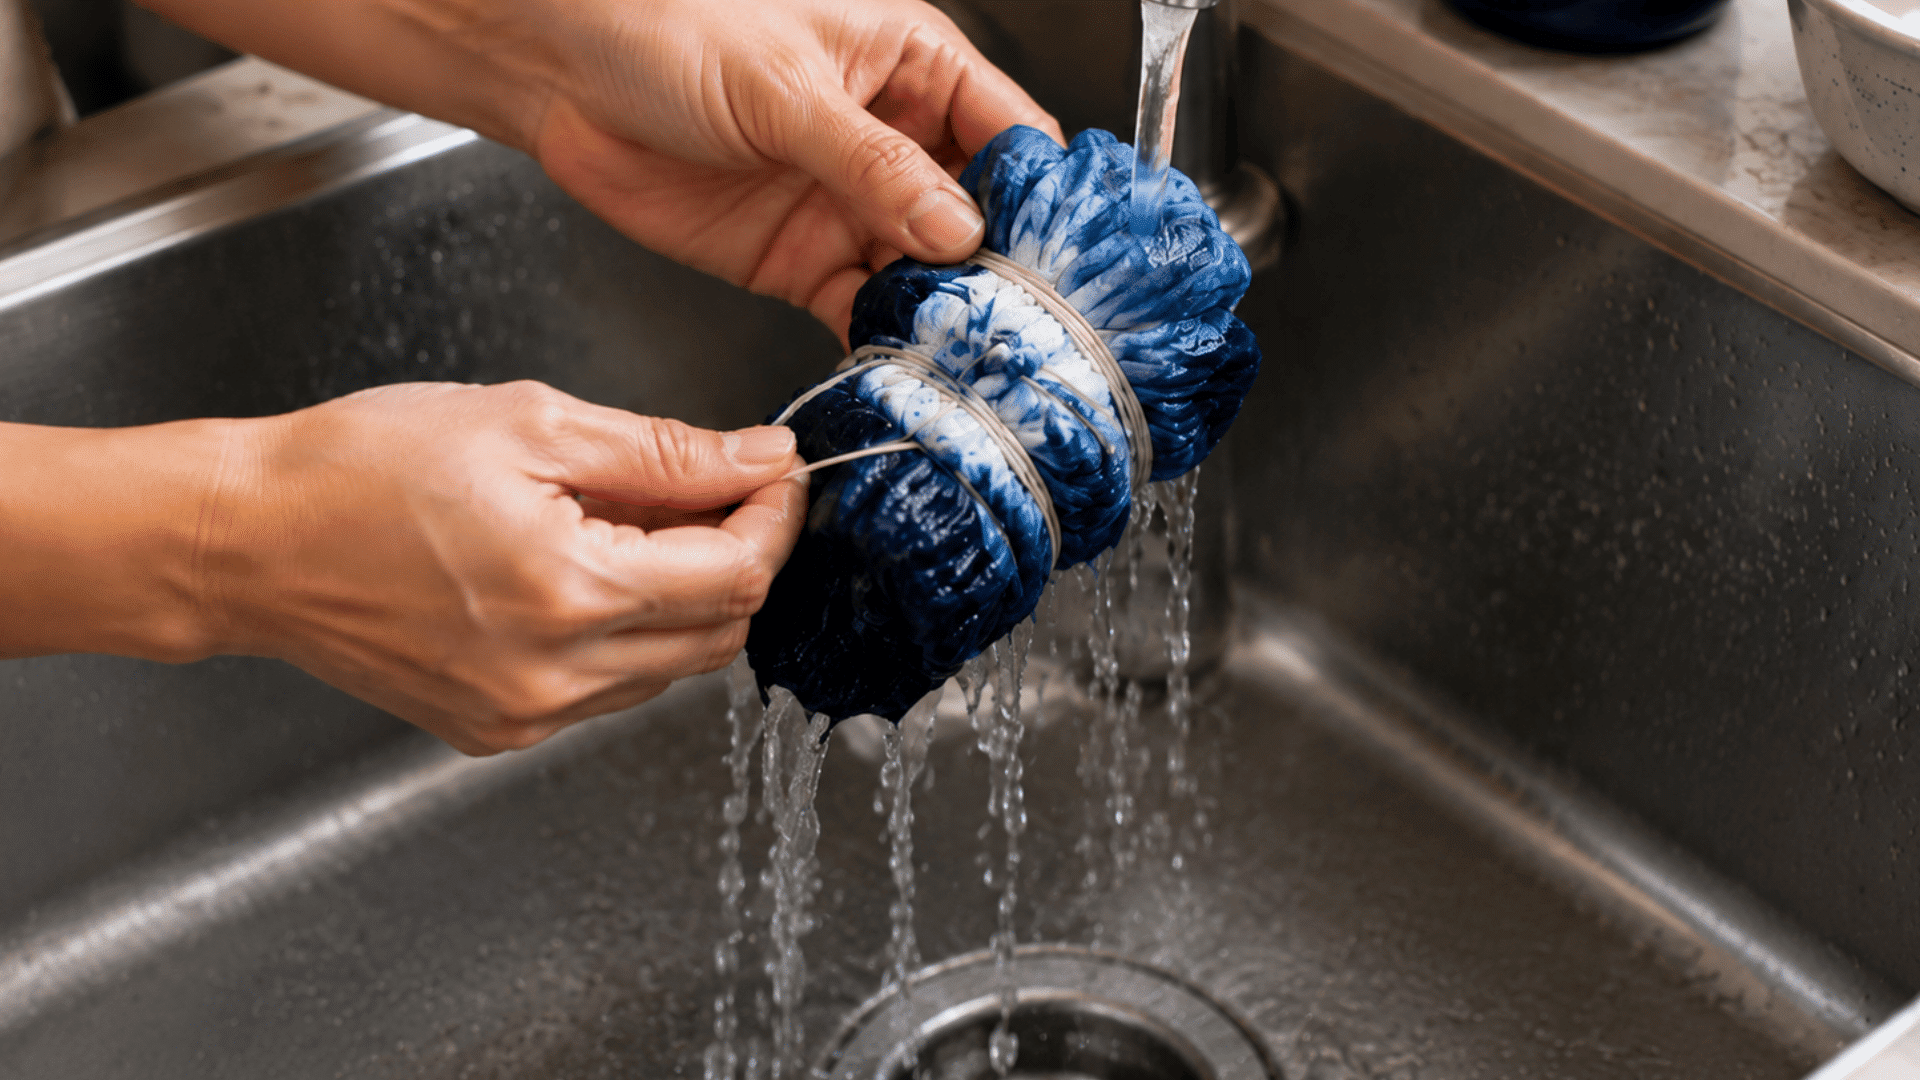
Rinse the dyed fabric under cool running water before removing the rubber bands, threads, or blocks. Continue rinsing until most of the extra dye washes away and the water becomes clearer.
Slowly unwrap each folded section to reveal the hidden pattern underneath. Taking your time during this step helps maintain sharper designs and prevents unwanted color mixing.
Step 7: Wash and Dry
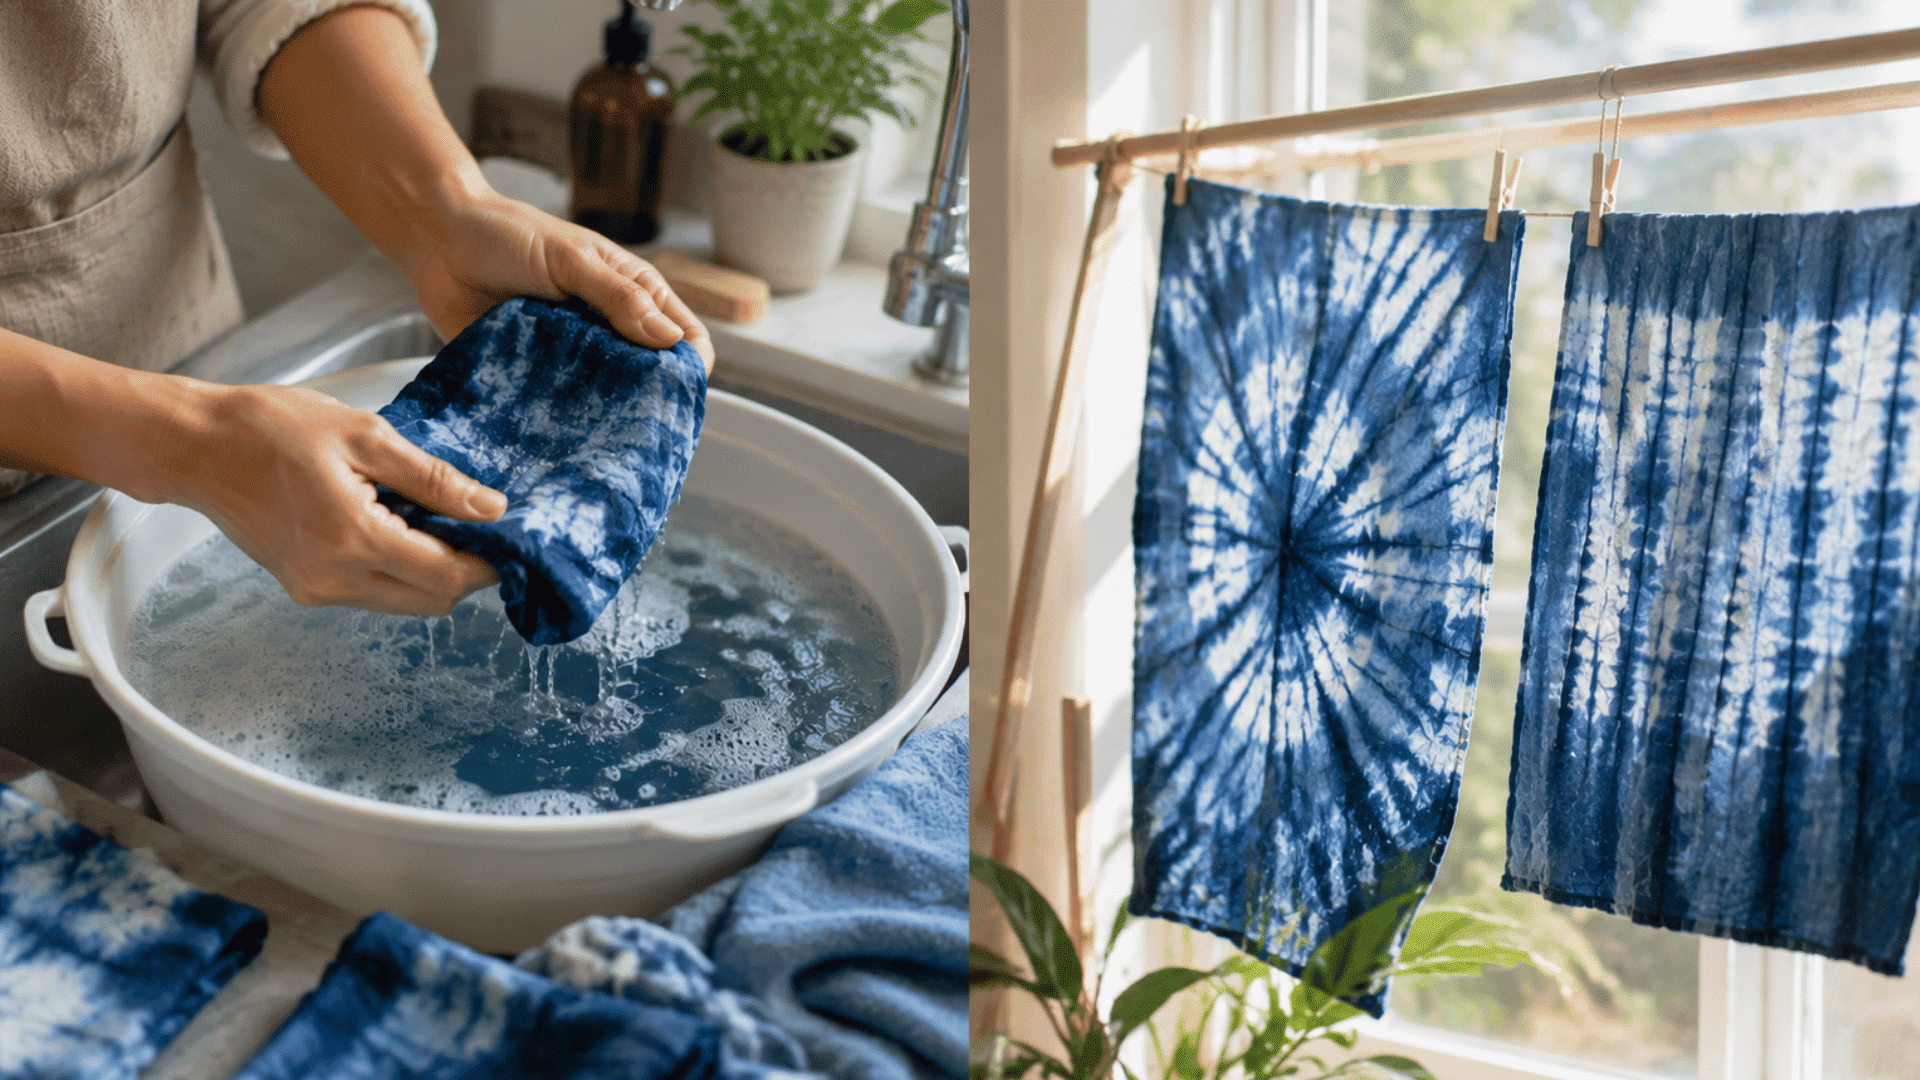
Wash the finished fabric separately using a mild detergent to remove any remaining dye from the surface. Avoid washing it with other clothes during the first few washes, as some color may still release.
After cleaning, allow the fabric to air-dry away from strong sunlight. Proper care helps maintain the color and keeps the handmade pattern looking fresh for longer.
If the repeating-grid quality is what draws you in, it pairs beautifully with block printing on fabric if you want to layer a stamped motif over a dyed background.
Six Japanese Shibori Patterns for Beginners
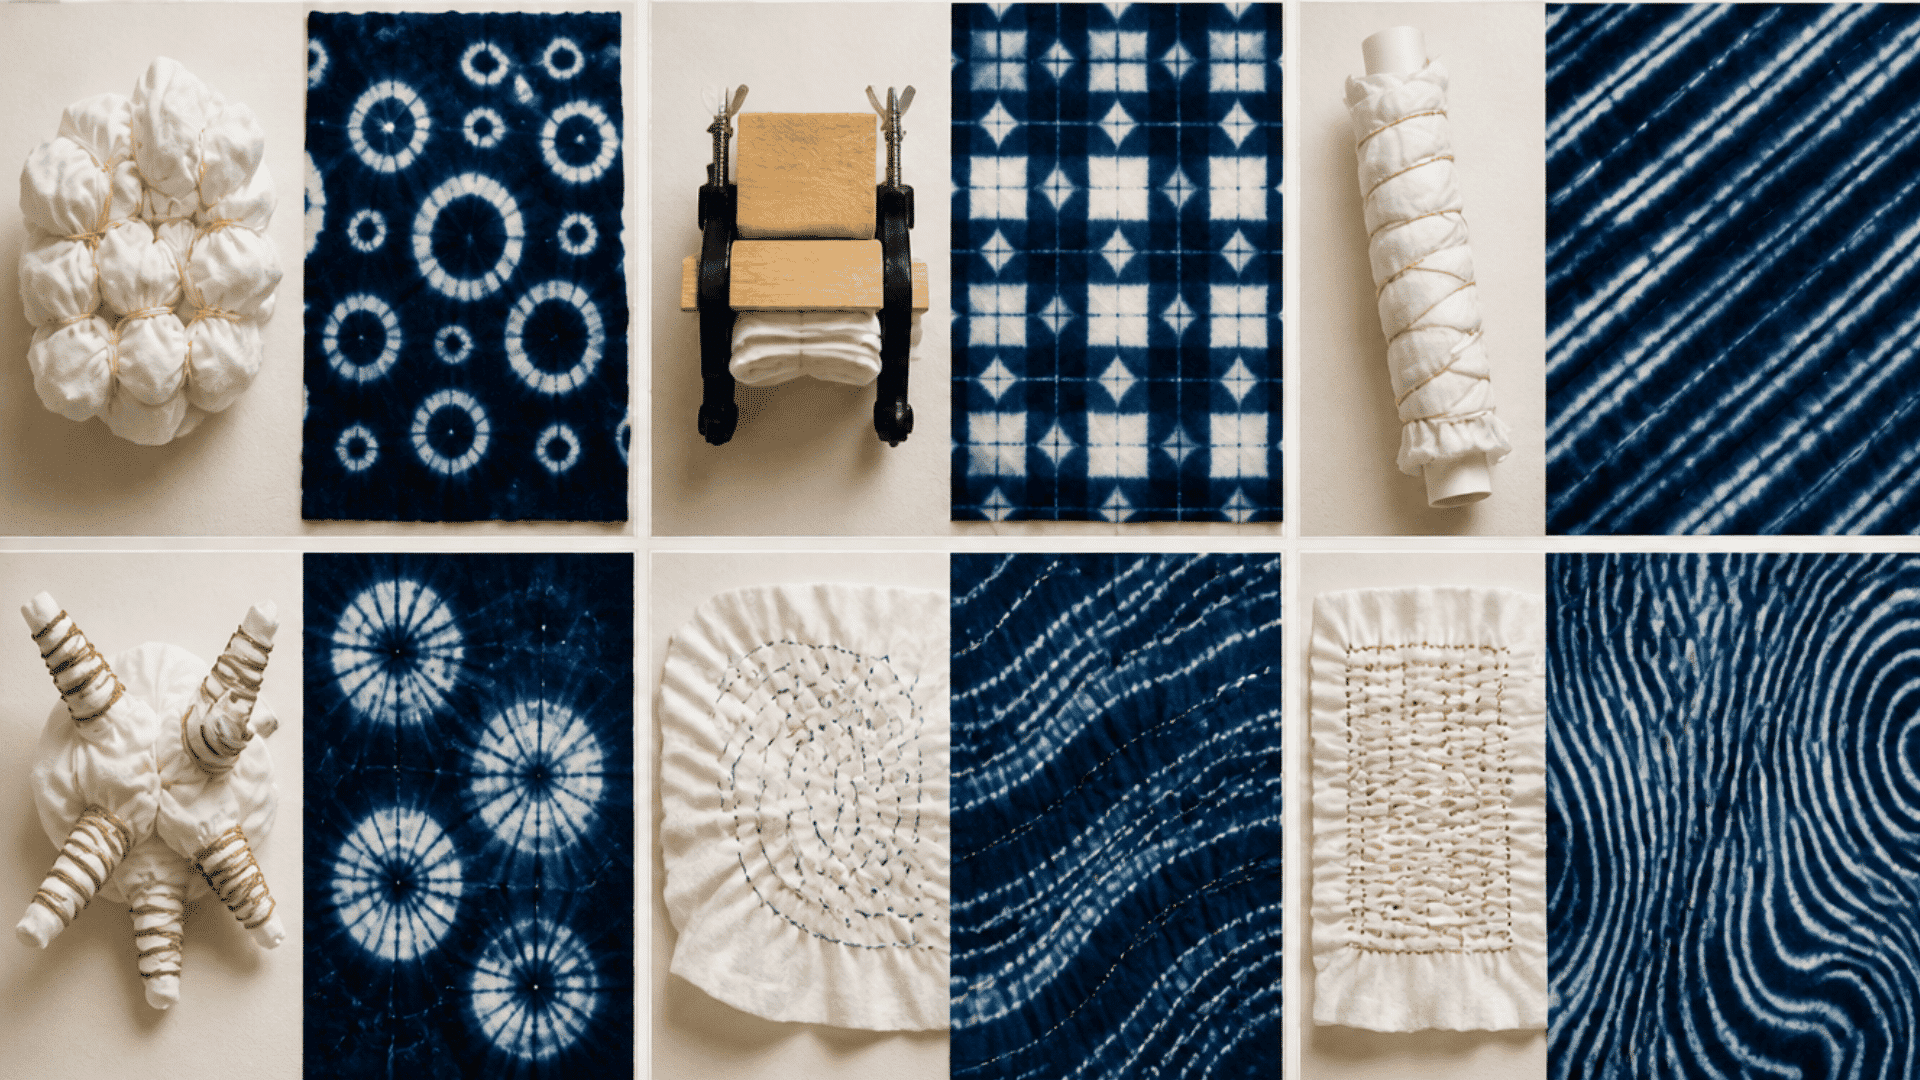
Trying different patterns helps beginners understand how fabric folds, bindings, and stitches affect the final design. These simple styles are a great place to start.
1. Kanoko-Inspired Circle Pattern
Kanoko-inspired shibori creates small circular designs resembling dots, rings, or soft flower shapes. To make this pattern, pinch small sections of fabric and tie them tightly with thread or rubber bands.
The tied areas resist the dye and remain lighter after coloring. Beginners can adjust the size and spacing of the tied sections to create different circle patterns.
Tip: Use evenly sized fabric pinches and tighten each tie firmly to create clear, balanced circles.
2. Itajime-Inspired Geometric Pattern
Itajime-inspired shibori uses folding and clamping techniques to create clean geometric shapes. Fold the fabric into squares, triangles, or rectangles, then place wooden blocks on both sides and secure them tightly.
The blocks prevent dye from reaching certain areas, leaving sharp shapes behind. This method works well for beginners who prefer neat patterns with a structured look.
Tip: Press the blocks tightly against the folded fabric so the dye does not seep into the covered areas.
3. Arashi-Inspired Diagonal Pattern
Arashi-inspired shibori creates flowing diagonal lines across the fabric. Wrap the material around a smooth pole or PVC pipe, then bind it tightly with string before scrunching the fabric together.
When dyed, the covered sections resist color and form slanted stripes. This technique is a simple way to create patterns that look detailed and movement-filled.
Tip: Scrunch the fabric evenly along the pole to keep the diagonal lines consistent across the material.
4. Kumo-Inspired Web Pattern
Kumo-inspired shibori creates web-like or spiderweb patterns using careful gathering and binding. Small sections of fabric are pinched, folded, and tied closely together before dyeing.
The final design often has soft circular shapes with layered details. Beginners can start with fewer gathered sections and add more ties as they become comfortable with the technique.
Tip: Space the tied sections before dyeing, as closely placed ties can make the finished pattern look crowded.
5. Nui-Inspired Stitched Pattern
Nui-inspired shibori uses stitching to control where the dye appears on the fabric. Simple running stitches are added to the cloth, then the threads are pulled tightly to gather the material before dyeing.
Once the stitches are removed, they reveal detailed lines and textured patterns. This method is ideal for those who enjoy sewing and handmade details.
Tip: Use strong thread and pull it firmly without breaking it to produce well-defined stitched lines.
6. Mokume-Inspired Woodgrain Pattern
Mokume-inspired shibori creates patterns that resemble the natural lines found in wood grain. The fabric is stitched with uneven lines and then gathered tightly before being dyed.
The folds and stitched areas create flowing marks with a layered appearance. This technique takes more patience but gives a unique, organic design that stands out on larger fabric pieces.
Dyed napkins wrapped with a ribbon also make genuinely good handmade gifts, and they slot neatly into a list of weekend craft projects you can do at home.
How to Wash Shibori Fabric Without Fading It
Preserve the vibrant indigo and intricate patterns of your handmade textile by learning how to wash Shibori fabric without fading it.
- Rinse thoroughly: Continue rinsing the fabric under running water until the water runs mostly clear to remove excess dye.
- Wash separately: Keep your new piece isolated from lighter clothes during its first few laundering cycles to prevent color transfer.
- Use cold water: Always opt for cold cycles, as hot water breaks down bonds, causing the color to fade faster.
- Choose mild detergent: Protect the fabric by avoiding strong, harsh cleaners, optical brighteners, and bleach.
- Turn clothing inside out: Shield the exterior design by reducing surface rubbing and friction during the washing cycle.
Note: A slight release of colour during the first few washes is completely normal and to be expected as the fabric sheds unfixed pigment
Conclusion
Folding, tying, and dyeing work together to create unique fabric patterns by controlling where the color reaches each section.
Shibori tie-dye gives you many ways to experiment with simple techniques and create handmade designs at home.
Starting with an easy pattern can help you understand the process and build confidence before trying detailed styles.
With regular practice, folds become neater, bindings become easier to manage, and patterns become more predictable. Each project helps you improve your skills as you create fabric pieces with a personal touch.
Frequently Asked Questions
Can Shibori Dye Patterns Fade over Time?
Yes, shibori patterns can fade slightly with repeated washing and sun exposure. Using fabric dyes made for long-lasting color and following proper washing care can help maintain the design.
Can Shibori Be Done on Dark-Coloured Fabrics?
Shibori works best on light-coloured fabrics because the dye patterns show more clearly. Dark fabrics may need color removal or special dye techniques to create visible designs.
How Long Does It Take to Complete a Shibori Project?
The time depends on the pattern, dye type, and drying process. Simple designs may take a few hours, while detailed techniques with stitching or multiple dye layers can take longer.