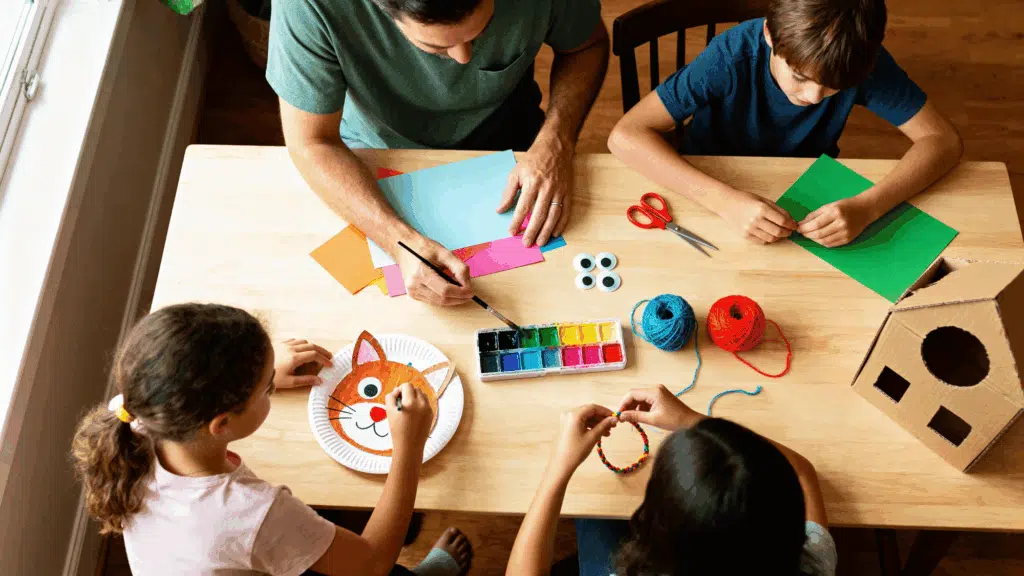
Some days, keeping kids busy at home is just hard. They get bored, you run out of ideas, and nobody wants to deal with a big mess or a long setup.
Arts and crafts to do at home can help on those days. You can use paper, glue, colors, cardboard, or whatever is already lying around, and let kids make something their own way.
In this blog, you’ll find simple crafts for kids with easy materials and steps you can follow without overthinking it.
What to Know Before Starting Crafts at Home?
Before you start, don’t worry about making craft time perfect. The best part of arts and crafts to do at home is sitting with your child, trying out ideas, and enjoying the moment together.
Pick a spot where a little mess is okay, keep basic supplies close, and choose projects based on your child’s mood. Some days they may want to paint quietly, while other days they may want to build, cut, and glue.
Let them make choices, even when the result looks different from the example. Paper plate animals are a simple, playful first project using everyday supplies.
Easy Arts and Crafts Ideas for The Little Ones
Arts and crafts don’t have to be complicated to keep kids happy and engaged at home. These simple crafts for 6-12 year olds are easy to set up, fun to make, and perfect for turning everyday supplies into something creative.
1. Paper Plate Animals
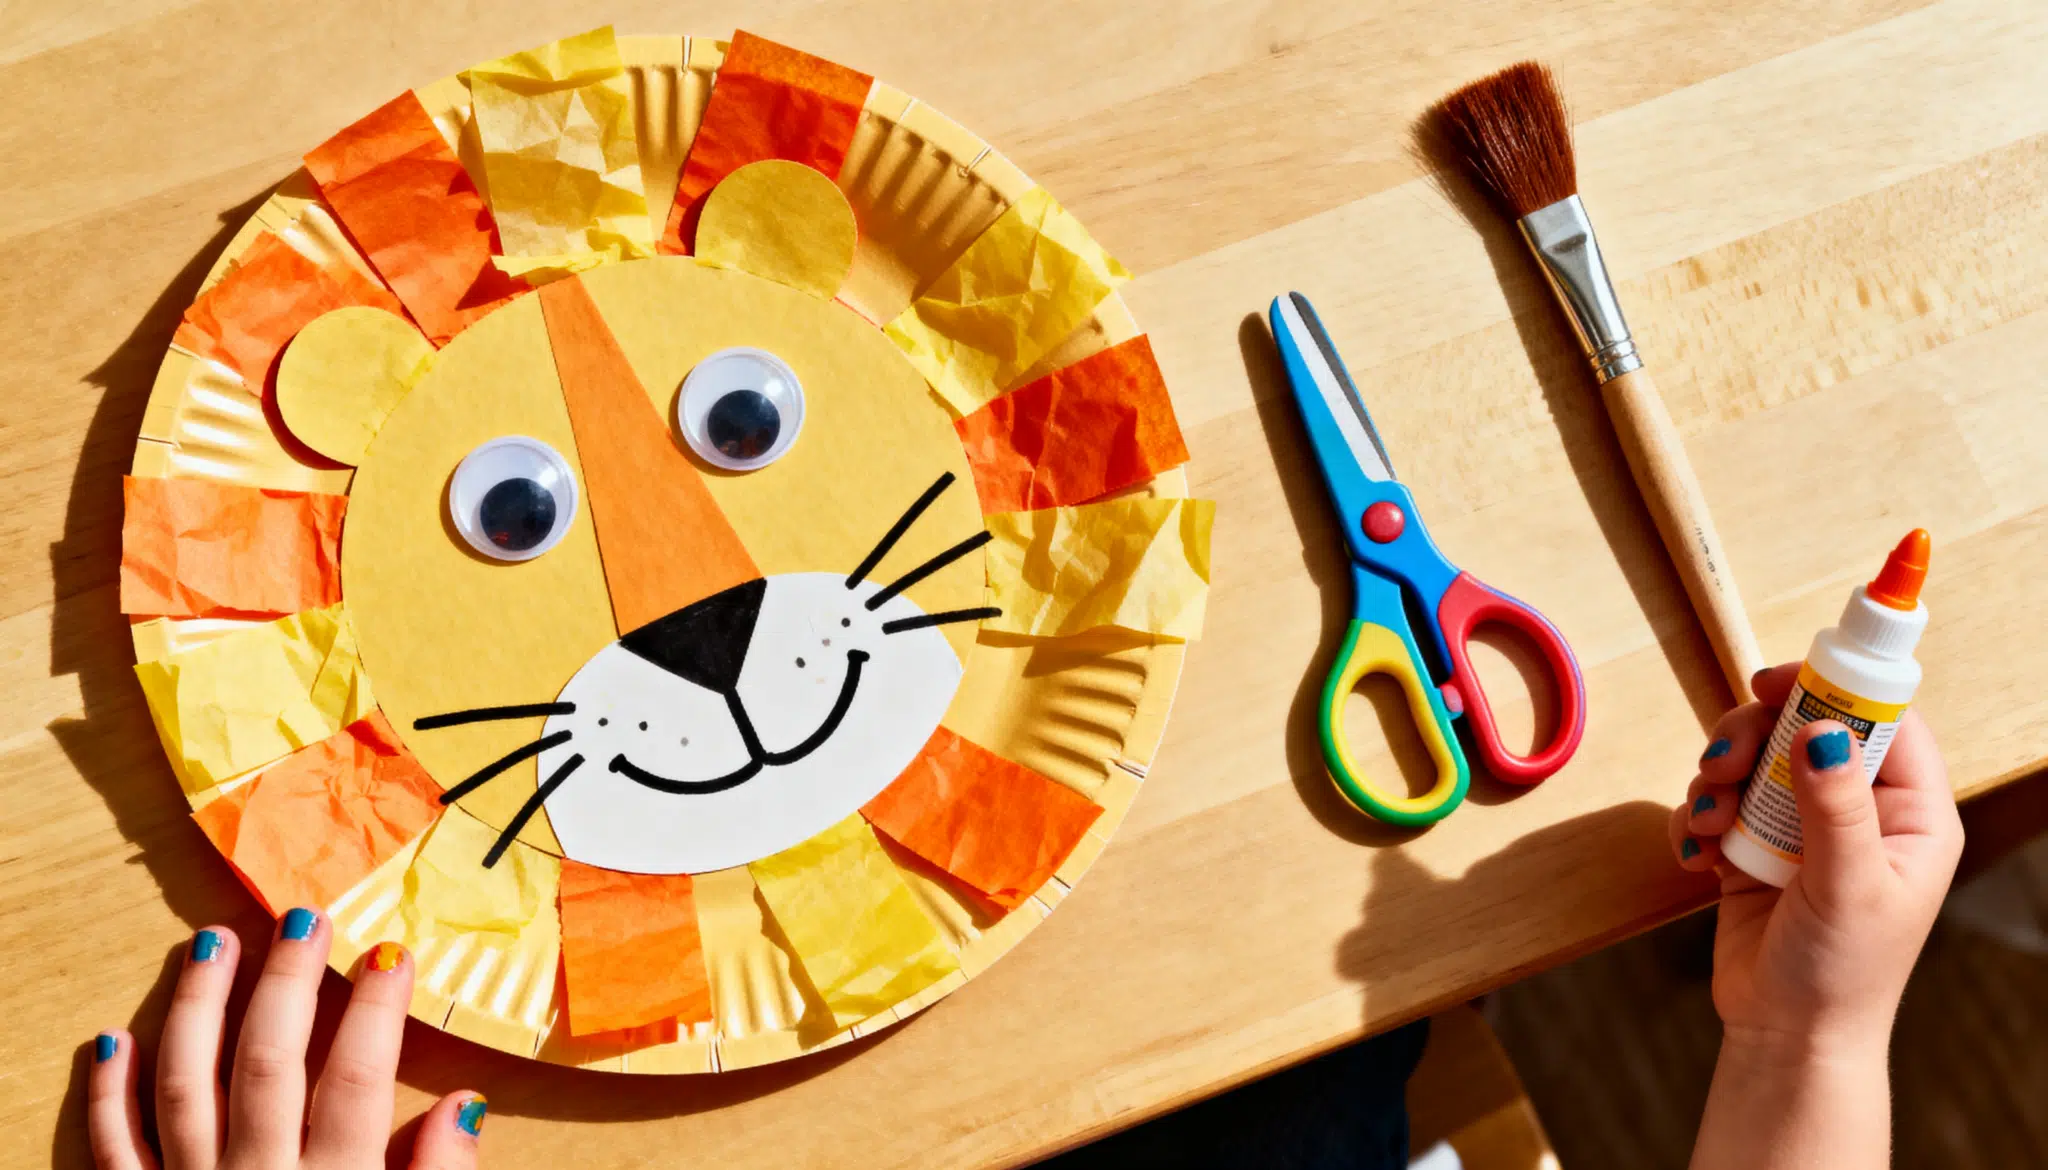
Paper plate animals are a simple way to turn everyday supplies into something playful. Kids can choose their favorite animal and decorate it however they like.
If your child loves this kind of project, the collection of paper plate crafts has even more fun ways to turn a simple plate into something extraordinary.
Materials needed: Paper plates, paint or markers, glue, scissors, colored paper, and googly eyes.
How to make it:
- Choose an animal, such as a lion, cat, frog, or panda.
- Color or paint the paper plate as the animal’s face.
- Cut out ears, nose, mouth, or other features from colored paper.
- Glue the pieces onto the plate.
- Add eyes and small details with markers.
2. Diy Friendship Bracelets
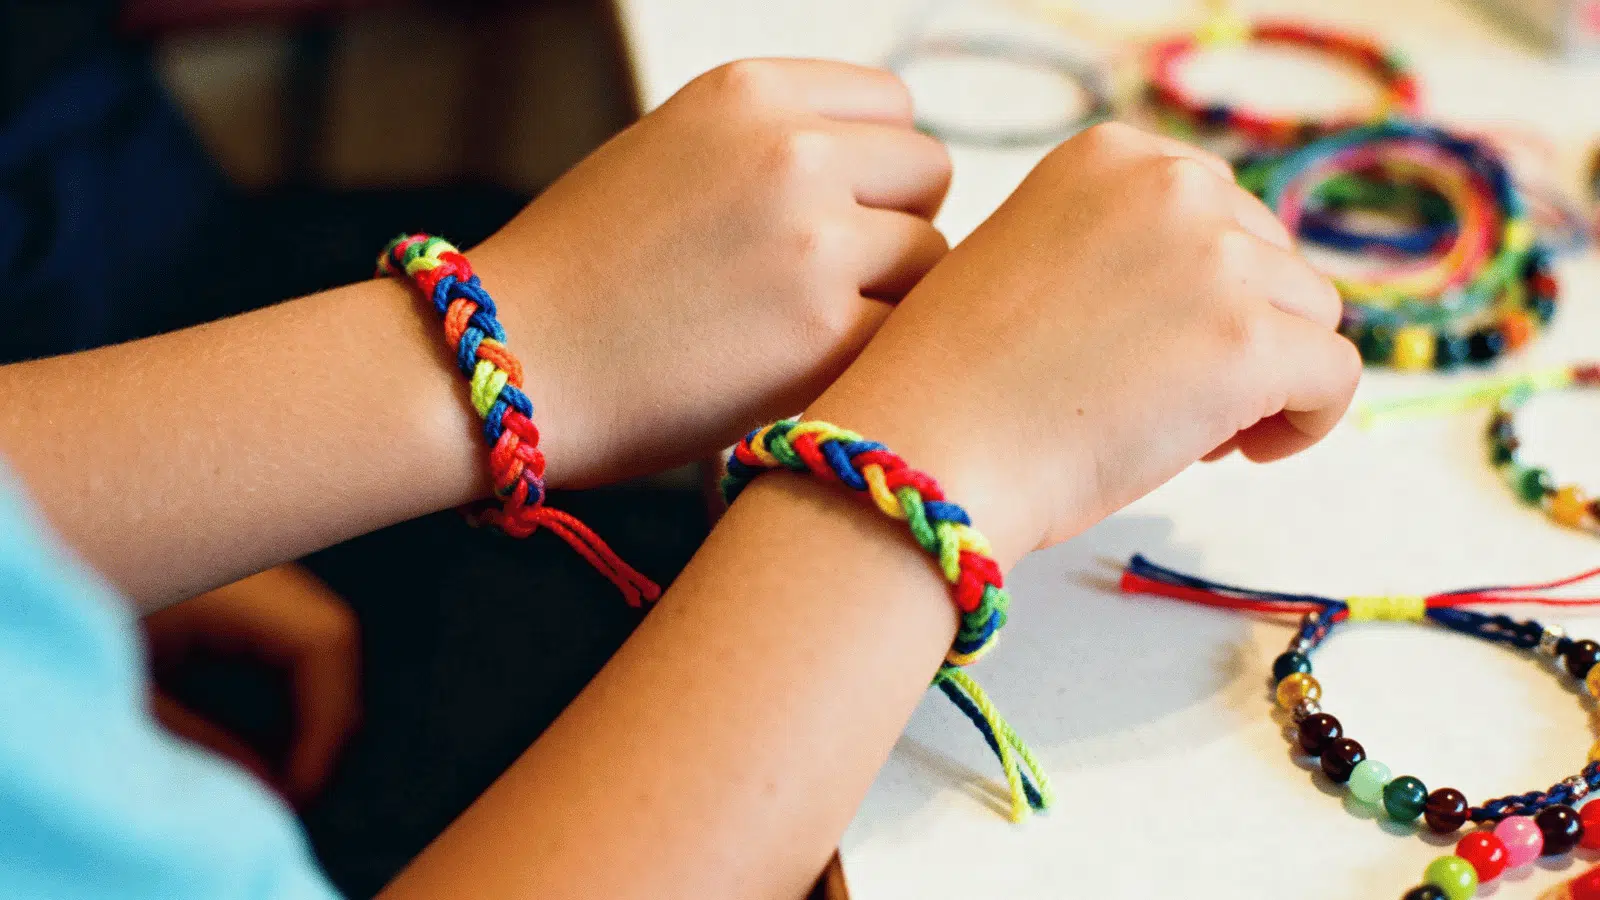
Friendship bracelets are fun to make and even better to give away. This craft keeps little hands busy and lets kids create something personal for friends or family.
Materials needed: Embroidery thread, yarn, beads, tape, and scissors.
How to make it:
- Cut 3–5 equal pieces of thread or yarn.
- Tie the strands together at one end.
- Tape the tied end to a table to keep it steady.
- Braid or knot the strands into a bracelet.
- Tie the ends together once it fits the wrist.
3. Painted Rock Garden Markers
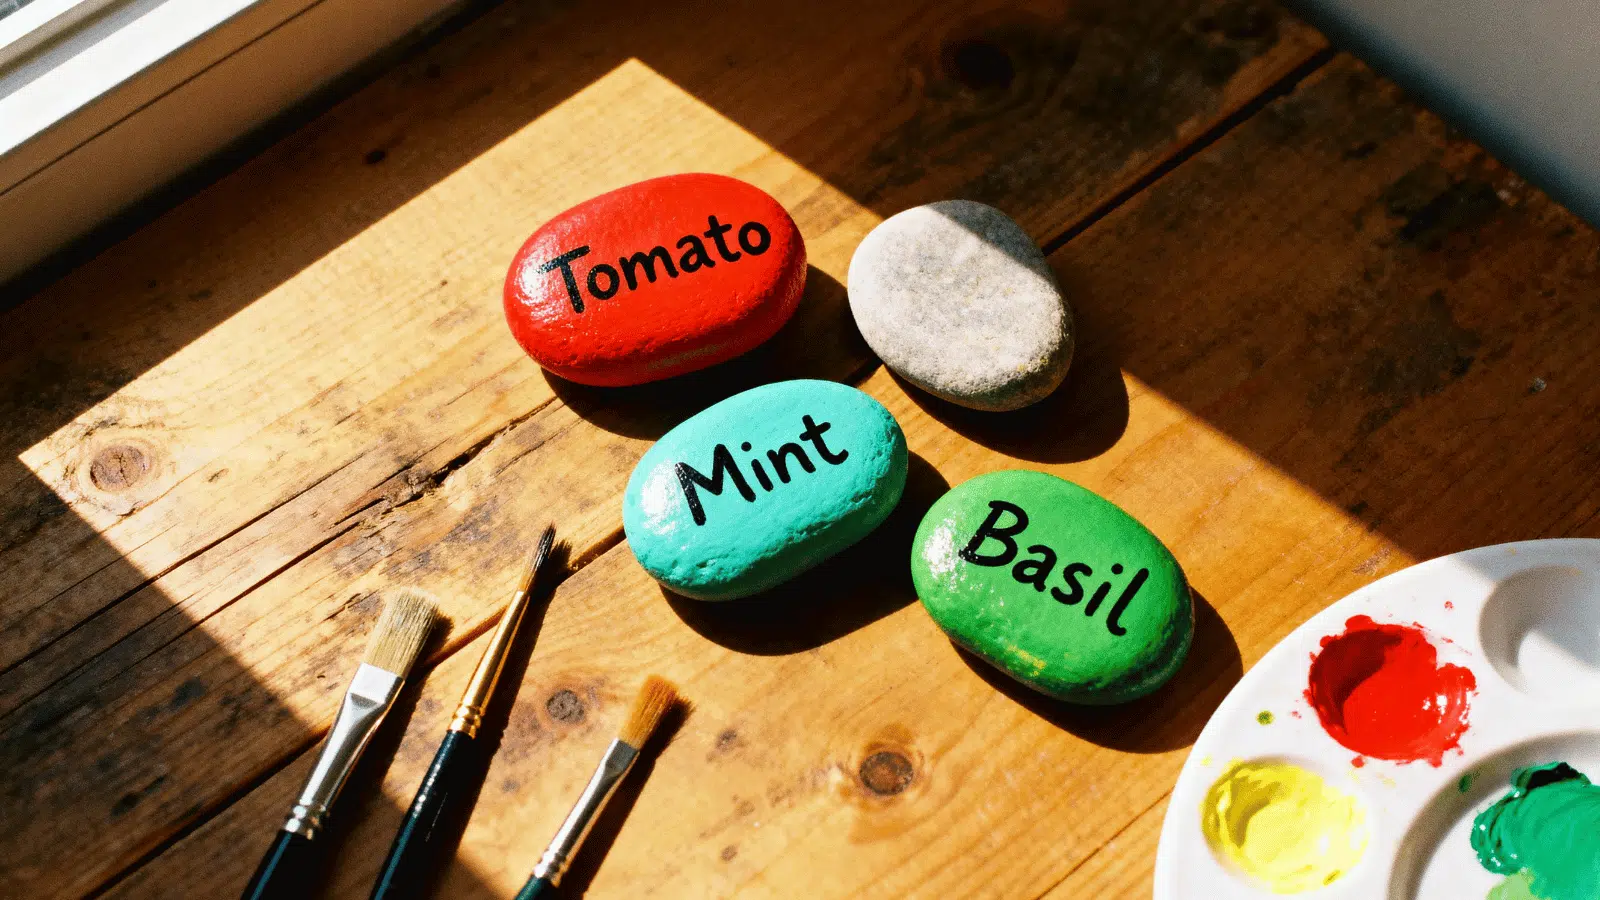
Painted rocks are a lovely way to add color to a garden, balcony, or plant pot. Kids can paint names of herbs, flowers, or fun little designs on each stone.
Materials needed: Smooth rocks, acrylic paint, paintbrushes, markers, and clear sealant.
How to make it:
- Wash the rocks and let them dry.
- Paint each rock with a base color.
- Write the plant name or draw a small image on the rock.
- Let the paint dry completely.
- Add a clear sealant if the rocks will be kept outside.
4. Cardboard Box Dollhouse
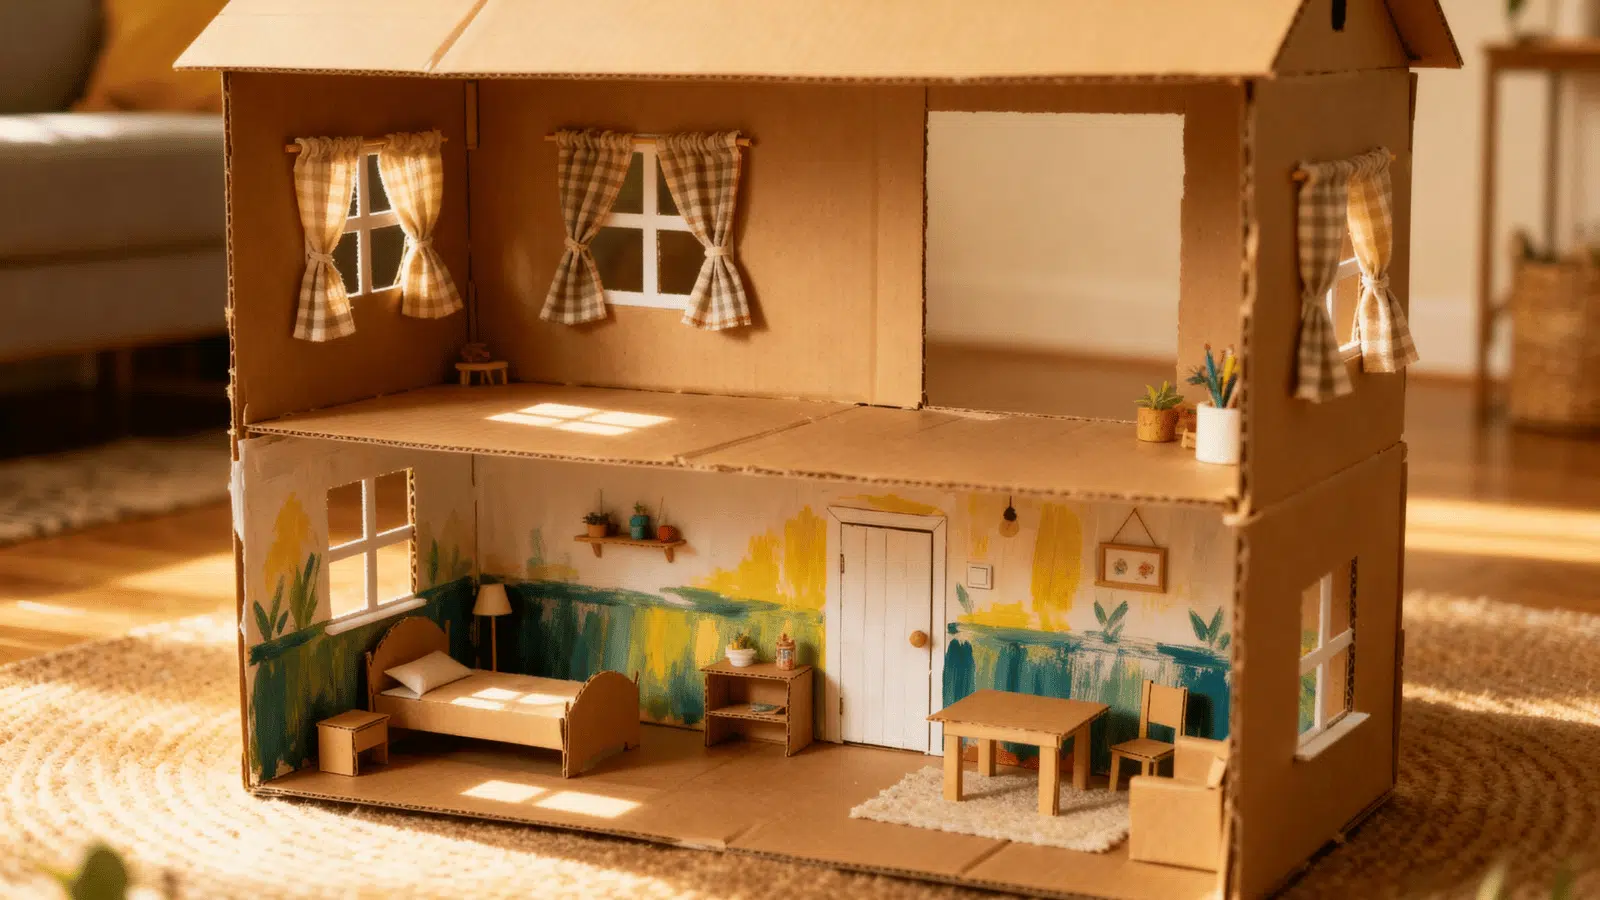
A cardboard box dollhouse is a great way to reuse an old box and create hours of pretend play. Kids can design rooms, furniture, windows, and tiny decorations.
Materials needed: Cardboard box, scissors, glue, tape, colored paper, markers, and fabric scraps.
How to make it:
- Choose a sturdy cardboard box and open one side.
- Draw or cut out windows and doors.
- Use colored paper to decorate the walls and floors.
- Make simple furniture from smaller cardboard pieces.
- Add details like rugs, curtains, or wall art.
5. Homemade Slime
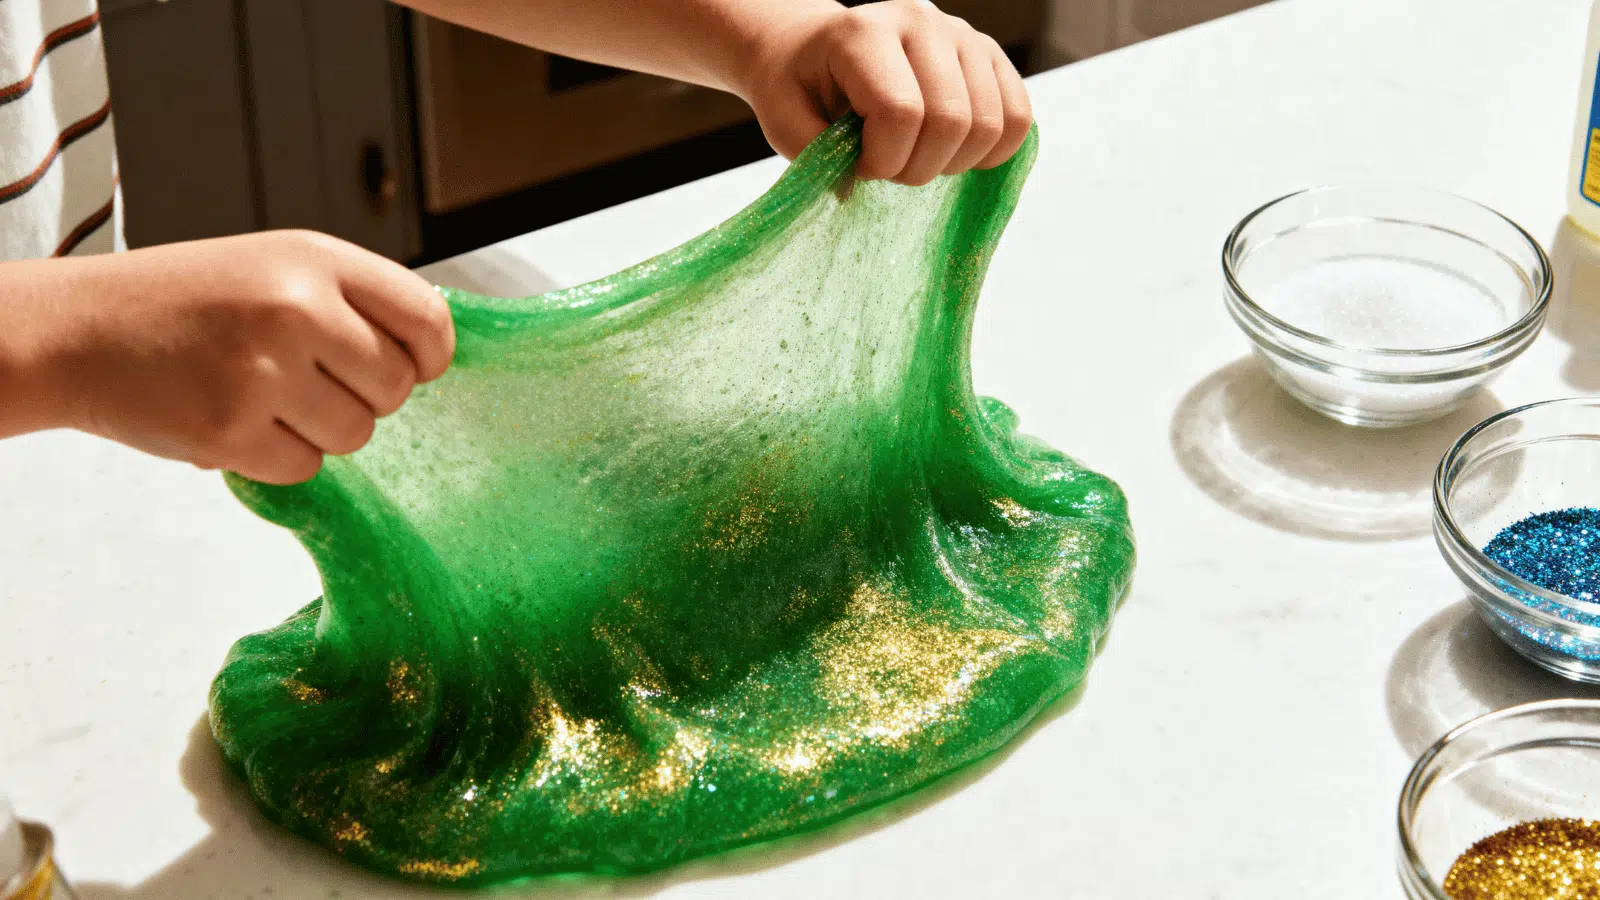
Homemade slime is stretchy, squishy, and always exciting for kids to play with. It is a hands-on craft that feels more like a mini science experiment.
Materials needed: White glue, baking soda, contact lens solution, food coloring, and glitter.
How to make it:
- Pour glue into a bowl.
- Add a small amount of baking soda and mix well.
- Add food coloring or glitter if you want.
- Slowly add contact lens solution while stirring.
- Knead the slime until it becomes stretchy and less sticky.
6. Nature Collage Art
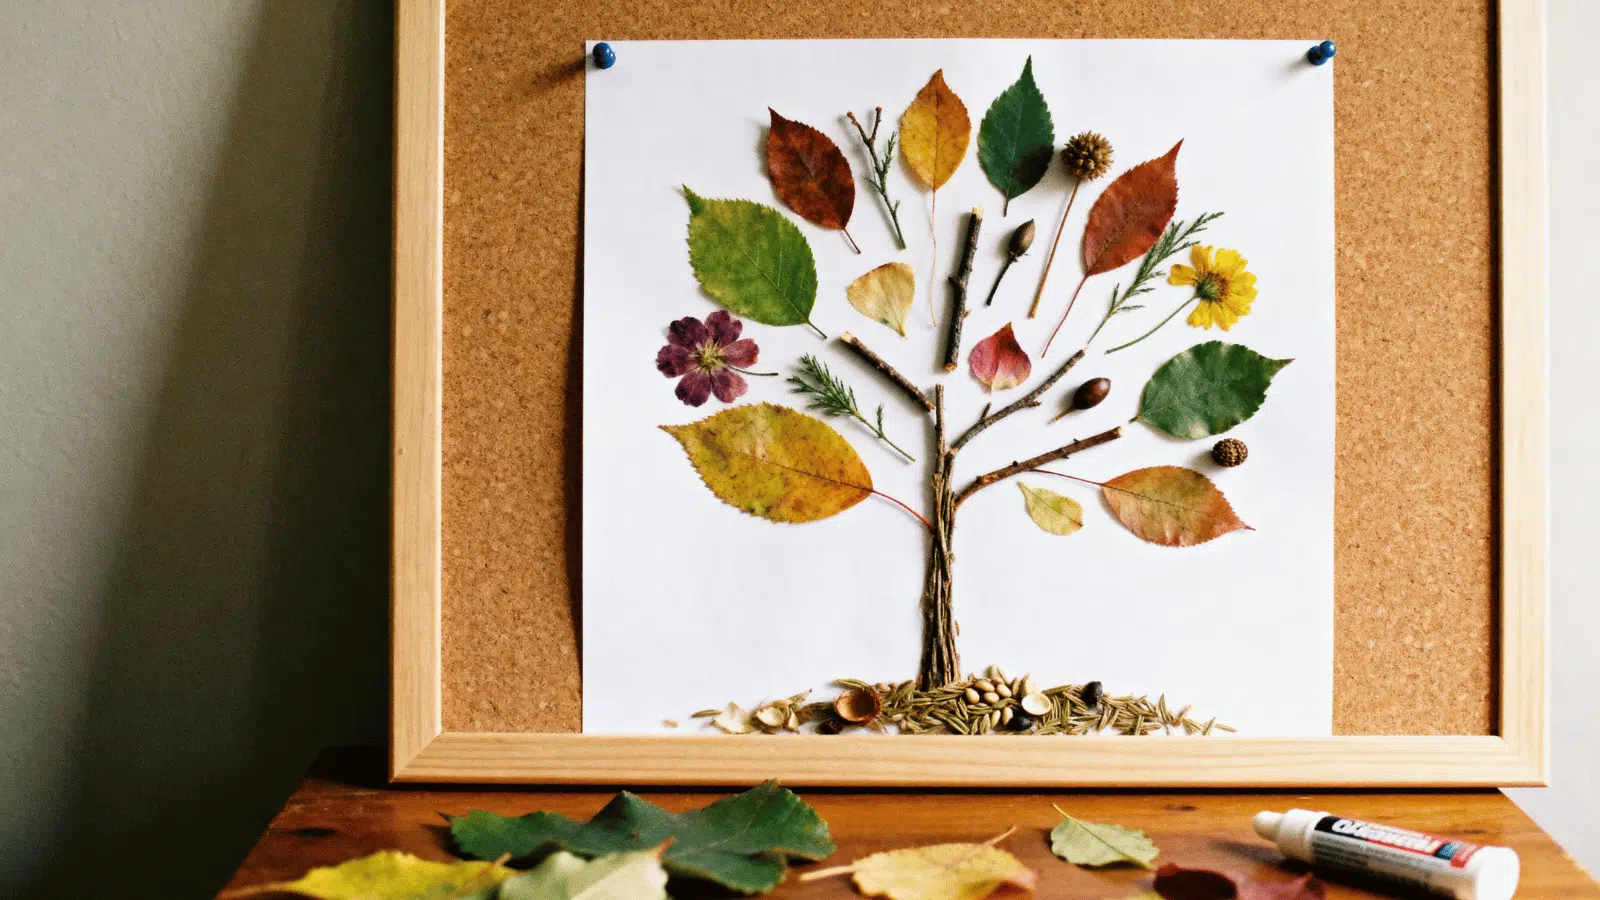
Nature collage art is a lovely way to bring the outdoors into craft time. Kids can collect leaves, flowers, and small twigs, then arrange them into their own little artwork.
Materials needed: Leaves, flowers, twigs, paper or cardstock, glue, and markers.
How to make it:
- Collect a few clean leaves, flowers, or small natural items.
- Place them on paper before gluing to plan the design.
- Arrange them into a scene, pattern, animal, or abstract artwork.
- Glue each piece carefully onto the paper.
- Add small details with markers once everything is dry.
7. Button Art Portraits
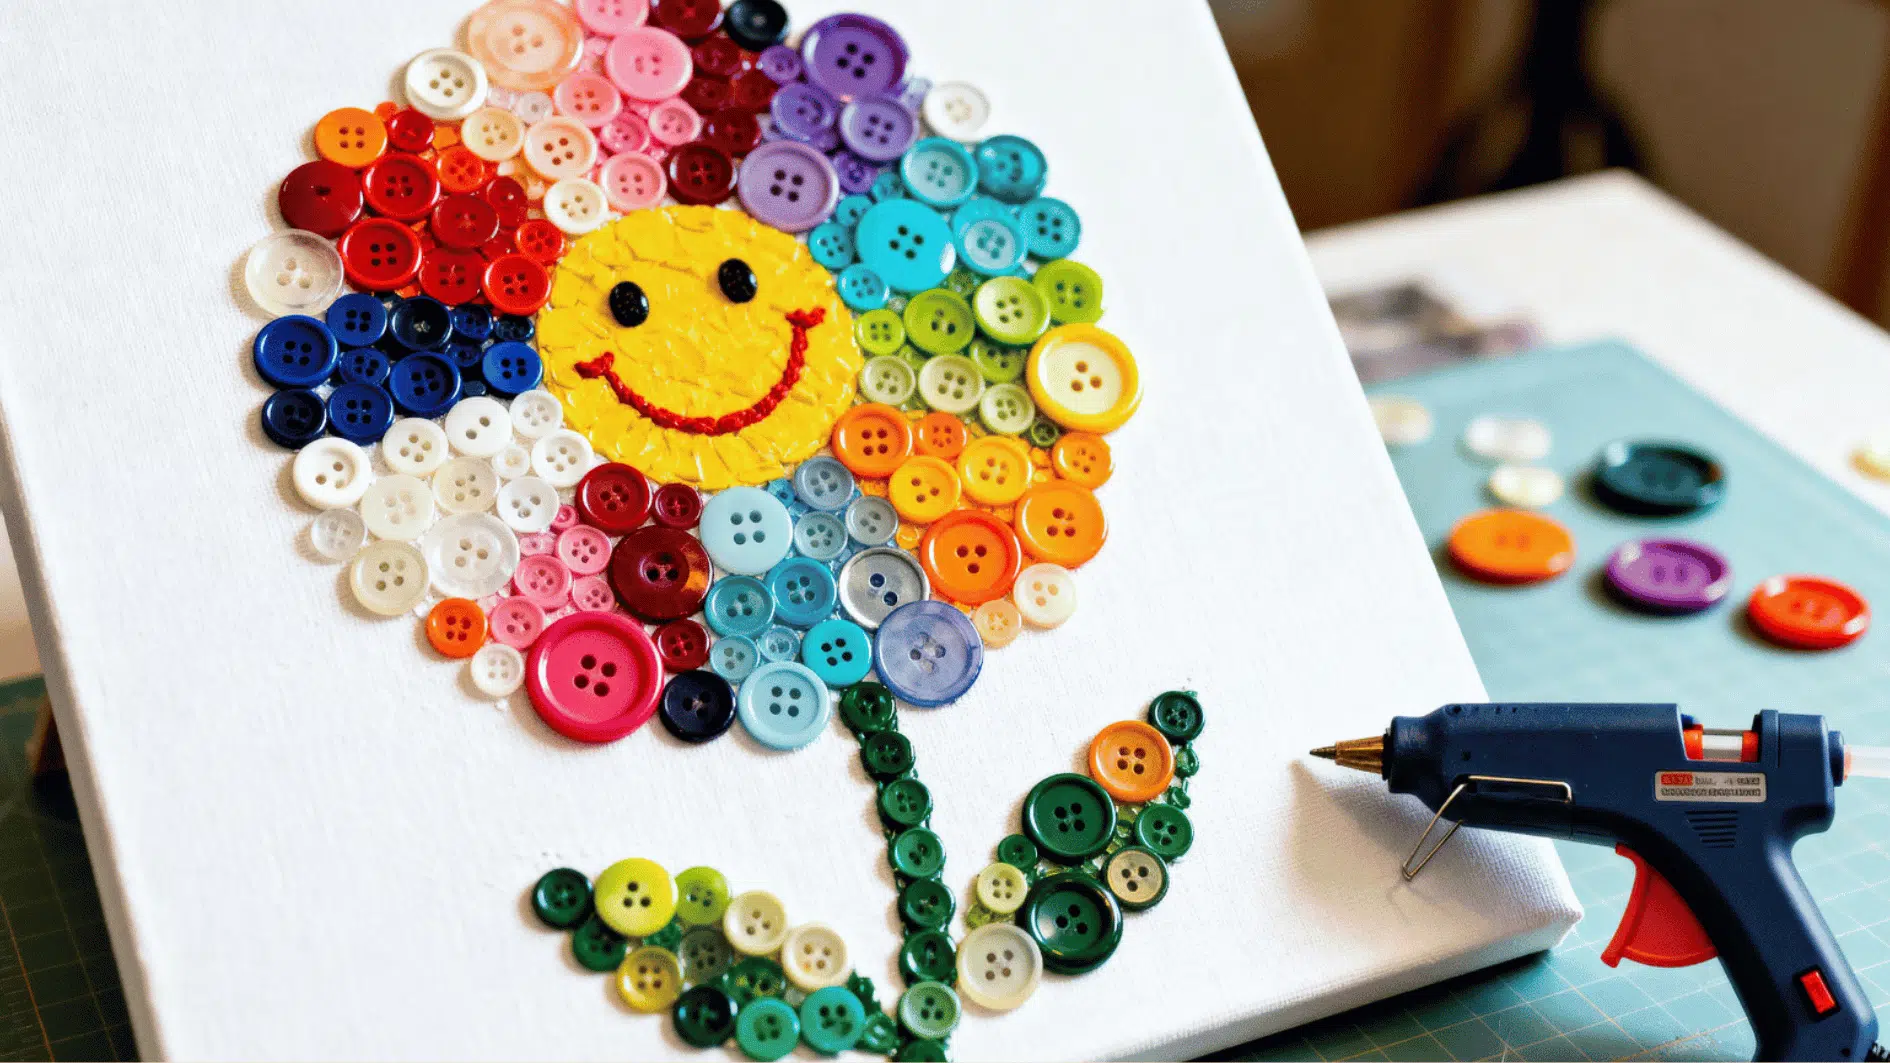
Button art portraits are a fun way to repurpose old buttons into colorful faces or characters. Kids can play with different shapes and sizes to create silly or sweet expressions.
Materials needed: Buttons, cardstock, glue, markers, pencil, yarn, or paper scraps.
How to make it:
- Lightly draw a face or character outline on cardstock.
- Choose buttons for the eyes, nose, hair, or clothes.
- Place the buttons on the paper before gluing.
- Glue the buttons one by one and let them dry.
- Add extra details with markers, yarn, or paper scraps.
8. Origami Animals
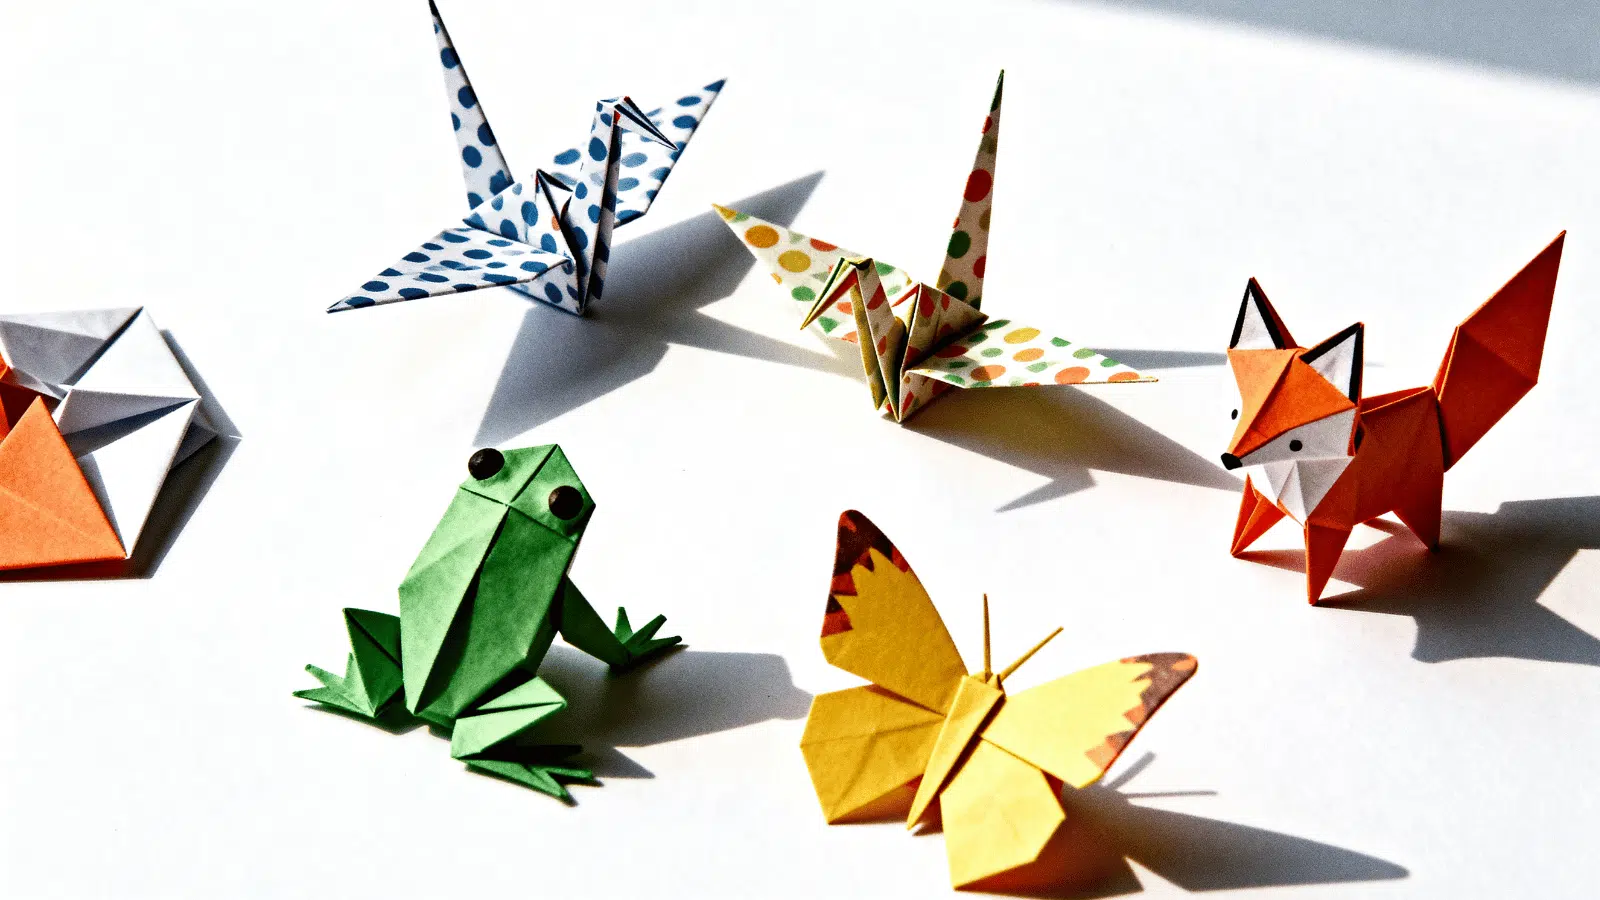
Origami animals are great for quiet craft time and only need paper to get started. Kids can make simple creatures like dogs, cats, frogs, birds, or fish.
Materials needed: Origami paper or square paper, markers.
How to make it:
- Pick a simple animal shape to make first.
- Fold the paper carefully, matching the corners as neatly as possible.
- Press each fold firmly so the shape holds.
- Follow the steps slowly until the animal is complete.
- Draw eyes, a nose, or patterns with markers.
9. Tie-Dye T-Shirts
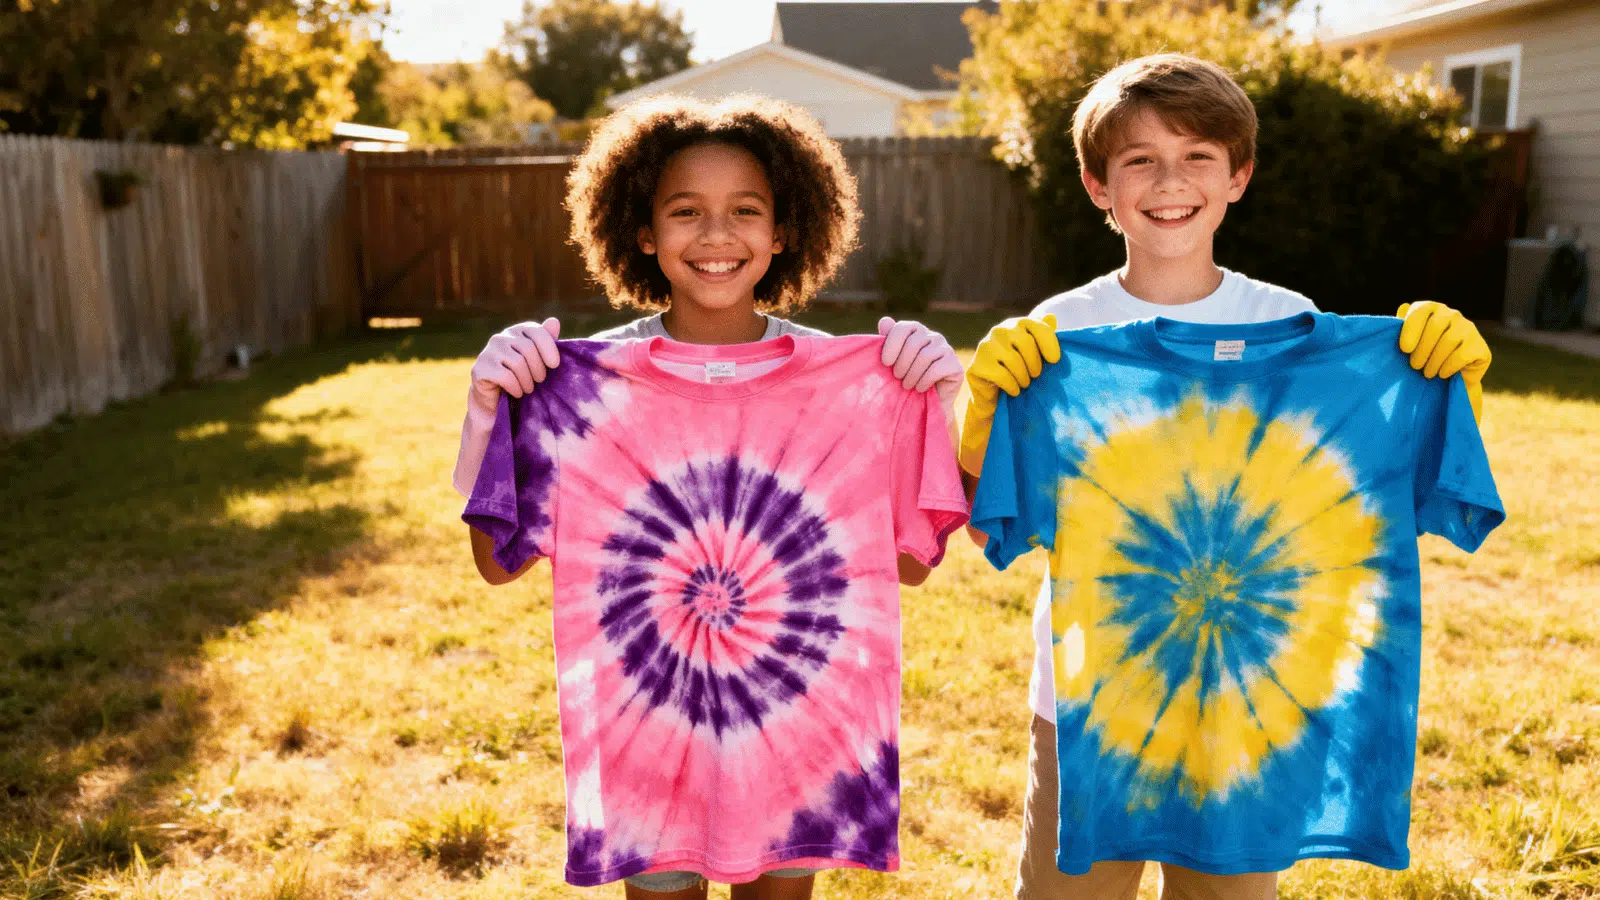
Tie-dye T-shirts are bright, exciting, and perfect when kids want to make something they can actually wear. Each shirt turns out different, which makes the process even more fun.
Materials needed: Plain white T-shirt, fabric dye, rubber bands, gloves, plastic bag, and squeeze bottles.
How to make it:
- Twist or fold the T-shirt into your chosen pattern.
- Wrap rubber bands around the shirt to hold the shape.
- Add fabric dye to different sections.
- Place the shirt in a plastic bag and let the color set.
- Rinse, dry, and wash it before wearing.
10. Diy Bookmarks
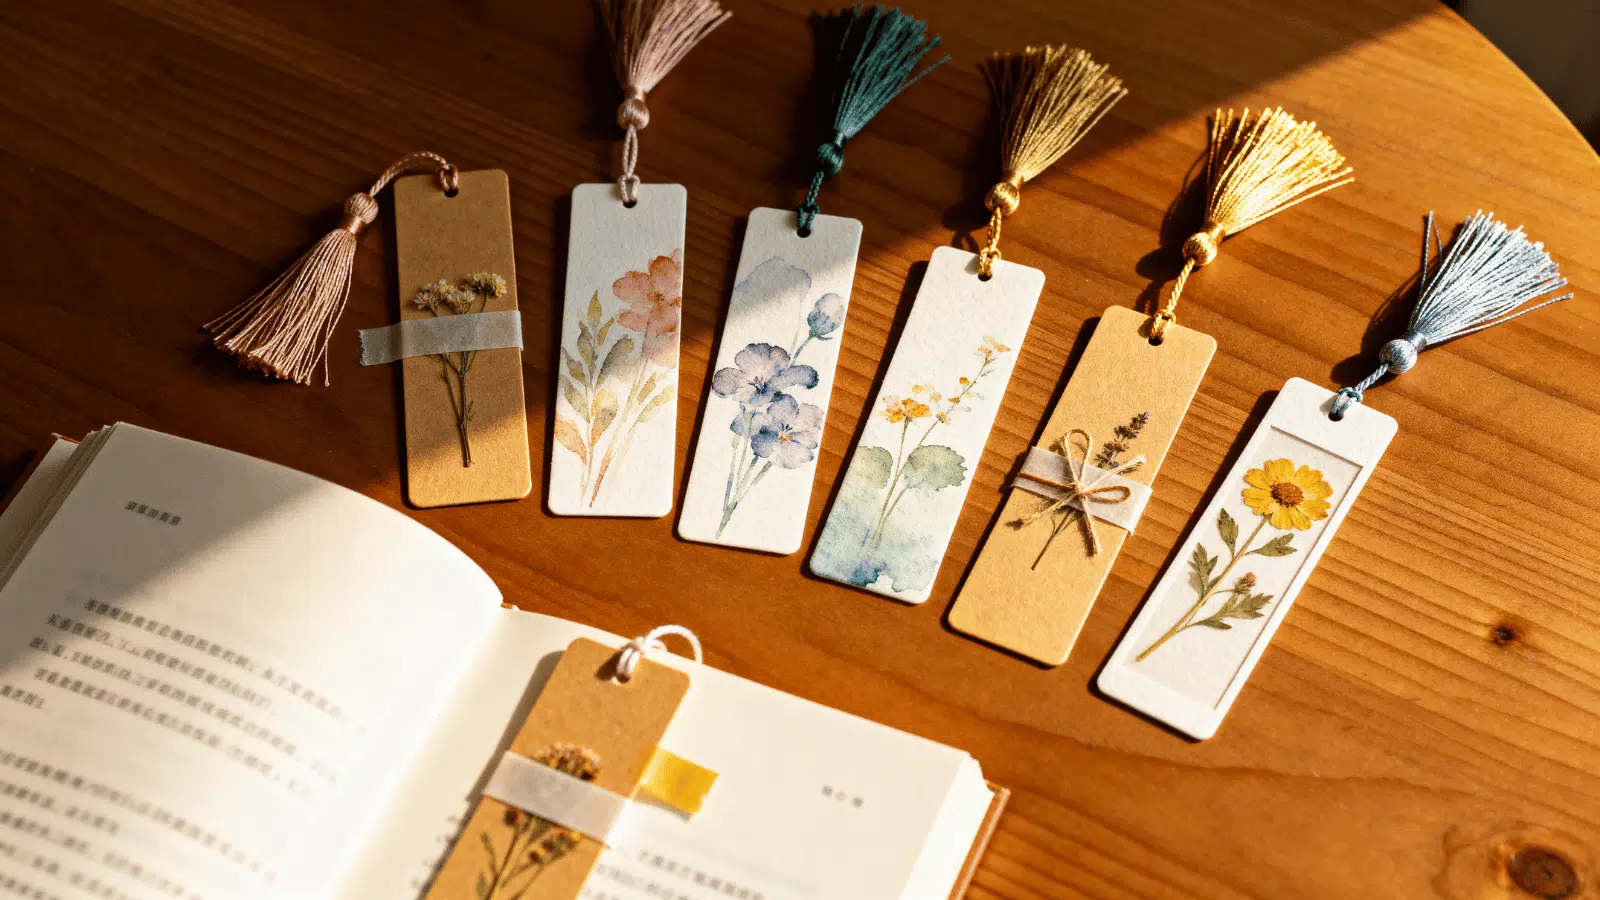
DIY bookmarks are simple, useful, and perfect for kids. They can turn plain bookmarks into something special with drawings, colors, stickers, and quotes they love.
Materials needed: Cardstock, markers, stickers, ribbon, a hole punch, and scissors.
How to make it:
- Cut cardstock into a long bookmark shape.
- Decorate it with drawings, patterns, stickers, or a favorite quote.
- Punch a hole at the top if you want to add ribbon.
- Tie a small ribbon or a piece of yarn through the hole.
- Let any glue or marker ink dry before using it in a book.
11. Popsicle Stick Photo Frames
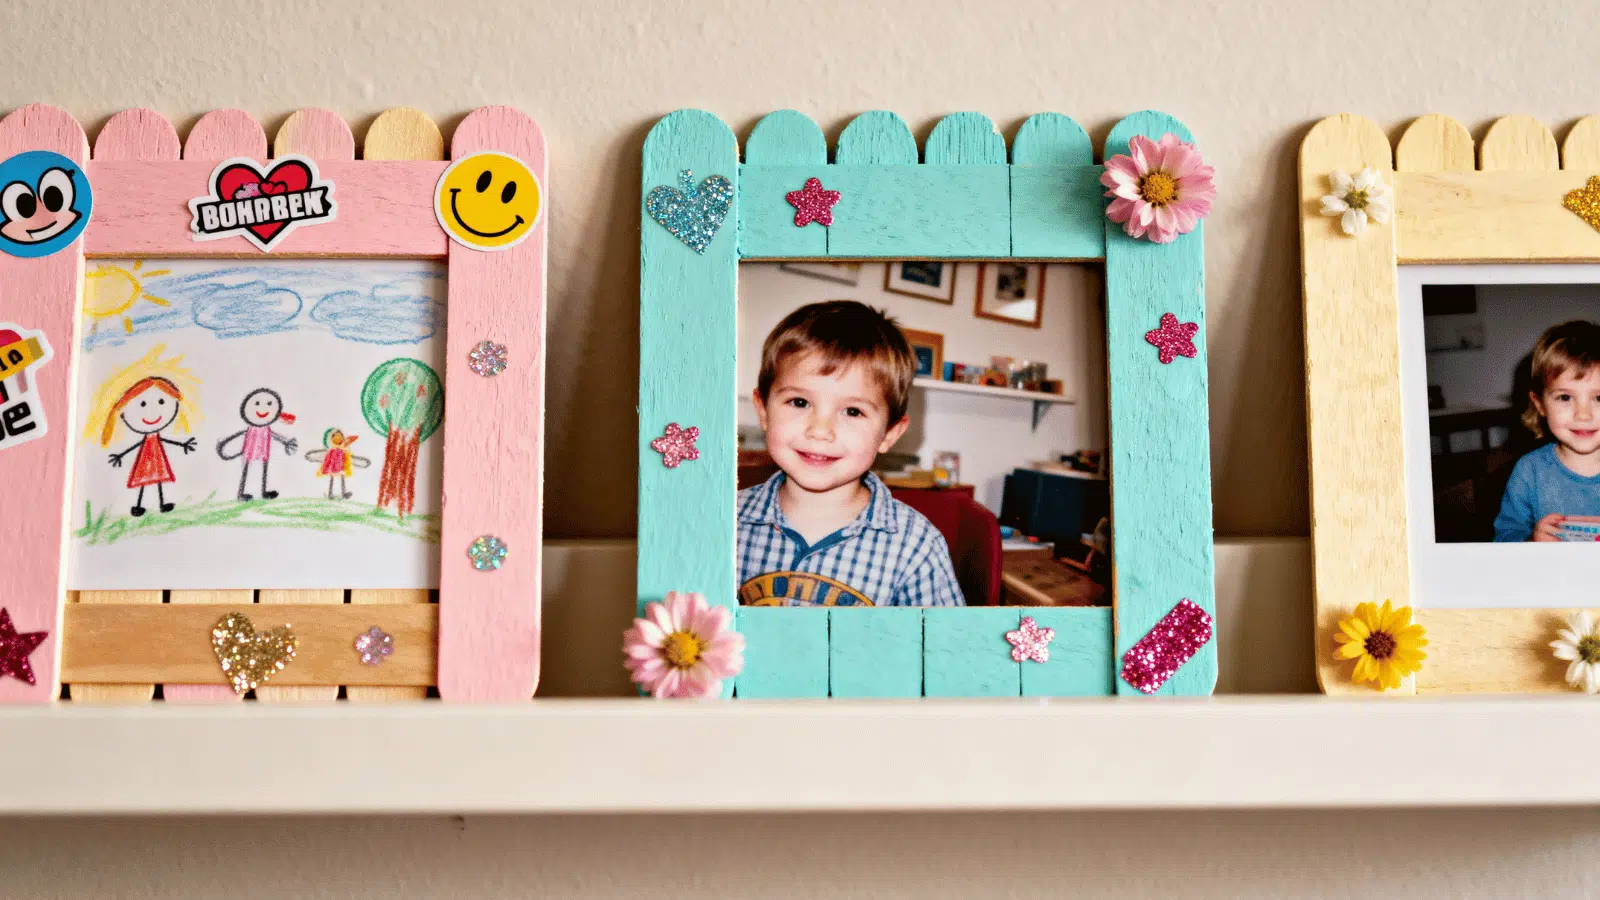
Popsicle stick photo frames are a sweet way for kids to make something they can actually use. They can decorate the frame and add a photo, a drawing, or a little note inside.
Materials needed: Popsicle sticks, glue, paint, markers, stickers, ribbon, photo or drawing.
How to make it:
- Arrange popsicle sticks into a square or rectangular frame shape.
- Glue the corners together and let them dry.
- Paint or decorate the sticks with markers and stickers.
- Attach a photo or drawing to the back of the frame.
- Add a ribbon at the top if you want to hang it.
12. Salt Dough Ornaments
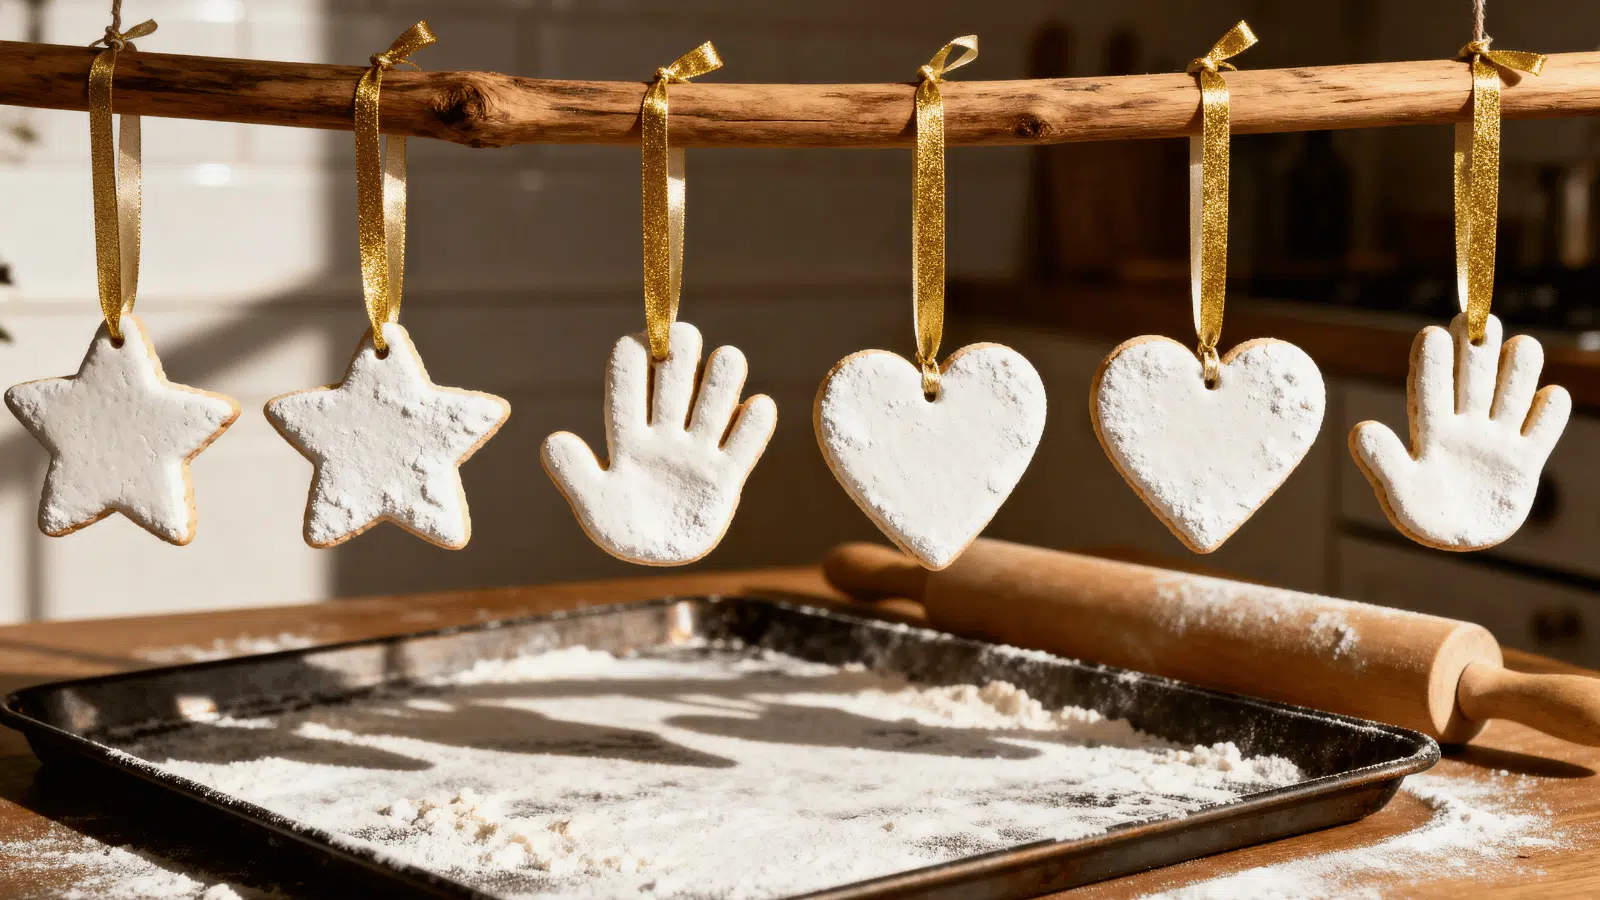
Salt dough ornaments are simple, homemade keepsakes that kids can shape and decorate. They are great for holidays, birthdays, or just making cute decorations for their room.
Materials needed: Flour, salt, water, cookie cutters, paint, ribbon, and a baking tray.
How to make it:
- Mix flour, salt, and water to make a soft dough.
- Roll out the dough on a flat surface.
- Cut shapes with cookie cutters or by hand.
- Make a small hole at the top for hanging.
- Bake, cool, paint, and add ribbon.
13. Toilet Roll Binoculars
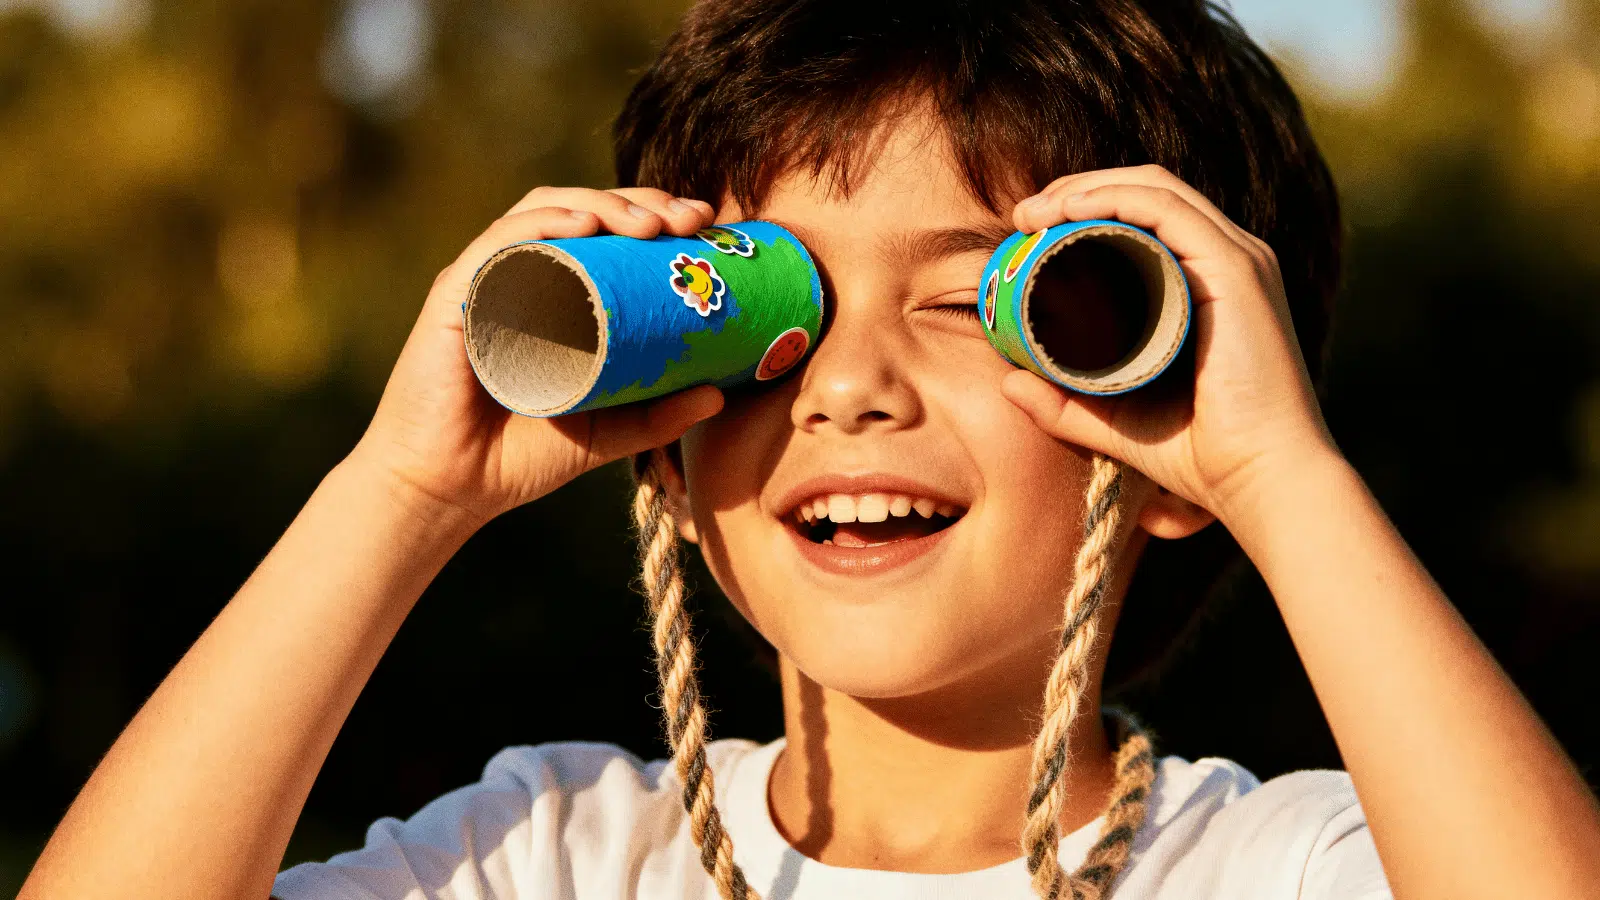
Toilet roll binoculars are easy to make and perfect for pretend play. Kids can use them at home while playing as an explorer, birdwatcher, pirate, or jungle guide.
Materials needed: Two toilet paper rolls, glue or tape, string, paint, markers, and stickers.
How to make it:
- Place two toilet paper rolls side by side.
- Glue or tape them together.
- Decorate the rolls with paint, markers, or stickers.
- Punch a small hole on each outer side.
- Tie the string through the holes to make a neck strap.
14. Handprint Canvas Art
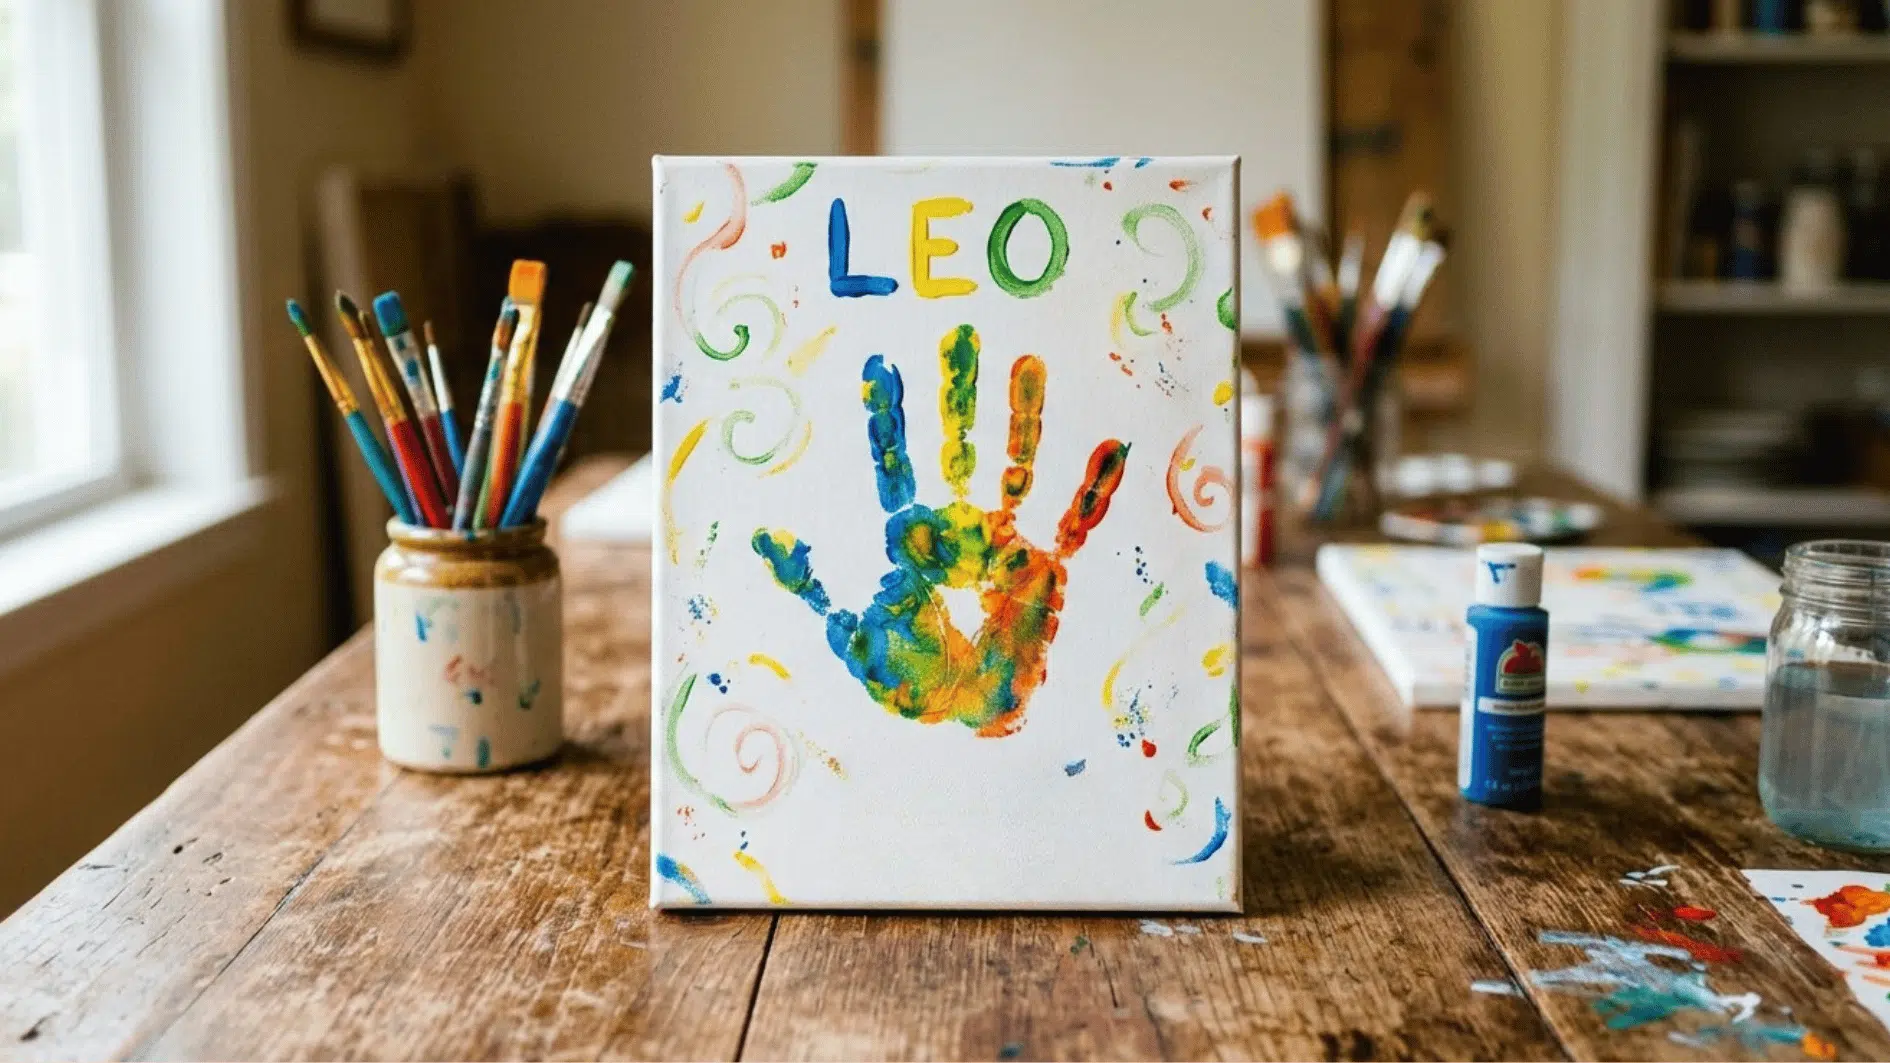
Handprint canvas art is a lovely craft because it captures a little memory while still being fun to make. Kids can turn their handprints into flowers, animals, trees, or colorful designs.
Materials needed: Canvas or thick paper, washable paint, brushes, markers, and wipes.
How to make it:
- Paint your child’s palm with washable paint.
- Press the hand gently onto the canvas or paper.
- Let the handprint dry for a few minutes.
- Add details to turn it into a design.
- Write the date or a small message if you like.
15. Egg Carton Caterpillar
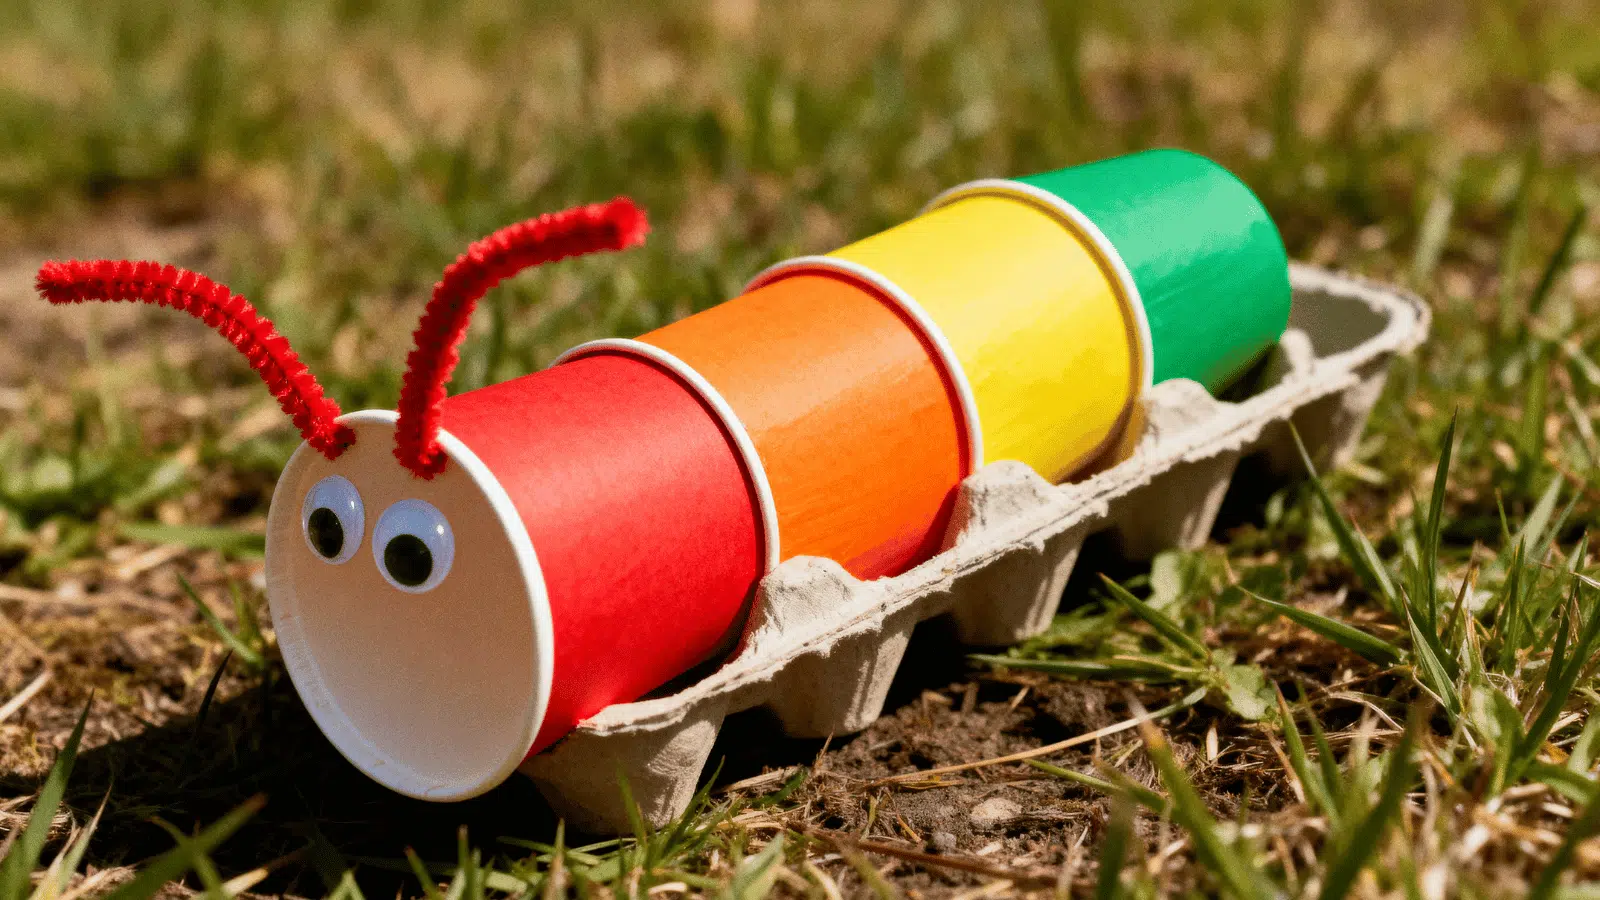
An egg carton caterpillar is a cute way to reuse something you might already have at home. Kids can paint each section in bright colors and give their caterpillar a funny little face.
Materials needed: Egg carton, paint, pipe cleaners, googly eyes, glue, scissors, and markers.
How to make it:
- Cut a row from an egg carton to make the caterpillar body.
- Paint each section in different colors.
- Glue googly eyes onto the front section.
- Add pipe cleaners for antennae.
- Draw a smile or small details with markers.
16. DIY Wind Chimes
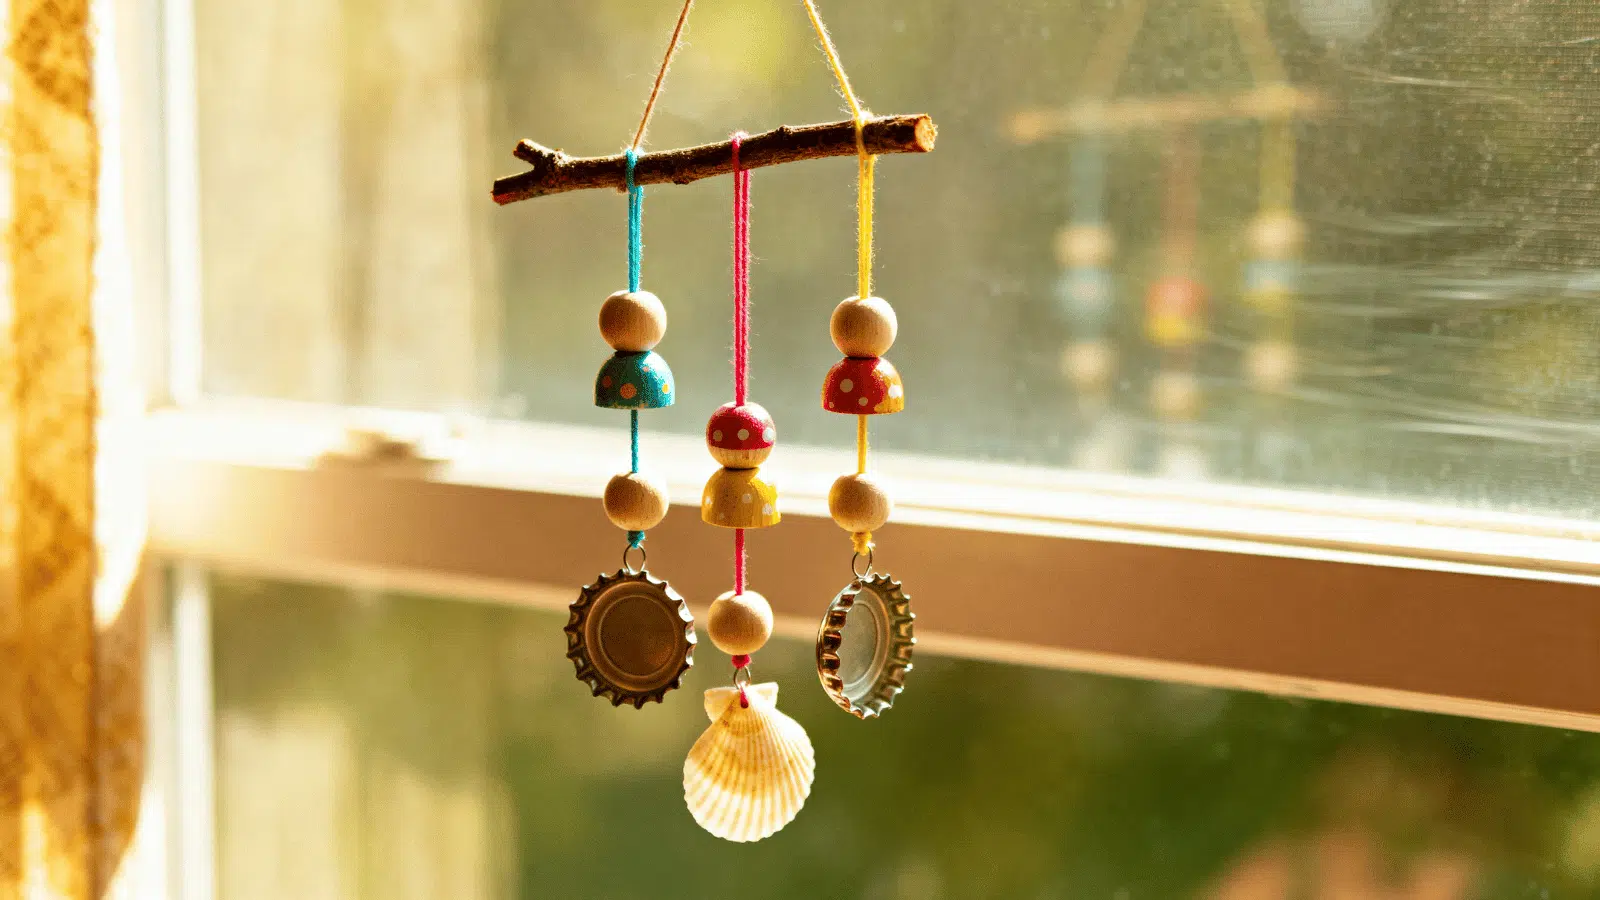
DIY wind chimes are a fun craft kids can hang near a window, balcony, or garden area. They can use simple items to create something colorful that moves and makes gentle sounds.
For a full step-by-step walkthrough with extra decorating ideas, this DIY bookmark guide is a great place to start.
Materials needed: Paper cup or stick, string, beads, bells, keys, shells, buttons, paint.
How to make it:
- Decorate a paper cup, stick, or small base.
- Cut a few pieces of string in different lengths.
- Tie beads, bells, shells, or buttons to each string.
- Attach the strings to the base.
- Hang the wind chime where it can move freely.
17. Paper Bag Puppets
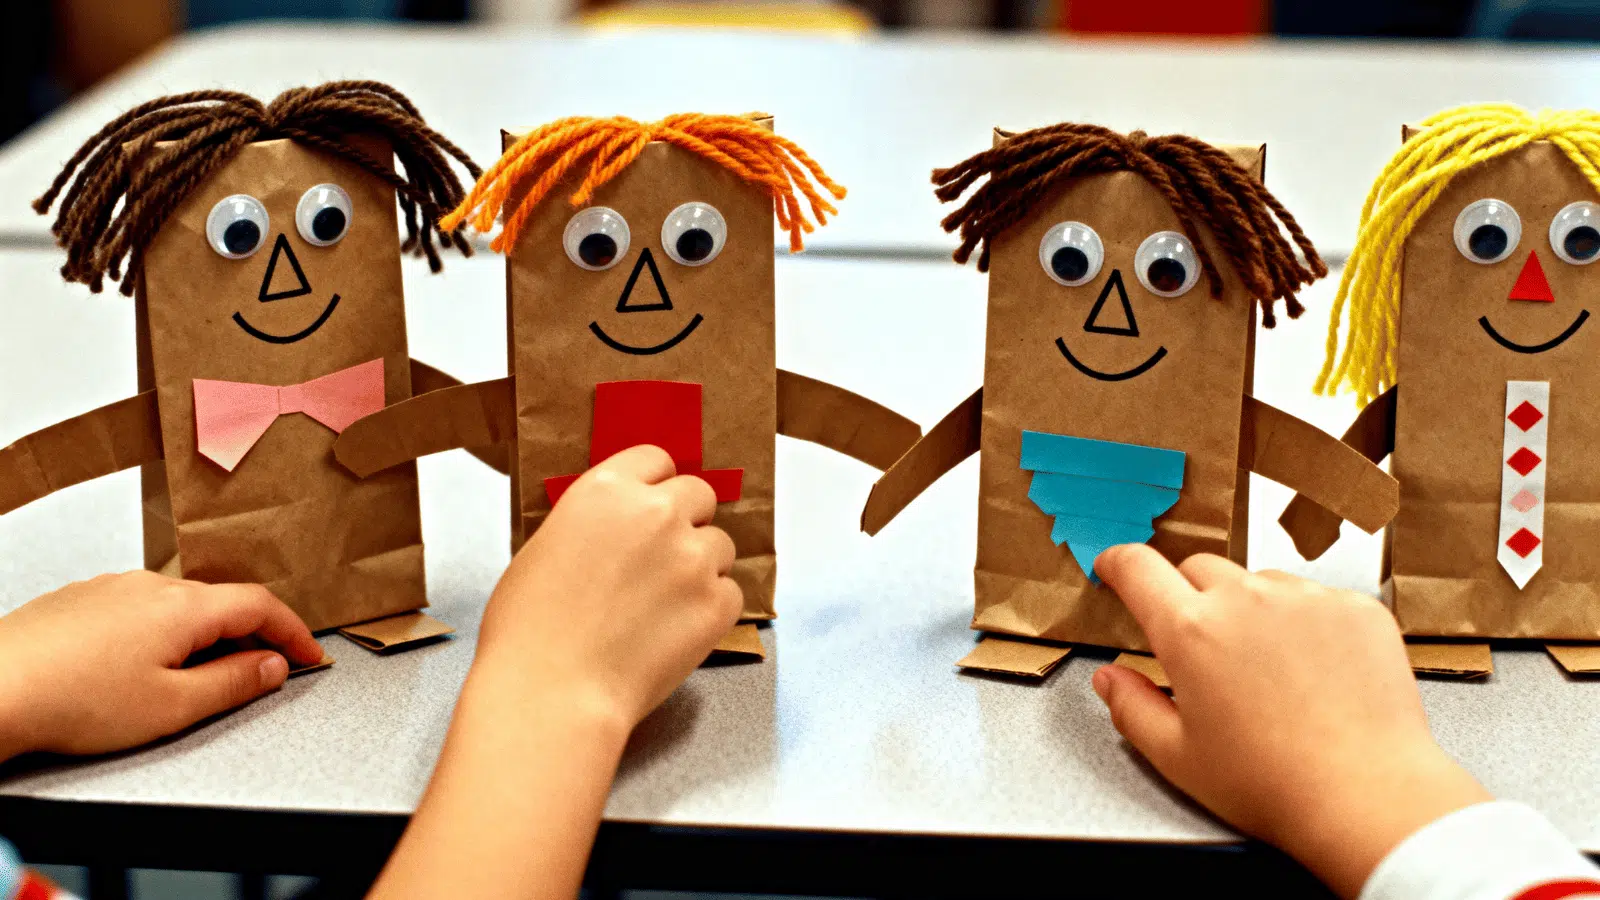
Paper bag puppets are great for kids who love making characters and telling stories. Once the puppets are ready, they can put on a mini puppet show at home.
Materials needed: Paper bags, markers, glue, colored paper, yarn, googly eyes, and stickers.
How to make it:
- Turn the paper bag upside down so the flap becomes the mouth.
- Draw or glue eyes, nose, and mouth on the flap.
- Add hair using yarn or paper strips.
- Decorate the body with clothes or patterns.
- Let it dry, then use it as a hand puppet.
18. Sticker Mosaic Art
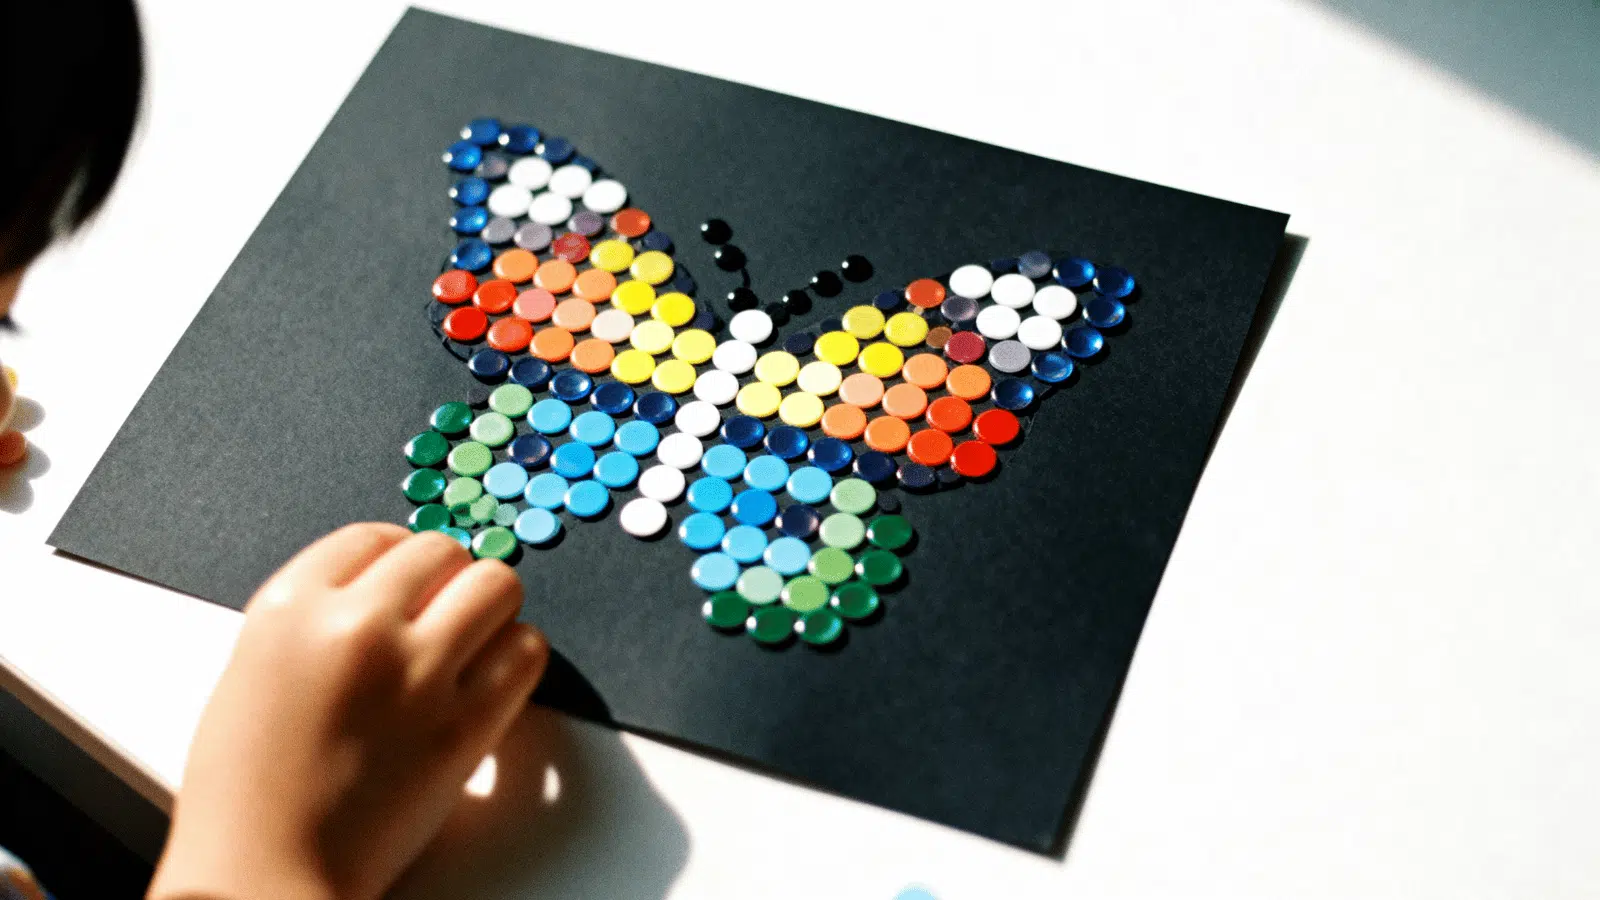
Sticker mosaic art is perfect for kids who enjoy patterns, colors, and simple hands-on activities. They can use small stickers to fill a shape and slowly build a bright image.
Materials needed: Paper, pencil, small stickers, markers, and colored paper.
How to make it:
- Draw a simple shape on paper, like a heart, star, flower, or animal.
- Choose stickers in different colors.
- Fill the shape with stickers one by one.
- Add marker details around the design.
- Let kids name or sign their finished artwork.
19. DIY Greeting Cards
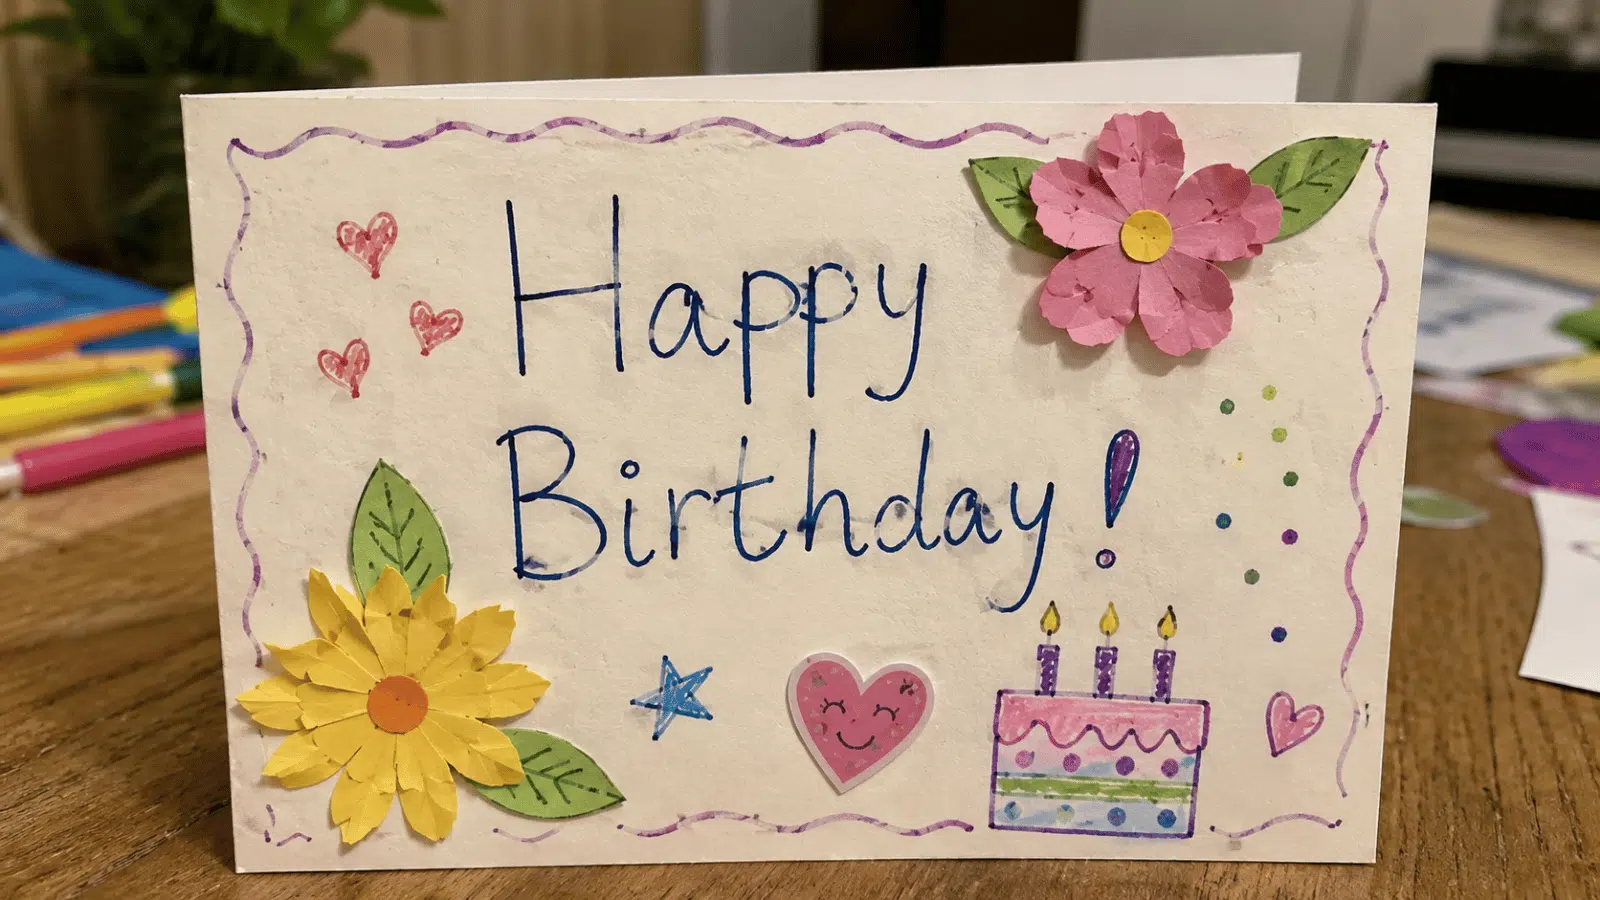
DIY greeting cards are thoughtful, easy to make, and useful for birthdays, holidays, thank-you notes, or just sweet messages. Kids can decorate them in their own style and give them to someone special.
If your child enjoys making handmade gifts, these DIY air-dry clay hearts are a lovely next project to pair with a handwritten card.
Materials needed: Cardstock, markers, crayons, stickers, glue, colored paper, and ribbon.
How to make it:
- Fold a piece of cardstock in half.
- Decorate the front with drawings, stickers, or paper cutouts.
- Write a short message inside the card.
- Add extra details like borders, ribbons, or doodles.
- Let any glue dry before giving the card.
Final Verdict
Arts and crafts at home can be simple, affordable, and a lovely way to keep kids busy in a meaningful way.
With these crafts for 6-12 year olds, you now have plenty of easy projects, along with the materials needed and clear steps to help you get started without stress.
From paper plate animals to DIY greeting cards, each craft gives kids a chance to create, play, and feel proud of what they make. So if you’re looking for simple arts and crafts to do at home, this list is a great place to start.
Pick one craft your child will enjoy most and try it together today.