Most people discard old newspapers, magazines, and damaged books without a second thought. It’s understandable; these items seem worthless once they’ve served their purpose.
But here’s the thing: that “waste” paper sitting in your home actually holds incredible potential for creative projects.
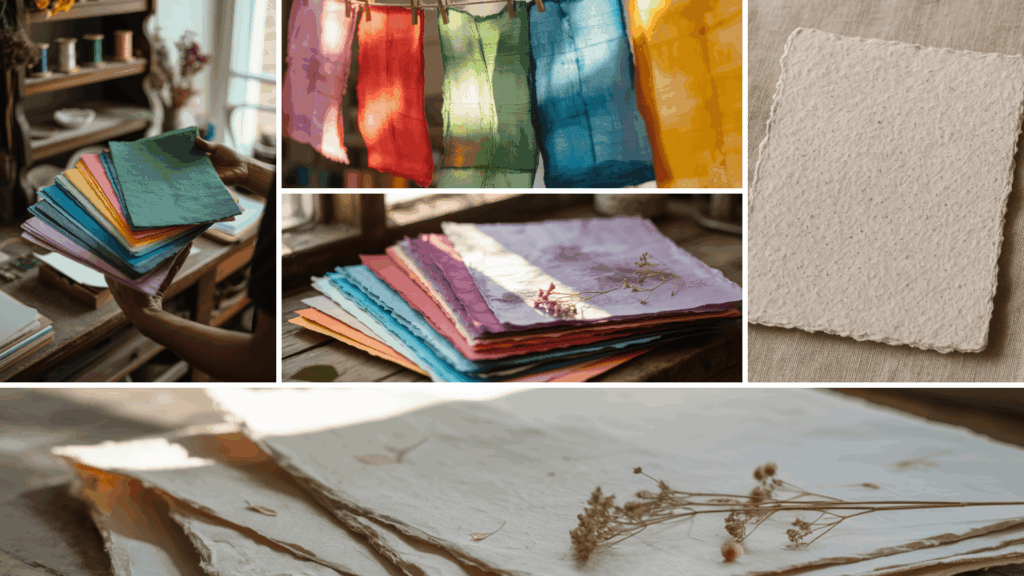
This guide demonstrates how to transform old paper into beautiful DIY sheets at a minimal cost, providing step-by-step instructions and creative ideas to transform scraps into treasured keepsakes.
From simple papermaking to advanced techniques, this guide shows you how to recycle paper at home using everyday items, without costly equipment, just creativity.
From Old to Bold: Giving Paper a New Life with DIY Paper
There’s magic in change, and old paper holds incredible potential. Is that stack of newspapers, outdated magazines, or even damaged books just gathering dust in your home?
Don’t toss them out just yet!
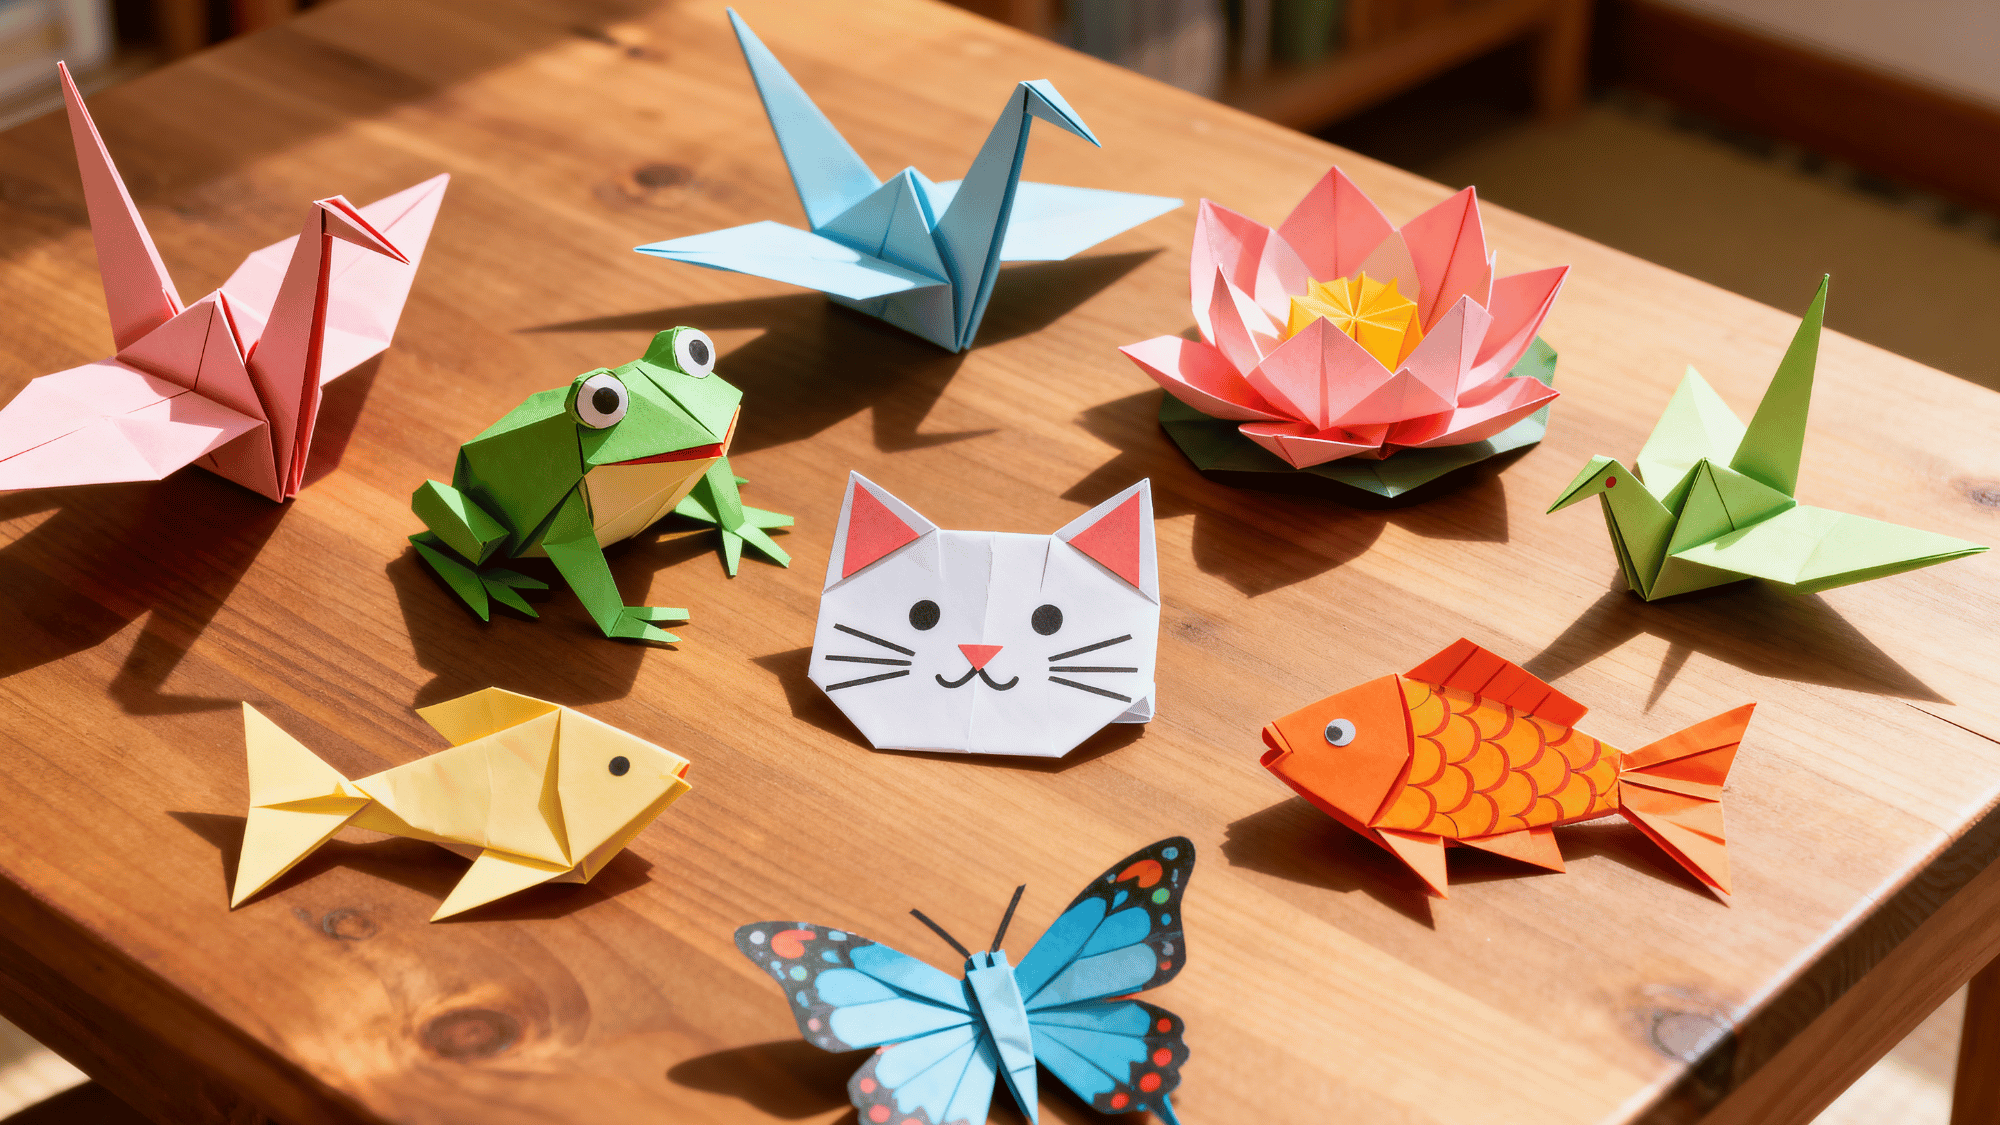
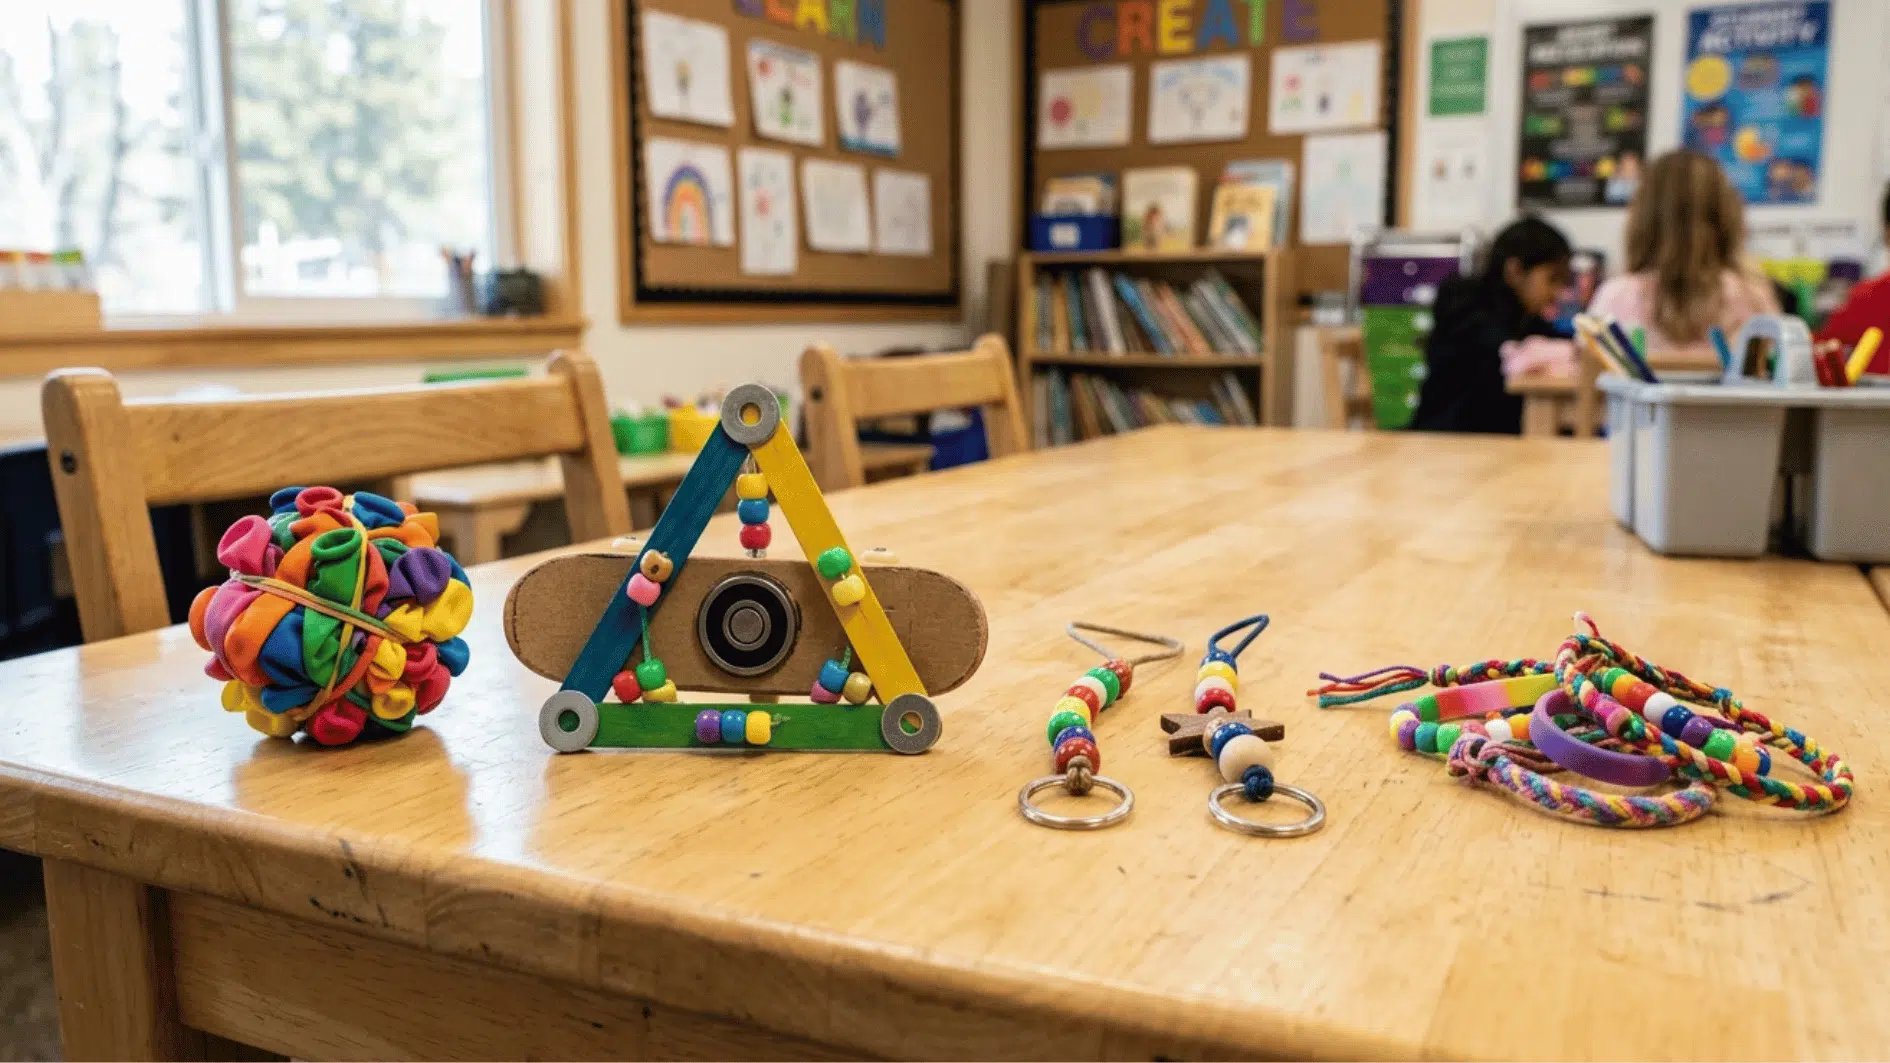
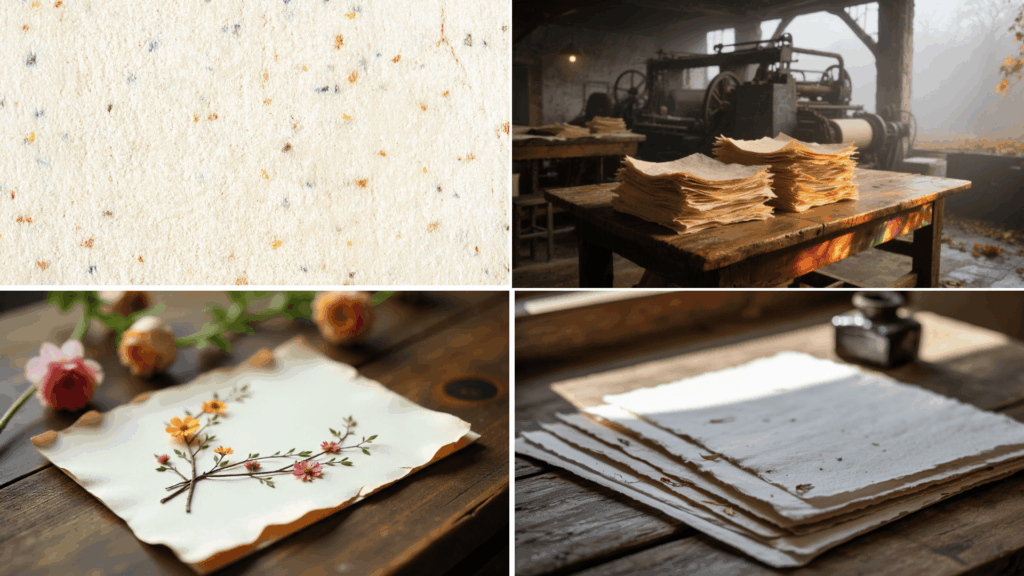
Old book pages can become vintage-style flowers that look straight out of a fairy tale. Newspaper can be made into surprisingly sturdy baskets perfect for storage or gifts.
And those colorful magazine pages? They create vibrant collages that pop with personality.
The key is seeing potential where others see waste. With a few simple techniques and some creativity, you’ll turn forgotten paper into treasured creations.
It’s recycling at its most beautiful, and your wallet will thank you for using materials you already have lying around.
How to Make Recycled DIY Paper at Home?
In this section, you’ll learn the simple process of turning old paper into fresh, handmade sheets that you can use for future crafting projects.
Gather and Prepare Your Materials
| Item | Purpose | Alternatives |
|---|---|---|
| Large container (tub/box) | Holds water and pulp | Any waterproof bin |
| Paper scraps | Base material for new paper | Notebook pages, junk mail, egg cartons |
| Water | Softens and blends paper | |
| Blender (non-food use) | Makes smooth pulp | Potato masher, pestle & mortar, bottle + pebbles |
| Cloth sheets (cotton) | For transferring & drying paper | Old bed sheet, t-shirt, tablecloth |
| Sponge or towel | Removes excess water | Cleaning cloth |
| Mold & deckle (2 frames) | Shapes and edges paper | DIY with photo frames + mesh (bug screen, onion mesh) |
| Kitchen strainer (optional) | Helps drain pulp | Mold and deckle alone |
| Drying area | To air-dry sheets | Rack with clothespins, flat surface |
| Book press or heavy stack | Flattens paper | Pile of books |
Let’s roll up our sleeves and step into this exciting crafting thrill together with some easy peasy le
Step 1: Soak the Paper Scraps
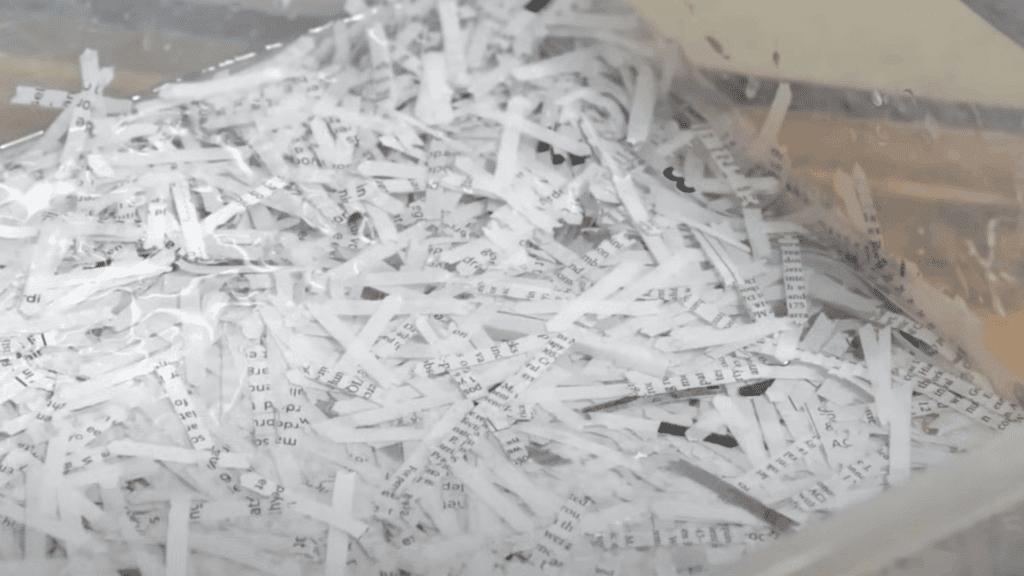
Place your torn pieces into the container and fully submerge them in water. Allow them to soak for at least 12 hours (overnight is ideal).
The longer they soak, the softer they’ll become. If you’re working without a blender, give them extra soaking time to make pulping easier later.
Step 2: Turn Paper Into Pulp
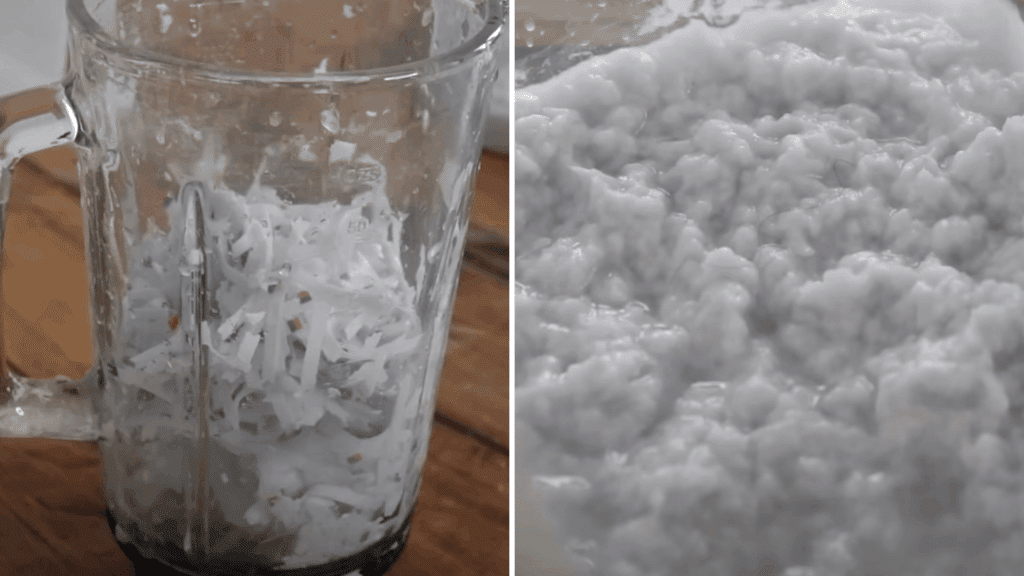
Transfer a handful of soaked scraps into a blender and add water until it’s nearly complete. Blend on high speed until the mixture is smooth and free from lumps.
If your blender is weak, use smaller batches with more water.
If you don’t have a blender, mash the soaked paper with a potato masher, pestle and mortar, or even by shaking it in a bottle with pebbles. The goal is a soft, even pulp.
Step 3: Prepare the Mold and Deckle
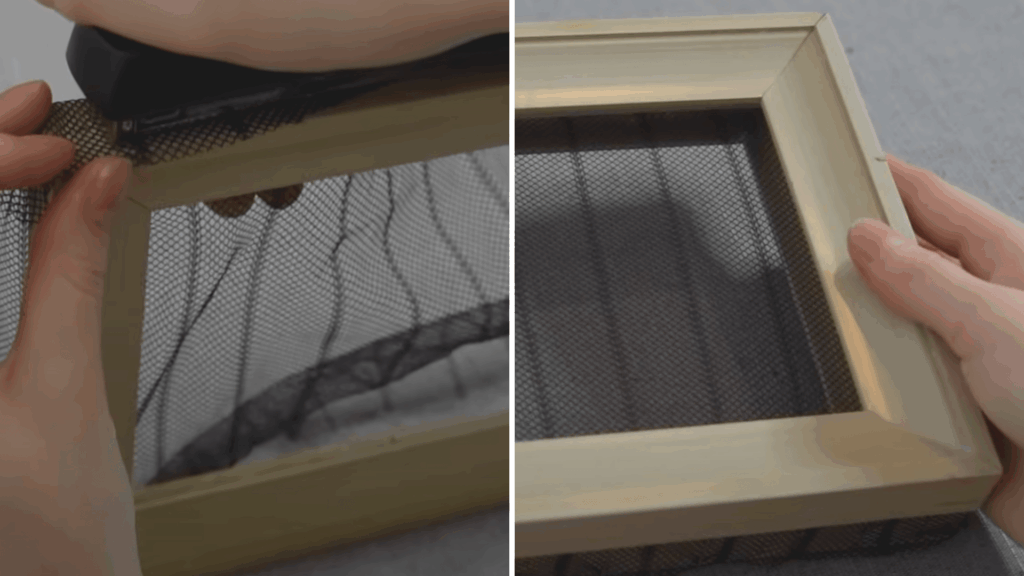
Place your homemade or purchased mold (mesh frame) and deckle (empty frame) side by side.
If making your own, stretch mesh tightly over one frame and staple it in place.
This mesh determines the texture of your paper: a finer mesh yields smoother paper. Place the deckle over the mold to create straight edges.
Step 4: Form Your Sheet
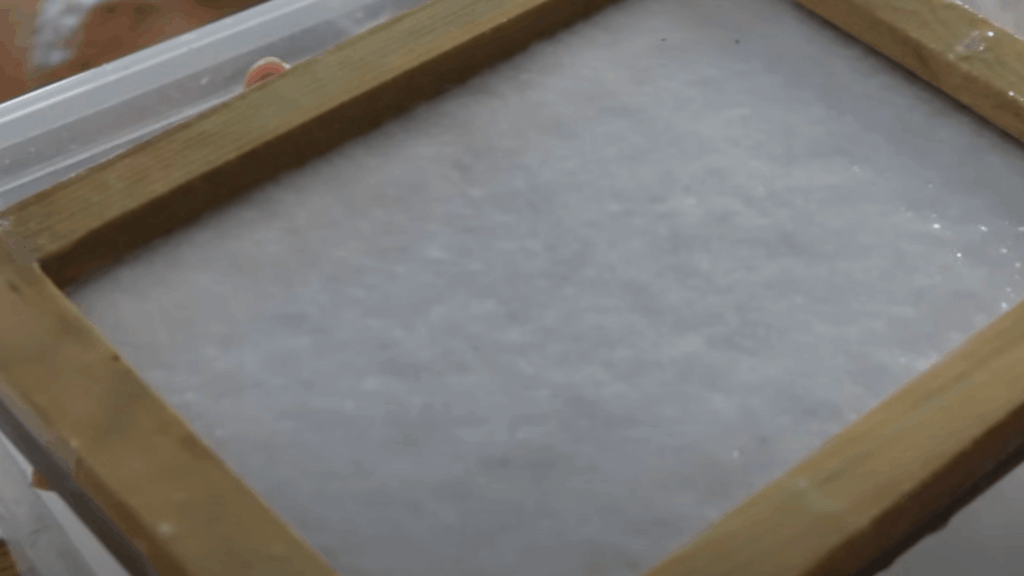
Fill your large container with water and add a generous scoop of pulp.
Stir well so fibers float freely. Holding your mold and deckle together, dip them into the mixture, scoop, and lift straight up. Gently shake side to side so fibers settle evenly.
Let the water drain until only pulp remains on the mesh surface. Remove the deckle carefully, leaving the pulp sheet on the mold.
Step 5: Transfer and Dry
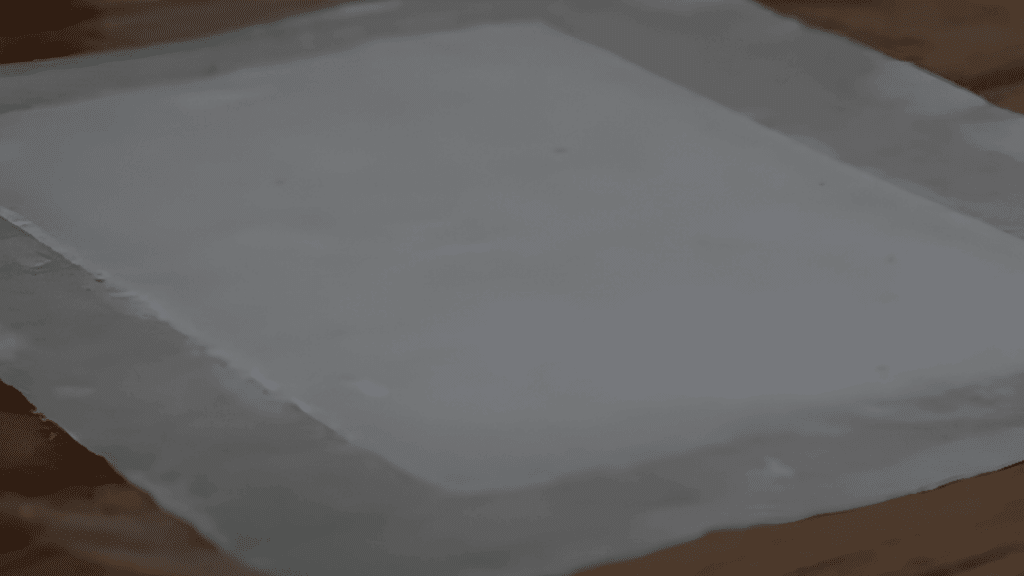
Lay out a cloth sheet (cotton or old fabric works well). Flip the mold upside down onto the fabric, pressing gently so the pulp transfers.
Use a sponge or towel to press out excess water through the back of the mesh. Slowly lift the mold away. Repeat this process for multiple sheets, stacking them between layers of cloth.
To dry, either hang sheets on a clothesline or lay them flat in the sun. Allow them to dry thoroughly overnight.
Step 6: Flatten and Finish
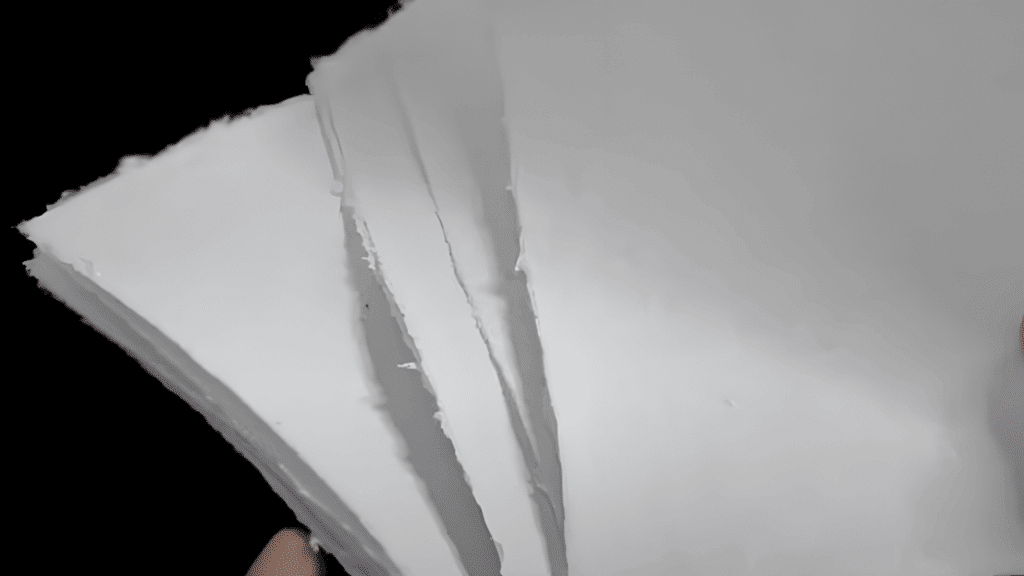
Once dry, peel your new paper from the cloth. It may feel slightly textured, which makes each sheet unique! To achieve flatter pages, place them in a book press or under a heavy stack of books for 1–2 days.
When done, admire your beautiful, handmade recycled paper, ready for writing, crafts, or gifts.
For more detailed instructions on DIY paper, refer to the YouTube video below:
Practical Tips for Extracting Refined DIY Paper
- Experiment with fiber blends: mix different paper types, such as newspaper with office paper, or add natural fibers like cotton fabric scraps for unique textures and added strength.
- Control your water temperature: Warm water breaks down fibers more quickly, while cool water allows for greater control over the blending process and prevents over-pulping.
- Master the thickness game: For thinner sheets, use more water in your pulp mixture; for thicker, more durable paper, go with less water and more pulp.
- Try natural additives: Flower petals, dried leaves, or even coffee grounds can create beautiful embedded designs and interesting textures in your finished sheets.
- Perfect your drying technique: Use old towels to absorb excess water, and consider air-drying between screens or flat surfaces for smoother results.
- Save your scraps strategically: Keep different paper types separated when collecting materials, since each behaves differently during the pulping process.
- Invest in a simple mold and deckle: While improvised tools may work, proper equipment will yield more consistent and professional-looking results as you advance.
Creative Ideas to Try With DIY Paper
Once you’ve mastered the basics, it’s time to push your creativity further and find the endless possibilities that paper crafting offers.
From incorporating unexpected elements to trying completely different crafting methods, these ideas will keep your creative path fresh and inspiring.
Materials Experiments
- Natural fibers: Add cotton linters, banana fiber, or mulberry bark to your pulp.
- Plants & flowers: Press dried petals, grass, or leaves into your sheets for texture and decoration.
- Food-based fibers: Experiment with onion skins, corn husks, or tea leaves for unique colors and textures.
Design & Texture
- Coloring the pulp: Mix in natural dyes (such as turmeric, beet juice, or spinach) or eco-friendly inks.
- Texture play: Use different meshes (fine, coarse, or patterned) to achieve varied surface textures.
- Embossing: Place lace, stencils, or textured fabrics against the pulp to leave impressions.
Functional Creations
- Greeting cards: Cut and fold your handmade paper into cards or tags.
- Stationery sets: Create envelopes, writing sheets, or bookmarks.
- Art paper: Make thicker sheets for watercolor, calligraphy, or printmaking.
Science & Learning
- Compare fibers: Test how different source papers (newspaper vs. cardboard vs. office paper) affect strength.
- Absorbency experiments: Observe how handmade paper holds ink, paint, or water.
- History of papermaking: Learn how ancient cultures (like China, Egypt, or Japan) made paper by hand
Wrapping It Up
Every sheet one has recycled and every project one has completed represents a small victory against waste while nurturing their artistic spirit.
The techniques they’ve learned today are just the beginning. They shouldn’t be afraid to experiment, make mistakes, and develop their own style.
Each crumpled attempt teaches them something new, and every successful project builds their confidence.
One should remember that the most beautiful creations often come from the simplest materials and the boldest imagination. So they keep crafting, keep learning, and most importantly, happy crafting!