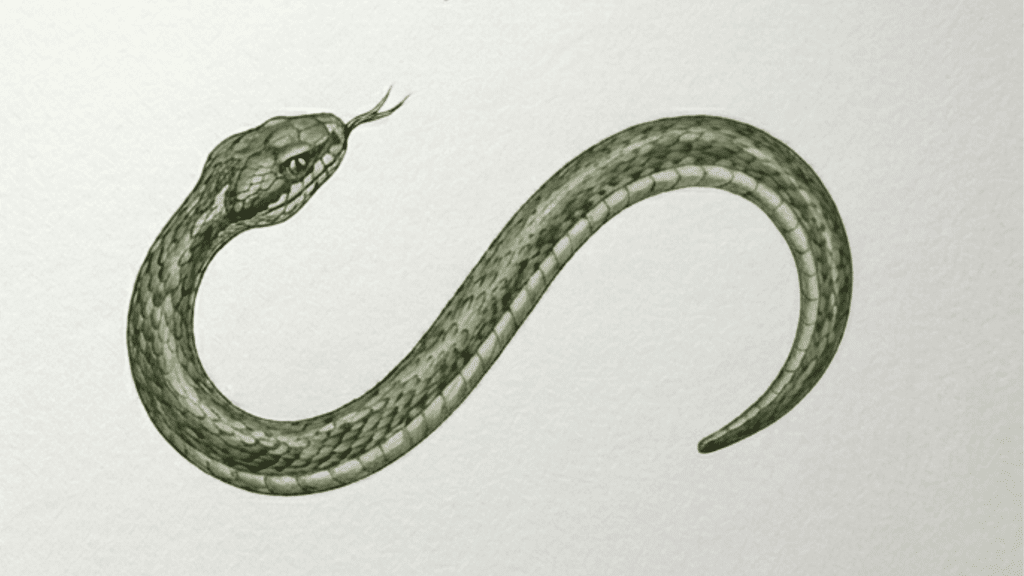
Drawing a snake can be easier than it first appears when you begin with the right shape. A curved line gives you a start for the body, which you can then build into the head, tail, and finer details.
If you’re looking for how to draw a snake easily, this method keeps the first sketch loose and gives you clear shapes to work from.
In this blog, you will learn how to draw a snake. The steps cover the body shape, head, tail, face, scales, and finishing touches, so you can follow along at your own pace.
How Snake Drawings Build Line and Shape Skills
Snakes have long, flexible bodies that can be drawn in many different poses. You can stretch one across the page, curl it into a coil, bend it, or wrap it around an object.
Each pose changes the way the body curves and tapers, giving you a different drawing exercise. Their shape also makes it easy to choose the level of detail you want.
A quick sketch can use a clean body outline, an eye, and a tongue, while a more detailed drawing can include scale patterns, shading, and markings.
For beginners, snakes are especially useful for practicing line control, as the body follows a continuous curve- the same principle behind the continuous line drawing technique, so you can focus on keeping the shape smooth and consistent without having to draw legs or other complex body parts.
How to Draw a Snake in Easy Steps
The steps below take you from a simple curve to a complete snake sketch. Go slowly, keep your pencil light, and let the drawing improve as you work.
Step 1: Set Up Your Curve
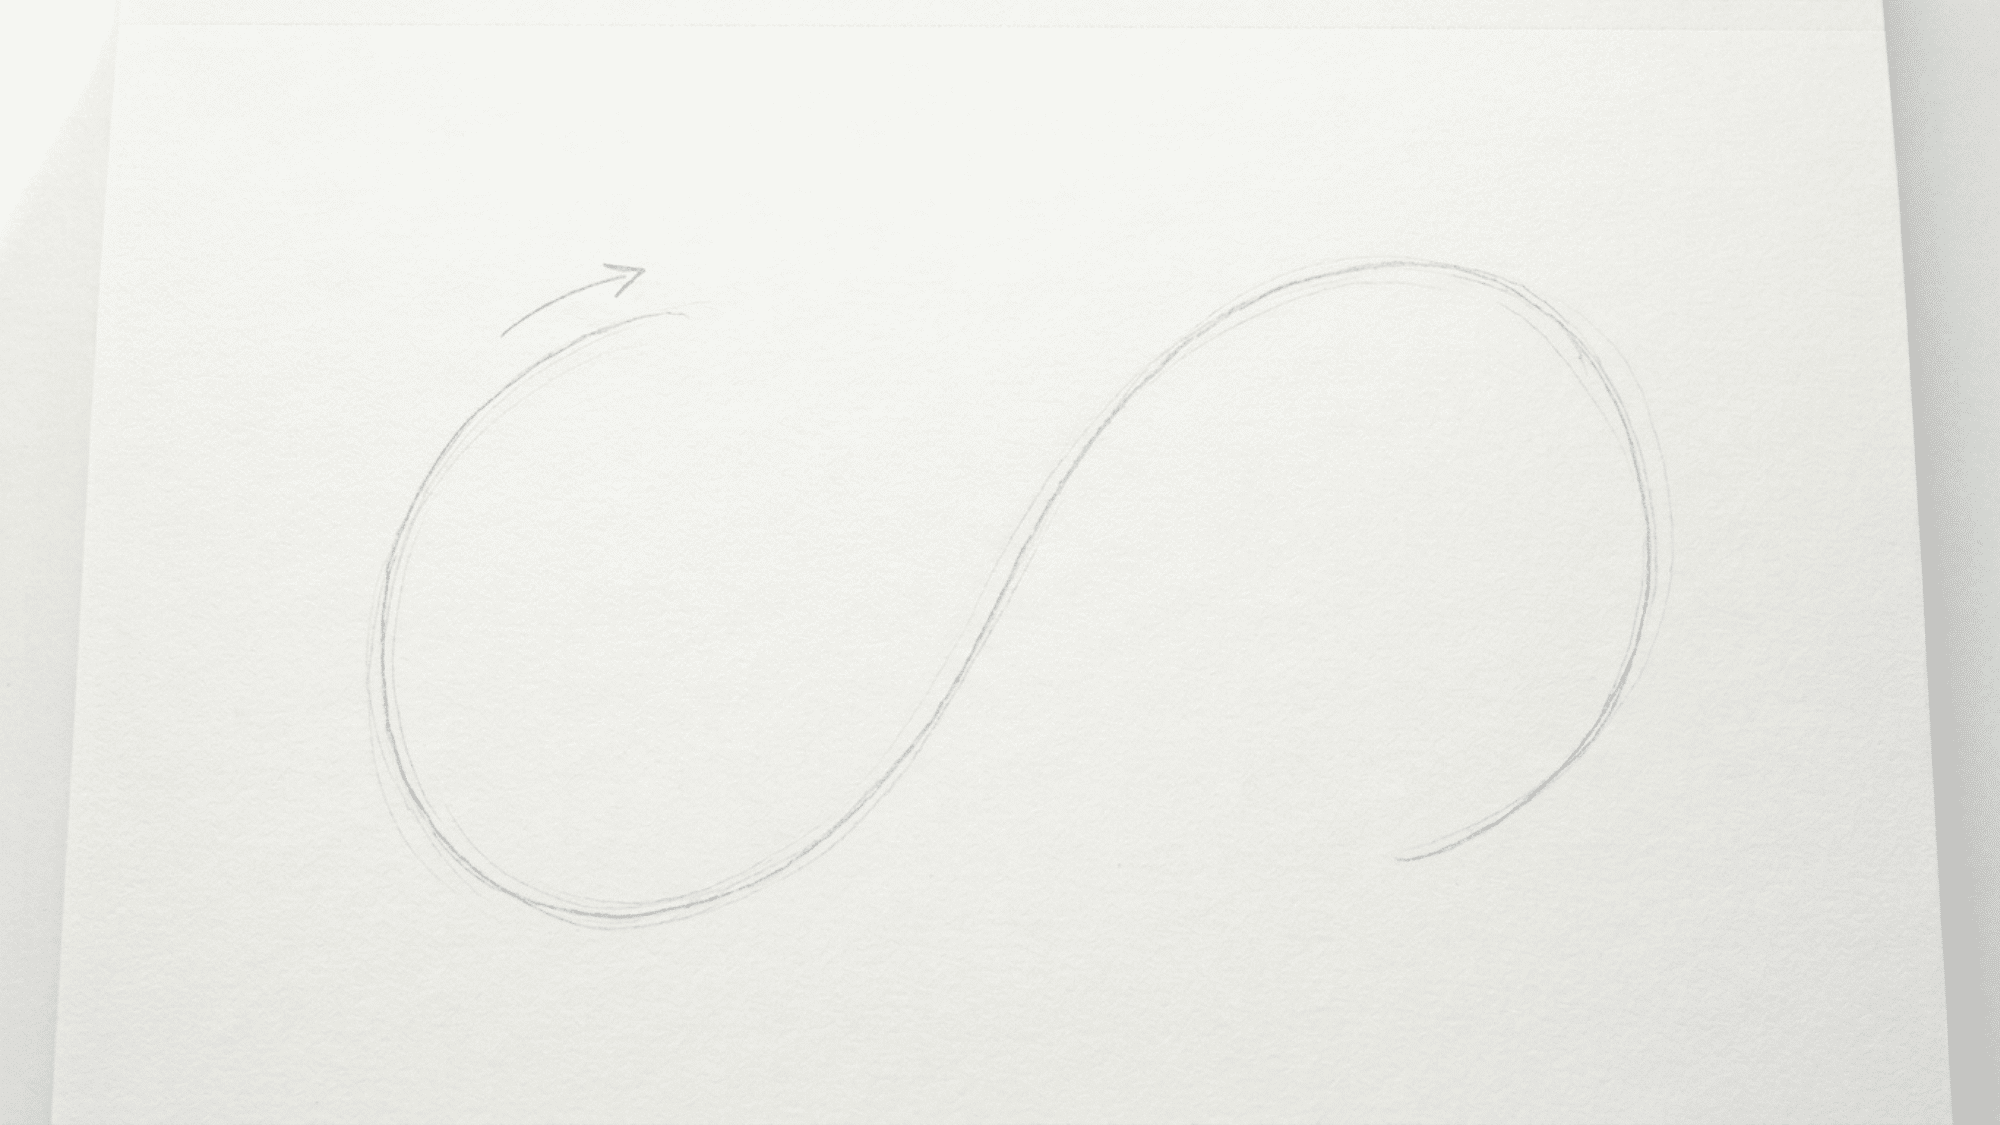
Start with a loose S-curve on your paper. Don’t press hard because this is just a guideline, not a final line; it’s an approach explained further in this outline, definition, and technique guide. Keep the curve wide and relaxed so the body has space to look full.
Use the full length of the page. A larger curve gives you more room to work with the steps ahead and makes it a bit more realistic.
Step 2: Add the Head Shape
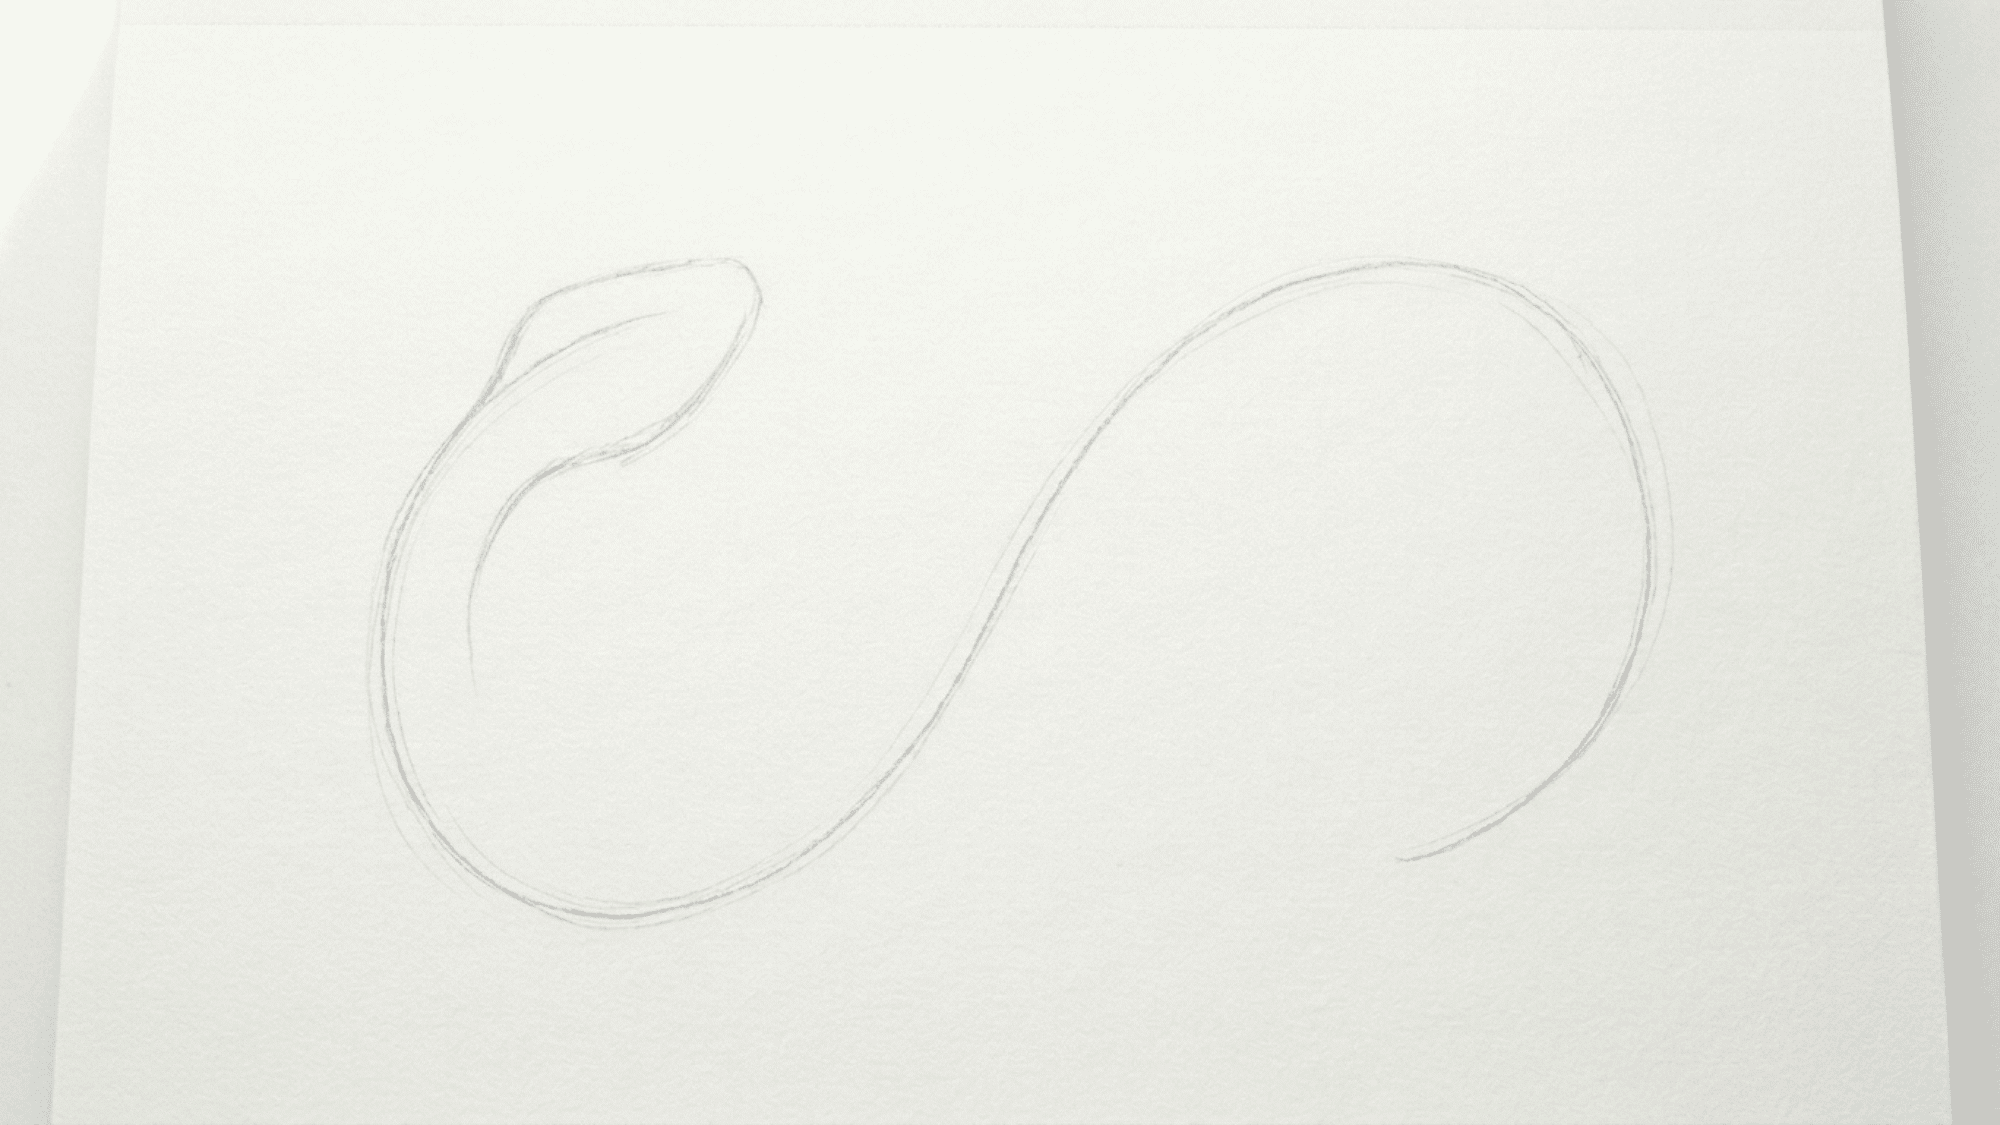
At one end of the curve, draw a rounded oval or a soft triangle shape. Make it slightly wider at the front and narrower where it connects to the neck.
Do not worry about making the head perfect right away. You can adjust the shape later once the body is in place.
Tip: A wider front helps the snake look more realistic, while a softer oval works well for a simple beginner sketch.
Step 3: Build the Body Width
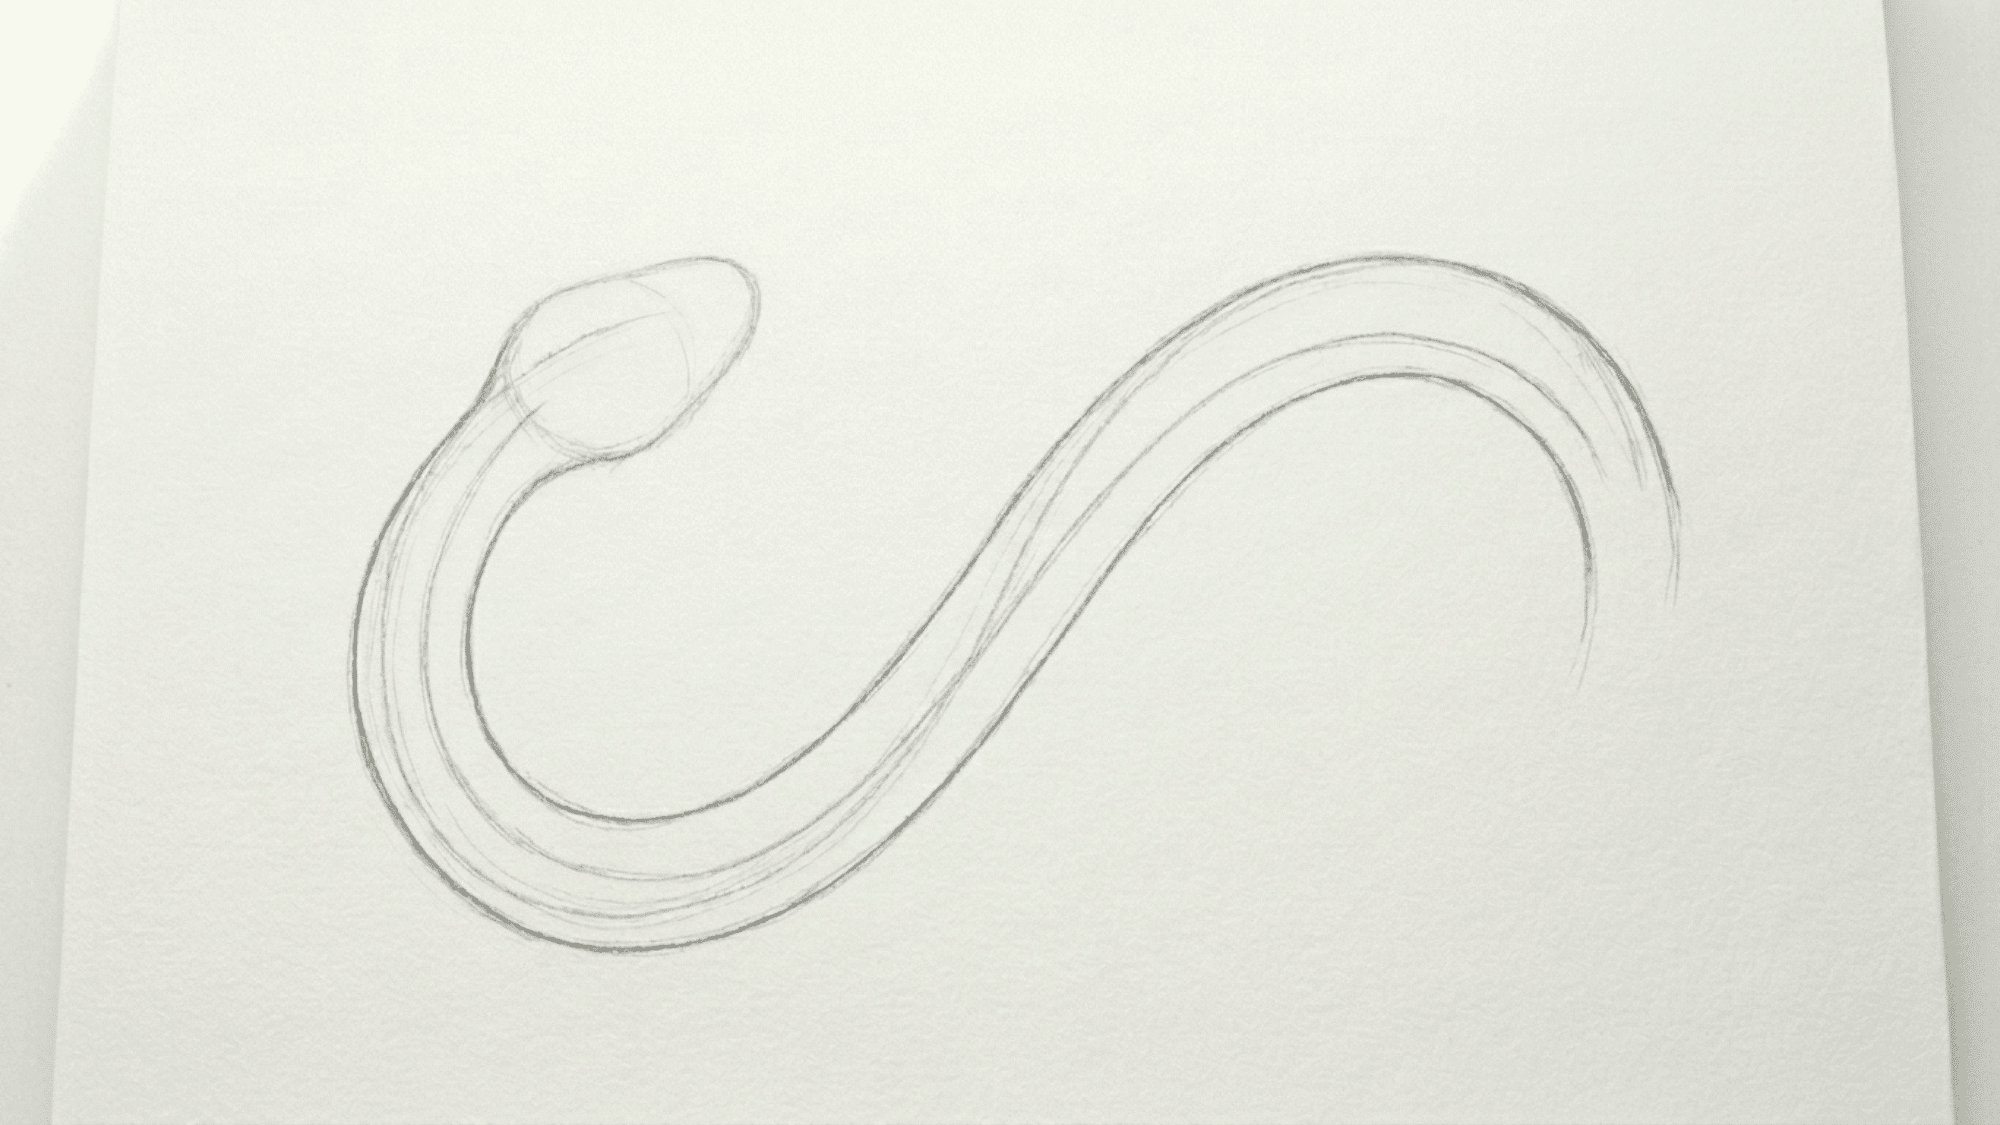
Draw two lines along your S-curve guide to give the snake its actual width. Keep the middle slightly wider than the ends. This is what separates a snake from just a curved line.
Keep the rough sketched lines inside the body, for now. They will help you shape it later and seperate the bottom from the top.
Step 4: Shape the Tail
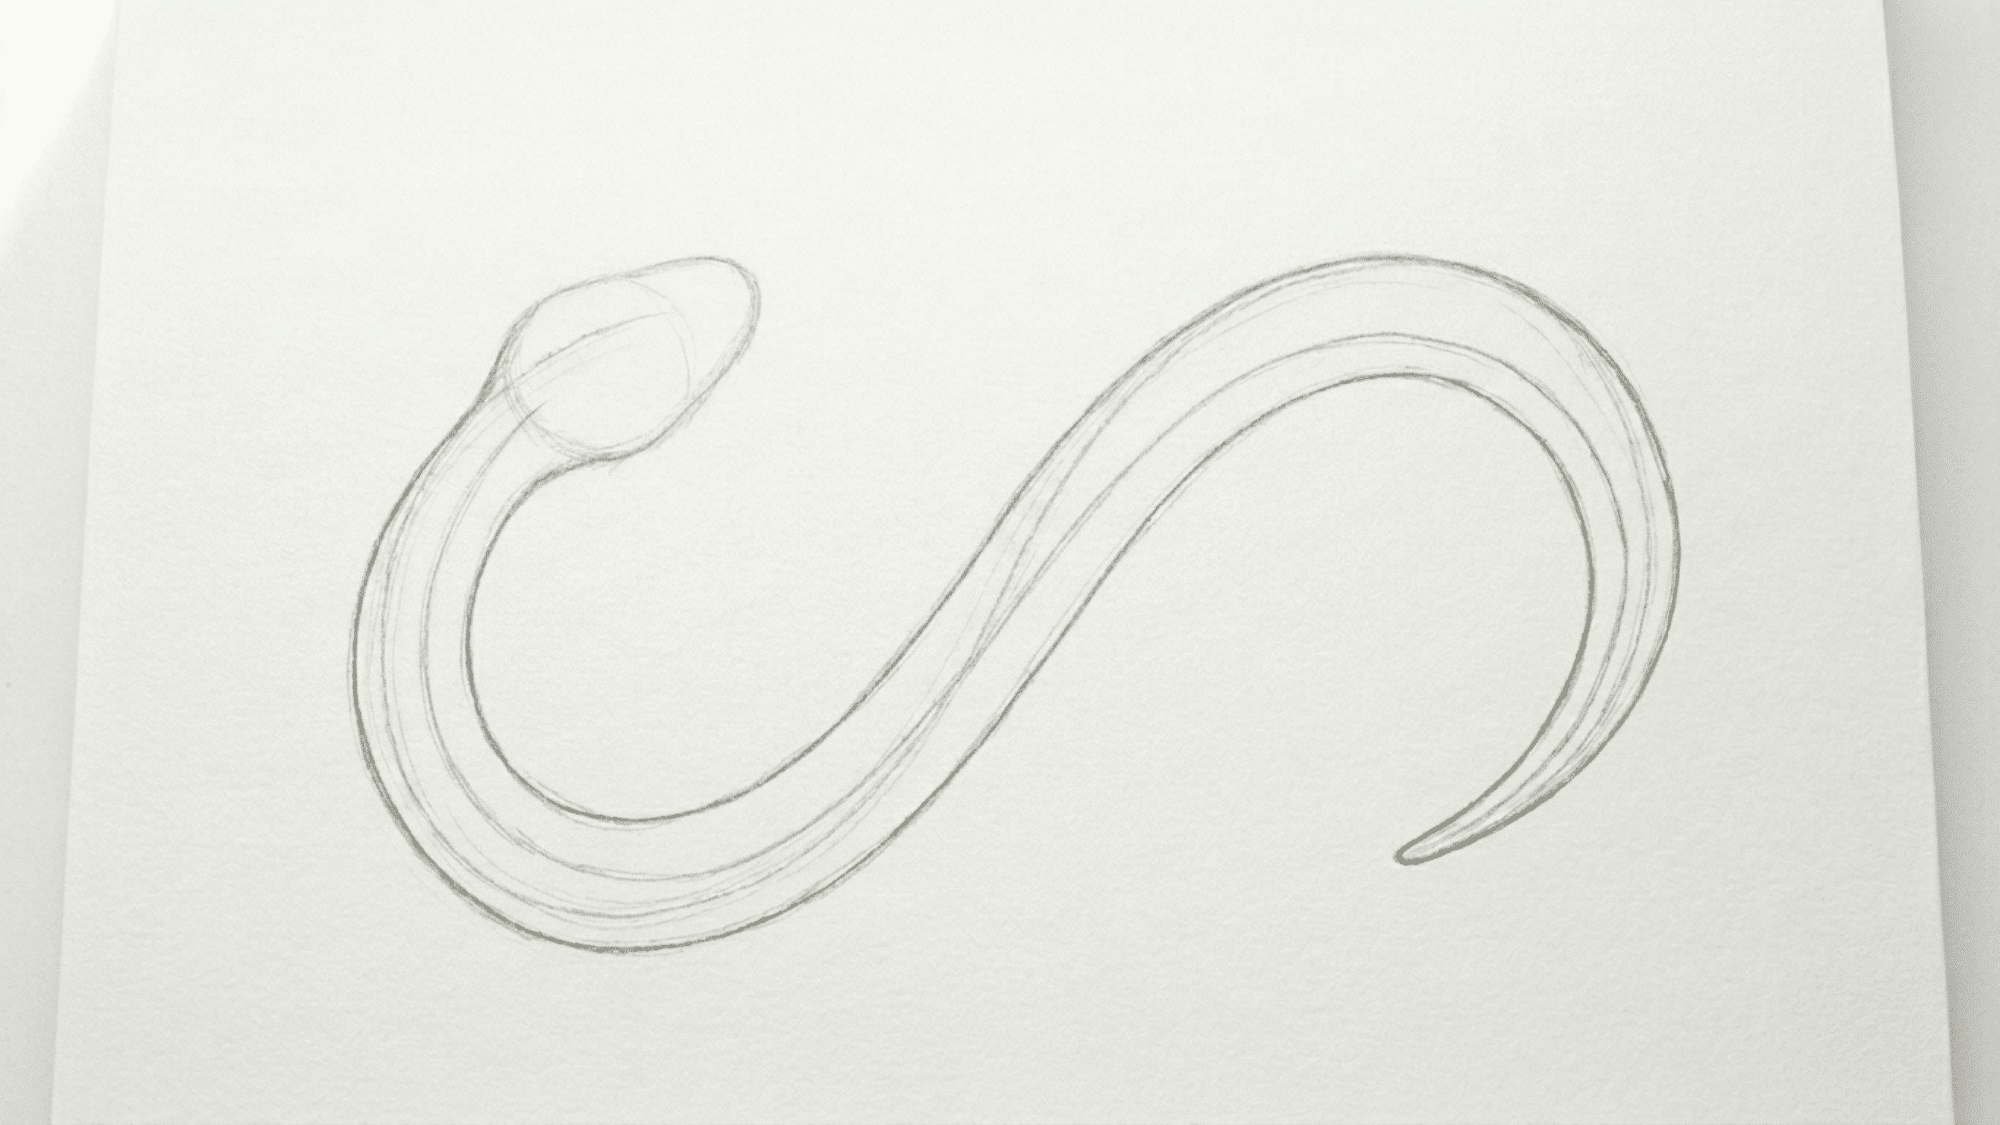
At the opposite end from the head, slowly taper the body lines into a thin pointed tail. Make the change gradual instead of sudden.
If the tail becomes too thick, the snake may look like a tube. If it becomes too sharp too soon, it can feel unnatural. Take your time here because the tail helps complete the flow of the whole body.
Step 5: Add the Face Details
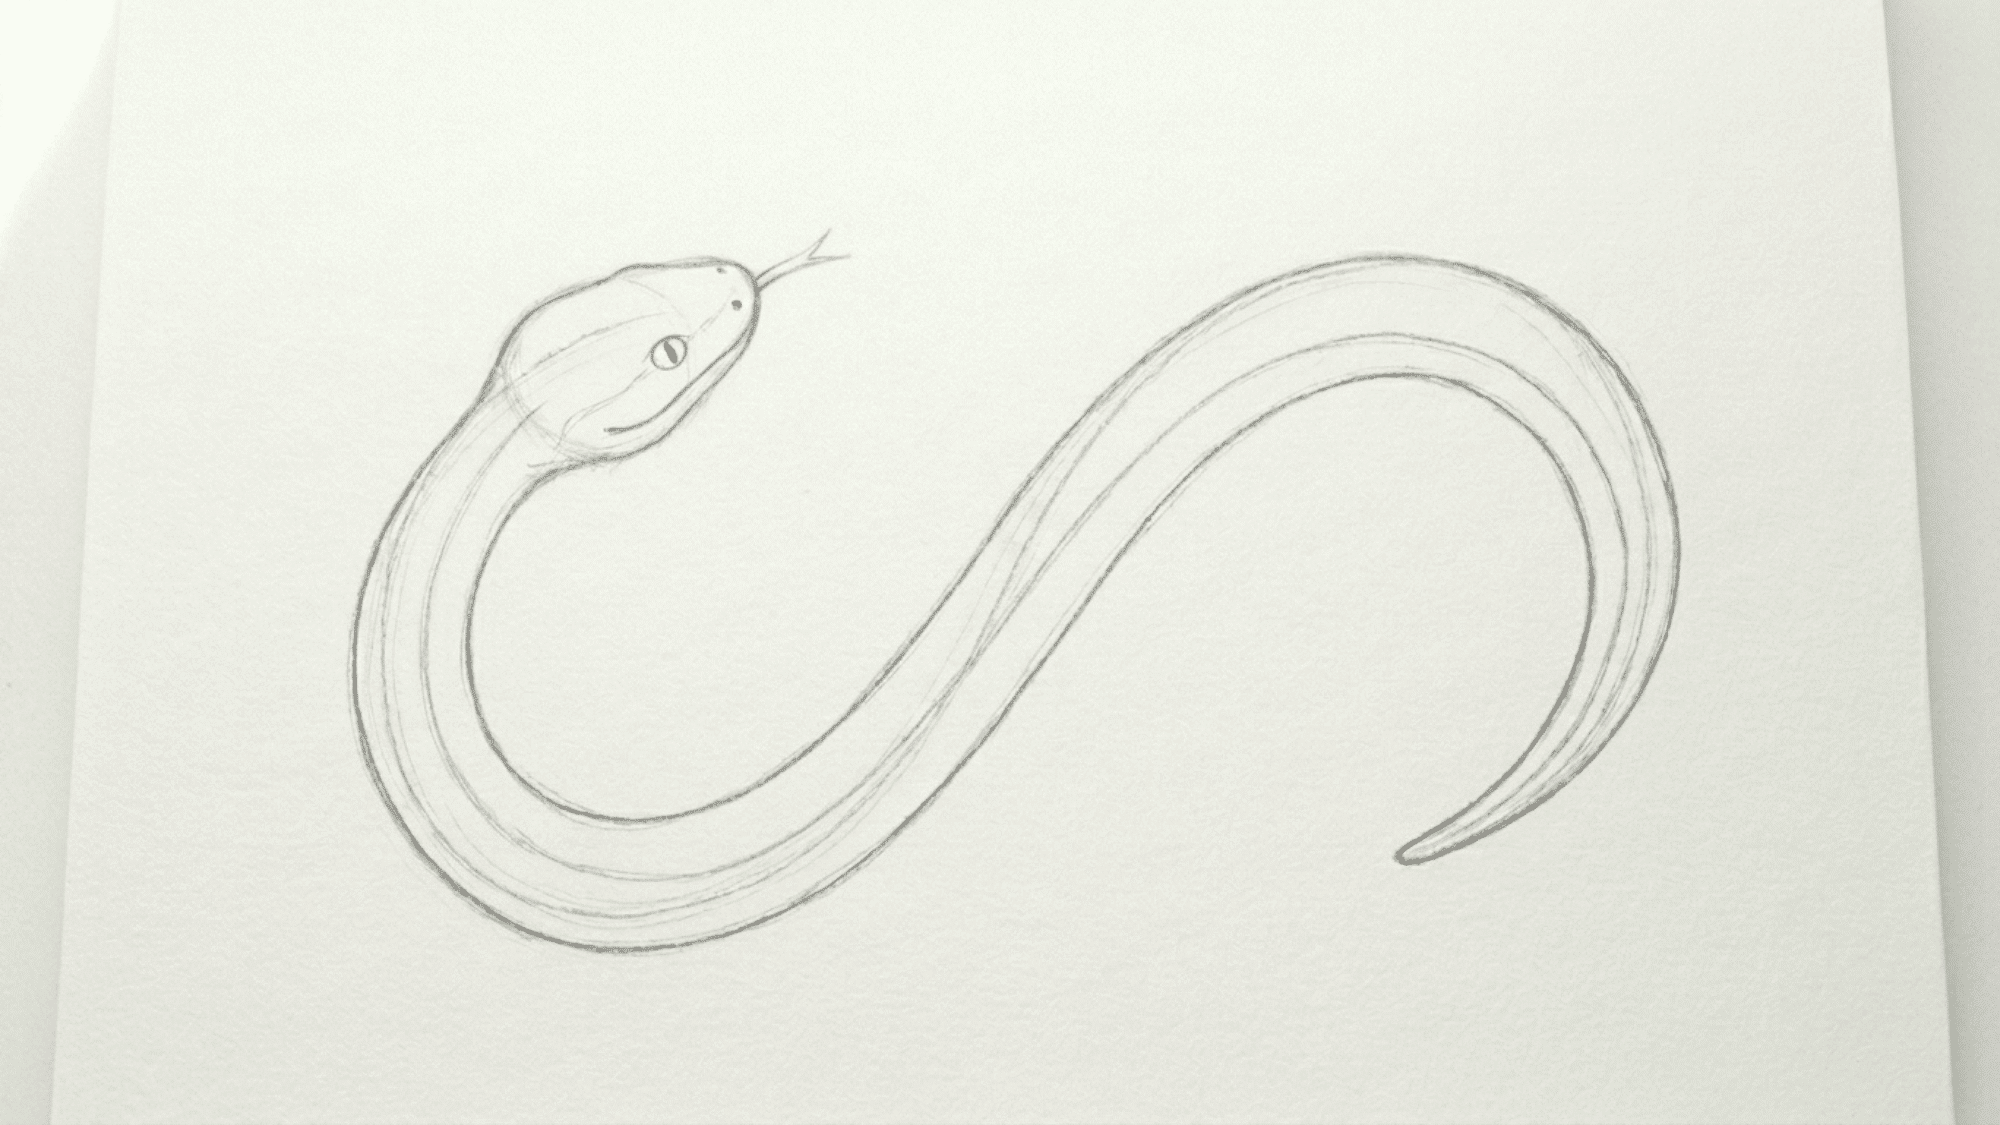
Add a small oval eye, a thin curved line for the mouth, and two small dots for the nostrils. A forked tongue is optional, but if you add one, keep it short and thin. Less is more on the face.
Place the eye closer to the top of the head than the middle, and that’s where it sits on a real snake. And do not leave the eyes at two dots.
Step 6: Clean up The Body and Make the Belly
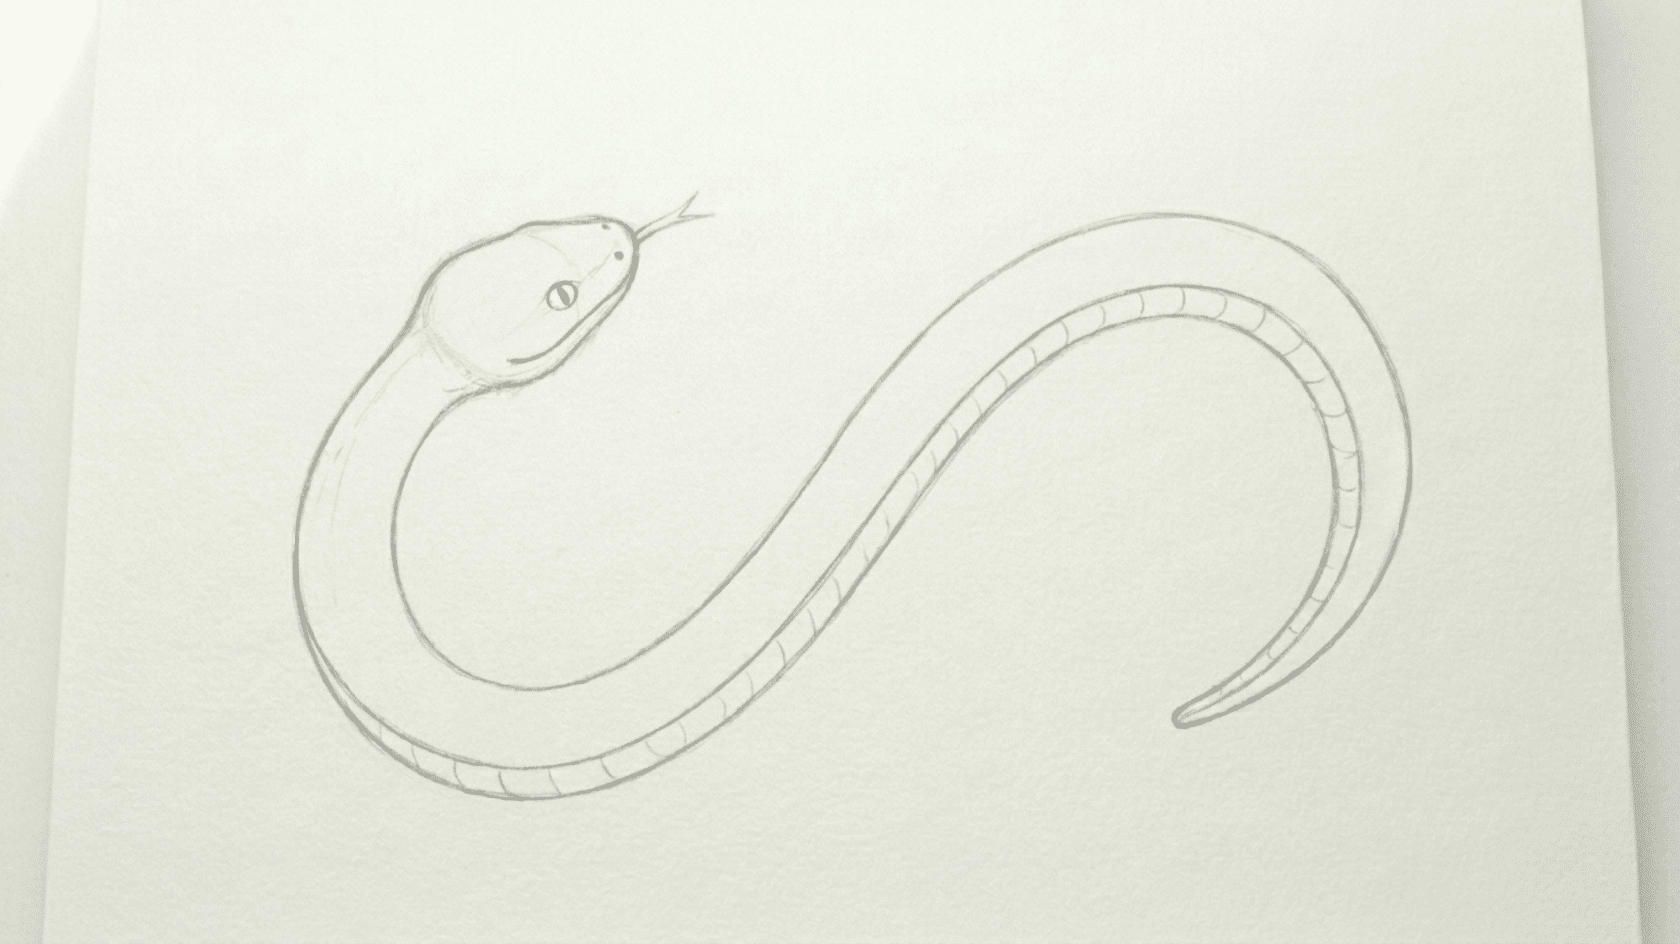
After making the eyes and the mouth, start cleaning up the rough lines as the body is now fully constructed and ready to be detailed.
Make a proper, dark line separating the stomach from the top of the body. Don’t start the line from the head itself.
Tip: After making the line and dividing the stomach area, add some dashes at appropriate intervals to give it some texture.
Step 7: Draw the scales
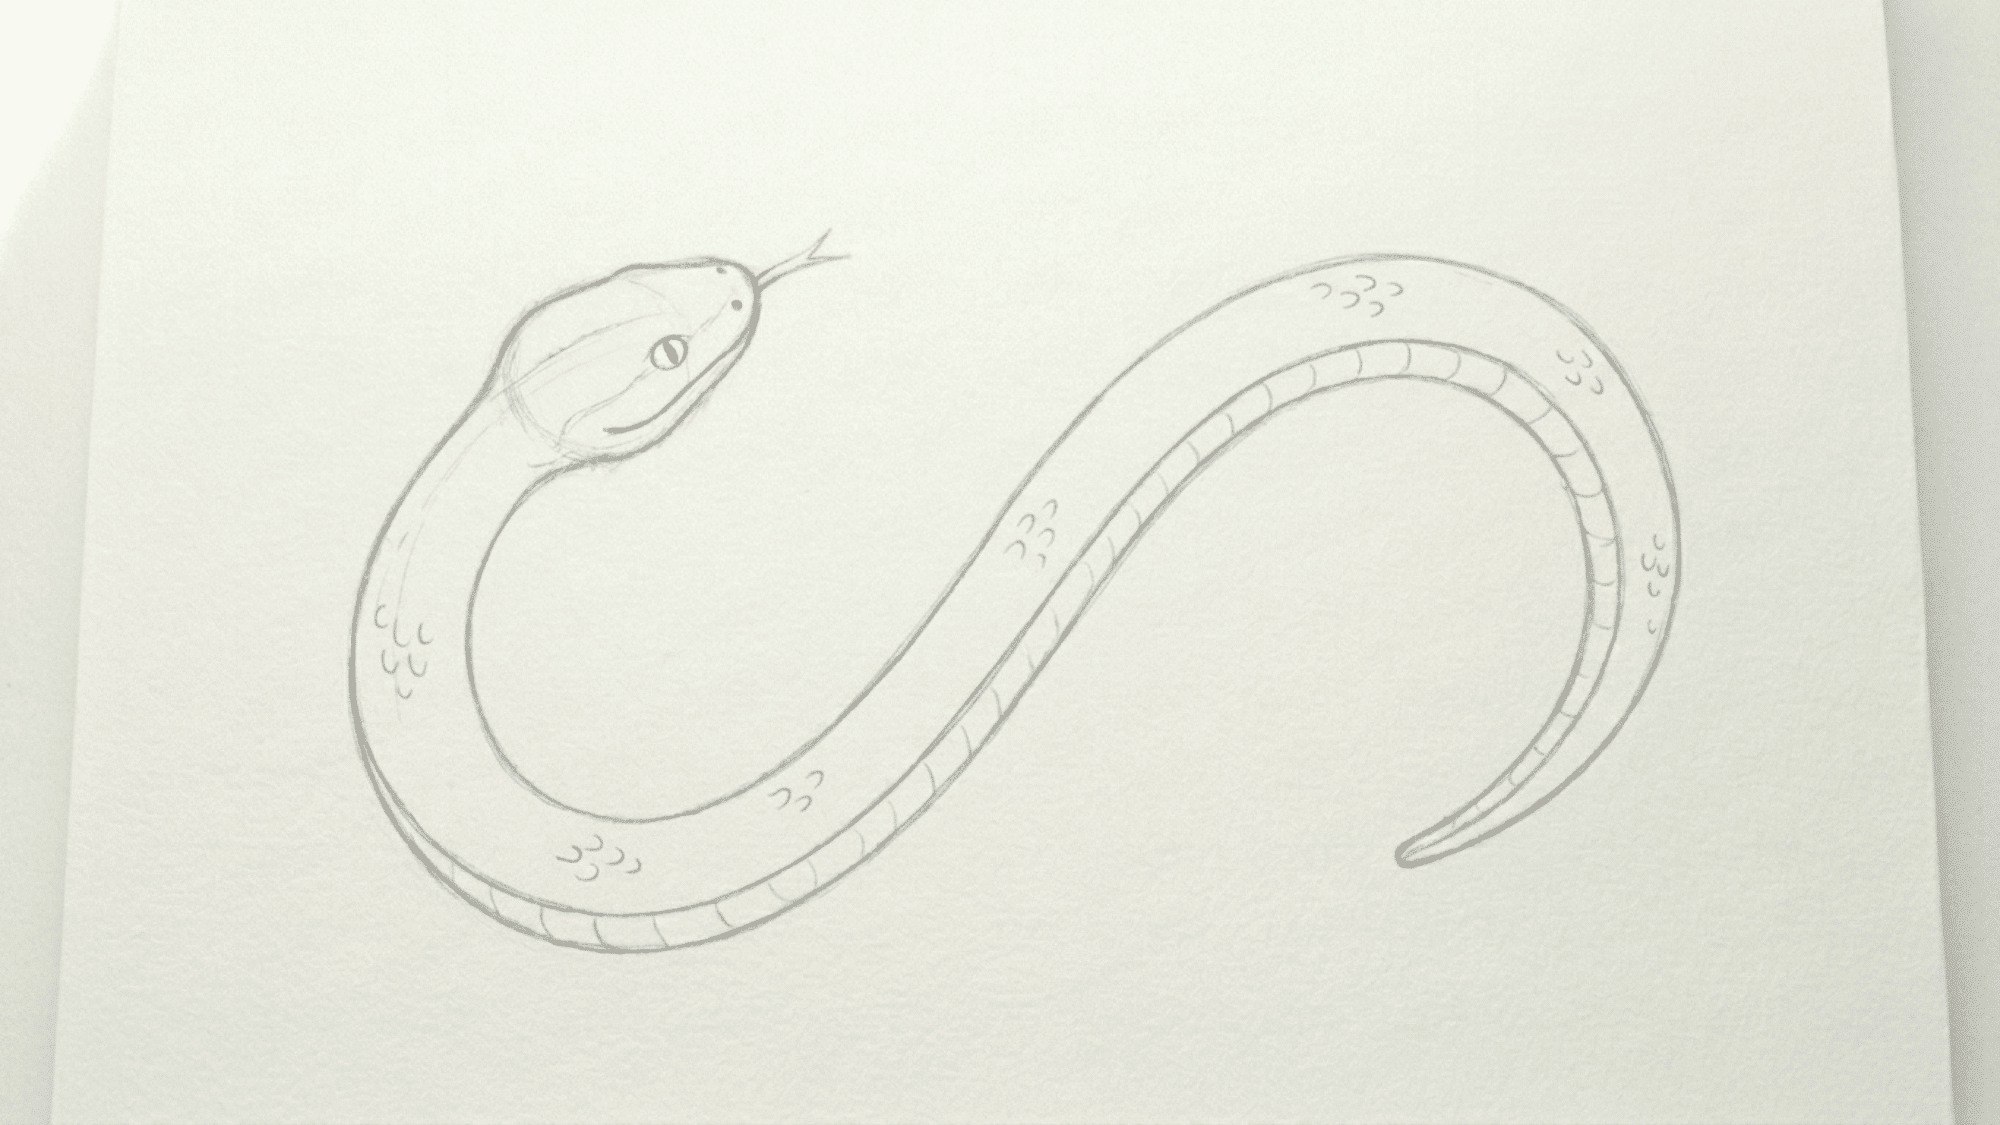
After completing the belly, start adding small curved marks along the body to suggest scales. You do not need to cover the entire snake with scales.
Add them in a few areas, such as near the head, along the back, or around the curves, and see how it looks.
Step 8: Clean Up and Finish
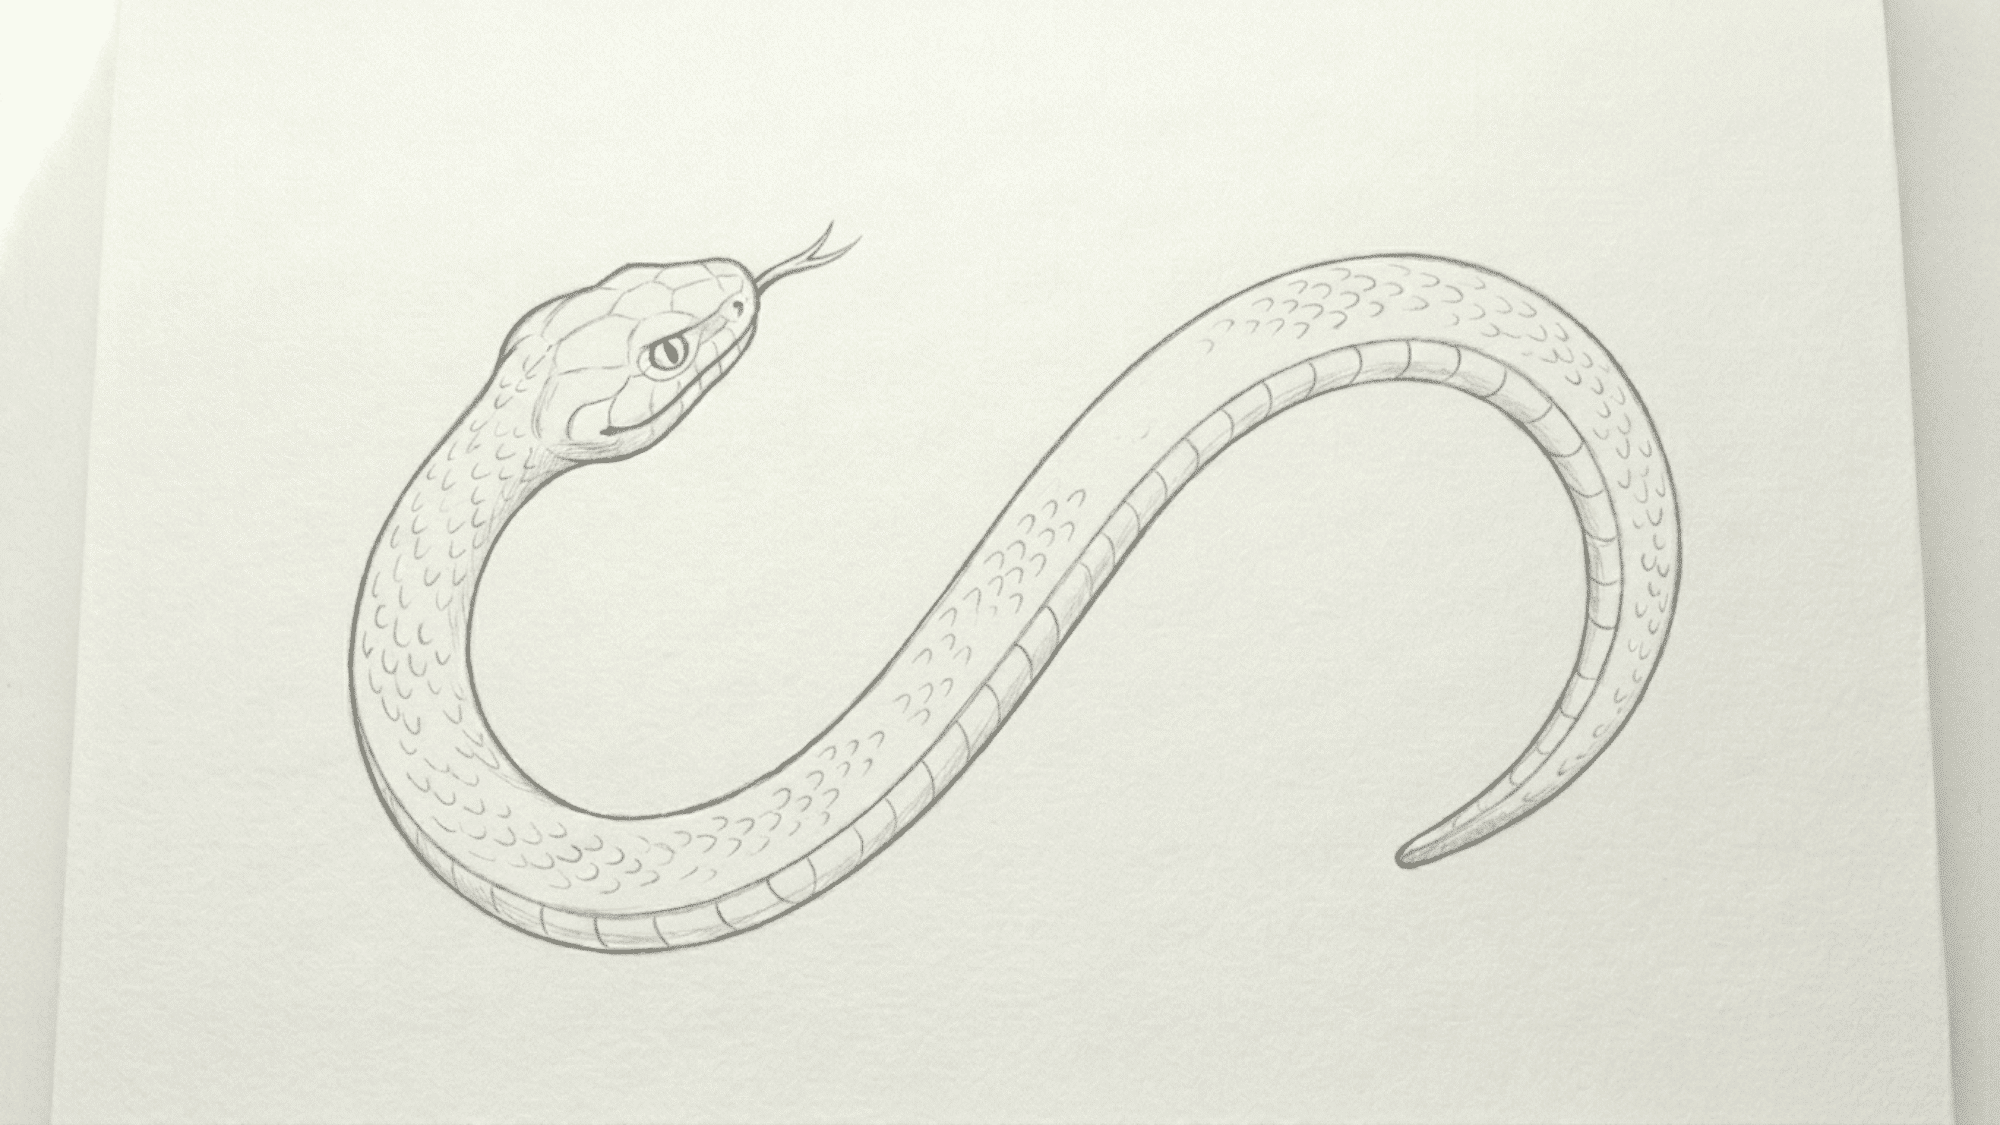
Start adding more scales slowly and carefully; do not fill it completely, as it will look messy and overfilled.
Add some imperfect hexagons on the head and shade some parts like the belly and under the mouth, borrowing a few of these shading techniques for art to add real depth, and see your snake finally come to life.
Easy Snake Drawing Techniques
Use these simple drawing methods to create snakes in a range of poses, shapes, and styles. Each technique focuses on a different body position, from loose coils and flowing curves to raised heads and stretched poses
| Drawing Technique | What to Draw | Best Used For |
|---|---|---|
| S-Curve Method | Draw a large S shape and add two body lines around it | A crawling snake |
| Spiral Method | Begin with a loose circle and curl the line inward | A coiled snake |
| Wave Method | Make a long wavy line from the head to the tail | A snake moving across the ground |
| Oval Method | Join several overlapping ovals to form the body | Beginner sketches |
| Tube Method | Build the body using a long, flexible cylinder | A rounded, realistic snake |
| Loop Method | Cross the body over itself to create loose loops | A resting snake |
| Raised-Head Method | Curve the neck upward and place the head above the body | An alert snake |
| Tapering Method | Keep the middle thick and slowly narrow the tail | Natural body proportions |
| Pattern Method | Add bands, spots, diamonds, or simple scales | Decorative snake drawings |
| Shading Method | Darken the lower body and spaces beneath the coils | Depth and a three-dimensional look |
Try Different Snake Poses
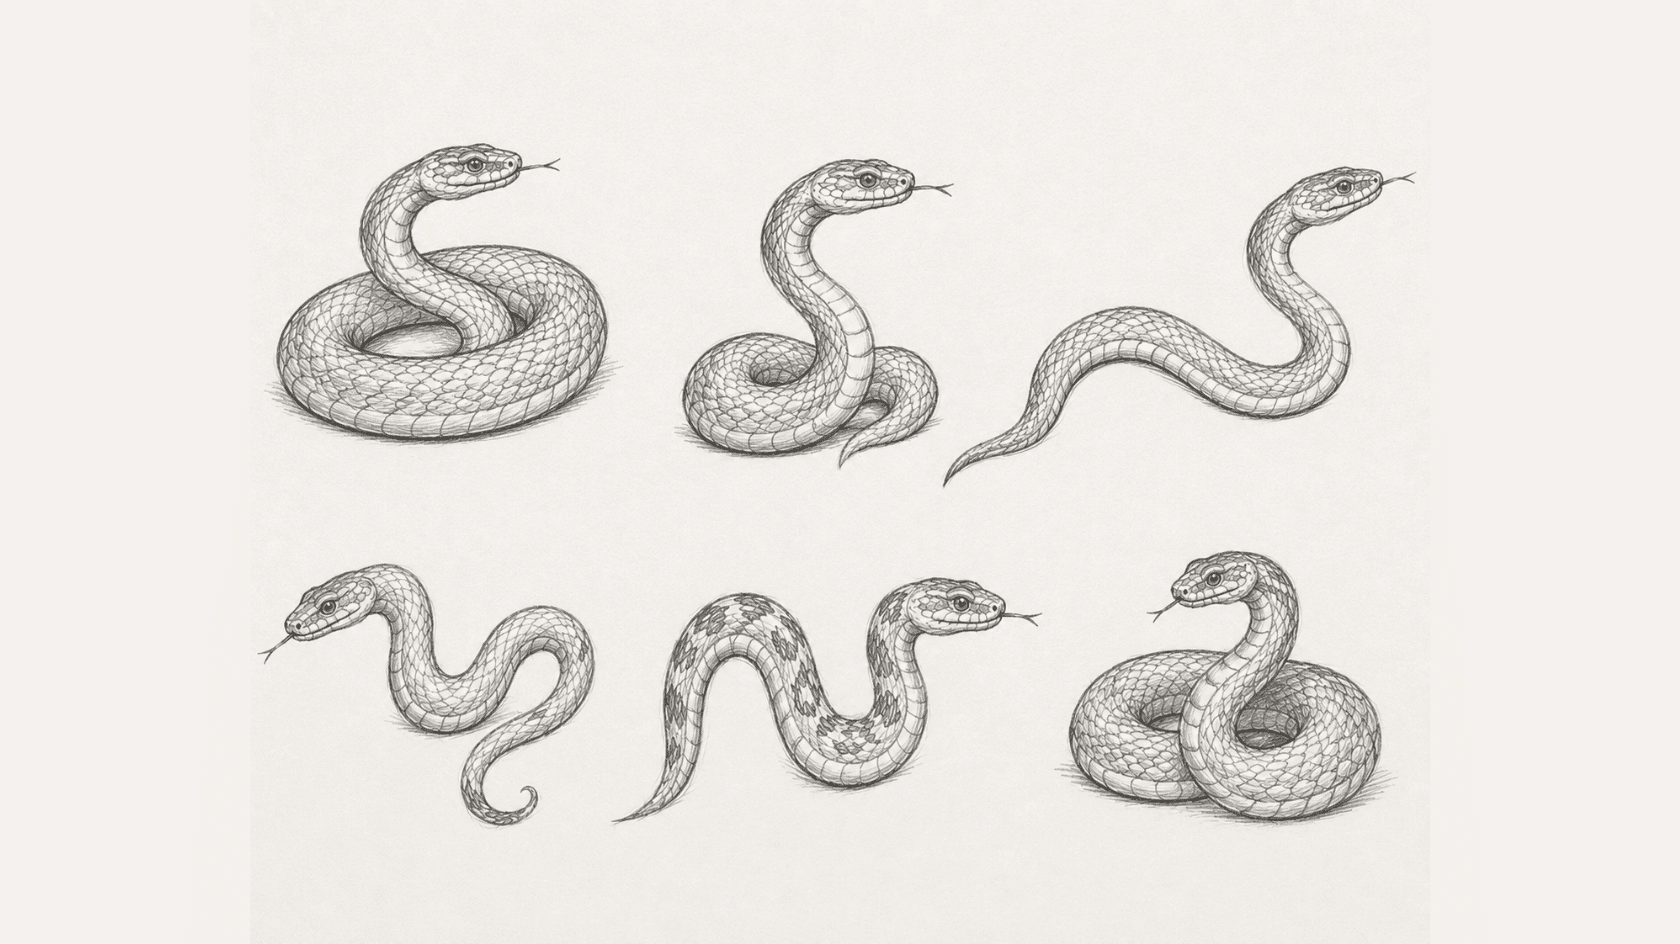
Once you’ve finished your snake, try changing its position to practice different curves and body shapes, a habit that carries over well into other subjects in these pencil drawing ideas guide prompts.
- Curl the body into a tighter loop: Draw the snake’s body in a compact spiral to create a resting or defensive pose.
- Raise the head or turn it to one side: Change the head position to make the snake appear alert and aware of its surroundings.
- Stretch the snake across the page: Use a long, flowing body line to show the snake crawling forward.
- Try different tail lengths and curves: Adjust the shape of the tail to give each snake drawing a distinct appearance.
- Add simple scale patterns or markings: Decorate the body with spots, stripes, diamonds, or curved scale lines.
- Start with simple poses before adding more detail: Practice basic body shapes first, then include facial features, scales, and shadows.
The Bottom Line
Drawing a snake may look challenging at first, but it becomes much easier when you focus on one step at a time. Asking how to draw a snake easy is the first step.
Along the way, you’ll practice important drawing skills such as smooth curves, body proportions, texture, and observation. These are skills that can help with many other subjects, not just snakes.
Remember that every sketch snake drawing is part of the learning process. Some drawings will turn out better than others, and that is completely normal. Keep experimenting with different poses, body shapes, and scale patterns.
The more snakes you draw, the more comfortable and confident you’ll become with your pencil, making each new sketch easier than the last.
Frequently Asked Questions
How Do You Draw Realistic Snake Scales?
Draw rows of small overlapping shapes, slightly curved and staggered like roof tiles. Follow the direction of the body curves. A section or two of scales is enough to create the effect.
Can I Use a Real Snake as A Reference?
Yes, and it helps a lot. Real reference photos show the actual scale, texture, and proportions much better than imagination alone.
Which Snake Species Are the Easiest to Draw?
Corn snakes, garter snakes, and ball pythons are among the easiest to draw because of their simple body shapes. Their smooth curves and clear patterns make them good choices for beginners.