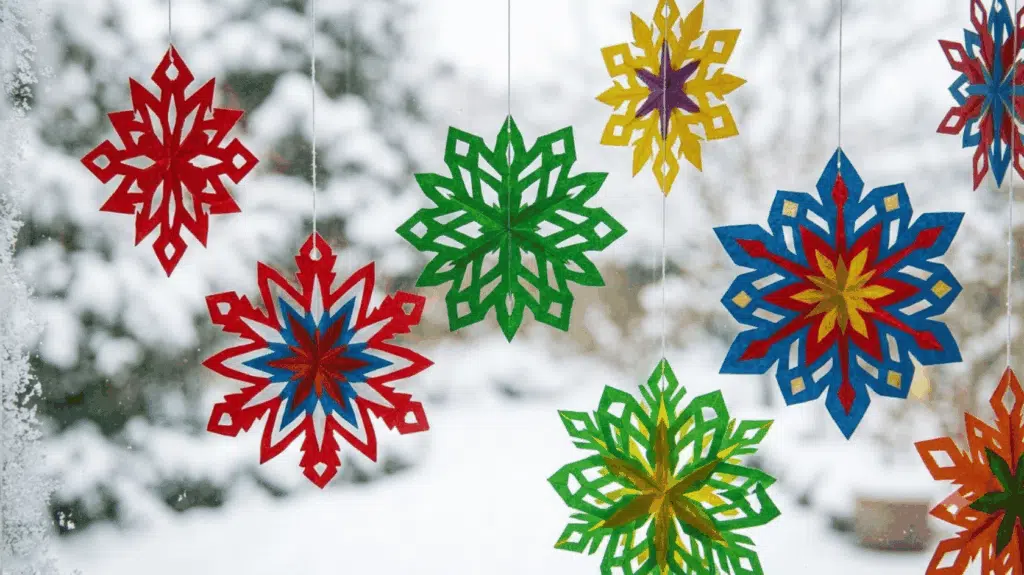
With a few simple folds and cuts, an ordinary sheet of paper can turn into a delicate decoration, and every design can have its own personality.
You can also experiment with different shapes and cutouts to create snowflakes that look completely different from one another.
Even if you just want to create a simple snowflake paper pattern or experiment with intricate, cool paper snowflake designs, this beginner-friendly blog will show you how to make one from start to finish.
How Snowflakes Help With a Child’s Development
Making paper snowflakes can support several important skills while giving children a creative activity to enjoy, the kind of hands-on project featured in this middle school art project for classrooms.
Folding and cutting the paper helps strengthen fine motor skills and hand-eye coordination, while following each step encourages focus and patience.
Choosing different shapes and cutouts also gives children a chance to express their creativity and make independent choices.
As they decide where to cut and see how the folded paper changes when opened, they practice simple planning and problem-solving skills.
Finishing their own snowflake can also build confidence and give them a sense of accomplishment.
Basic Materials Required
Choose a few simple materials before you begin making your paper snowflake.
The right tools will make folding, cutting, and creating your snowflake paper pattern easier and more precise, and a few origami paper folding tips apply just as well here, especially getting that first crease sharp.
| Material | Purpose | Tips |
|---|---|---|
| Square paper | Creates the base for your snowflake | Use lightweight paper for easier cutting |
| Scissors | Cuts shapes and patterns into the folded paper | Choose small scissors for better control |
| Pencil | Marks your design before cutting | Use light lines that are easy to erase |
| Ruler | Helps create even folds and measurements | Useful when starting with rectangular paper |
| Flat surface | Keeps your paper steady while folding | Work on a clean, smooth surface |
How to Make a Paper Snowflake: Step by Step
Learning how to make a paper snowflake comes down to five steps. You fold a square into a triangle, cut notches along the edges, then unfold the result. Each step below builds on the last.
Step 1: Fold the Square Diagonally
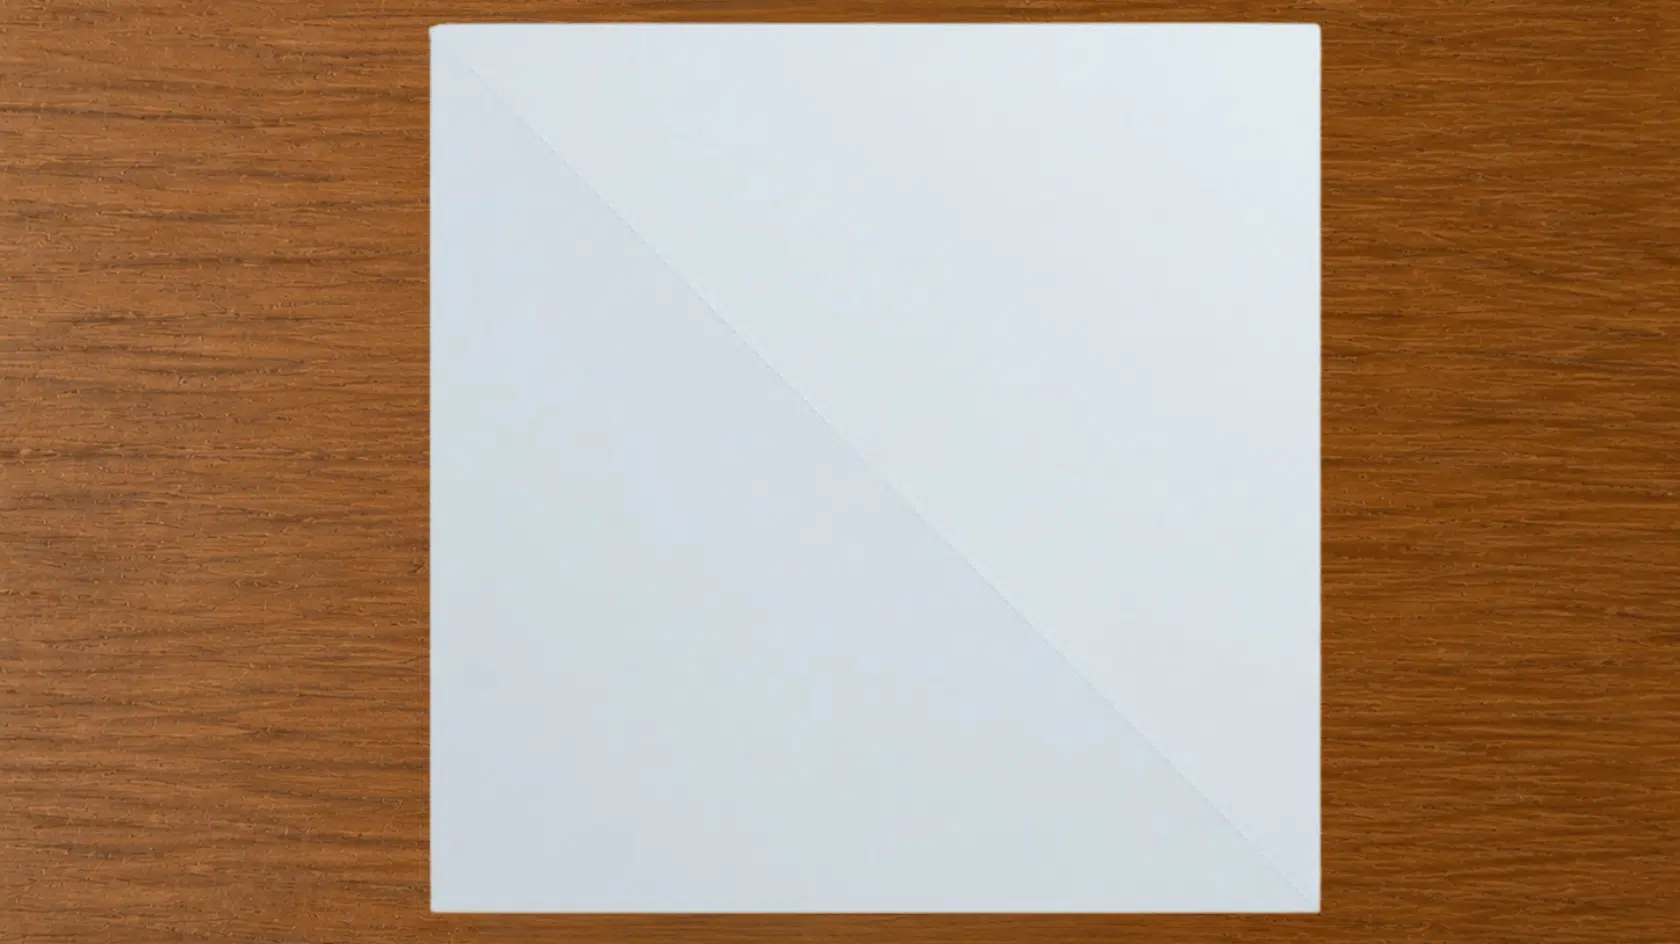
Lay your square paper flat. Fold it corner to corner you form a triangle. Crease the fold well with your fingernail or the edge of a ruler. A sharp crease keeps the later cuts lined up.
If your paper isn’t a perfect square, trim the extra edge off first so the fold lands right on the corner.
Step 2: Fold the Triangle in Thirds
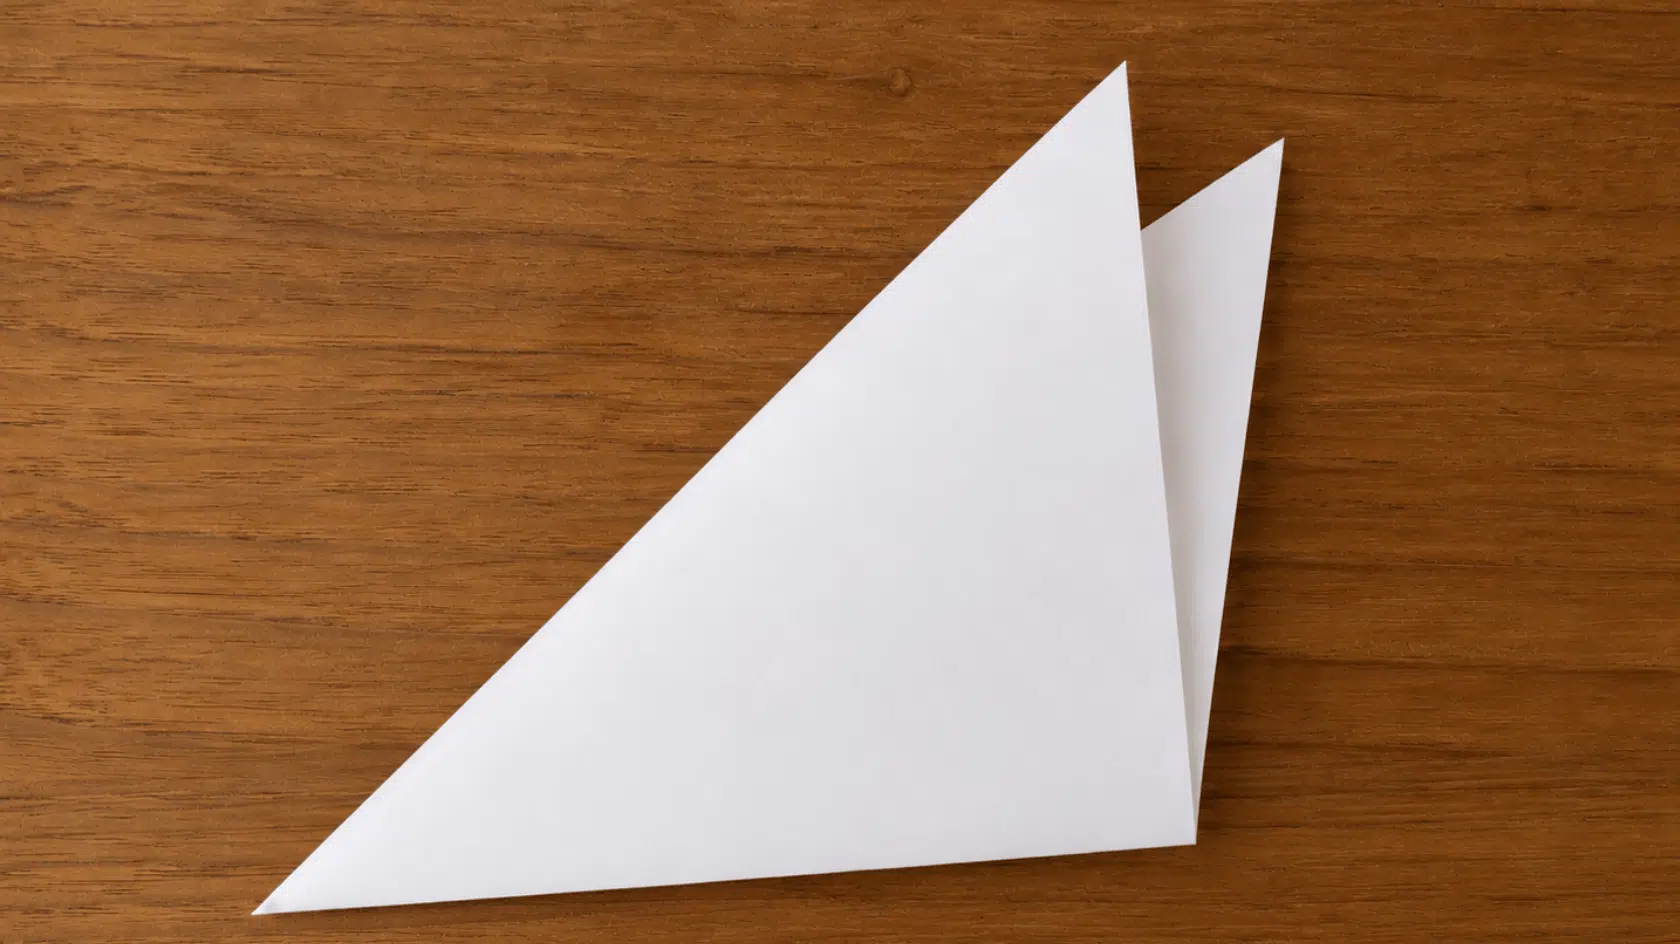
Fold the triangle again. Bring one point across to about a third of the way along the opposite side. Fold the other point over it the same way.
You’ll end up with a narrower triangle made of six layers of paper. This step is what gives the finished snowflake its six points.
Step 3: Trim the Top and Bottom Points
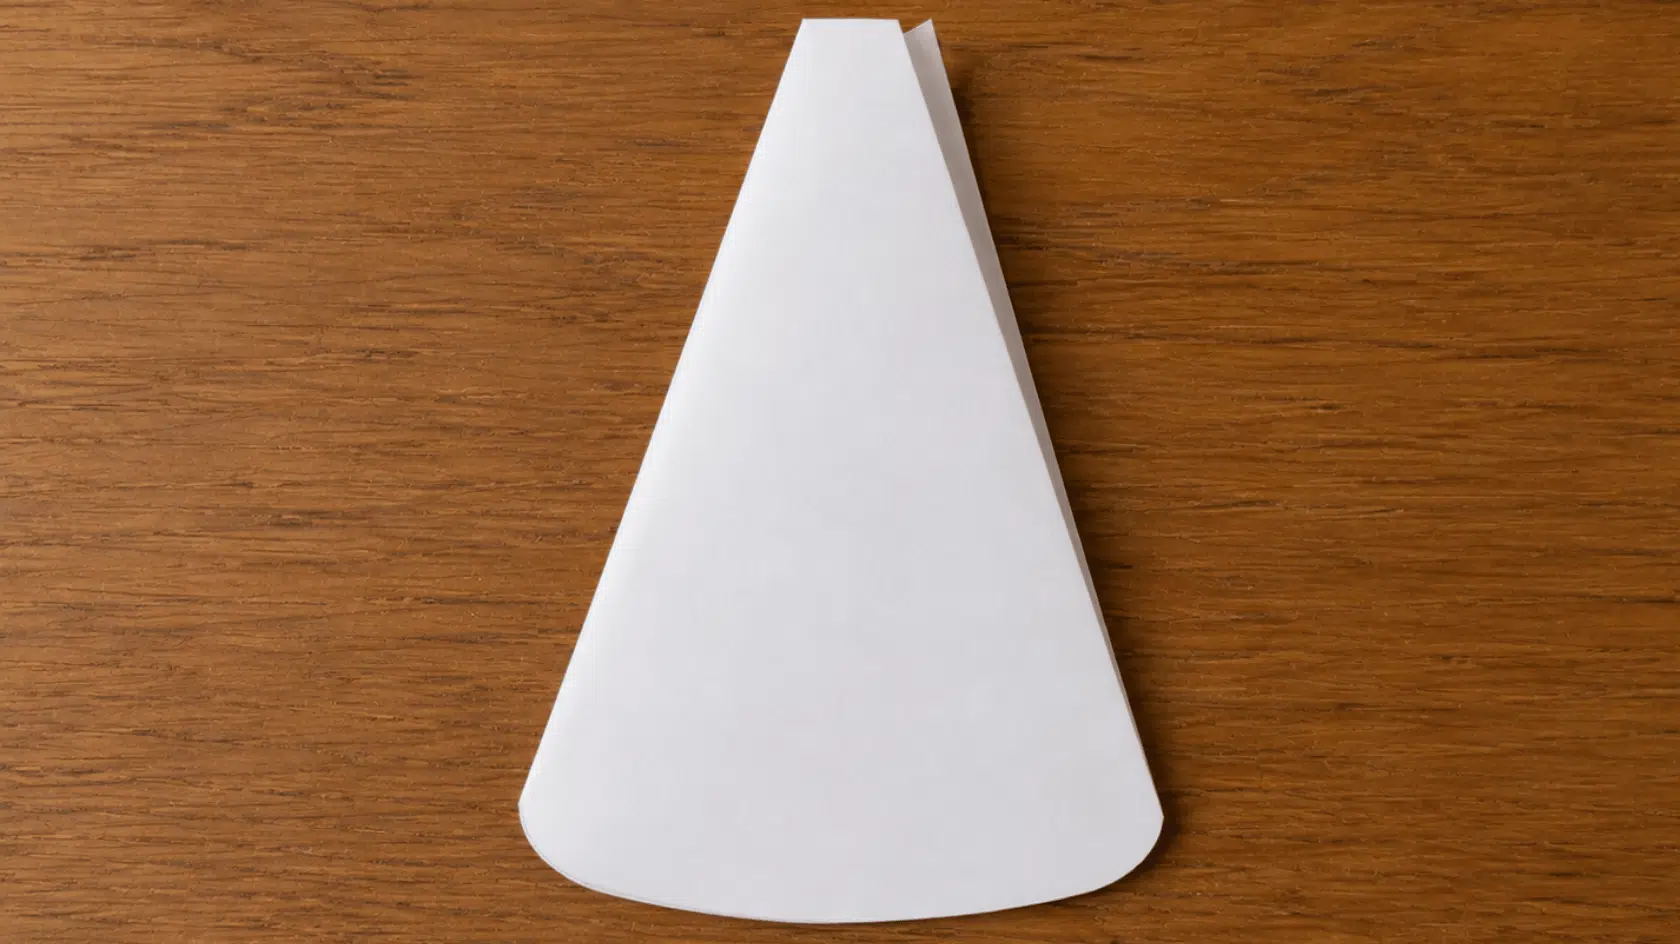
Cut off the pointed tip at the top of the folded triangle. Trim the open bottom edge into a rounded or angled shape. This sets the outer edge of your snowflake before you add any pattern.
A rounded trim gives a softer, lacy look, while an angled cut makes sharper, more geometric points.
Step 4: Cut Your Snowflake Paper Pattern
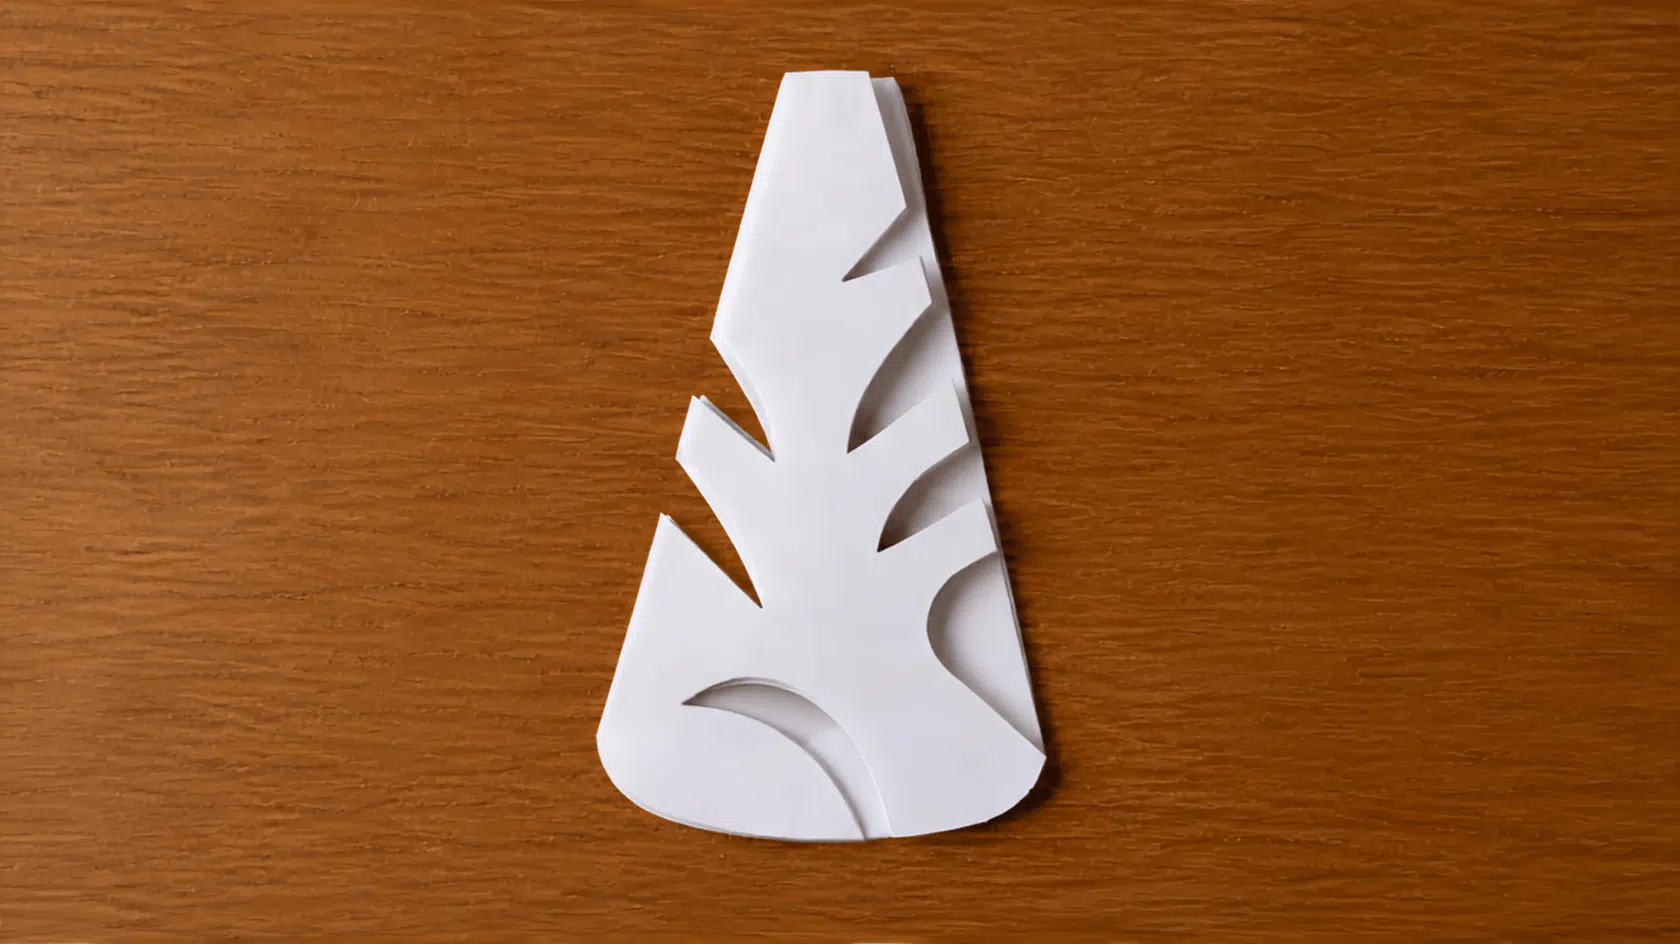
This is where the design happens. Cut small triangles, notches, or curves along both open edges of the folded triangle.
Small, simple cuts near the edges make delicate, cool paper snowflake designs, using the same mirrored, fold-and-cut logic behind this reflection tessellation cutting technique.
Wider cuts closer to the fold make bold, chunky patterns. Leave a little paper connecting each section, or the snowflake will fall apart when you unfold it.
Step 5: Unfold and Flatten
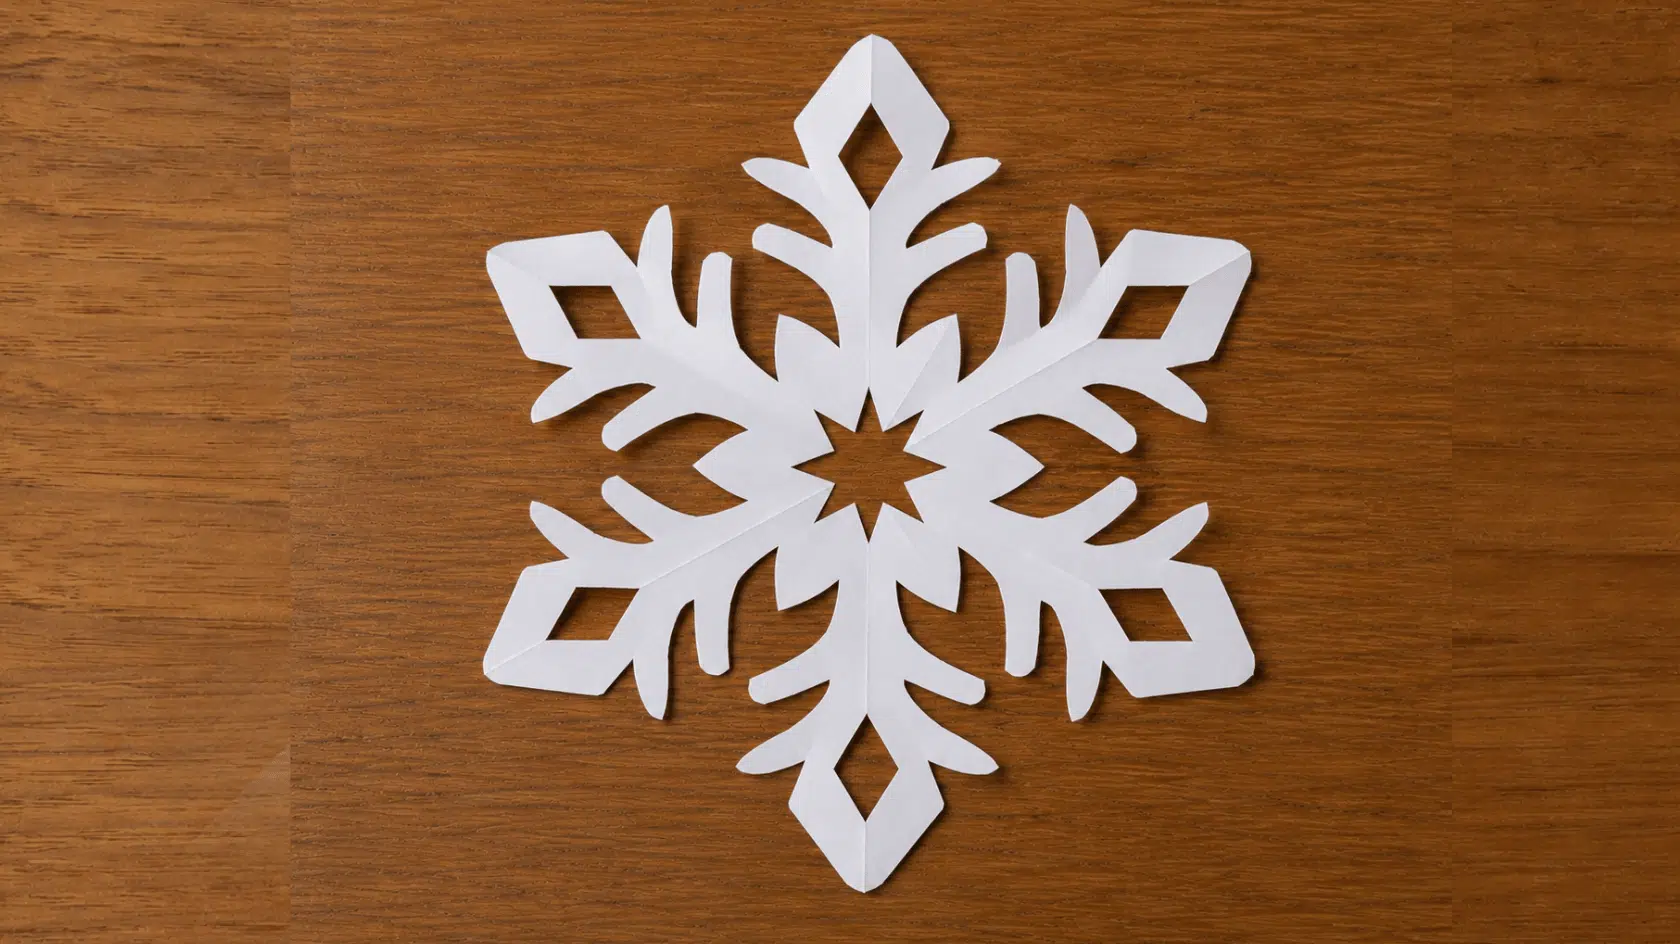
Open the paper slowly, one fold at a time. Press the snowflake flat with your hand. If the creases won’t lie flat on their own, place it under a heavy book for a few minutes.
Go slow near thin cut sections, since damp or delicate paper can tear as you pull the folds apart.
Frozen Patterns for a Beautiful Snowflake Collection
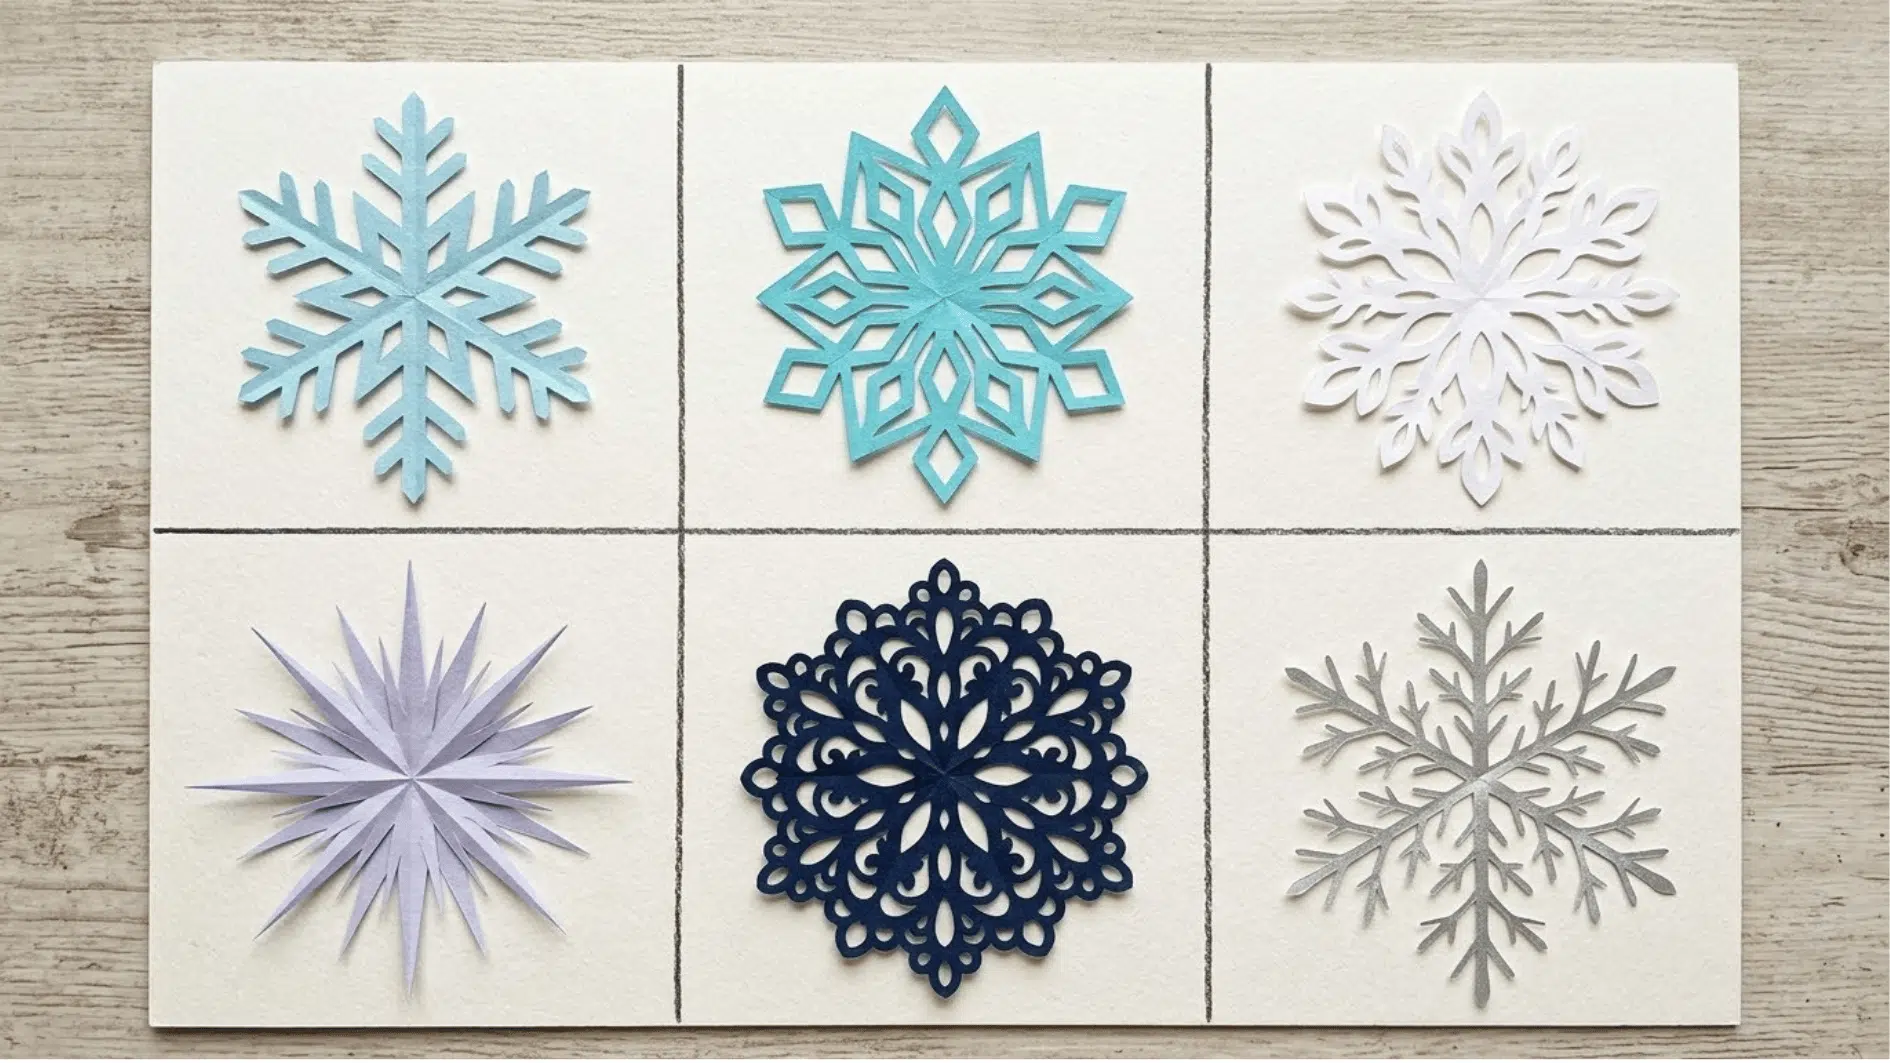
You can draw snowflakes with geometric shapes, delicate branches, floral details, or bold points to create patterns ranging from simple to intricate.
Classic Six-Point Snowflake
Draw six evenly spaced arms with short diagonal branches for a traditional winter design.
Geometric Snowflake
Combine straight lines, diamonds, triangles, and hexagons for a clean, structured pattern.
Floral Snowflake
Shape each arm like a petal and add small leaf details for a softer decorative look.
Starburst Snowflake
Begin with a central star and extend sharp, pointed arms outward to create a bold design.
Lace-Style Snowflake
Fill the six arms with loops, scallops, and tiny cutout shapes for a delicate appearance.
Crystal Branch Snowflake
Use long, narrow arms with several fine offshoots to resemble a natural ice crystal.
Common Mistakes and How to Fix Them
Even simple paper snowflakes can have a few tricky moments, especially when you’re making them for the first time.
- Snowflake falls apart when unfolded: Leave more paper connected between cuts, especially near the center fold.
- Points come out uneven: Fold the triangle into thirds as evenly as you can. Use a ruler to check the fold lines.
- Paper tears while cutting: Switch to thinner paper or use smaller scissors for tight spots in the folded layers.
- Pattern looks too plain: Add small notches between the larger cuts on your snowflake paper pattern for extra detail.
- Creases won’t flatten: Press the paper under a heavy book overnight. Run a fingernail along each crease after unfolding.
The Last Snip
And just like that, your paper snowflake is ready to make its winter debut! Hang it by a window, add it to a festive garland, or use it to give your space a simple winter-inspired touch.
Once you’ve mastered the basic technique, don’t be afraid to experiment with different shapes, sizes, and cutouts to create your own snowflake paper pattern.
Try a few cool paper snowflake designs, mix up your paper choices, and see how each one transforms when you unfold it.
There is no set design for a snowflake, so let your creativity go crazy, pick up your scissors, and make art that is not just easy but also breathtakingly beautiful.
Frequently Asked Questions
How Do I Keep Paper Snowflakes from Curling?
Flatten the finished snowflake under a heavy book for a few minutes or longer if needed. You can then attach it to a flat surface with removable tape.
What Happens if I Make a Cut Too Close to Another Cut?
The paper between the cuts may become too thin and tear during unfolding. Leave enough space between nearby cuts to keep the design strong.
Why Does Every Paper Snowflake Look Different?
The final design depends on the shapes, size, and placement of your cuts. Even small changes can create a completely different pattern when the folded paper is opened.