Ever searched your jewelry box for a missing earring and somehow found everything except the pair you wanted? We’ve all been there: tangled chains, lost backs, and earrings hiding in forgotten corners.
Instead of letting your favorite pieces disappear in a drawer, create a DIY earring holder that gives every pair its own little spot.
It’s an easy, budget-friendly project that can turn everyday items into a stylish jewelry display.
From cute wall hangers to clever recycled organizers, these earring storage ideas will help you keep studs, hoops, and dangles neat, visible, and ready to wear.
What Makes a Good DIY Earring Holder?
A good design gives studs and dangles their own space, because they need different things. Studs need a surface you can push the post into, like foam or cork, so the pin holds firm without bending.
Dangles need something to hang from, like mesh, wire, or small hooks, so chains stay untangled and hoops don’t scratch against each other.
A holder that combines these two setups into a single build works better than one designed for a single earring type, the same layered thinking behind these DIY home decor ideas built around everyday materials.
Getting this split right is what makes a holder actually useful rather than just decorative, and it’s the first thing to plan before choosing materials or a design from the list below.
Materials Required
Most of these cost under five dollars at a craft or hardware store. Many of them are probably already sitting in a junk drawer or on a garage shelf.
- Cork: grips stud posts tight without bending the metal
- Foam sheets: hold studs and cut easily with scissors
- Wire mesh: gives dangle earrings something to hook through
- Wood: works as a sturdy base for corks, dowels, or hooks
- Metal screen: a mesh alternative that won’t rust as fast
Which Type of Holder Is Right for You?
Frame-and-mesh holders suit mixed studs and dangles, while wall hooks and hoops work best for dangles that need air circulation. Cork boards, foam frames, and ice cube trays work best for stud-heavy collections.
1. Picture Frame and Mesh Earring Holder
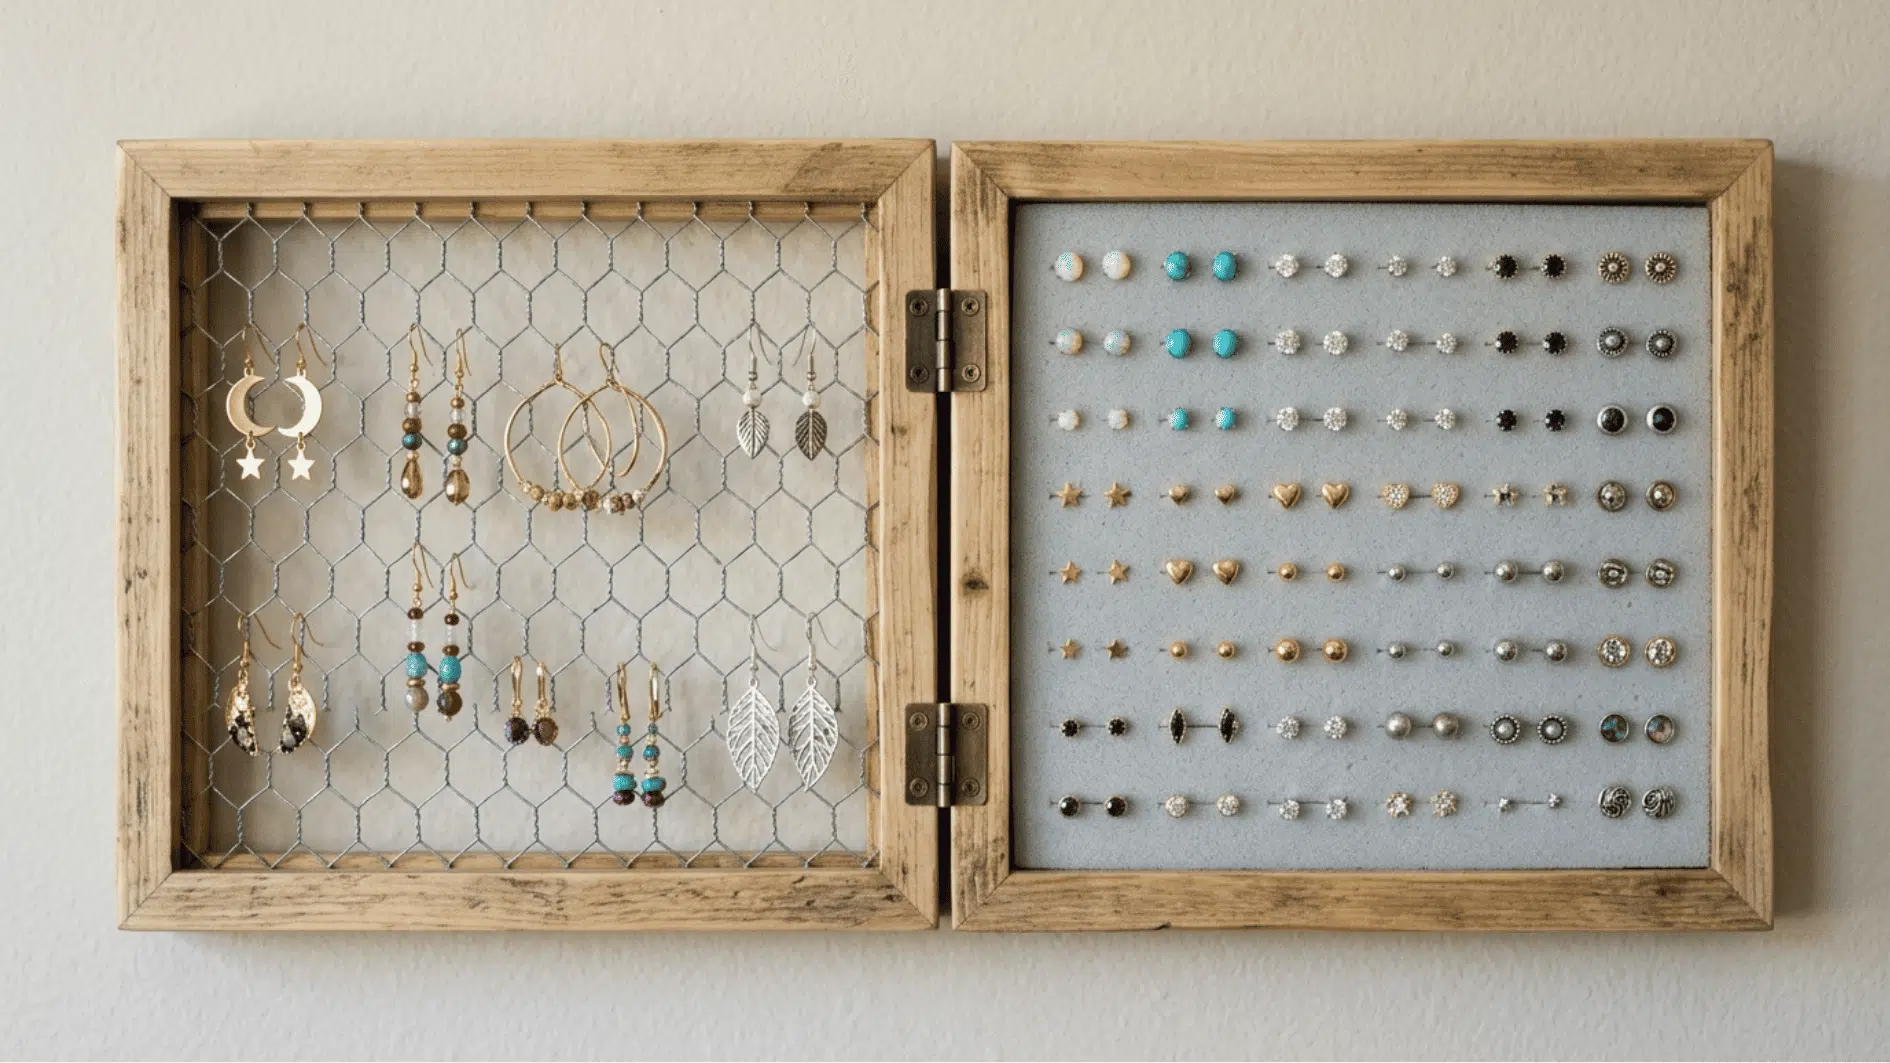
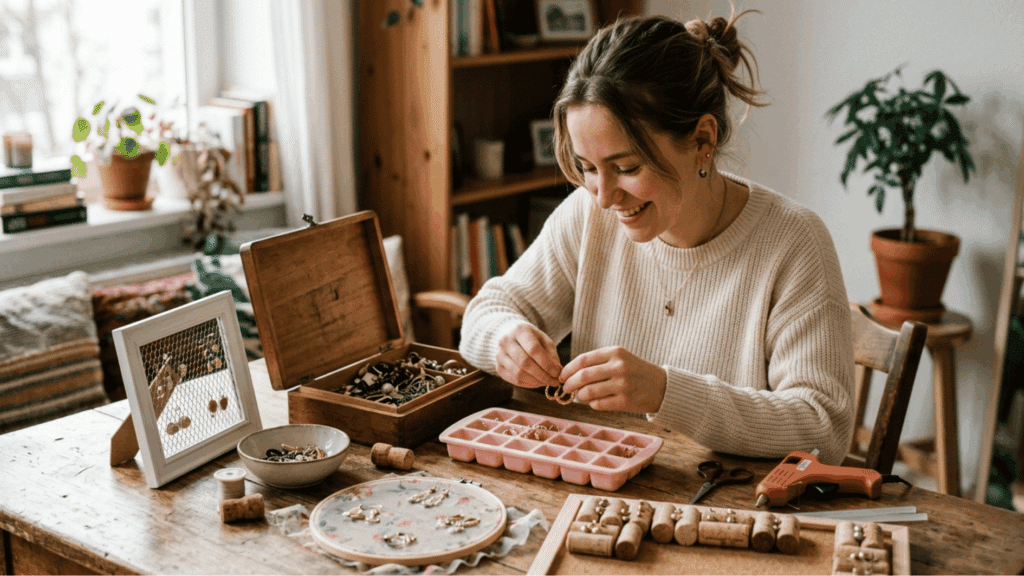
This design turns one old frame into two organizers in one, holding both dangles and studs, one of the more versatile earring storage ideas on this list.
| Material | Amount Needed |
|---|---|
| Picture frame | 8×10 or larger, 2 if splitting studs/dangles |
| Wire mesh or metal screen | Cut to fit the frame opening |
| Foam sheet | Cut to fit the frame back |
| Hot glue gun and sticks | 1 gun, 2-3 sticks |
| Scissors or craft knife | 1 |
| Metal hinges | 2 (optional) |
| Pencil and ruler | 1 each |
Steps:
- Remove the glass and backing from the frame completely.
- Cut the mesh to fit the opening, then press it in and clip it in.
- Cut foam to fit the back of the second frame and glue it flat.
- Mark a half-inch grid on the foam and cut slits at each mark.
- Hinge the frames together, or hang them side by side.
2. Wall-Mounted Hook Display for Dangles
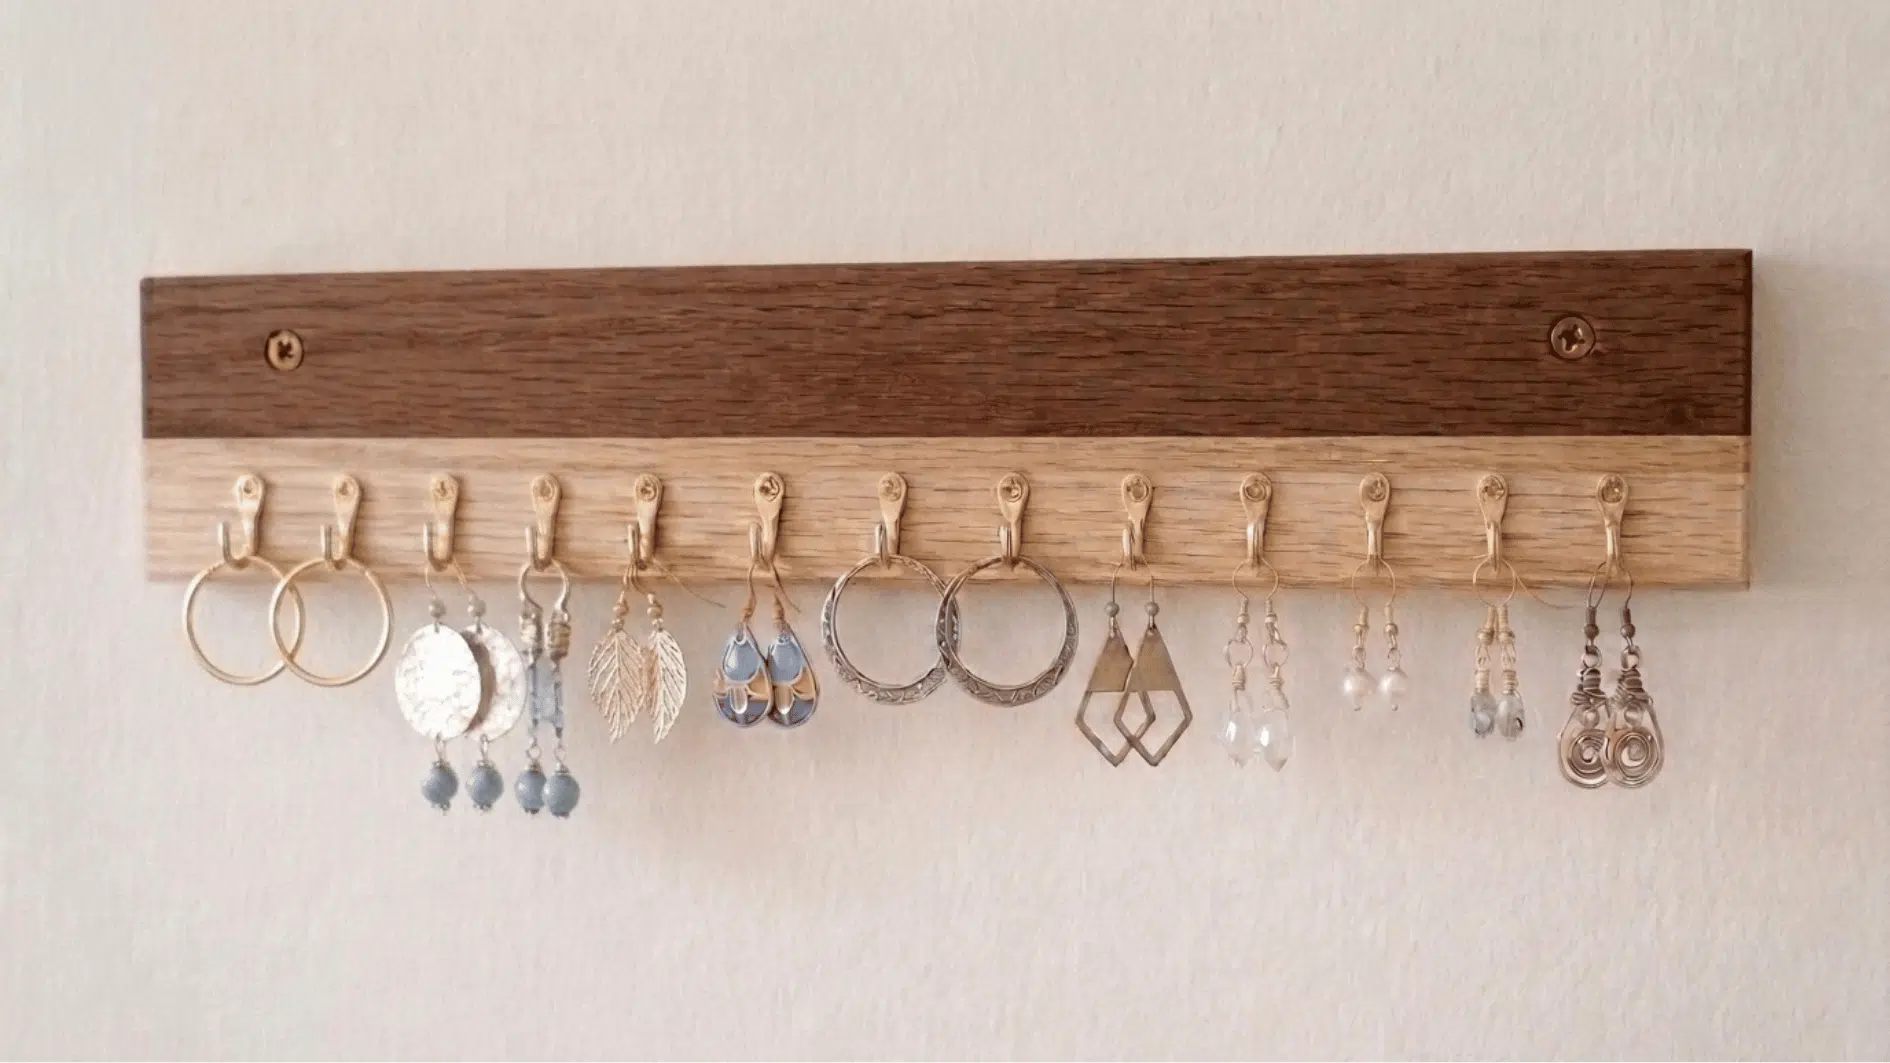
This design can hold more earrings per square inch because each hook needs very little room. Pairs can sit close together without overlapping, keeping a large collection visible, organized, and easy to choose from.
| Material | Amount Needed |
|---|---|
| Wood board or plywood | About 12 inches long |
| L-hooks or cup hooks | 12-16 for a medium collection |
| Screws | 4-6 for mounting the board |
| Screwdriver or drill | 1 |
| Pencil and ruler | 1 each |
| Adhesive strips | Optional, rated for 2+ pounds |
Steps:
- Lay the board flat, and mark hook spots an inch apart.
- Pre-drill starter holes if the wood feels hard or dense.
- Screw each hook into its marked spot until snug.
- Mount the board to a wall stud using screws.
- Or hang the board with rated removable adhesive strips instead.
- Hook dangle earrings and hoops onto the row, spaced apart.
3. Wine Cork Board for Stud Earrings
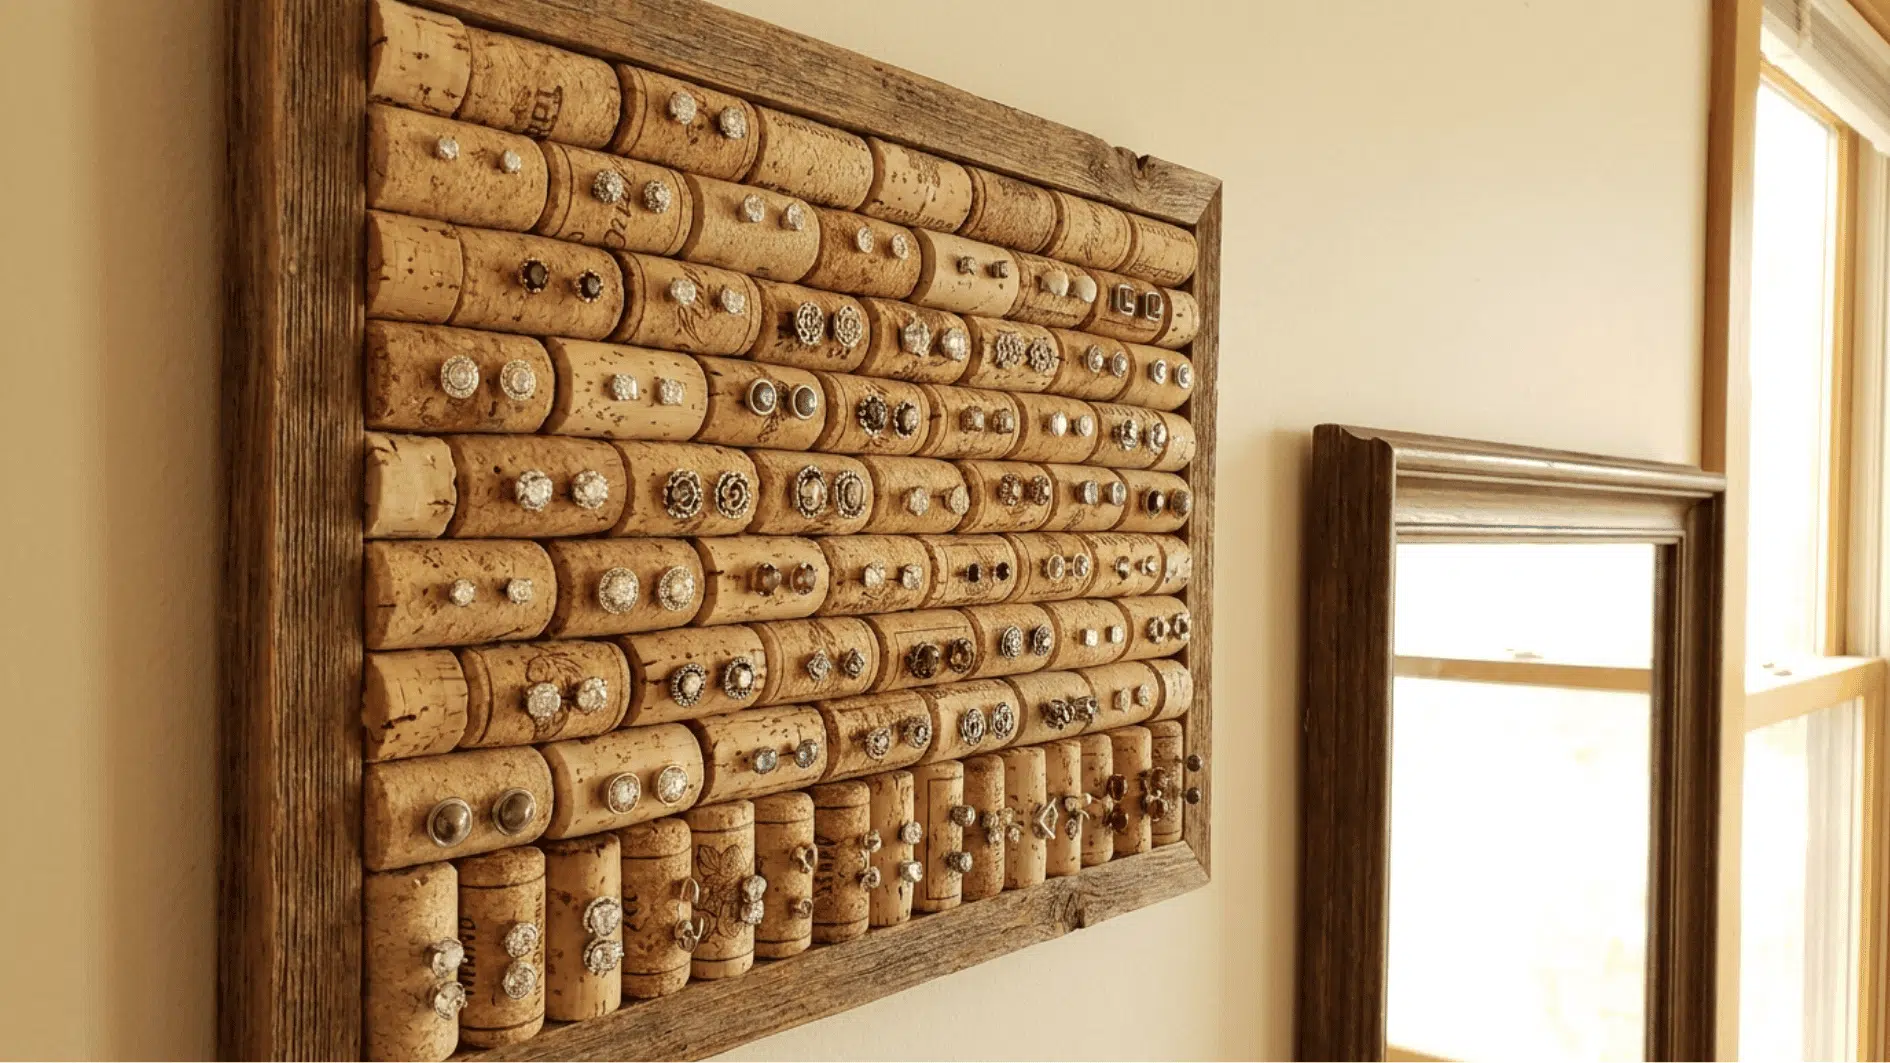
This design costs almost nothing if you already save corks, and it grips stud posts firmly.
| Material | Amount Needed |
|---|---|
| Wine corks | 12-15 for an 8×10 board |
| Wood board or plywood | About 8×10 inches |
| Hot glue gun and sticks | 1 gun, 2-3 sticks |
| Picture hook or hanger | 1, for mounting on the wall |
Steps:
- Lay corks flat and arrange them into rows on the board.
- Glue each cork down side by side, pressing firmly in place.
- Let the glue set fully before handling the finished board.
- Attach a picture hook or hanger to the back edge.
- Hang the board near a mirror or on a closet door.
- Press stud posts straight into the corks to store them.
4. Embroidery Hoop and Fabric Display
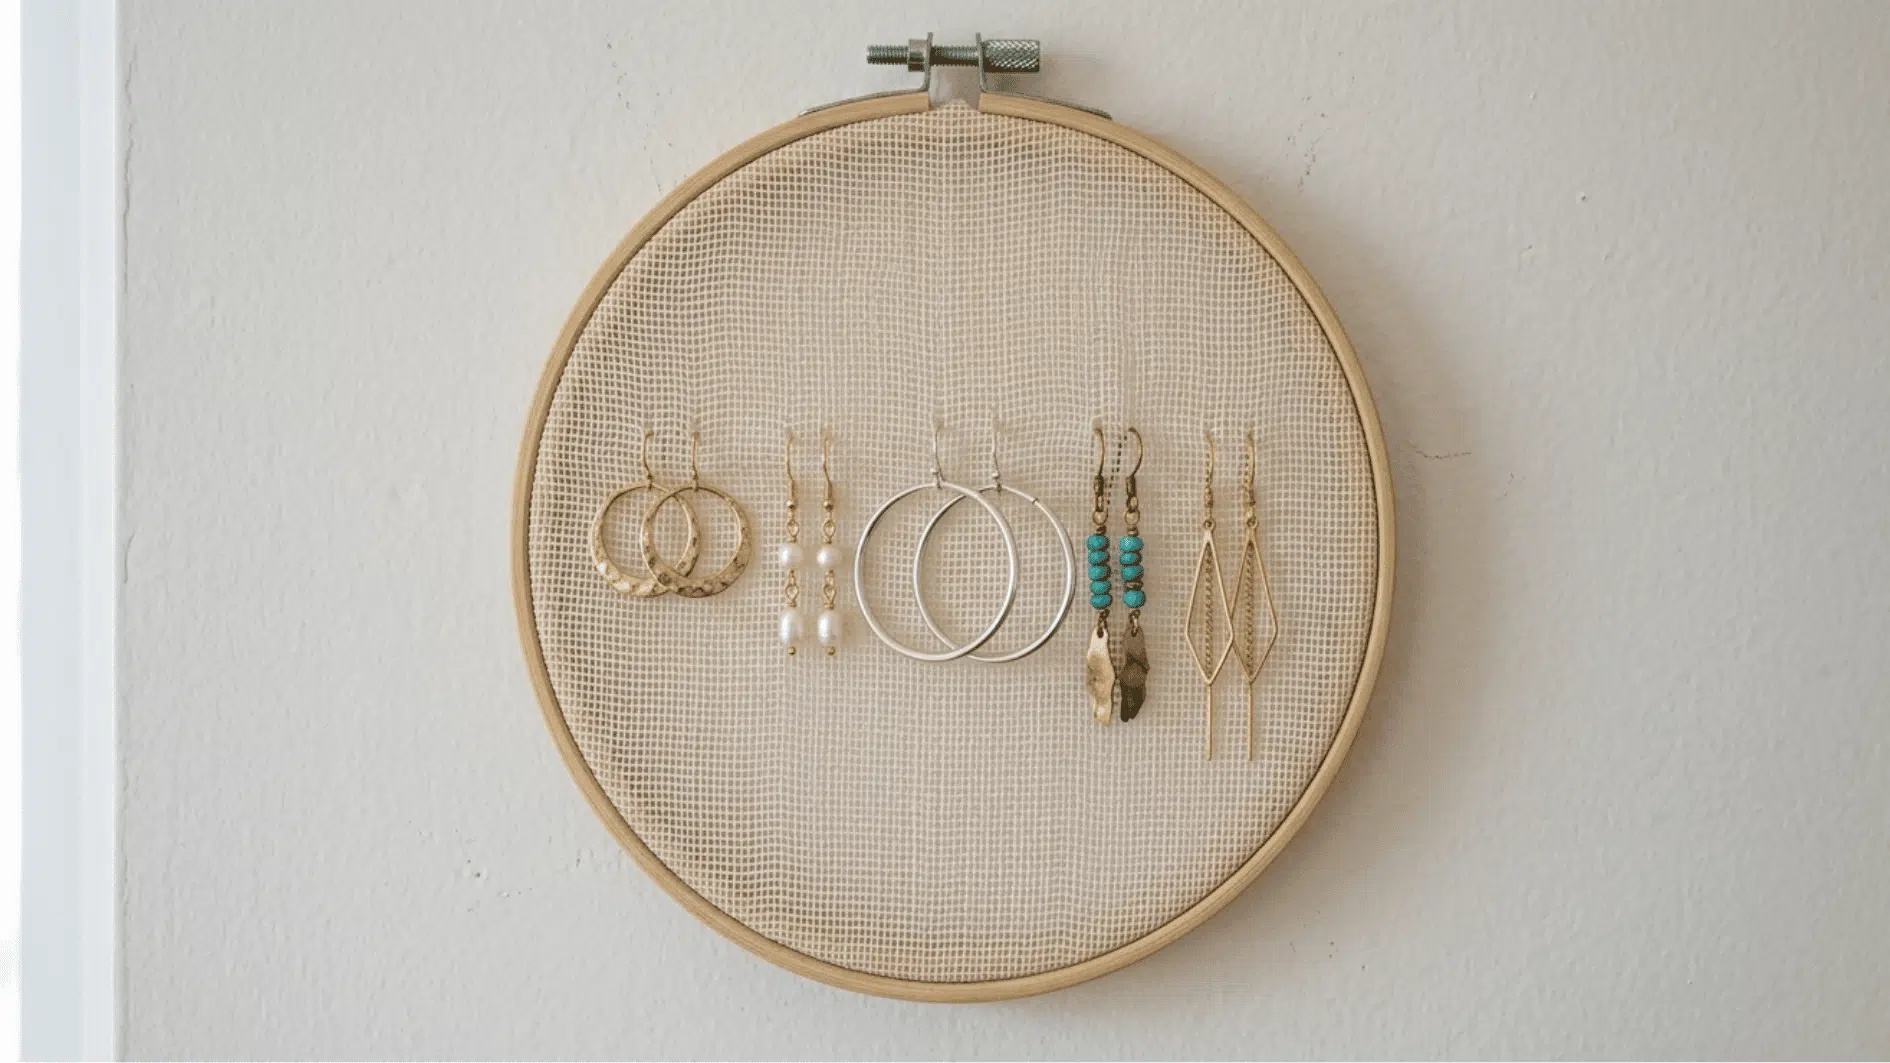
The loose weave lets hooks slide through the openings easily, so you can add, move, or remove earrings without pulling at the material.
It also keeps each piece separate and visible, reducing tangles while preventing unnecessary pressure on the hooks.
| Material | Amount Needed |
|---|---|
| Embroidery hoop | 1, any size that fits your wall space |
| Cotton lace or gauze fabric | Enough to cover the hoop, plus overhang |
| Hot glue gun and sticks | 1 gun, 1-2 sticks |
| Scissors | 1 |
Steps:
- Separate the hoop into its inner and outer rings.
- Stretch fabric across the inner ring like a drum.
- Press the outer ring down to lock the fabric tight.
- Trim the extra fabric hanging past the hoop’s edge.
- Glue any loose fabric edges down along the outer ring.
- Push earring hooks or posts straight through the fabric weave.
5. Wooden Dowel and Panel Organizer
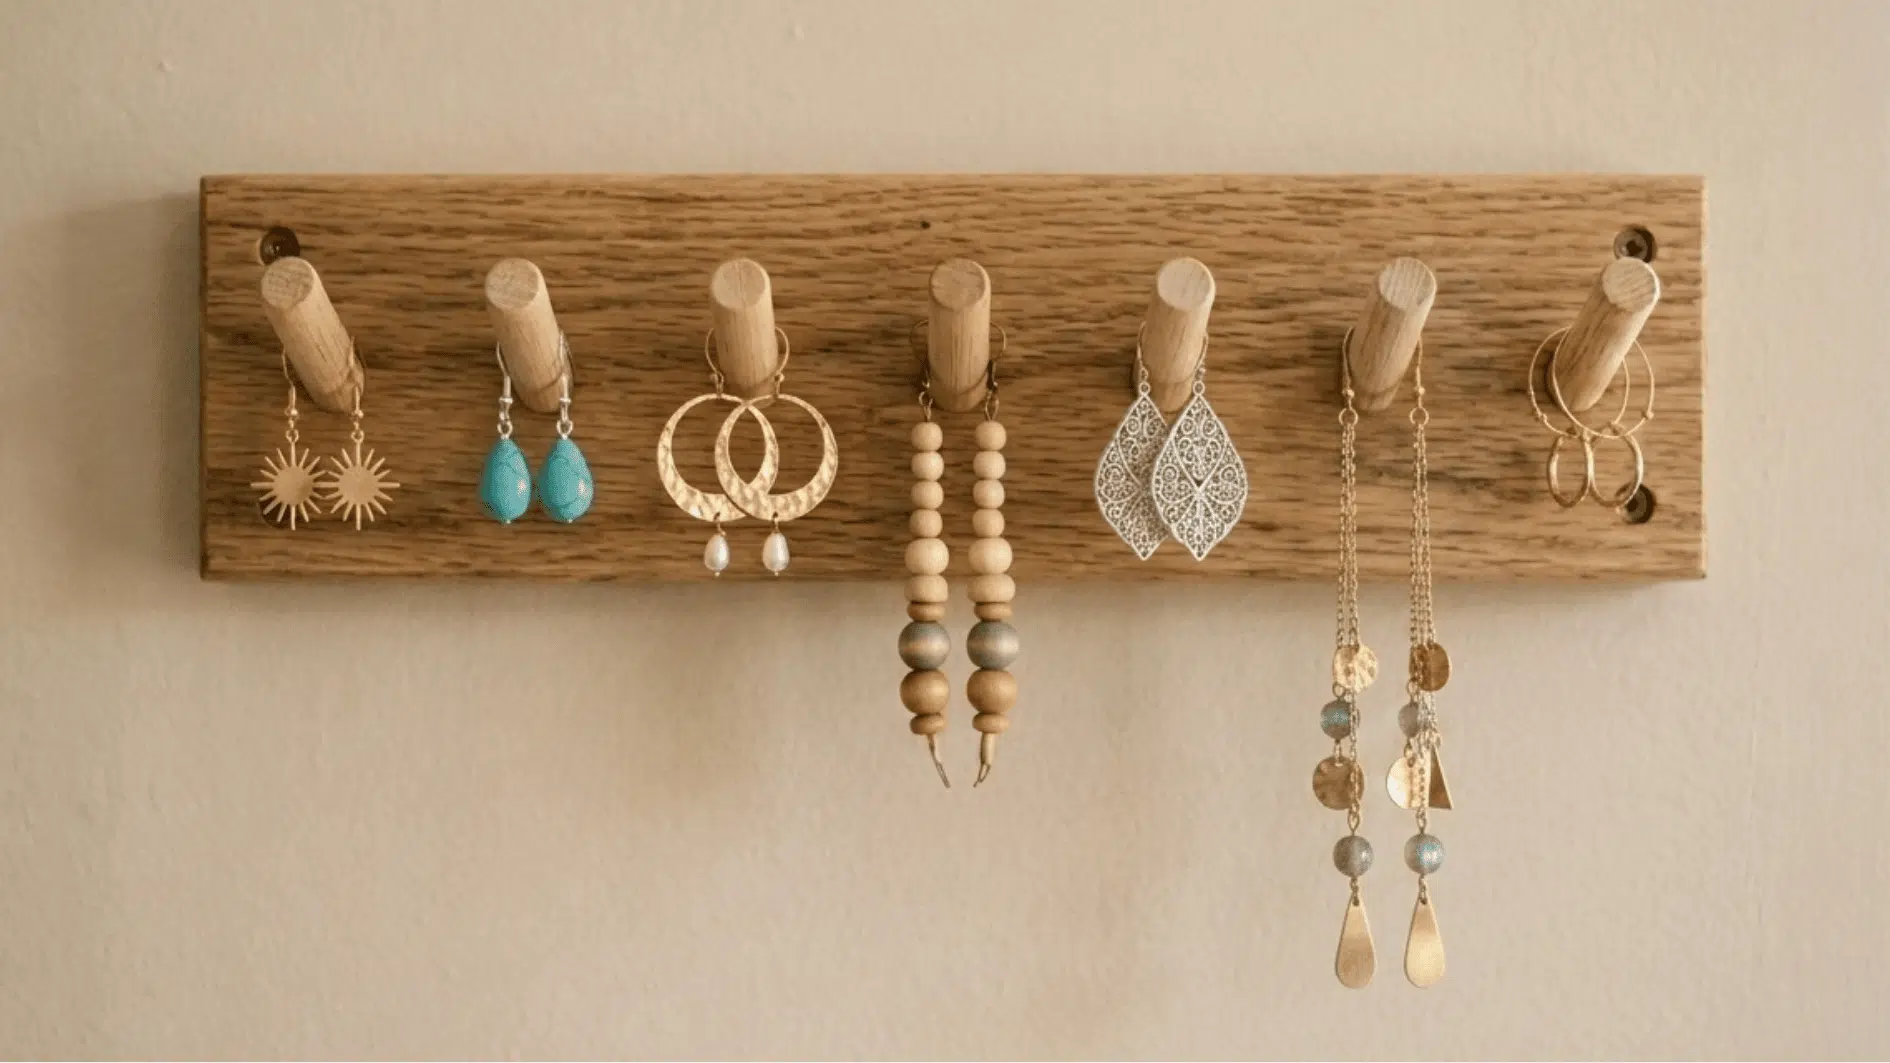
This design works well for mixed jewelry collections because the dowels can hold both necklaces and earrings in one organized display, similar to the joinery basics covered in these DIY wood craft projects.
Longer pieces can hang without tangling, while smaller items remain visible and easy to reach.
| Material | Amount Needed |
|---|---|
| Wooden dowels | 6-8, cut to 4 inches each |
| Wood panel or canvas board | About 8×10 inches |
| Hot glue gun and sticks | 1 gun, 2-3 sticks |
| Picture hook or hanger | 1, for mounting on the wall |
| Ruler and pencil | 1 each |
Steps:
- Measure and cut dowels to matching four-inch lengths.
- Mark evenly spaced dots across the panel for placement.
- Glue each dowel upright at its marked spot firmly.
- Let the glue fully set before standing the panel upright.
- Attach a picture hook or hanger to the back.
- Hang necklaces and loop dangle earrings over the dowel tops.
6. Ice Cube Tray Stud Organizer
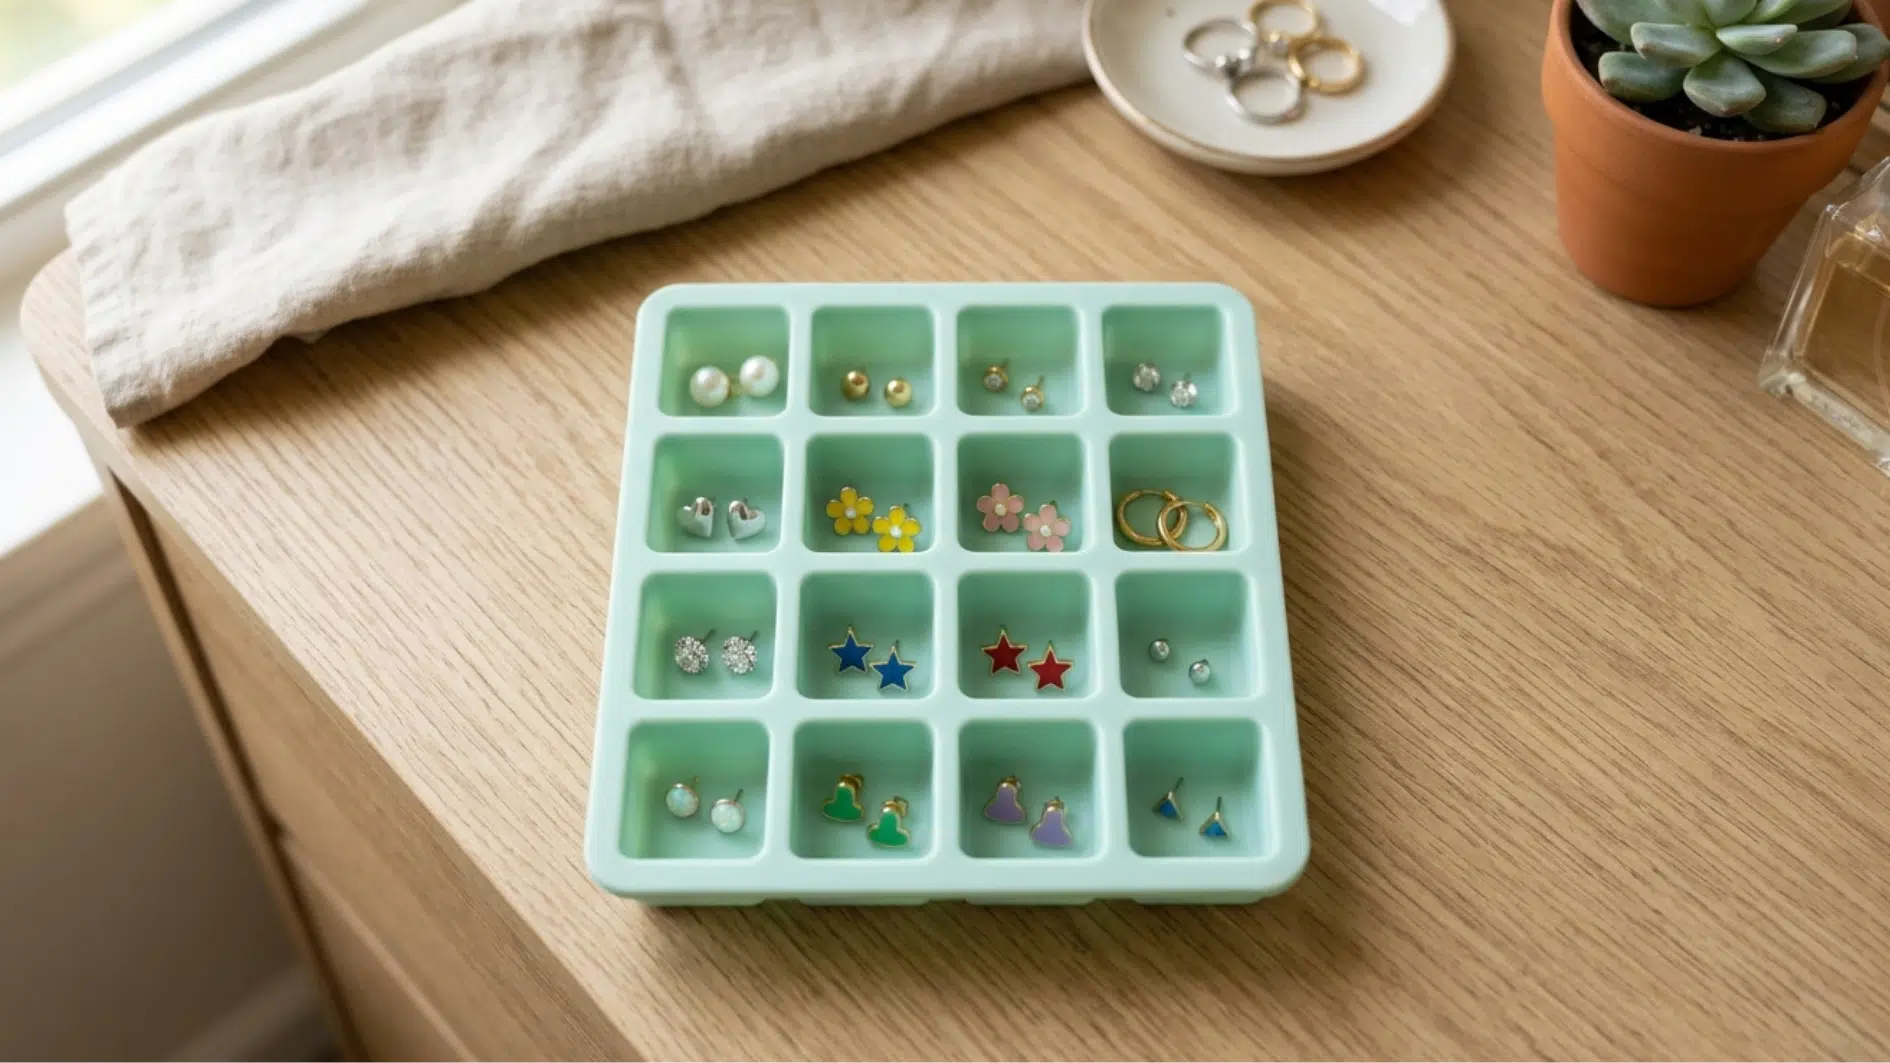
This design requires no glue, cutting, or special tools, since an old tray serves as the complete base. It is quick to set up, creates very little mess, and gives an unused household item a simple new purpose.
| Material | Amount Needed |
|---|---|
| Silicone ice cube tray | 1, any size |
| Stud earring pairs | Enough to fill each compartment |
Steps:
- Wash and fully dry an old silicone ice cube tray.
- Drop each stud pair into its own separate compartment.
- Sort pairs by color, shape, or how often worn.
- Stack the tray flat inside a drawer for storage.
- Or set the tray on a dresser for quick access.
7. Dollar Store Frame for a Budget Build
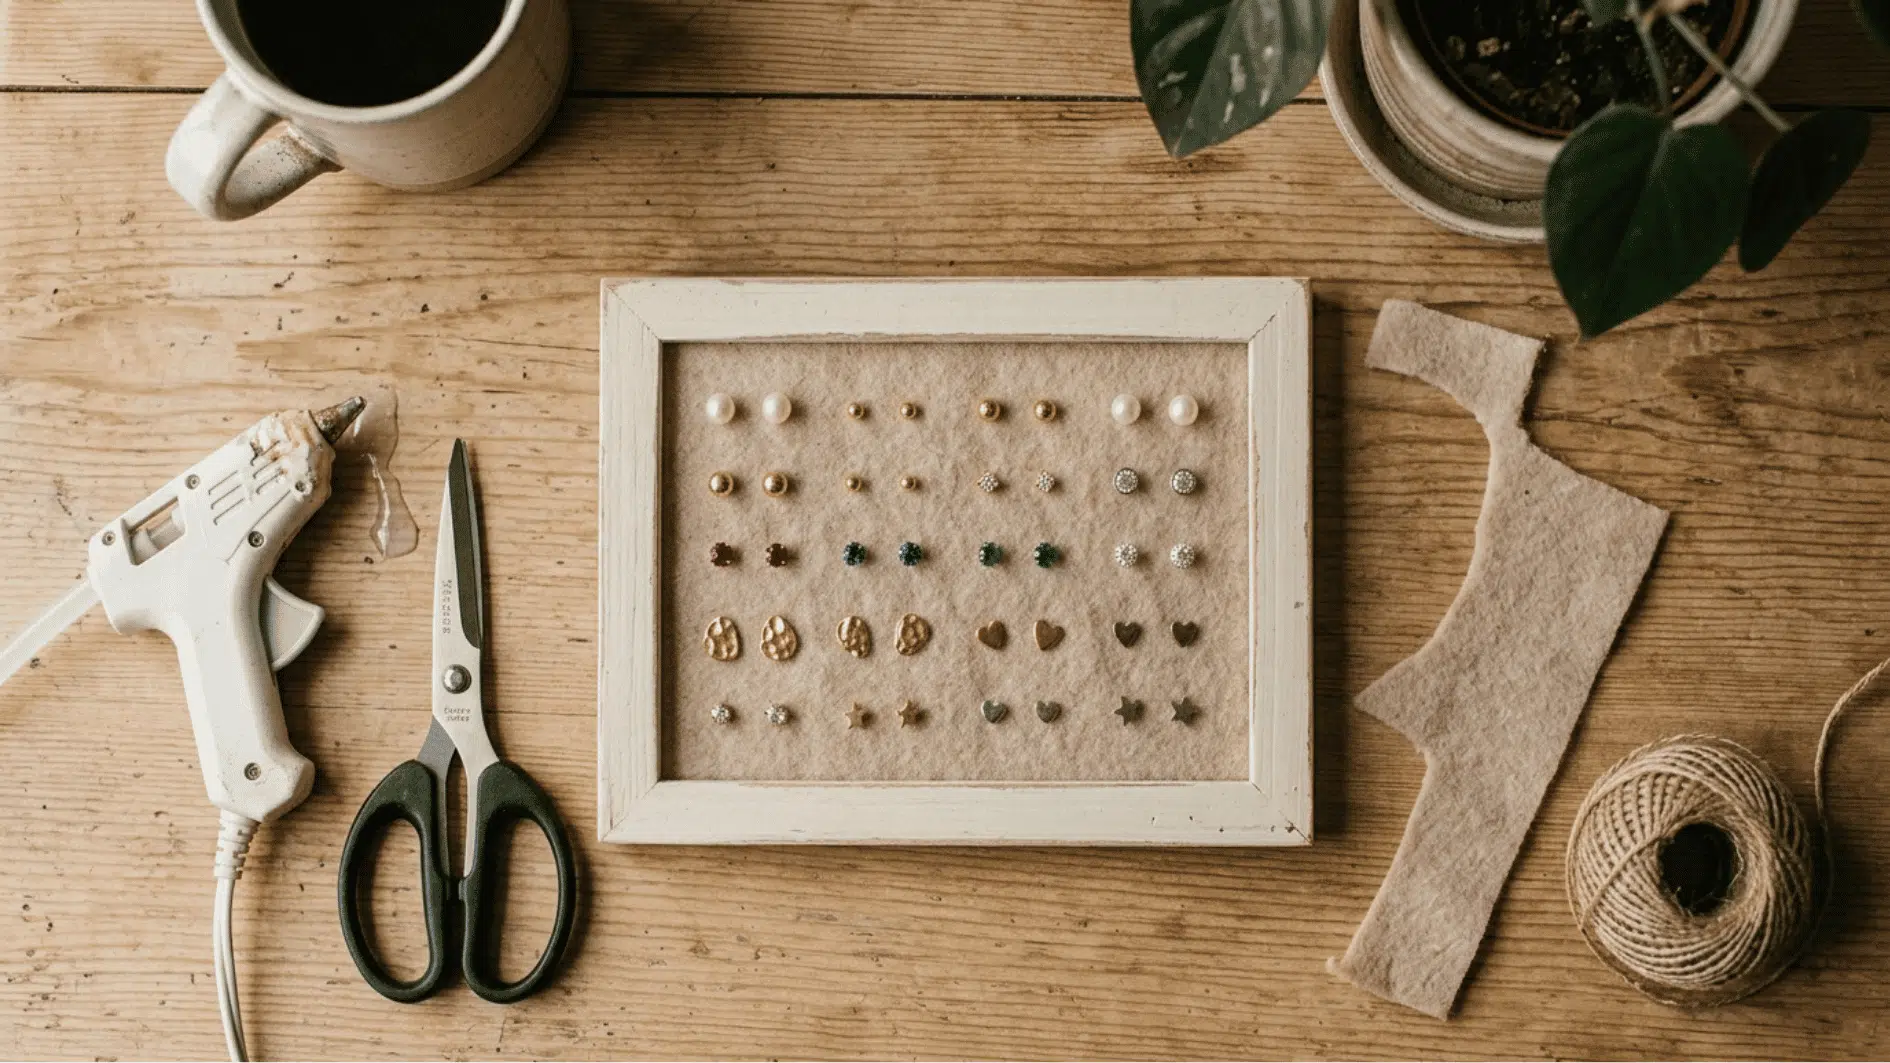
This design costs less than two dollars and avoids glass completely, keeping the project quick, lightweight, and easy to assemble. Without glass to cut, fit, or protect, it also reduces preparation time and makes the finished piece easier to handle.
| Material | Amount Needed |
|---|---|
| Dollar-store picture frame | 1, any small size |
| Felt scrap or packaging foam | Enough to cover the frame back |
| Hot glue gun and sticks | 1 gun, 1 stick |
| Scissors | 1 |
Steps:
- Remove the glass from the frame and set it aside.
- Cut felt or foam to match the frame back’s size.
- Glue the felt or foam flat against the cardboard backing.
- Let the glue set fully before pressing in any studs.
- Push stud posts straight into the felt or foam to store.
Which Idea Fits Your Collection?
Not sure which earring storage idea to try first? Pick the type of earring that fills your drawer. If studs make up most of your collection, the wine cork board or ice cube tray will sort them faster.
| Design | Best For | Cost | Time |
|---|---|---|---|
| Frame and mesh | Studs and dangles | $10-15 | 1 hour |
| Wall hooks | Dangles, large collections | $8-12 | 30 min |
| Wine cork board | Studs only | Free-$5 | 30 min |
| Embroidery hoop | Dangles, hoops | $5-10 | 45 min |
| Dowel and panel | Necklaces and earrings | $10-20 | 1 hour |
| Ice cube tray | Studs, no tools needed | Free-$3 | 5 min |
| Dollar store frame | Studs, small budget | Under $2 | 20 min |
Frequently Asked Questions
How Do You Organize Earrings without A Jewelry Box?
Hang them on a mesh frame, cork board, or row of small hooks mounted on a wall.
What Can I Use Instead of A Jewelry Organizer?
A picture frame, embroidery hoop, wine corks, or wooden dowels all work as stand-ins for these earring storage ideas.
How Do You Keep Stud Earrings from Getting Lost?
Press the posts into cork or foam, or sort them into an ice cube tray.
Can You Make an Earring Holder without Power Tools?
Yes, a hot glue gun and scissors handle most of these builds.
How Do You Store Earrings for Travel?
Roll studs into a felt strip or drop them into a small ice cube tray with a lid.