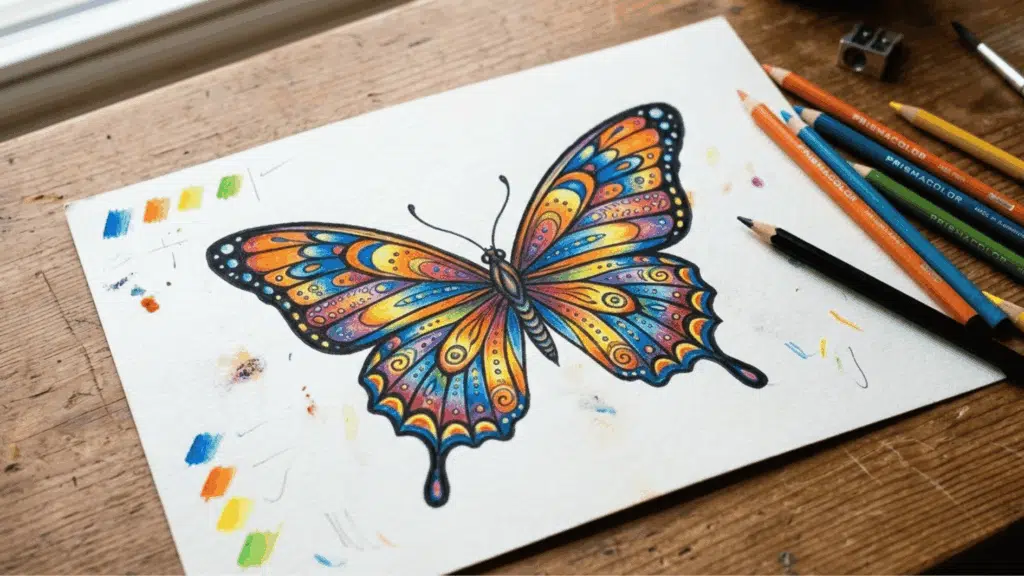
Butterflies are fun to draw because they look pretty, but they still start with very simple shapes.
If you want to learn how to draw a butterfly step by step, this blog will walk you through the whole process in an easy way.
Each step is beginner-friendly, so you do not need advanced drawing skills to follow along. By the end, you will have an easy to draw butterfly that you can color, shade, or turn into your own creative design.
Why Butterflies Are Perfect for Beginner Artists
Butterflies are perfect for beginner artists because they start with simple shapes. The body is small, the wings are easy to outline, and both sides usually follow the same pattern, which is exactly why they show up so often in pencil drawing ideas guide content built around practicing symmetry.
They also leave plenty of room for creativity. Once the basic shape is ready, you can add dots, lines, colors, and patterns without worrying about making it look exactly perfect.
Even if your first sketch isn’t symmetrical, it will still look beautiful with a few finishing details. As your confidence grows, you can experiment with different butterfly species, wing shapes, and decorative designs.
Basic Anatomy of a Butterfly
A butterfly has three main body sections called the head, thorax, and abdomen. Each part has a specific role and can be drawn using simple shapes.
- Head: Contains two compound eyes, a coiled proboscis for drinking nectar, and a pair of antennae.
- Thorax: The middle body section where all six legs and four wings are attached.
- Abdomen: The long lower section that contains most of the butterfly’s internal organs.
- Forewings: The larger upper pair of wings that helps the butterfly fly and steer.
- Hindwings: The lower pair of wings that provides balance and support during flight.
- Antennae: Two thin sensory feelers used for balance, smell, and navigation.
- Legs: Six jointed legs used for walking, landing, holding onto plants, and tasting surfaces.
- Proboscis: A long, tube-like mouthpart that uncoils when the butterfly drinks nectar.
How to Draw a Butterfly Step by Step
Learning how to draw a butterfly step by step becomes much easier when you complete each part one at a time. Focus on the overall shape first, then add details as you go.
Step 1: Draw the Butterfly’s Body
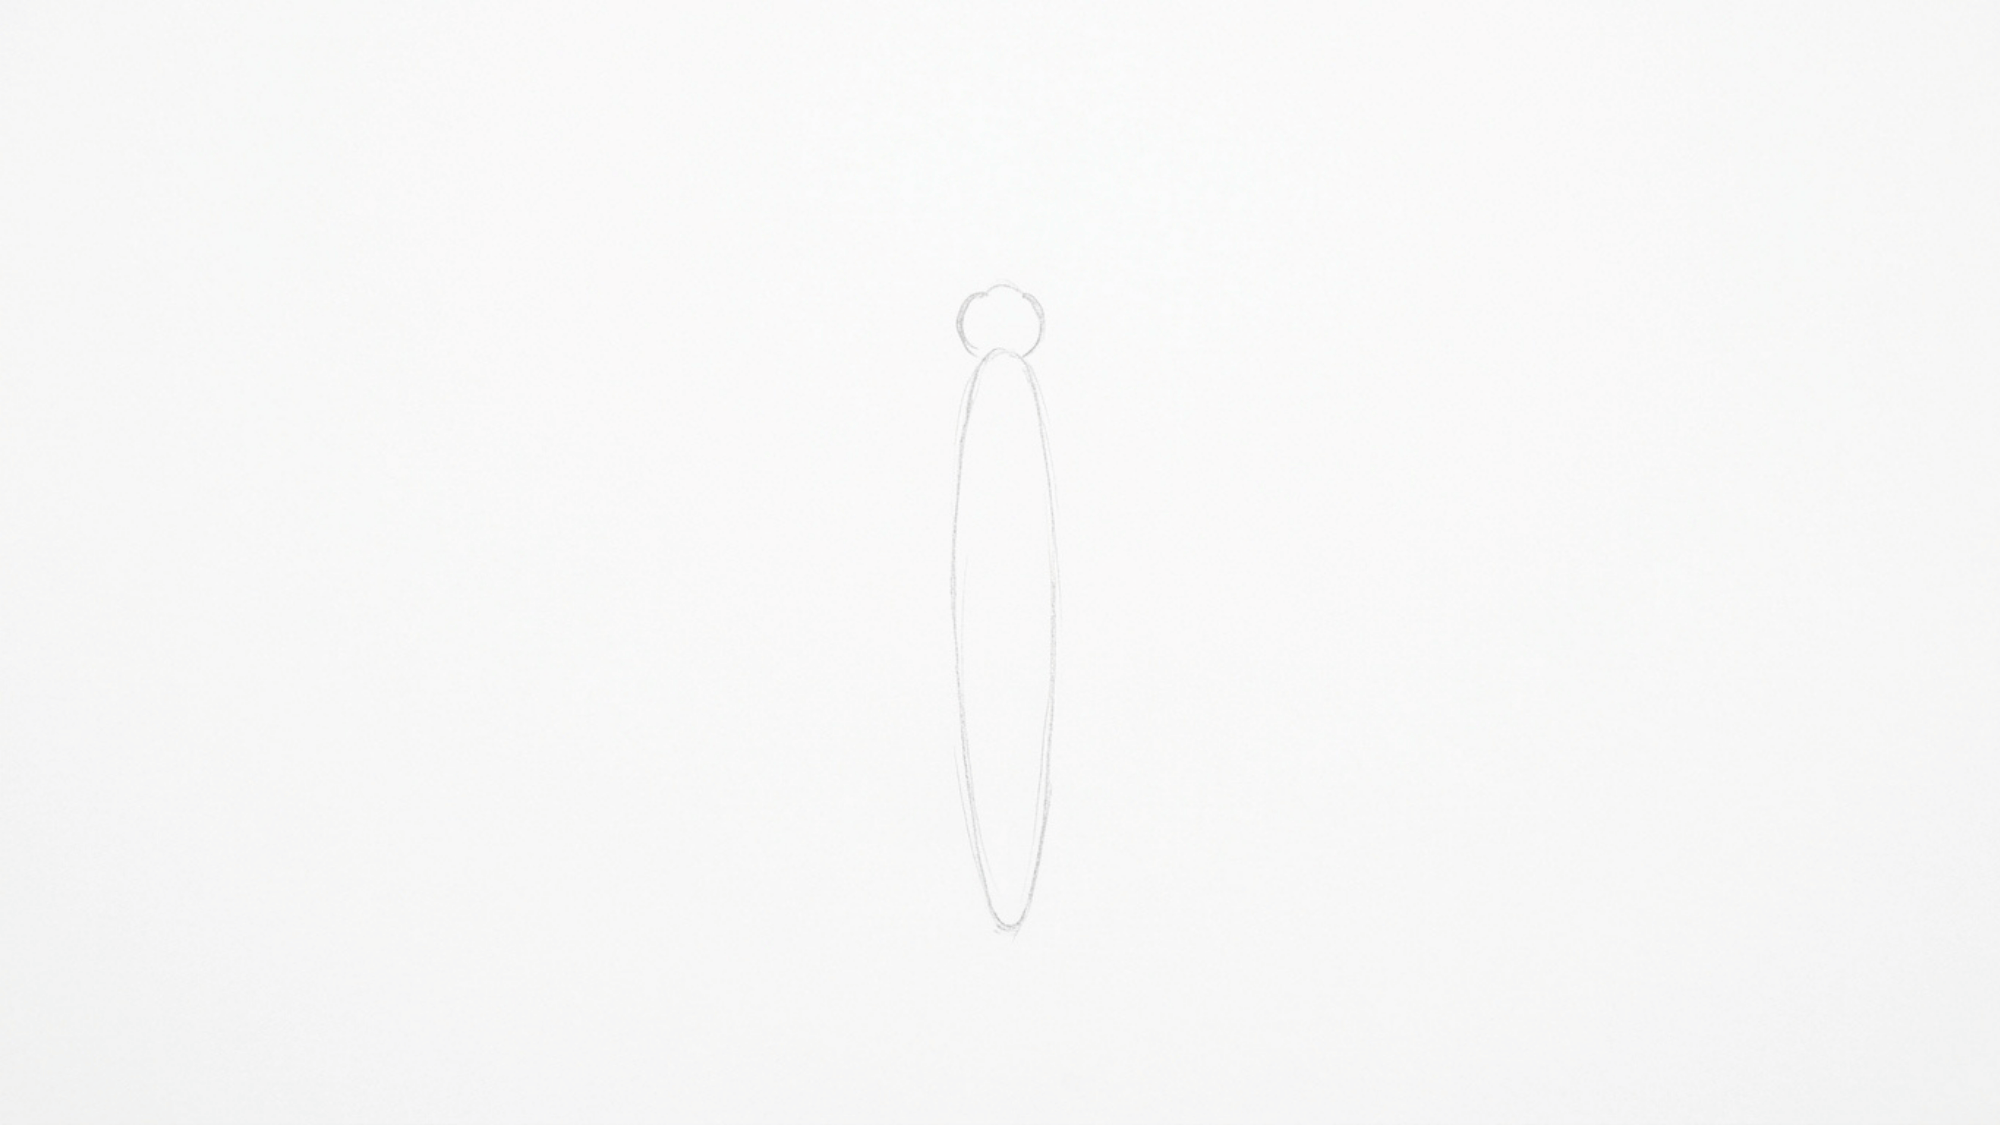
Start with a long, thin oval in the center of your paper for the body. Draw a small circle on top for the head. Keep the shapes light so you can erase and adjust them if needed.
Tip: Use light pencil strokes so you can easily erase, resize, or adjust the shapes before adding darker outlines.
Step 2: Sketch the Upper Wings
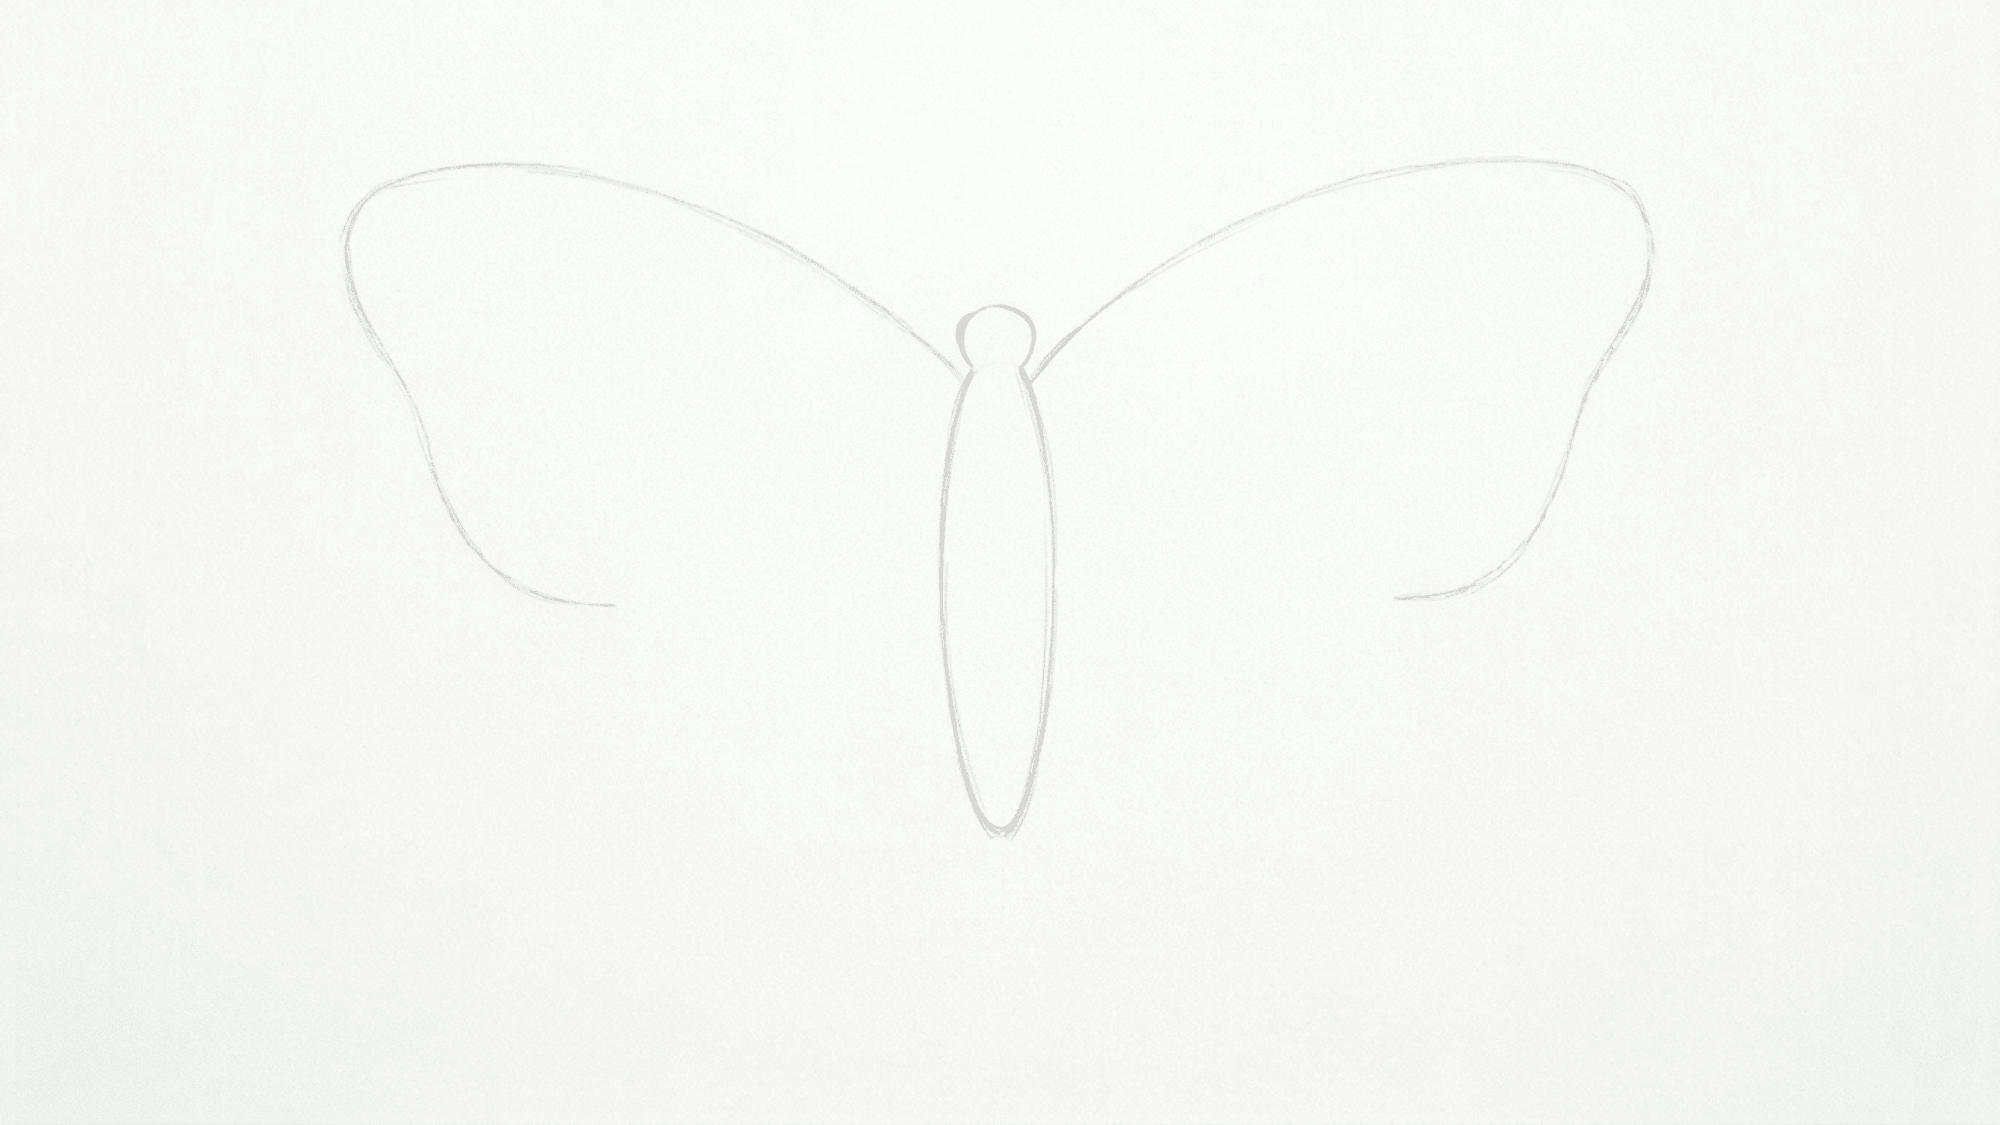
Draw one large rounded wing on each side of the body. Try to keep both wings close in size. They do not have to match perfectly because real butterflies are never perfectly even.
Curve the wings gently outward so they look soft and natural. Keep your pencil strokes light, so you can adjust the shape before darkening the final outline.
Step 3: Add the Lower Wings
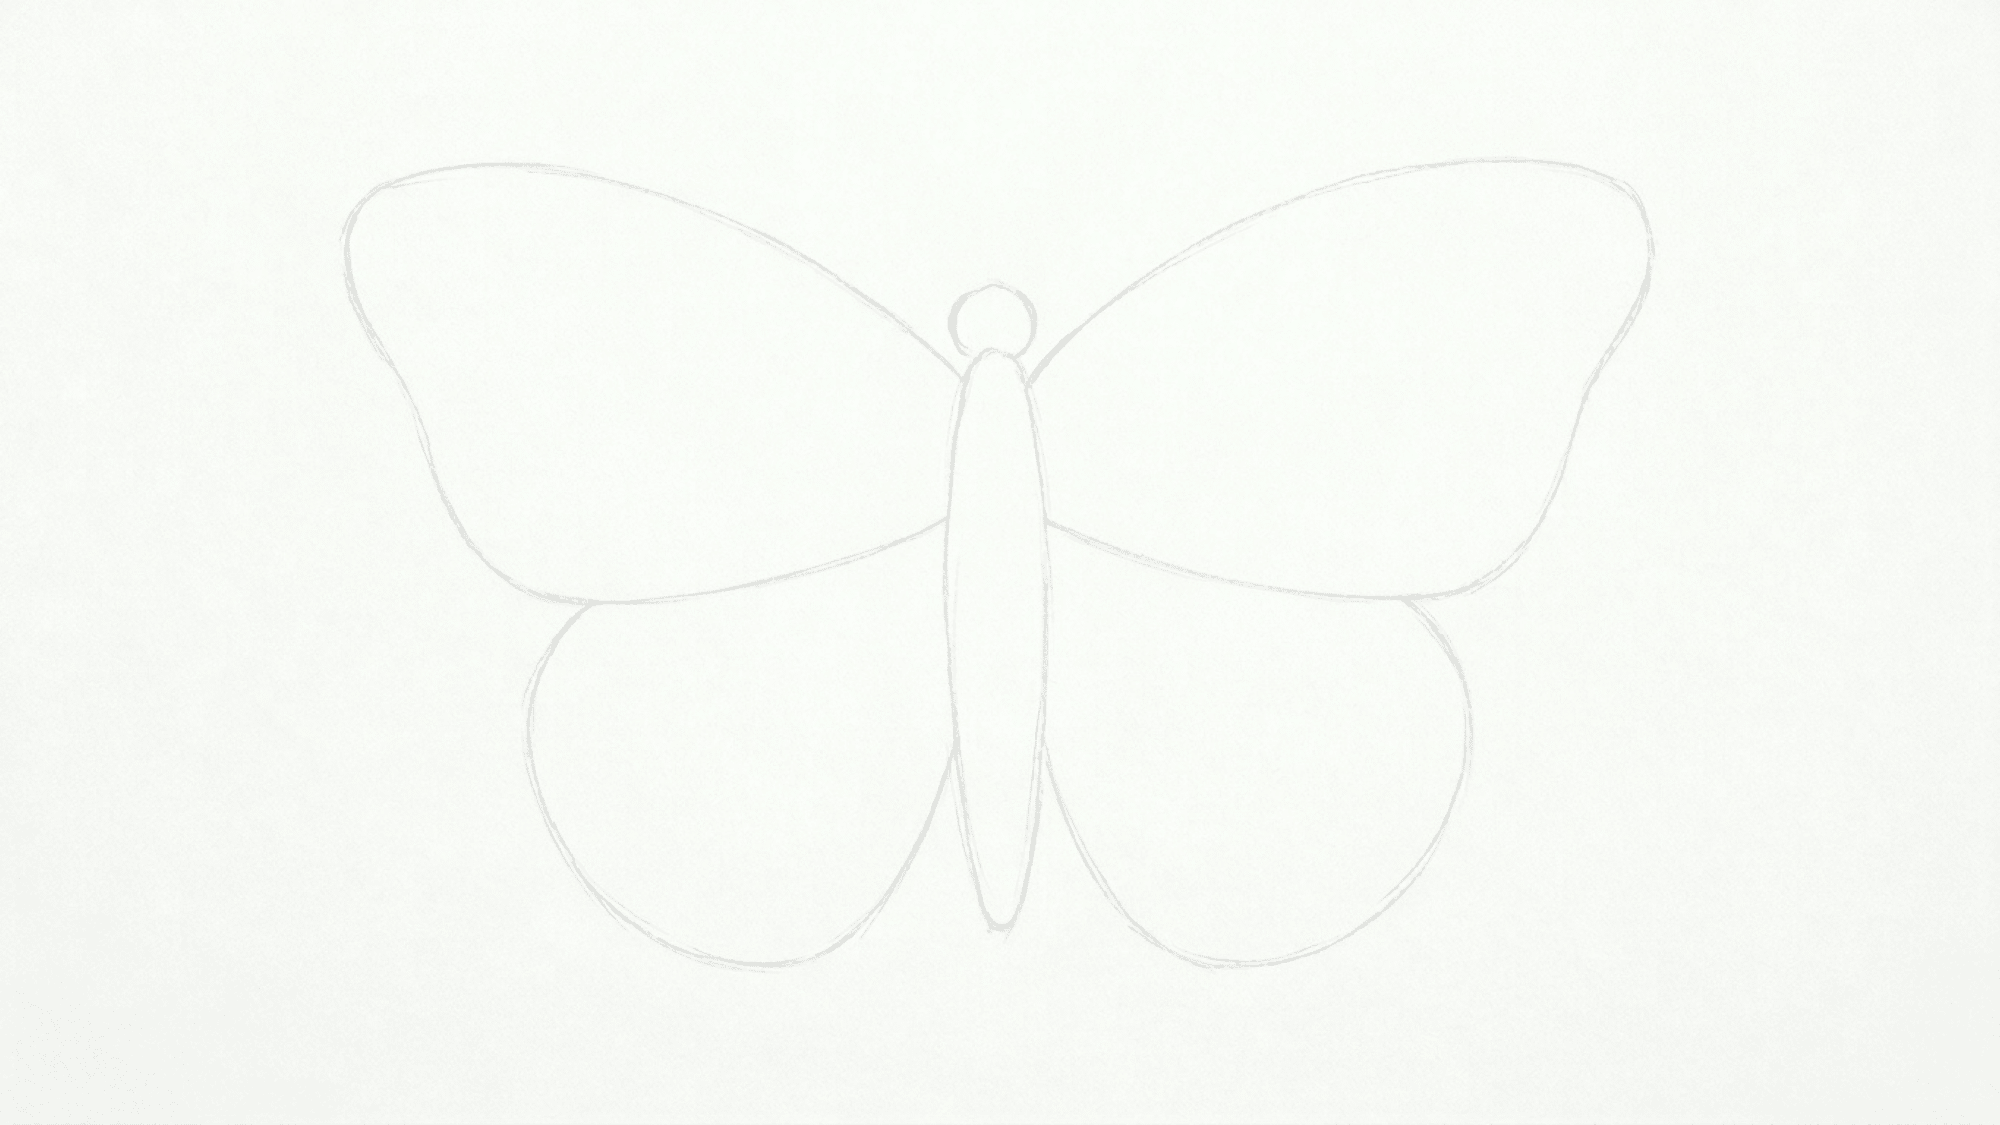
Under each upper wing, draw a smaller rounded shape that connects smoothly to the body.
The lower wings should be shorter and slightly wider near the bottom, giving your easy to draw butterfly a balanced look.
Step 4: Draw the Antennae
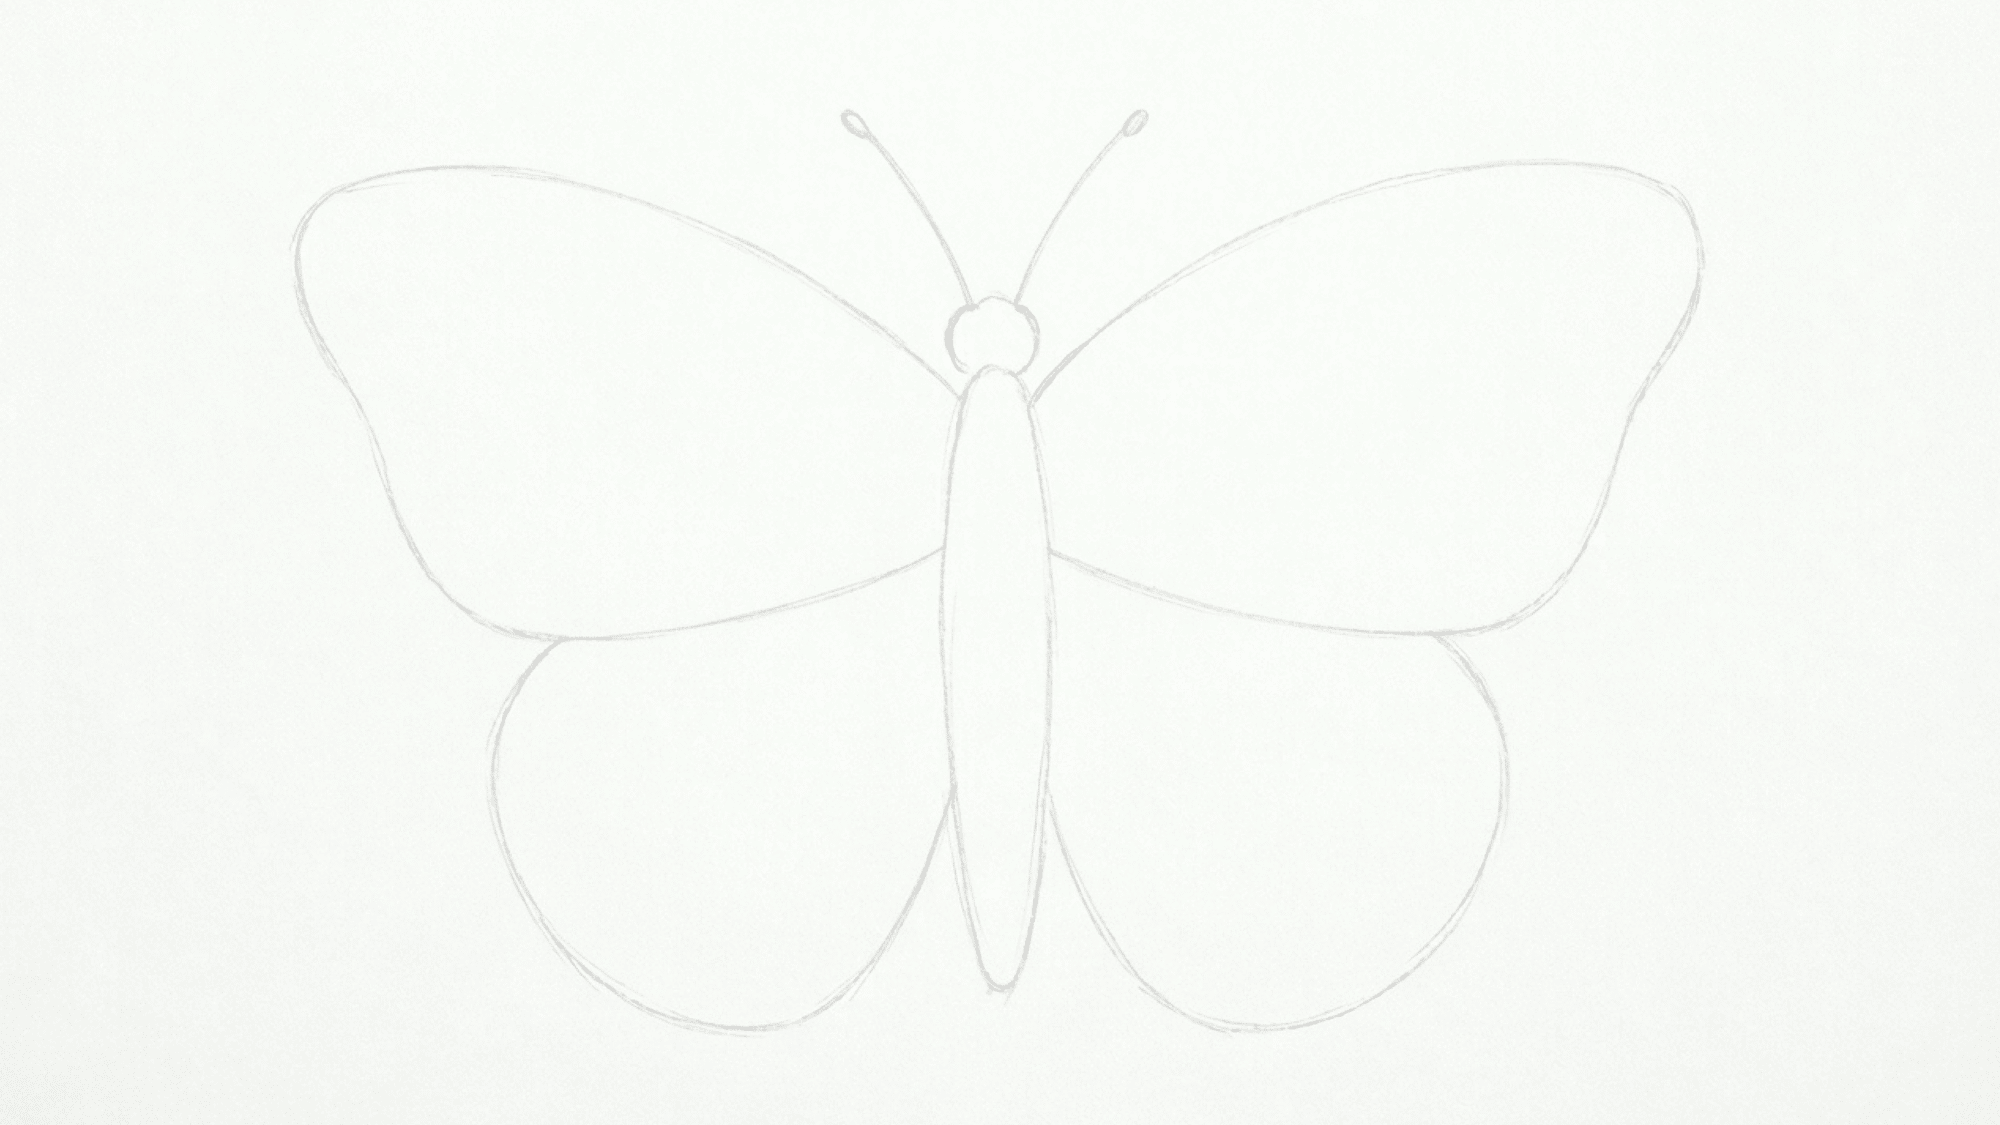
From the top of the head, draw two thin curved lines. Finish each antenna with a tiny rounded tip. This small detail helps the butterfly look complete.
Step 5: Add Wing Patterns
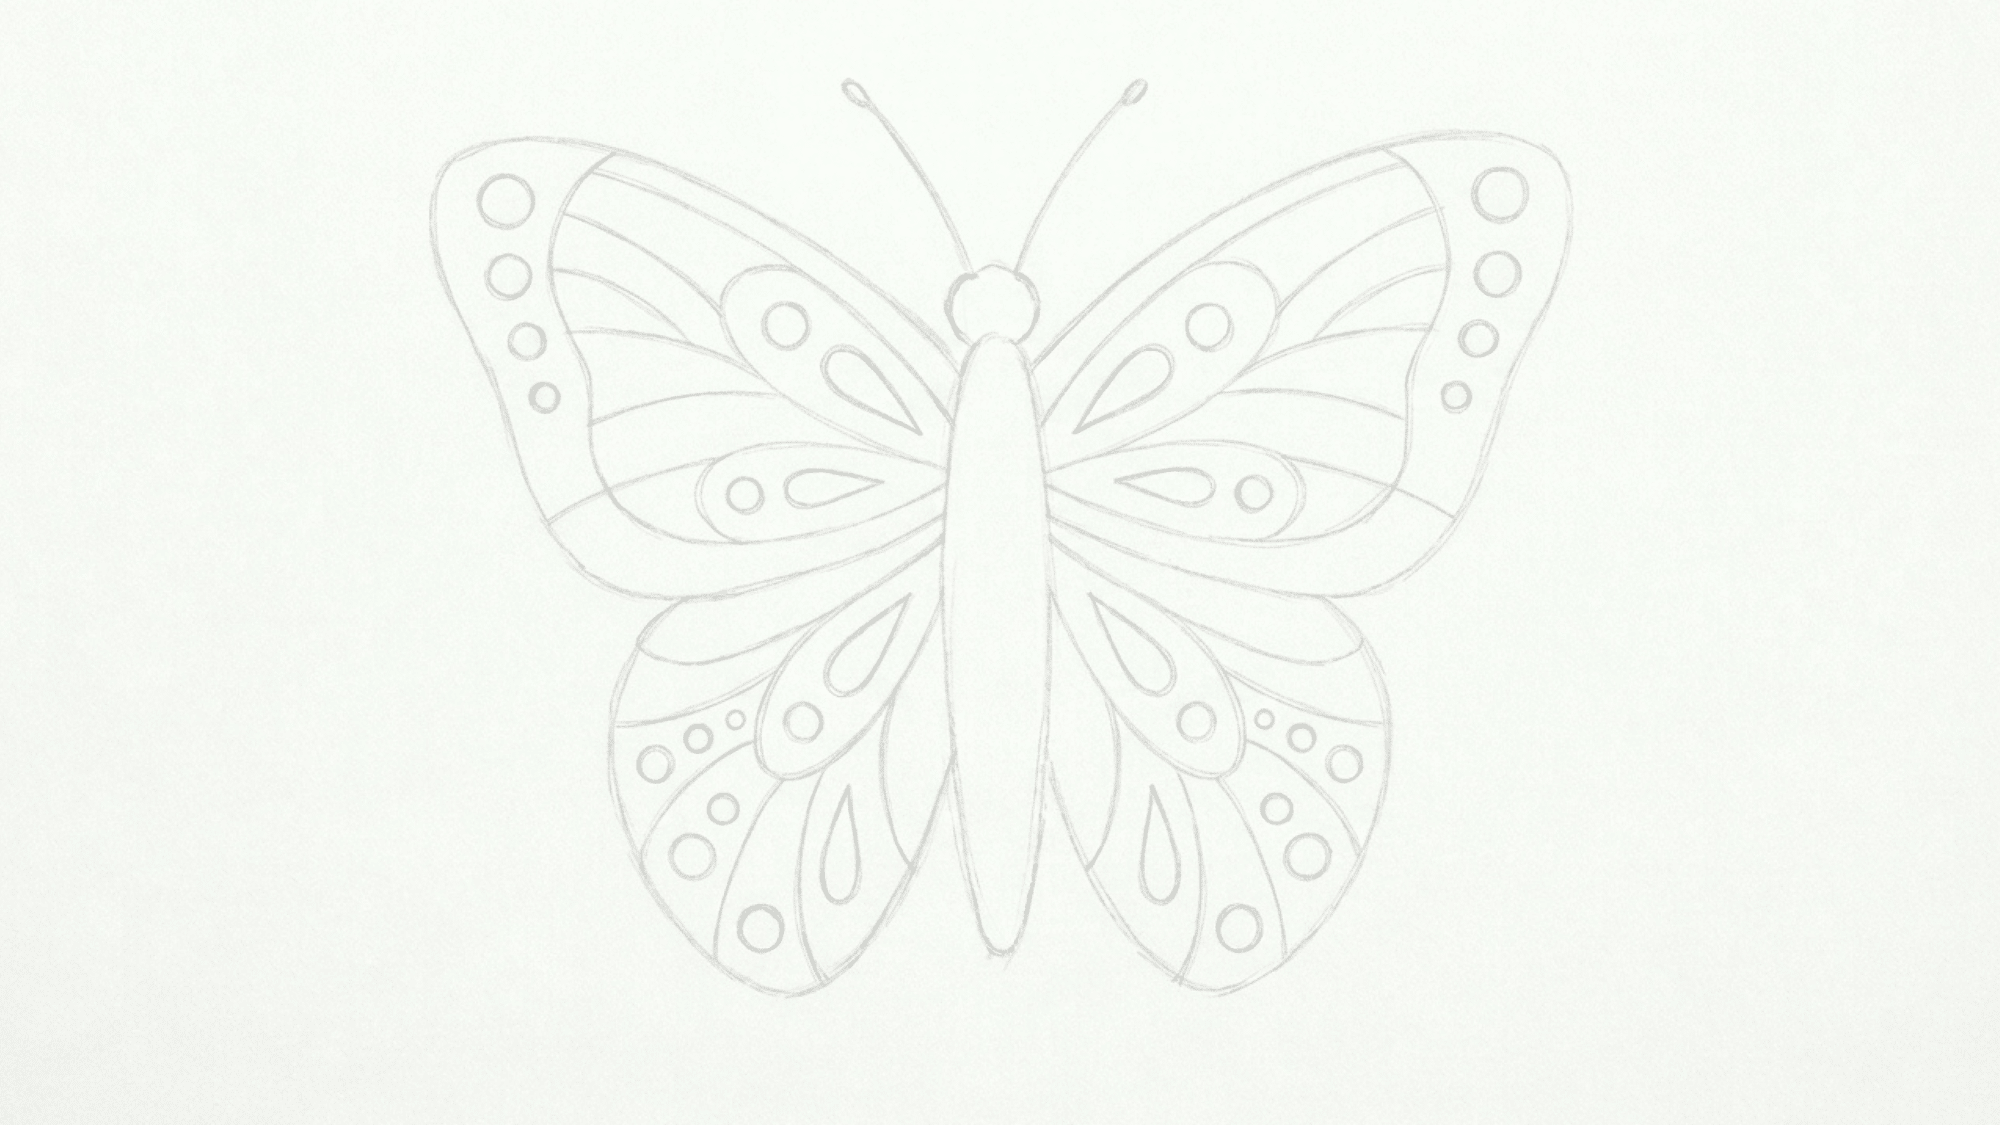
Inside each wing, draw simple curved sections, circles, or teardrop shapes. Keep the design the same on both sides as much as possible, and try a continuous line drawing style; it can give the patterns a looser, more natural feel.
Simple patterns often look cleaner than very busy ones when learning how to draw a butterfly step by step.
Step 6: Trace, Erase, and Color
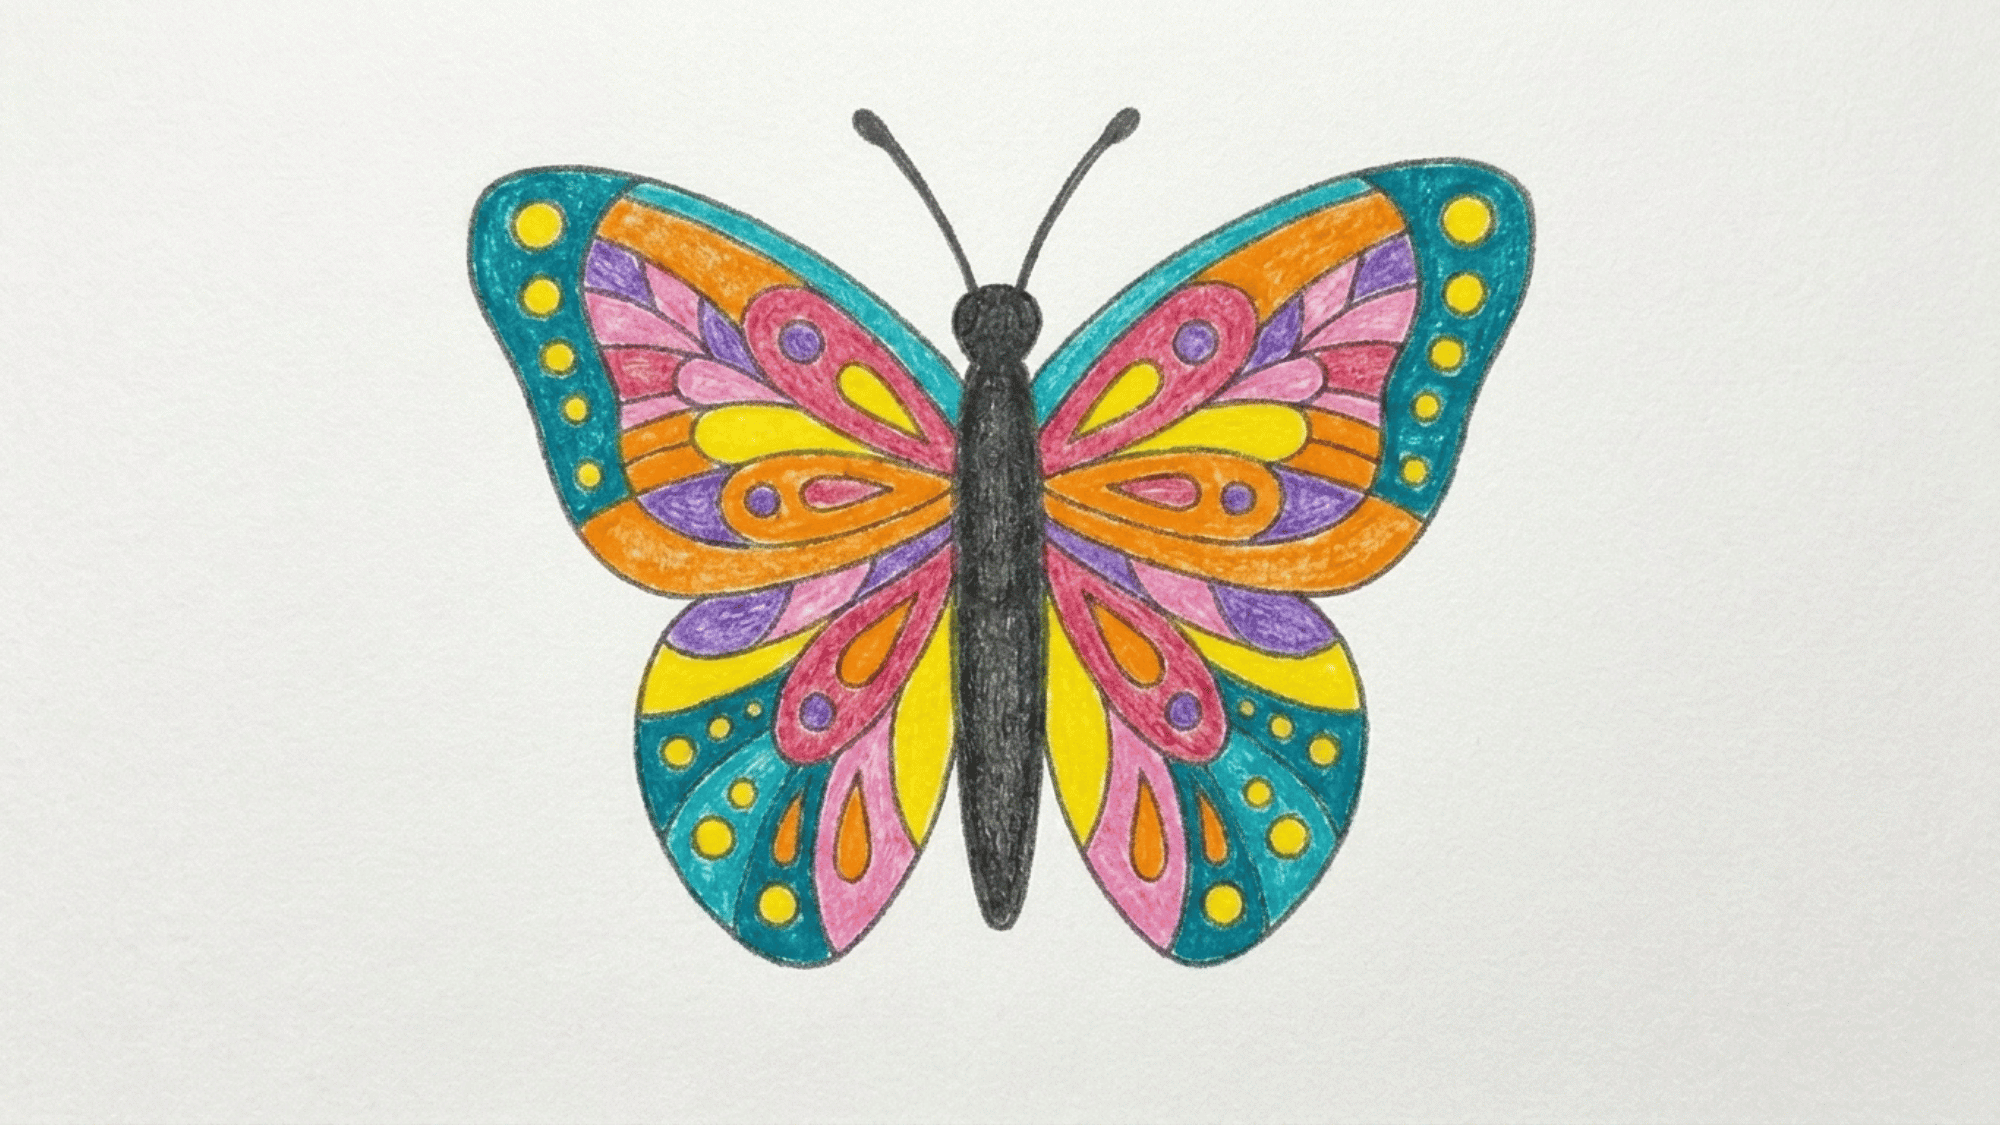
Erase any extra sketch lines and trace the final outline with a darker pencil or pen. Color the wings in bright shades such as orange, blue, yellow, purple, or pink.
Easy Butterfly Drawing Ideas to Try Next
Once you finish one butterfly, try changing the style to build your drawing skills.
Each new version helps you become more confident while creating another easy to draw butterfly, and browsing more sketchbook drawing inspiration ideas can help you land on a new variation to try.
Cartoon Butterfly With Large Eyes
Draw a small butterfly with soft, rounded wings and a tiny body. Give it large, friendly eyes, curved antennae, and a cheerful smile. Decorate both wings with easy shapes such as hearts, circles, or little stars.
Keep the lines thick and the open spaces wide so beginners can color the picture easily.
Monarch Butterfly
Draw the butterfly with broad orange wings outlined by thick black borders.
Add small white dots along the dark outer edges to create the familiar monarch look. Use smooth, curved black lines to divide the wings into simple sections.
Keep the pattern balanced on both sides so the butterfly looks neat and easy to color.
Swallowtail Butterfly
Draw the butterfly with long, elegant wings that end in pointed, tail-like tips.
Keep the body narrow and add gently curved antennae above the head. Decorate the wings with soft lines, small spots, or simple teardrop shapes. Make both sides even to give the butterfly a balanced and graceful appearance.
Butterfly Sitting on a Flower
Draw a butterfly resting lightly in the center of a simple flower. Keep its wings partly open to show that it has just finished fluttering down. Add curved lines and easy patterns inside the wings, such as dots or small loops.
Include a few rounded petals, a stem, and two leaves to complete the peaceful garden scene, similar to the setups found in these flower garden drawing ideas.
Flying Butterfly With Open Wings
Draw the butterfly with both wings fully open as it flies through the air. Add smooth, curved lines along the wings to create a soft and graceful shape.
Include simple patterns such as circles, swirls, or spots inside each wing. Tilt the butterfly slightly upward to make it appear as though it is gently fluttering through the sky.
Conclusion
Learning how to draw a butterfly step by step does not have to feel difficult. When you break the drawing into six small stages, the whole process feels easier and less confusing.
Do not worry if both wings are not perfectly the same. A slightly uneven shape can still look sweet, and it often makes your drawing feel more natural.
With regular practice, creating an easy to draw butterfly will become quicker, cleaner, and more fun.
You can also try new colors, wing shapes, and patterns as your confidence grows, or skip straight to coloring with these butterfly coloring pages printable if you’d rather focus on color first.