Feet are one of the hardest parts of the human body to draw. Most beginners either skip them or settle for something that looks off without knowing why.
The proportions of a foot are often difficult to determine, and the angles shift depending on the view.
This blog breaks it all down into clear steps, no anatomy degree required. Each step builds on the last, so by the time you reach the toes and shading, the foundation is already solid. By the end, you will know how to draw a foot.
Understanding the Basic Structure of A Foot
Before drawing details, it helps to understand how a foot is built. Instead of thinking of it as one complex shape, break it into a few simple forms that connect naturally.
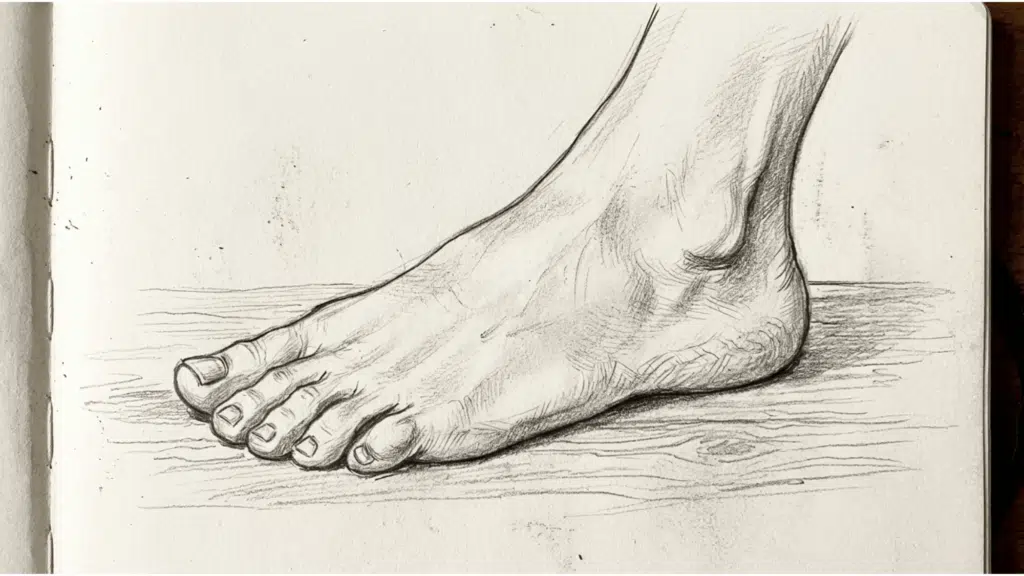
The heel, arch, ball of the foot, and toes each have a clear role in the overall shape. Once you recognize these landmarks, it becomes much easier to draw feet from different angles without getting lost in the details.
The foot is also not completely flat. It has natural curves and weight-bearing areas that affect its outline and the way light and shadows fall across it.
Keeping these features in mind will make your sketches look more balanced and realistic from the very beginning.
How to Draw a Foot
Drawing a foot might look difficult, but this easy foot drawing method can help you build the shape step by step. If you follow the given steps slowly, you can draw a nearly perfect one quite fast.
Step 1: Start with A Simple Shape
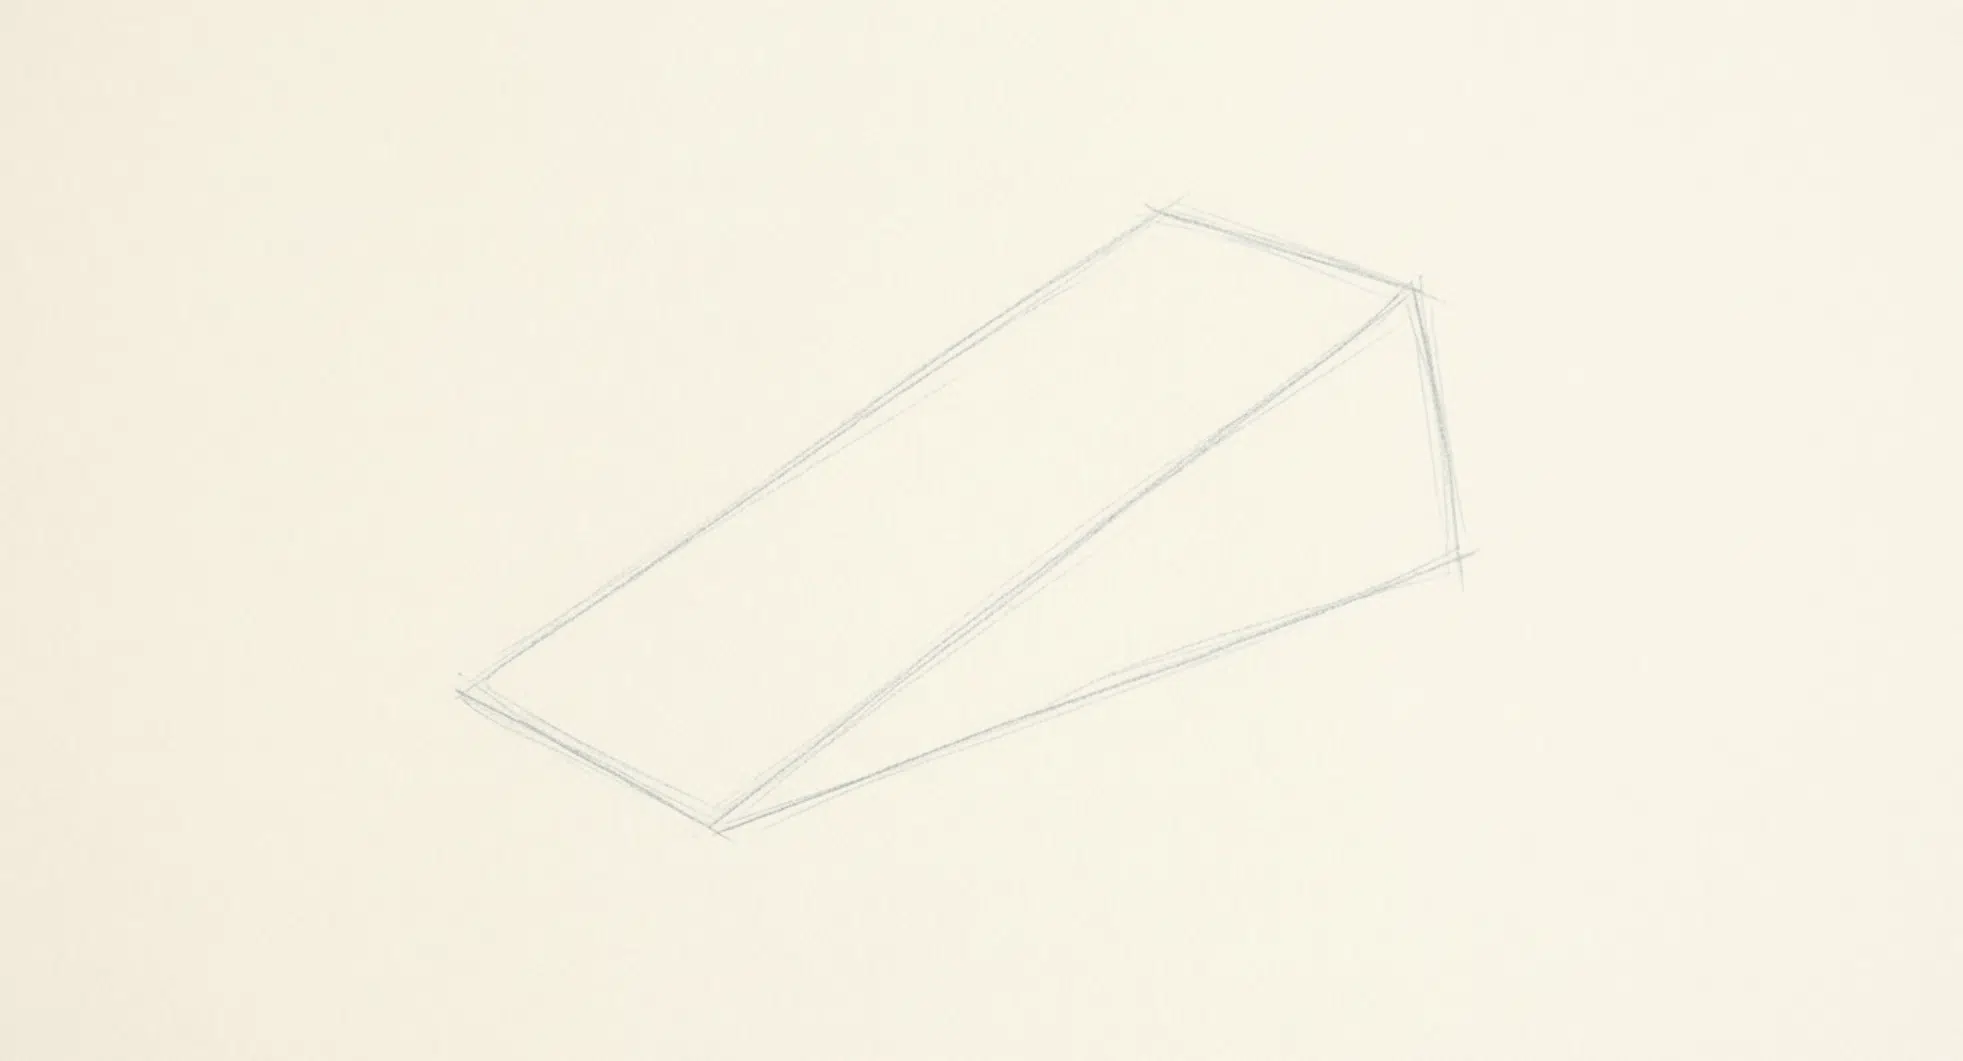
Begin by sketching the overall outline instead of focusing on individual features. Draw a wedge-like shape that is slightly wider at the front and narrower at the heel.
Tilt it gently, as feet naturally rest at a slight angle rather than lying perfectly flat. Keep your lines light so you can adjust the shape as you build the drawing.
Step 2: Add the Heel
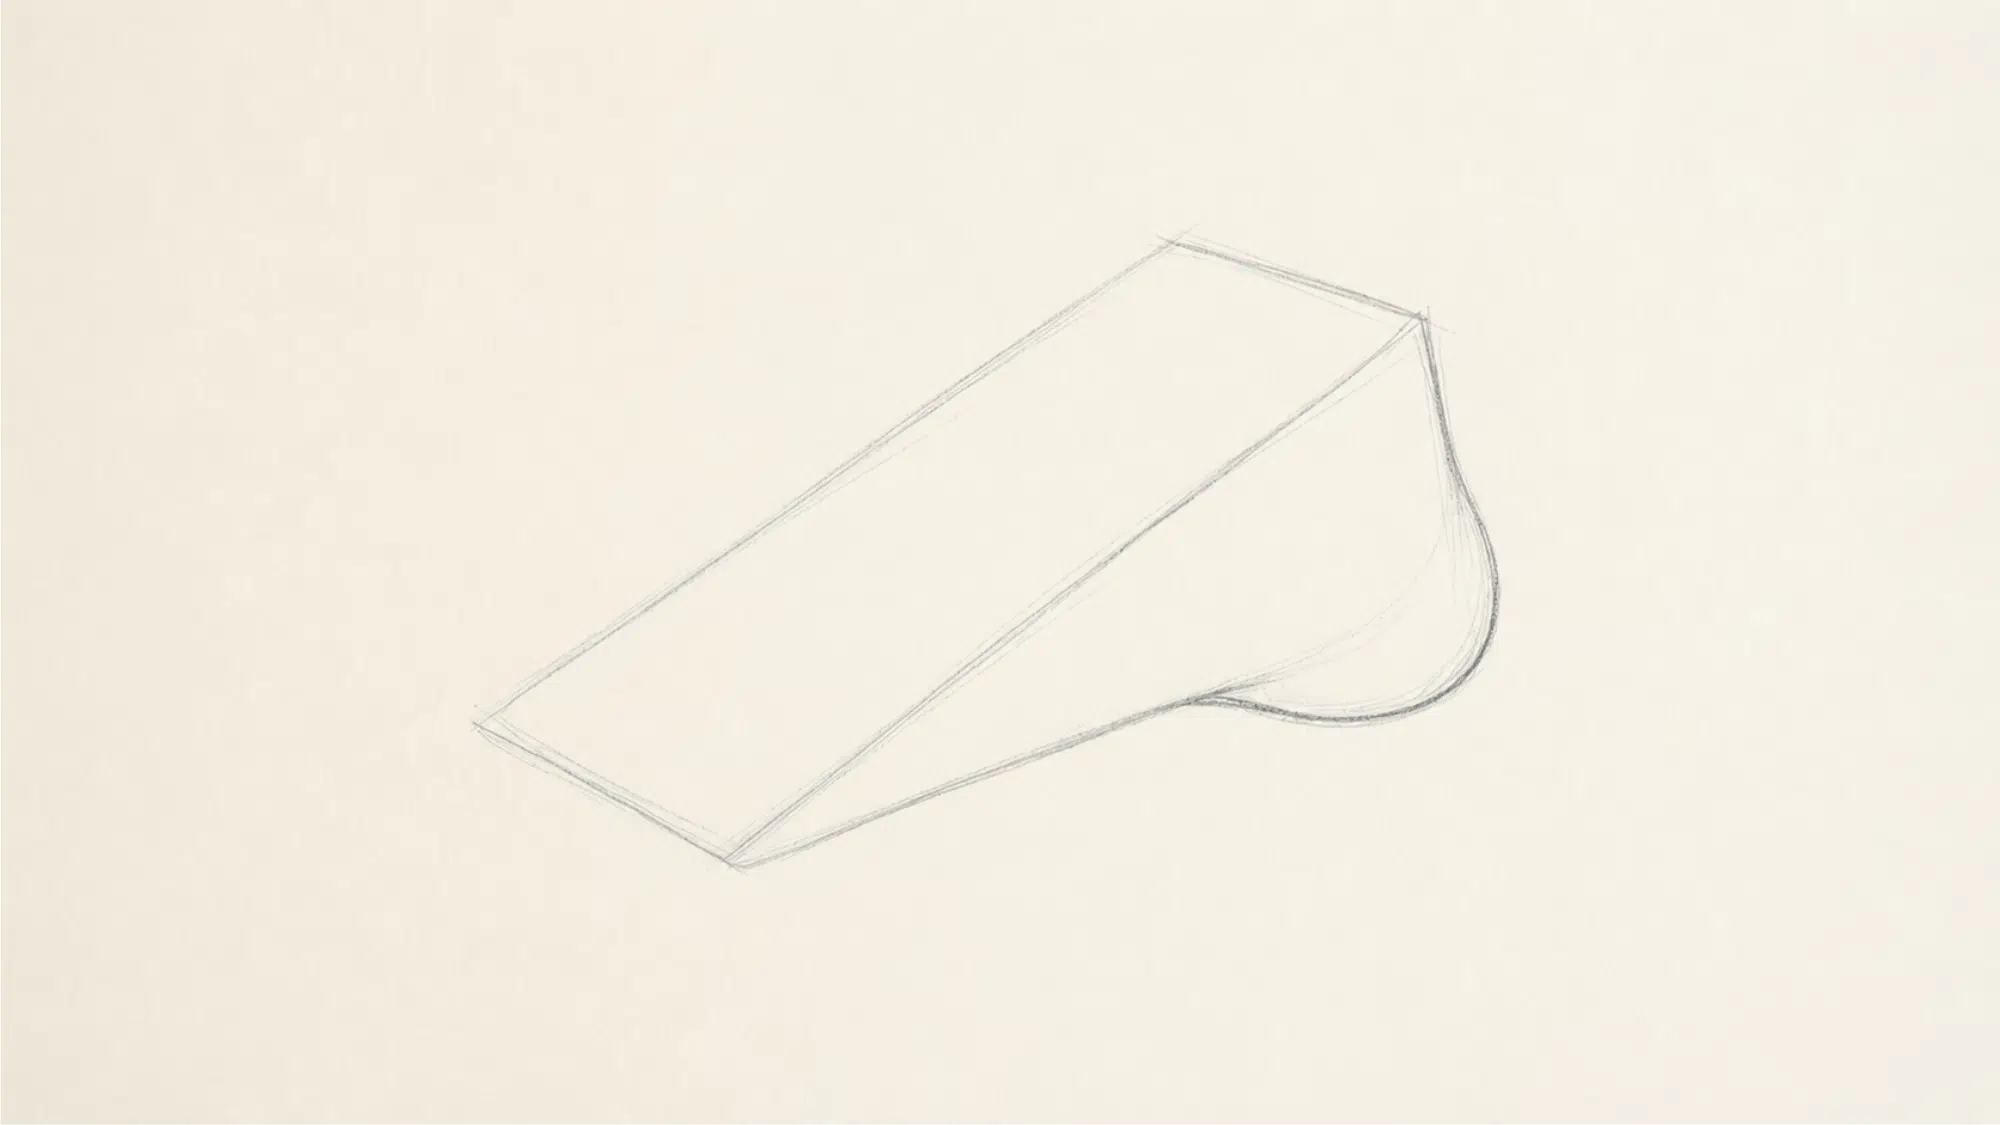
Round out the back of your guide shape to create the heel. Give it a soft, curved form that blends naturally into the sole instead of ending abruptly.
At this stage, avoid adding details and focus only on creating a smooth transition between the heel and the rest of the foot.
Step 3: Draw the Arch
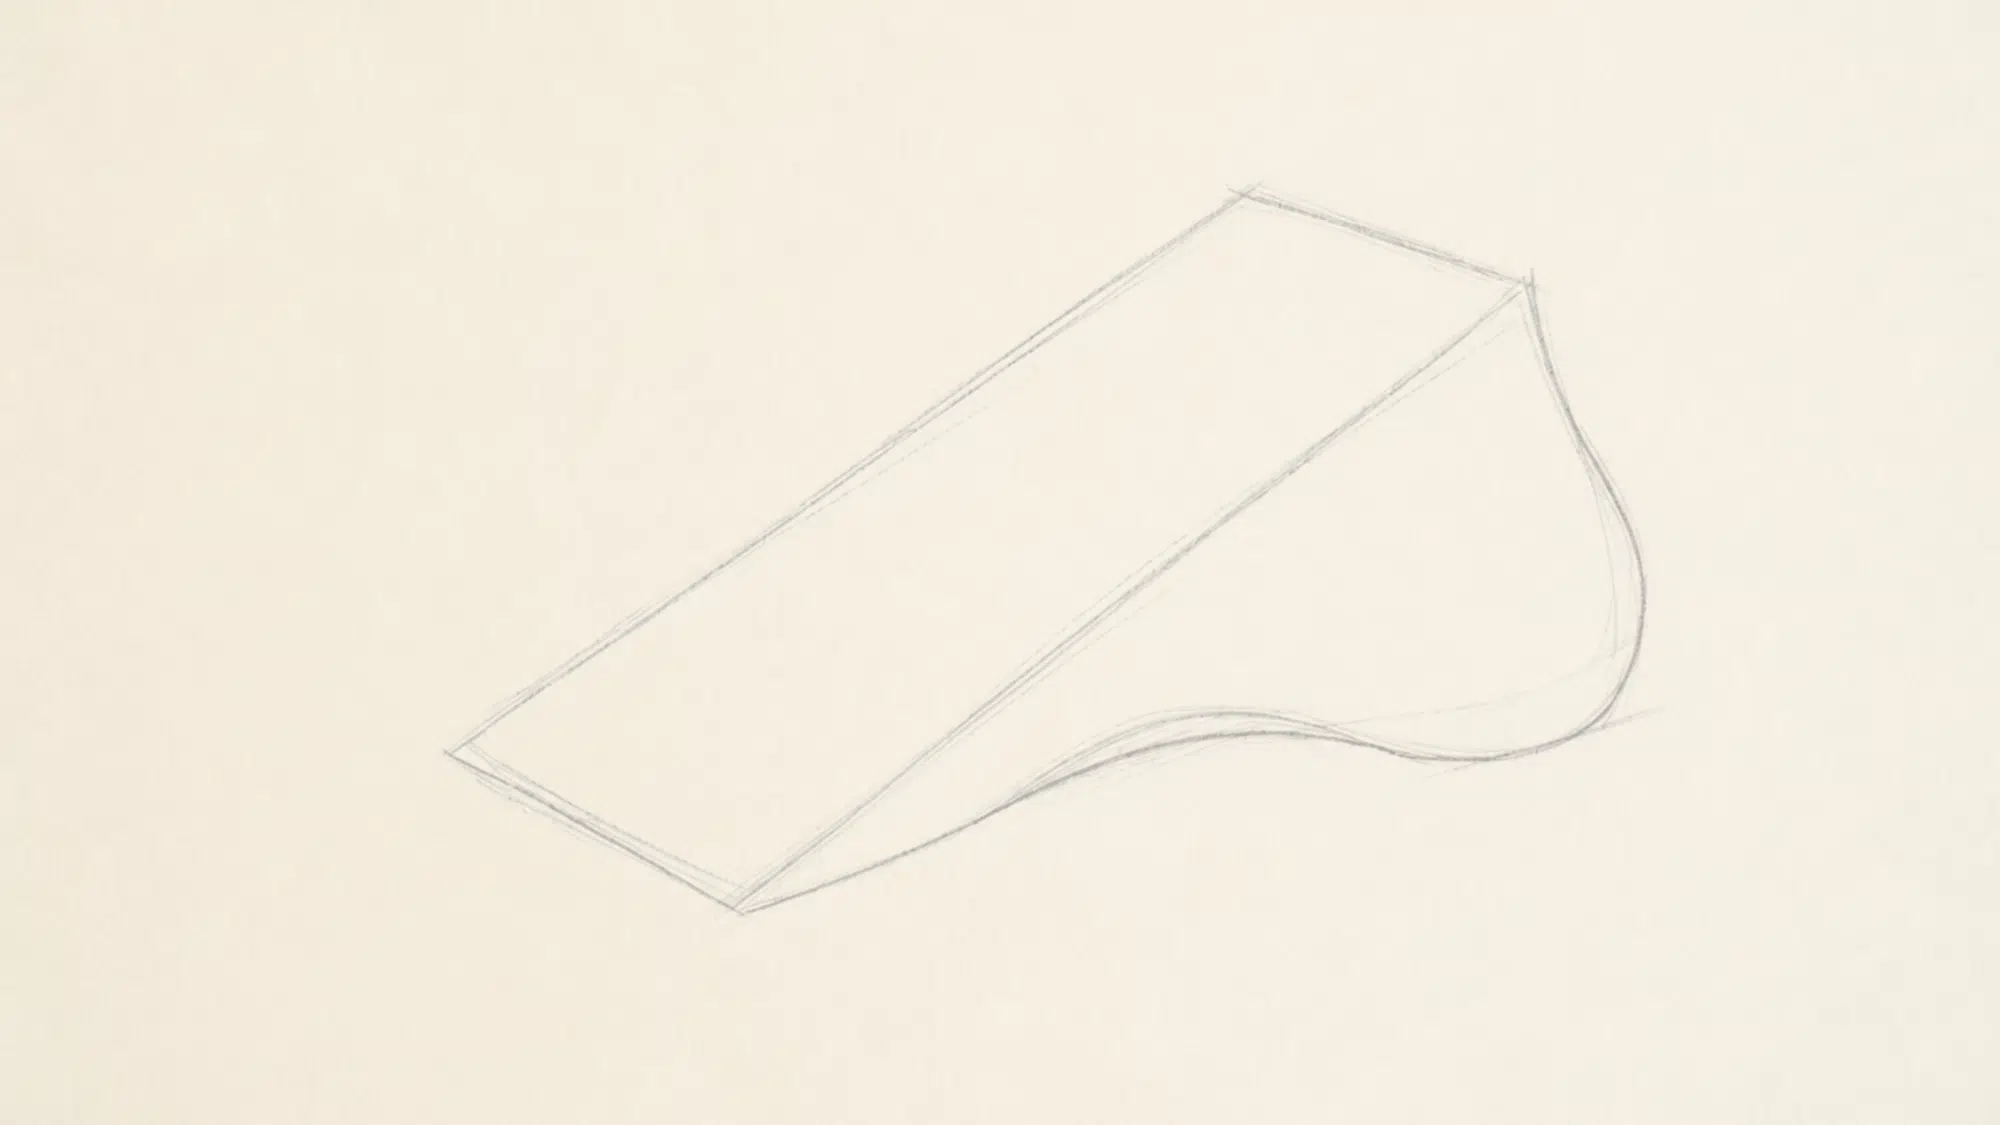
Next, define the foot’s profile by adding the arch along the inner edge. Let this line curve upward gently before flowing into the ball of the foot, while the outer edge remains more gradual.
This single adjustment gives the foot a more natural and realistic appearance without adding complexity.
Step 4: Sketch the Toes
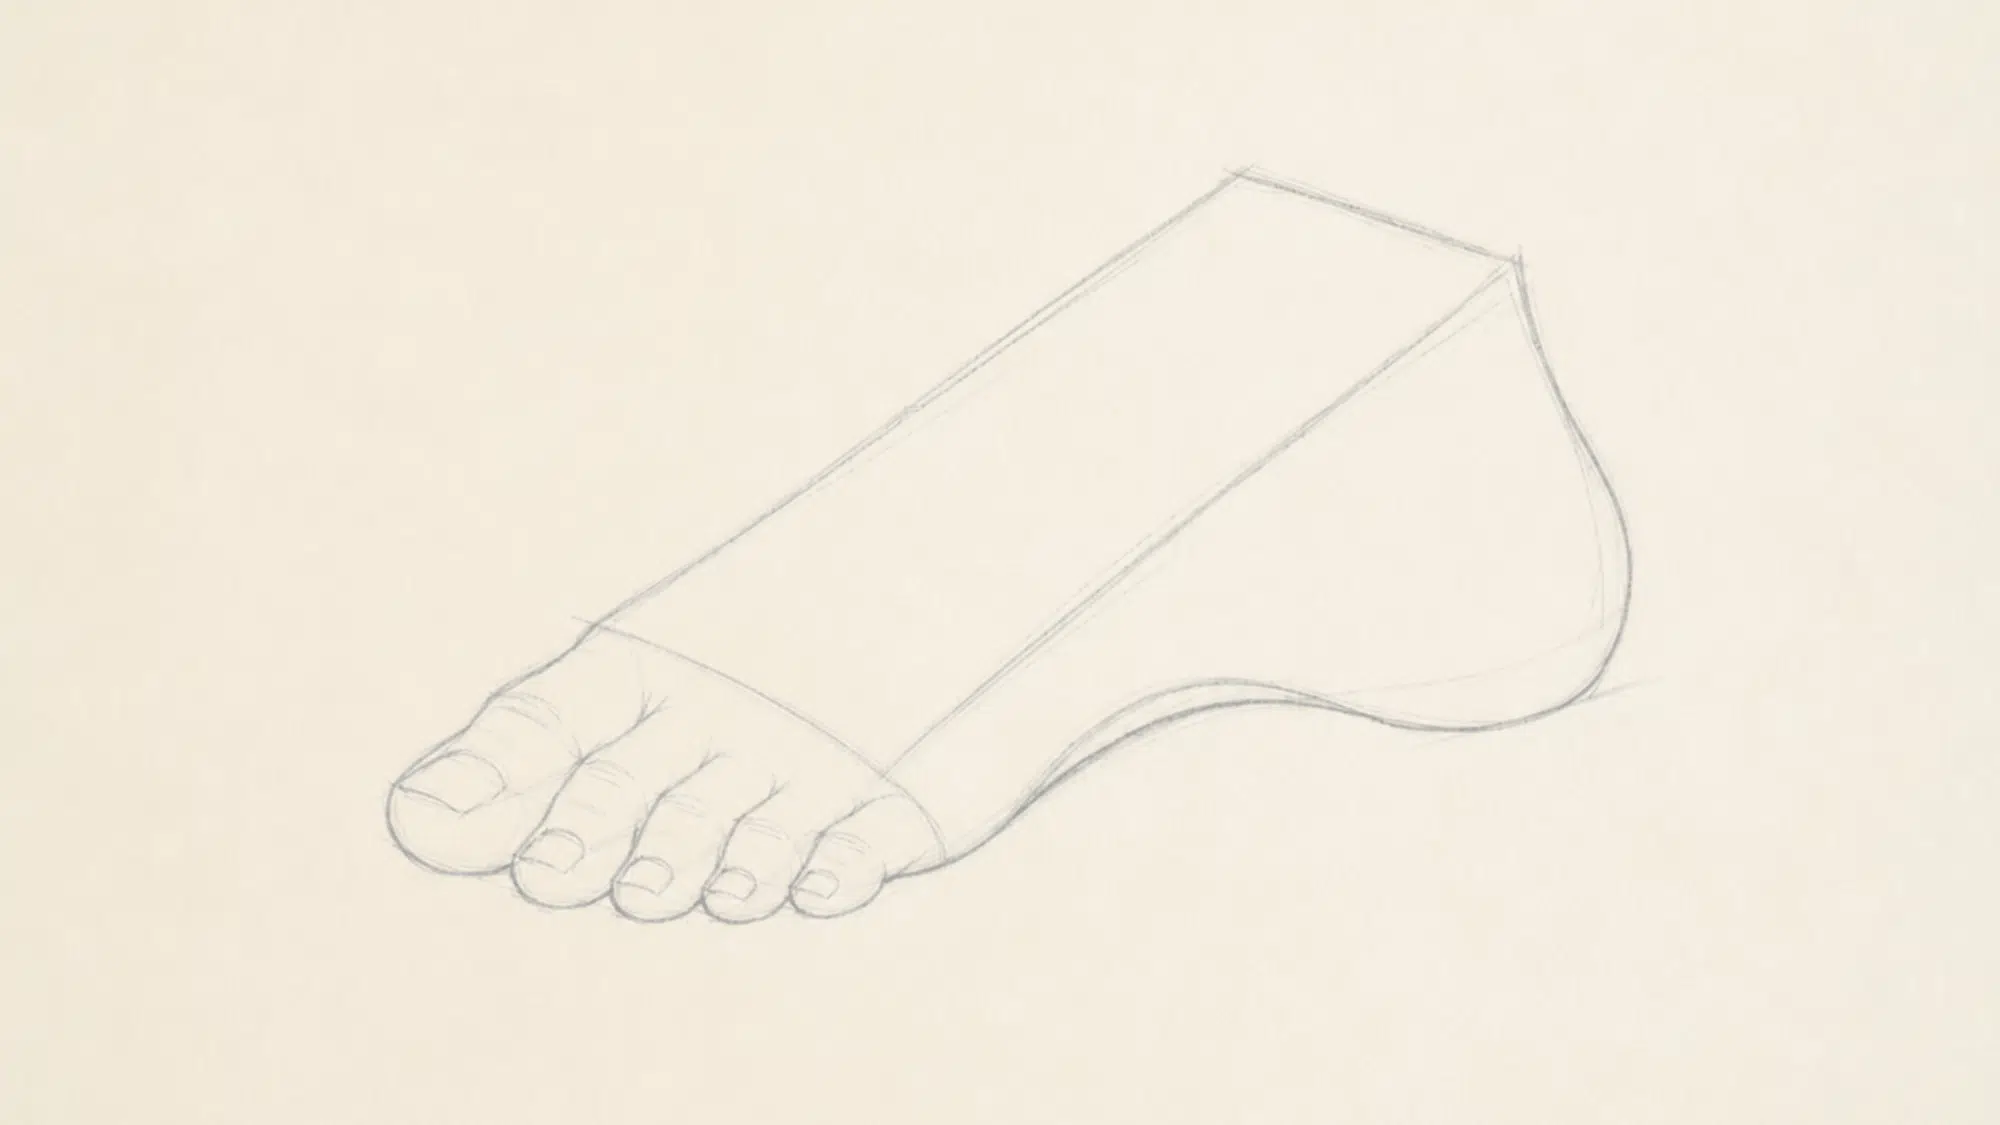
Draw a light curved guideline across the front of the foot, then place the toes along it. Start with the big toe and gradually add the remaining toes, following the natural curve of the foot.
Keep the shapes simple at first, then round them slightly so they feel connected to the front of the foot.
Step 5: Refine the Drawing and Add Shading
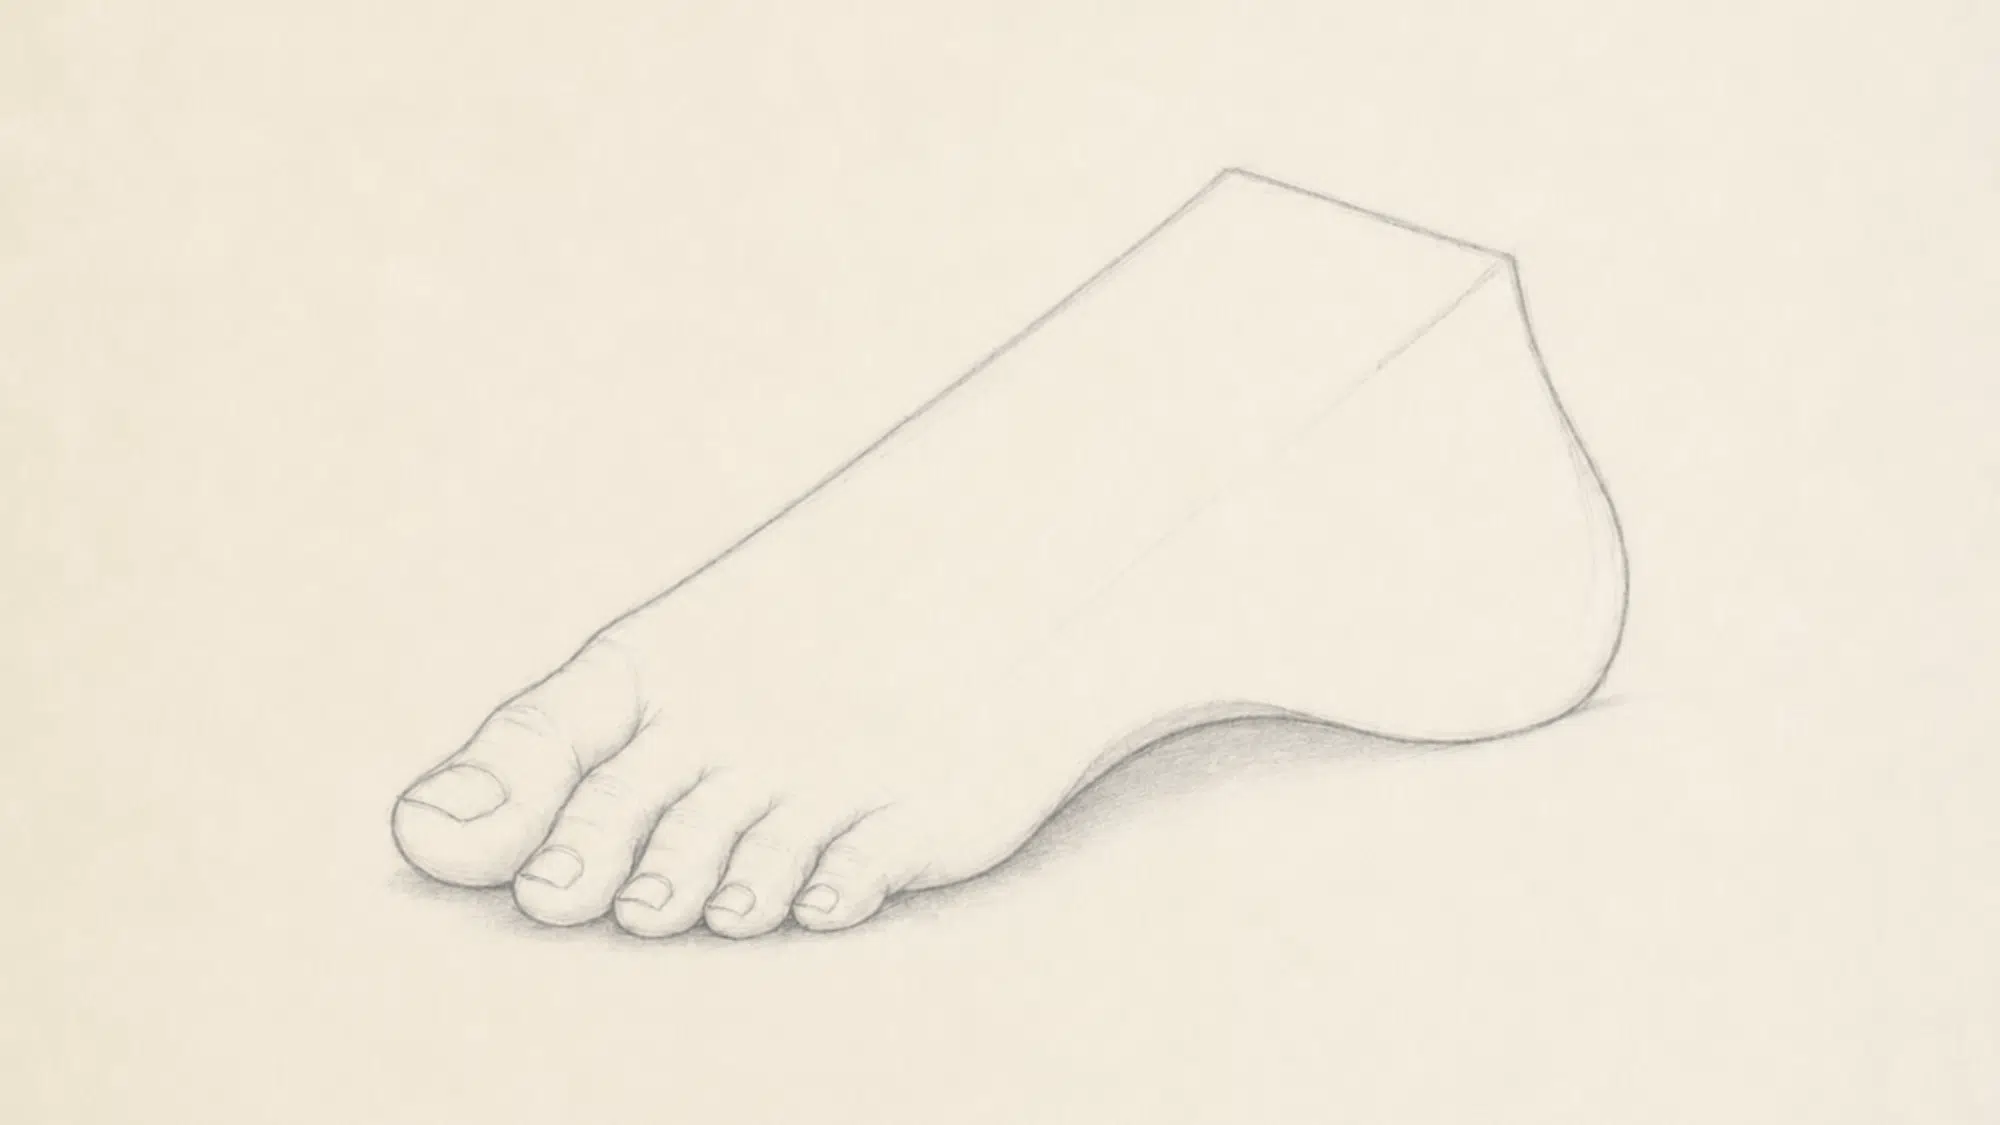
Once the full structure is in place, erase the construction lines and redraw the final outline with cleaner, more confident strokes.
Add light shading beneath the arch, around the toes, and under the ball of the foot to suggest depth and contact with the ground.
A few subtle shadows are enough to make the drawing appear more three-dimensional without overwhelming it.
Common Mistakes and How to Fix Them
Even with an easy foot drawing method, small mistakes can make the foot look stiff or uneven, but a few simple fixes can improve the shape quickly.
| Common Mistake | Why It Happens | How to Fix It |
|---|---|---|
| The heel is too small | Beginners focus more on the front of the foot | Sketch the heel first and make it larger than you initially expect |
| The foot looks flat | The arch is missing or too subtle | Add a gentle inward curve along the inner edge of the foot |
| All toes are the same length | Toes are drawn individually without a guide | Make the big toe the longest, then gradually shorten each toe toward the little toe |
| Toes form a straight line | No placement guideline is used | Draw a curved arc across the front of the foot before adding the toes |
| The foot is too narrow | The forefoot width is underestimated | Widen the front of the foot so it is noticeably broader than the heel |
| Foot looks stiff or blocky | Too many straight lines and sharp corners | Use smooth, flowing curves and round off the edges of the guide shape |
The Bottom Line
Drawing feet becomes much easier when you focus on the overall shape before adding smaller details. With regular practice, you’ll start to understand proportions, angles, and how the foot changes in different poses.
Keep your sketches simple at first, use reference photos whenever possible, and don’t worry about making every drawing perfect.
Over time, your confidence and accuracy will naturally improve, making feet feel like just another enjoyable part of the drawing process.
Frequently Asked Questions
Should I Draw the Toes First?
No. Sketch the overall foot shape first, then add the toes after the proportions are correct.
How Can I Make My Foot Drawings Look More Realistic?
Use reference photos, focus on proportions, and add light shading to show depth.
How Often Should I Practice Drawing Feet?
Short, regular practice sessions with different angles will improve your skills faster than occasional long sessions.