Learning how to paint with acrylics is forgiving, fast-drying, and endlessly flexible, but only if you know what you’re doing with the brush.
Get the painting techniques wrong, and even the best paints on the best canvas look flat and unprofessional.
This blog covers every acrylic painting technique worth knowing, with video demonstrations so you can see exactly how each one works and not just read about it.
What Is Acrylic Painting?
Acrylic paint is a water-based paint made from pigment suspended in an acrylic polymer emulsion. It dries fast, holds color well, and works on almost any surface, including canvas, wood, paper, and fabric.
What makes acrylics different from oils or watercolors is flexibility. You can thin them with water for a wash effect or apply them thick straight from the tube for heavy texture. Same paint, completely different results.
That is why acrylics are beginner-friendly but still useful for detailed, professional-looking artwork. They let you experiment freely, layer quickly, fix mistakes, and build confidence without waiting days for paint to dry.
How to paint with acrylics?
These steps will help you build confidence, avoid common mistakes, and make the most of acrylic paint’s fast-drying, versatile nature.
- Before your first stroke, wet your brush lightly. It helps the paint glide smoothly and stops it from drying stiff on the bristles mid-stroke.
- Start thin, build thick. Begin with watered-down layers to block in shapes, then add heavier paint on top for depth and detail.
- Let each layer dry before adding the next. Acrylics dry fast, but painting wet-over-wet muddies your colors and blurs the edges you worked for.
- Work light to dark. It is much easier to push a color darker than to lift a heavy stroke once the paint is down.
- Step back often. What looks off up close usually makes sense from a distance, and what looks fine up close is often the problem.
Acrylic Painting Techniques to Master
These methods help you create texture, blend colors, build depth, and add detail, giving you more control and confidence with every painting.
1. Dry Brushing
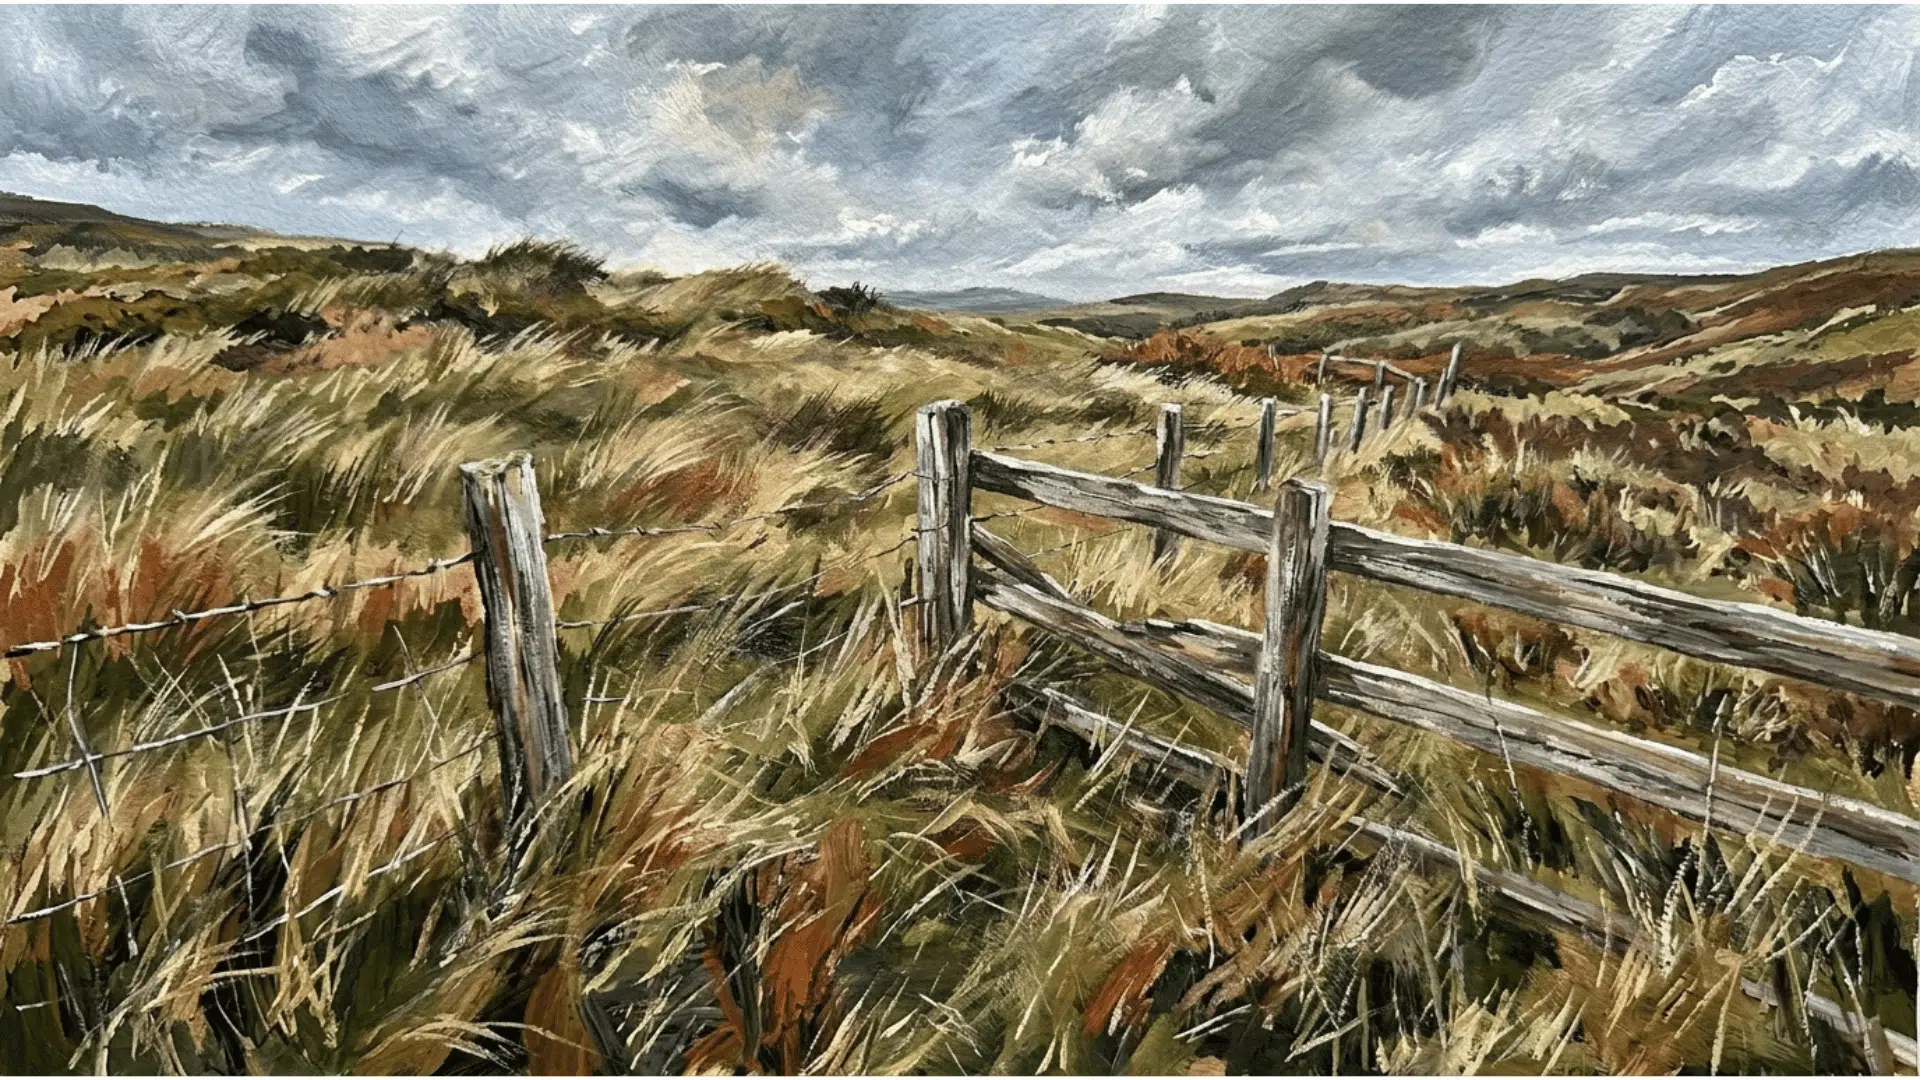
Load a small amount of paint on a dry brush and drag it lightly across the canvas. It creates rough, textured strokes that work well for fur, grass, and weathered surfaces.
2. Wet on Wet
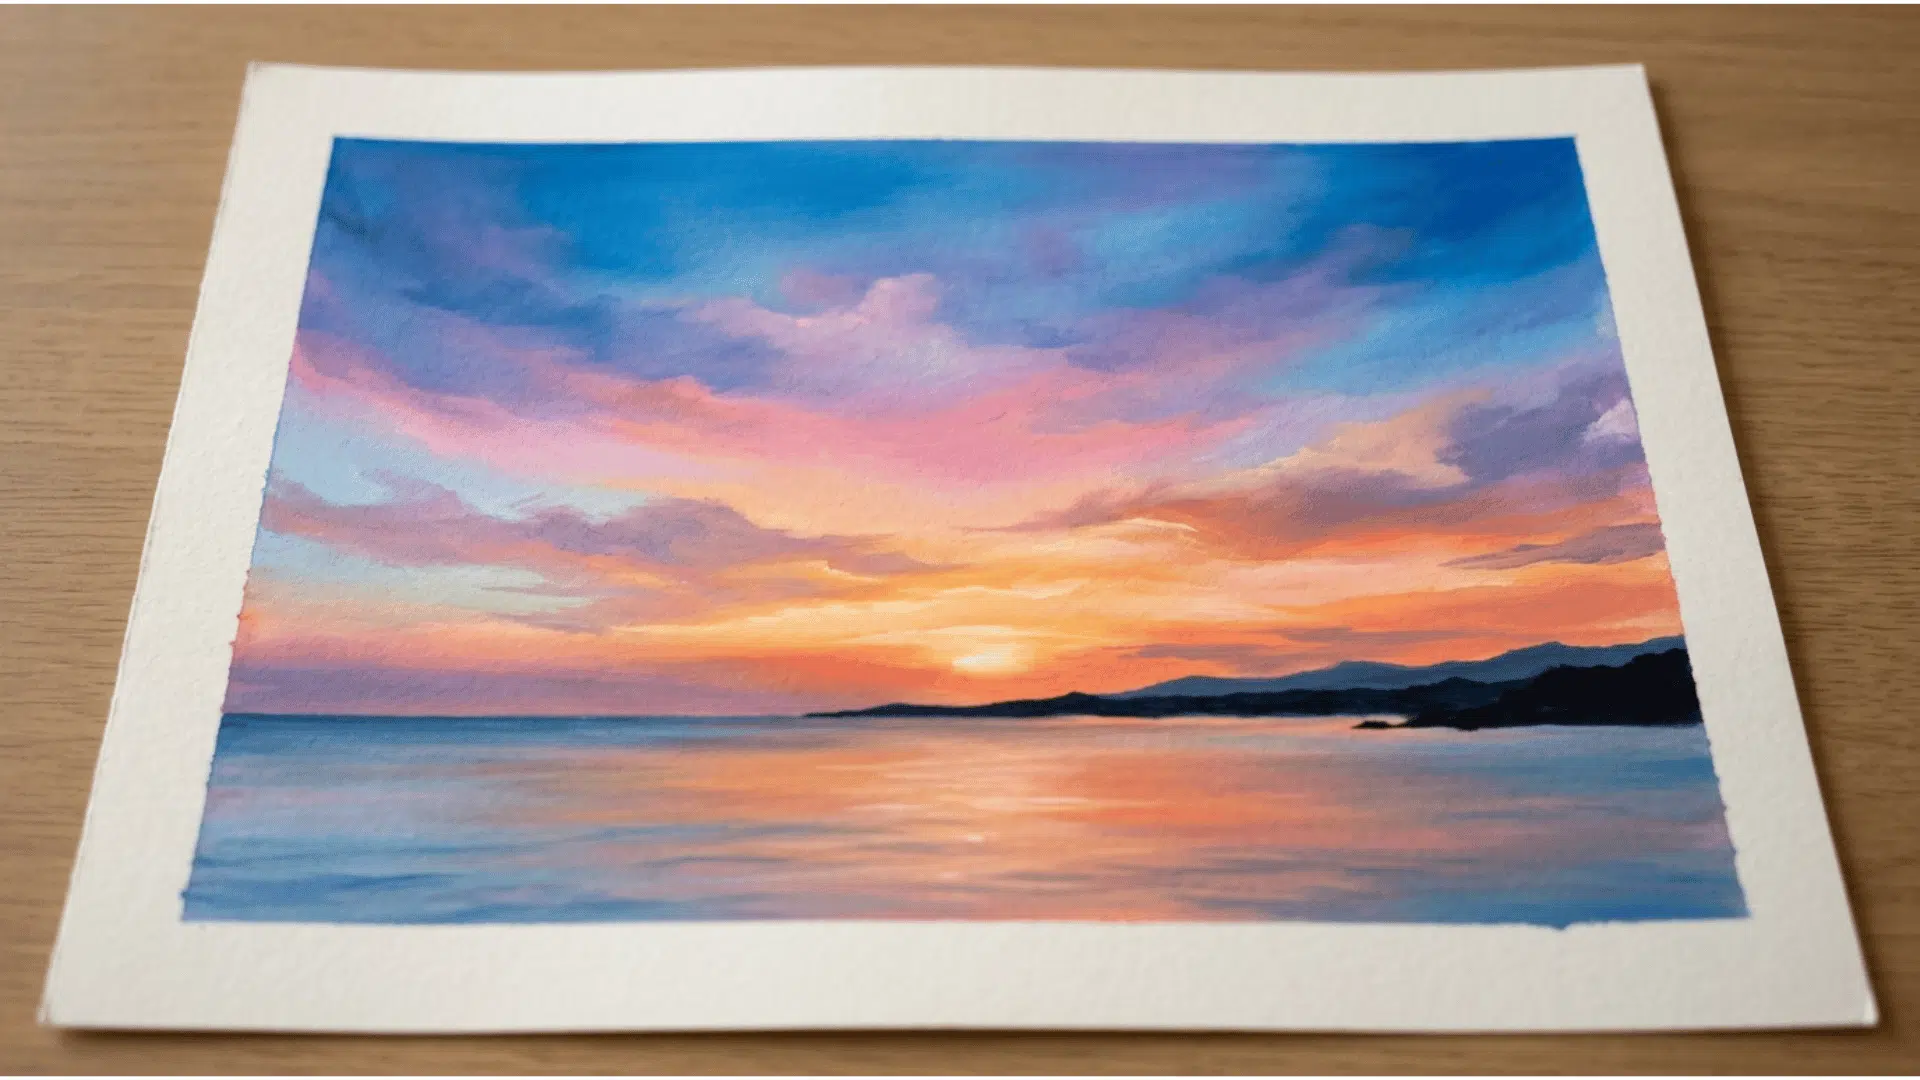
Apply fresh paint directly onto a layer that is still wet. Colors blend into each other naturally, giving you soft edges and smooth transitions.
This technique works well for skies, water, skin tones, and soft backgrounds. Move quickly, because acrylic paint dries fast and becomes harder to blend once it starts setting.
3. Wet on Dry
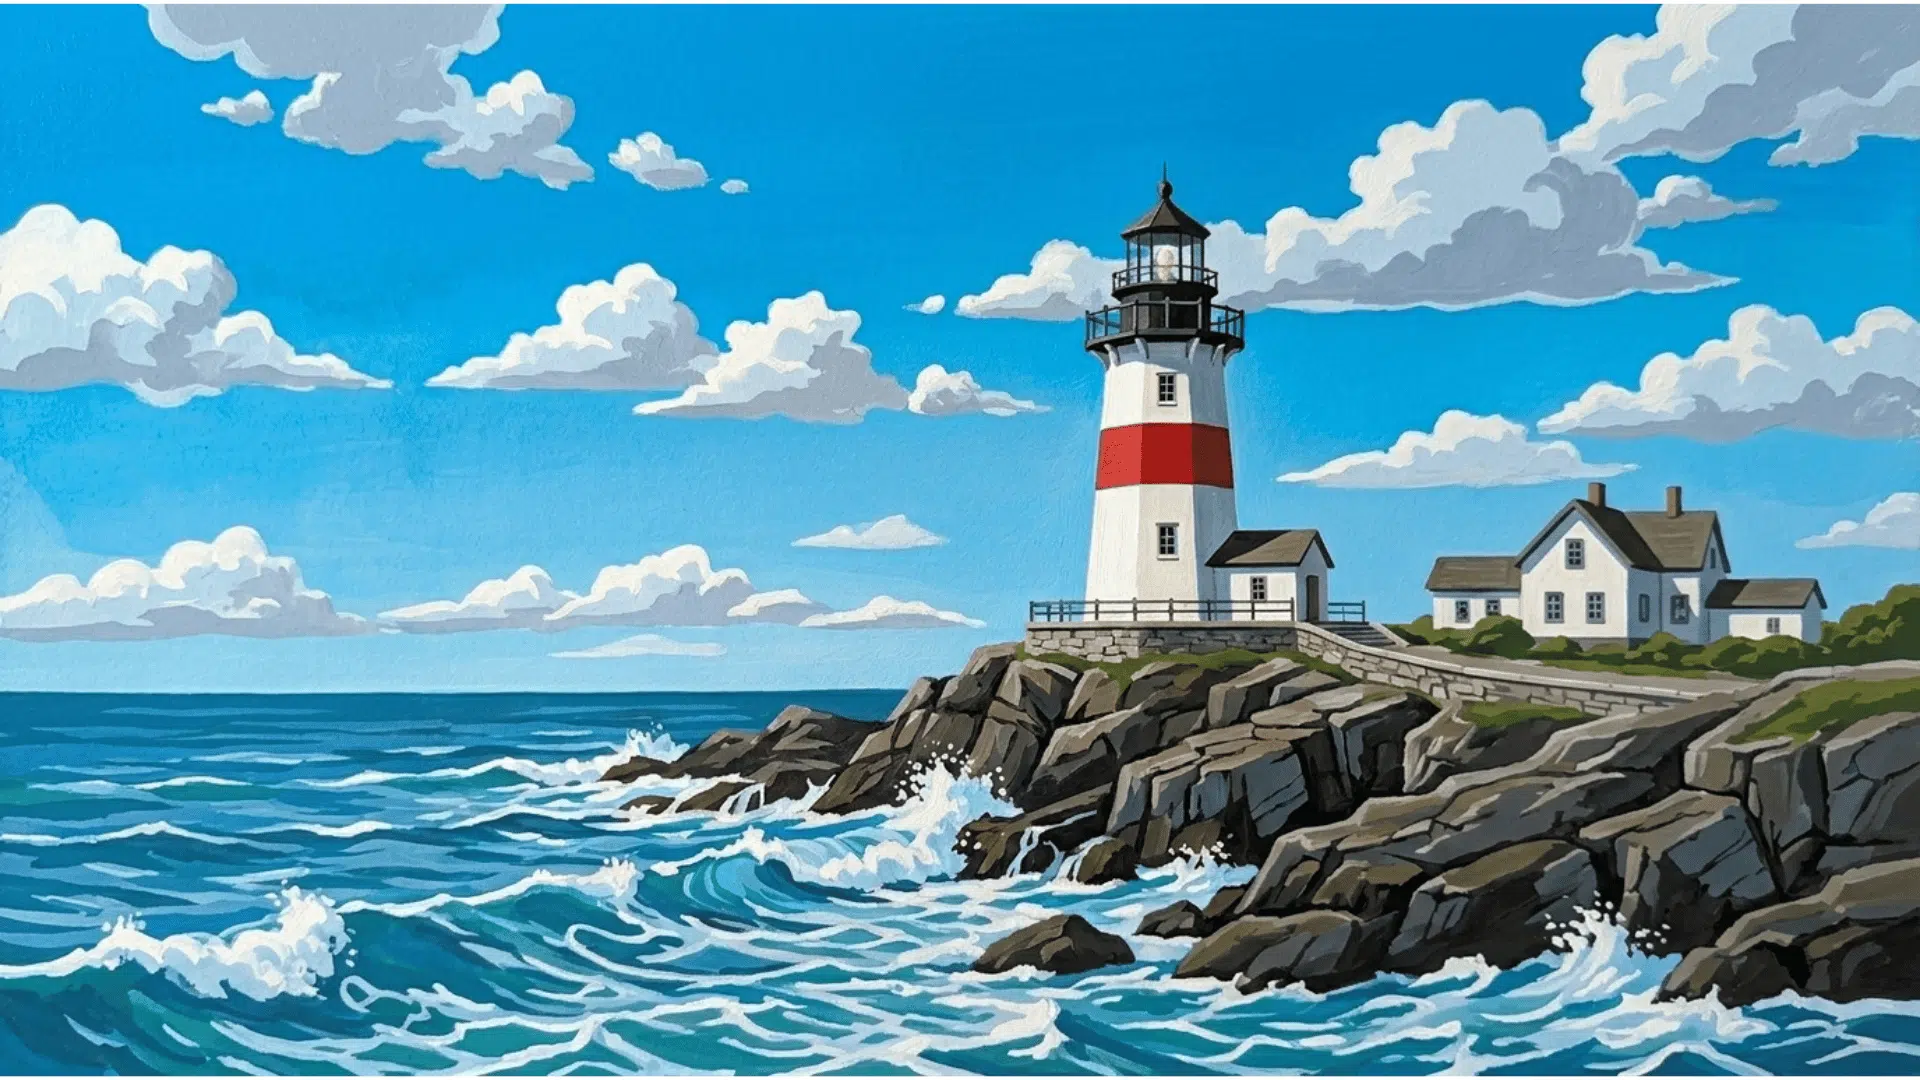
Paint over a completely dry layer. This gives you sharp, clean edges and full control over where each color starts and stops
4. Layering
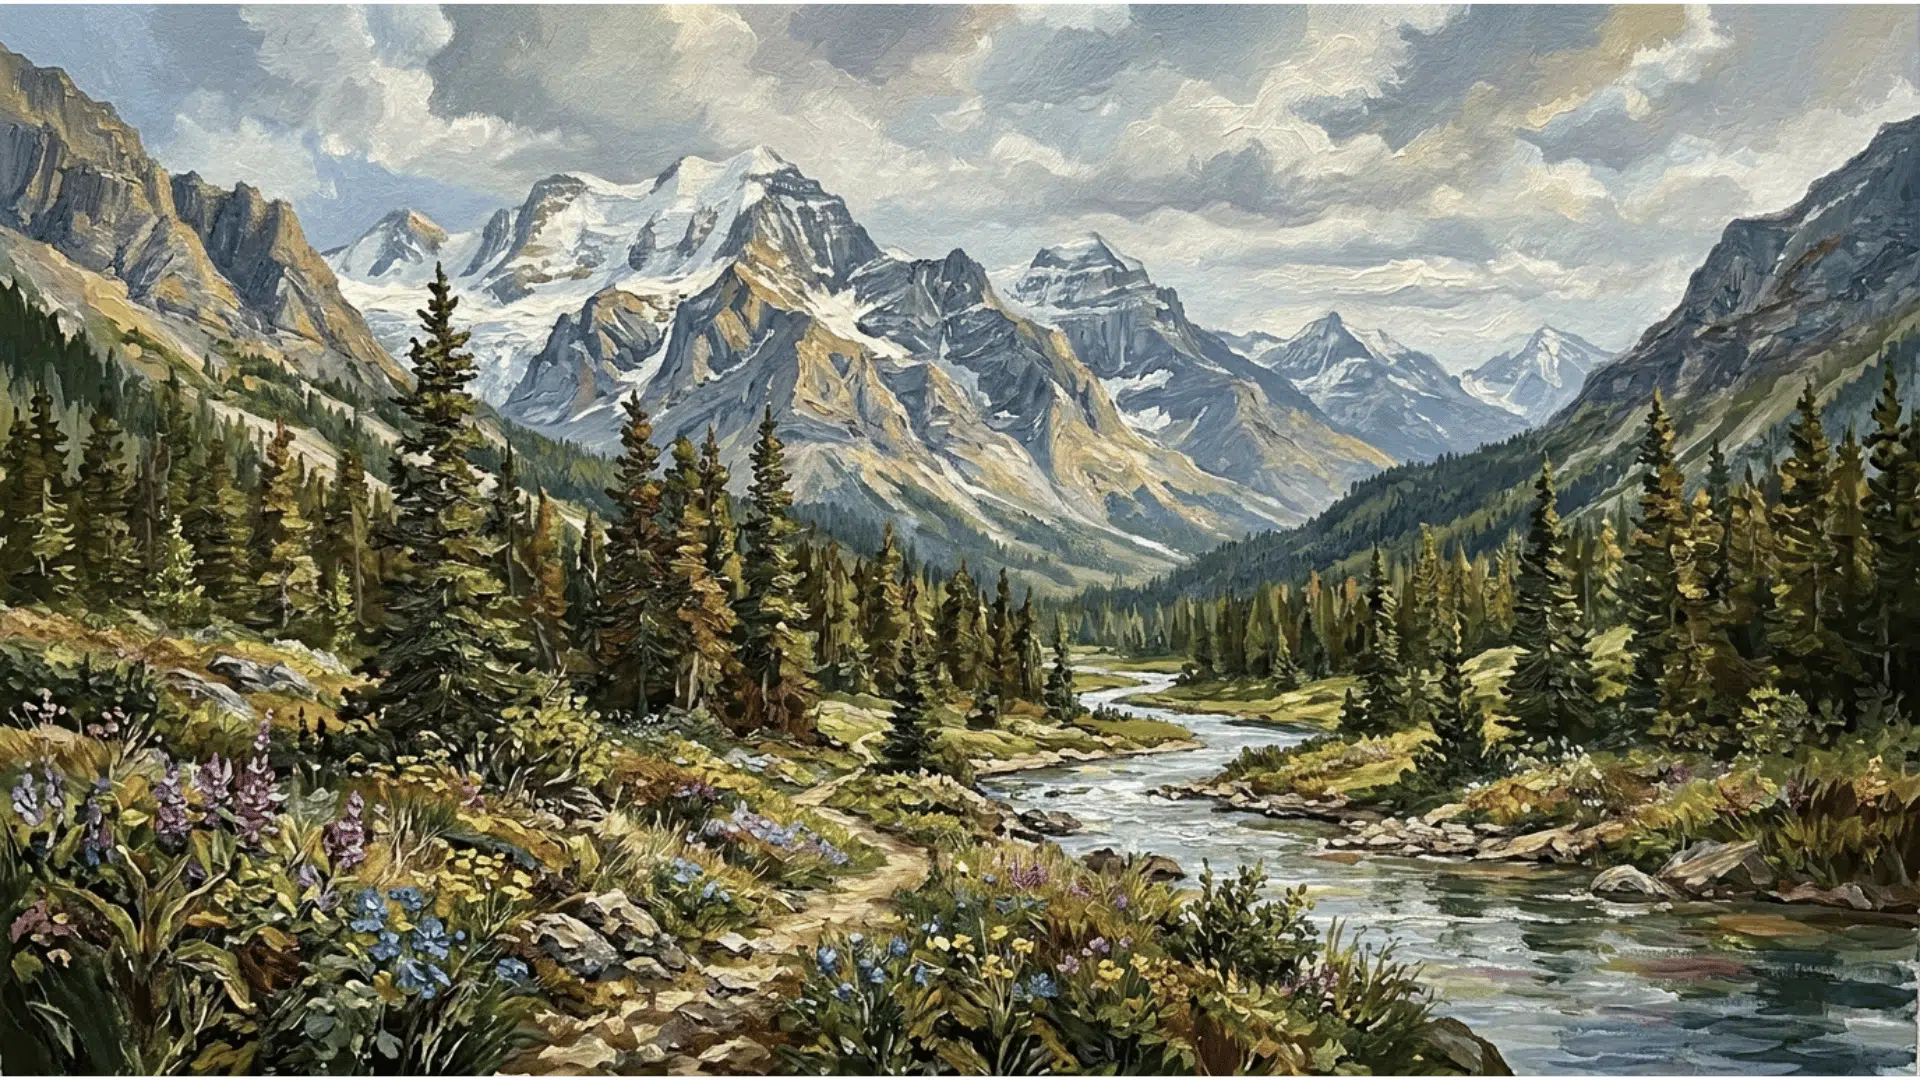
Build your painting in stages, letting each coat dry before adding the next. Depth and dimension come from paint stacking up over time, not from one heavy pass.
5. Glazing
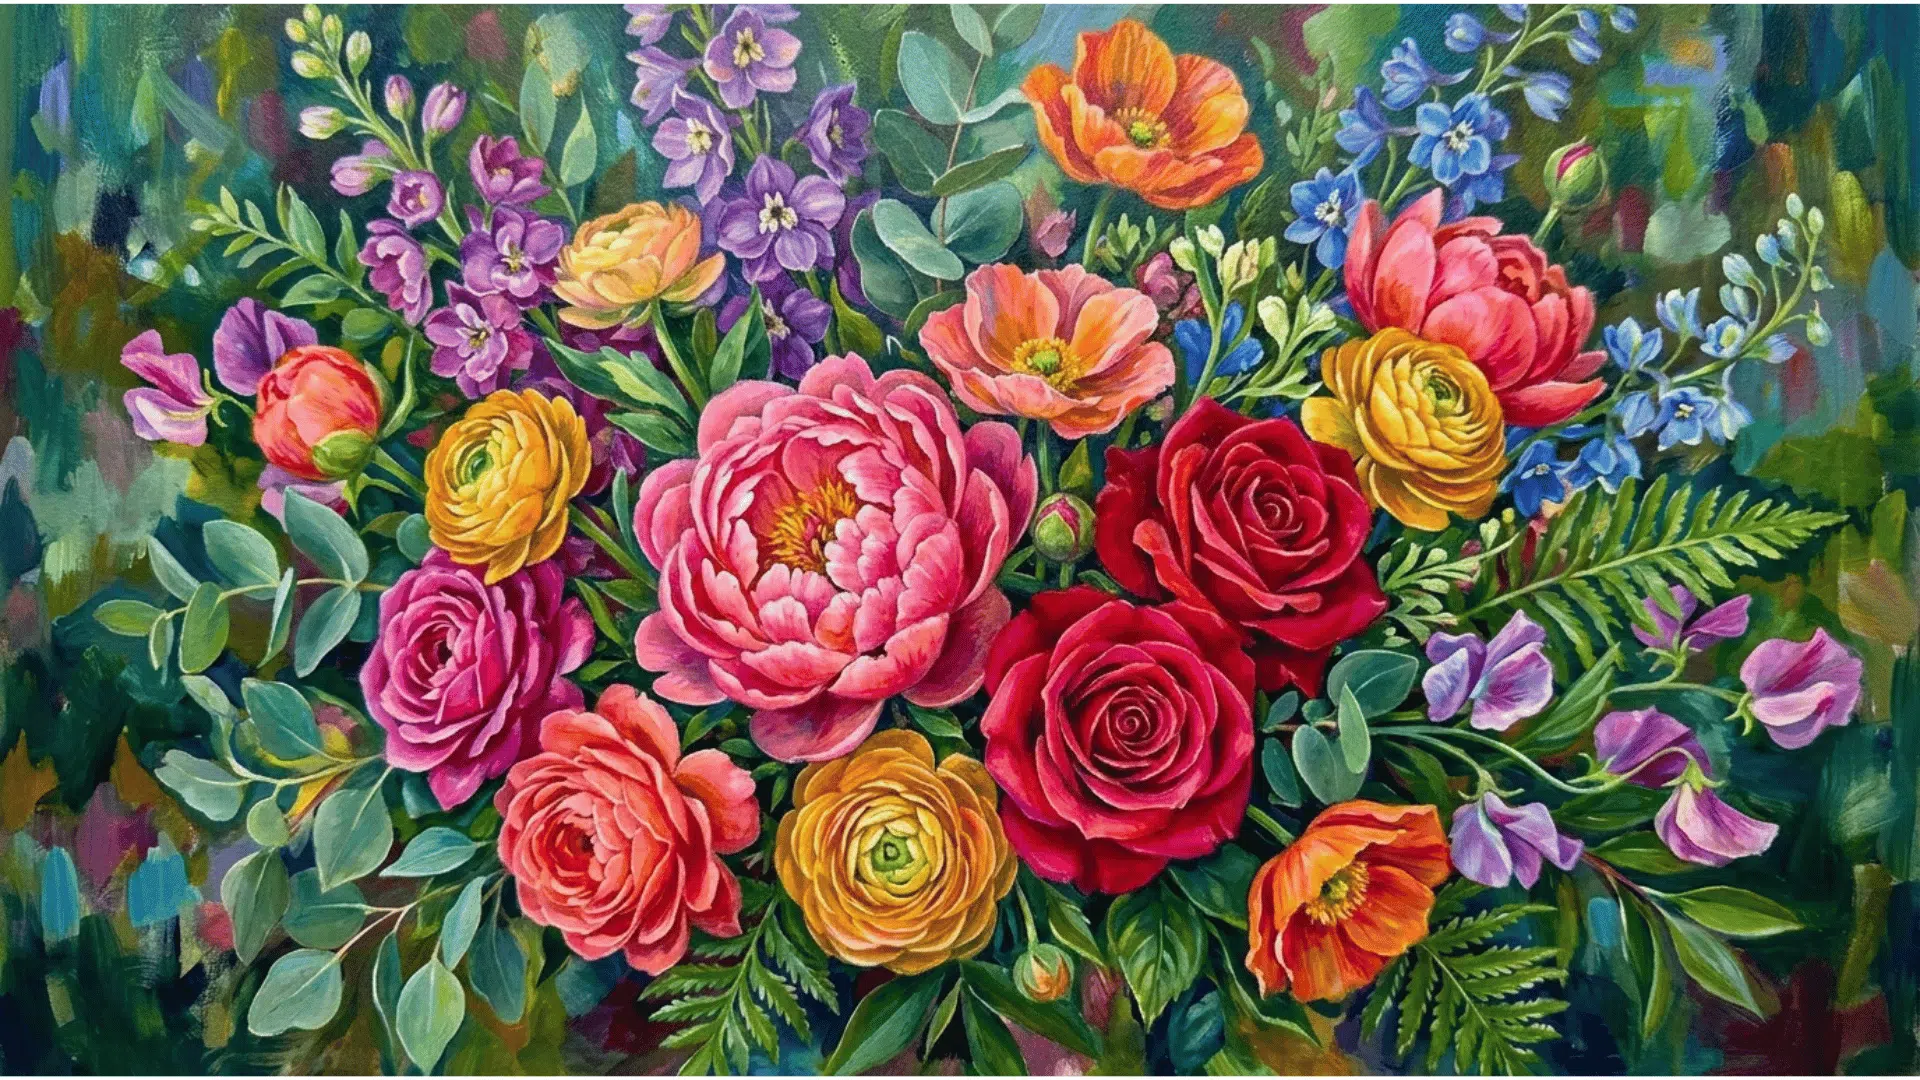
Thin your paint with water or a glazing medium and apply it over a dry layer. The transparent coat shifts the color underneath without covering it.
Glazing is useful for adding depth, adjusting colors, and creating subtle shadows without hiding earlier details.
6. Impasto
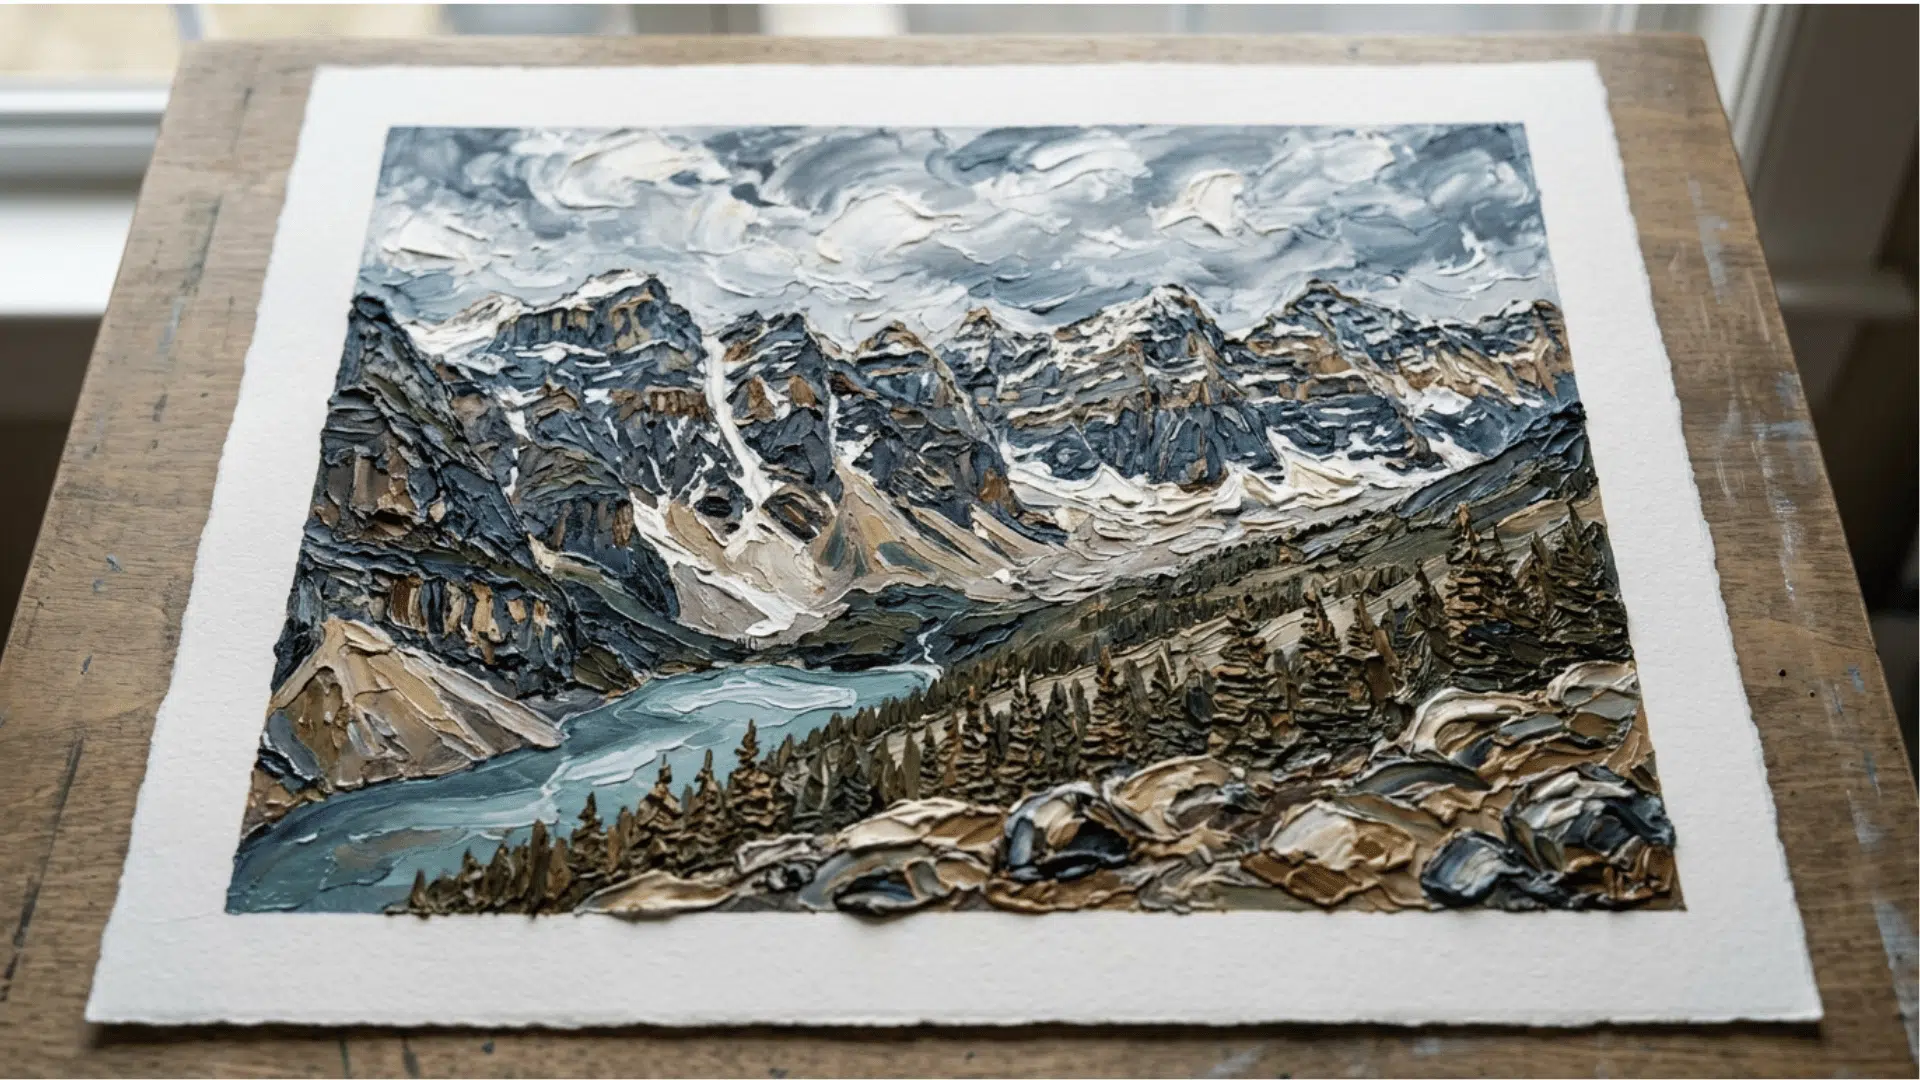
Apply paint thickly straight from the tube using a brush or palette knife. The strokes stay raised and visible, adding physical texture to the surface.
7. Palette Knife Painting
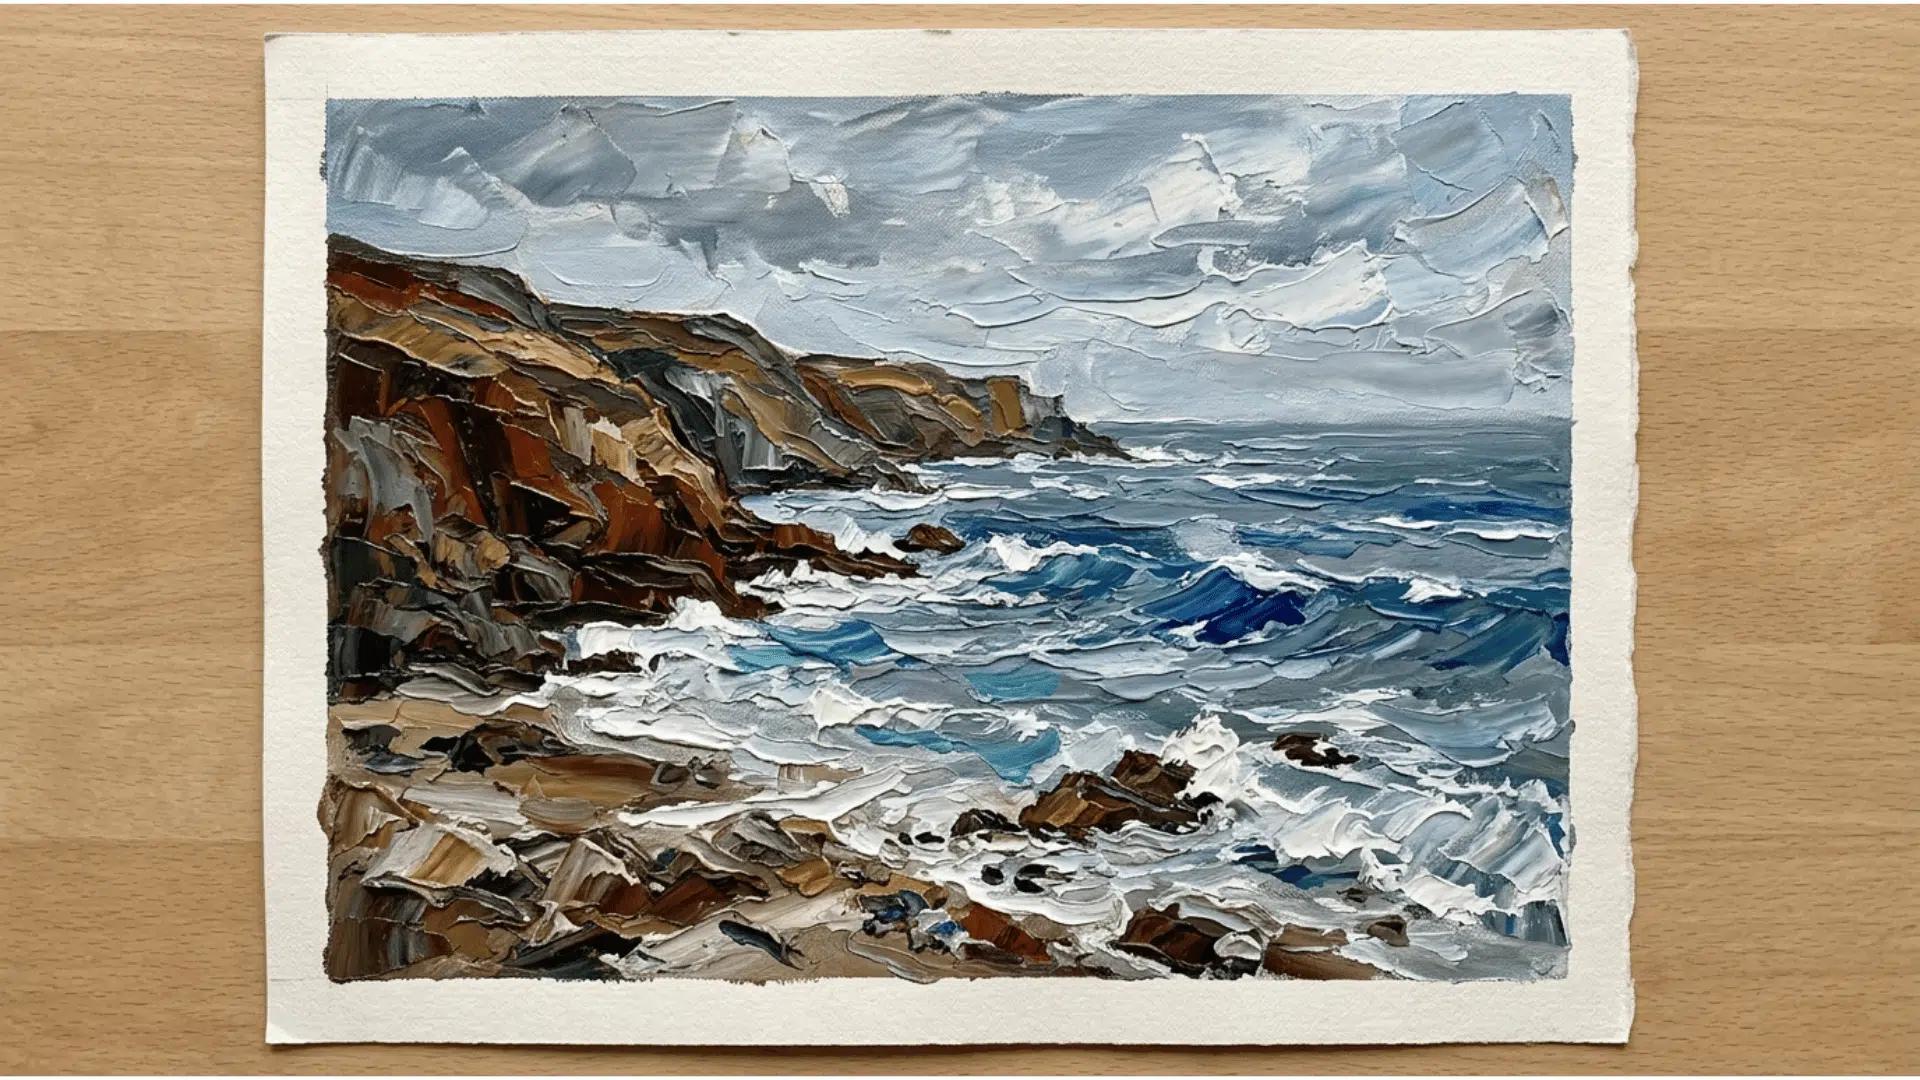
Use a palette knife instead of a brush to push, spread, and scrape paint across the canvas. It creates bold, expressive marks that brushes simply cannot replicate.
8. Stippling
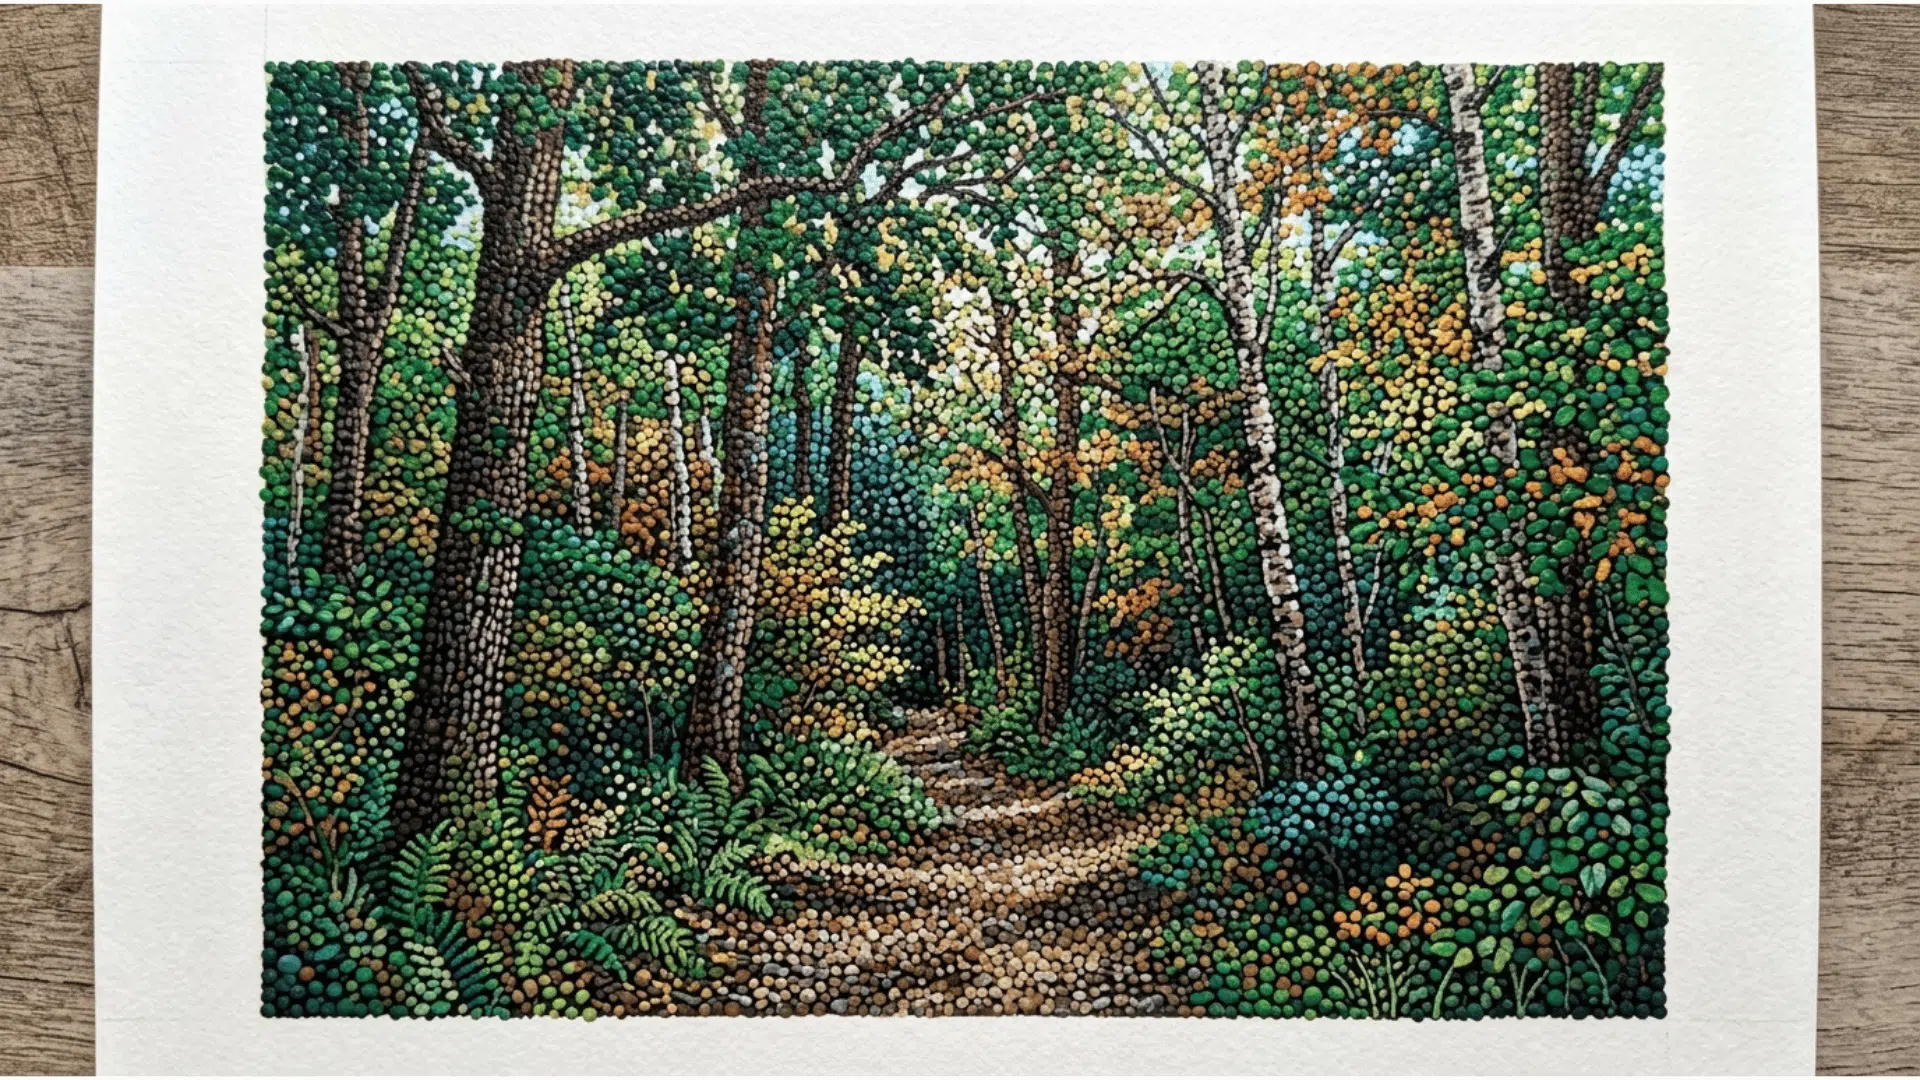
Dab the tip of a stiff brush repeatedly onto the surface to build up color in small dots. It is a slow technique but great for foliage, texture, and soft shading.
9. Sgraffito
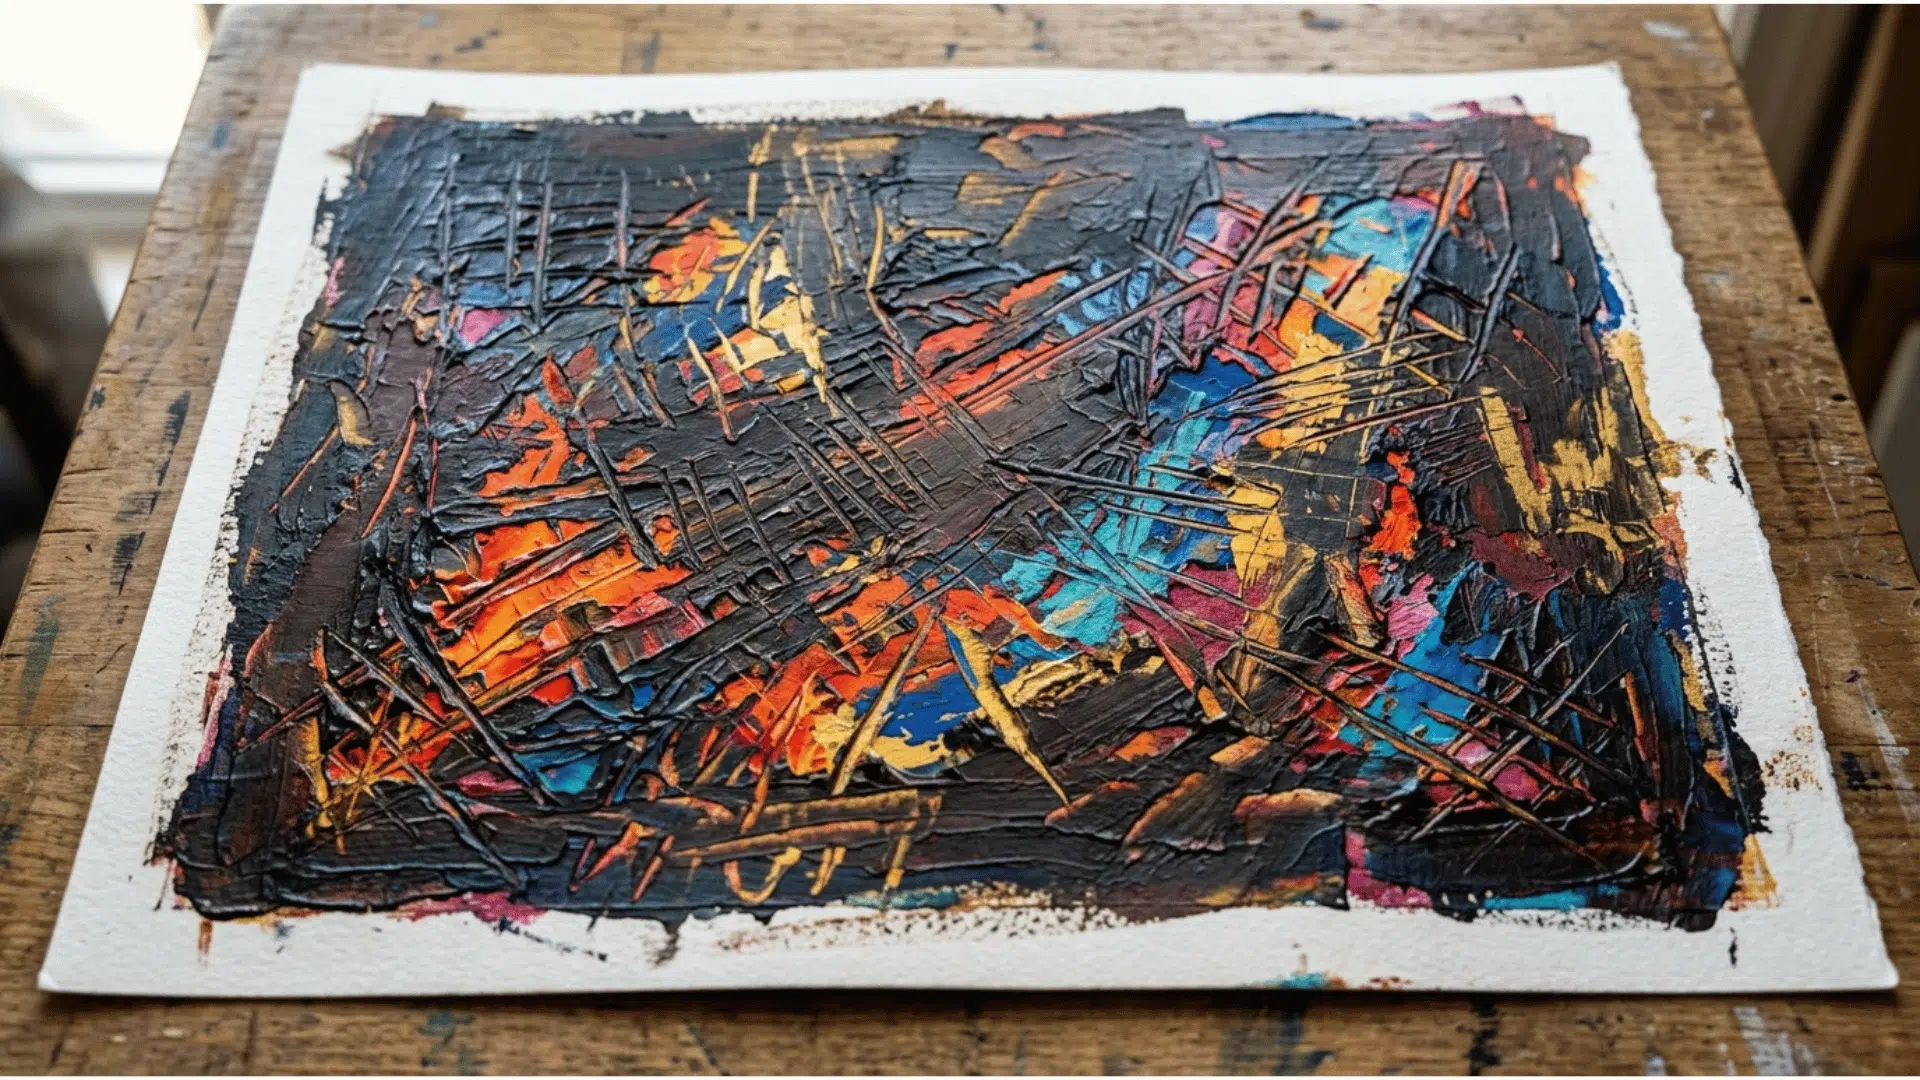
Scratch into wet paint with a palette knife, brush handle, or sharp tool to reveal the layer underneath. It adds fine detail and raw energy to a painting.
10. Scumbling
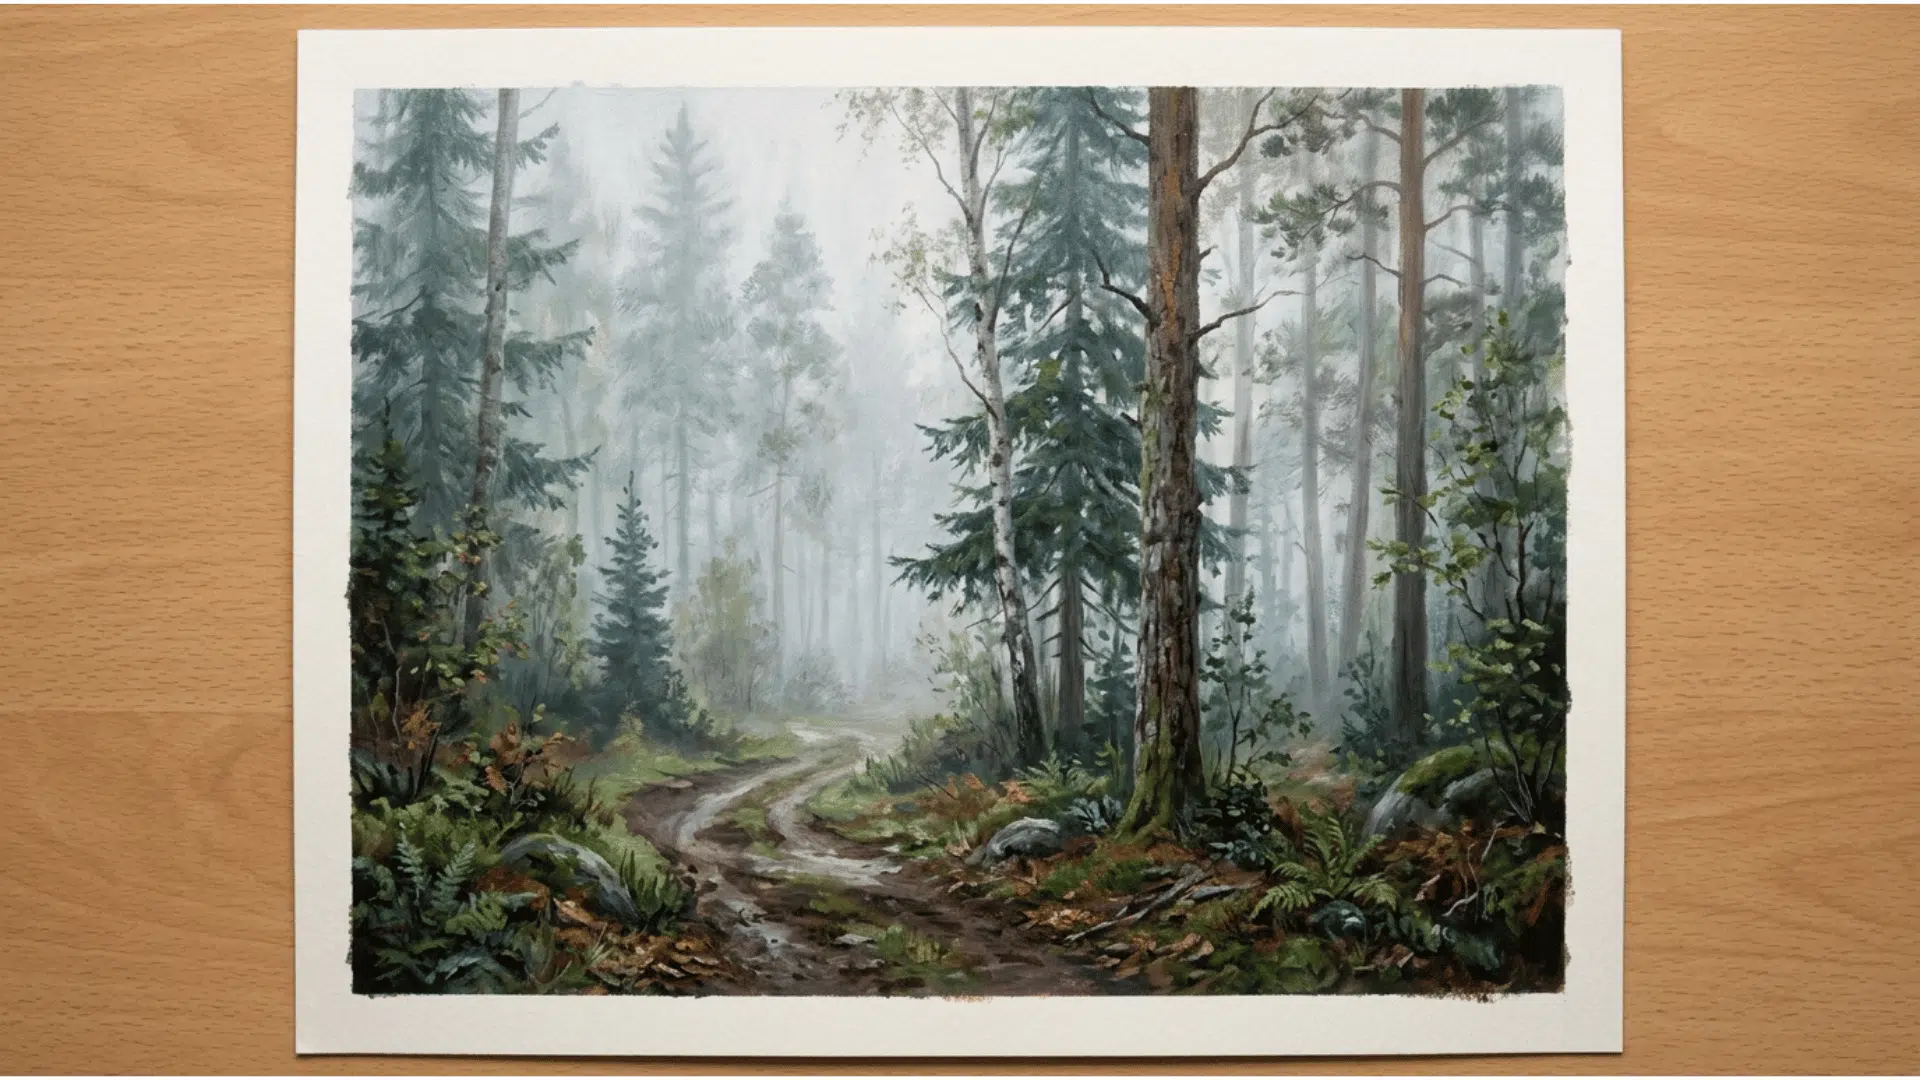
Scrub a thin, broken layer of opaque paint over a dry surface using a stiff brush. It softens edges and adds a hazy, atmospheric quality to backgrounds.
Scumbling works well for clouds, mist, old walls, fabric texture, and distant landscapes. Use very little paint on the brush so the color catches only the raised areas instead of covering the layer below.
11. Color Blocking
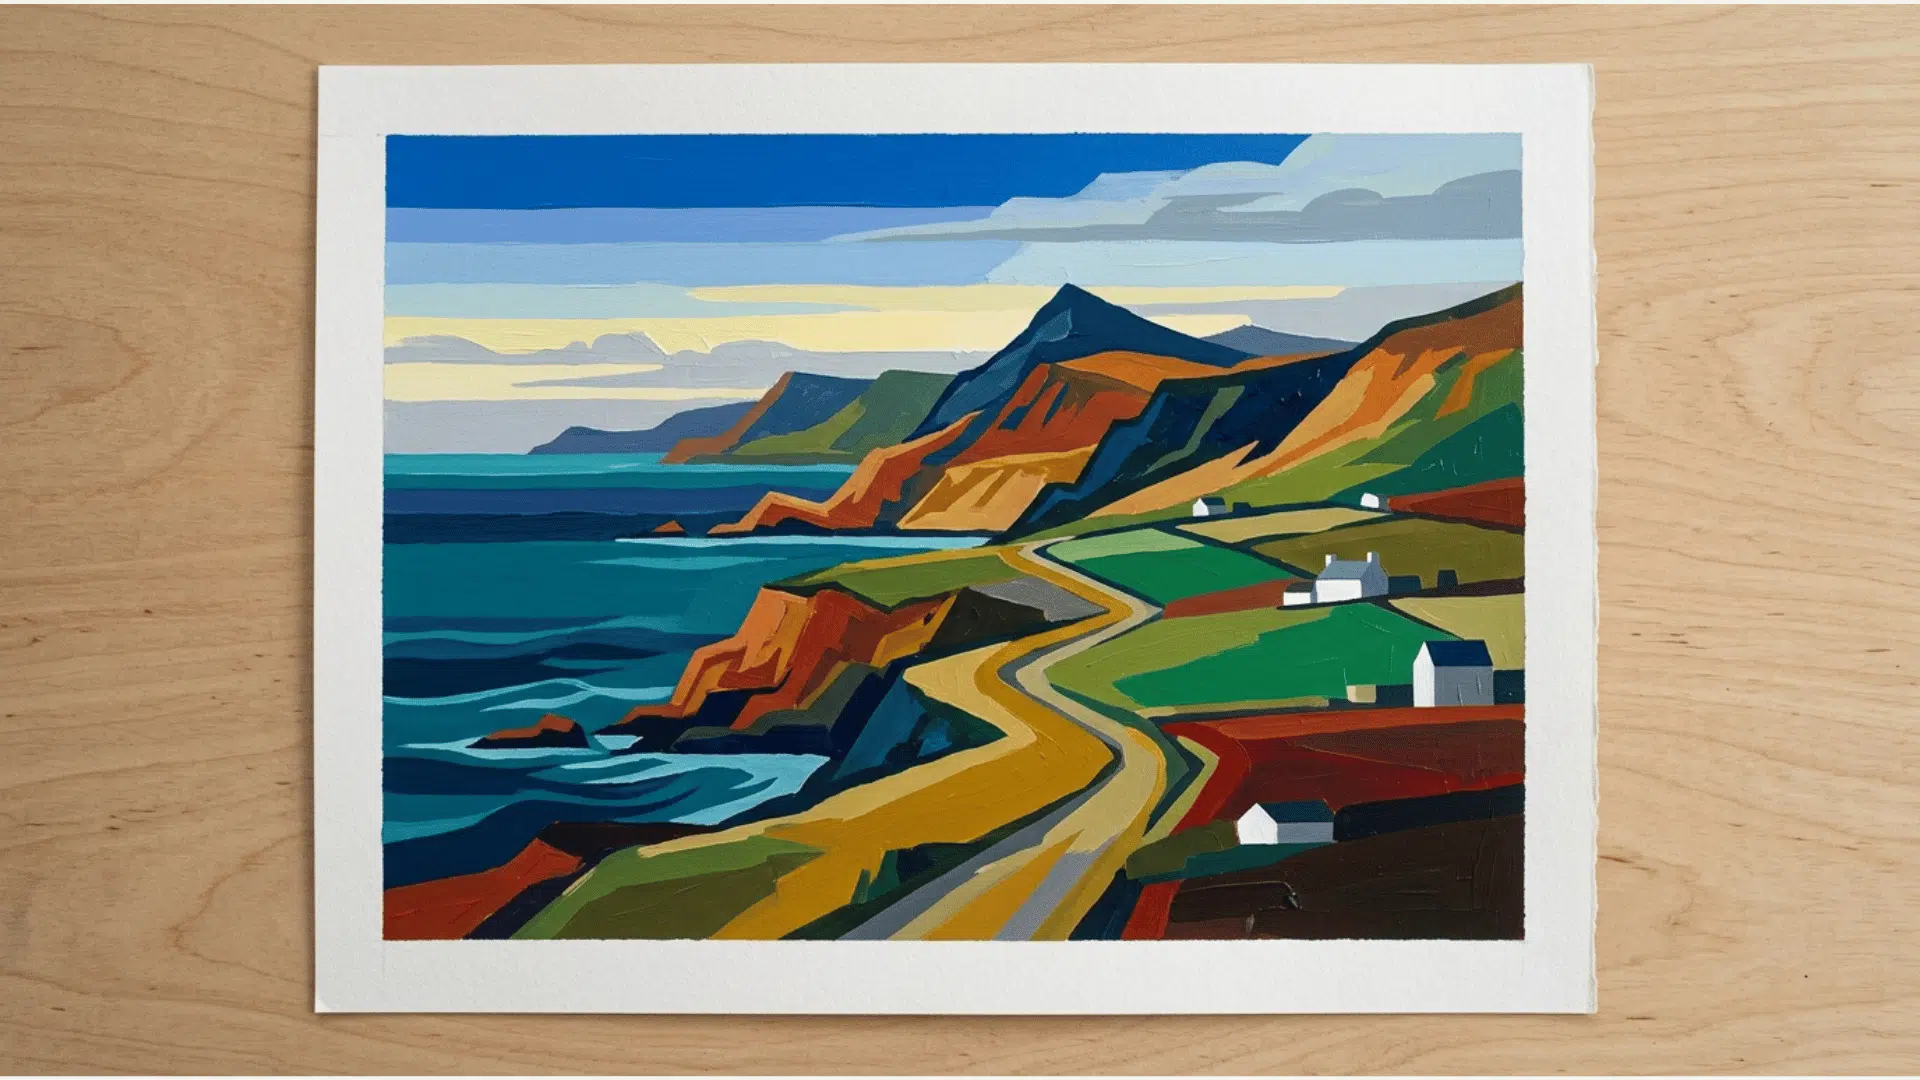
Fill large areas of the canvas with flat, solid color before adding any detail. It helps you plan the composition and keeps the painting structured from the start.
Color blocking is also a great time to think about your palette choices. Understanding how primary and secondary colors interact can make your color decisions feel far more intentional from the very beginning.
12. Underpainting
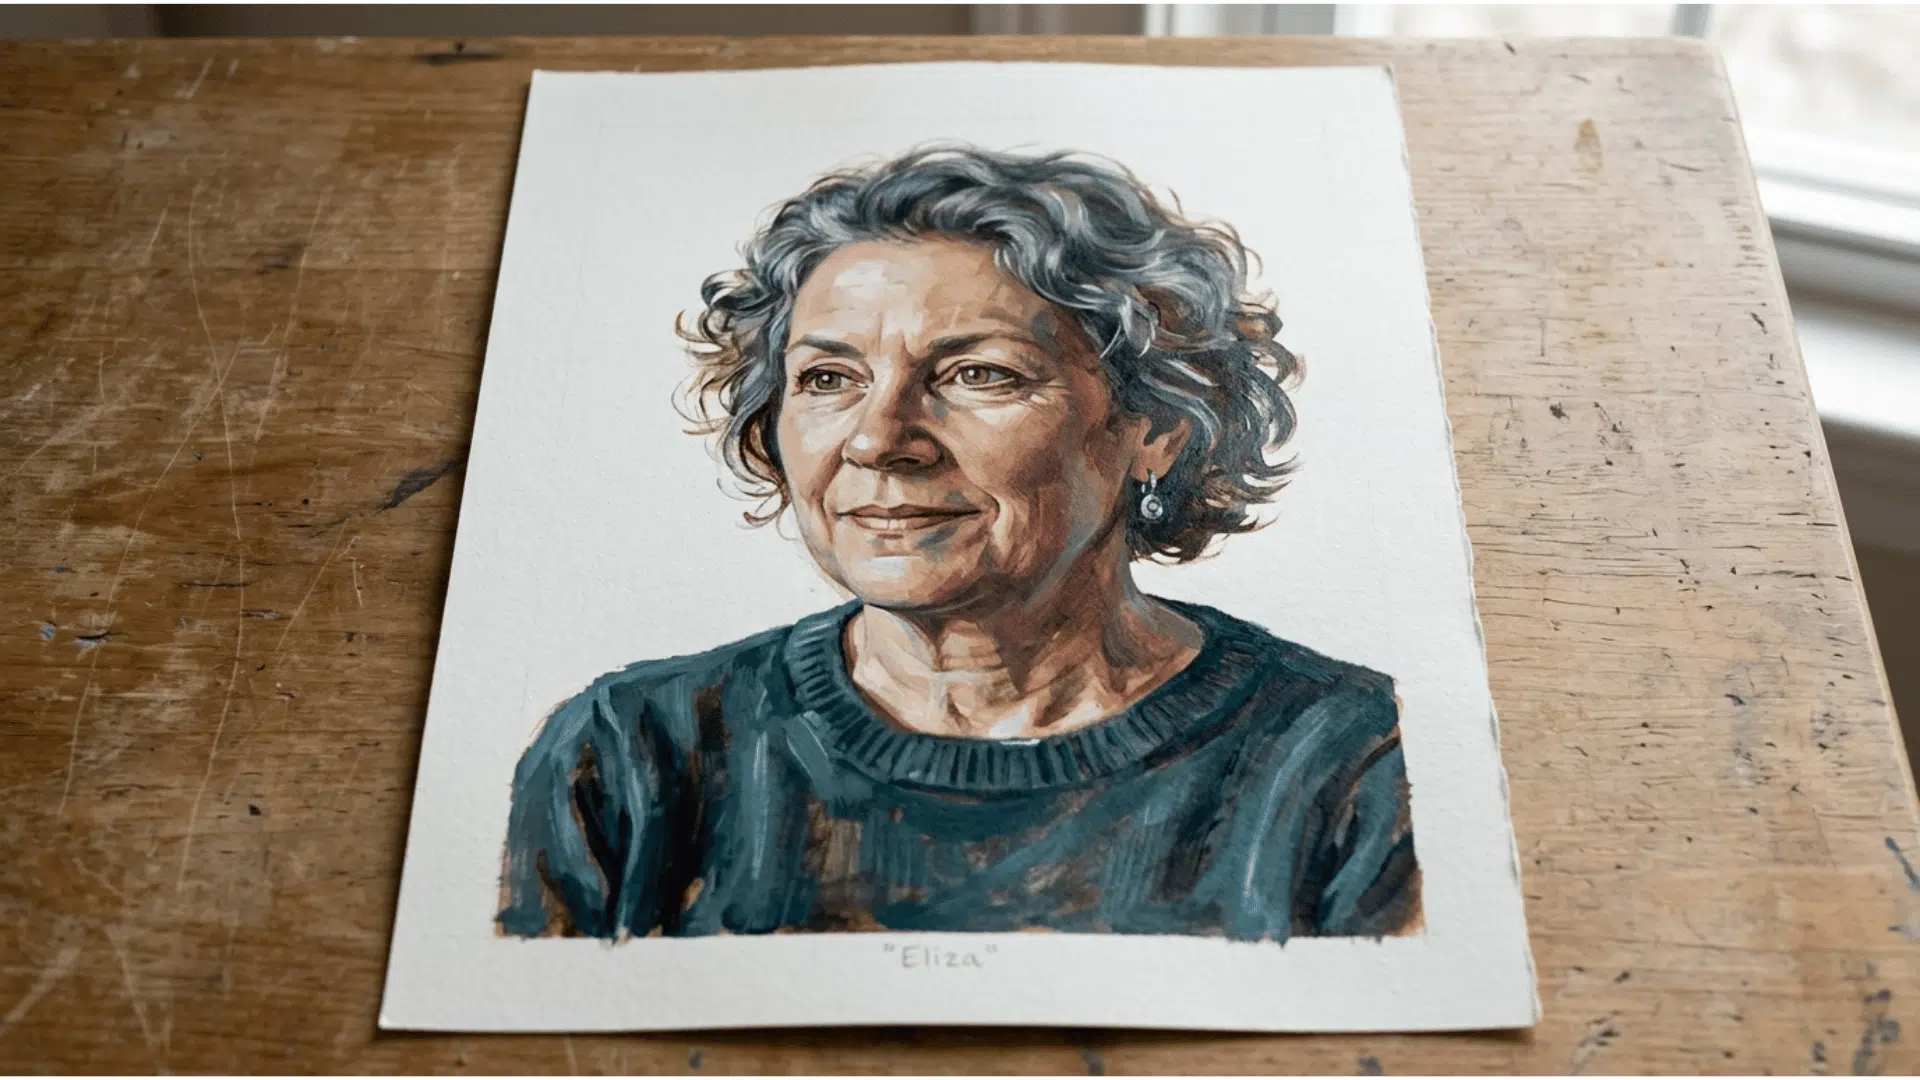
Start with a monochrome base layer in one color before applying full color on top. It maps out light, shadow, and form so the rest of the painting builds on a solid structure.
13. Negative Painting
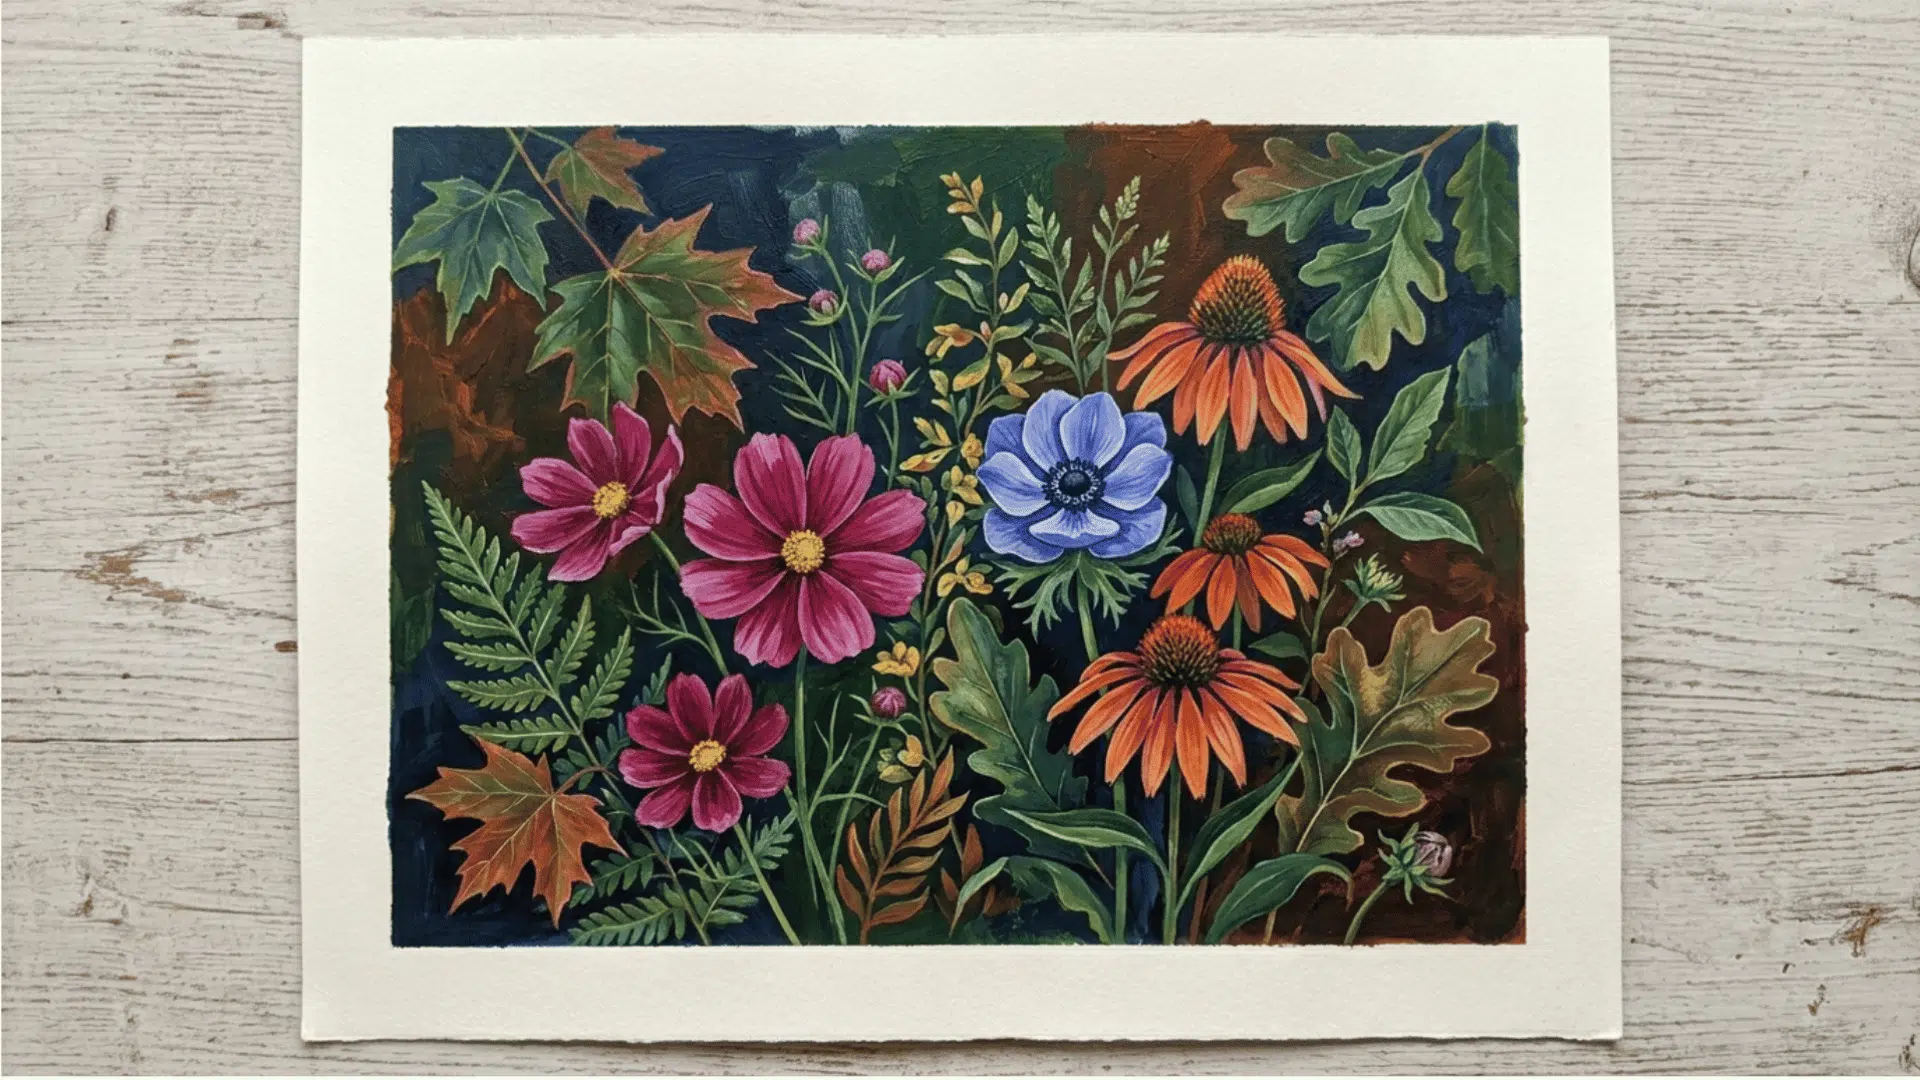
Paint the space around a subject rather than the subject itself. It pulls shapes out of the background, creating a striking sense of contrast.
14. Washes
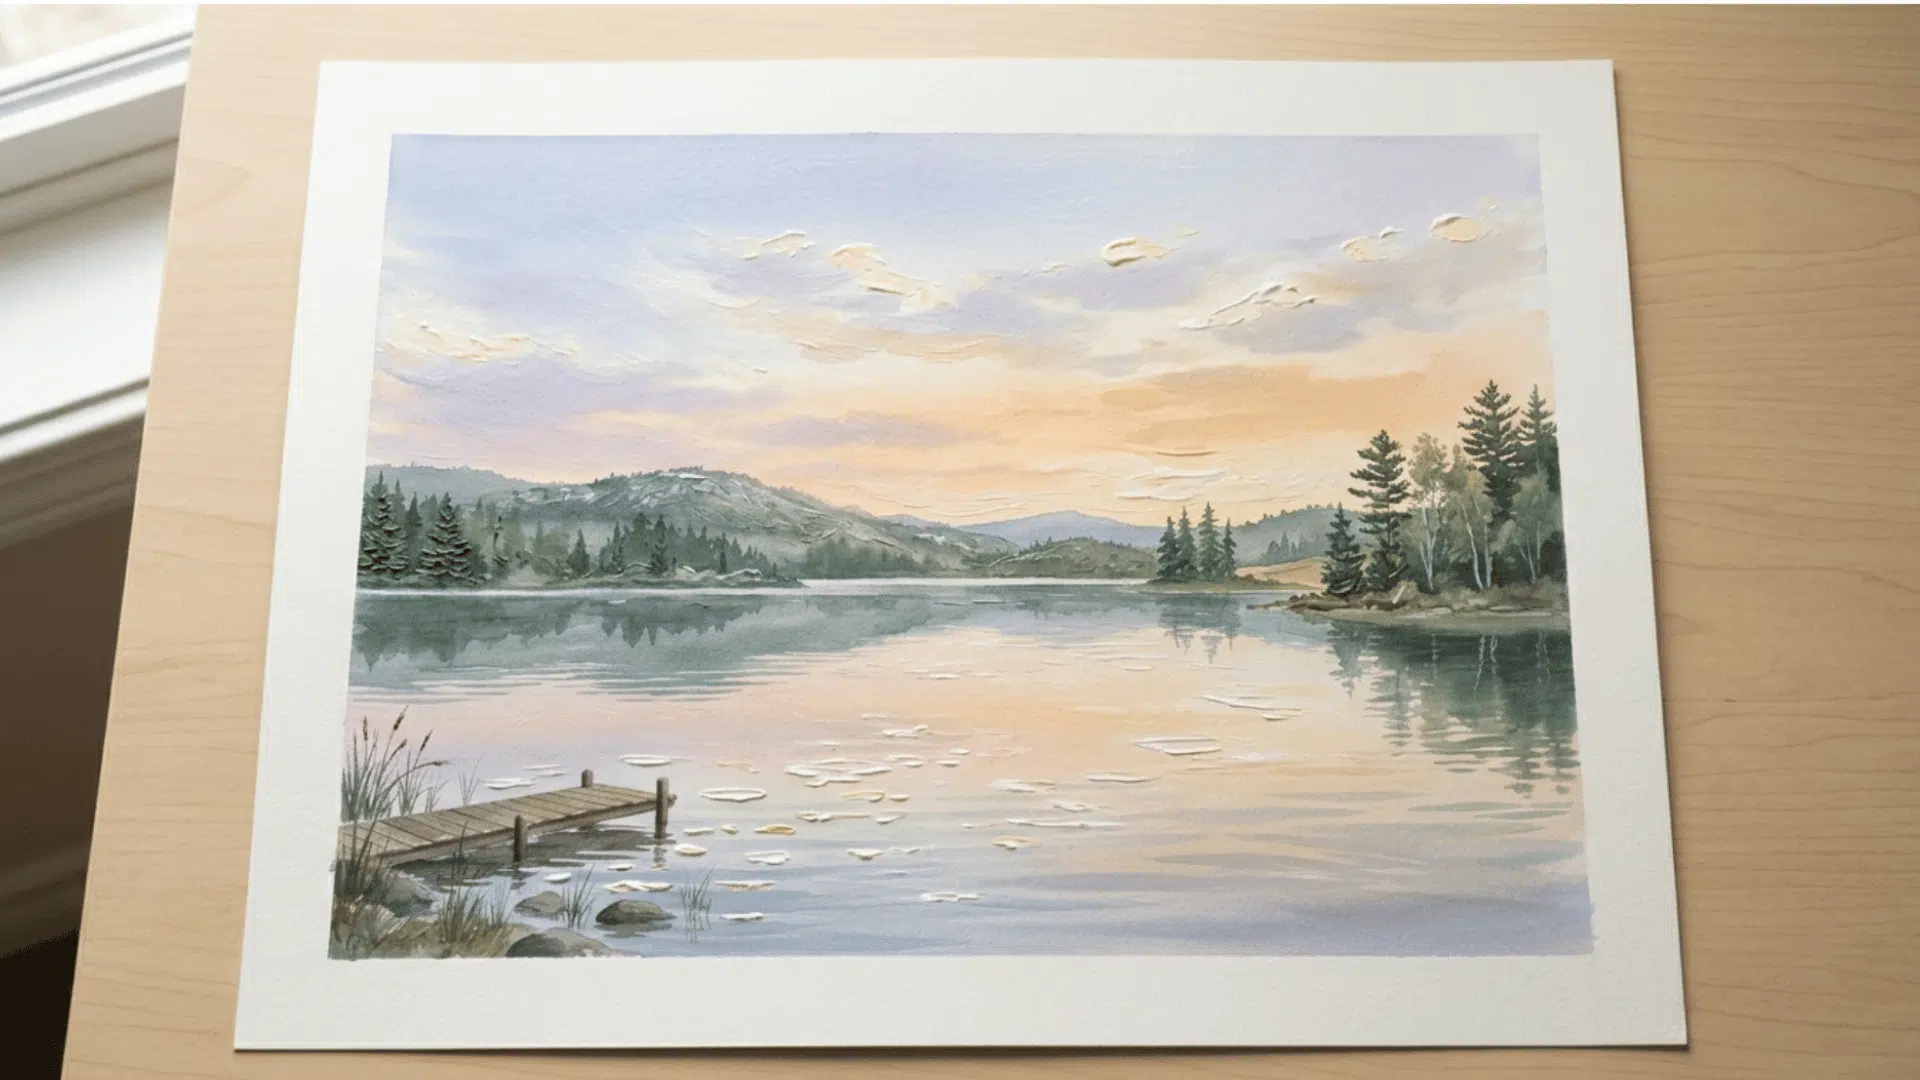
Thin your paint heavily with water and brush it across the canvas in a single, loose stroke. It works well for skies, water, and soft background tones.
This technique creates transparent layers that let some of the surface show through, giving the painting a light, airy feel. Work quickly and avoid going back over drying paint, as repeated brushing can create uneven streaks.
15. Blending
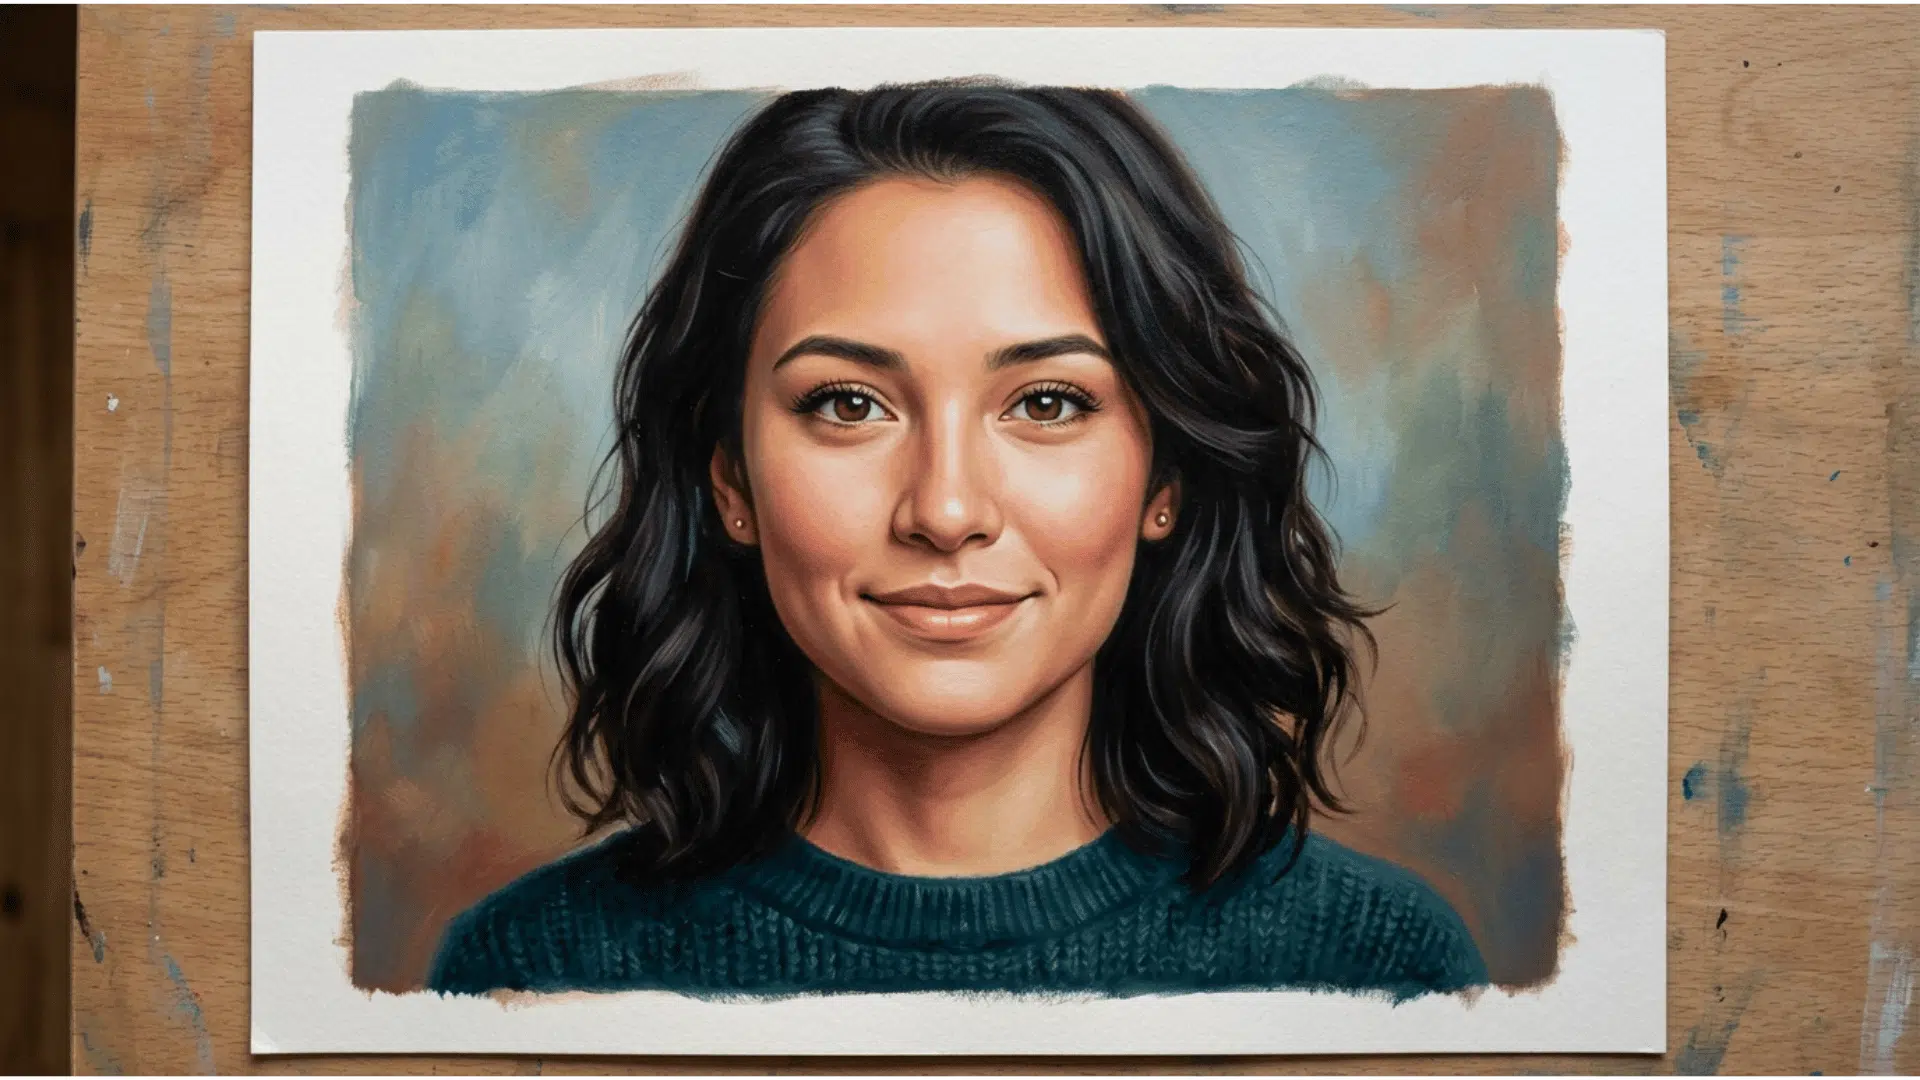
Work two colors into each other while both are still wet to create a smooth transition. It takes practice but is the foundation of realistic shading and skin tones.
16. Feathering
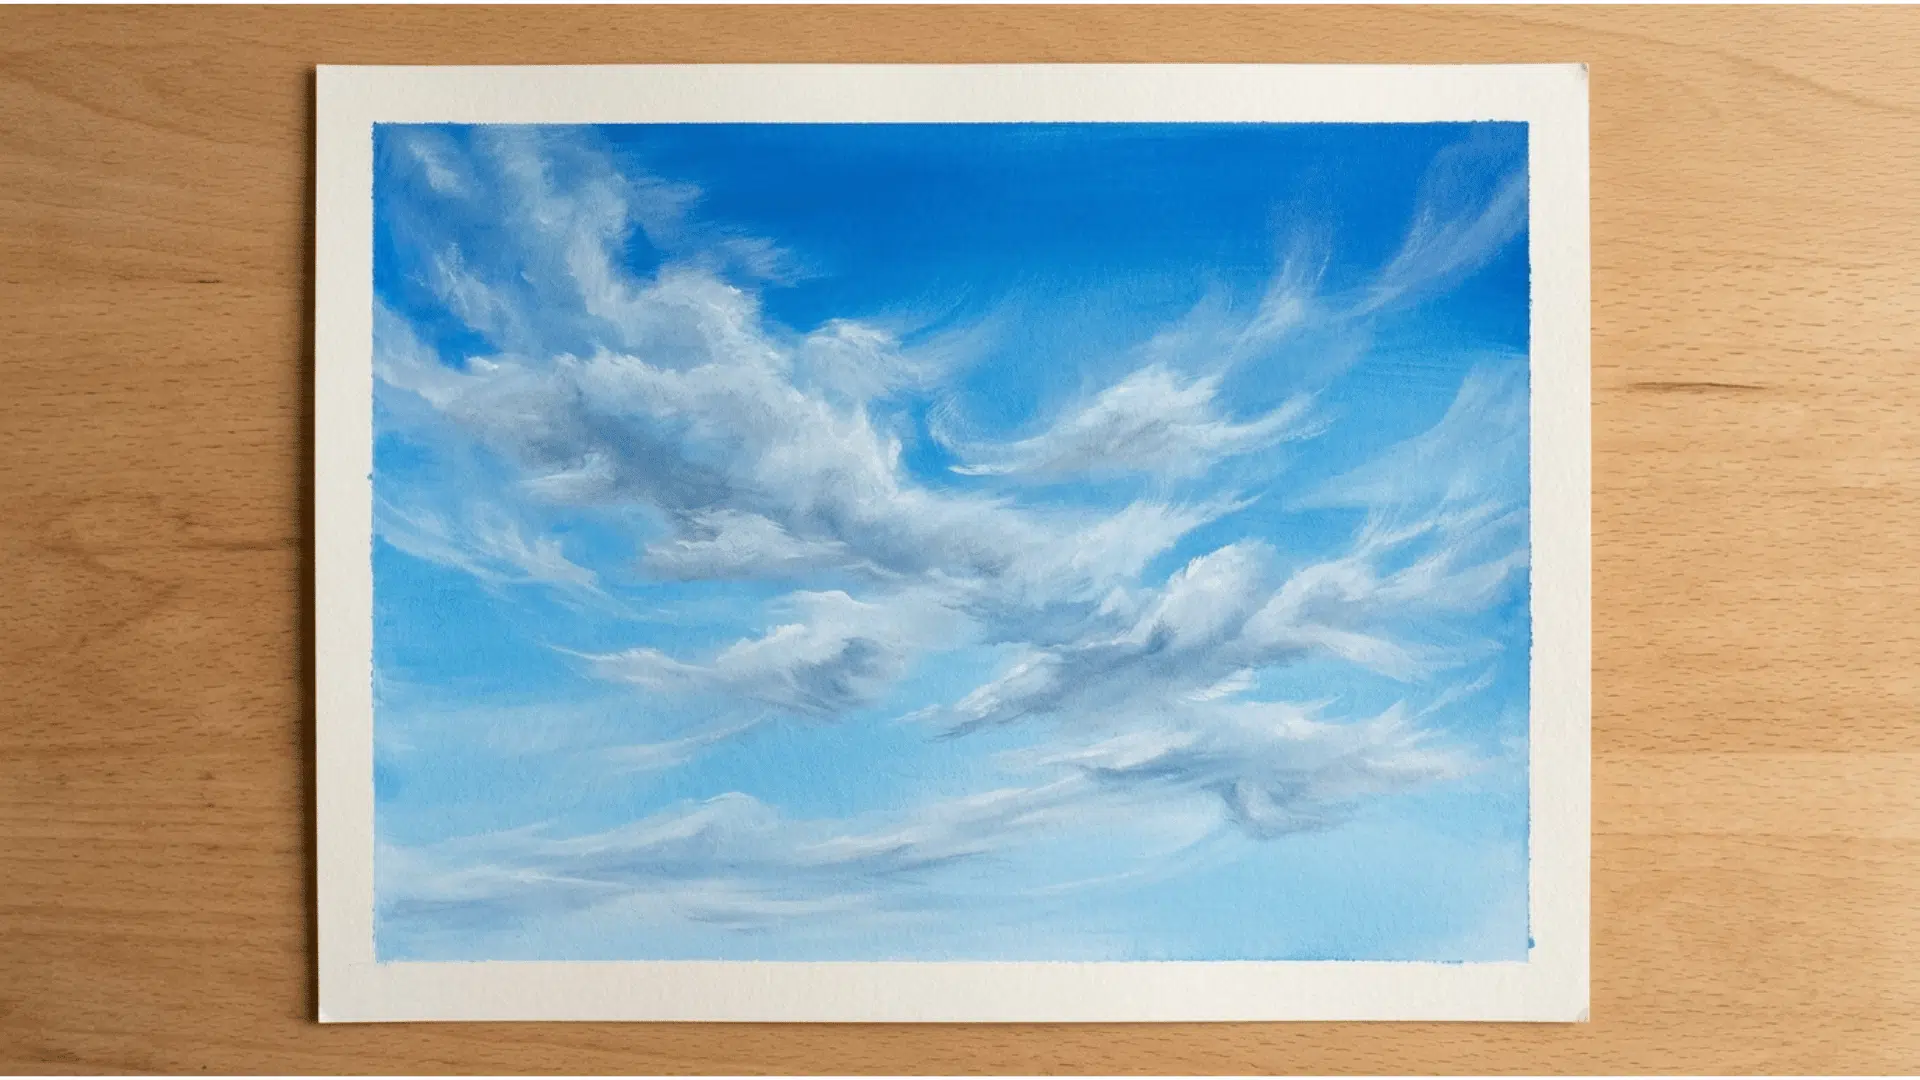
Use light, quick strokes to soften the edge between two colors. It is a more controlled version of blending that works well for hair, clouds, and fabric
17. Sponging
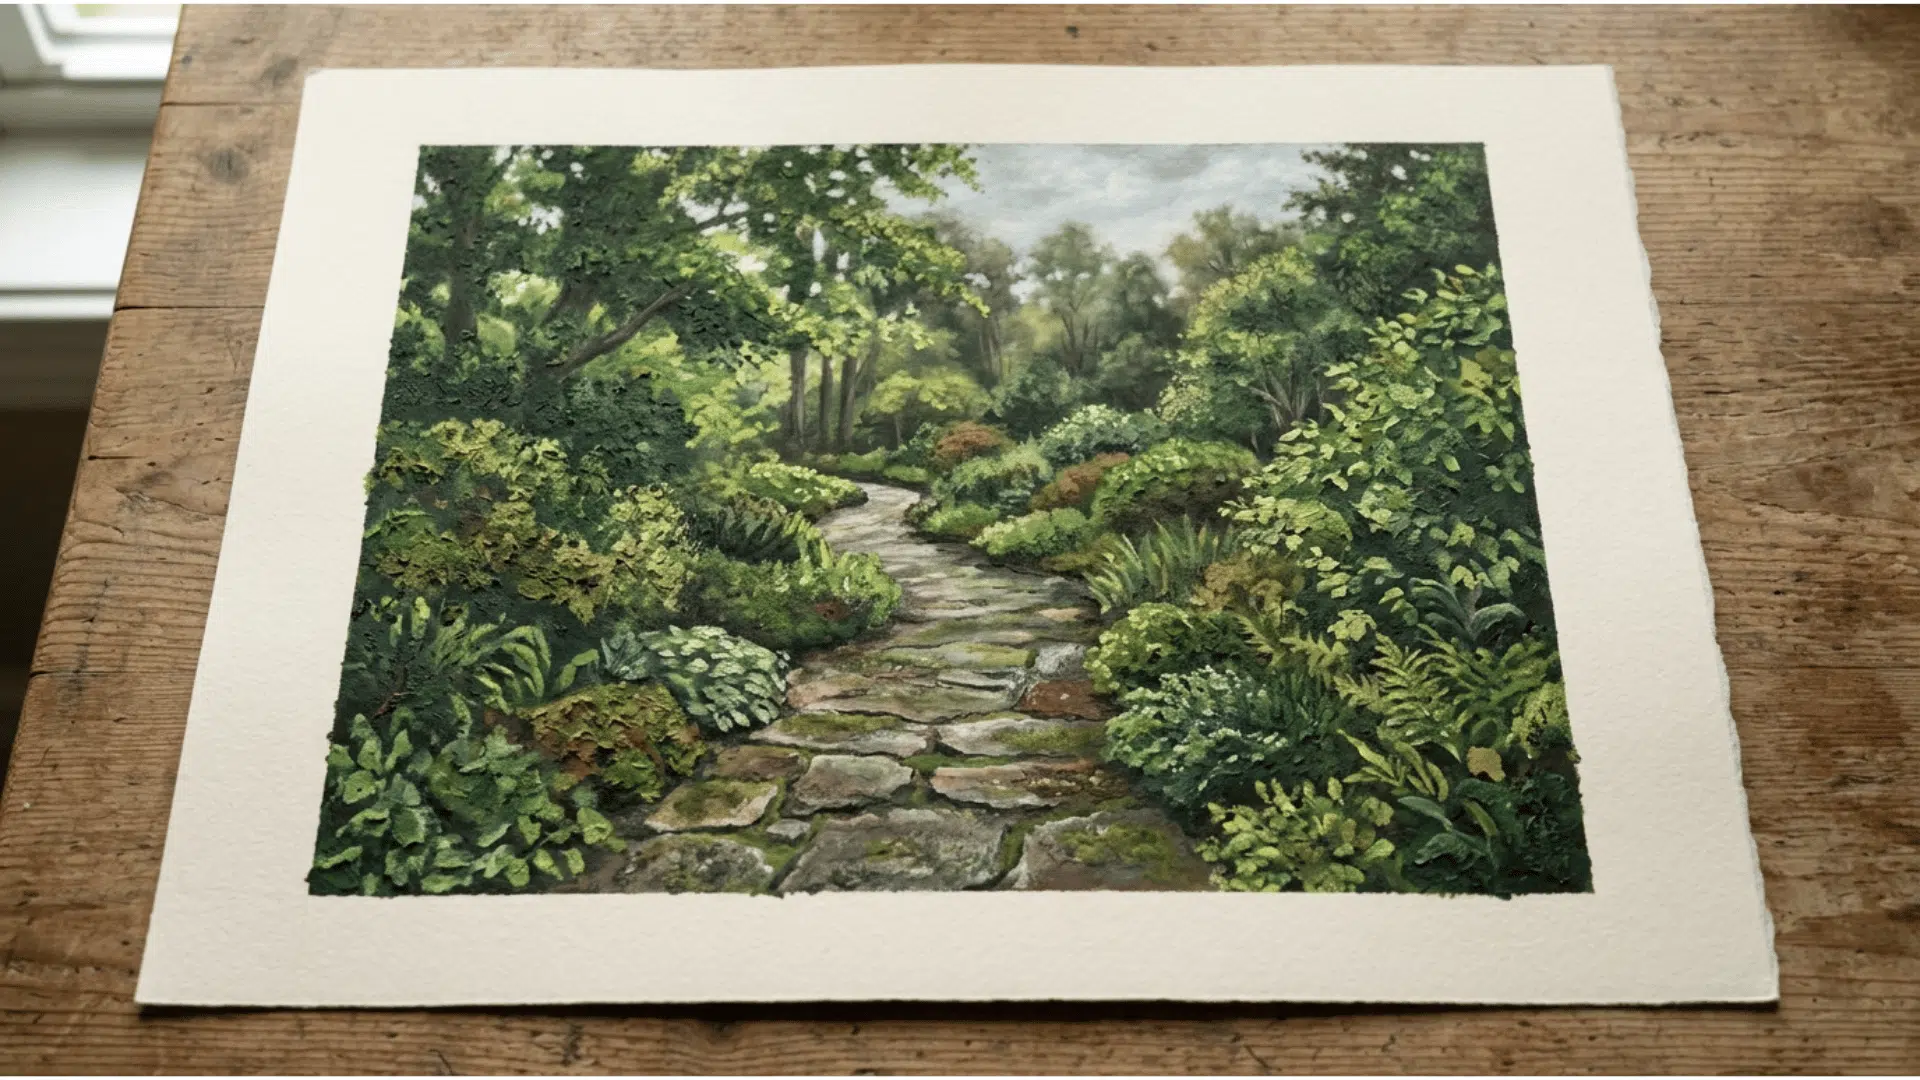
Dab paint onto the canvas with a sponge instead of a brush. The irregular texture it leaves behind is perfect for foliage, clouds, and stone surfaces.
18. Pouring
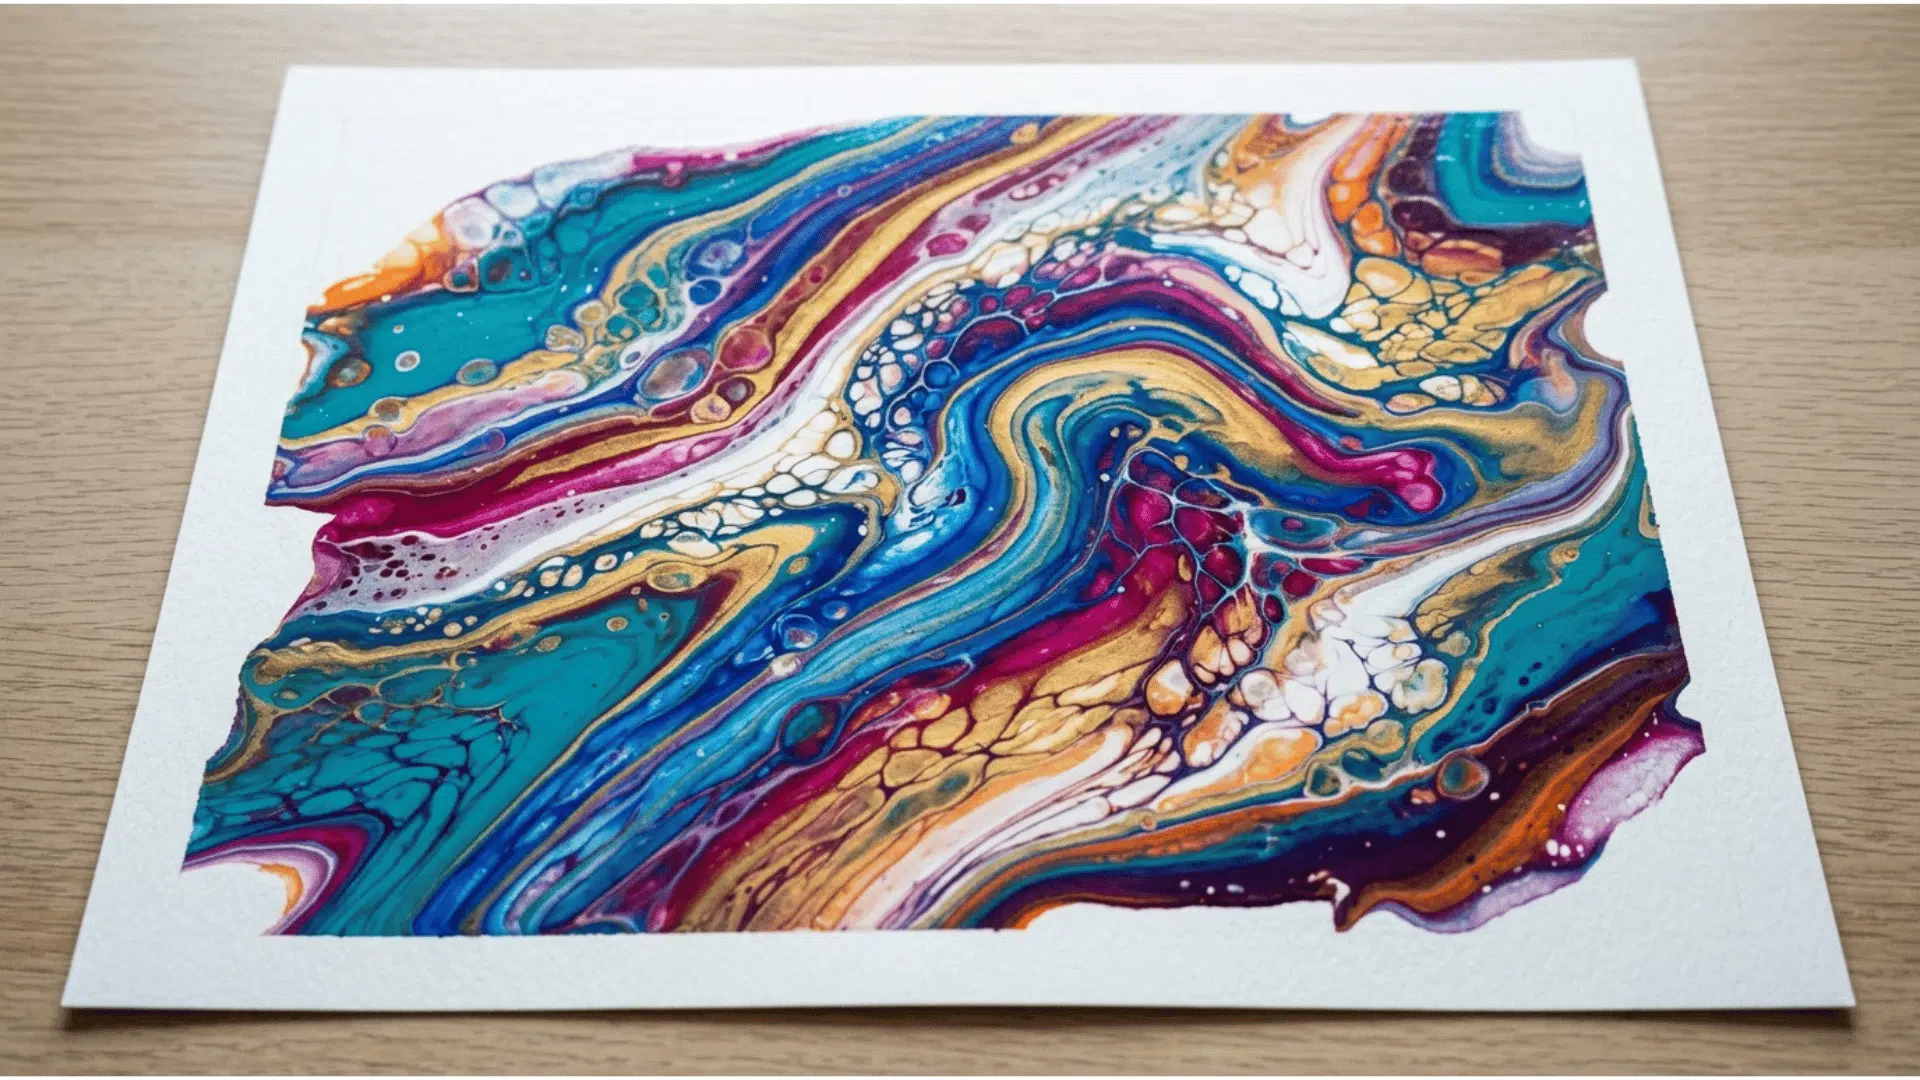
Thin the paint to a liquid consistency and pour it directly onto the canvas. The colors spread and mix on their own, creating organic, fluid patterns.
Tilt the canvas gently to guide the flow and create unique marbled effects without using a brush. Let the painting dry on a flat surface so the colors can settle naturally without running off the canvas.
19. Masking
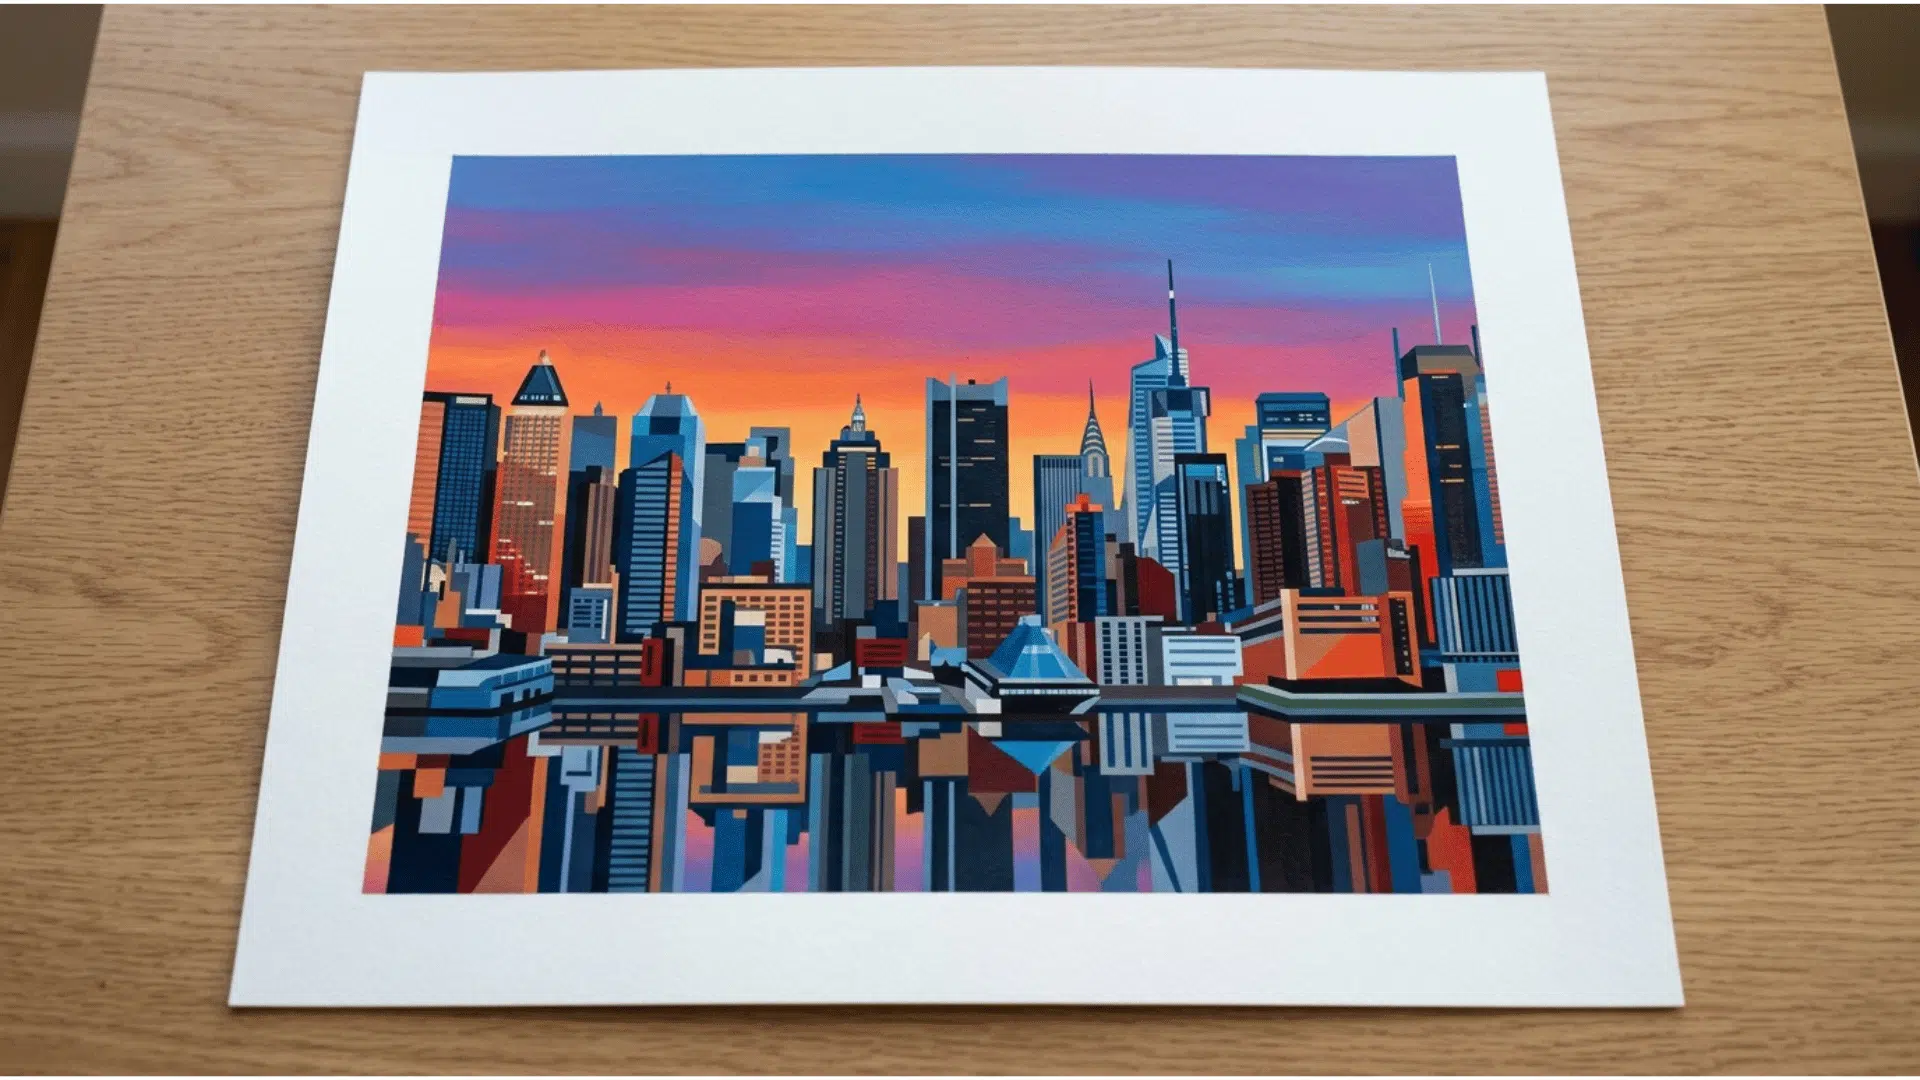
Apply masking tape or fluid to protect areas of the canvas before painting over them. Peel it back once the paint dries to reveal clean, hard edges underneath.
20. Spattering
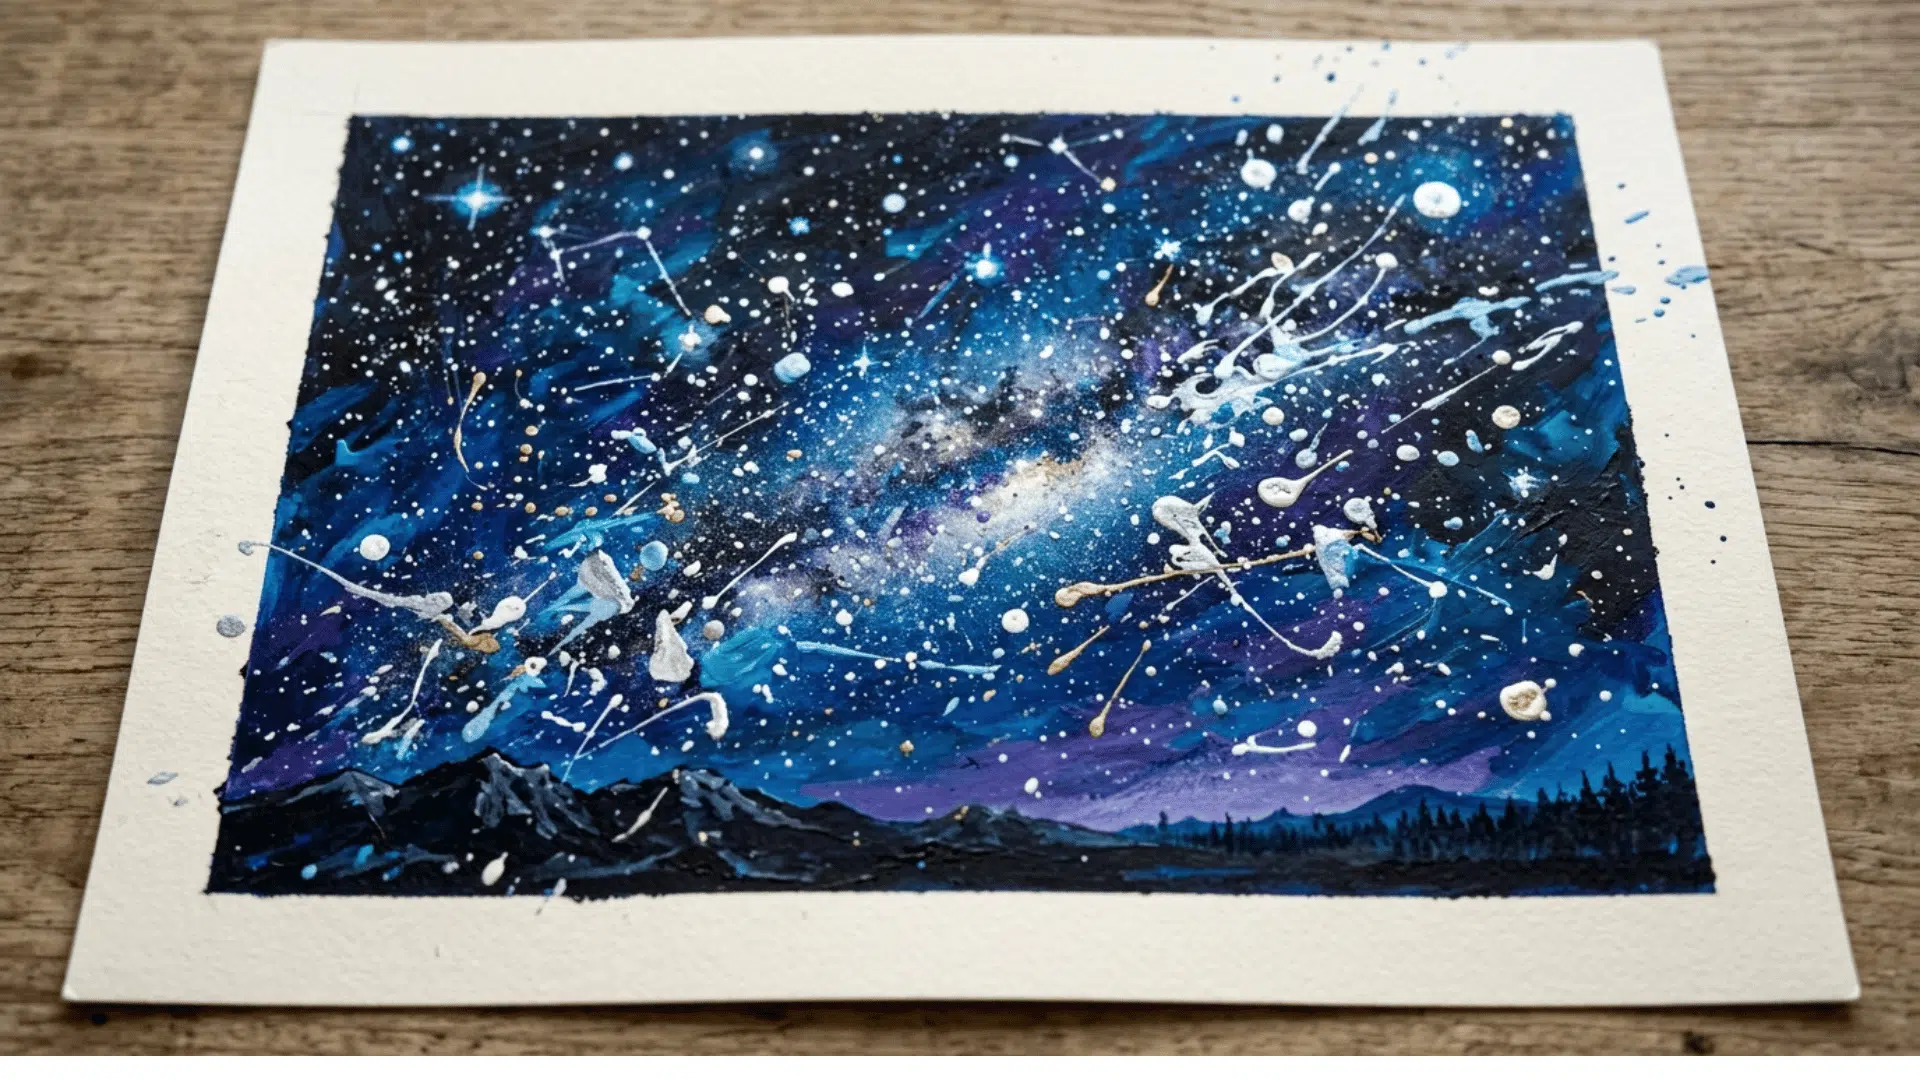
Load a brush with thinned paint and flick or tap it over the canvas to scatter small droplets. It adds energy and movement, often used in abstract and landscape work.
21. Outlining
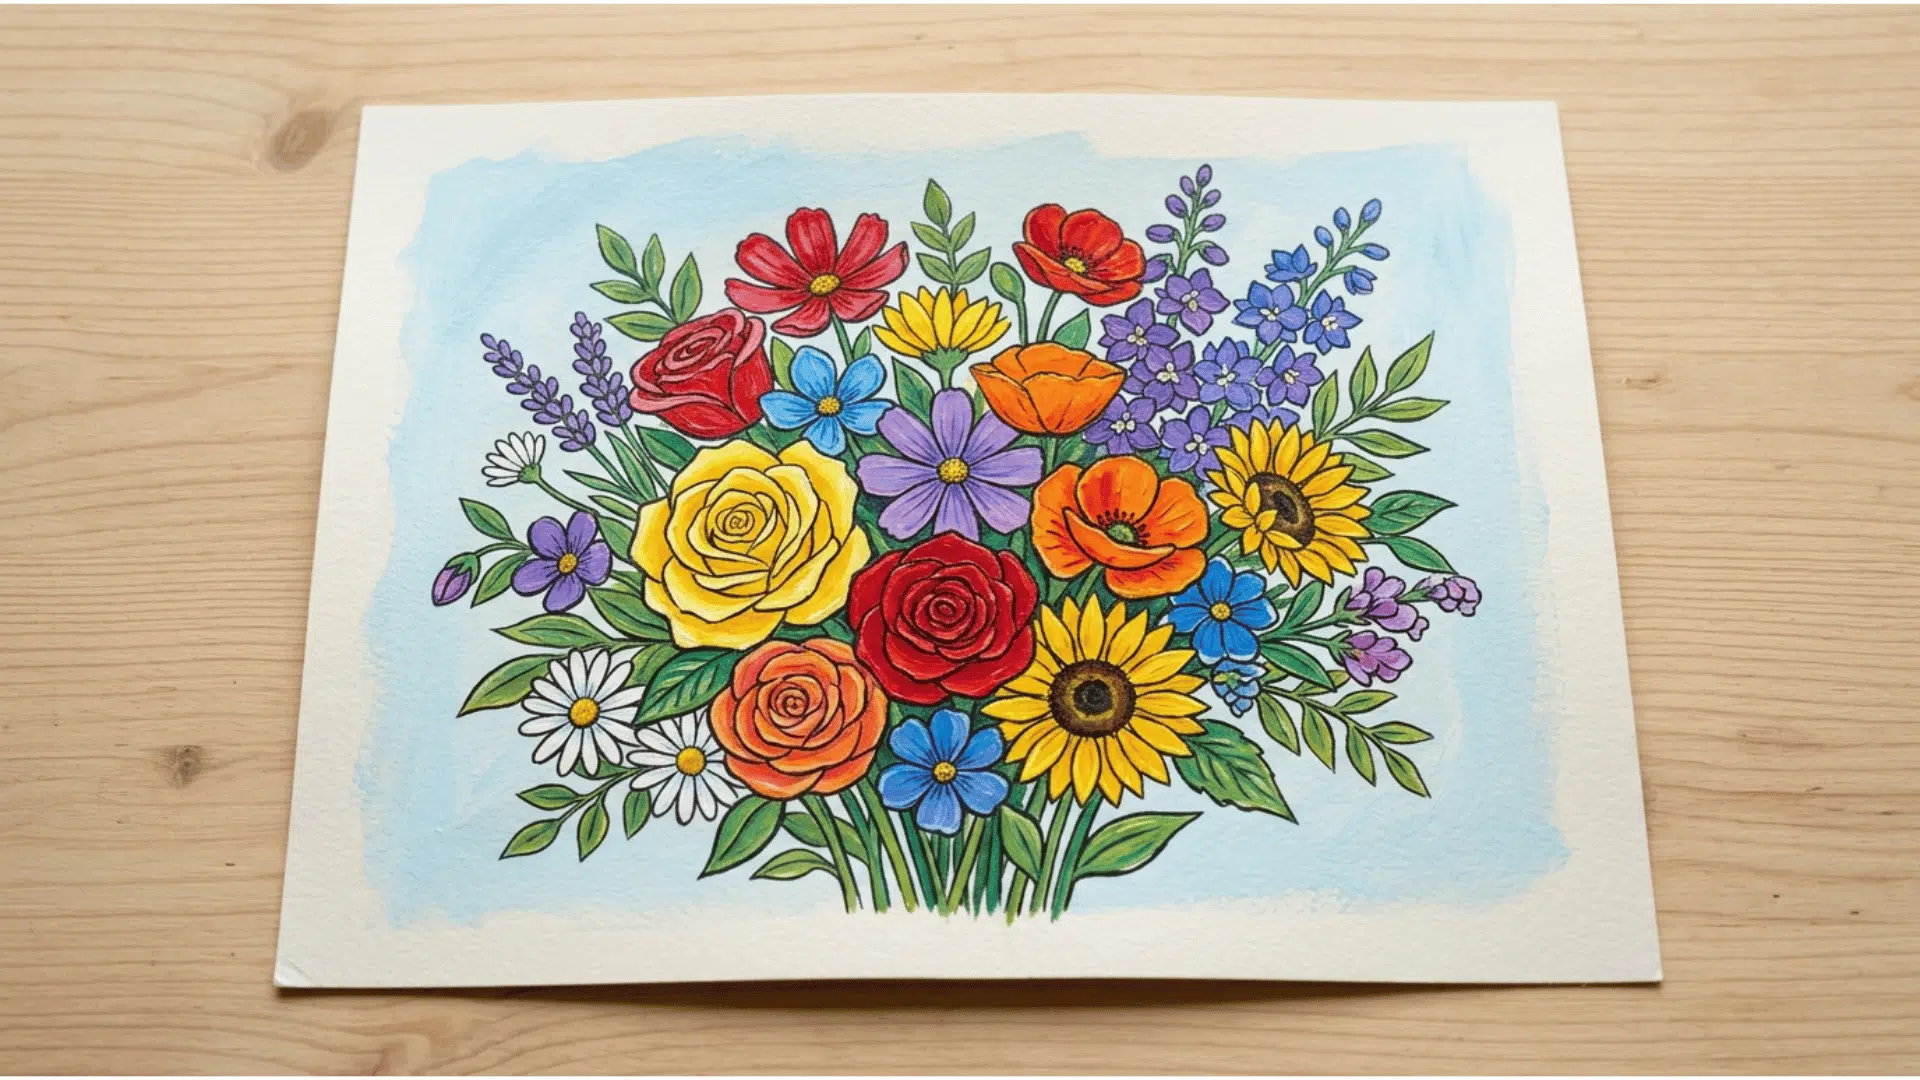
Use a fine brush or paint pen to draw a defined line around shapes or details. It sharpens a painting and gives it a graphic, illustrative quality.
22. Optical Color Mixing
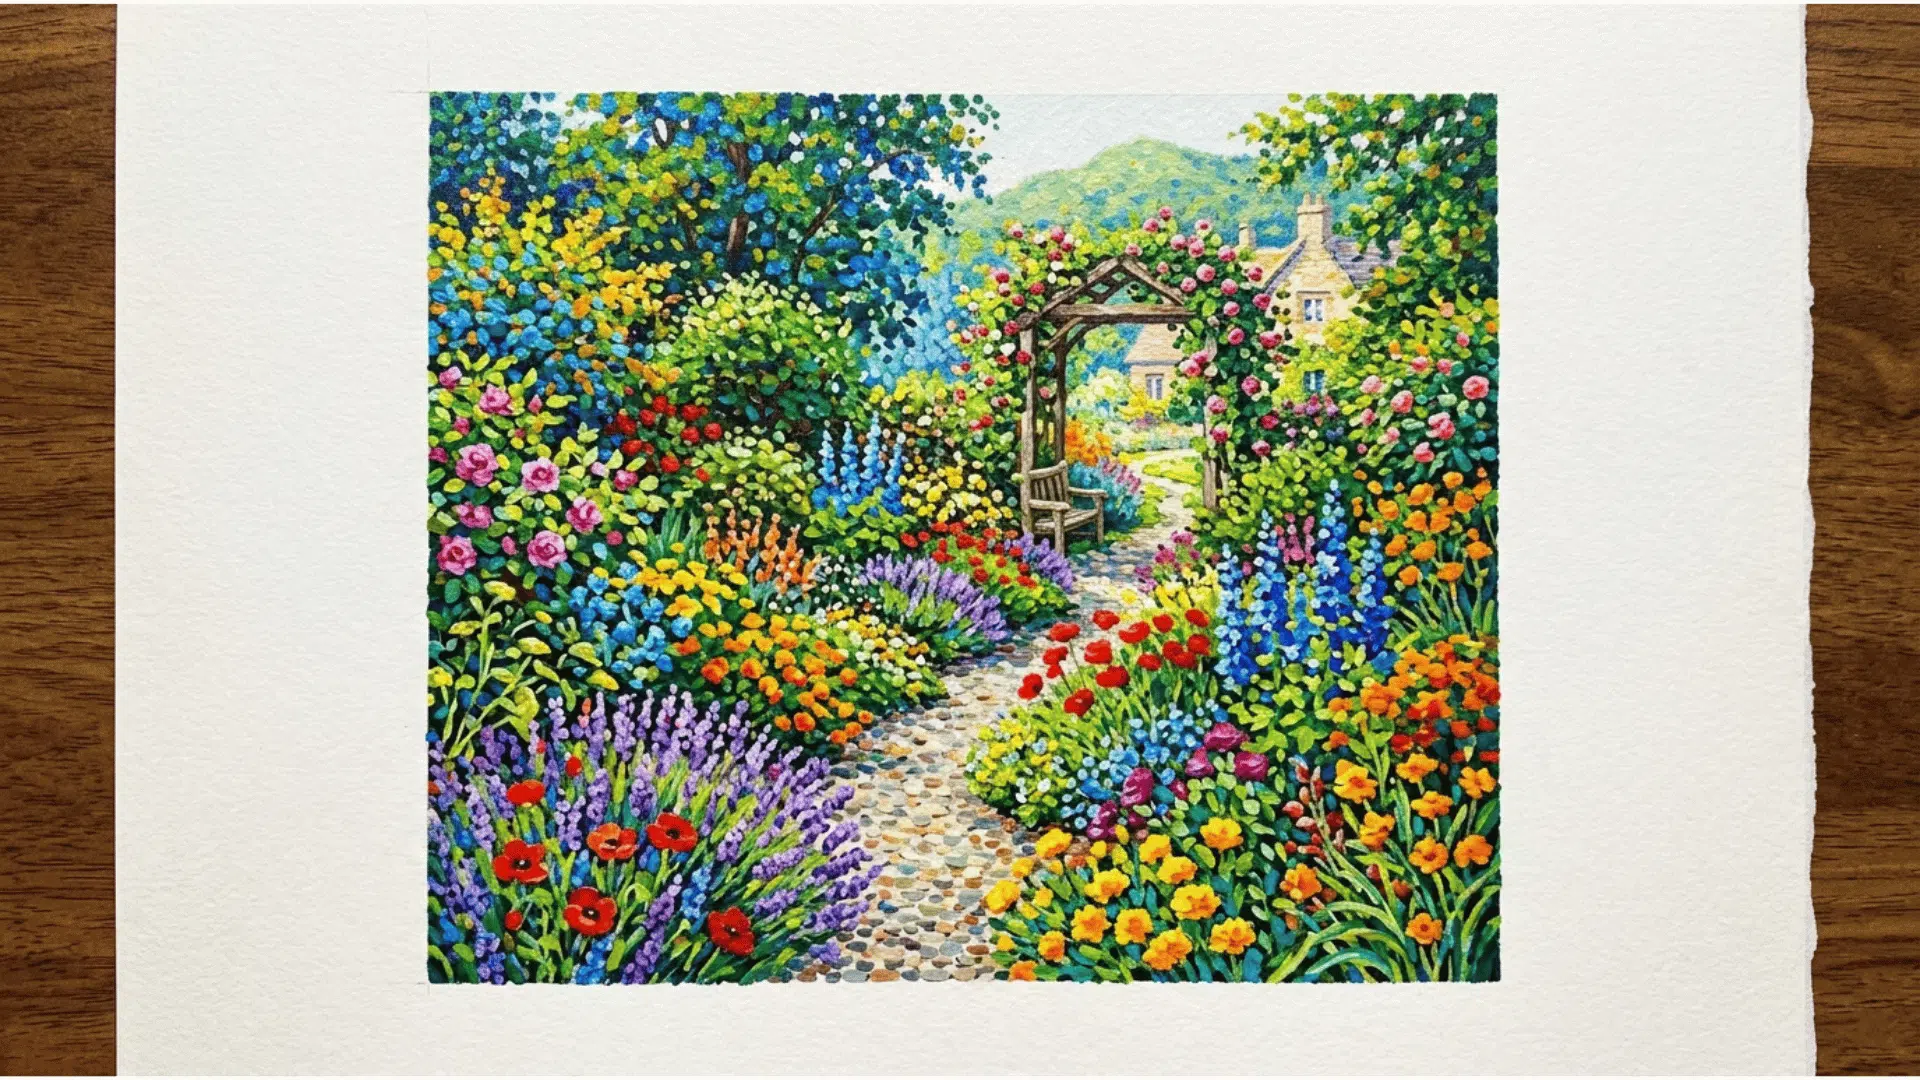
Place small strokes of two different colors side by side without blending them. From a distance, the eye reads them as a single mixed color, adding vibrancy to the surface.
23. Stenciling
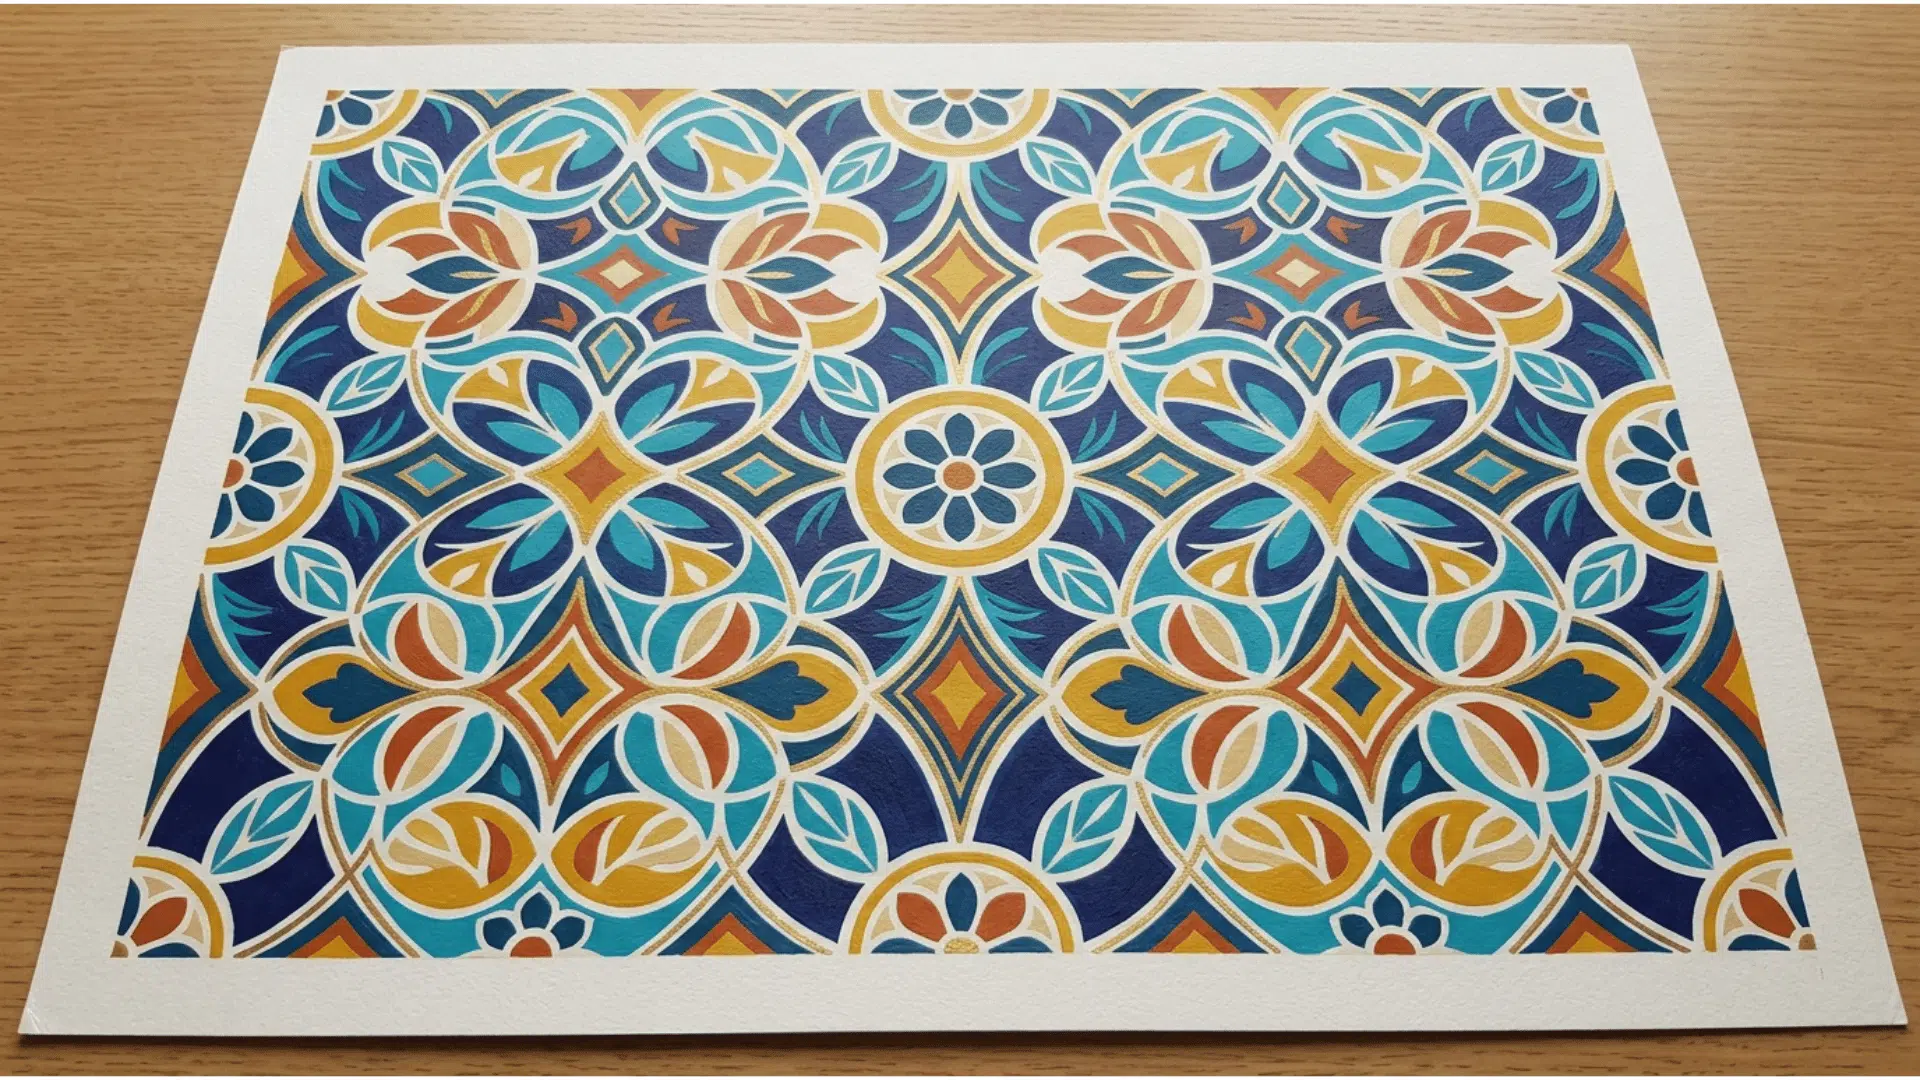
Hold or tape a stencil onto the canvas and apply paint over it with a brush or sponge. It creates repeatable shapes and patterns with clean, consistent edges.
24. Texture Paste
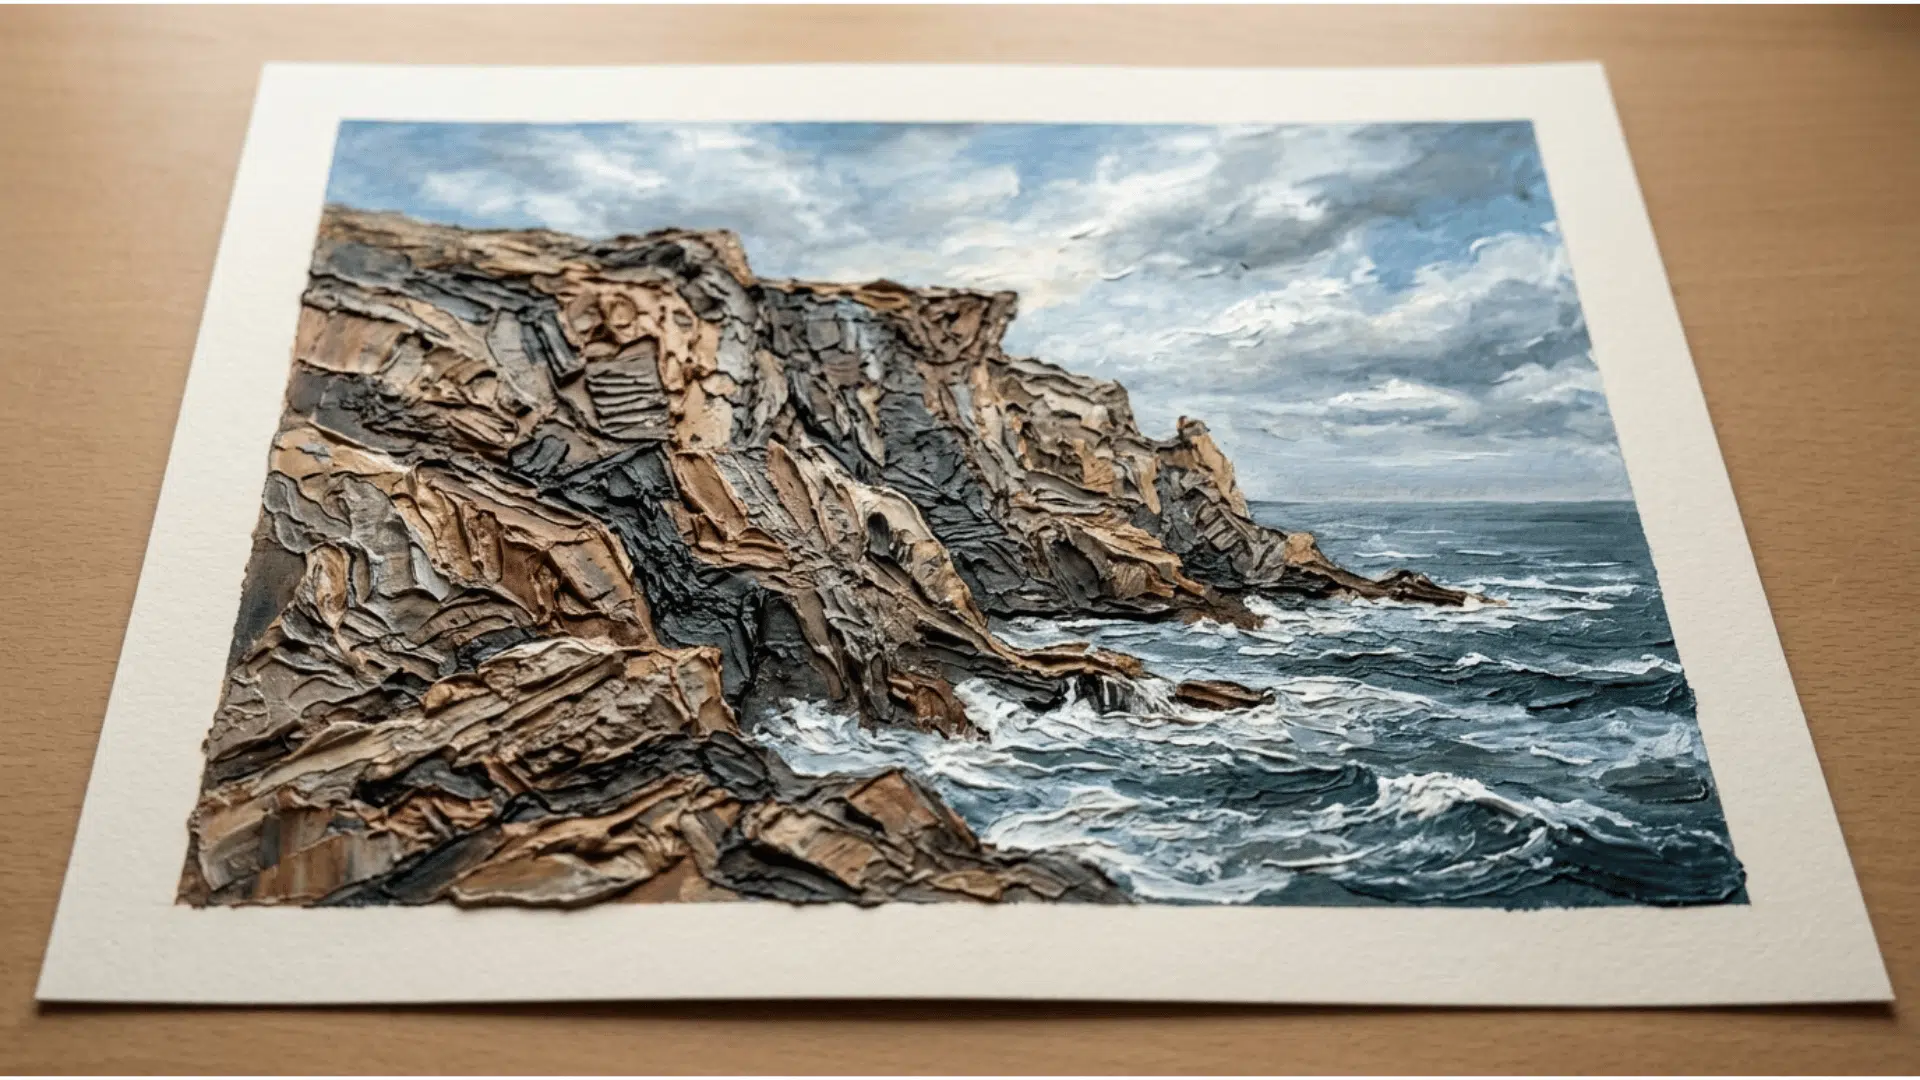
Mix texture paste into your paint or apply it to the canvas before painting. It builds up a physical surface that catches light and adds dimension to the finished piece.
Texture paste is ideal for creating raised highlights, rocky surfaces, tree bark, flowers, and other three-dimensional effects.
25. Glazing with Mediums
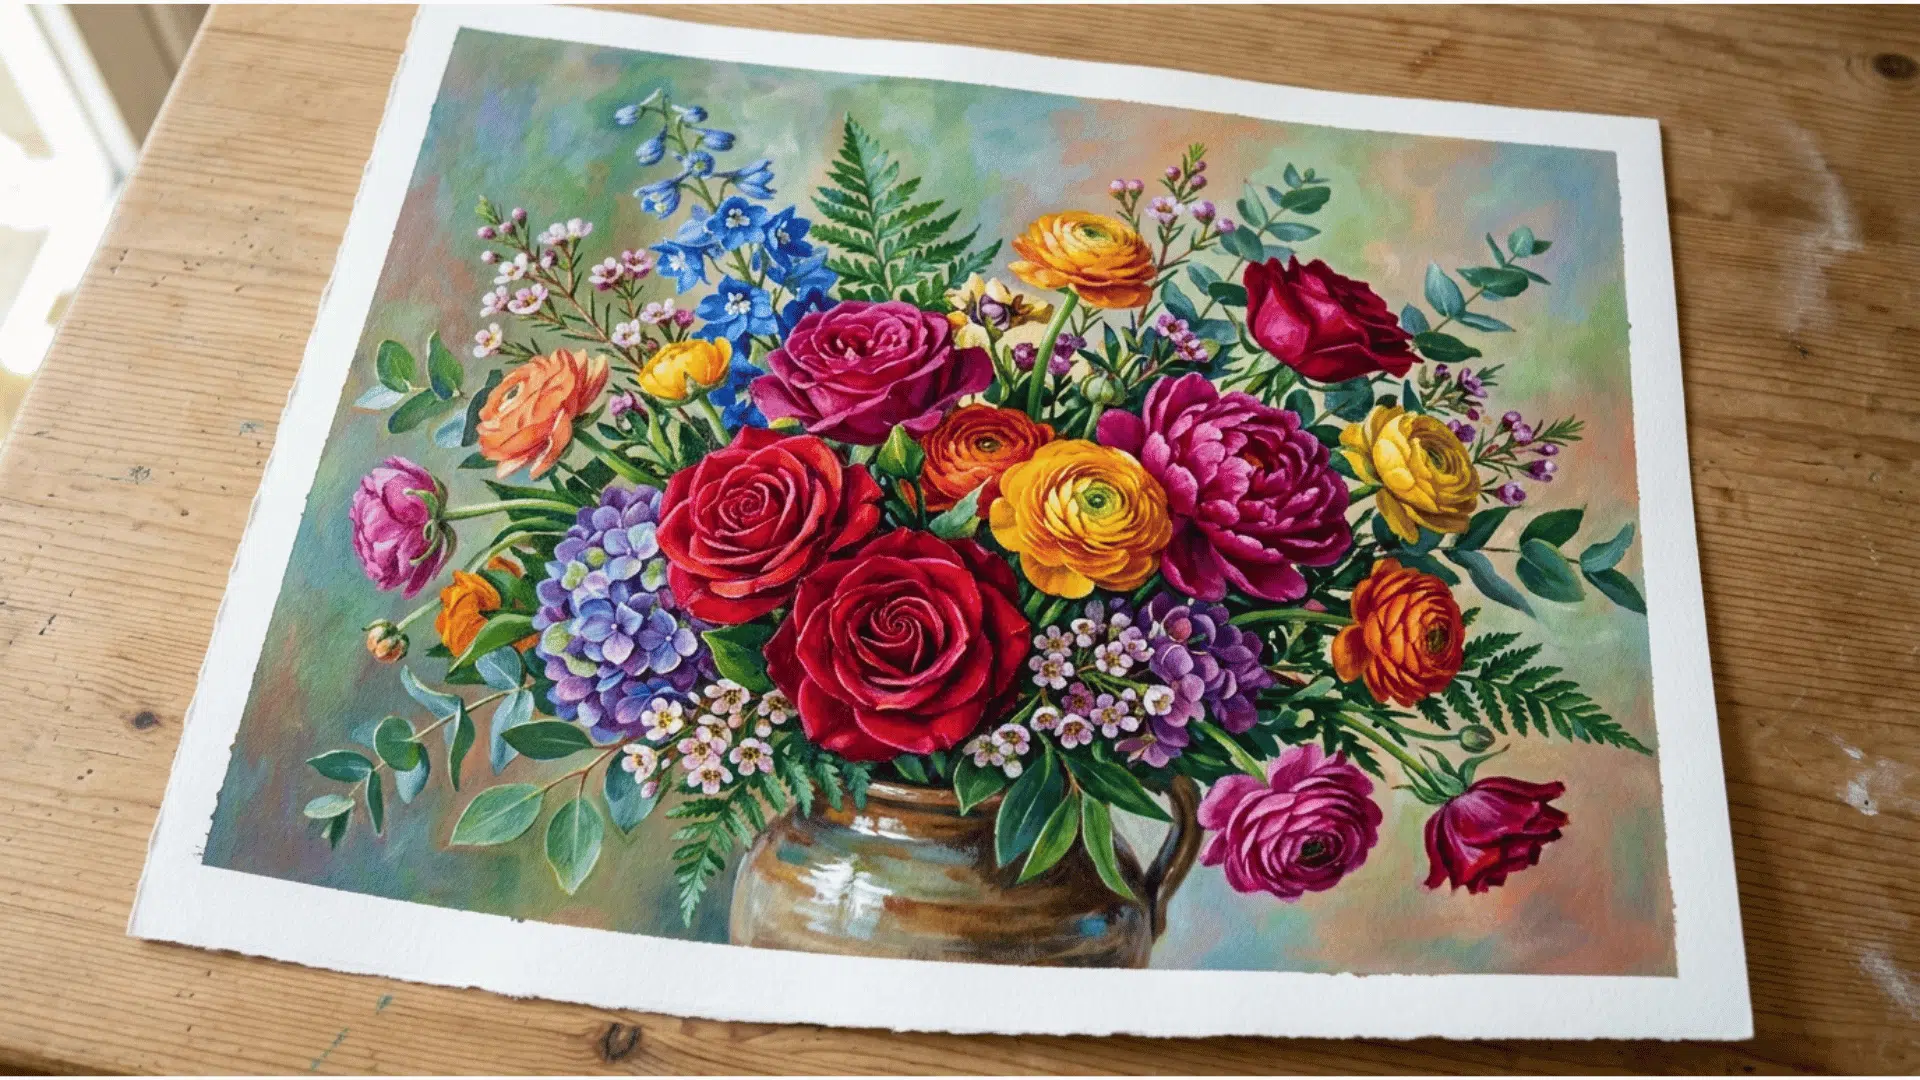
Mix a glazing medium into transparent paint and layer it over dry sections. Unlike water alone, the medium keeps the paint workable longer and gives a richer, smoother finish.
One thing worth knowing here is that the finish of your paint matters just as much as the technique. The guide to paint finish types is a helpful reference for understanding how different sheens behave on different surfaces.
Acrylic Techniques Demonstrated
Watch these step-by-step video breakdowns to see exactly how each technique works in practice.
- Joony Art: A hands-on walkthrough of core acrylic painting techniques showing how each one looks on canvas in real time.
- Aham Art: A practical demonstration of acrylic painting methods with a focus on brush control and building confident strokes.
- ColorByFeliks: A clear, visual breakdown of acrylic techniques that shows how to apply color, texture, and layering from start to finish.
Conclusion
You now know what acrylic painting is, what supplies to start with, the acrylic painting techniques that actually make a difference, and the mistakes that quietly hold most painters back.
That’s not a small thing. Most people spend months figuring this out by trial and error. If you came here to learn how to paint with acrylics, you have everything you need to move forward.
Pick one painting technique from this blog, set up your palette, and paint something today. It doesn’t have to be perfect. It just has to be started.
Frequently Asked Questions
Can Acrylic Paint Be Used on Skin or Fabric?
It is not safe for skin or fabric; mix textile medium into the paint to keep it flexible after drying.
How Do You Keep Acrylic Paint from Drying Out on the Palette?
Use a stay-wet palette with a damp sponge underneath to keep your painting techniques and acrylic work sessions going for hours.
Can You Paint Acrylics Over Oil Paint?
No, acrylics will not bond over oil and will crack or peel, which is why understanding the painting techniques acrylic painters rely on starts with knowing what surfaces work.