A feather has carried meaning across cultures for hundreds of years. It is often linked with freedom, personal growth, wisdom, and a connection to nature.
From tattoo concepts to sketchbook pages, feathers appear in many forms of art. Their structure is simple enough for beginners while still offering room for detailed work.
In this blog, you’ll learn how to draw a feather step by step. The process is easy to follow and can help you create artwork for personal projects, classroom activities, or creative practice.
Why are Feathers a Popular Motif in Art?
Artists often choose feathers as a subject because they offer both symbolic meaning and visual beauty.
A feather can be drawn with simple lines for minimalist artwork or with intricate details to showcase texture and movement.
Their diversity makes them popular in many creative projects, from personal sketches to professional designs.
Feather drawings are commonly used in tattoo artwork, journal decoration, nature-themed illustrations, greeting card designs, wall art projects, and classroom art activities, making them a timeless choice for artists of all skill levels.
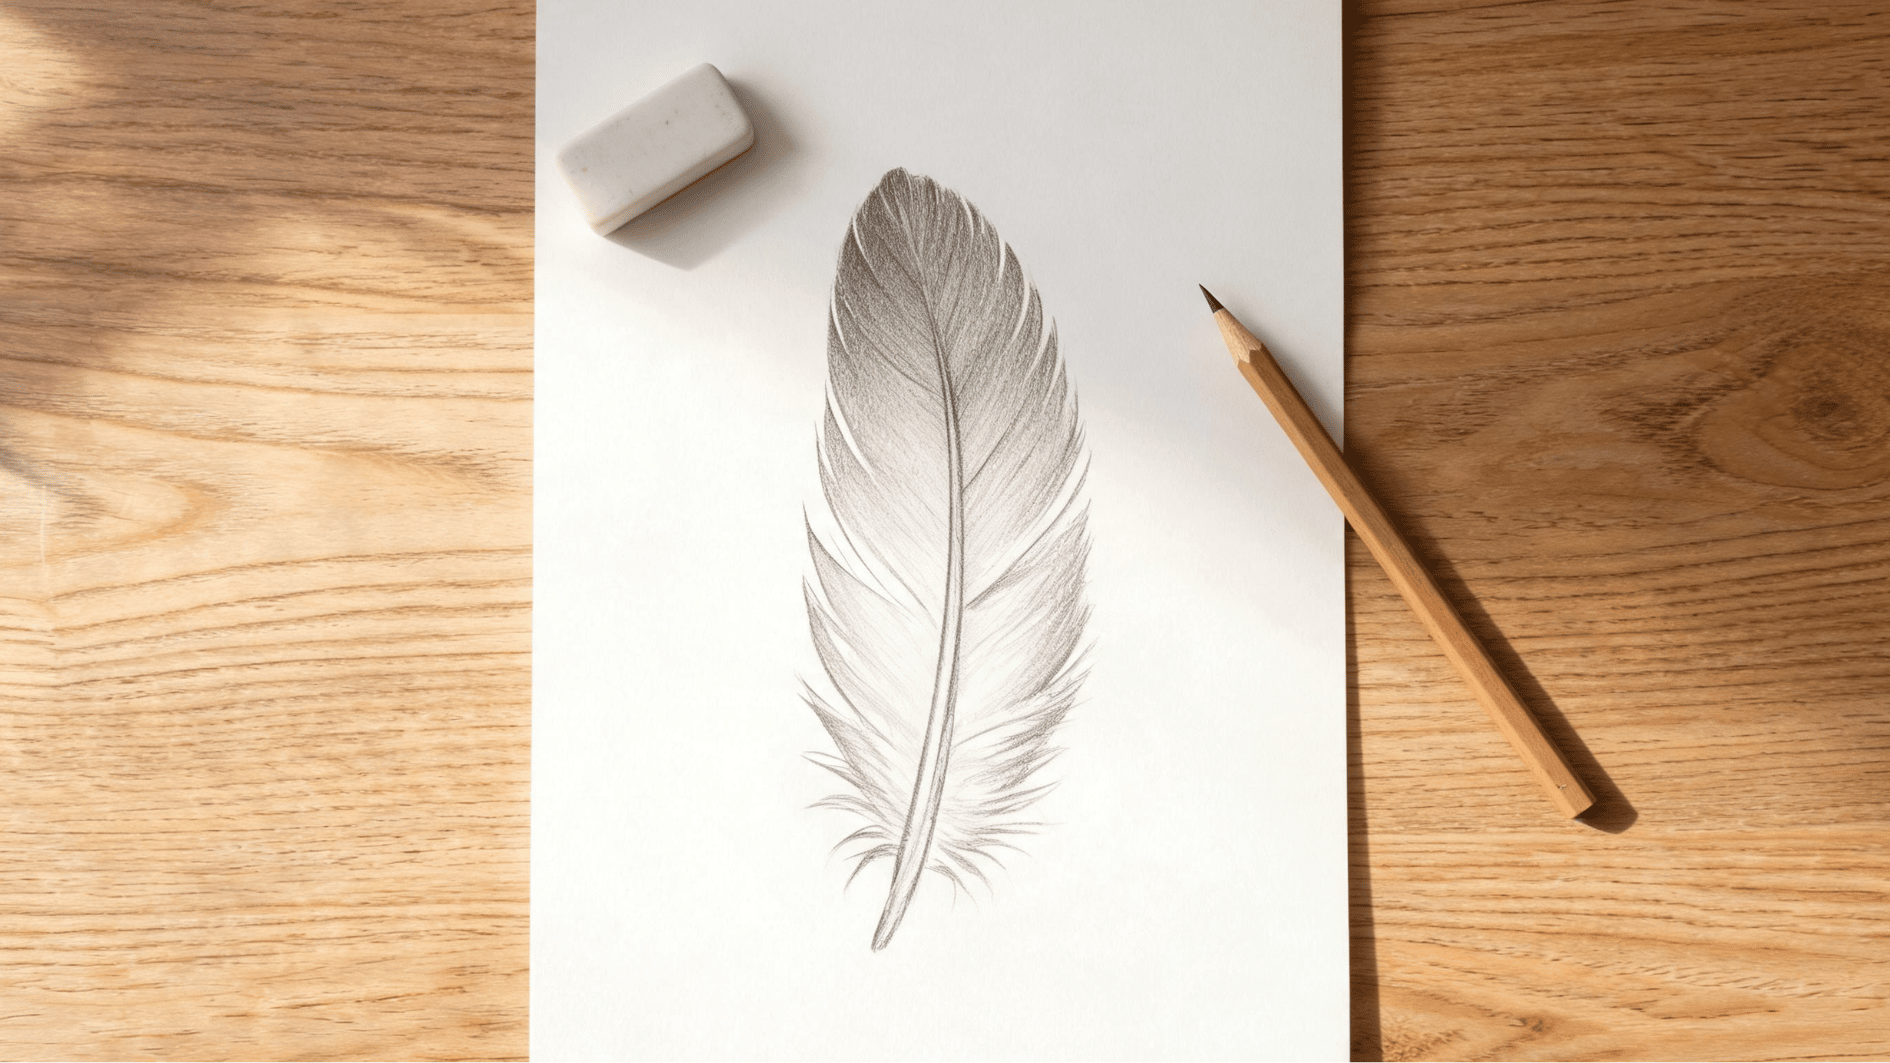
How to Draw a Feather: Step-by-Step
Before starting, look at the feather as a simple shape made from a center line, soft outer edges, and fine inner details. These steps will help you build the drawing slowly, so the final result looks clean and natural.
Step 1: Draw the Center Shaft
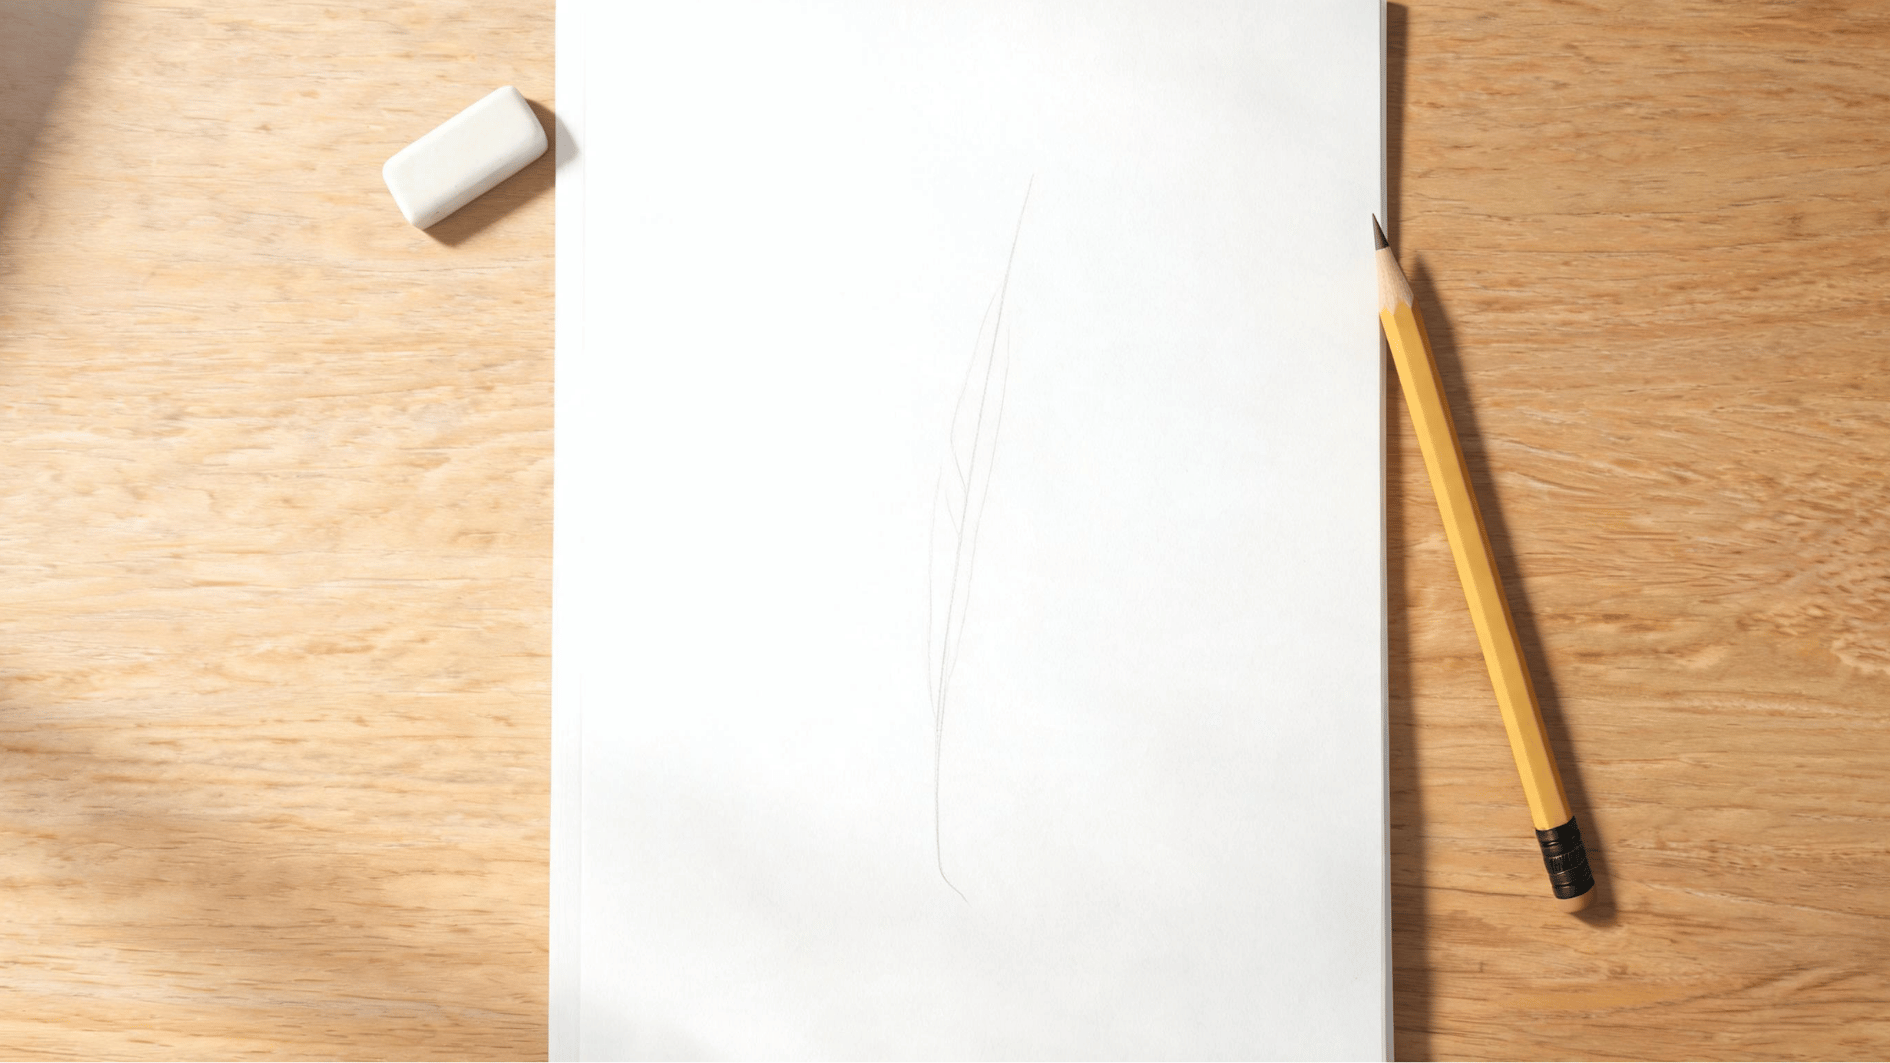
Begin with a slightly curved vertical line. This line is the main support of the feather, so keep it smooth and light.
The curve will decide whether your feather looks straight, soft, or gently floating.
Step 2: Create the Basic Shape
Draw two long curved lines from the shaft, bringing them together near the top.
Keep one side a little wider or more curved than the other. This makes the shape look natural instead of stiff. At this stage, you have the basic feather outline.
If you want to strengthen your eye for edge accuracy, contour drawing practice is one of the best ways to train yourself to follow natural shapes with a steady line.
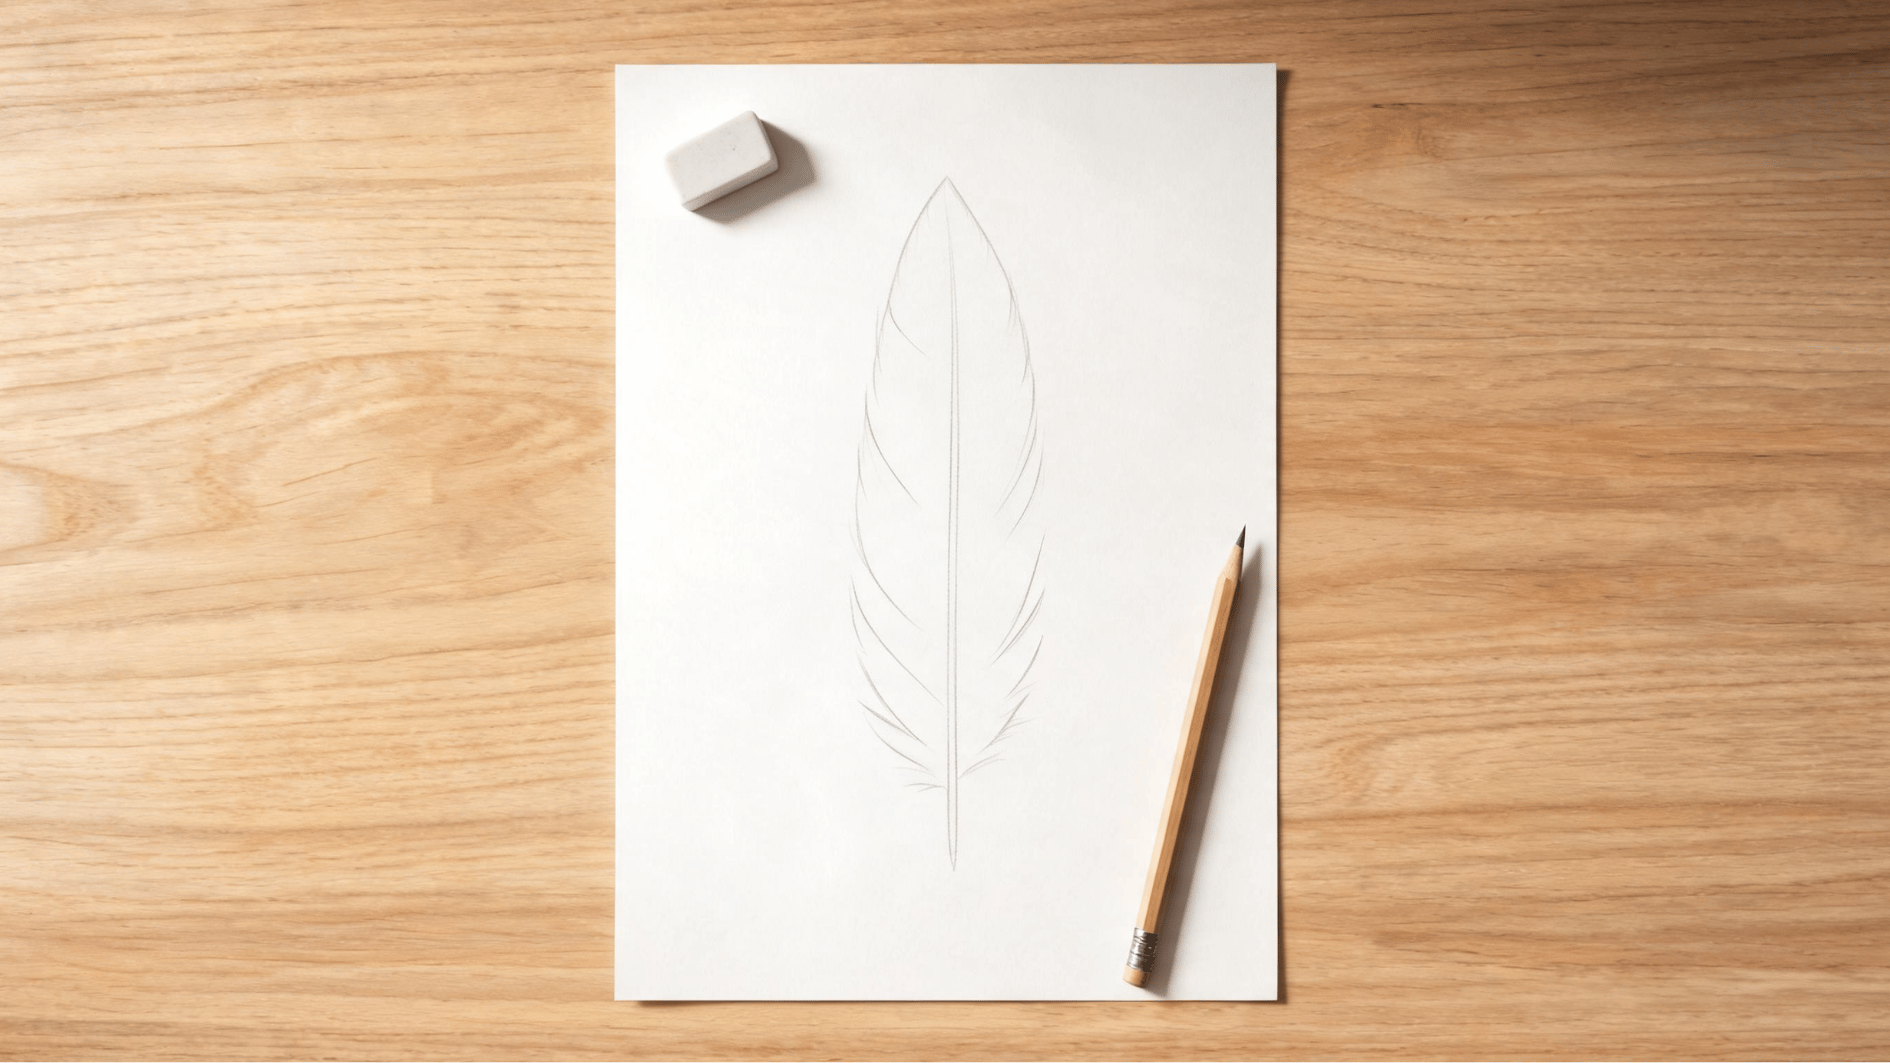
Step 3: Add the Vanes

Draw short angled lines from the center shaft toward the outer edges. Let the lines follow the curve of the feather instead of pointing straight out.
Make some lines longer and some shorter so the feather looks soft and natural.
Step 4: Build Texture

Add fine strokes inside the feather, following the same direction as the vanes.
Leave a few small gaps along the edges and between sections. These breaks help the drawing look more realistic and turn it into a clear feather sketch.
Step 5: Add Shading
Use a softer pencil to add light shadows near the shaft and under overlapping sections.
Keep the shading gentle, then darken only a few areas for depth. This helps the feather look soft, layered, and more three-dimensional.
Suggested: A full breakdown of pencil shading methods from hatching to circulism will help you choose the right technique for each area of the feather.
Essential Techniques for Drawing Lifelike Feathers
Drawing a feather may look simple at first, but capturing its delicate structure, soft texture, and natural flow requires careful observation and the right technique.
| Technique | How to Do It | Benefit |
|---|---|---|
| Light Sketching | Start with very soft pencil outlines to map the feather shape | Helps fix mistakes easily and keeps drawing clean |
| Build from Spine First | Draw the central shaft first before adding any details | Gives proper structure and correct feather alignment |
| Layered Strokes | Add feather strands gradually in multiple light layers | Creates natural texture and realistic depth |
| Gradual Shading | Slowly build dark and light tones instead of heavy shading | Makes the feather look soft and realistic |
| Edge Variation | Mix soft and sharp edges along the feather outline | Adds a natural, organic appearance |
| Directional Lines | Draw strokes following the natural flow of the feather | Improves realism and movement |
| Leave Highlights | Keep small white spaces for light reflection | Improves 3D effect and realism |
Feather Drawing Ideas to Try
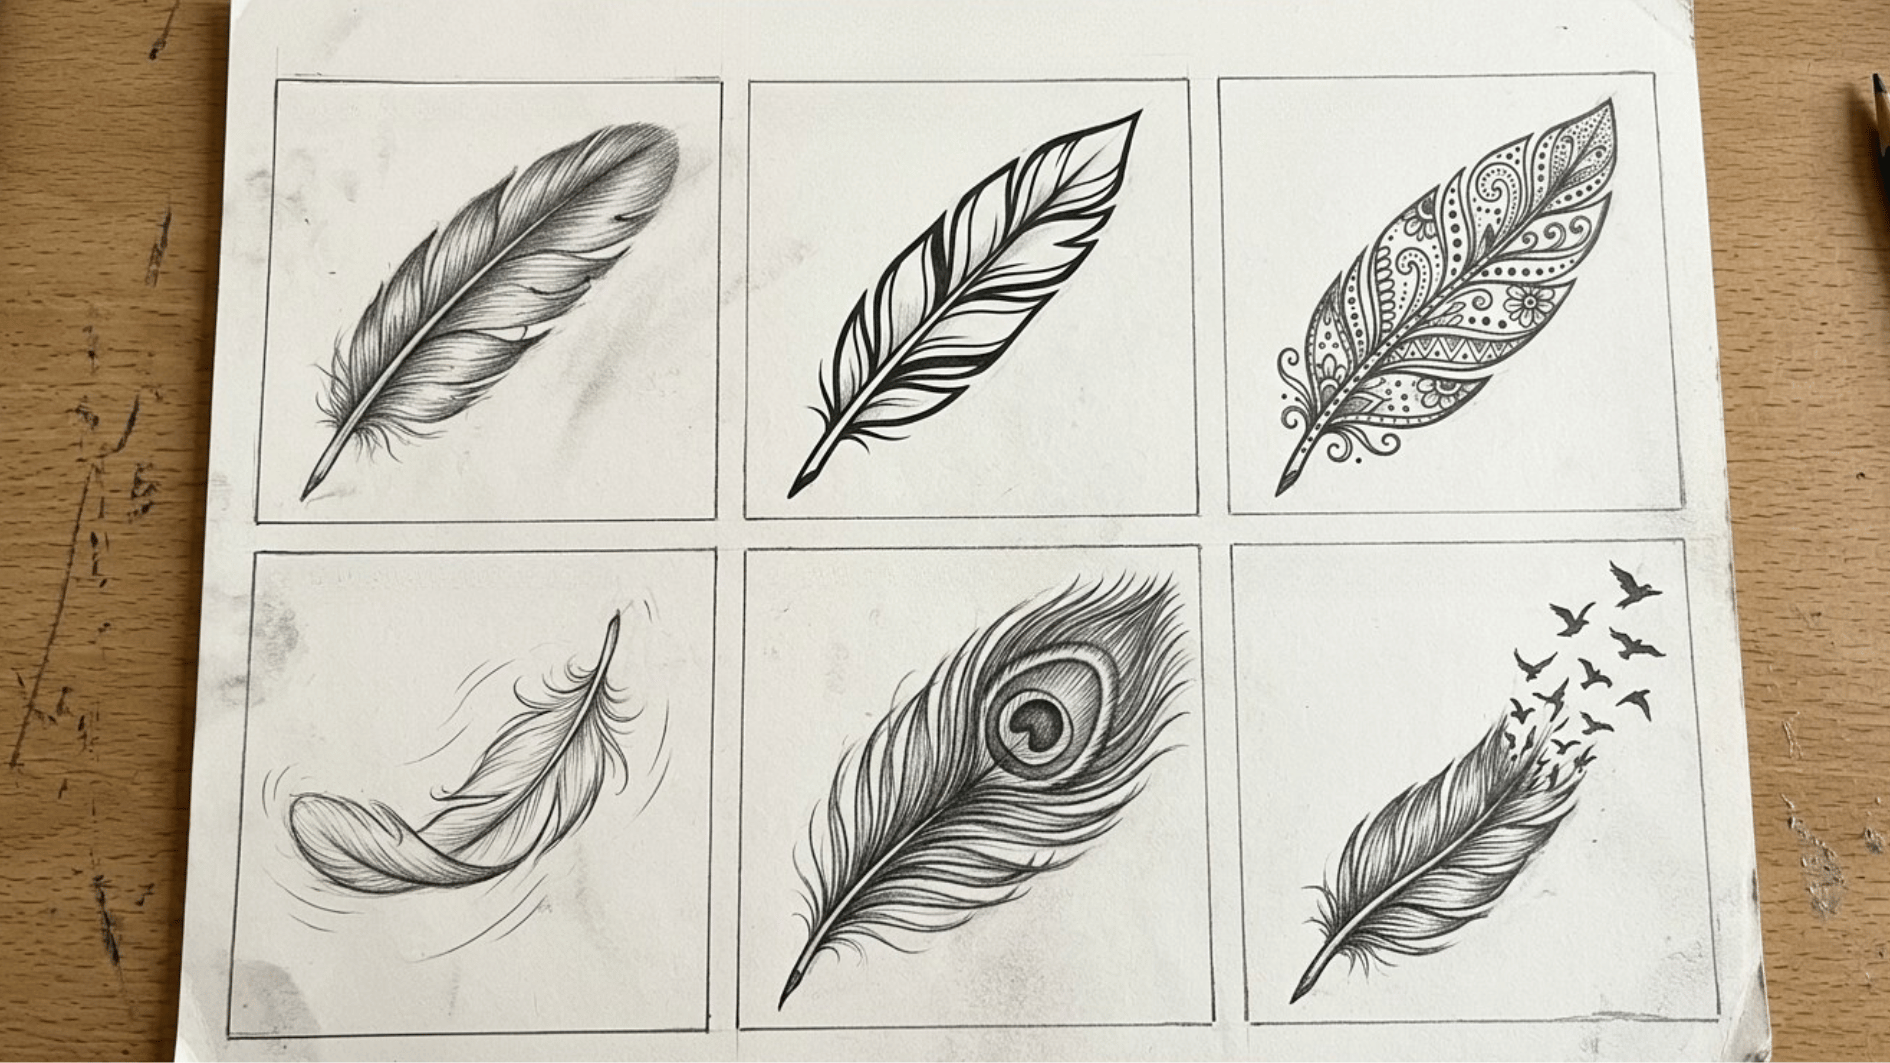
Once you understand the basics, experiment with different styles, from realistic detailing to loose, expressive sketches for tattoo designs, art projects, or simply to find what best suits your creative style.
1. Realistic Feather
Focus on texture, shading, and small imperfections.
This style is great when you want your drawing to look close to a real feather. Add uneven edges, soft shadows, and fine lines to make it feel natural.
2. Tattoo Feather
Use clean outlines and bold shapes.
A tattoo-style feather works best when the design is simple but strong. Keep the lines neat, add only the details you need, and make sure the shape is easy to recognize.
3. Decorative Feather
Add patterns, dots, flowers, or geometric elements.
This is a fun choice when you want your feather to feel more creative. You can fill the inside with small details while keeping the outer shape clean.
4. Floating Feather
Draw a feather drifting through the air with small motion lines.
This style gives your drawing a soft, peaceful feeling. A slight tilt, a curved shape, and a few light lines around it can make the feather look as if it is gently falling.
5. Peacock-Inspired Feather
Include decorative eye patterns and color accents.
This idea is perfect when you want something more colorful. Add the rounded eye shape near the top, then use blues, greens, or gold tones for a bright look.
6. Feather with a Bird Silhouette
Create a feather design that blends into the shape of a flying bird near the top or along one side.
This style is popular for tattoos and wall art ideas. Let a few strands of feathers slowly turn into tiny birds, so the design feels connected and meaningful.
Tips To Get Better Results
A strong feather outline creates the foundation for a successful drawing, helping define shape, structure, and flow before adding any detailed texture or shading.
- Study Real References: Photographs help you understand texture and shape.
- Use Light Sketch Lines: Starting lightly makes corrections easier.
- Build Details Slowly: Adding texture gradually creates cleaner artwork.
- Practice Different Shapes: Long, short, curved, and wide feathers all offer different drawing experiences.
- Observe Feather Flow: Pay attention to how feathers naturally overlap and follow the direction of the wing.
- Focus on Light and Shadow: Shading helps bring depth and makes feathers look more realistic and three-dimensional.
- Refine Edges Last: Keep outlines soft at first and sharpen only the final edges to maintain a natural look.
The Bottom Line
Learning how to draw a feather is a great way to practice shape, texture, and shading in a single project. The process is straightforward, making it suitable for beginners while still offering opportunities for artistic growth.
Start with a simple structure, focus on clean lines, and build details gradually.
With practice, every feather sketch will become more polished and expressive, helping you create artwork that feels both meaningful and visually pleasing.
Frequently Asked Questions
What is the Easiest Feather Style for Beginners?
A simple single-feather drawing with minimal texture is usually the easiest starting point. Once comfortable, you can add shading and extra details.
Can I Turn a Feather Drawing Into a Tattoo Design?
Yes. Many tattoo artists begin with pencil concepts before refining the design digitally or with ink.
What Colors Work Well for Feather Artwork?
Natural browns, whites, and grays work well for realistic drawings, while blues, greens, and purples are popular for decorative feather designs.