Why does a simple kids’ activity sometimes turn into more work than fun? Easy painting ideas for kids should feel light, playful, and simple from the start.
Yet many projects online look easy only after a lot of prep, special supplies, or adult help. That can leave you with a messy table, a bored child, and more cleanup than expected.
Young children also lose interest fast when a project has too many steps. You need activities that match their age and attention span.
When painting feels too planned or too perfect, the fun disappears. That is the real problem most parents face.
Best Paint and Supplies for Simple Kids’ Projects
Simple supplies make painting easier to set up and clean up. The right materials also help young children paint with less frustration.
- Washable paint: Cleans easily from hands, clothes, and tables.
- Finger paint: Works well for toddlers who like painting with their hands.
- Thick paper: Holds paint better and helps prevent tearing.
- Large brushes: Give small hands a firmer grip and better control.
- Sponges: Create soft shapes, stamps, and textured marks.
- Cotton swabs: Help kids make dots, lines, and small patterns.
- Paper plates: Work as paint trays or simple painting surfaces.
21 Easy Painting Ideas for Kids to Try
Painting with kids doesn’t require expensive supplies or special skills. These simple ideas use everyday materials and encourage children to explore colors, creativity, and their imagination.
If you want to widen the net beyond paint, these simple art projects for kids follow the same low-setup rule.
1. Finger Painting
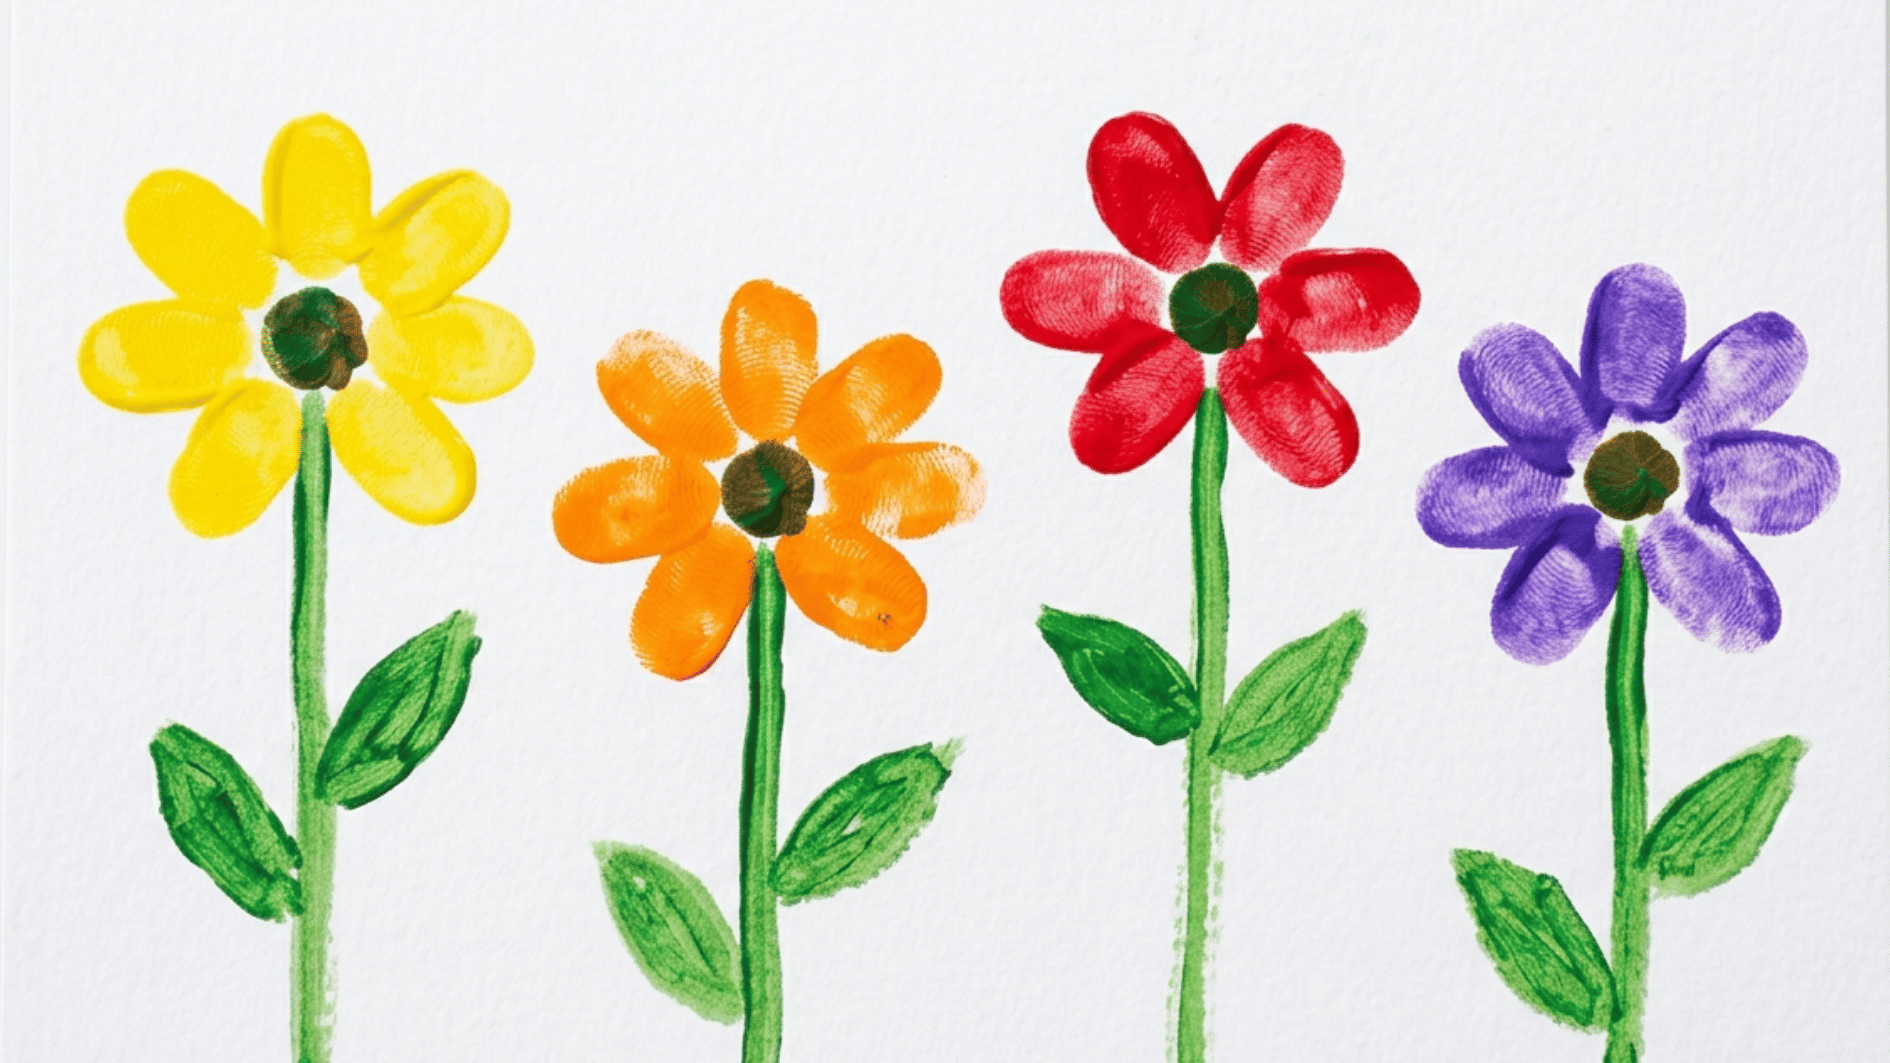
Finger painting is a simple choice for toddlers and preschoolers who are still learning how to control a brush.
Kids can use their fingertips, palms, and even the sides of their hands to spread washable paint across the paper. It gives them plenty of freedom to make marks without worrying about staying inside lines.
- Try: Flowers, suns, dots, swirls, or wavy lines
- Use: Washable paint, thick paper, and a paper plate
- Helpful tip: Keep a damp cloth nearby for quick cleanup
2. Handprint and Footprint Art
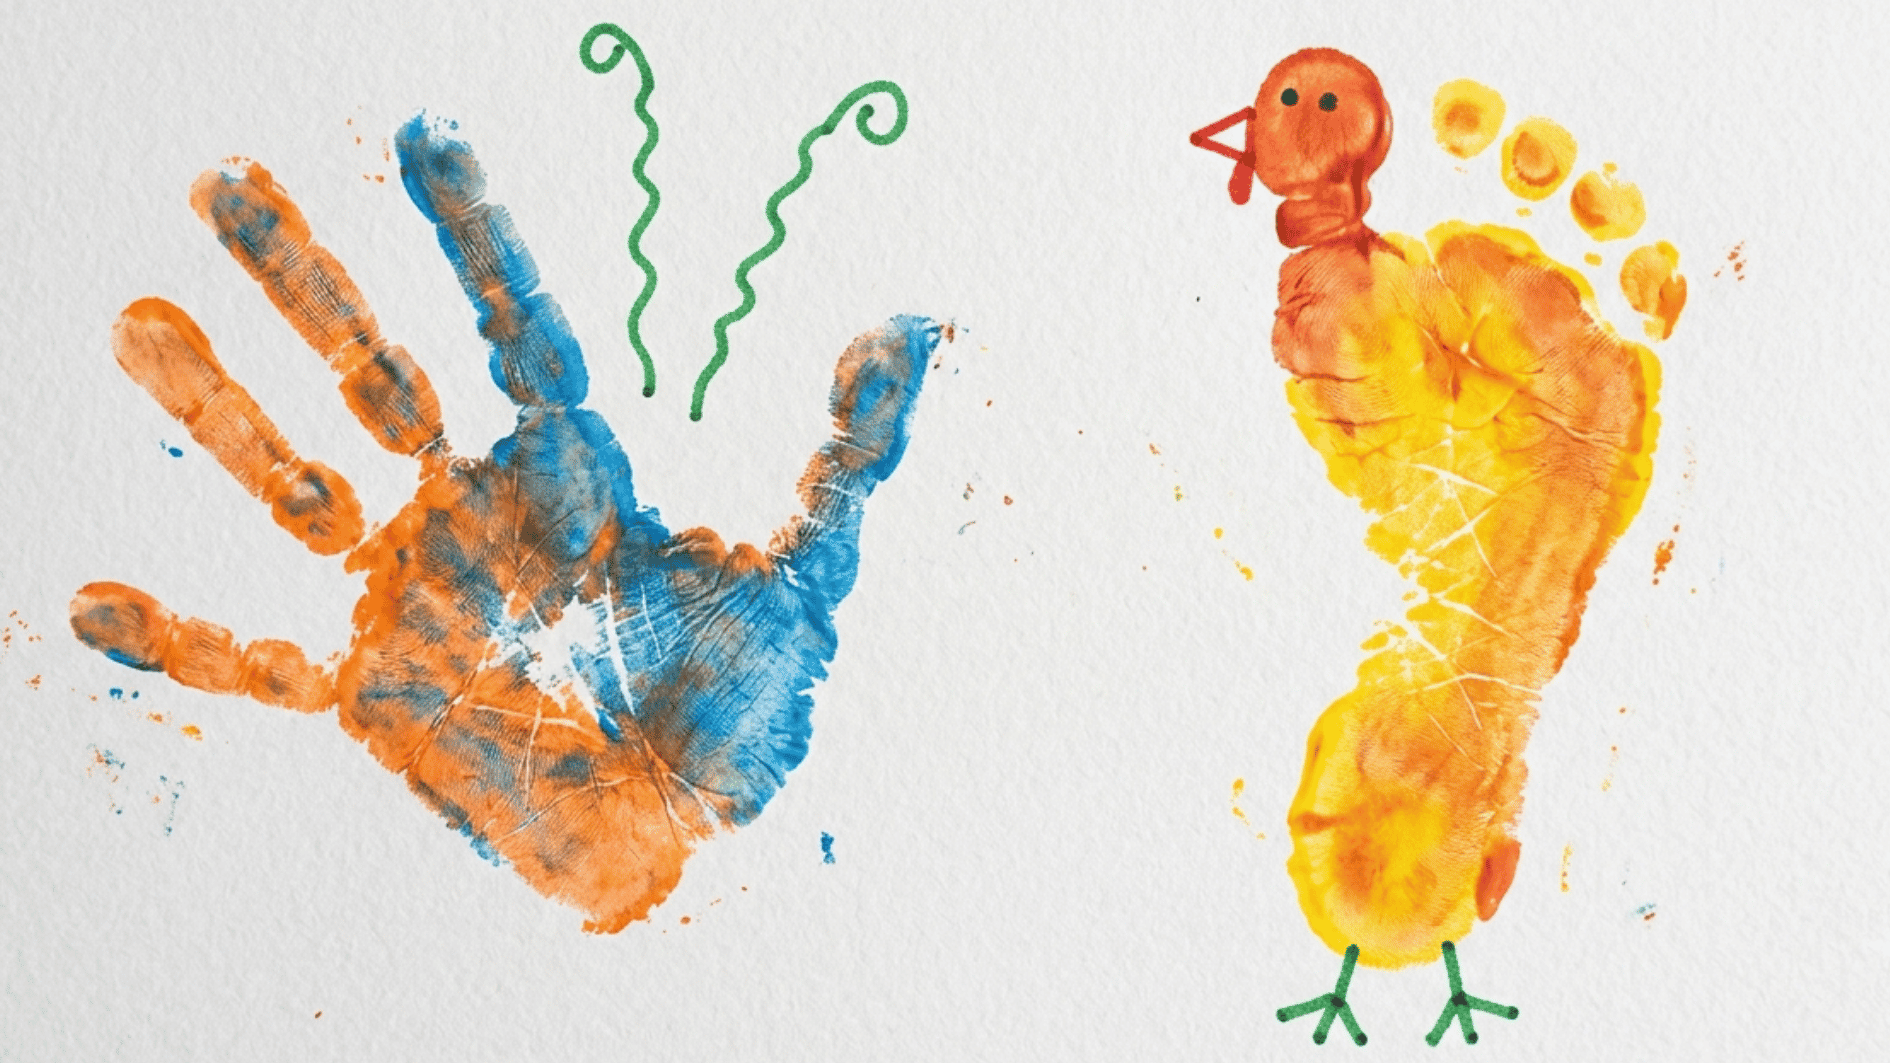
Handprints and footprints can turn into animals, flowers, butterflies, or simple keepsakes.
Brush washable paint onto a hand or foot before gently pressing it onto paper. Once the print dries, small details can be added with paint or a marker.
- Try: Butterflies, flowers, animals, or keepsake prints
- Use: Washable paint, paper, and a marker
- Helpful tip: Keep the paper flat until the print is fully dry
3. Sponge Painting
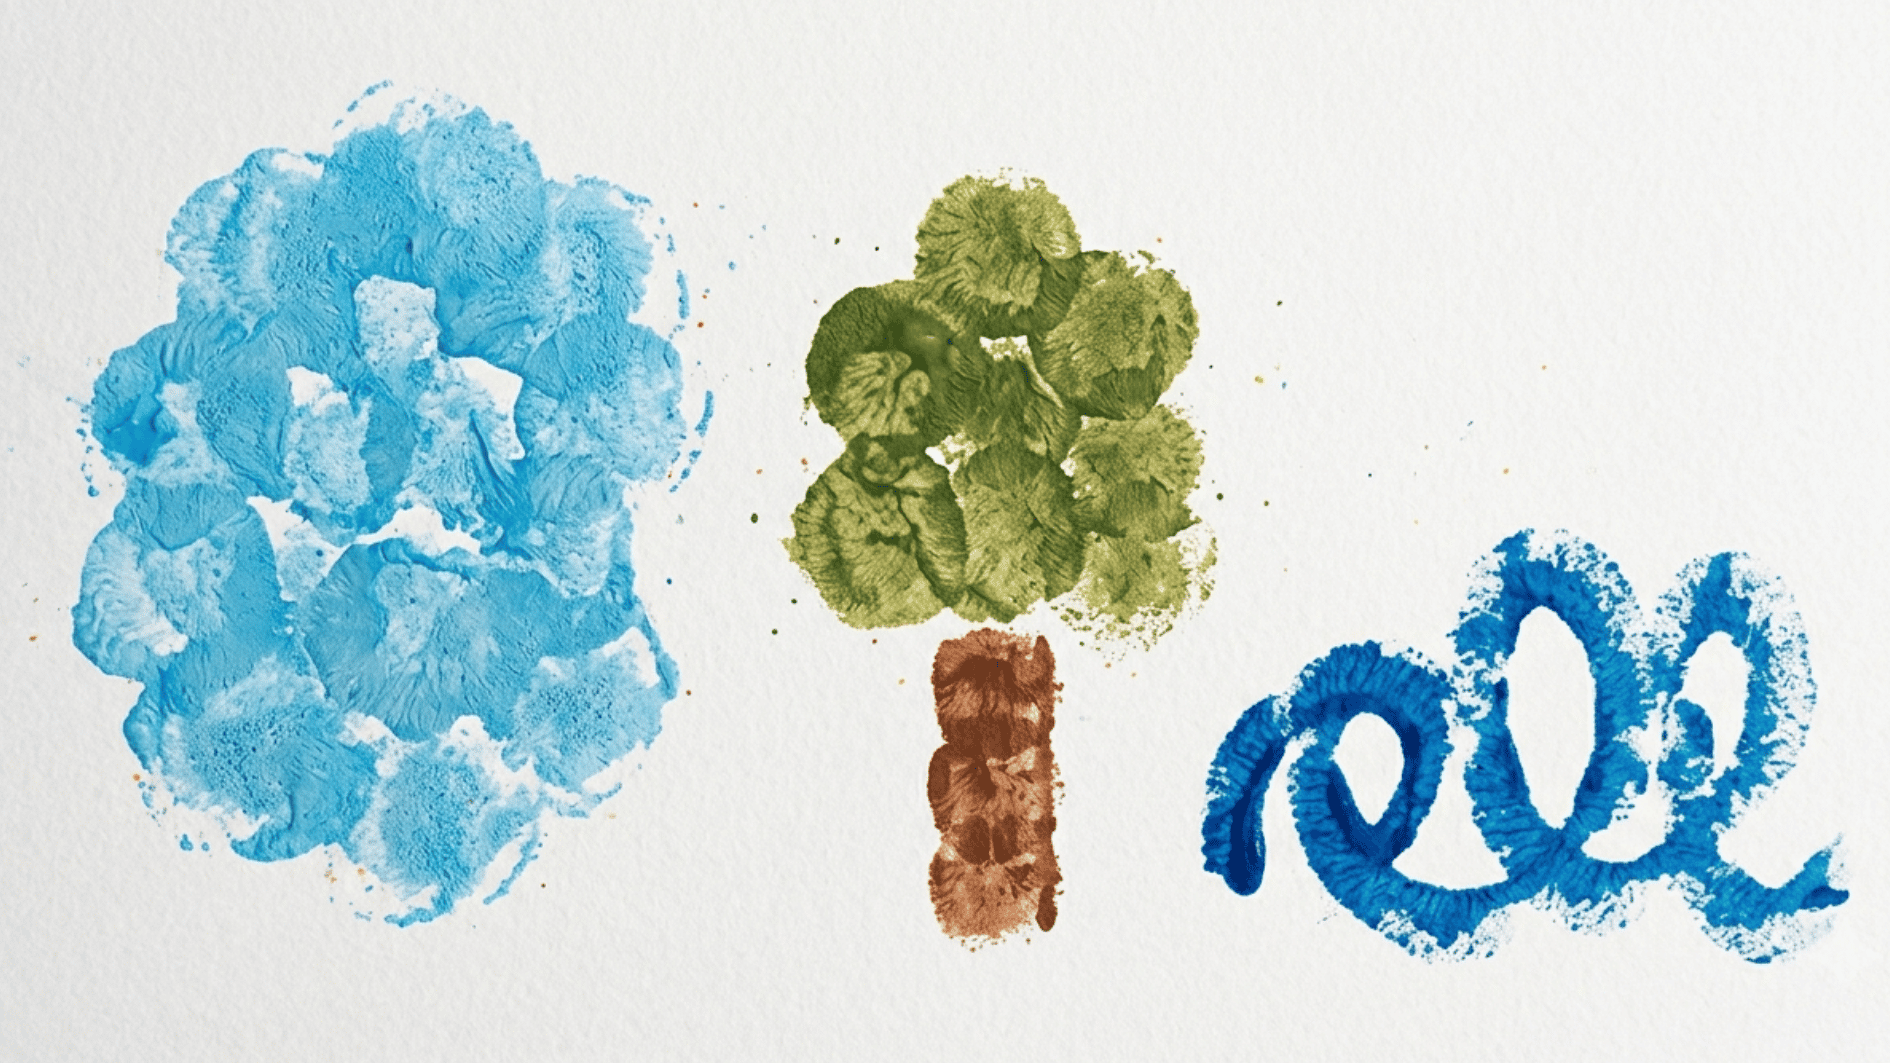
Sponge painting makes it easy for young children to cover larger areas without handling a small brush.
A sponge can be cut into basic shapes and pressed into washable paint. Each press leaves a clear shape with a soft texture.
- Try: Clouds, trees, hearts, waves, or simple patterns
- Use: Washable paint, paper, and cut sponges
- Helpful tip: Dip the sponge lightly so too much paint does not collect on the paper
4. Cotton Swab Dot Art
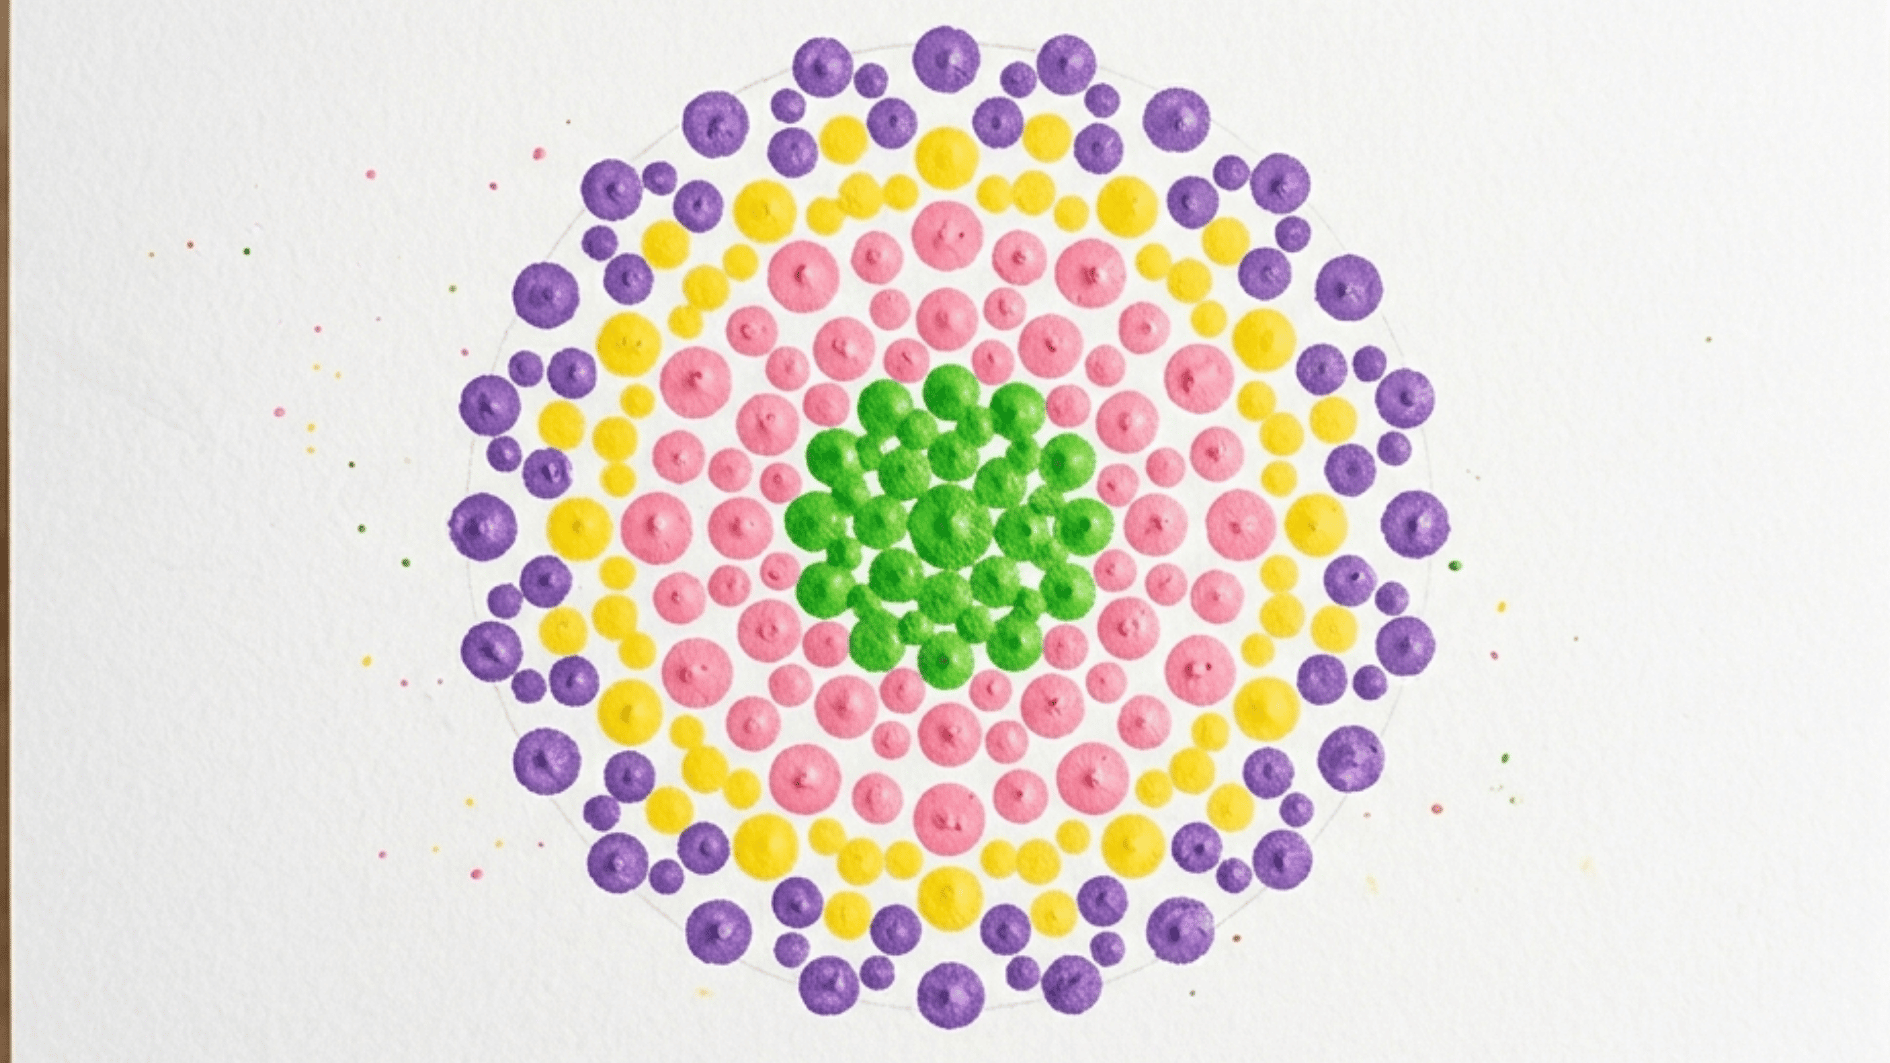
Cotton swabs give children a simple way to paint small dots and repeated patterns.
The small movements suit kids around ages four to six who are starting to gain more hand control. Dots can be grouped together to form many easy designs.
- Try: Flowers, fireworks, dots, or simple mandala patterns
- Use: Paint, cotton swabs, and paper
- Helpful tip: Use a fresh cotton swab when changing paint colors
5. Rock Painting
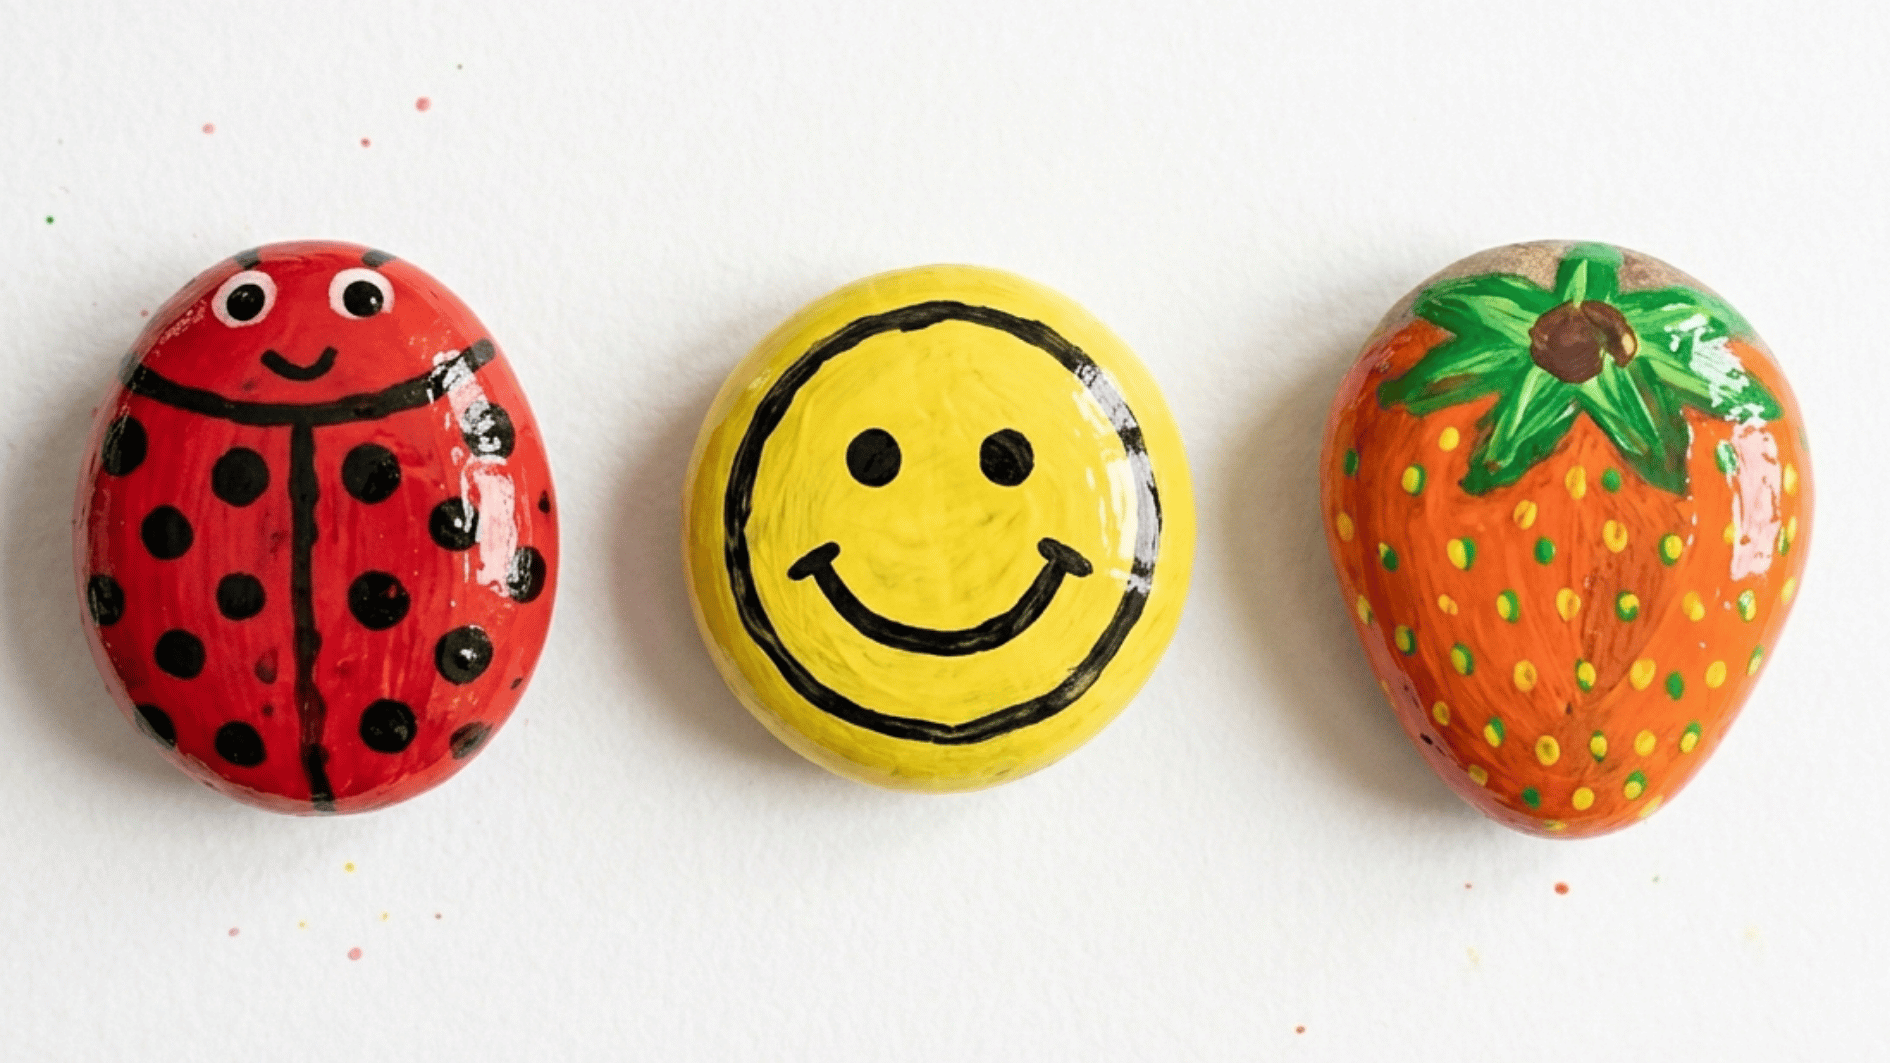
Smooth rocks make a sturdy surface for simple painted designs. After the rocks are washed and dried, older kids can add small shapes, faces, fruit, or bugs with acrylic paint.
Finished rocks can also be sealed when they will be kept outside.
- Try: Ladybugs, smiley faces, fruit, or simple shapes
- Use: Smooth rocks, acrylic paint, and brushes
- Helpful tip: Let the paint dry before adding a clear coat for outdoor use
6. Nature-Inspired Painting
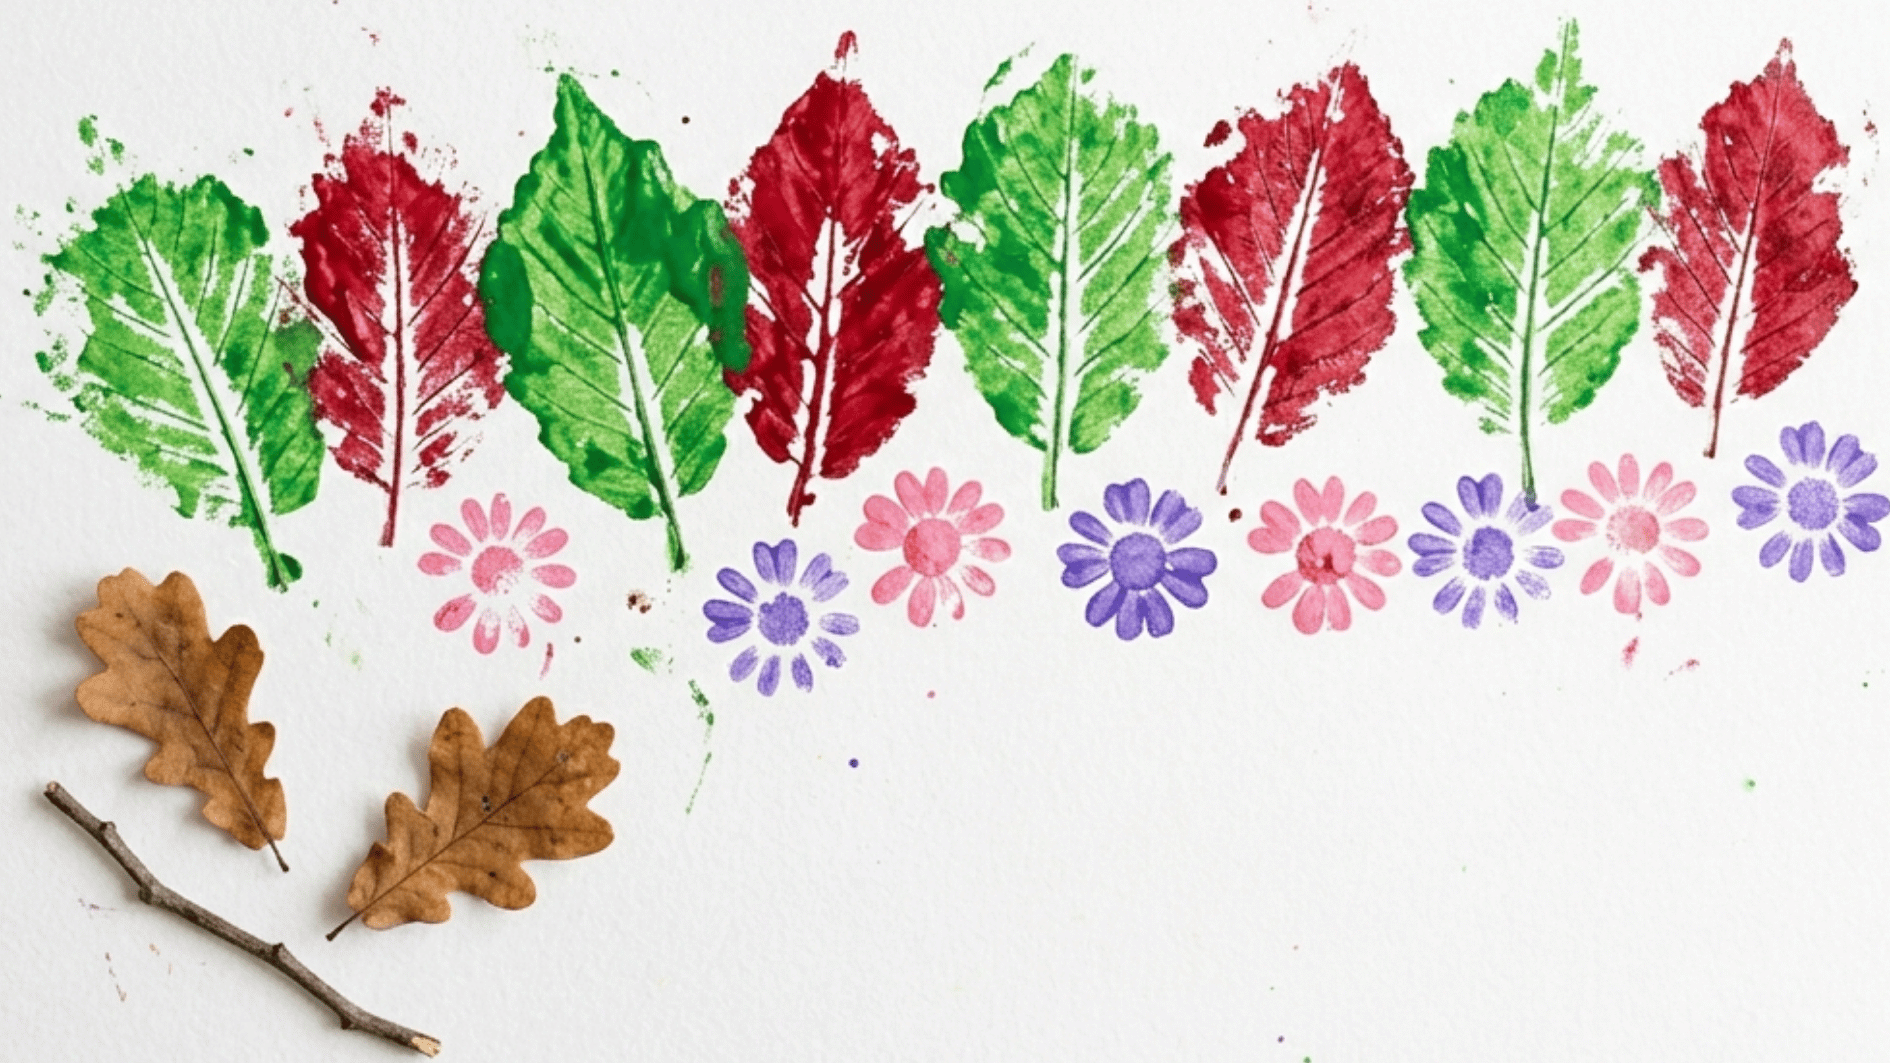
Leaves, flowers, and twigs can work as painting tools instead of regular brushes.
A leaf dipped in paint can be pressed onto paper to leave its shape behind. Flower heads can also be stamped across the page to form repeated patterns.
- Try: Leaf prints, flower stamps, or simple nature patterns
- Use: Leaves, flowers, washable paint, and paper
- Helpful tip: Pick firm leaves and flowers so they hold their shape while stamping
7. Bubble Painting
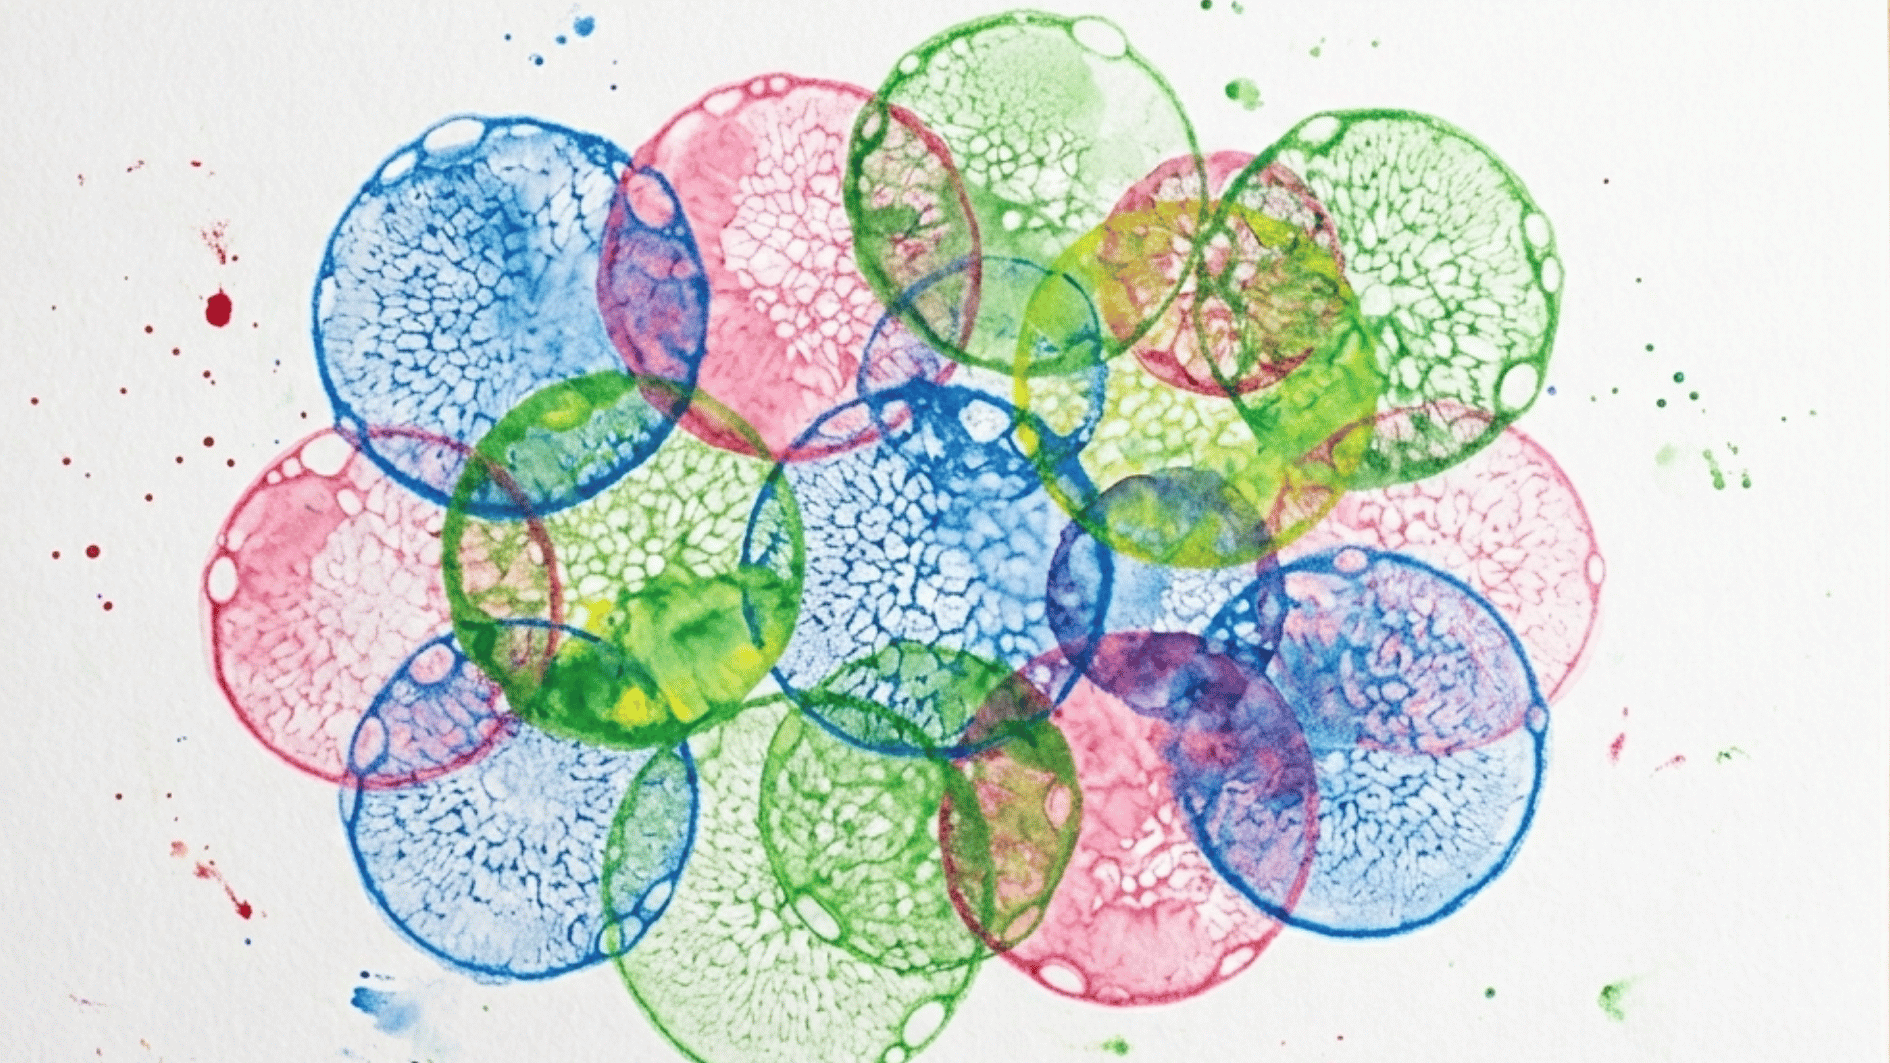
Bubble painting leaves circles and mixed color patterns across the paper.
Mix dish soap, water, and food coloring in a cup, then blow bubbles through a straw. Place paper gently over the bubbles to collect the marks as they pop.
- Try: Cards, wall art, backgrounds, or colorful patterns
- Use: Dish soap, water, food coloring, a straw, and paper
- Helpful tip: Let the bubbles rise above the cup before placing the paper on top
8. Vegetable Stamping
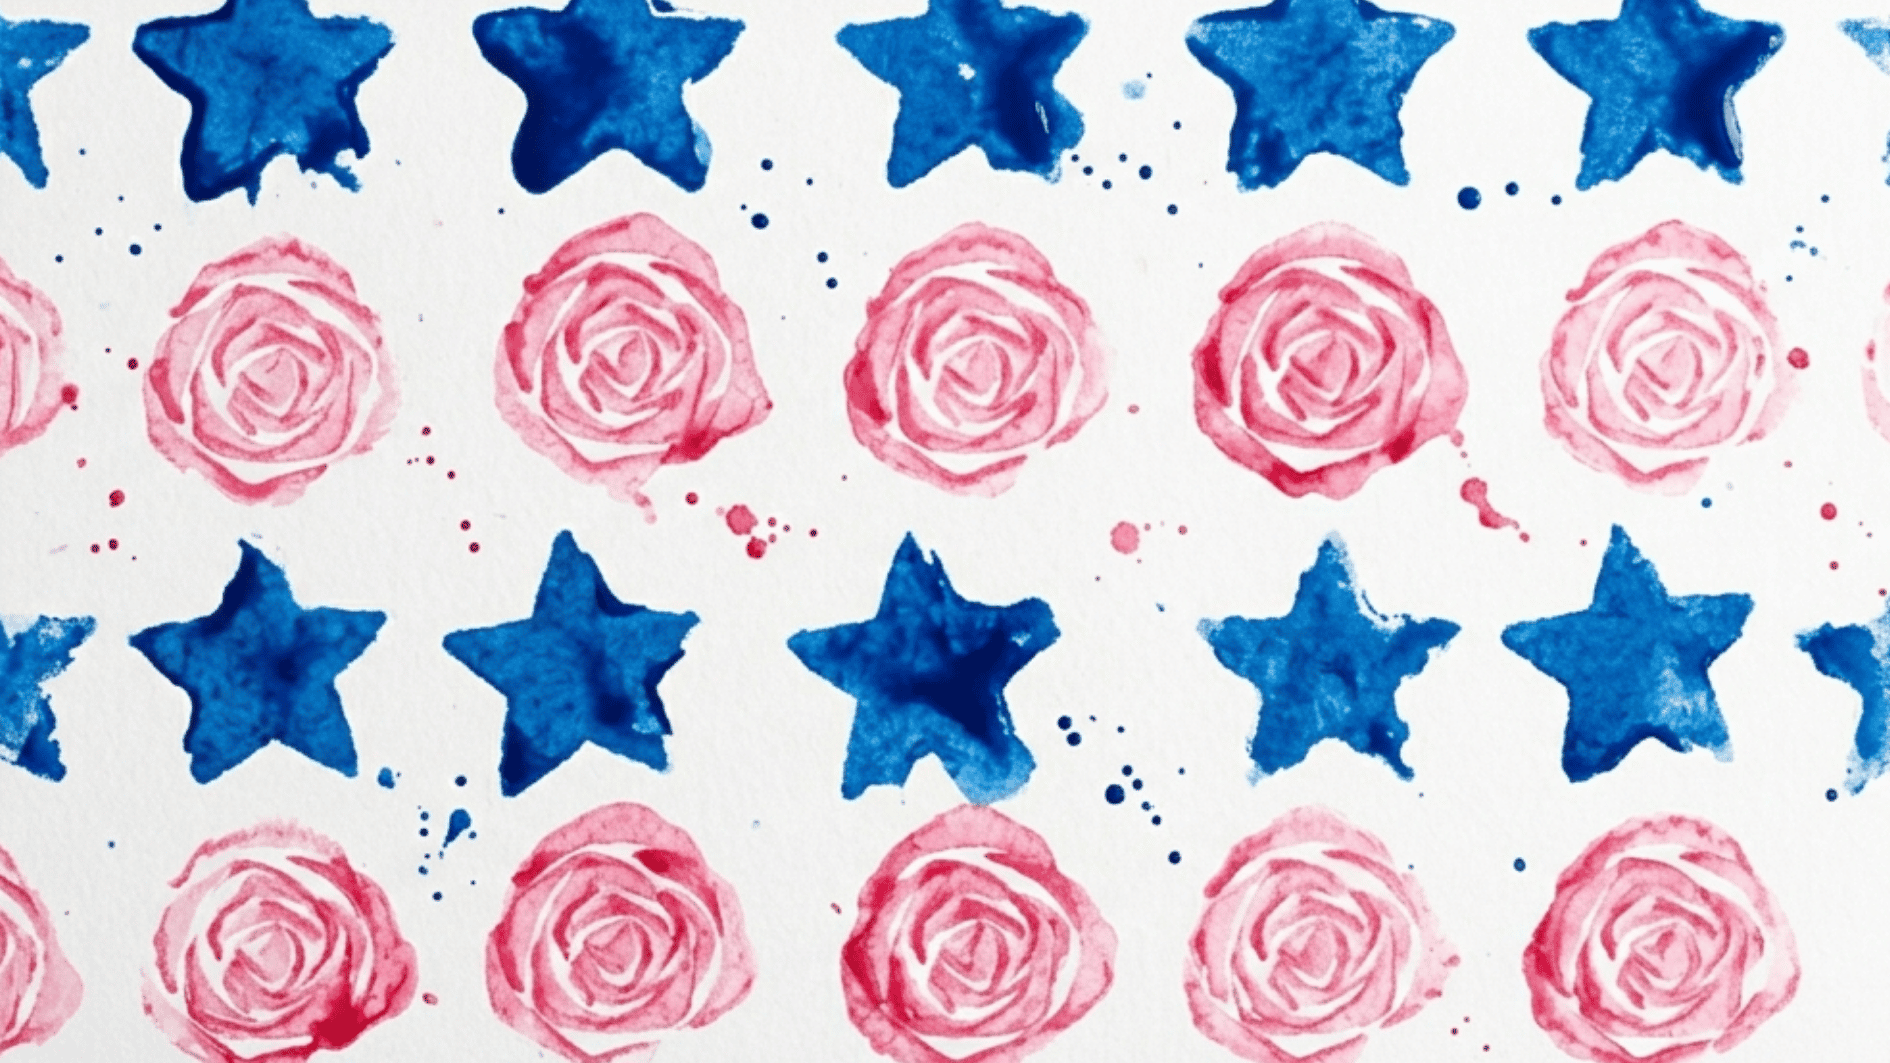
Vegetables can become easy stamps for repeated shapes and patterns. A cut potato or the flat end of celery can be dipped into a shallow tray of paint.
Kids can press the pieces onto paper again and again to practice spacing and hand control.
- Try: Rows, shapes, borders, or repeated patterns
- Use: Potatoes or celery, washable paint, and paper
- Helpful tip: Use only a thin layer of paint on each stamp for clearer marks
9. Watercolor Painting
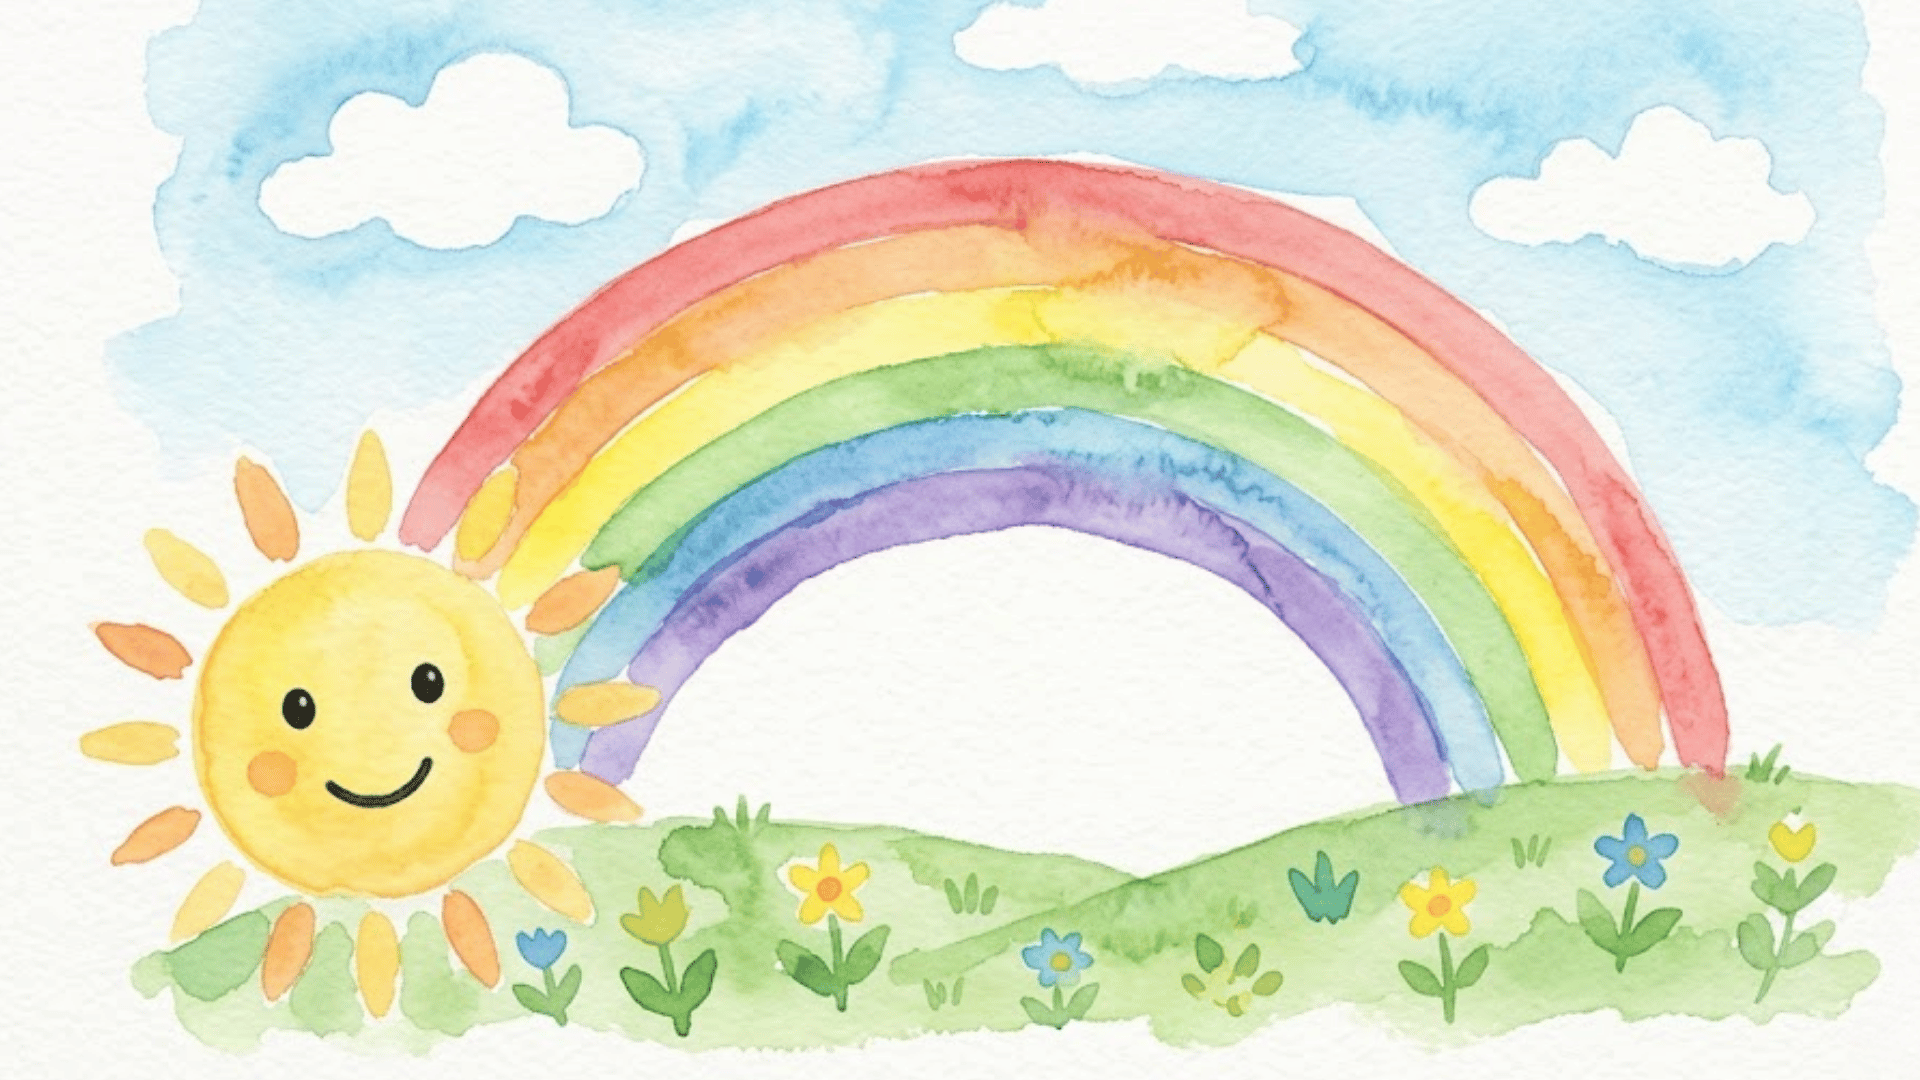
Watercolor works well for soft color mixing without a lot of brush control. Damp paper allows the paint to spread and blend as soon as it touches the surface.
Kids can add several colors and watch them move together across the page.
- Try: Rainbows, skies, oceans, or free-form color blends
- Use: Watercolors, paper, brushes, and a damp sponge
- Helpful tip: Wet the paper lightly before adding the first color.
10. Paper Plate Painting
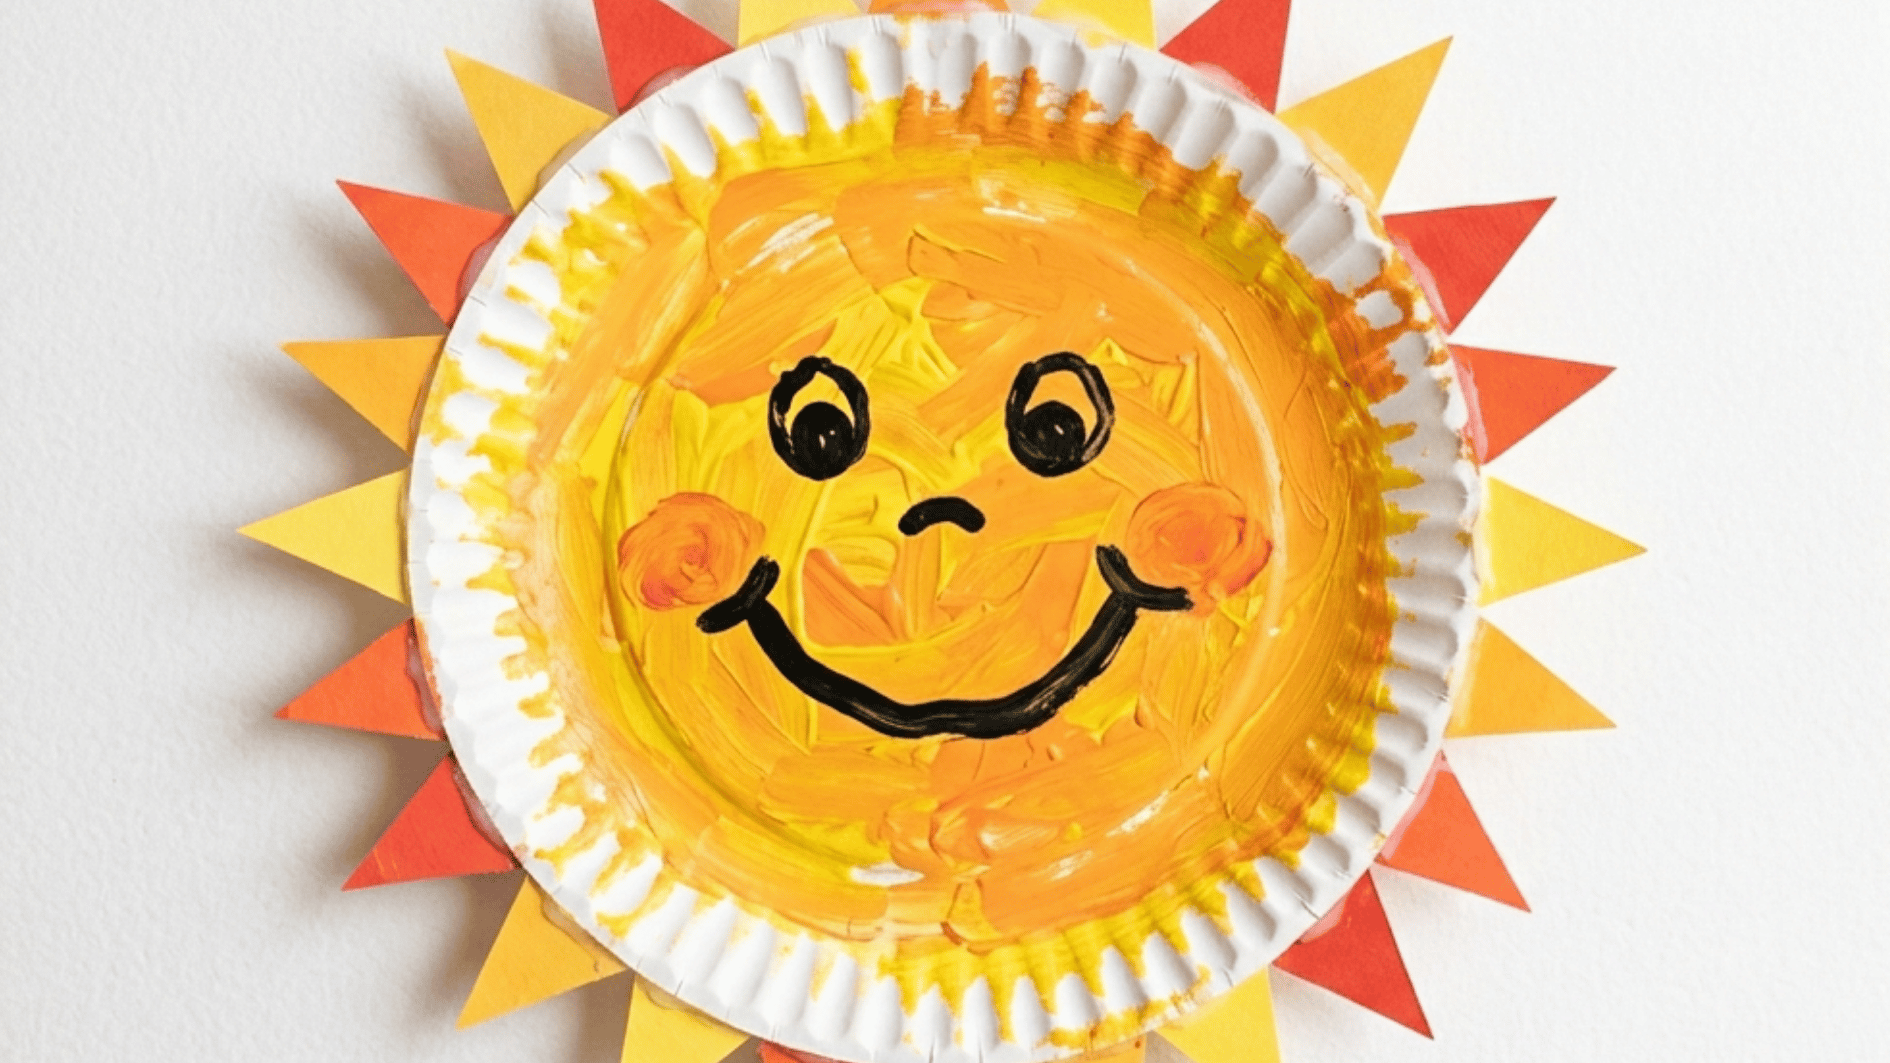
A plain paper plate can become a simple art base for young children. Kids can cover the plate with paint first, let it dry, and then add extra paper pieces or painted details. The round shape works especially well for faces and suns.
- Try: Suns, animal faces, or masks
- Use: Paper plates, paint, glue, and paper pieces
- Helpful tip: Let the painted plate dry before gluing on extra parts
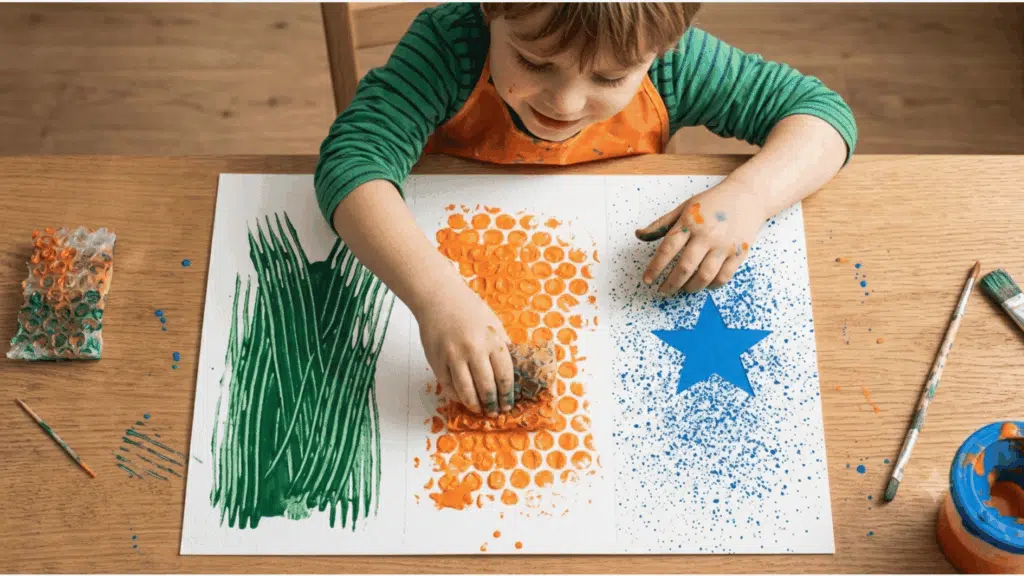
11. Painting with Household Objects
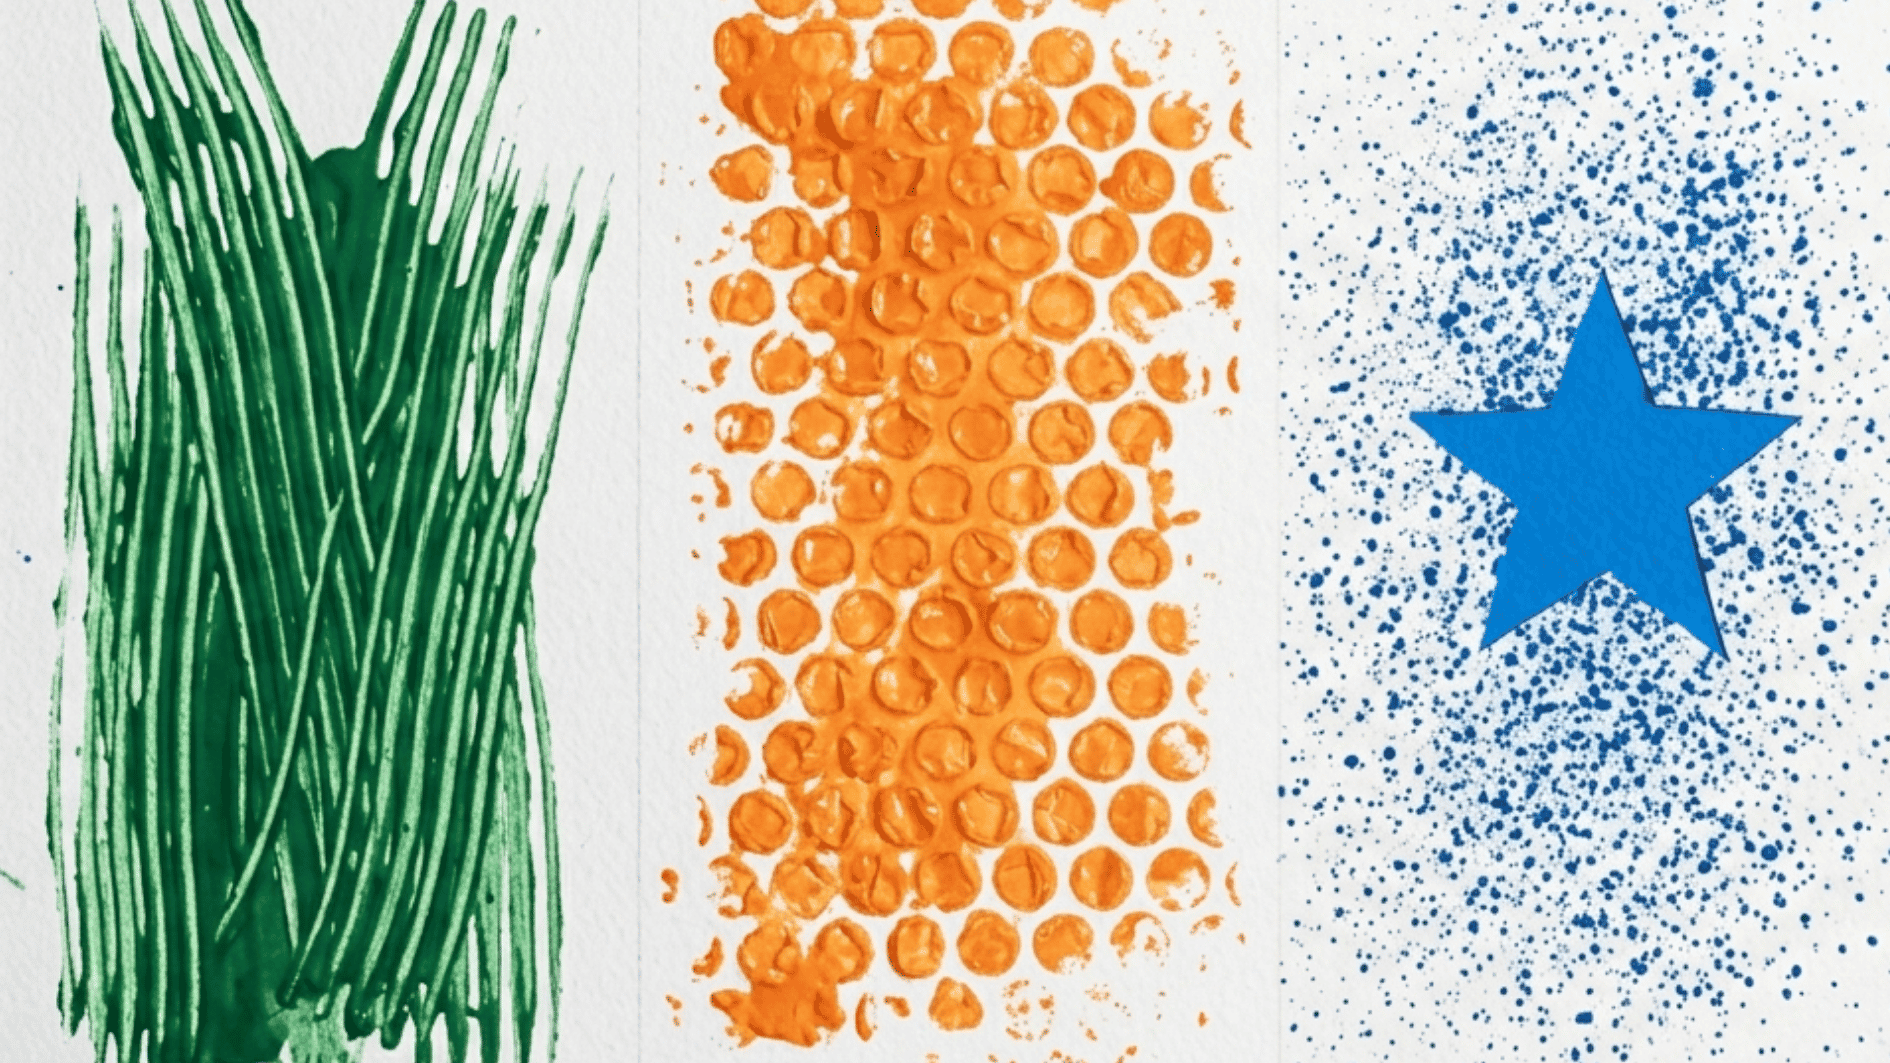
Common household items can leave marks that look very different from regular brush strokes.
Forks can make lines for grass or fur, while bubble wrap leaves small repeated shapes. A toothbrush can also make tiny paint specks across a surface.
- Try: Grass, fur, dotted backgrounds, or repeated textures
- Use: Forks, bubble wrap, a toothbrush, paint, and paper
- Helpful tip: Give each tool its own paint area to keep the activity easier to manage
12. String Painting
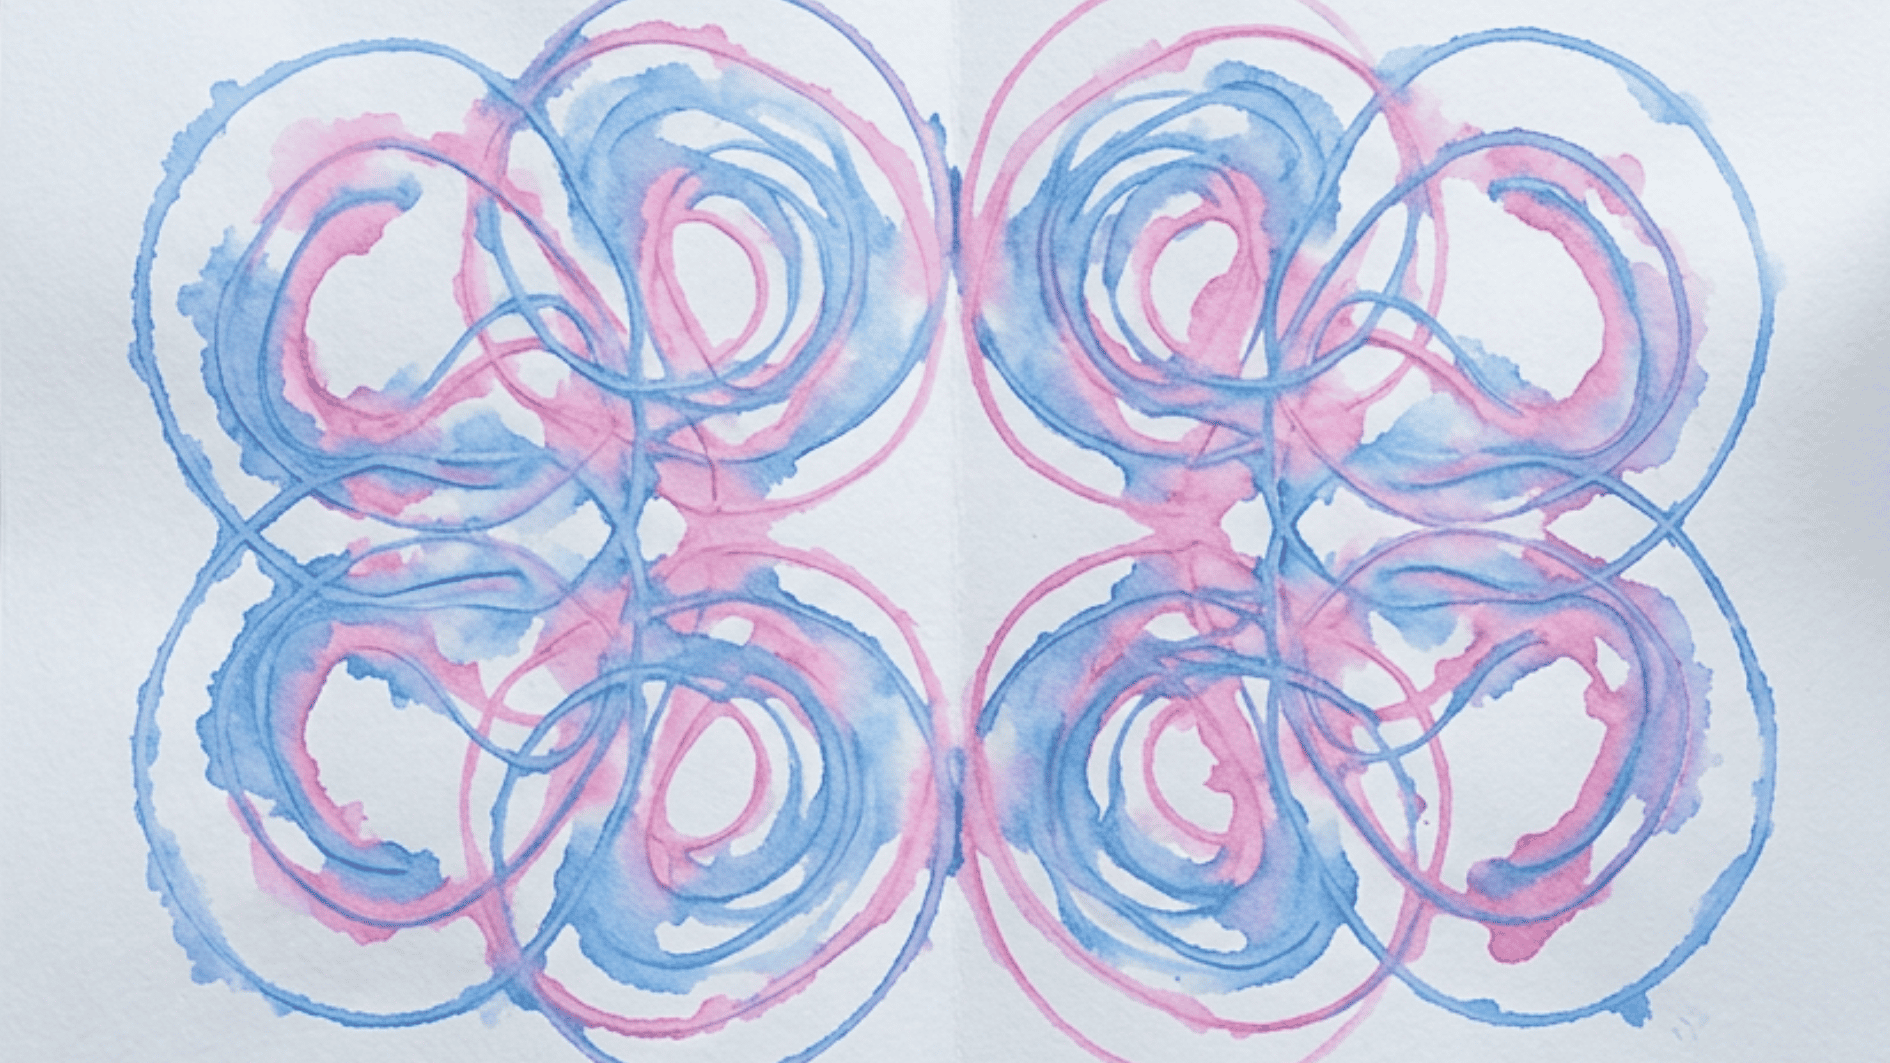
String painting creates a different pattern every time the string is pulled. A piece of yarn or string is dipped in paint and placed inside folded paper with one dry end left outside.
Pulling the string while the paper stays closed leaves curved marks inside.
- Try: Curved lines, mirrored shapes, or surprise patterns
- Use: Yarn or string, paint, and folded paper
- Helpful tip: Leave one end of the string dry so it is easy to hold
13. Marble Painting
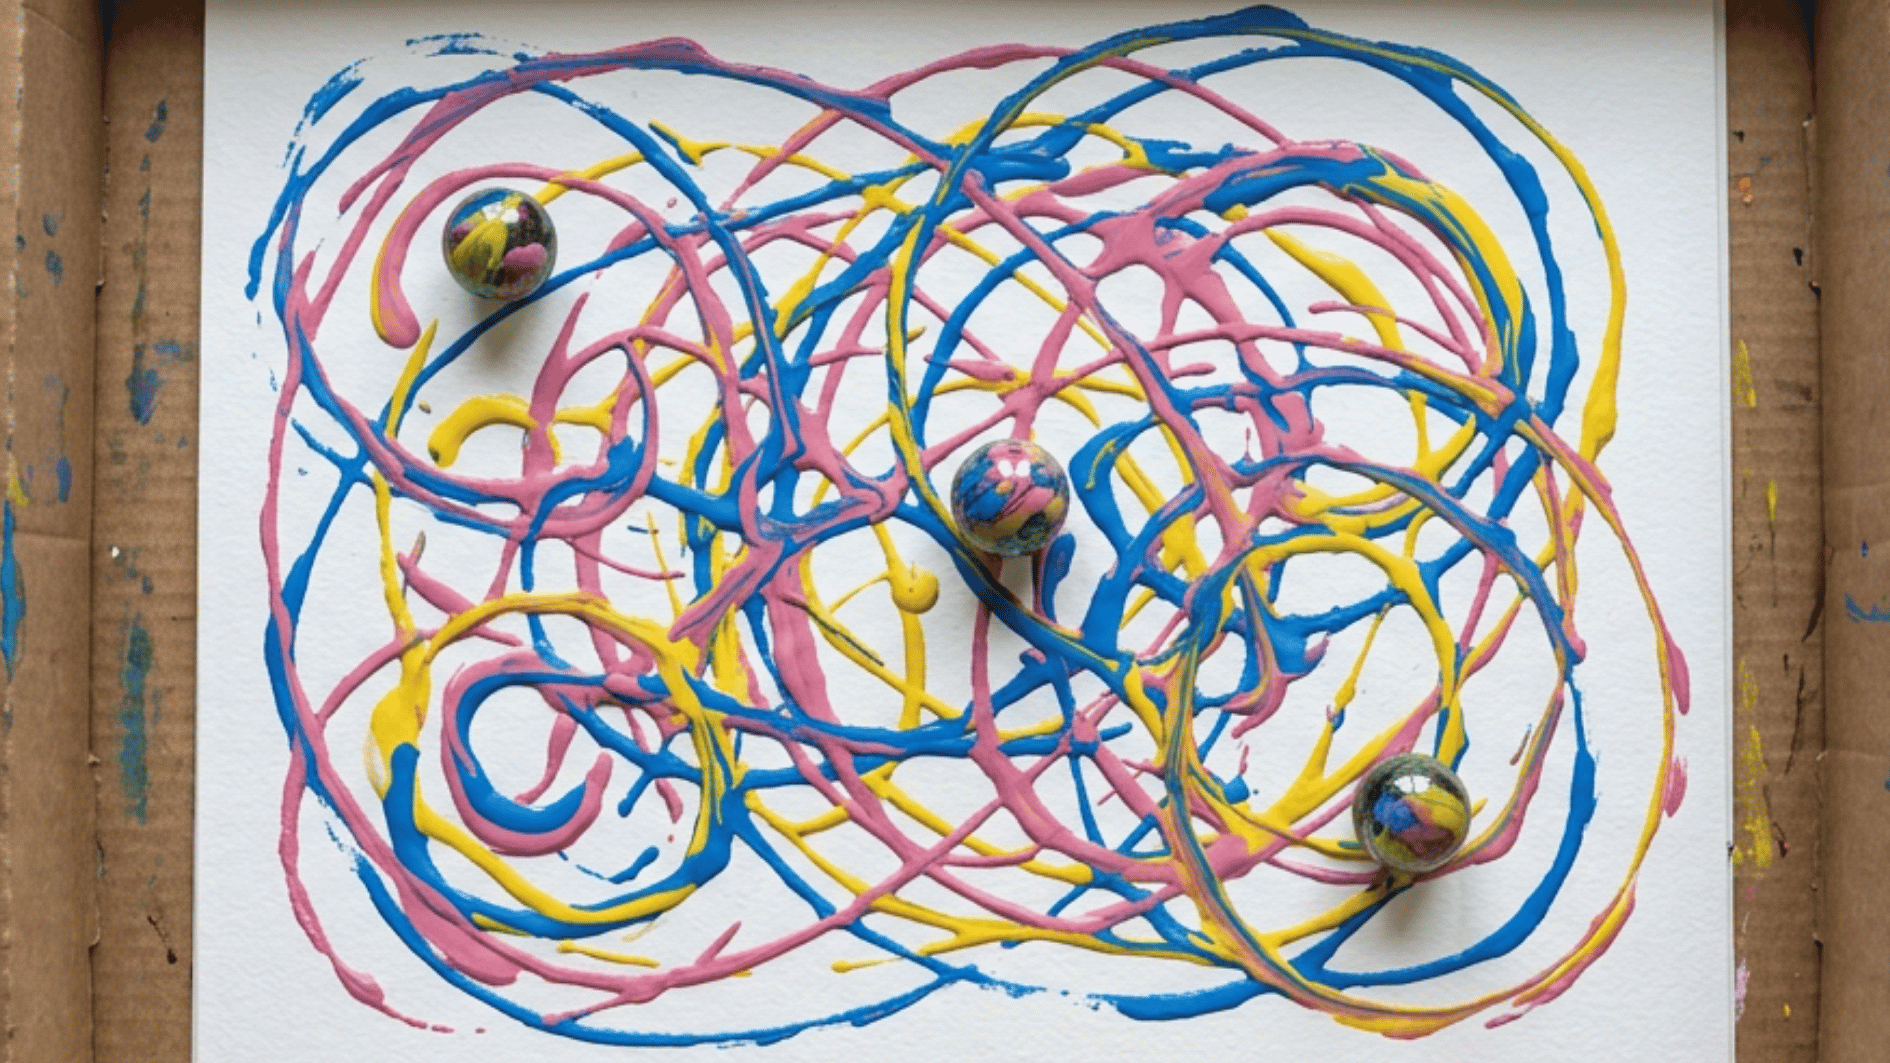
Marble painting uses movement instead of brush strokes. Place paper inside a shallow box or tray with small drops of paint and one or two marbles.
Tilting the box sends the marbles rolling through the colors and leaves curved trails behind.
- Try: Swirls, crossing lines, or mixed-color trails
- Use: Paper, paint, marbles, and a shallow box
- Helpful tip: Try this activity outside so stray marbles are easier to handle
14. Straw Blowing Painting
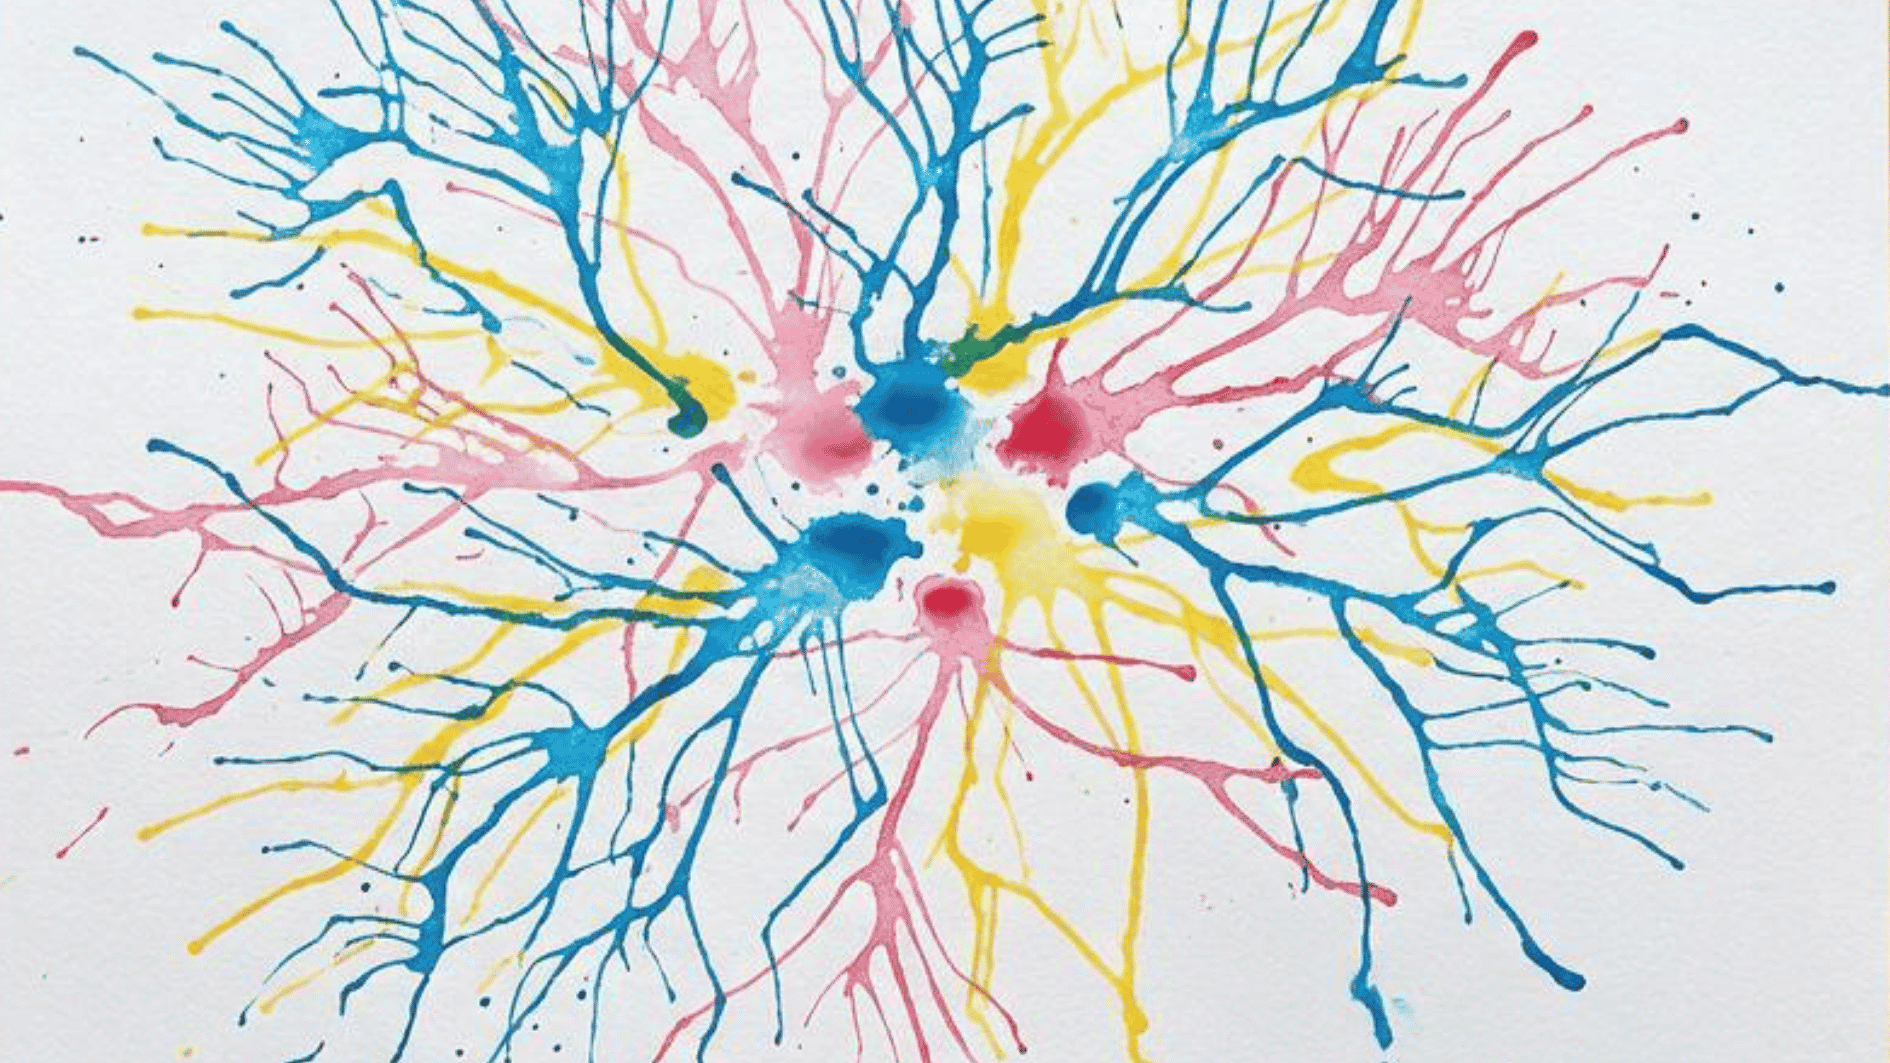
Straw blowing spreads watery paint into thin lines that branch in different directions.
A small puddle of thinned paint is placed on paper, then air from a straw pushes the color across the page. Extra details can be added after the paint dries.
- Try: Trees, spiders, fireworks, or branching shapes
- Use: Watery paint, paper, and a straw
- Helpful tip: Thin the paint with a little water so it moves more easily
15. Salt Painting
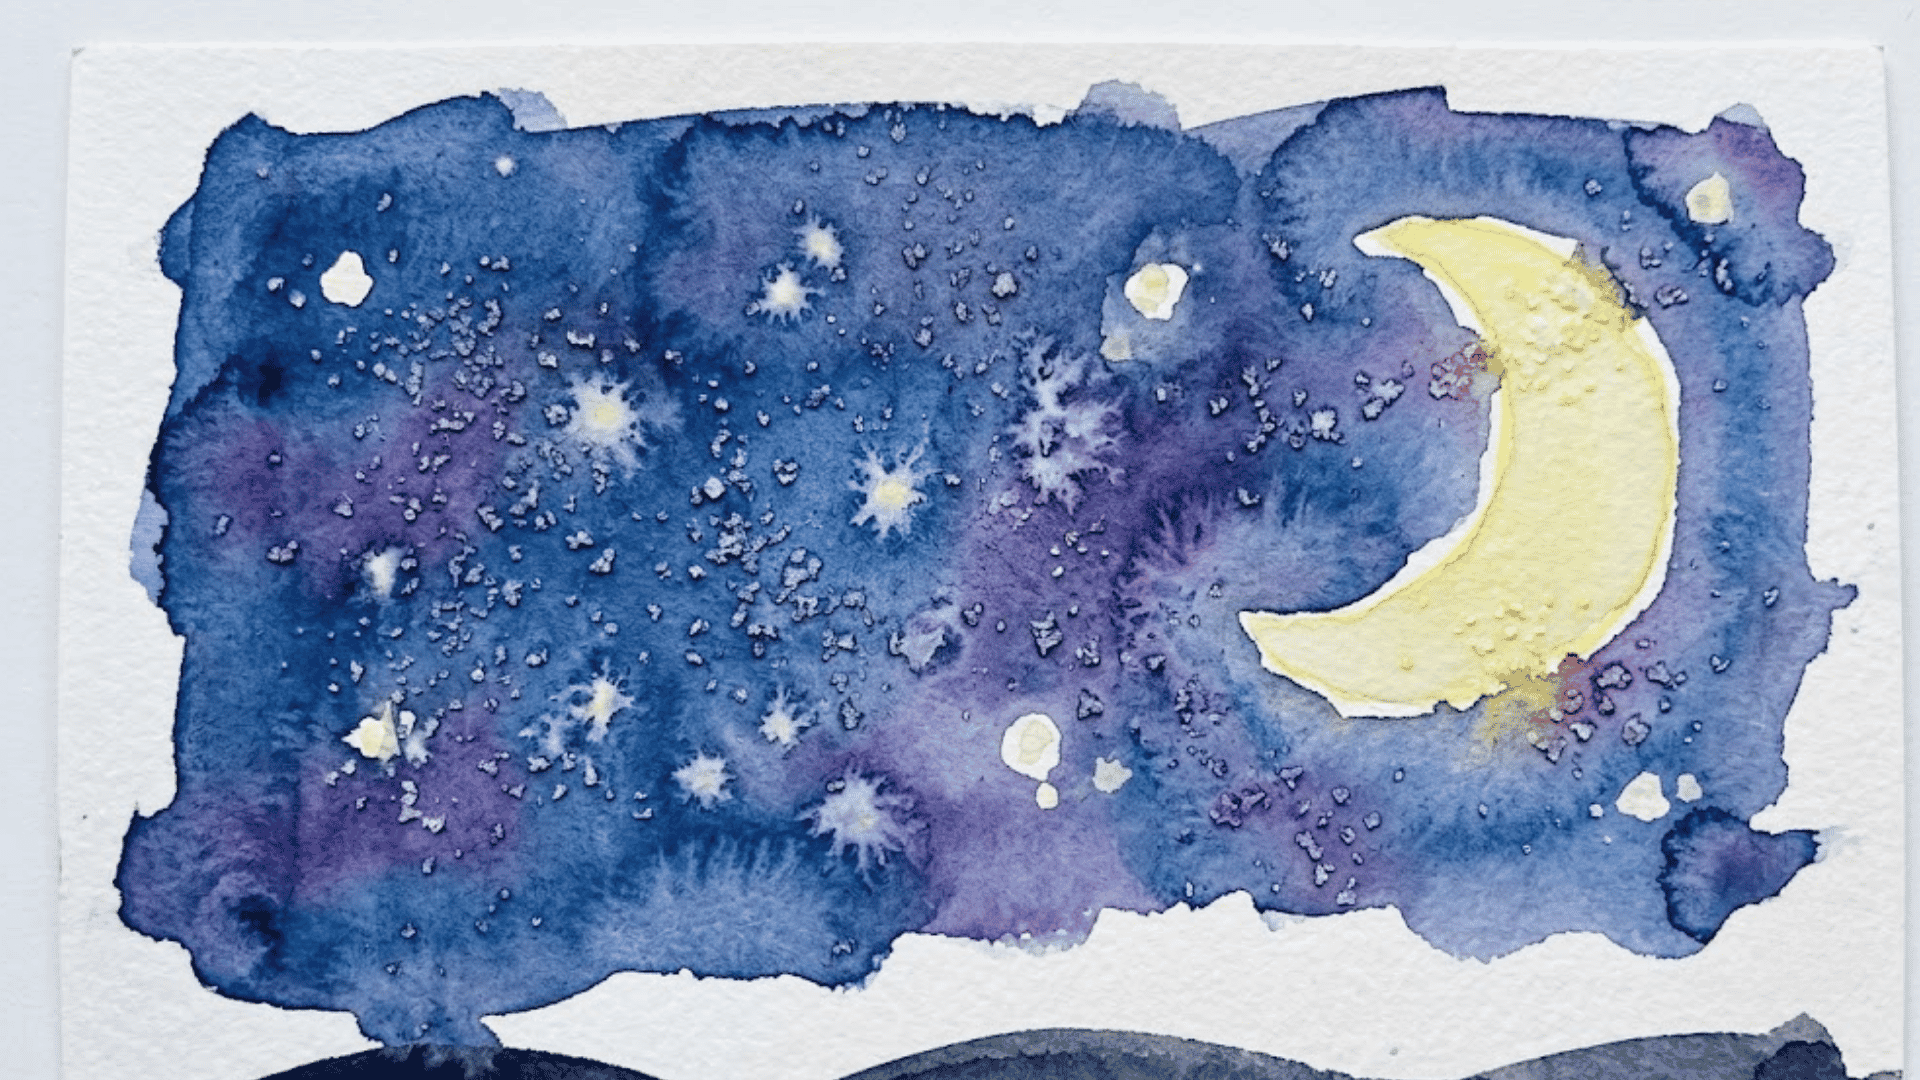
Salt adds a speckled texture to wet watercolor paint. Paint a design first, then sprinkle table salt over the surface before the color dries.
As the paper dries, the salt pulls some of the color outward and changes the finish.
- Try: Night skies, snow scenes, or textured backgrounds
- Use: Watercolors, paper, and table salt
- Helpful tip: Wait until the paper is fully dry before brushing away the extra salt
16. Puffy Paint
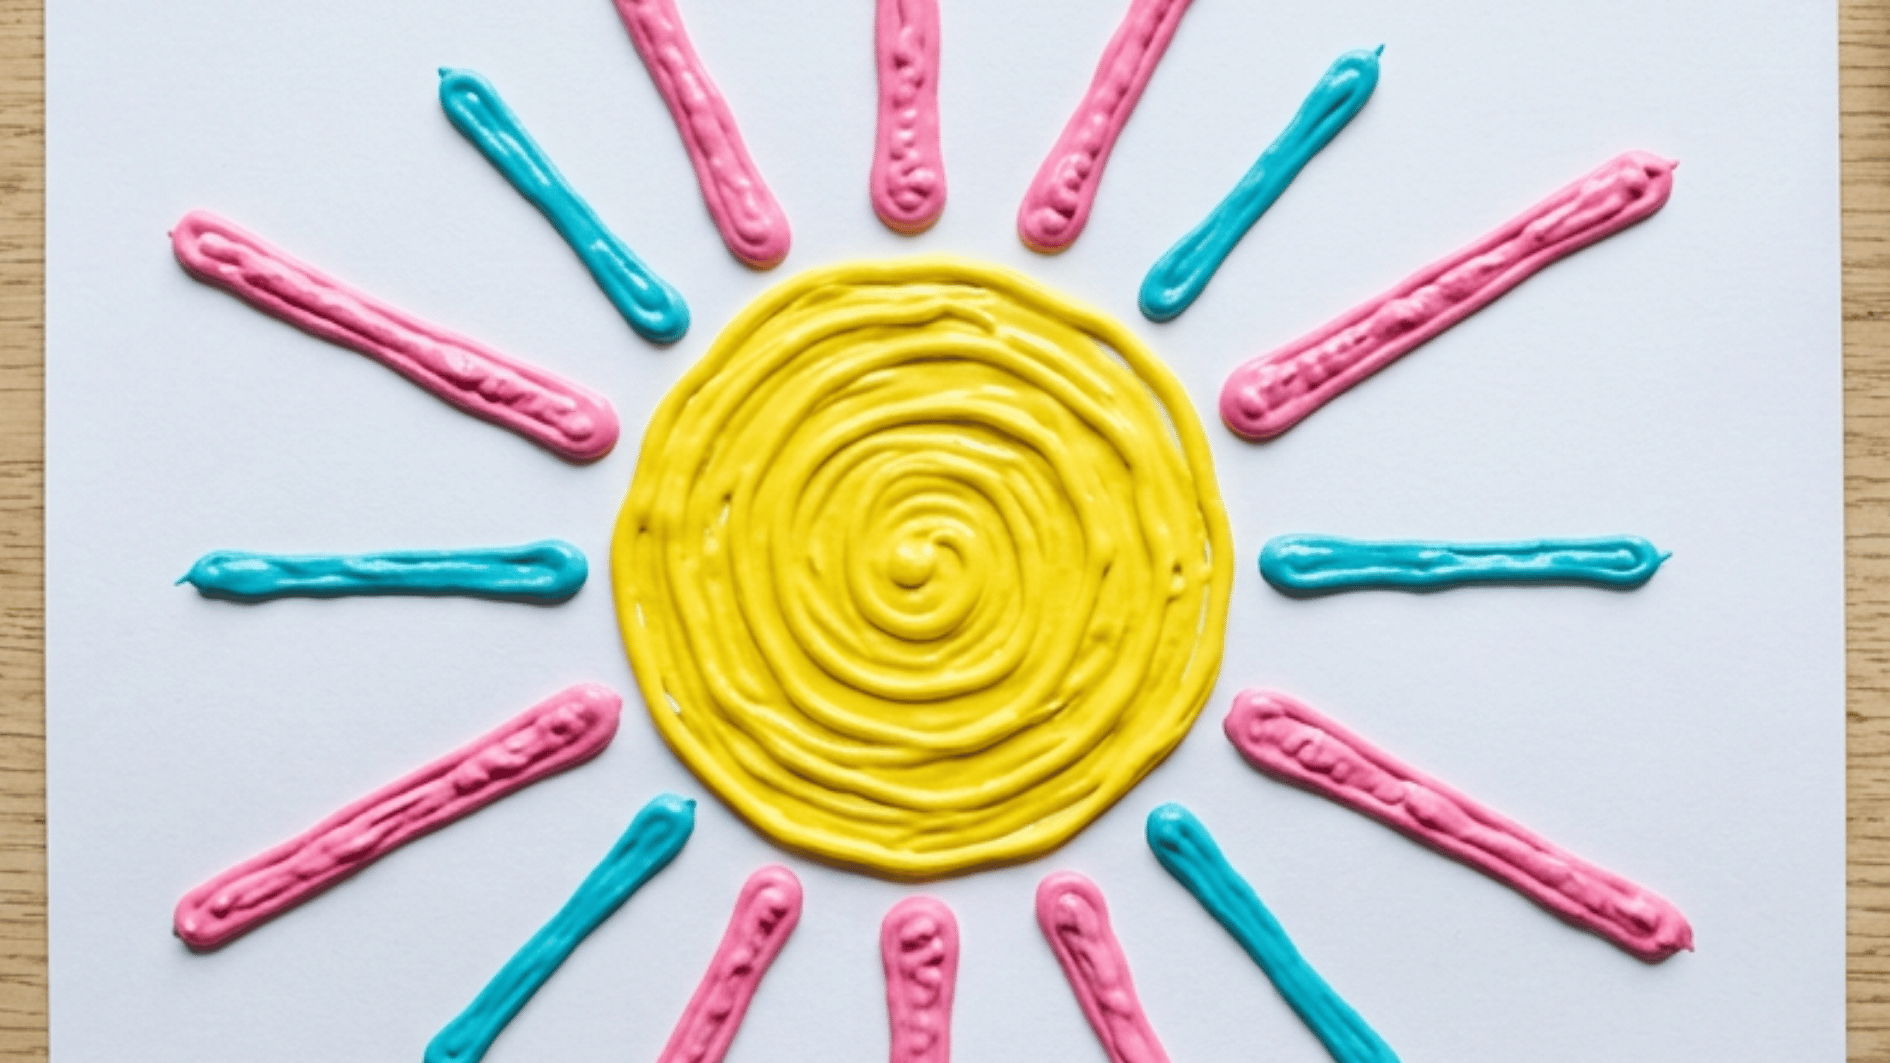
Puffy paint gives children raised lines and shapes instead of a flat painted surface. Mix equal parts flour, salt, and water before adding food coloring. The mixture can then be squeezed onto paper from a bottle or plastic bag.
- Try: Lines, shapes, names, or simple raised patterns
- Use: Flour, salt, water, food coloring, and a squeeze bottle
- Helpful tip: Leave the finished work out for a full day so the raised paint can harden
17. Painter’s Tape Resist Art
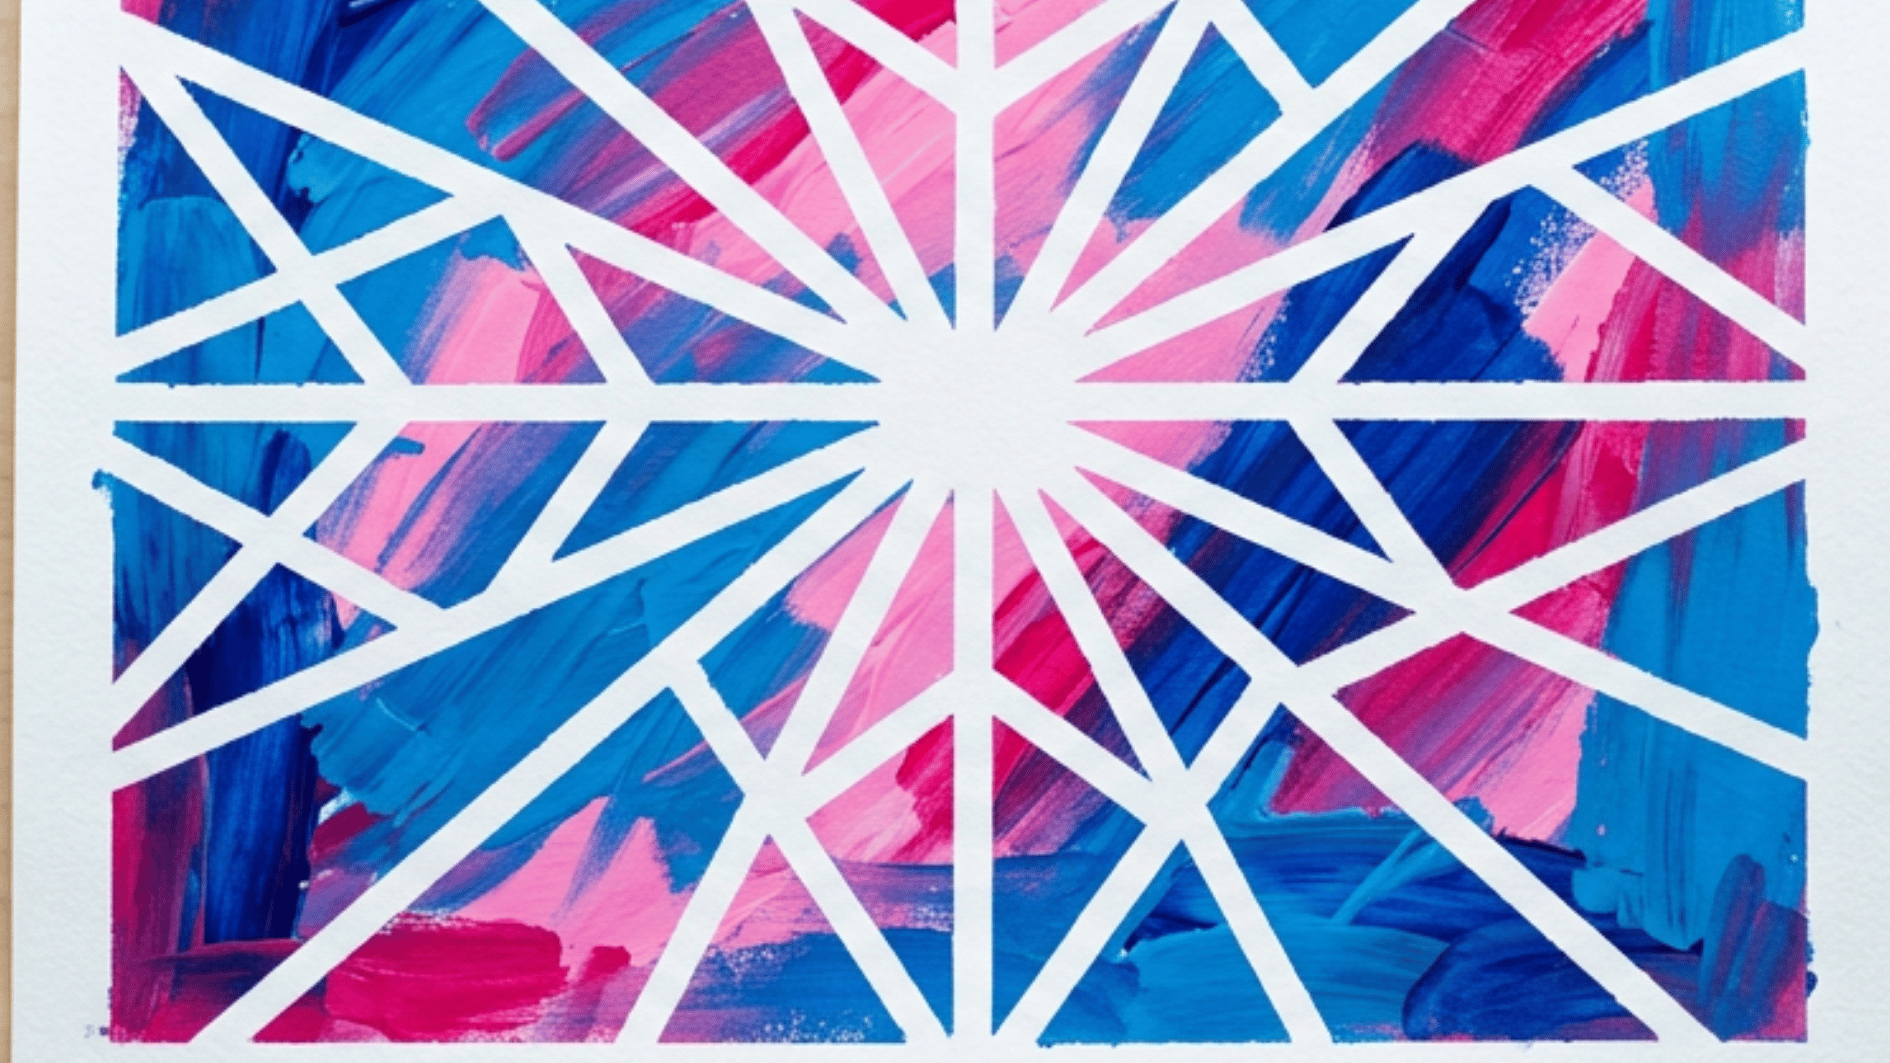
Painter’s tape can create clean spaces between painted sections. Strips of tape are placed on paper before paint covers the whole surface.
Once the paint is dry, peel away the tape, and the unpainted lines underneath become part of the design.
- Try: Stripes, grids, stars, or simple line patterns
- Use: Painter’s tape, paint, brushes, and paper
- Helpful tip: Wait for the paint to dry before removing the tape
18. Balloon Painting
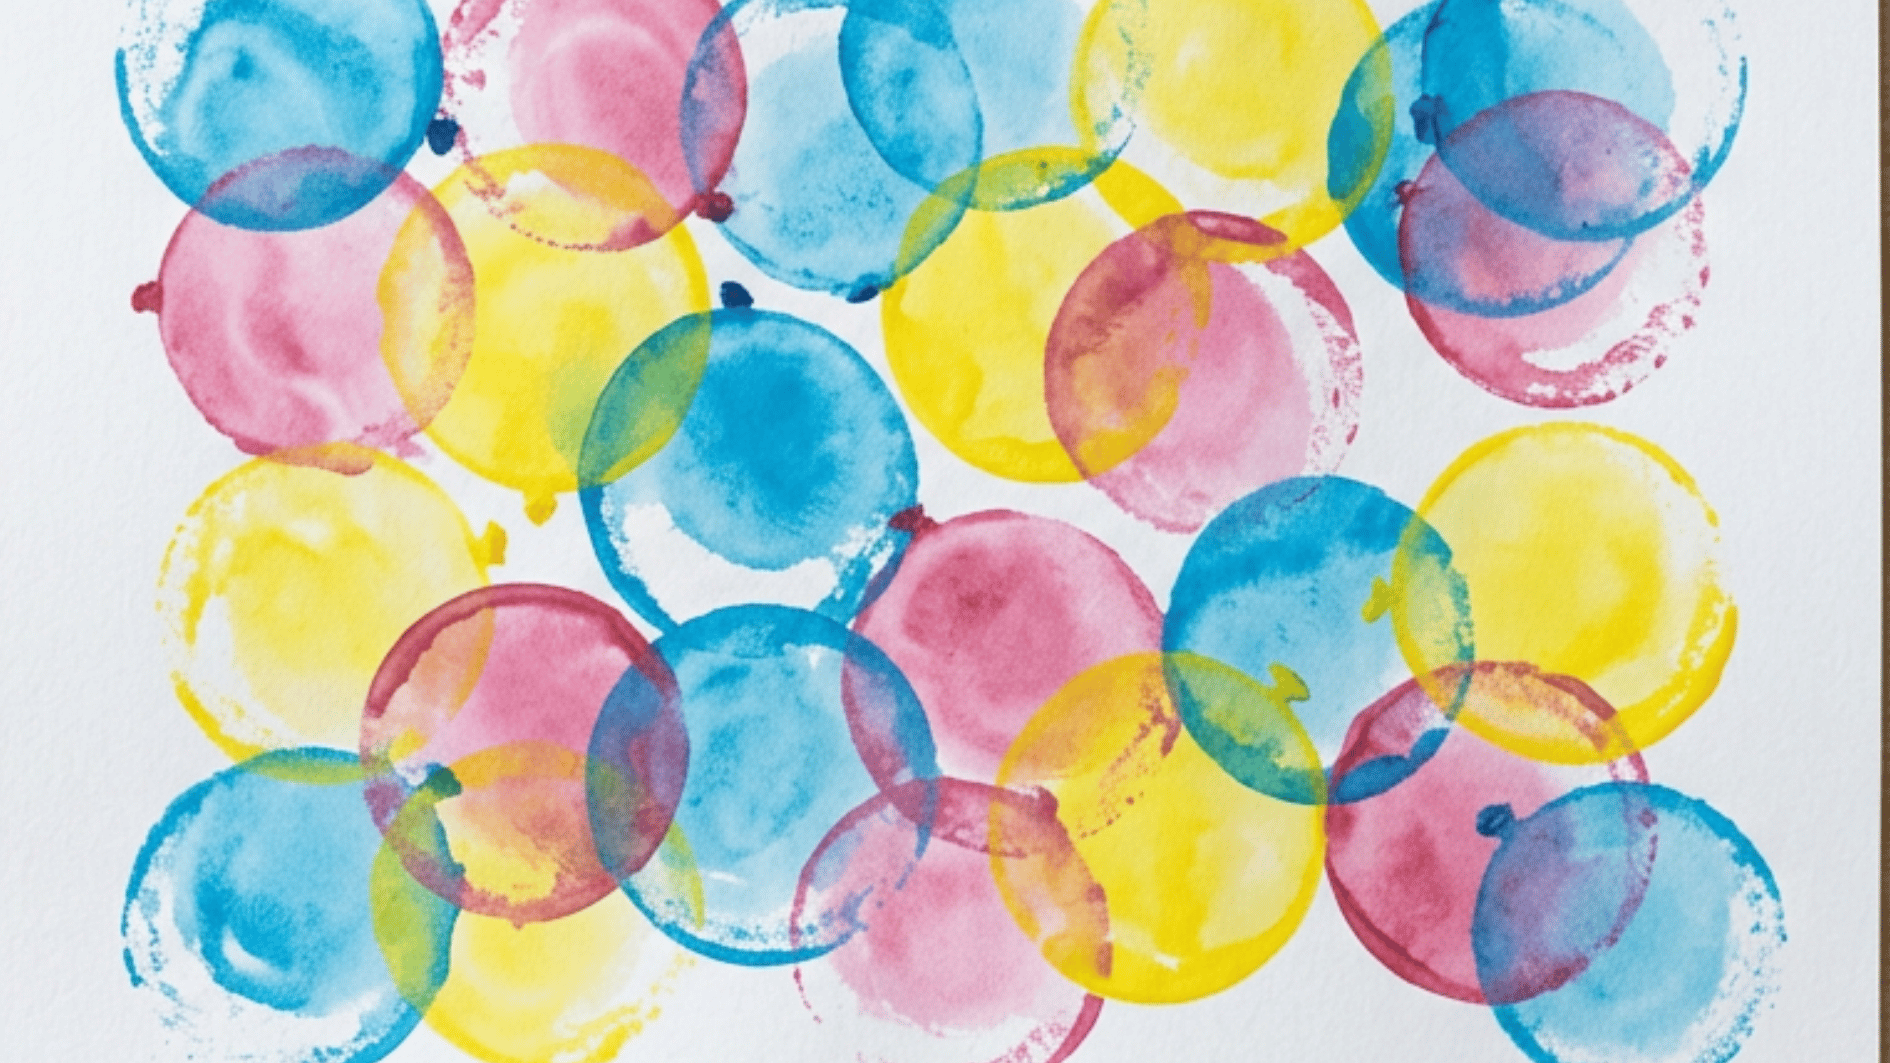
A balloon can work like a large round stamp. The rounded end is dipped into a shallow tray of paint and pressed gently onto paper.
Each press leaves a soft circular mark that can be grouped with other prints.
- Try: Bubbles, planets, circles, or flower petals
- Use: A balloon, washable paint, a shallow tray, and paper
- Helpful tip: Rinse the balloon between colors to keep the prints clean
19. Ice Cube Painting
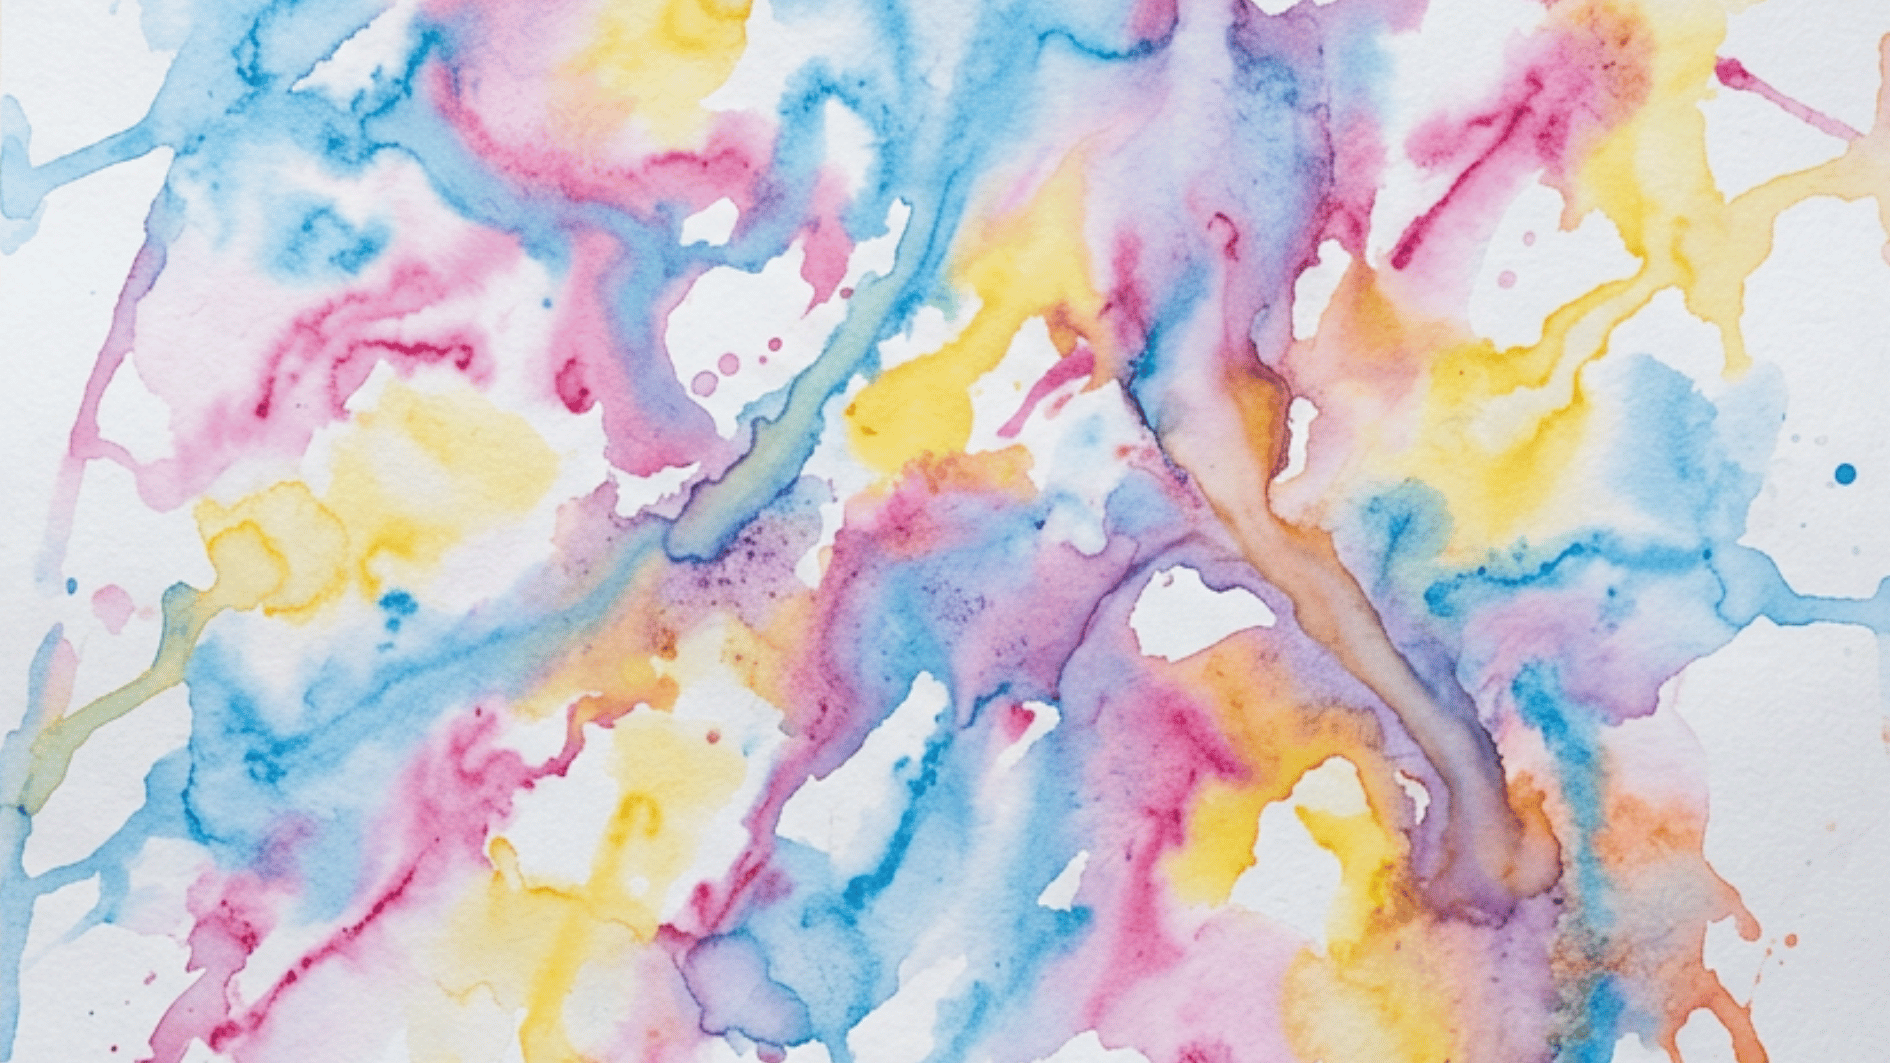
Frozen paint cubes slowly release color as they move across paper. Paint mixed with a little water is frozen in an ice tray before the cubes are used for painting.
As each cube melts, it leaves watery streaks and soft trails behind.
- Try: Color streaks, loose patterns, or mixed-color marks
- Use: Paint, water, an ice cube tray, and paper
- Helpful tip: Hold each cube with a napkin or popsicle stick to make it easier to move
20. Splatter Painting
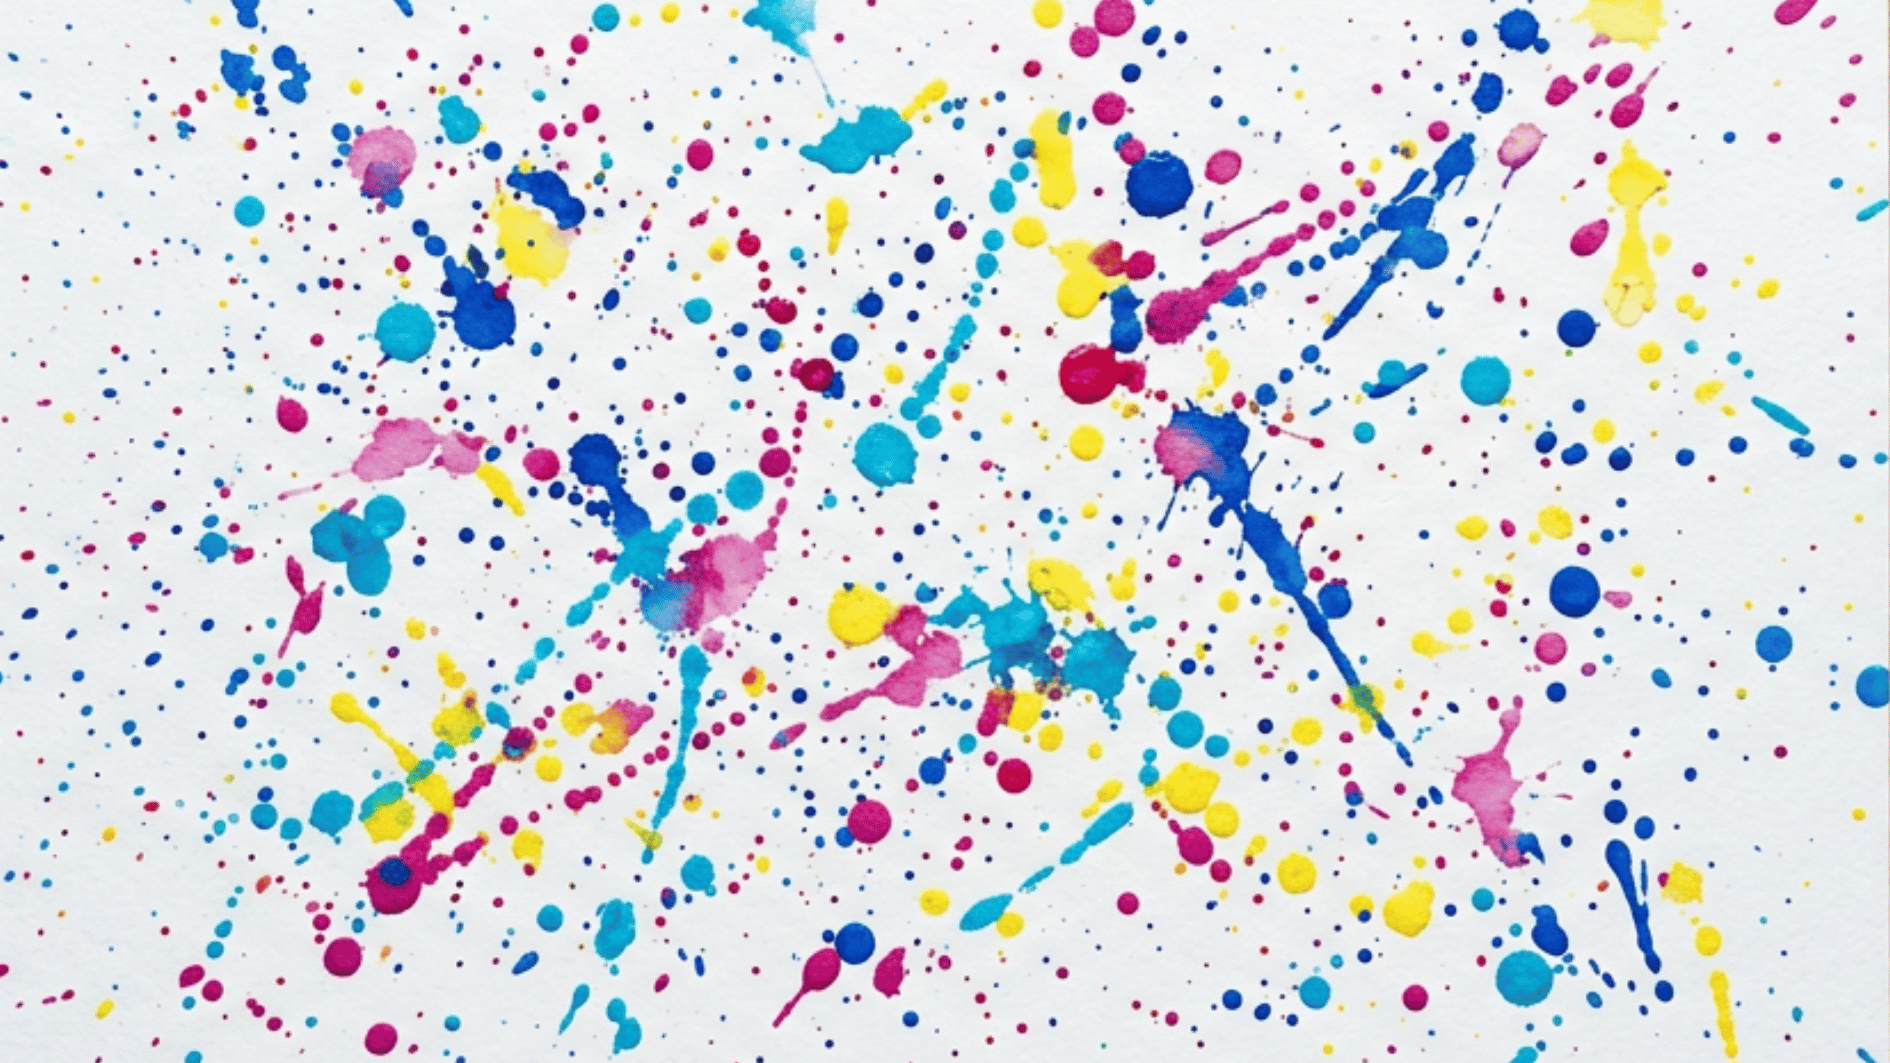
Splatter painting creates small dots and larger drops across the page. Dip a brush into thinned paint and flick it toward the paper from a short distance. Different brush sizes can change the size of the marks.
- Try: Fine specks, large drops, or layered splatter patterns
- Use: Thinned paint, brushes, paper, and a table covering
- Helpful tip: Set this activity up outside or cover the work area well before starting
21. Paper Towel Tie-Dye Painting
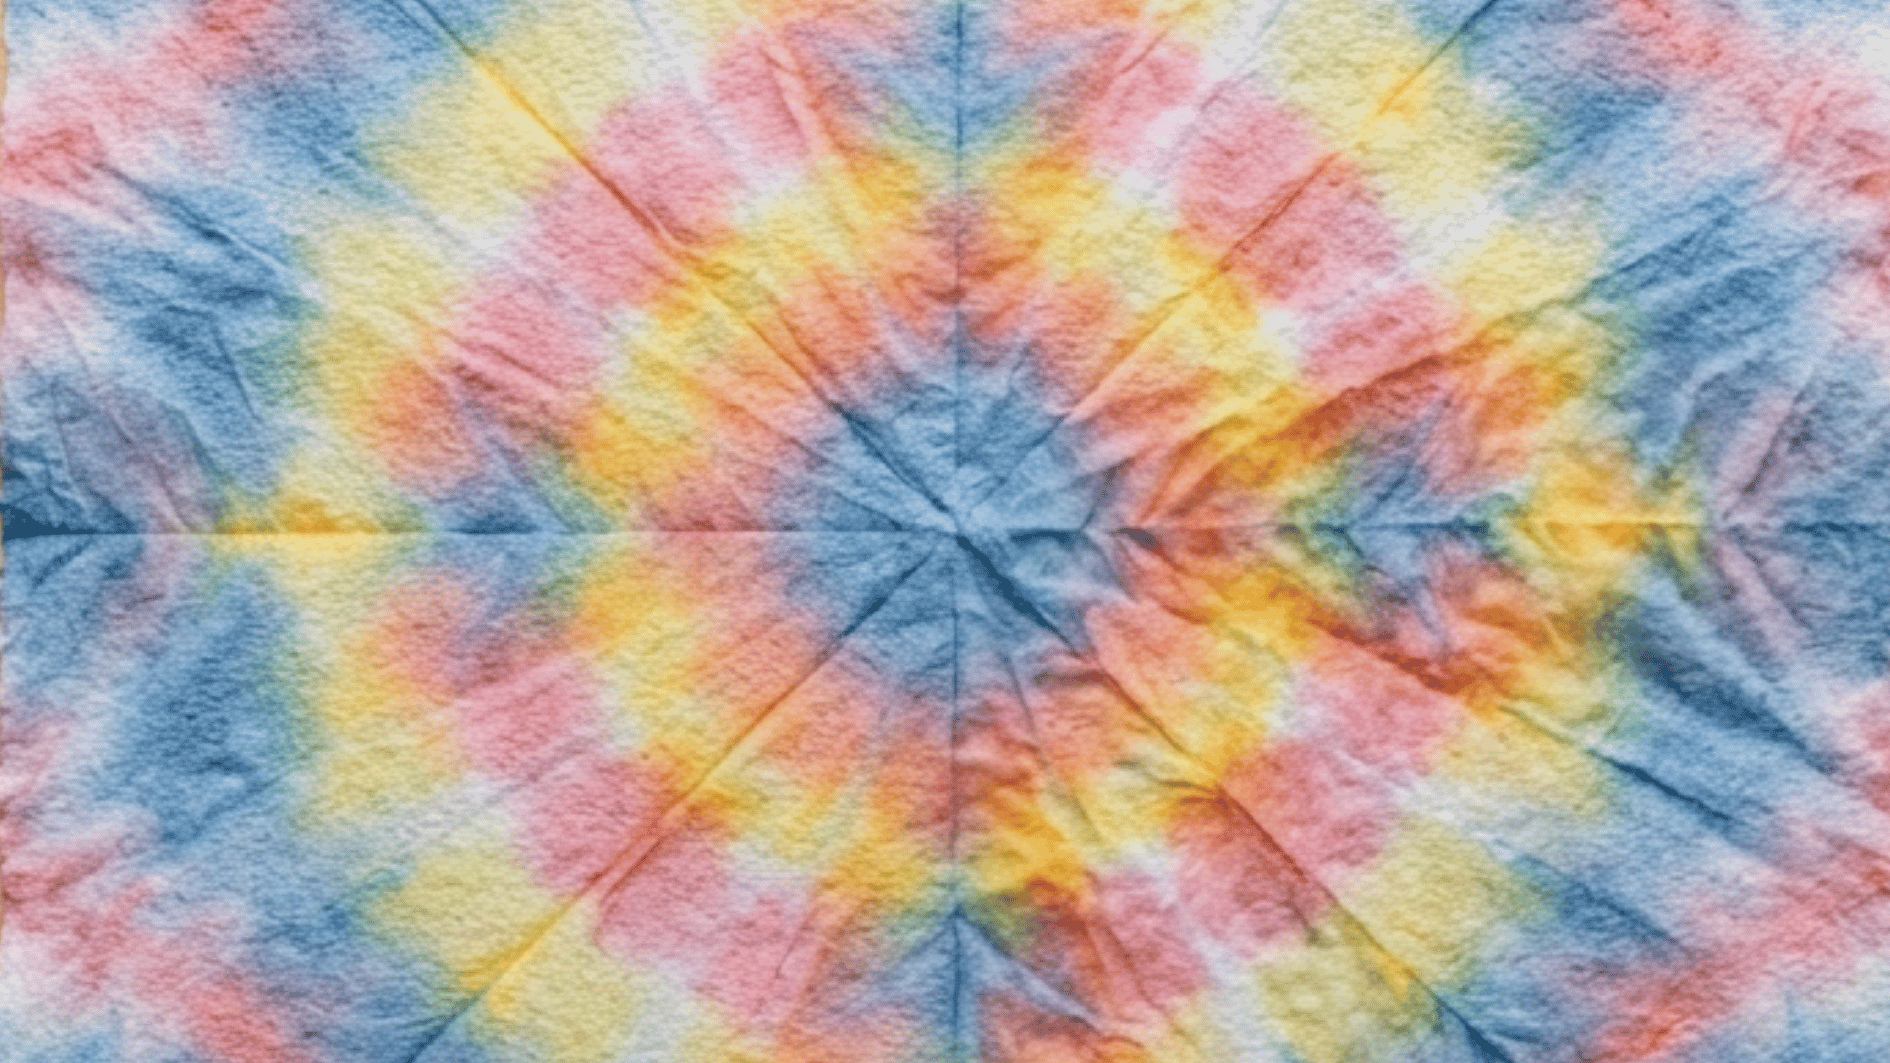
Paper towel tie-dye uses watered-down paint to create spreading color patterns.
Fold a paper towel into a small square or triangle, then dip each corner into a different color. Once opened, the colors spread through the folds in different directions.
- Try: Two-color, three-color, or mixed corner patterns
- Use: Paper towels and watered-down paint
- Helpful tip: Unfold the paper towel carefully and lay it flat while it dries
How Do You Keep Painting Mess-Free?
A little prep makes painting time more enjoyable for both kids and parents. These simple tips help reduce mess while giving kids the freedom to explore their originality with confidence.
- Protect the Workspace: Cover the table or floor with a plastic sheet, newspaper, or old cloth. Keep wipes or paper towels nearby for quick cleanups.
- Choose Washable Paint: Washable tempera cleans easily from hands, clothes, and most surfaces, so kids can experiment without much stress for parents.
- Keep Clothes Covered: A full smock or old oversized shirt protects better than a small bib, letting kids move and create freely.
- Give Artwork Time to Dry: Lay finished paintings flat for 20 to 30 minutes. Moving wet art too soon can smudge it or spread paint onto other surfaces.
- Let Kids Enjoy the Process: Artwork doesn’t need to look perfect. Uneven lines and mixed colors make each piece special. Let them learn at their own pace.
The Bottom Line
Painting gives children a relaxed way to enjoy color, movement, and hands-on play. It does not need to look perfect to feel rewarding.
A few minutes with paint can be enough to keep little hands busy and let ideas take shape naturally.
Choosing easy painting ideas for kids can make art time feel more manageable and enjoyable for both children and adults.
The goal is not a flawless result, but a happy experience that feels right for the child’s age and interest. Keep things simple, allow room for creativity, and let each finished piece feel personal.
Frequently Asked Questions
Can Kids Mix Different Paint Colors Together?
Yes. Mixing two colors can help children learn how new shades are made. Start with small amounts so the colors do not turn muddy too quickly. A separate paper plate can also make mixing easier.
What Size Paper is Good for Young Children?
Larger sheets usually work well because young children have more room to move their hands. A bigger surface also makes wide brush strokes, handprints, and sponge marks easier to manage.
Can Children of Different Ages Paint Together?
Yes. Give each child a project that matches their hand control and patience. Younger kids can make broad marks, while older kids can add smaller details or patterns.