Faux painting turns a plain wall into marble, wood, or stone for a fraction of the cost of the real thing.
Faux painting techniques rely on layered glazes, textured tools, and a steady hand, not costly materials.
These ancient techniques still add classic beauty to modern homes today.
A sponge creates soft veining, a rag adds fabric-like folds, and a graining tool mimics wood grain. Pick one method below and turn your blank wall into a marble or wood masterpiece.
How Faux Painting Creates Texture and Depth
Faux painting creates texture and depth by using two layers of color instead of one. A solid base coat goes down first, then a thin, see-through glaze goes on top.
The glaze catches light differently across the surface, so some spots look darker, and some look lighter.
This is what makes flat walls look like marble, stone, or wood. A single coat of flat paint looks the same everywhere, with no variation in tone.
Real stone, wood, and fabric never look perfectly even; they have small shifts in color and shine. The layered glaze method copies these natural imperfections on purpose.
That is why a faux marble wall can fool the eye from across a room, though it started as plain drywall and paint.
Faux Painting Tools, Supplies and Products
These are all the essentials you need to get started – nothing extra, nothing complicated. Most supplies are easily available at any local hardware or paint store.
| Products and Tools | Purpose |
|---|---|
| Spackle, Sandpaper, Primer | Fill cracks, smooth the surface, and create an even base for paint to grip |
| Latex Paint (Eggshell Finish), Roller, Paint Tray | Apply an even background color across the entire surface |
| Glazing Medium, Top Coat Paint, Mixing Container | Slow drying time for easier blending and smoother faux effects |
| Sea Sponge, Cotton Rag, Wide Brush, Graining Tool | Create textures like mottled, ragged, washed, or wood-grain effects |
| Painter’s Tape, Drop Cloths | Protect edges, trim, and floors while working in sections |
| Clear Topcoat or Varnish | Seal and protect the finished surface from scratches and moisture |
How to Apply a Faux Finish Step by Step
With the right tools and techniques, faux painting transforms any ordinary surface into a stunning marble, wood, or stone-like finish anyone can achieve.
Step 1: Prepare the Surface
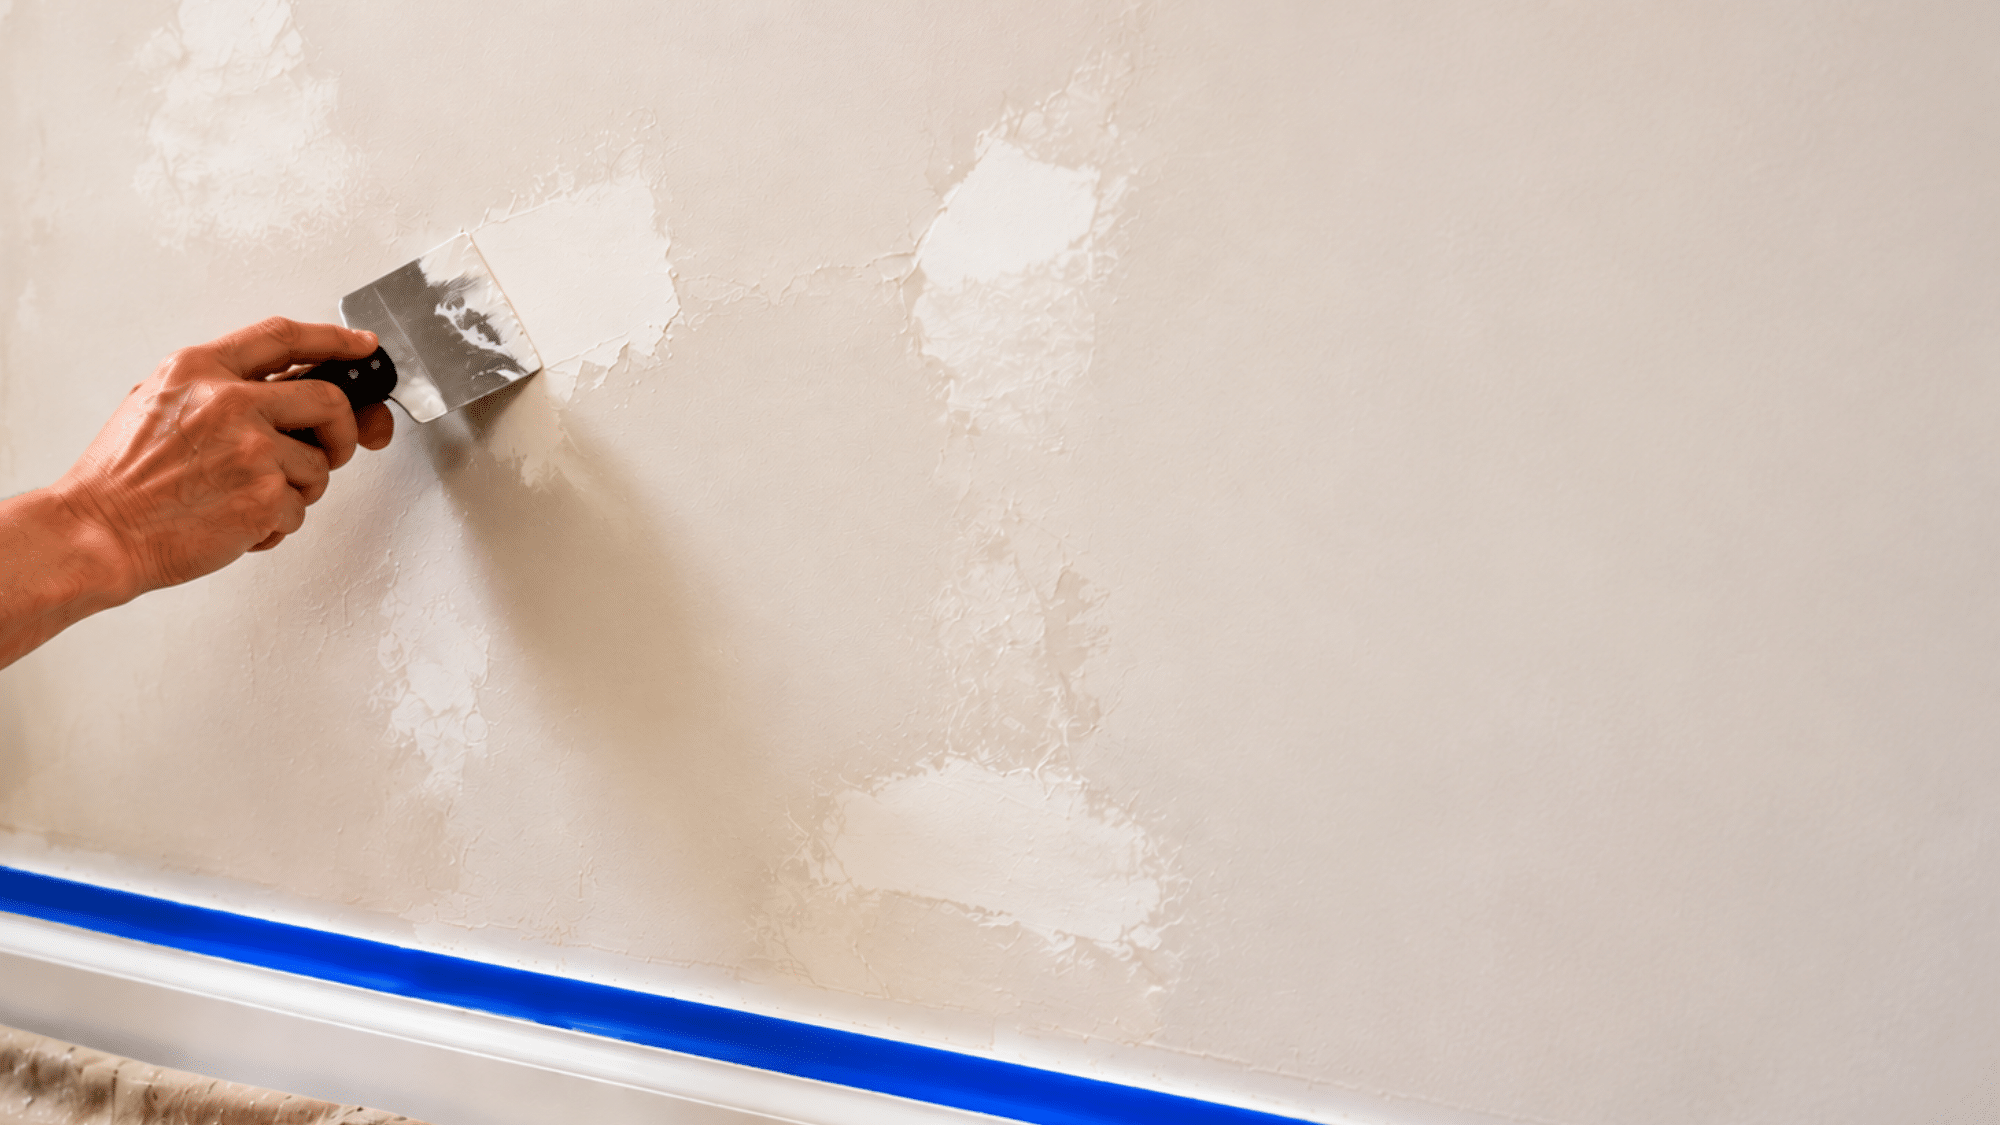
Before anything else, clean the surface thoroughly to remove dust, dirt, and grease. Fill any cracks or holes with spackle, let it dry, then sand it smooth and apply a primer to create an even base.
Taking the time to prepare properly helps your paint stick better and makes your finished look appear polished and professional.
Step 2: Apply the Base Coat
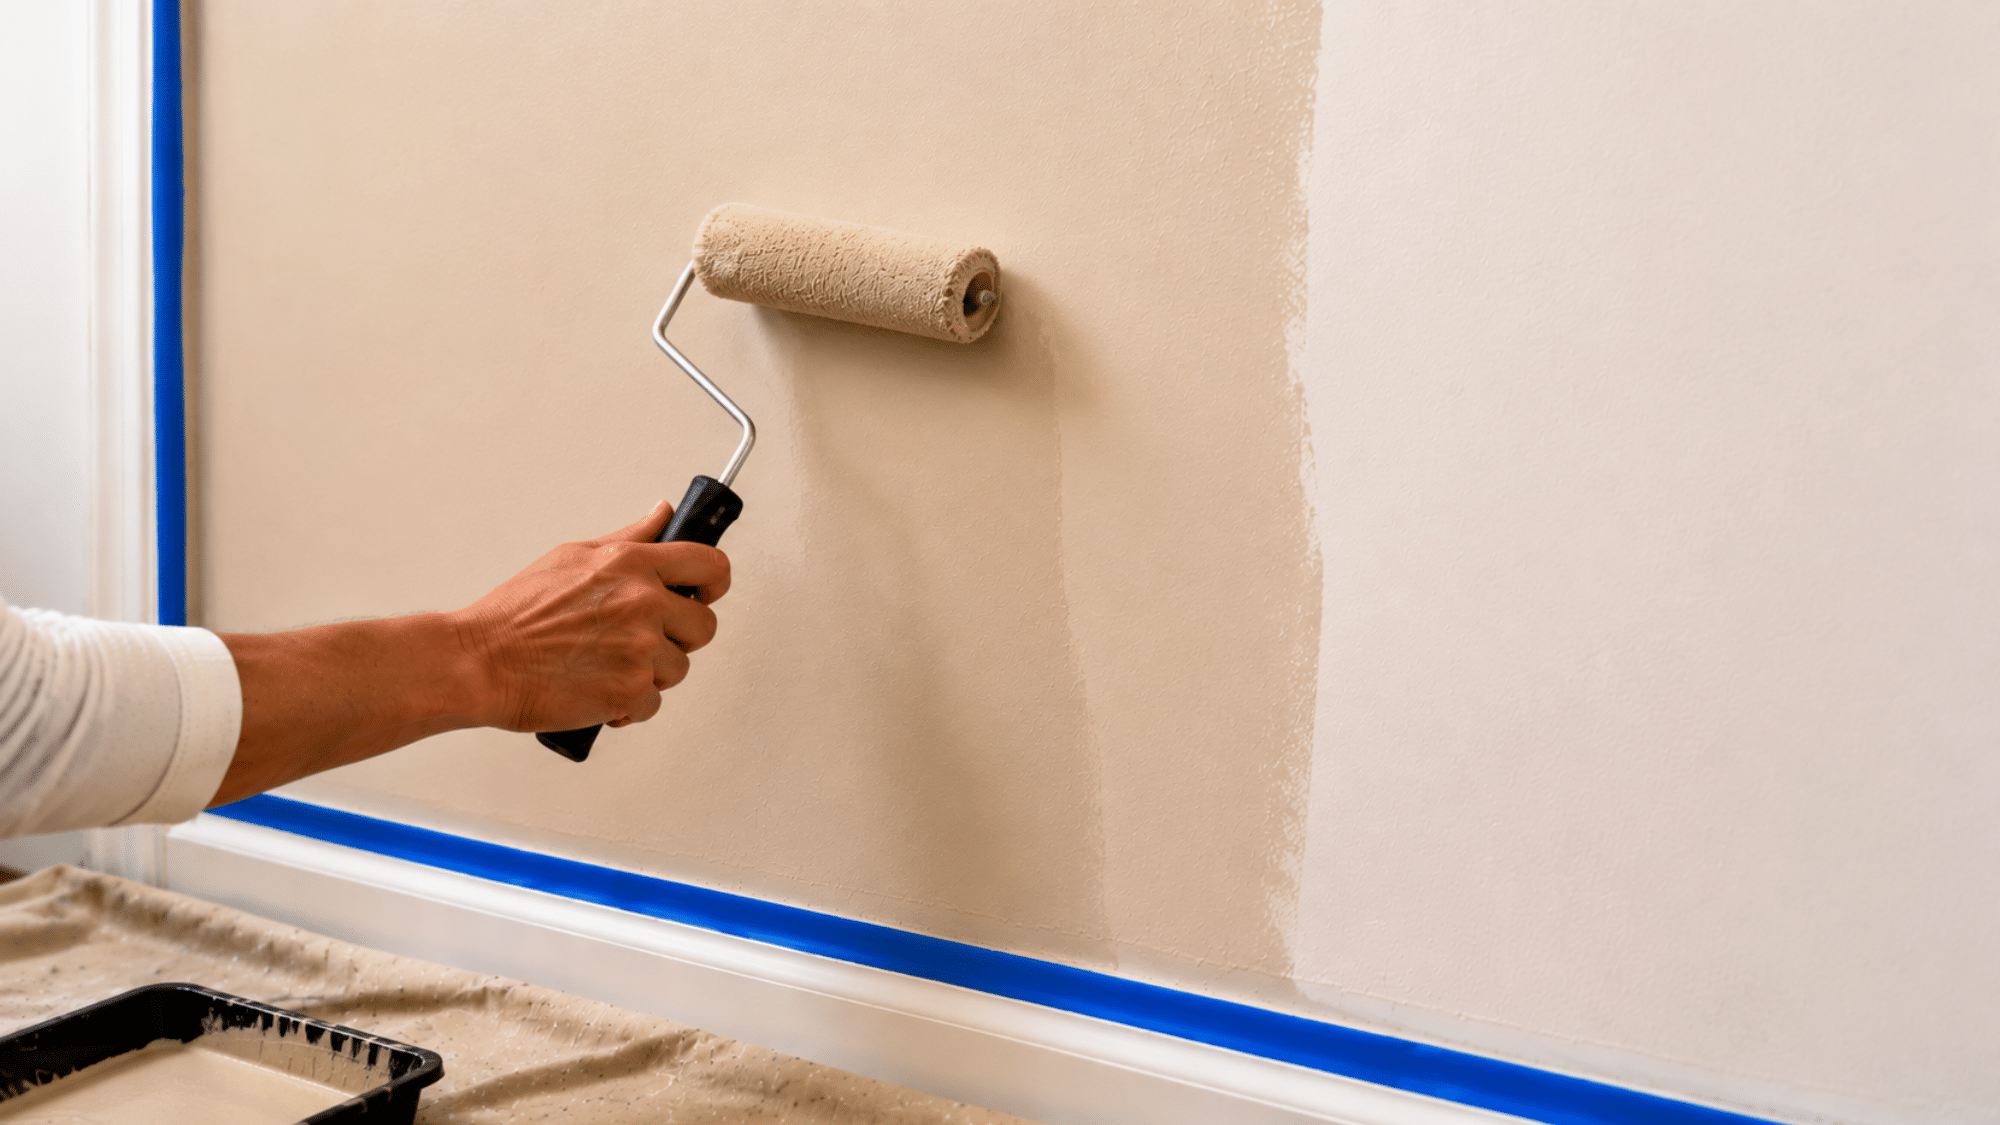
Roll on your base coat paint evenly across the entire surface and apply a second coat if the color looks uneven.
Allow it to dry completely for at least 2–4 hours. This base color will show through your glaze layer, so choose a shade that complements your top color well.
Step 3: Mix Your Glaze
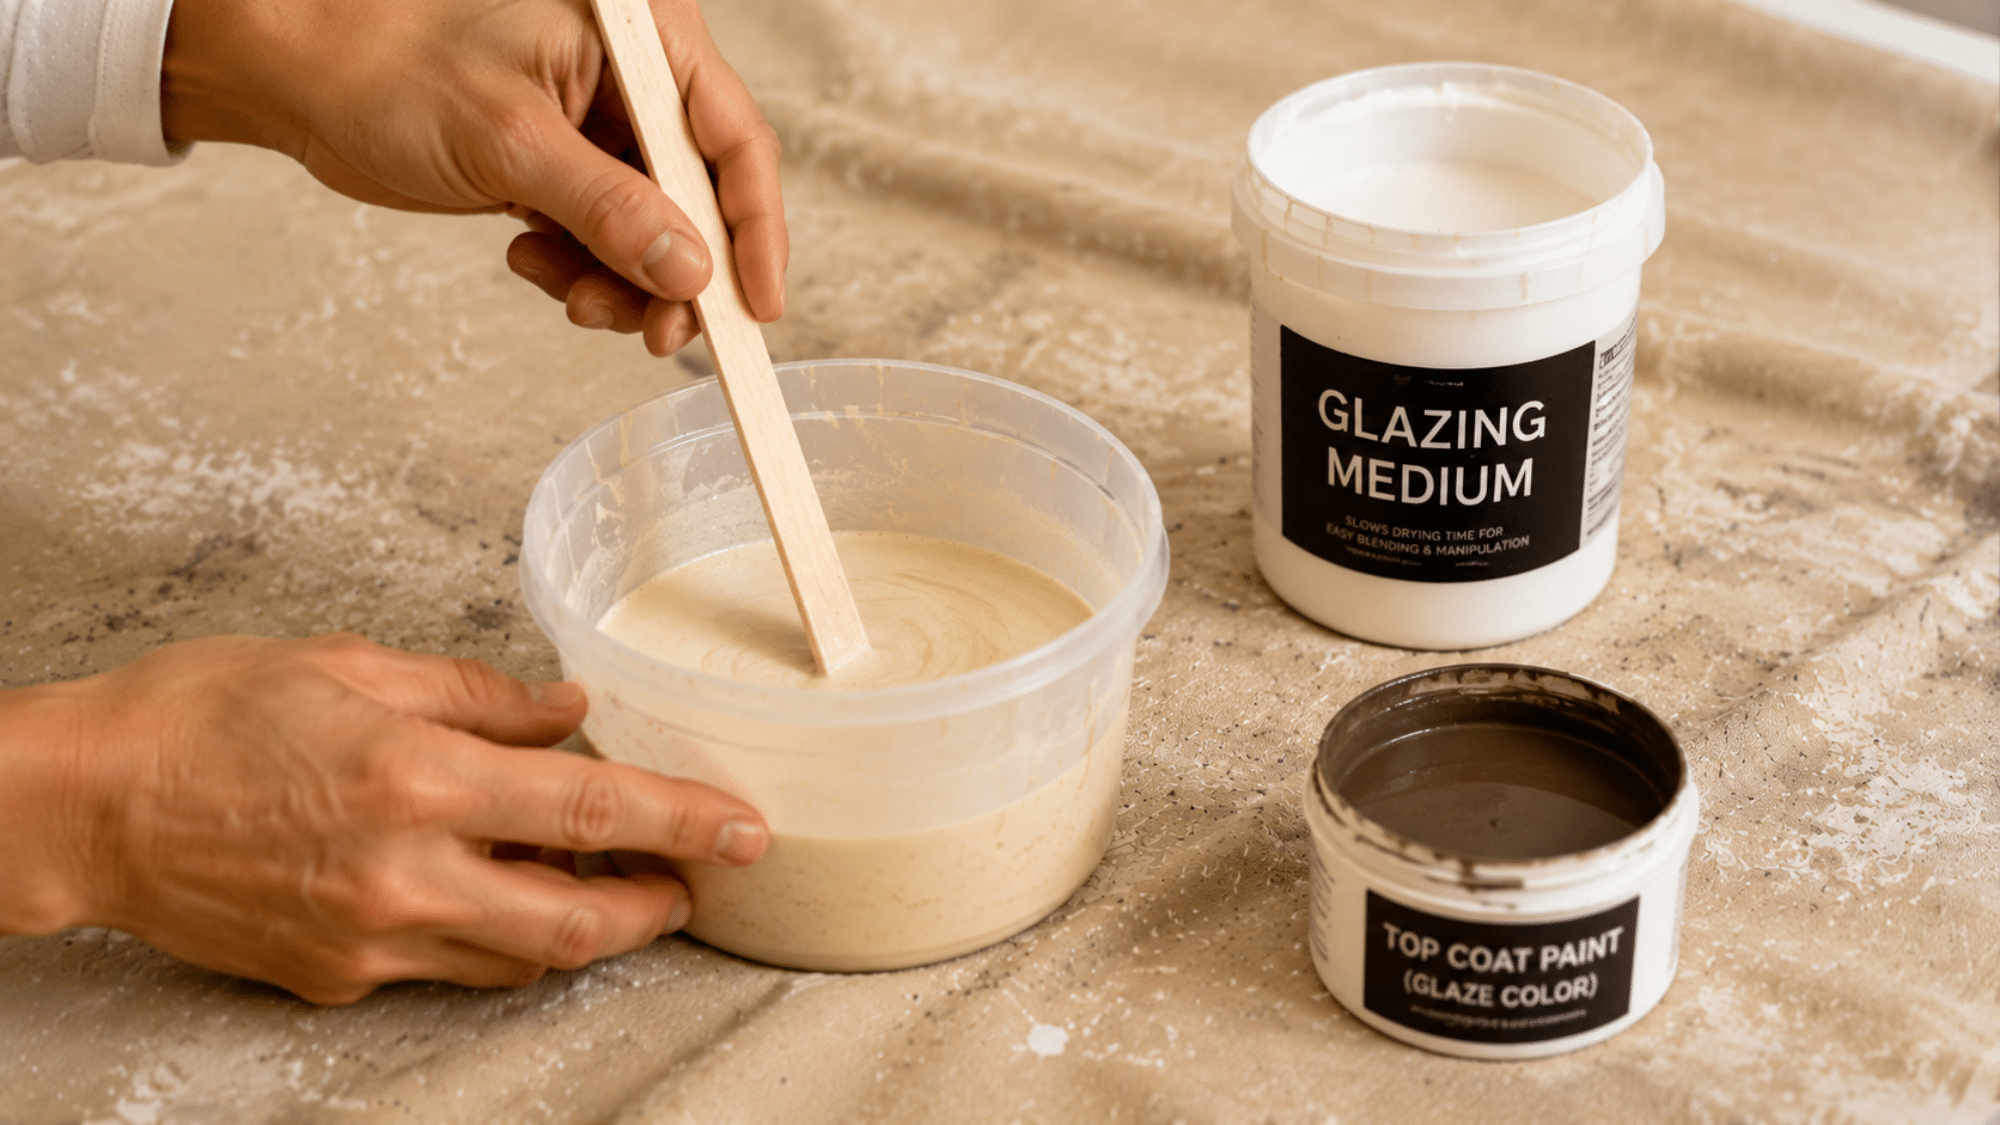
Mix your topcoat paint with a glazing medium using four parts paint to one part medium, then stir well to combine.
This mixture is what creates the faux effect; the glazing medium slows drying time, giving you enough working time to blend and manipulate the finish beautifully.
Step 4: Apply the Glaze in Sections
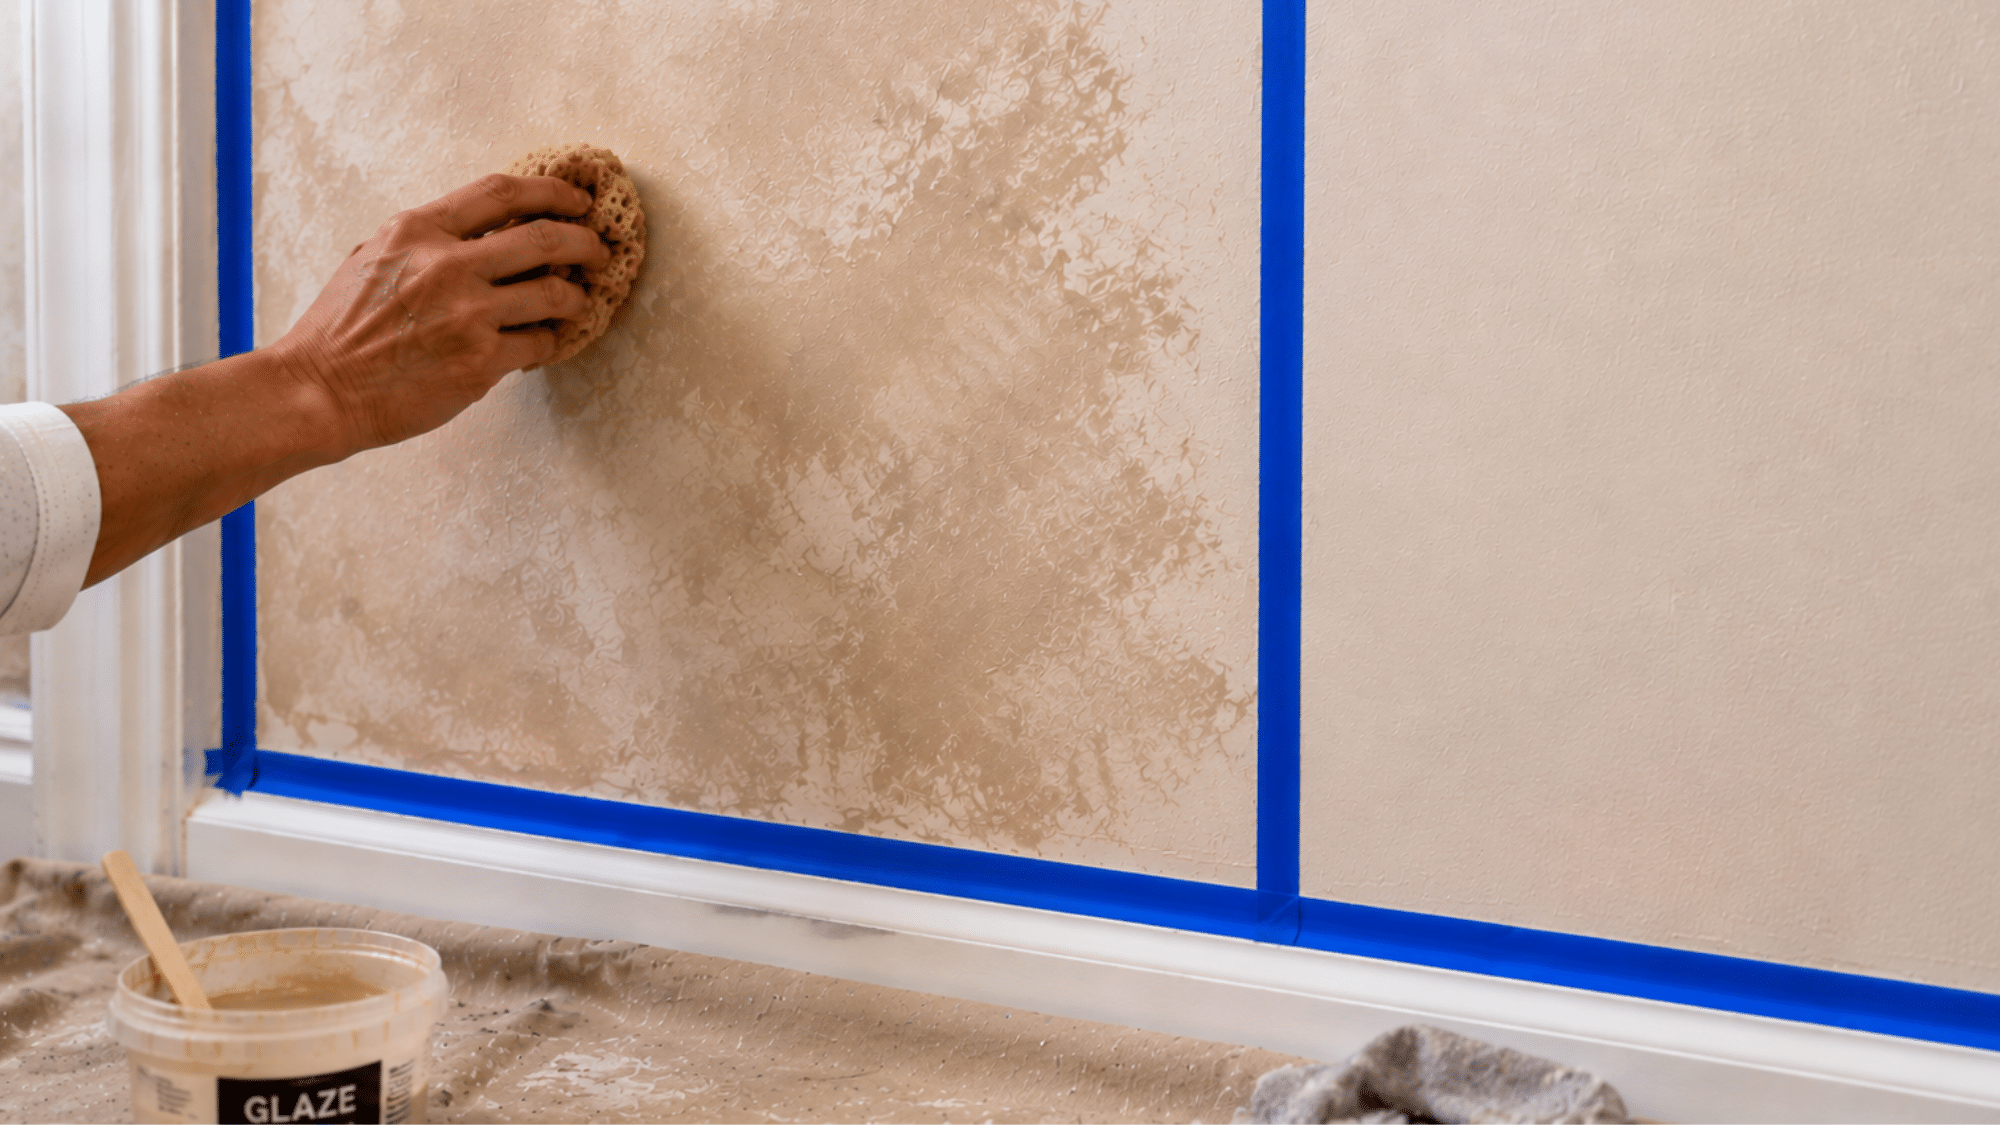
Use painter’s tape to protect edges and trim. Working in small 2×2 ft sections, apply the glaze using your chosen tool, a sponge, rag, or brush.
Gently dab, drag, or swirl the glaze to beautifully create the texture and effect you desire on the surface.
Step 5: Blend and Layer
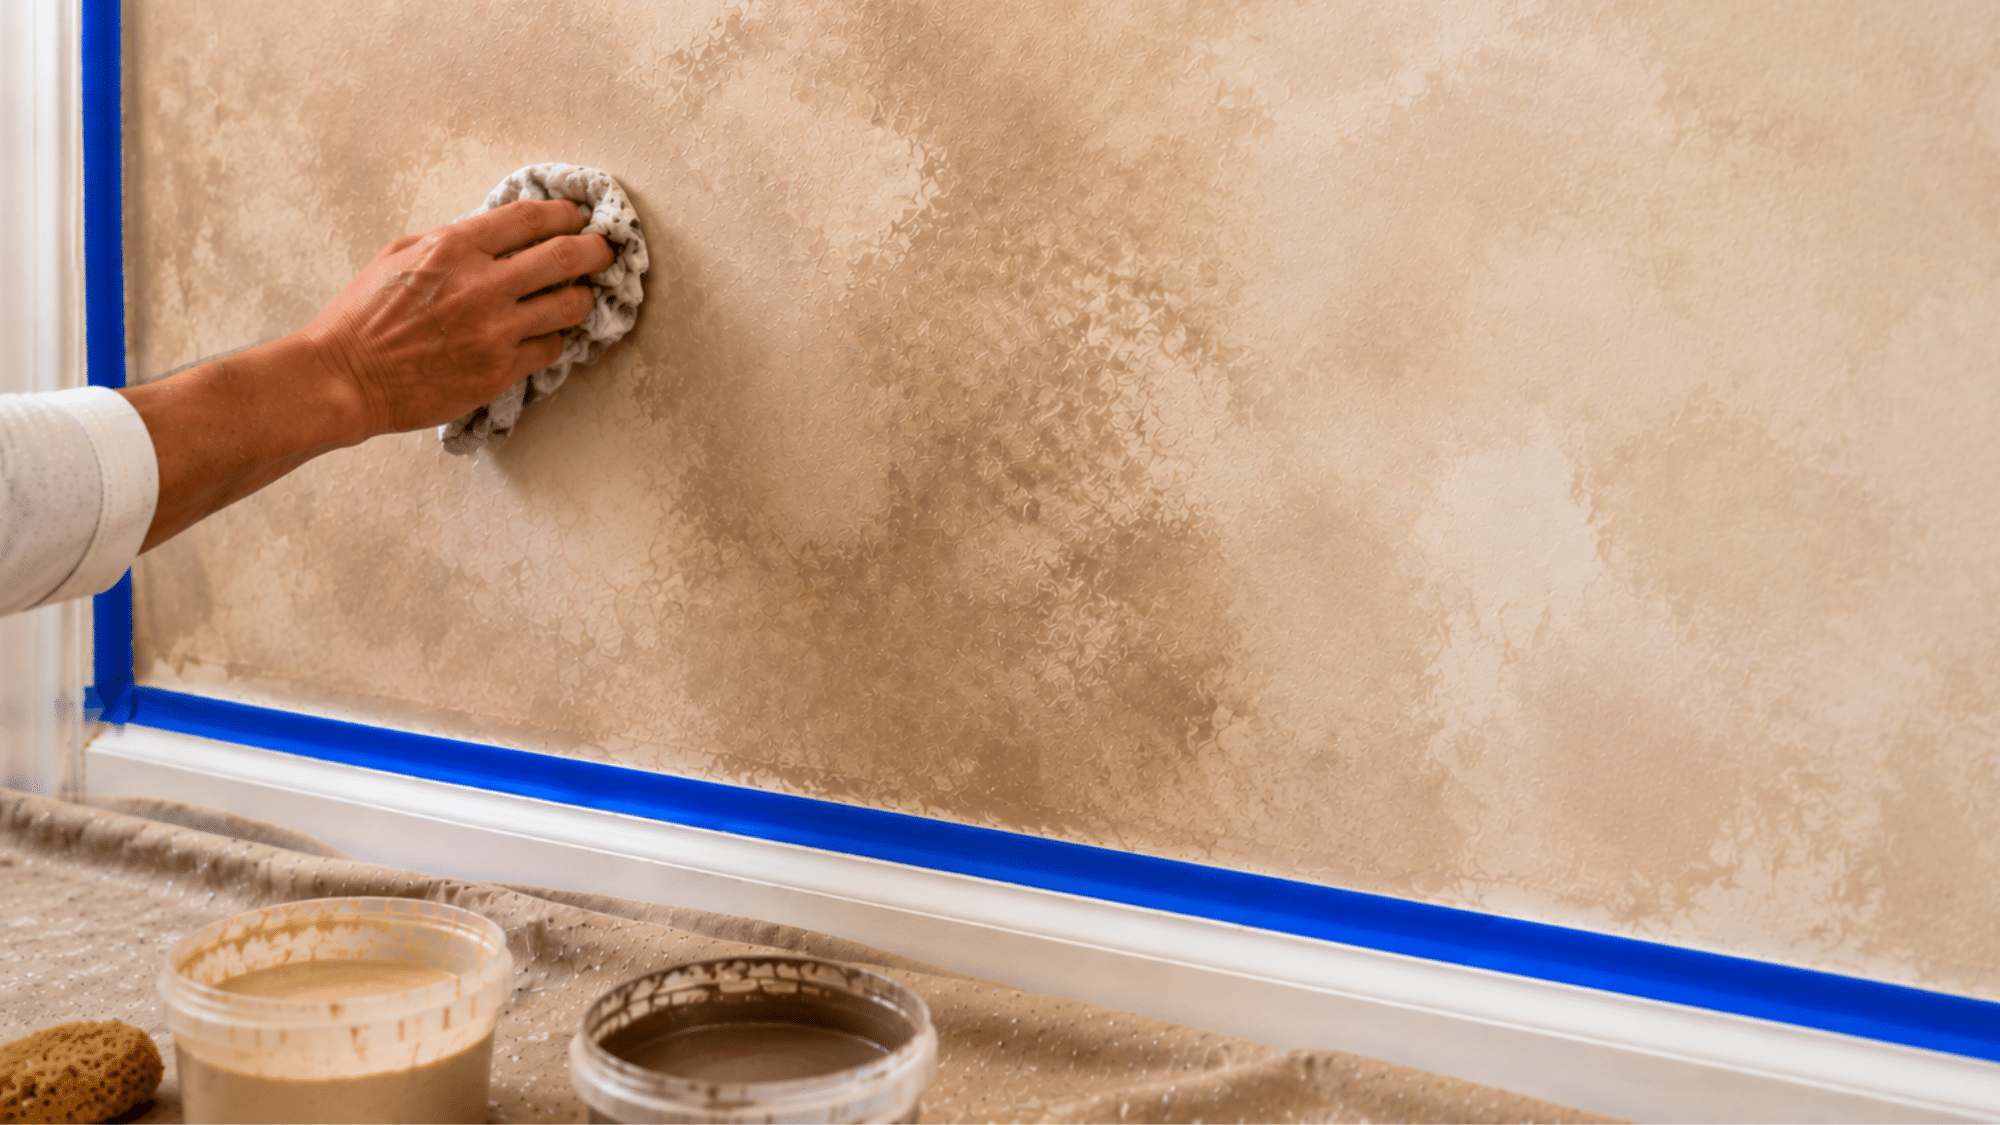
While the glaze is still wet, soften the edges between sections to avoid harsh lines and create a smooth look.
For more depth and dimension, add a second glaze color once the first is partially dry. Vary your pressure and direction each time for a natural, realistic appearance.
Step 6: Seal and Finish
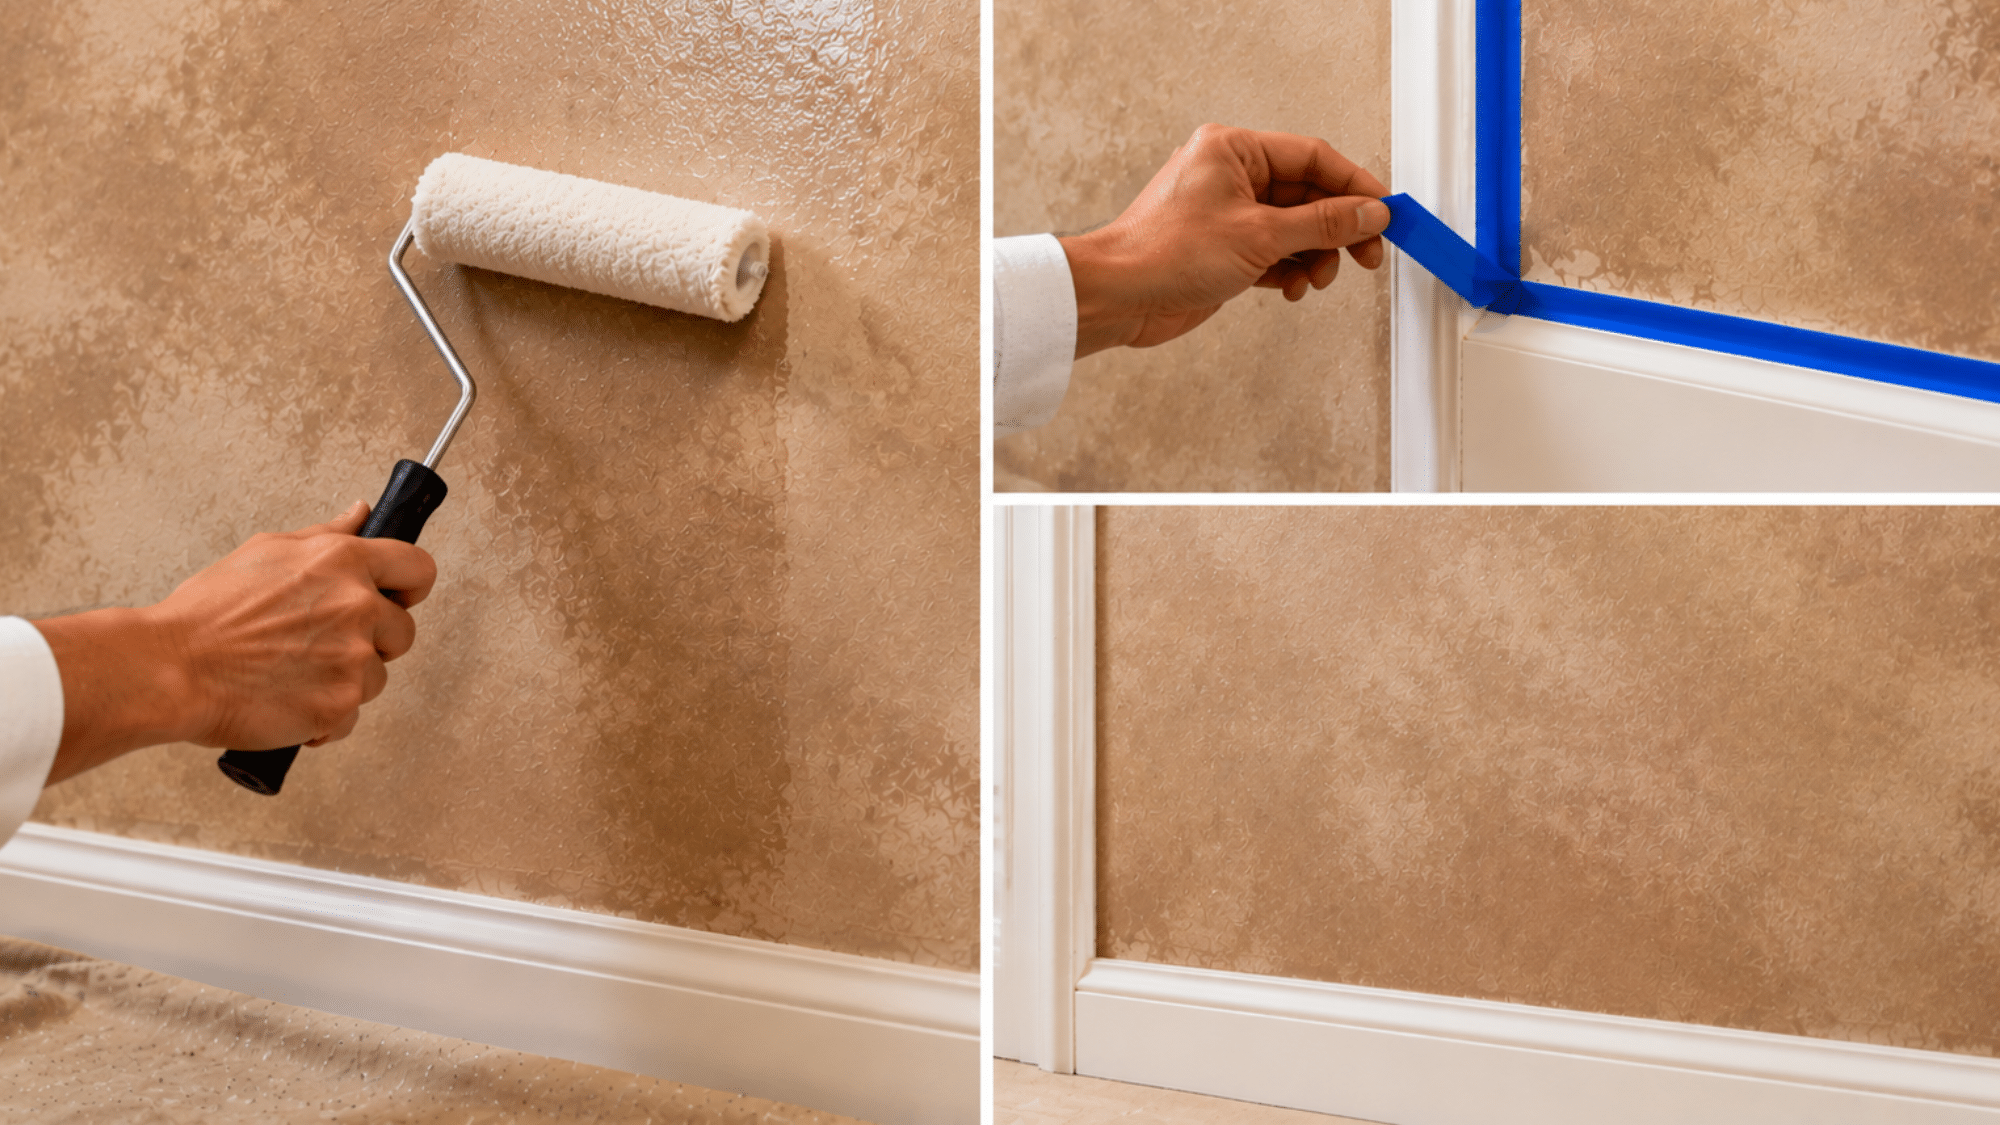
Allow the surface to dry fully – anywhere from a few hours to overnight, depending on glaze brand, room temperature, and humidity.
Never rush this step, as it can ruin the finish. Once completely dry, apply a clear topcoat or varnish to protect against scratches, moisture, and daily wear.
Carefully peel off the painter’s tape to reveal clean, sharp edges and a long-lasting professional finish.
Faux Finish Techniques to Try at Home
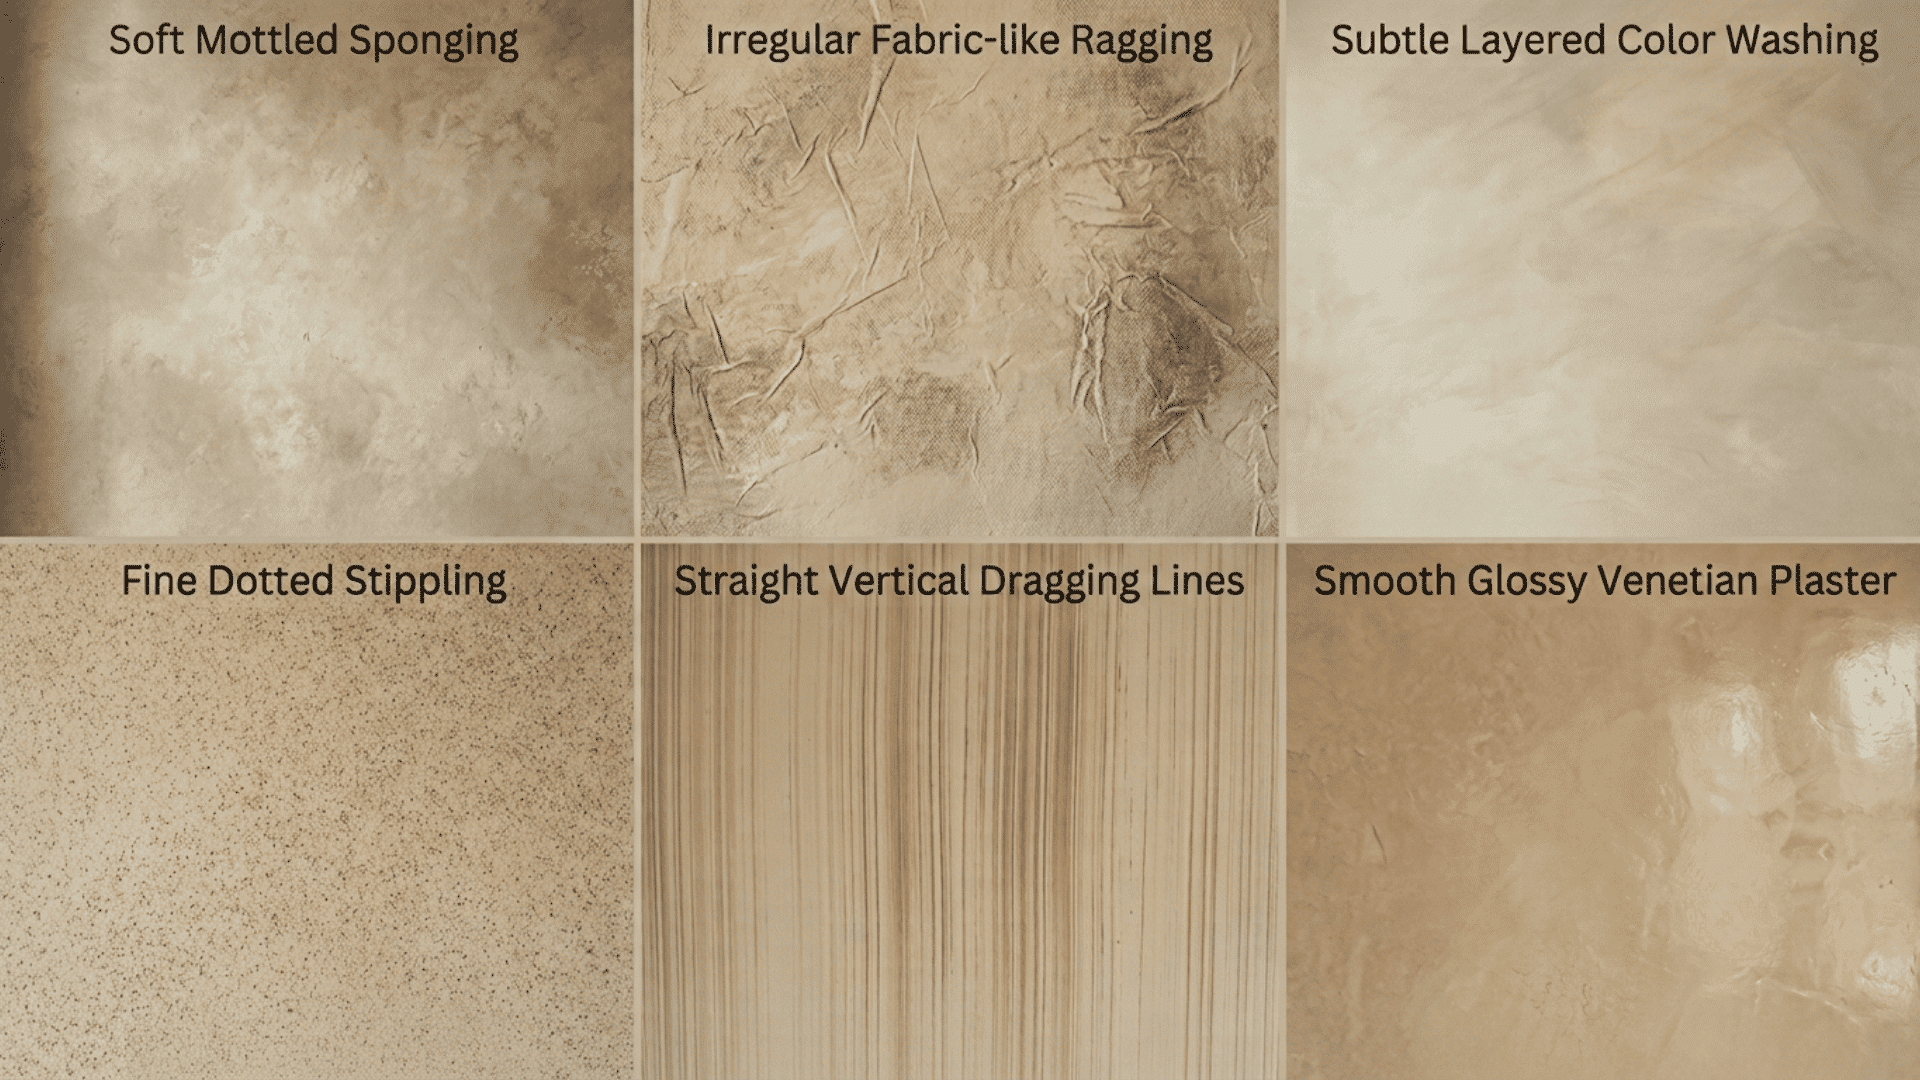
The types of faux finishes available today span a wide range of styles and textures, much like the range you’ll find across other painting techniques, each offering a unique way to improve and personalize any surface, from rustic, aged looks to smooth, luxurious, marble-like effects.
1. Sponging
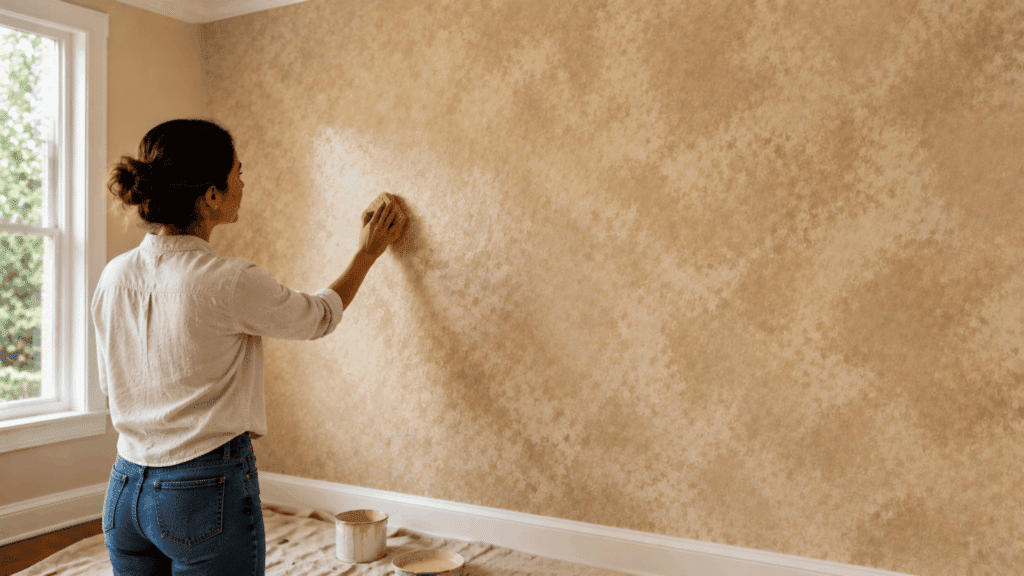
Using the sponging technique, simply dip a natural sea sponge into your glaze and dab it onto the surface in random, overlapping patterns.
This beginner-friendly finish creates a soft, mottled, and dimensional texture that adds instant depth to any wall or furniture piece with minimal effort.
2. Ragging
Built on the ragging technique, scrunch a cotton rag into a loose ball, dip it in glaze, and press or roll it onto the surface.
The fabric folds create a beautifully irregular, fabric-like pattern resembling crushed linen, adding warmth and softness to bedrooms and living spaces.
3. Color Washing
Using the color washing technique, apply a thin, watered-down glaze over your base coat with a wide brush in loose, overlapping strokes.
This creates a soft, dreamy, aged appearance that adds warmth, depth, and old-world charm to any wall. It is one of the most forgiving finishes for beginners.
4. Stippling
Rooted in the stippling technique, load a wide stippling brush with glaze and press it straight onto the surface repeatedly without dragging.
This produces a fine, subtle, dotted texture that looks refined and elegant, working exceptionally well on accent walls, ceilings, and decorative furniture pieces.
5. Dragging
Using the dragging technique, apply glaze over the base coat and pull a wide dry brush through it in long, straight, parallel downward strokes.
This creates thin, lined streaks that closely mimic natural wood grain or fine fabric, giving surfaces a sophisticated and timeless decorative appeal.
6. Venetian Plaster
Apply a thin layer of plaster-based paint using a flat trowel in random, overlapping strokes. Once dry, buff it with the trowel to create a stunningly smooth, glossy, marble-like surface.
This luxurious finish looks incredibly high-end and remains a favorite choice for feature walls and upscale interiors.
Common Mistakes to Avoid
Most faux finishing problems trace back to rushing prep or working too fast with the glaze. Avoiding these five slip-ups will save you a redo.
- Skipping primer: Glaze soaks unevenly into bare or patched drywall, leaving blotchy patches once it dries.
- Mixing glaze too thick: A heavy glaze-to-paint ratio dries fast and leaves harsh, streaky lines instead of soft blending.
- Working too large a section at once: Glaze sets before you can blend it, creating visible seams between areas.
- Using the same tool motion repeatedly: Identical strokes or dabs read as fake and repetitive instead of natural stone or wood grain.
- Rushing the drying time: Sealing or handling the surface too early smears the glaze and dulls the finish.
Wrapping It Up
Faux painting techniques give anyone the power to turn a plain wall into something that looks handcrafted, without the pricey materials.
Practice each faux finish on a small area before covering a full room.
Once you see how a sponge or rag turns a flat surface into something with depth, you will want to keep going.
Grab your tools this weekend and try one technique.
Frequently Asked Questions
What Kind of Paint Do You Use for Faux Painting?
Latex or acrylic in matte or eggshell works for most techniques. Use specialty glaze or metallic paint for marble or metallic looks.
What Are the Five Painting Techniques?
Underpainting, glazing, impasto, dry brush, and wet-on-wet. These build texture and depth across oil, acrylic, and watercolor.
What is Another Name for Faux Painting?
Faux finishing or decorative painting. Specific styles have their own names too, like faux marbling or faux bois.
Is Faux Painting the Same as Textured Wall Finishes?
No. Faux painting uses decorative paint or glaze on a flat surface. Textured finishes like plaster or joint compound build up physical texture you can feel.