Have you ever wanted to capture the world around you with just a pencil and a sheet of paper?
Pencil sketch drawing is one of the simplest yet most powerful ways to begin your creative path. Unlike painting or digital art, it requires very little equipment, making it perfect for beginners who want to experiment without pressure.
Sketching helps you slow down, observe details you might usually overlook, and express yourself freely through lines and shading.
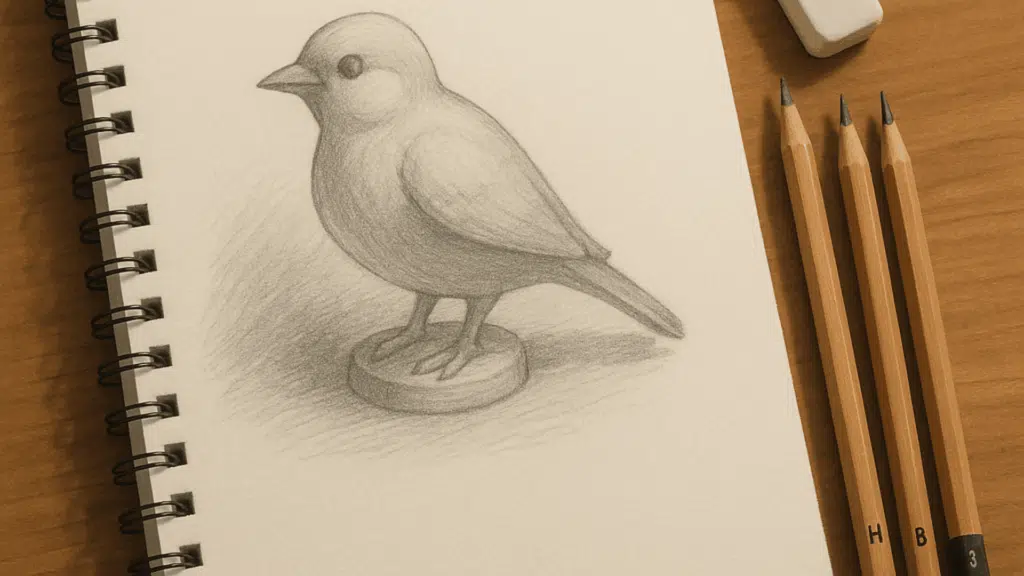
In this guide, we’ll explore why pencil sketching is such a great starting point, learn the basic techniques every beginner should know, and practice step-by-step by drawing a simple yet charming small bird figurine.
Why Pencil Sketch Drawing Is the Best Way to Start Sketching?
Learning how to sketch with a pencil is the ideal starting point for anyone interested in art.
The accessibility, control, and foundational skills it offers are unmatched, making pencil sketch drawing the best way to begin learning.
All you need is a pencil and paper, allowing you to practice anywhere without a complex setup or expensive materials. This simplicity allows you to focus on core principles, such as observation, line quality, and shading.
A pencil offers incredible control, enabling you to create precise details or soft blends, and mistakes are easily corrected with an eraser.
This forgiving nature reduces the fear of failure, making it a perfect medium for beginners to experiment and build confidence.
Sketching a Bird: Easy Step-by-Step Guide
Drawing a bird may seem tricky at first, but by breaking it down into simple shapes, you can create a graceful sketch in just a few steps.
Gather Your Materials
A few basic materials are all you need to start sketching. Here are the essentials you’ll want to have at hand before sketching the bird figurine:
| Material | Purpose |
|---|---|
| Paper | Printer paper works for practice; sketching paper has a better texture. |
| Pencils | Use different grades for outlines, details, and shading. |
| Eraser | Fixes mistakes and lifts highlights. |
| Tissue/Blending stump | Smoothly blends shading (better than fingers). |
| Sharpener | Keeps pencil tips ready for clean, precise lines. |
These steps will walk you through sketching a bird, starting with basic outlines and gradually adding details to bring it to life.
Step 1: Understand Your Pencils
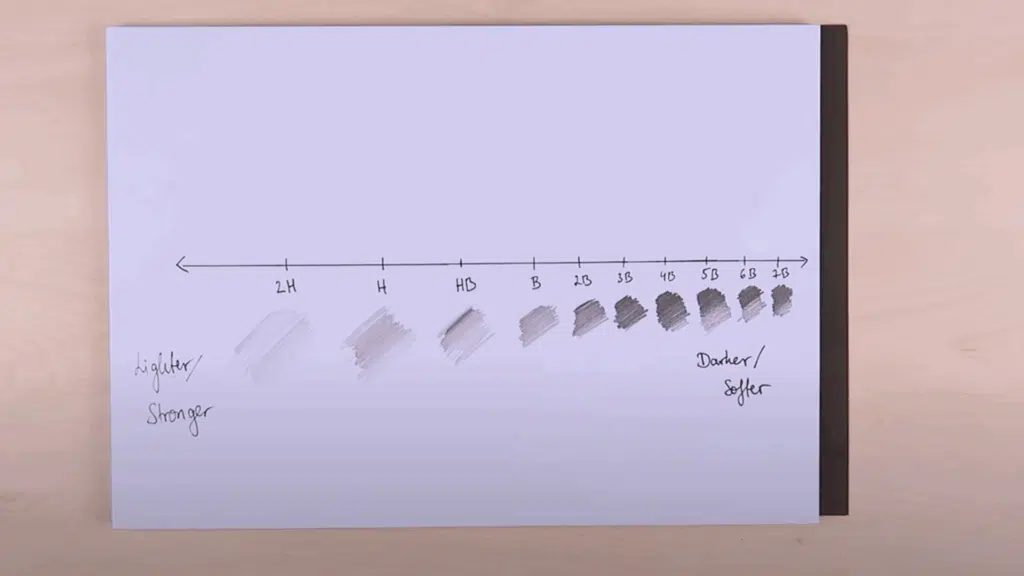
Pencils aren’t all the same. They vary in hardness and darkness. Knowing the difference helps you get the right lines and shades.
- H Pencils: Hard and light. The higher the number (e.g., 2H, 4H), the lighter and finer the line. Best for guidelines and technical outlines.
- HB Pencil: Right in the middle between H and B. Great for quick sketches and rough outlines.
- B Pencils: Soft and dark. The higher the number (e.g., 2B, 4B, 6B), the darker and easier to blend. Perfect for shading, shadows, and expressive lines.
For beginners, a simple set is enough: one H pencil for light construction lines, plus 2B, 4B, and 6B pencils for outlines, shading, and depth.
Step 2: Holding the Pencil Correctly
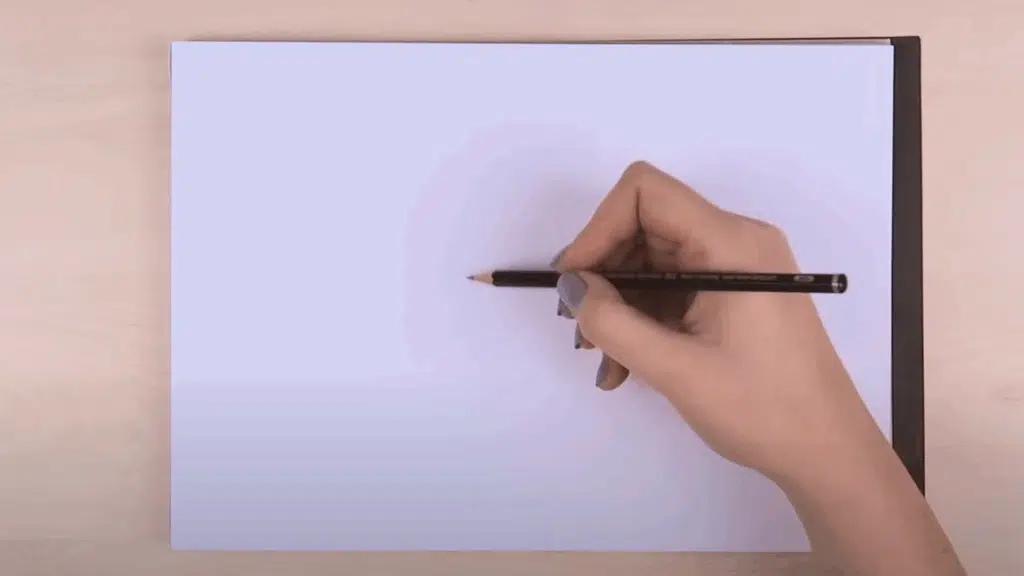
How you hold your pencil affects the appearance of your lines.
Avoid gripping tightly near the tip, as it restricts movement and stiffens your sketch. Instead, hold it slightly further back so your wrist and fingers move freely. This looser grip is ideal for sketching the bird figurine’s body.
When adding small details, such as the beak or feathers, move closer for precision. Think of your pencil gliding, not carving.
Step 3: Warm-Up Exercises
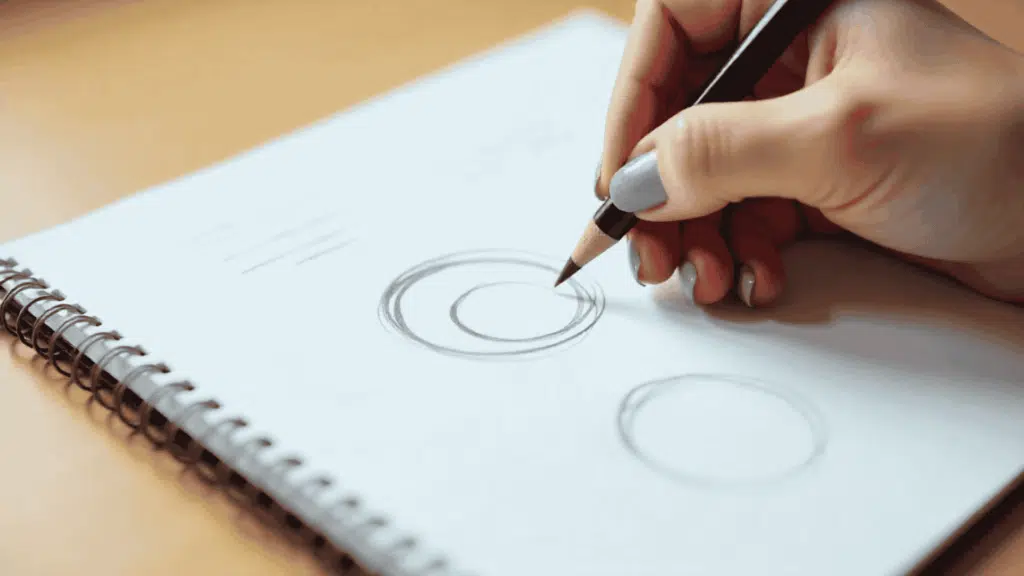
Before sketching your bird figurine, loosen your hand with warm-ups. Draw circles, ovals, and curves across the page, letting your wrist move naturally.
Add quick, light strokes without worrying about perfection. These warm-ups relax your hand and prepare you for smoother lines.
You’ll notice that when you begin sketching the bird, the shapes will flow more freely, making your drawing look lively instead of rigid.
Step 4: Starting Your Sketch (The Bird Figurine)
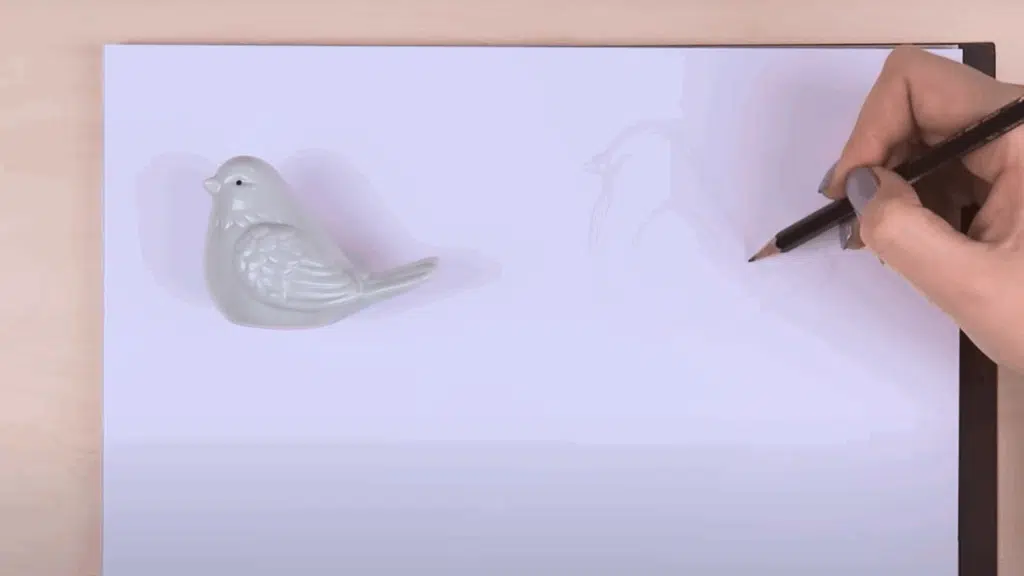
Examine the figurine and break it down into its basic shapes.
Draw a large oval for the body, a smaller circle for the head, and a small triangle for the beak. A rectangle or triangle can represent the tail, while wings curve gently along the body.
Use an H or HB pencil lightly at this stage. Think of this as scaffolding, where you’re building the framework before refining your sketch.
Step 5: Refining the Sketch
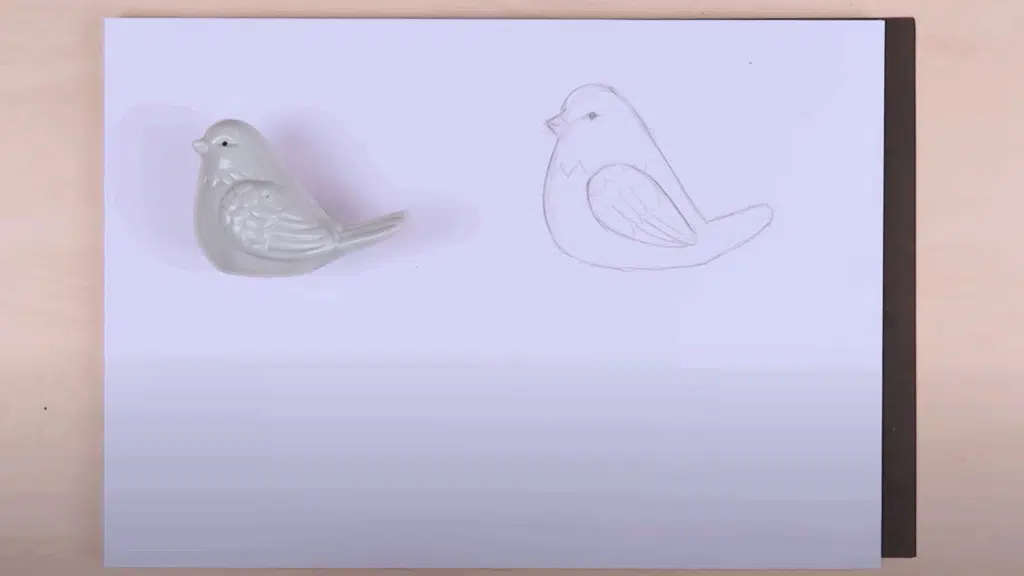
Now begin turning those simple shapes into the bird itself. Smooth the oval into a rounded belly and adjust the head so it blends naturally with the body.
Curve the wings and tail, giving them more definition. Add small hints of feathers and place a tiny circle for the eye.
Switch to a 2B pencil for stronger outlines. The lighter framework can remain visible, adding life and structure to your sketch.
Step 6: Shading and Adding Depth
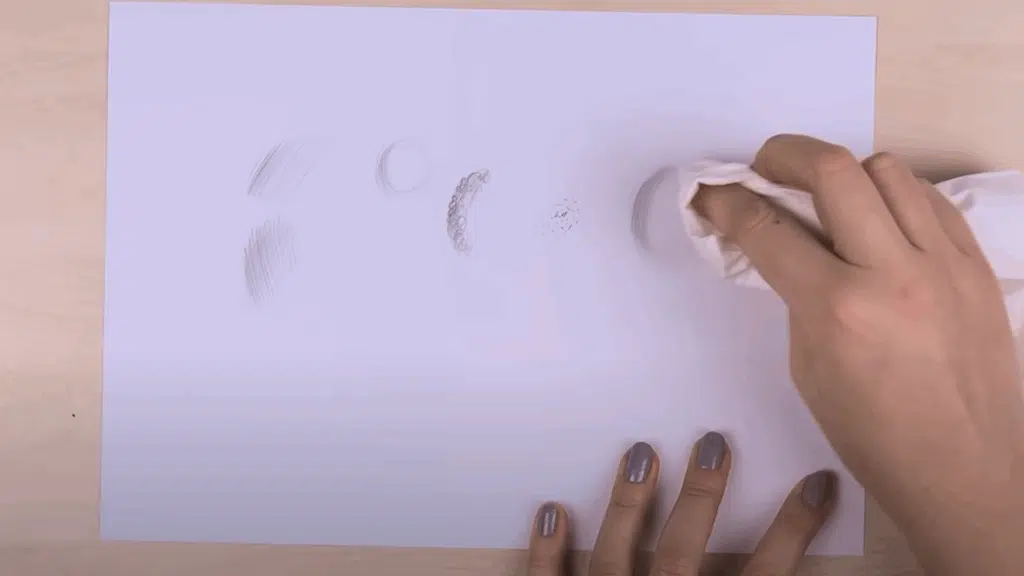
To bring your bird figurine to life, add shading. First, decide on the light source. Here, you can imagine it shining from the left. Shade the right side of the belly, under the wings, and beneath the tail for depth. Try the following techniques.
- Hatching uses parallel lines and works well for lighter shadows, such as along the bird’s belly.
- Cross-hatching lines in different directions is ideal for darker areas under the wings or tail.
- Contour shading follows the shape of the form, making it perfect for the bird’s rounded body and curved wings.
- Stippling, with tiny dots, is useful for adding texture, like around the feathers.
- Smudging with tissue creates soft gradients, making it ideal for smooth transitions on the bird’s belly or blending shadows into highlights naturally.
Together, these techniques give depth and dimension.
Step 7: Final Touches
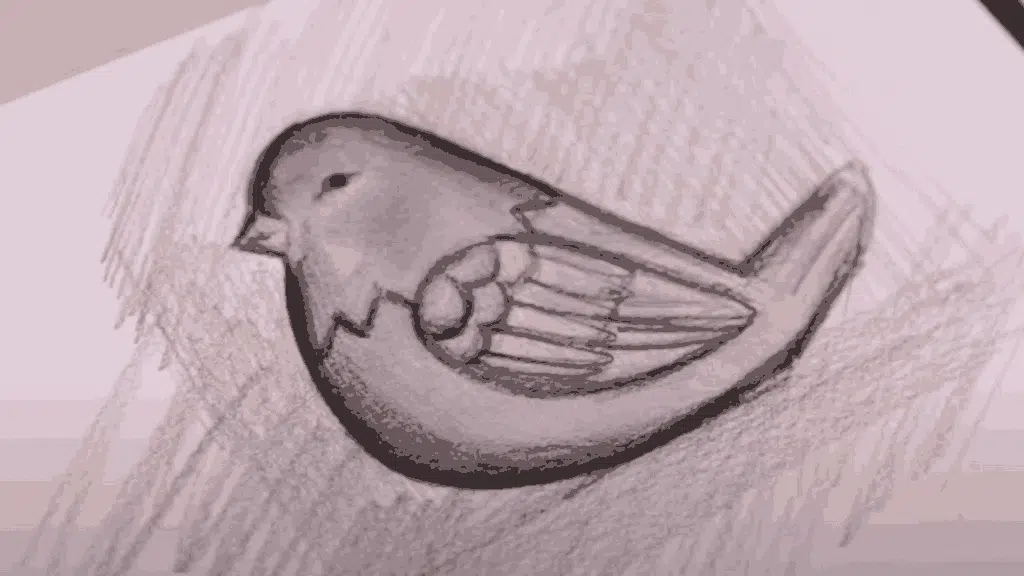
Complete your sketch by adding details that give character. Deepen shadows using a 6B pencil, especially under the wings and around the tail.
Use your eraser to gently lift highlights from the head, beak, or belly. Add simple feather textures or a small sparkle in the eye.
Resist the urge to overwork the drawing; imperfections make it charming. Every sketch, whether neat or messy, is practice that strengthens your skills and confidence.
For more detailed instructions, refer to the YouTube video below
Common Myths About Pencil Sketching
There are many common myths about pencil sketch drawing that can discourage beginners.
The most prevalent one is that you need to be a natural talent. The truth is, drawing is a skill anyone can learn with practice, observation, and patience. It’s not about magical gifts; it’s about putting in the time and effort to improve.
Another myth is the belief that you need expensive supplies. In reality, you can create beautiful work with just a simple graphite pencil and a basic sketchbook. Focusing on your technique is far more important than the price tag of your materials.
Additionally, many beginners believe their drawings must be perfect. Sketching is a learning process with finding and practice; not all sketches need to be masterpieces. cherish imperfections as part of learning. a sign of growth.
Lastly, don’t fall for the myth that your lines need to be a single, confident stroke.
The truth is, most artists use light, feathery “construction lines” to build their drawing, refining their shapes and forms before committing to darker lines.
This approach reduces pressure and makes the process more fluid and enjoyable.
Simple Sketch Ideas for Beginners to Practice
If you don’t have a figurine at hand, there are plenty of everyday objects you can practice sketching. These subjects are simple, familiar, and perfect for learning shapes, shading, and proportions.
1. A Coffee Mug
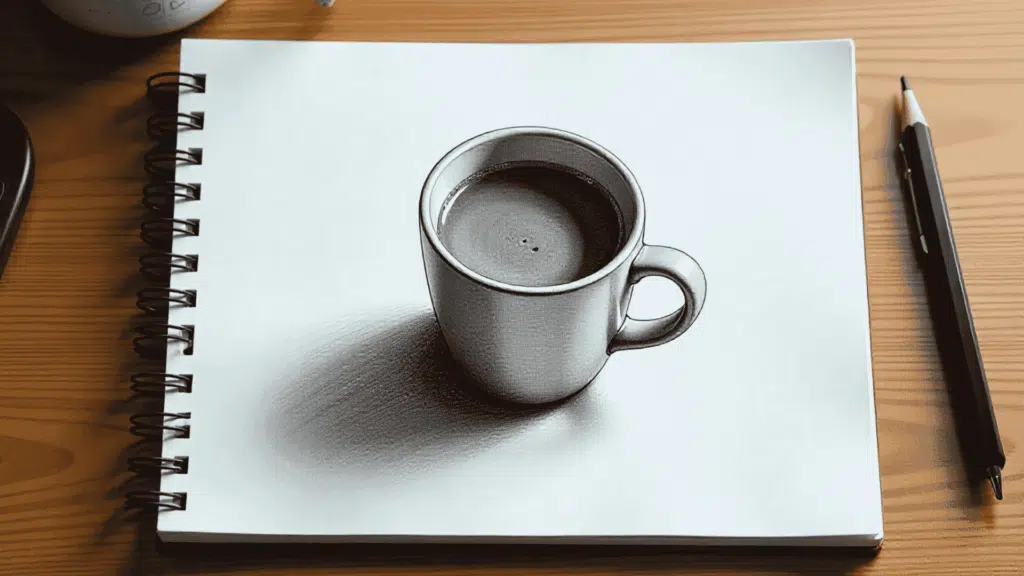
A mug is a great place to start because it combines basic shapes: a cylinder for the body and a curved oval for the top. Adding the handle teaches perspective. Practice shading inside the cup to capture depth.
2.Classic Glasses
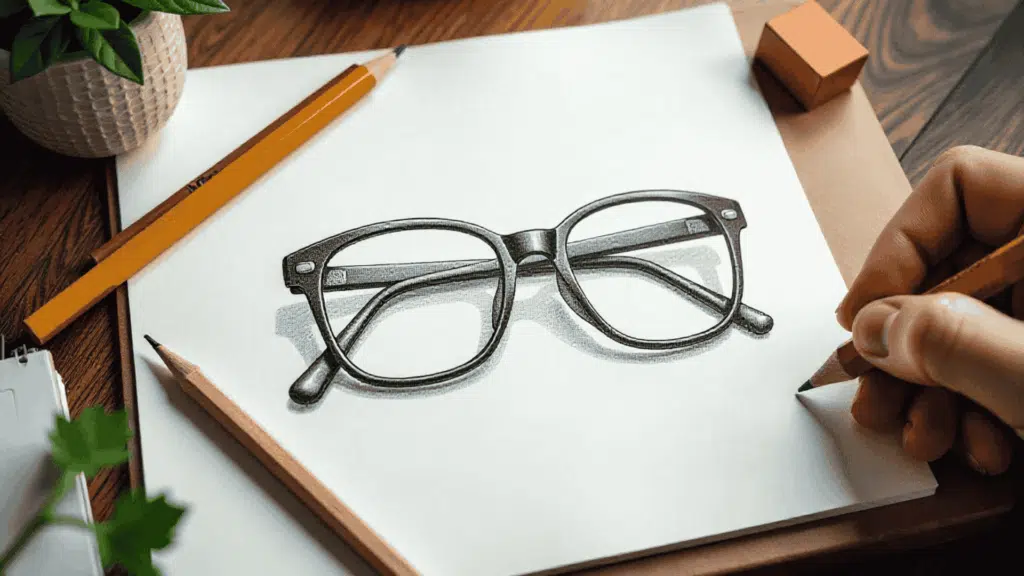
Glasses are useful for practicing symmetry, curves, and reflective surfaces. Focus on capturing the oval or rectangular lenses first, then add the arms. Shading the lenses will help you experiment with highlights and transparency.
3. Simple Keys

Keys are small but detailed, making them a fun challenge. Start with the long rectangular shaft, then carefully sketch the teeth. Adding a keyring or small keychain charm helps you practice circular forms and metallic shading.
4. A Simple Fruit
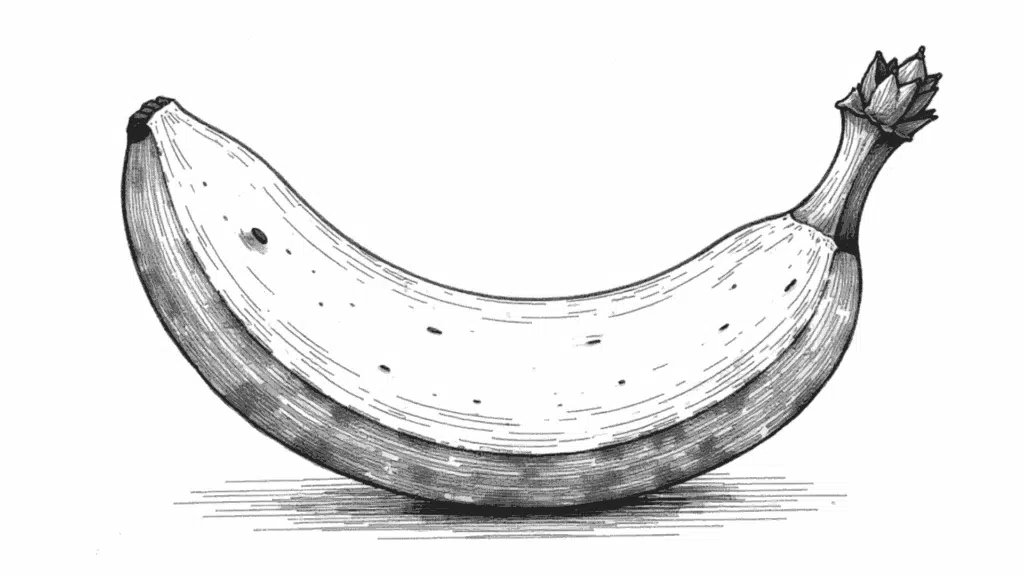
Fruit teaches roundness, curves, and surface textures. An apple requires smooth shading to create depth, while an orange allows you to practice stippling for texture. A banana’s curves help you work on proportion and natural bends.
5. A Leaf
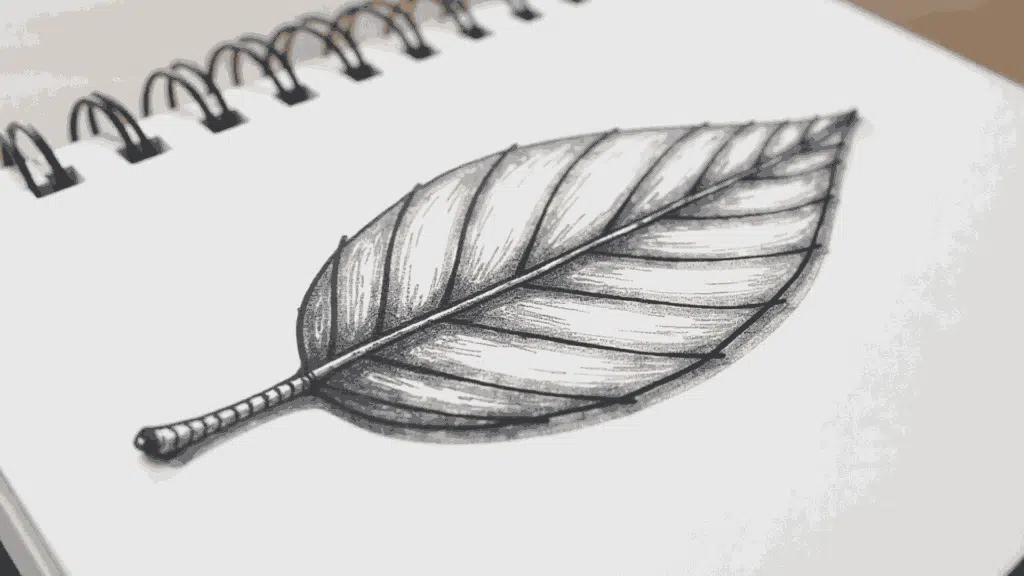
Leaves are great for practicing delicate lines and symmetry, while flowers challenge you to capture overlapping shapes. Focus on veins in the leaf or the petal curves in a flower to strengthen attention to fine details.
6. A Seashell

These objects allow you to practice irregular forms and textures. Seashells may have spirals and ridges, while rocks can be shaded to show rough surfaces. They help you get comfortable sketching uneven, organic shapes.
7. Shoes or Sneakers
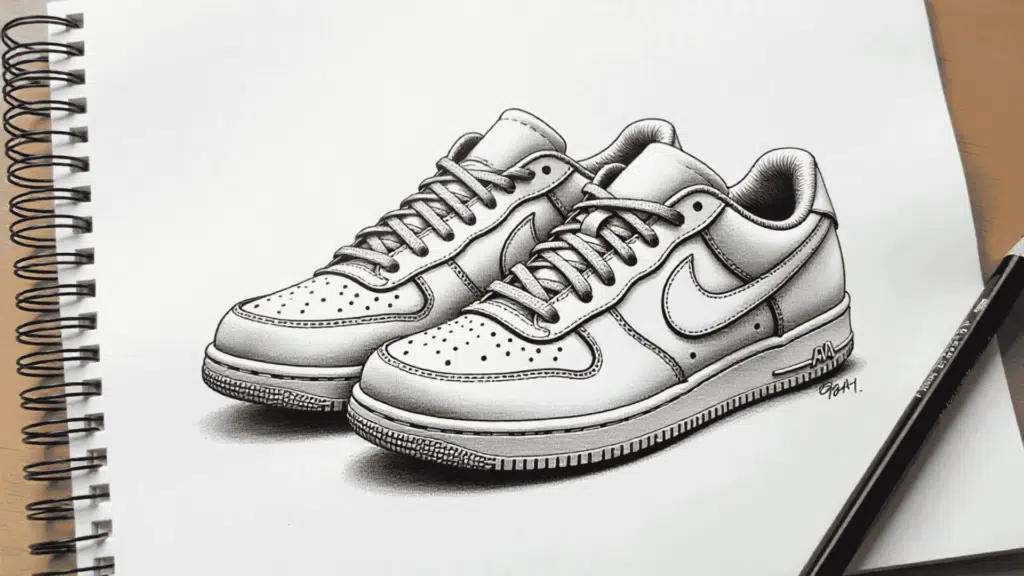
Shoes combine basic and complex forms: curves, laces, and stitching. Start with the overall shape, then add details like soles and laces. Sketching shoes helps train your eye to see proportion and balance.
8. A Watch or Bracelet
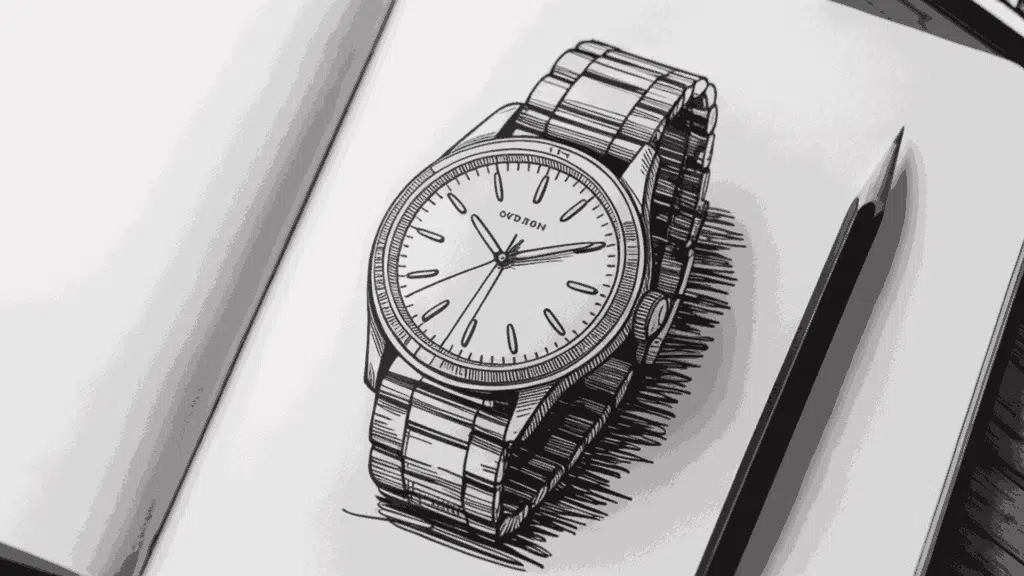
Watches teach circles and symmetry, while bracelets allow practice with curves and overlapping shapes. Focus on the watch face first, then the strap details. Pay attention to reflections for metallic or glass-like surfaces.
9. A Candle or Small Jar
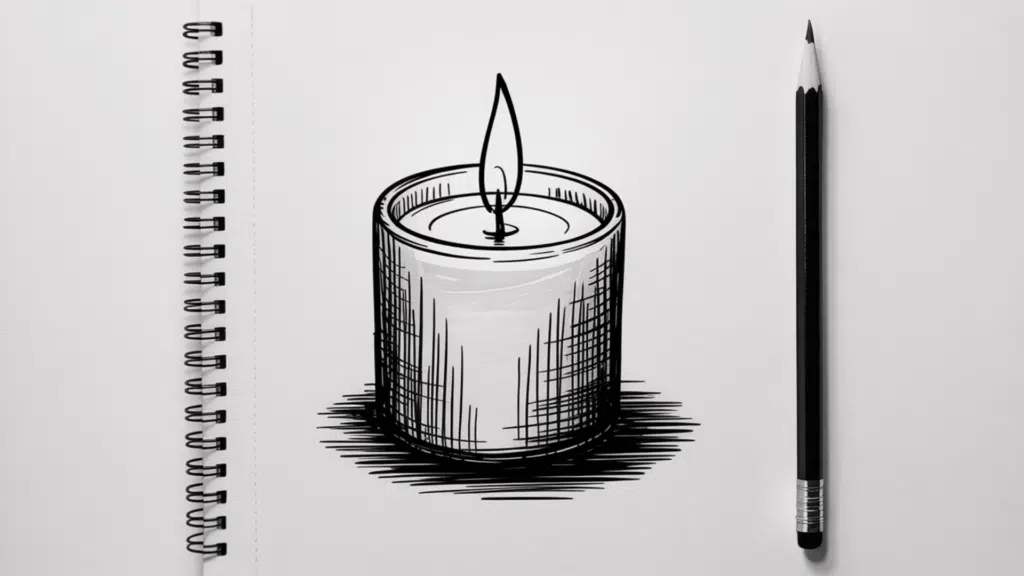
These objects are great for practicing cylinders and shading glass. A candle’s wax texture contrasts nicely with smooth glass, while jars give you the chance to sketch reflections and transparency
Practicing with these objects helps you gradually build skill and confidence while keeping your sketches fun and approachable.
The Final Words
Sketching is not about creating a flawless masterpiece every time; it’s about finding expression and growth.
When you pick up a pencil, you give yourself permission to observe the world differently, pay attention to shapes, shadows, and textures you might usually overlook.
Some sketches will feel clumsy, others will surprise you, and all of them will help you improve. Start with simple objects, such as a bird figurine, a cup, or your own hand, and practice regularly.
Over time, you’ll notice your lines becoming smoother, your shading more natural, and your confidence growing.