Many aspiring artists struggle to create depth and dimension in their work, resulting in drawings that appear lifeless and two-dimensional.
From pencil blending and cross-hatching to ink stippling and gradient techniques, mastering these core skills will revolutionize your artistic abilities.
This handbook will take you through essential shading methods, offering step-by-step tutorials ideal for beginners working with pencils, charcoal, and ink.
You’ll learn how to create realistic textures, establish proper lighting, and bring your subjects to life through strategic shadow placement. Ready to add professional depth to your artwork?
Why Is It Essential to Learn New Shading Techniques?
Learning different shading techniques is essential for artistic diversity and expression.
Each method serves specific purposes. Cross-hatching creates texture and controlled shadows. While blending produces smooth conversion and realistic skin tones.
Artists need various approaches to handle different subjects. Active stippling works well for rough textures, while gradient shading is more suitable for soft surfaces.
Different media also require distinct techniques. Pencil shading differs significantly from ink or charcoal methods, and mastering multiple approaches expands creative possibilities.
Various techniques also help artists develop their unique style and solve specific visual problems.
This knowledge enables artists to select the most suitable technique for each situation, ultimately resulting in more convincing and professional artwork that effectively conveys depth, form, and atmosphere.
Mastering the Basics of Shading with Some Easy Steps
Before artists can probe advanced techniques, they need to build a solid foundation in core shading principles that form the backbone of dimensional art.
Learn Shading with a Pencil
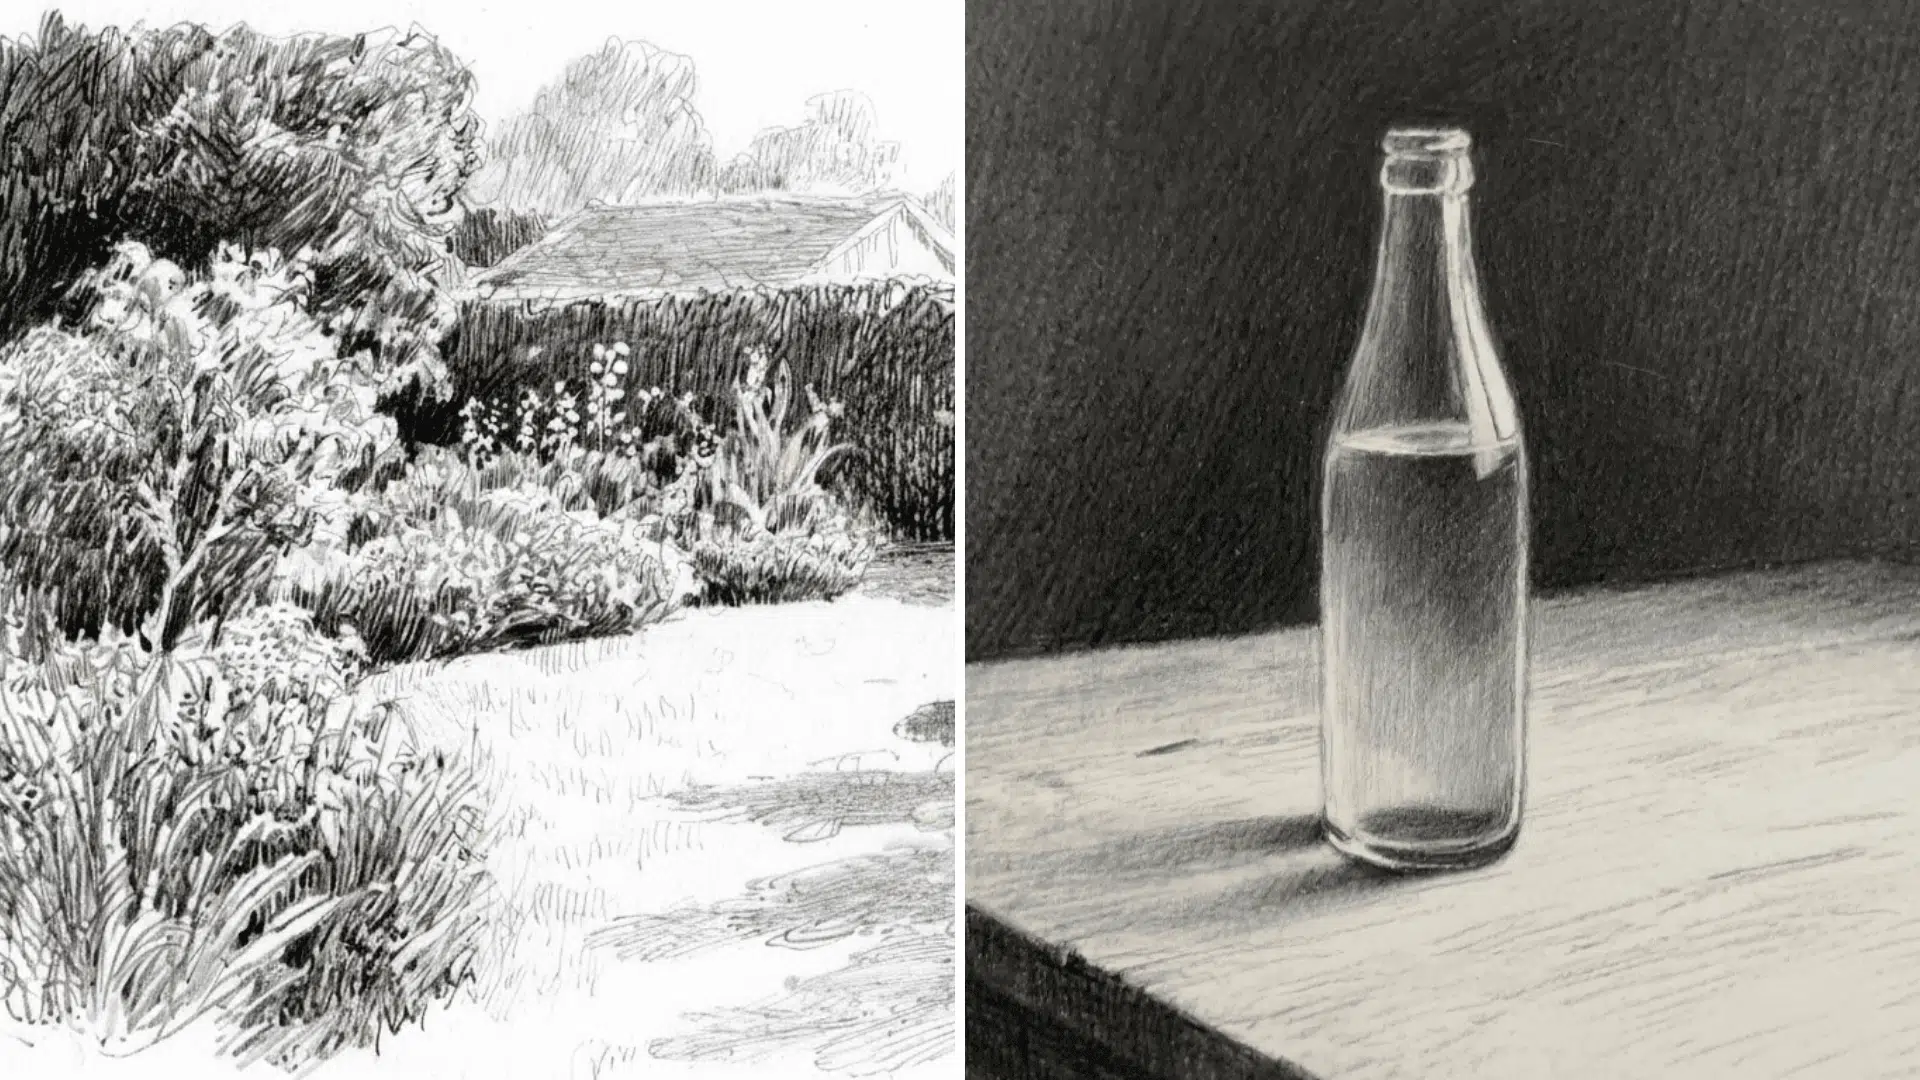
Pencil shading serves as the most accessible starting point for artists learning dimensional techniques. With simple graphite pencils ranging from hard (h) to soft (b), artists can create smooth gradients, sharp contrasts, and subtle textures.
The forgiving nature of a pencil allows for easy corrections and blending, making it ideal for practicing fundamental concepts of light and shadow.
Step 1: Learn Pressure Control
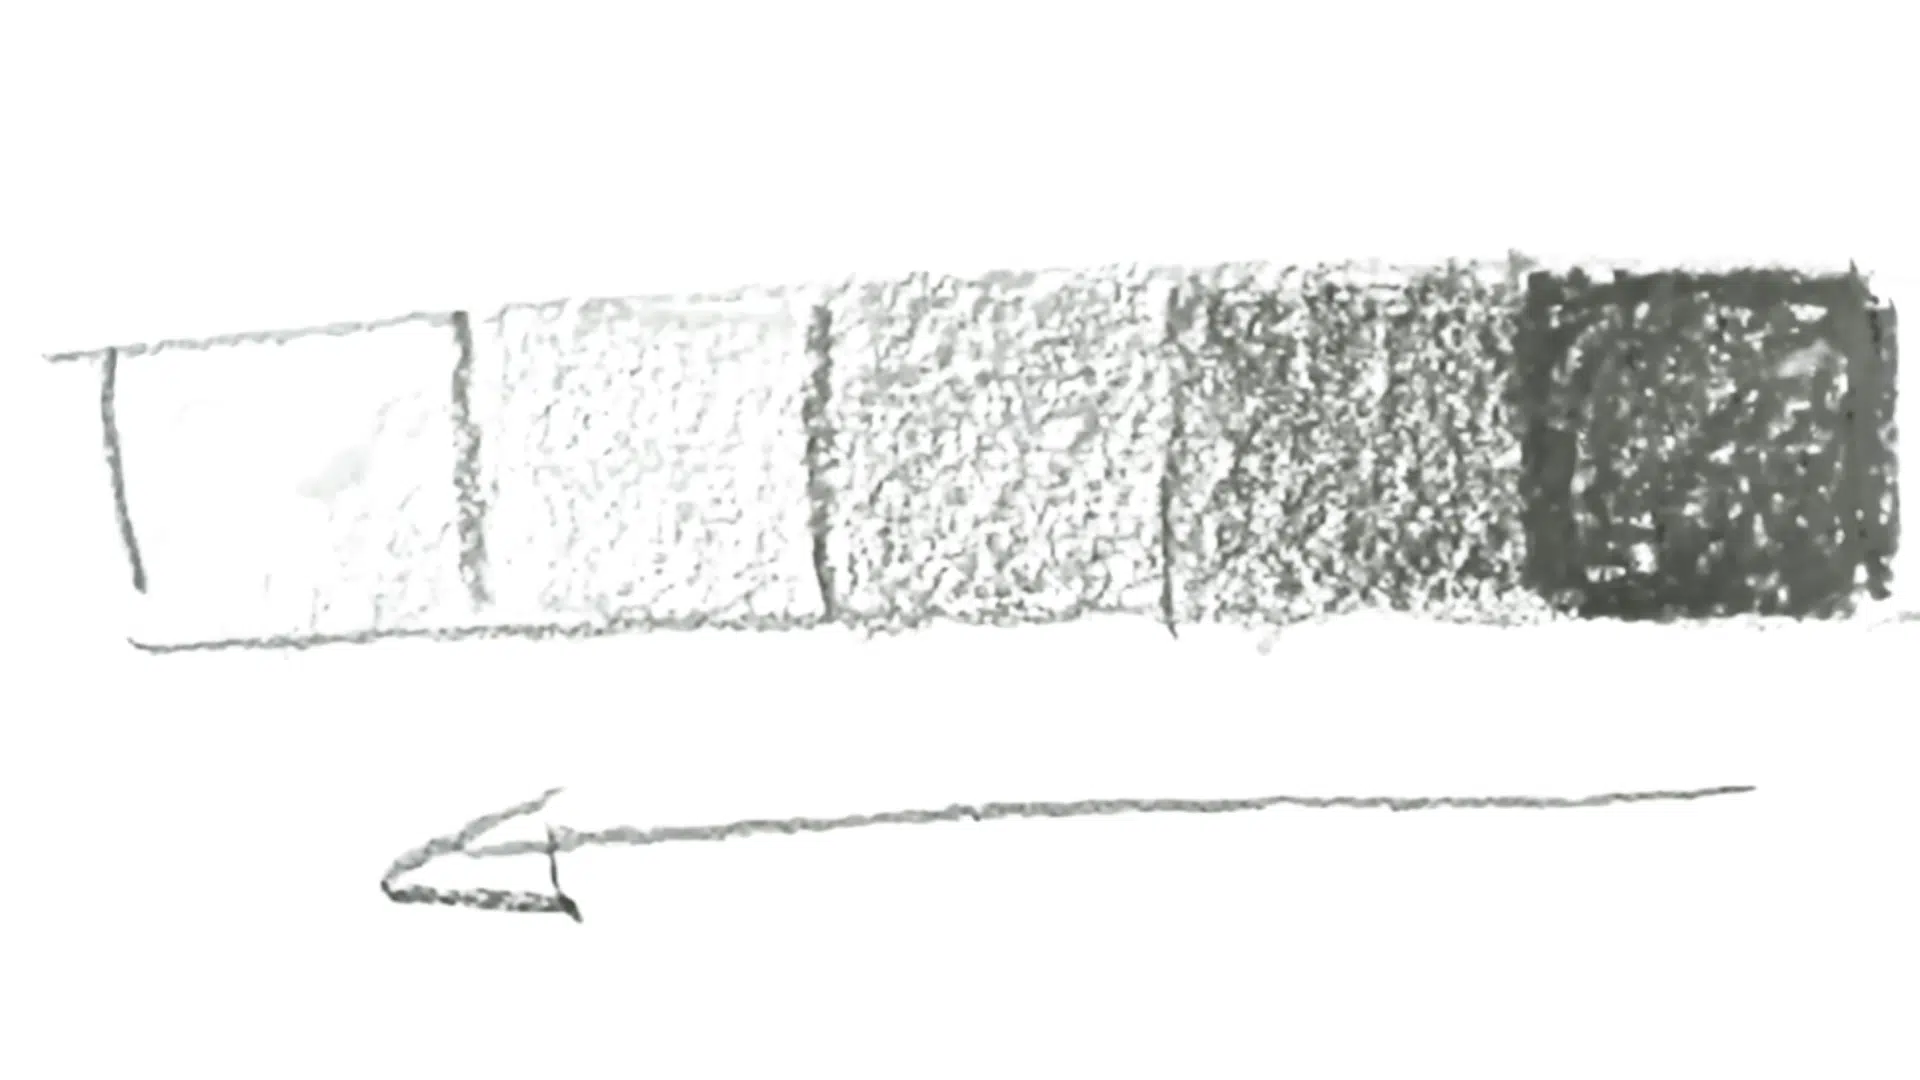
Practice moving smoothly from light to dark values. Try filling a rectangle with gradual shading from your darkest possible tone to the lightest. This helps build muscle memory, allowing you to control the amount of pressure you apply.
The smoother your conversion, the more natural your drawings will look.
2. Shade Smoothly
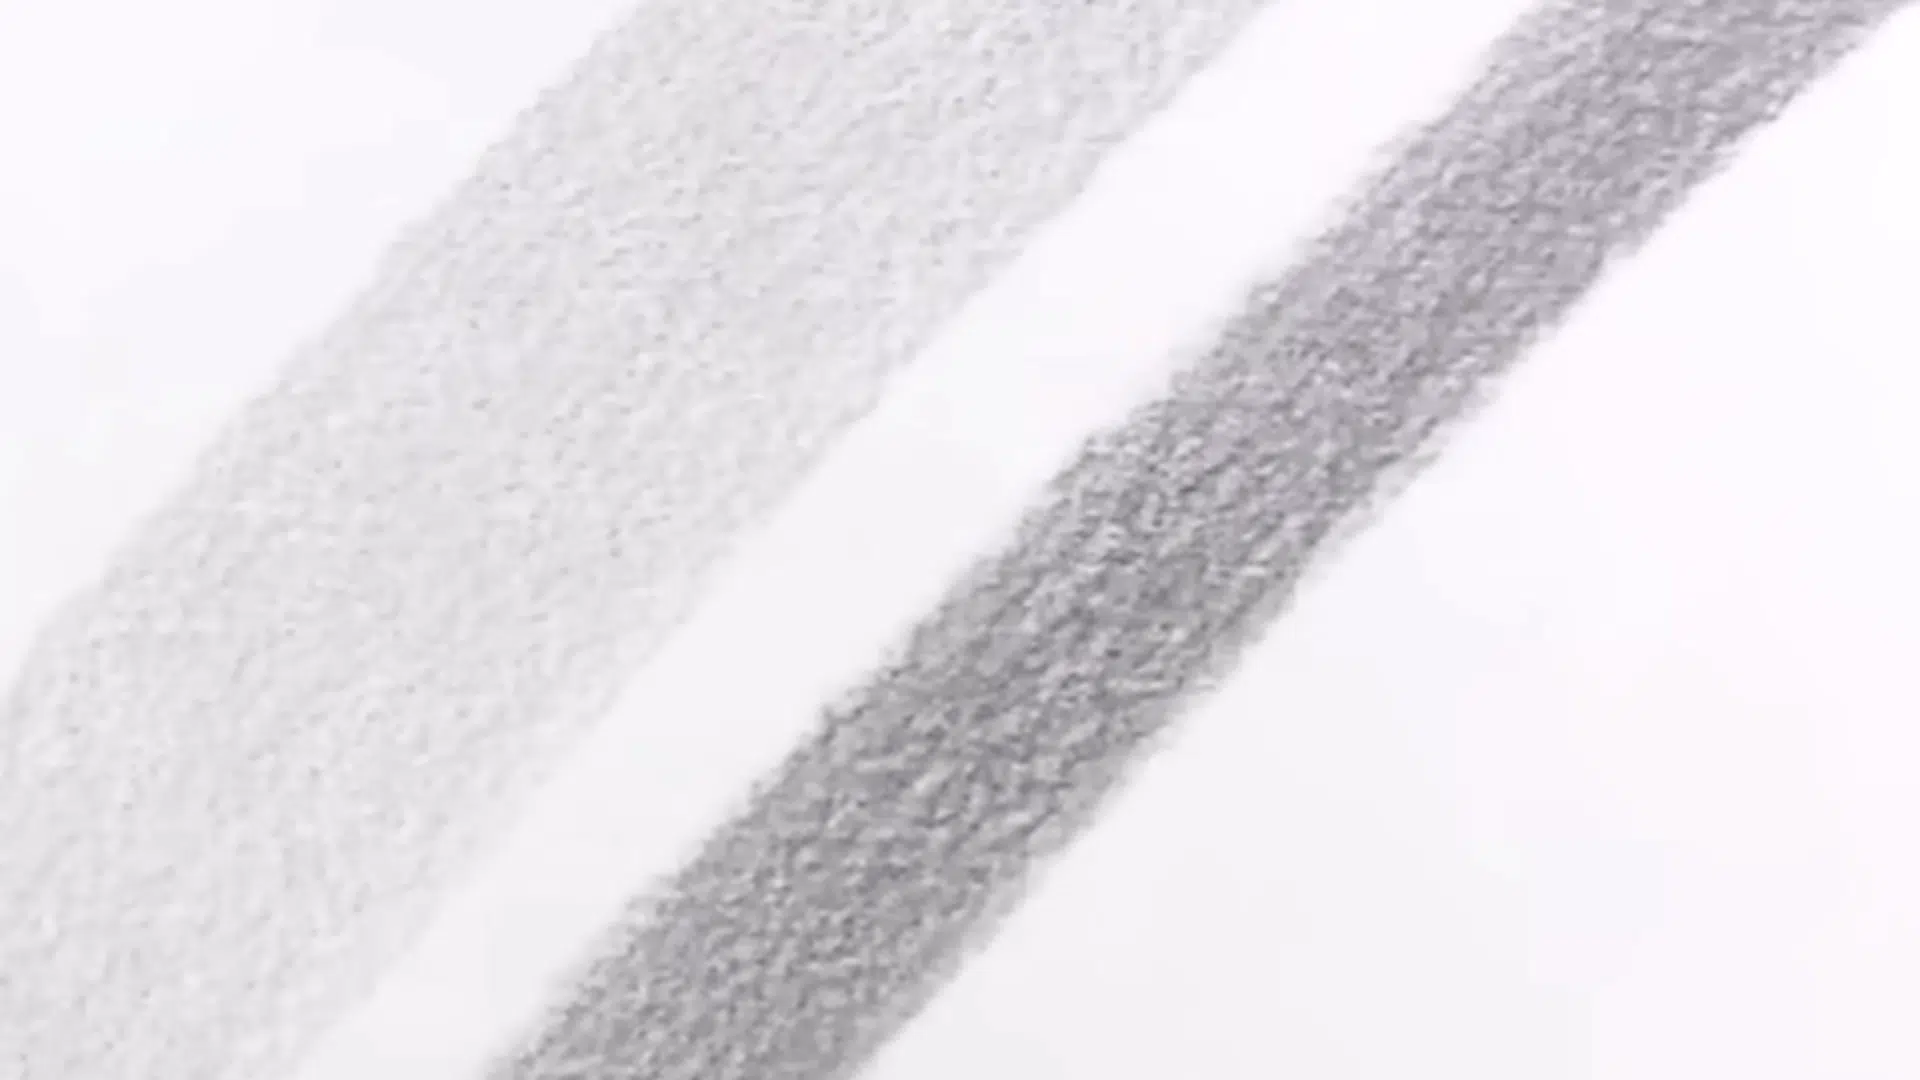
To avoid scratchy or uneven shading, use the side of your pencil lead or a slightly dull tip. For larger areas, use an overhand grip and move from your elbow or shoulder, allowing your strokes to be long and fluid.
Keep strokes close together and consistent to create smooth tones.
3. Understand Light and Shadow
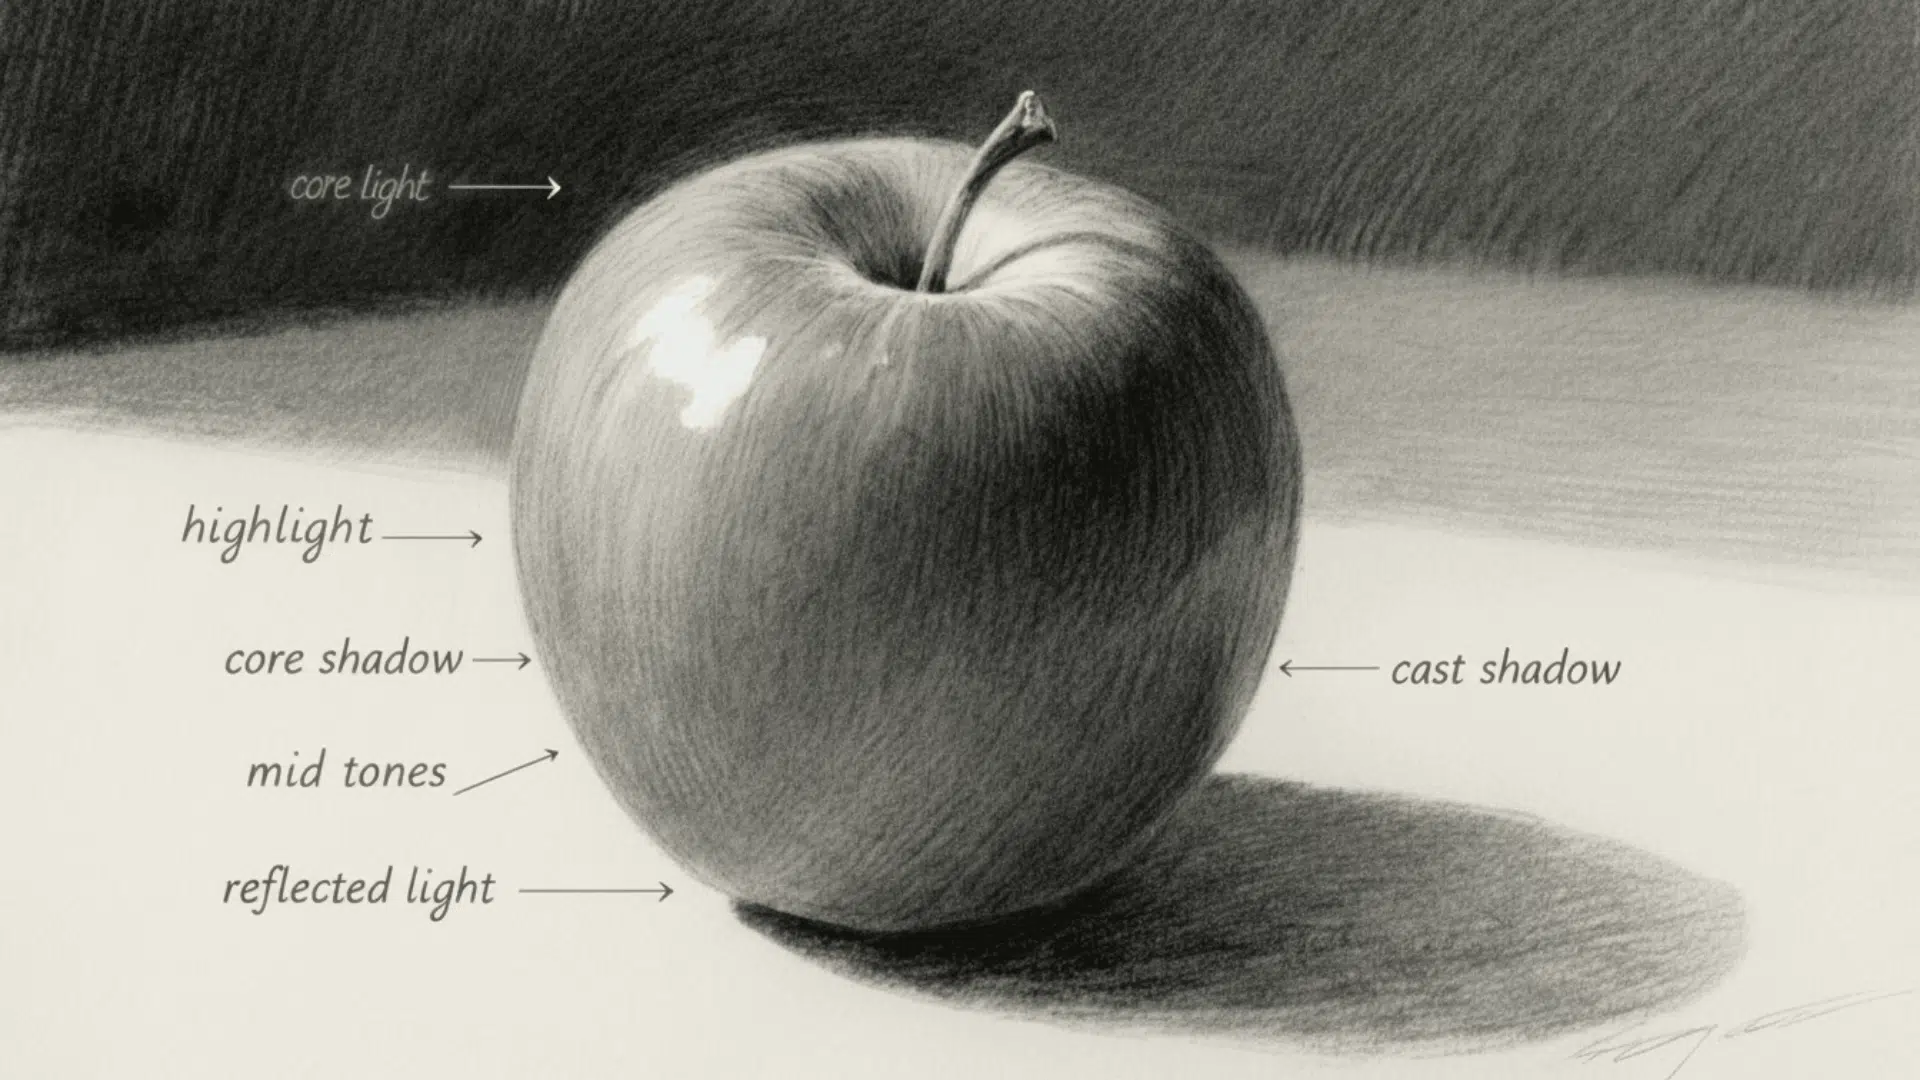
Light side: Core light, highlight, and mid-tones.
Shadow side: Core shadow, reflected light, occlusion shadow, and cast shadow.
Recognizing these elements will help you place values accurately, rather than guessing.
4. Apply and Practice
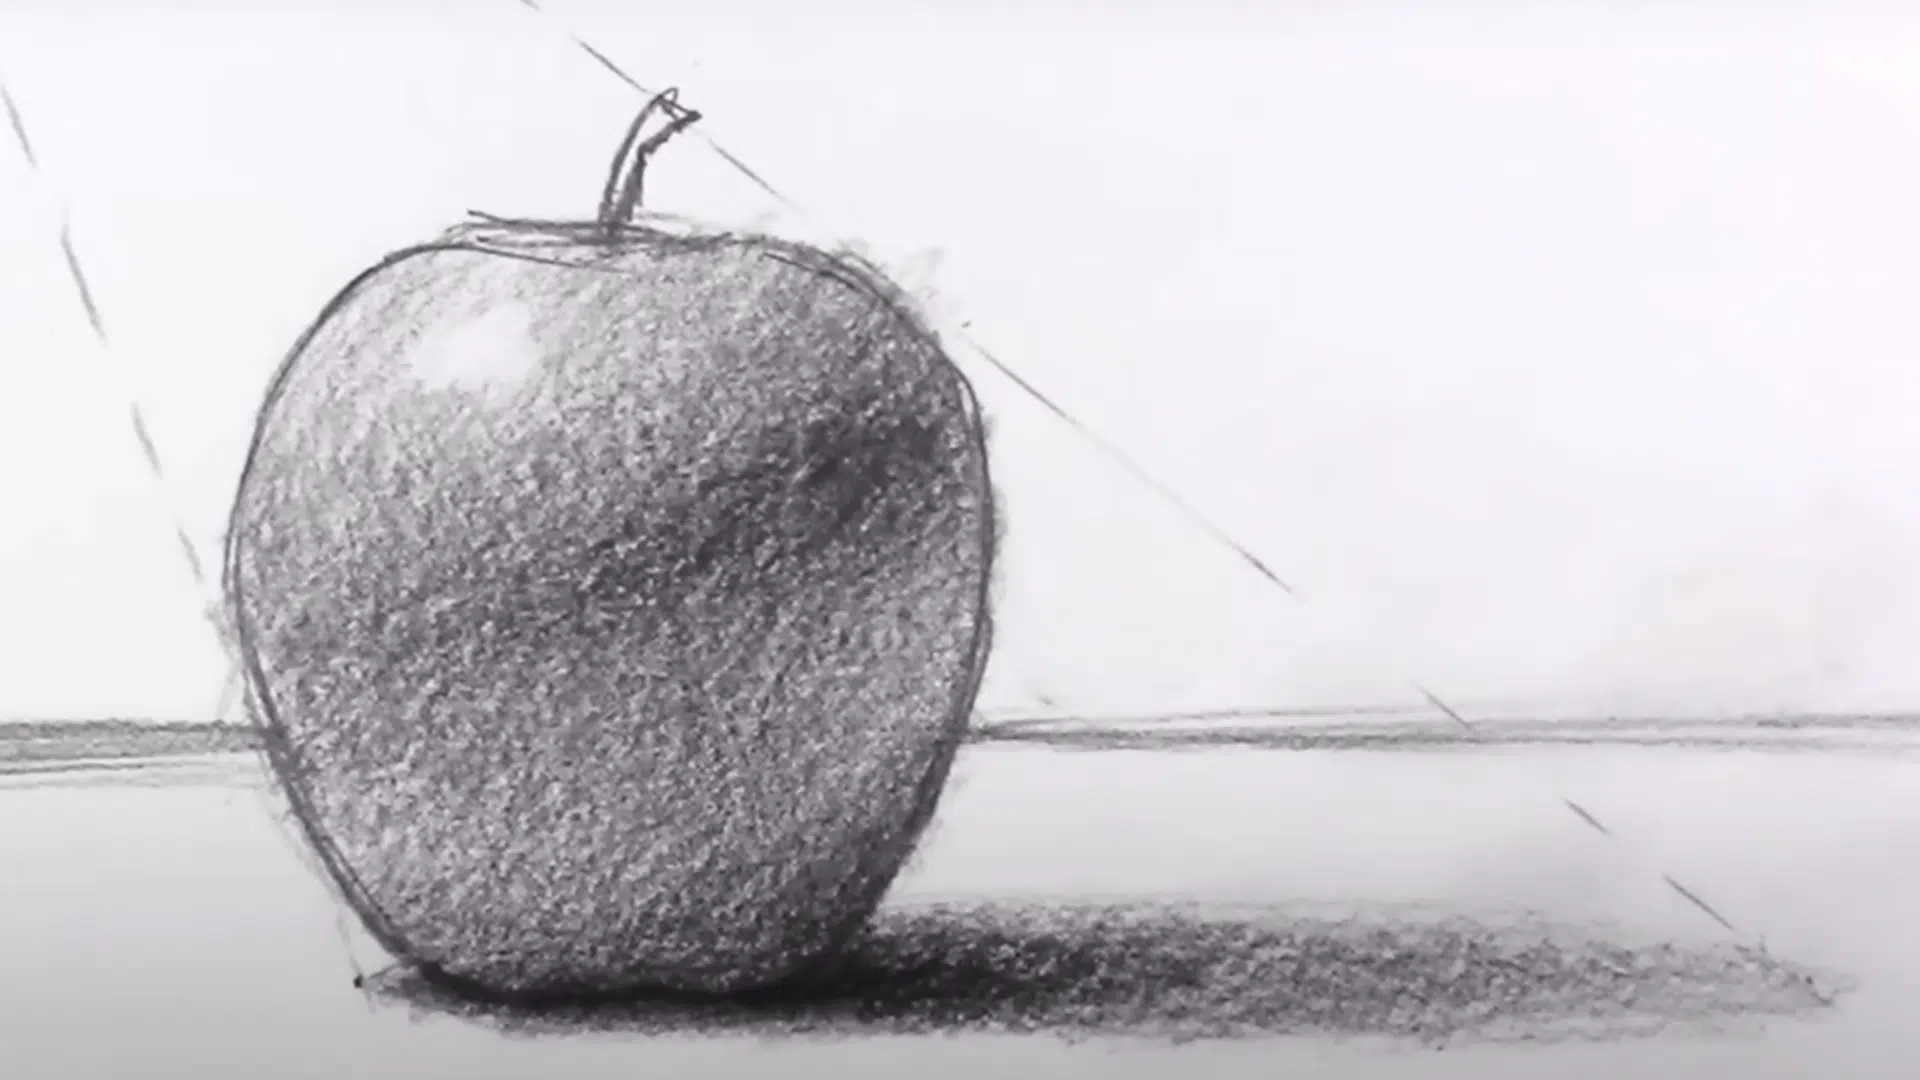
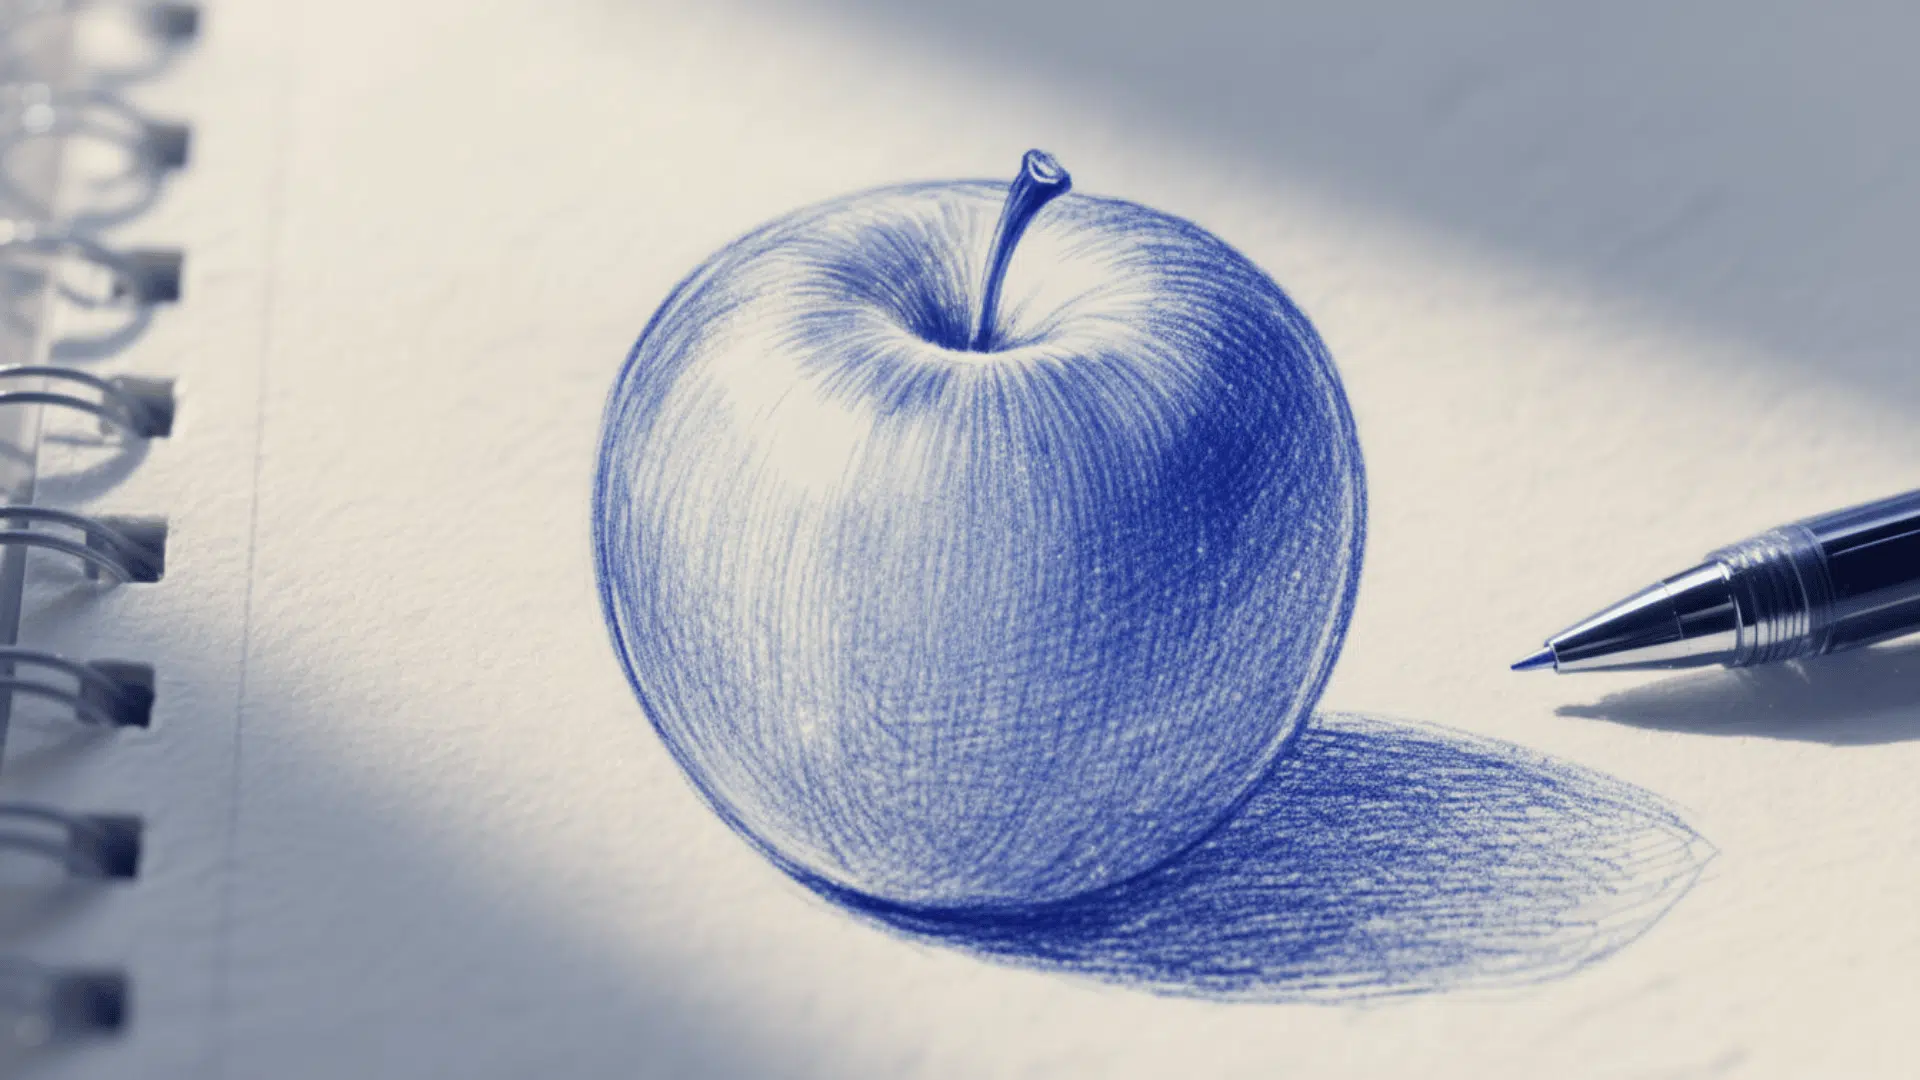
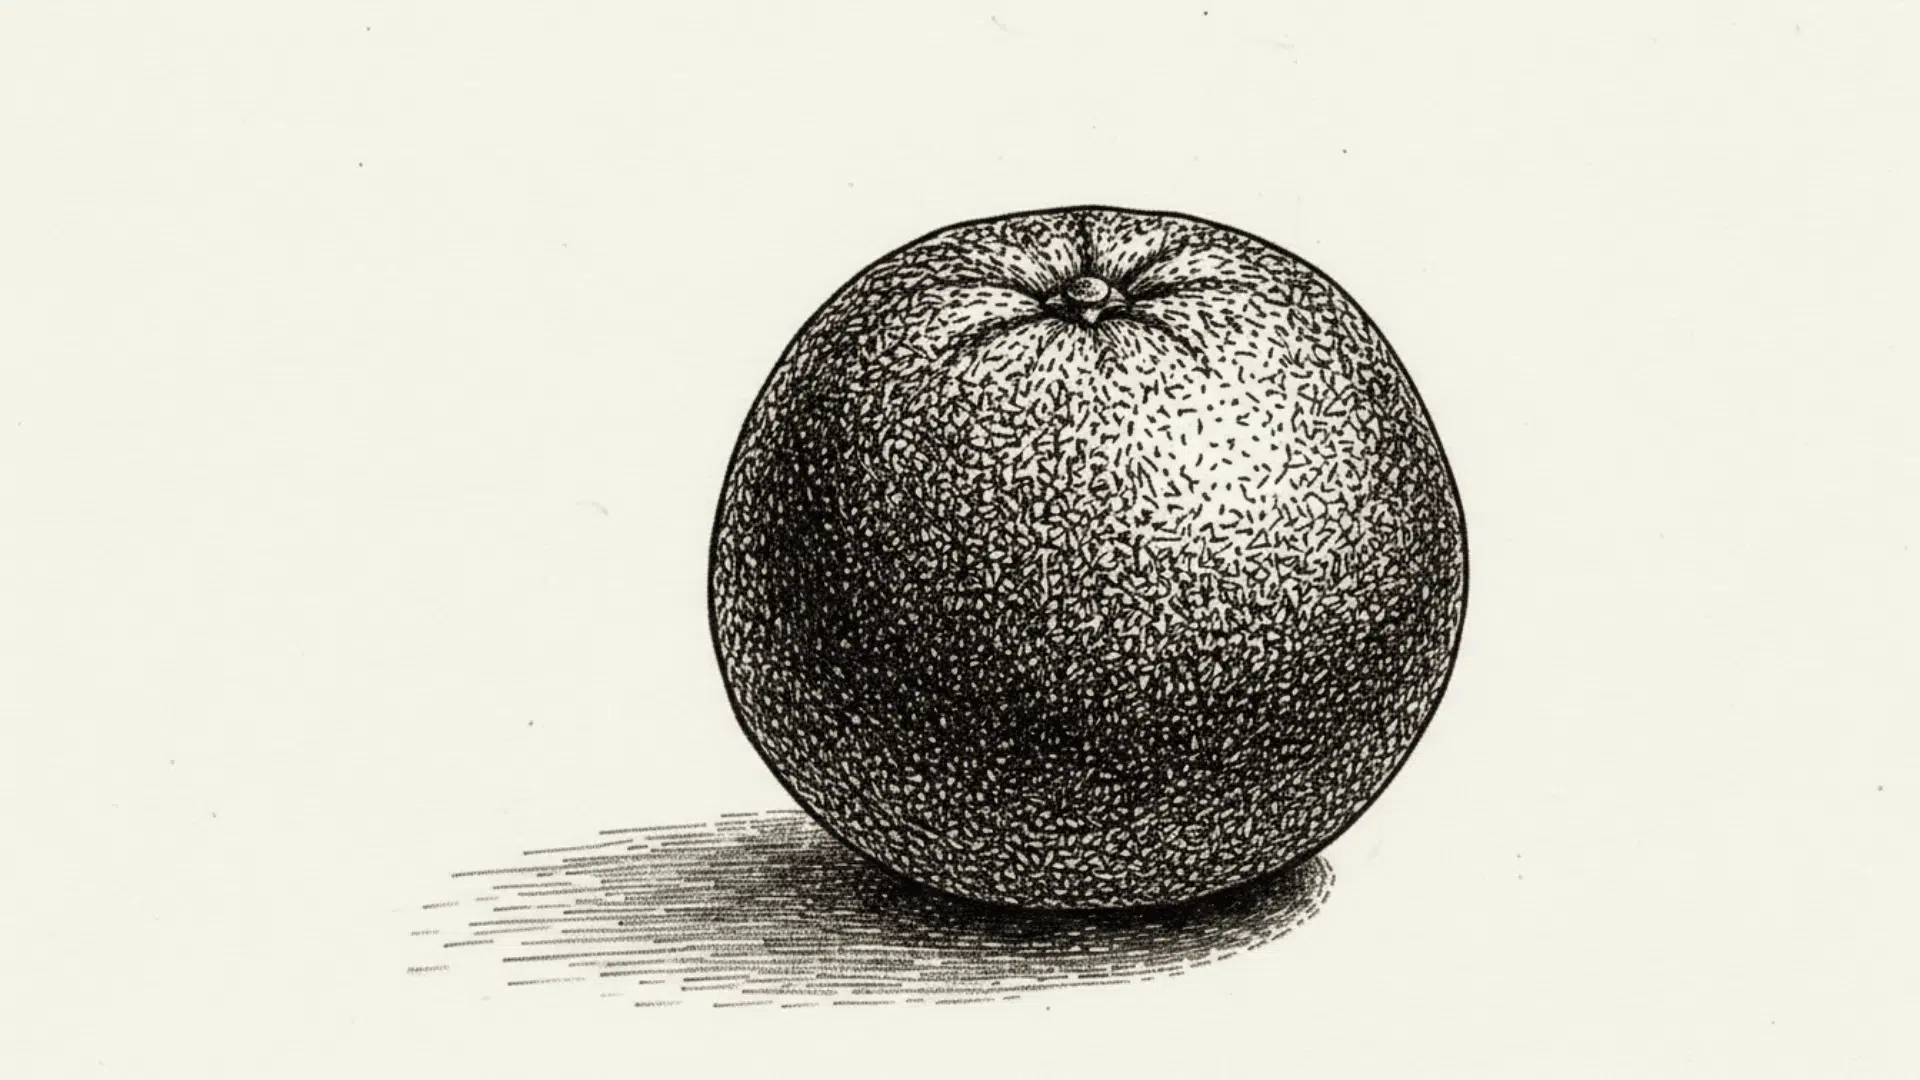
Start with a small shade, such as a basic object like an apple.
Lightly sketch the form, decide on a light source, add the cast shadow, then build up the core shadow and mid-tones. Blend conversion smoothly and lift a highlight with your eraser.
Repeat this exercise with everyday objects under a single light to sharpen your observation skills.
For a More Detailed Tutorial, Refer to The YouTube Video Below:
Learn Shading with Pen Like a Pro
Pen shading requires deliberate planning since ink marks cannot be erased or easily corrected.
Artists must rely on techniques like cross-hatching, stippling, and contour lines to build values gradually. The permanent nature of ink forces careful consideration of light source and shadow placement before making marks.
1. Begin with Hatching, Cross-Hatching, and Stippling
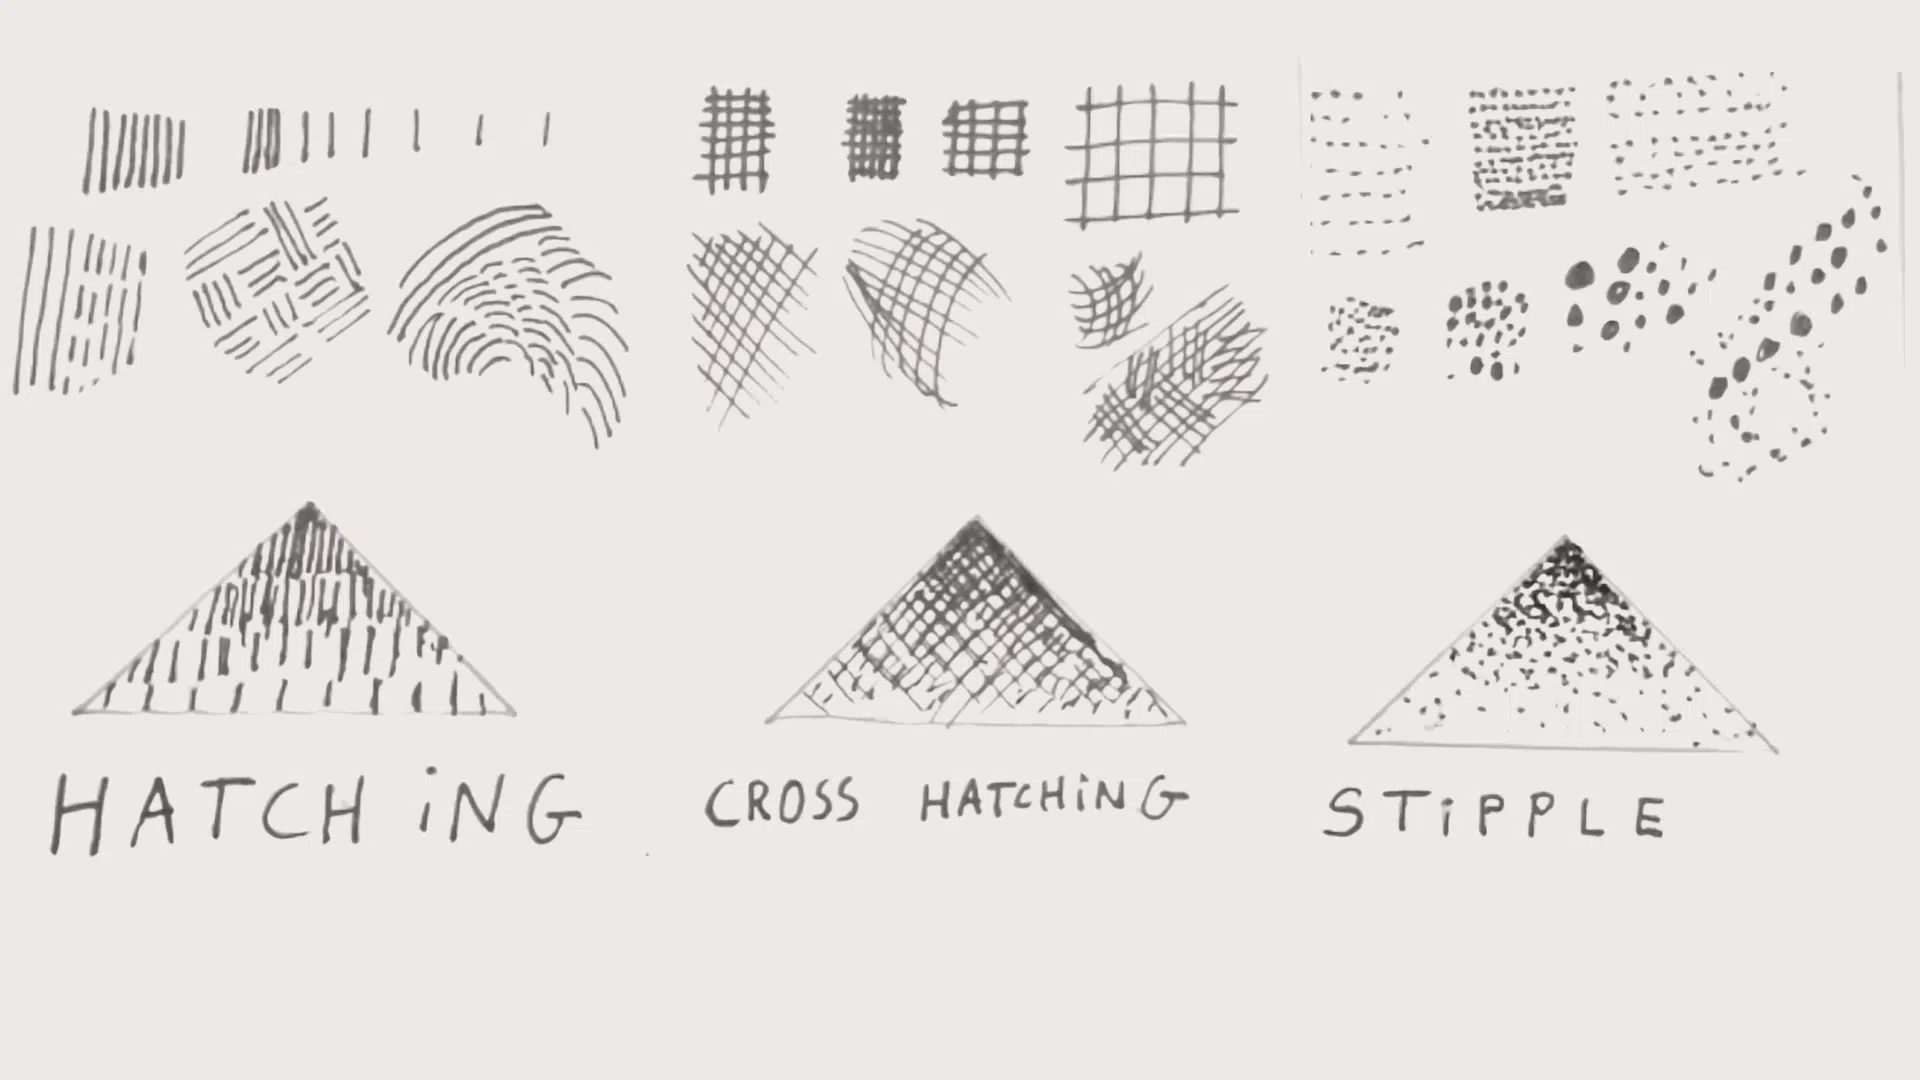
Start with the basics: hatching (parallel lines), cross-hatching (overlapping lines at an angle), and stippling (clusters of dots).
These three techniques are the building blocks of pen shading.
- For hatching and Cross-hatching, bring lines closer together for dark tones and spread them apart for lighter ones. Curve lines around forms to suggest volume.
- For stippling: Place dots close together for rich shadows, or scatter them for lighter textures. Though slower, stippling adds a unique, textured look. Practicing these side by side will help you compare how each technique creates tone.
2. Smooth with Line Direction and Rhythm
Once you’re comfortable, focus on the flow of your strokes. Curved lines can wrap around objects to create a three-dimensional effect, while straight lines can either flatten or sharpen edges.
Maintain a steady pressure and space your marks carefully to achieve a smoother change between light and dark areas. Try mixing directions to avoid a mechanical look.
3. Use Feathering and Line Weight for Contrast
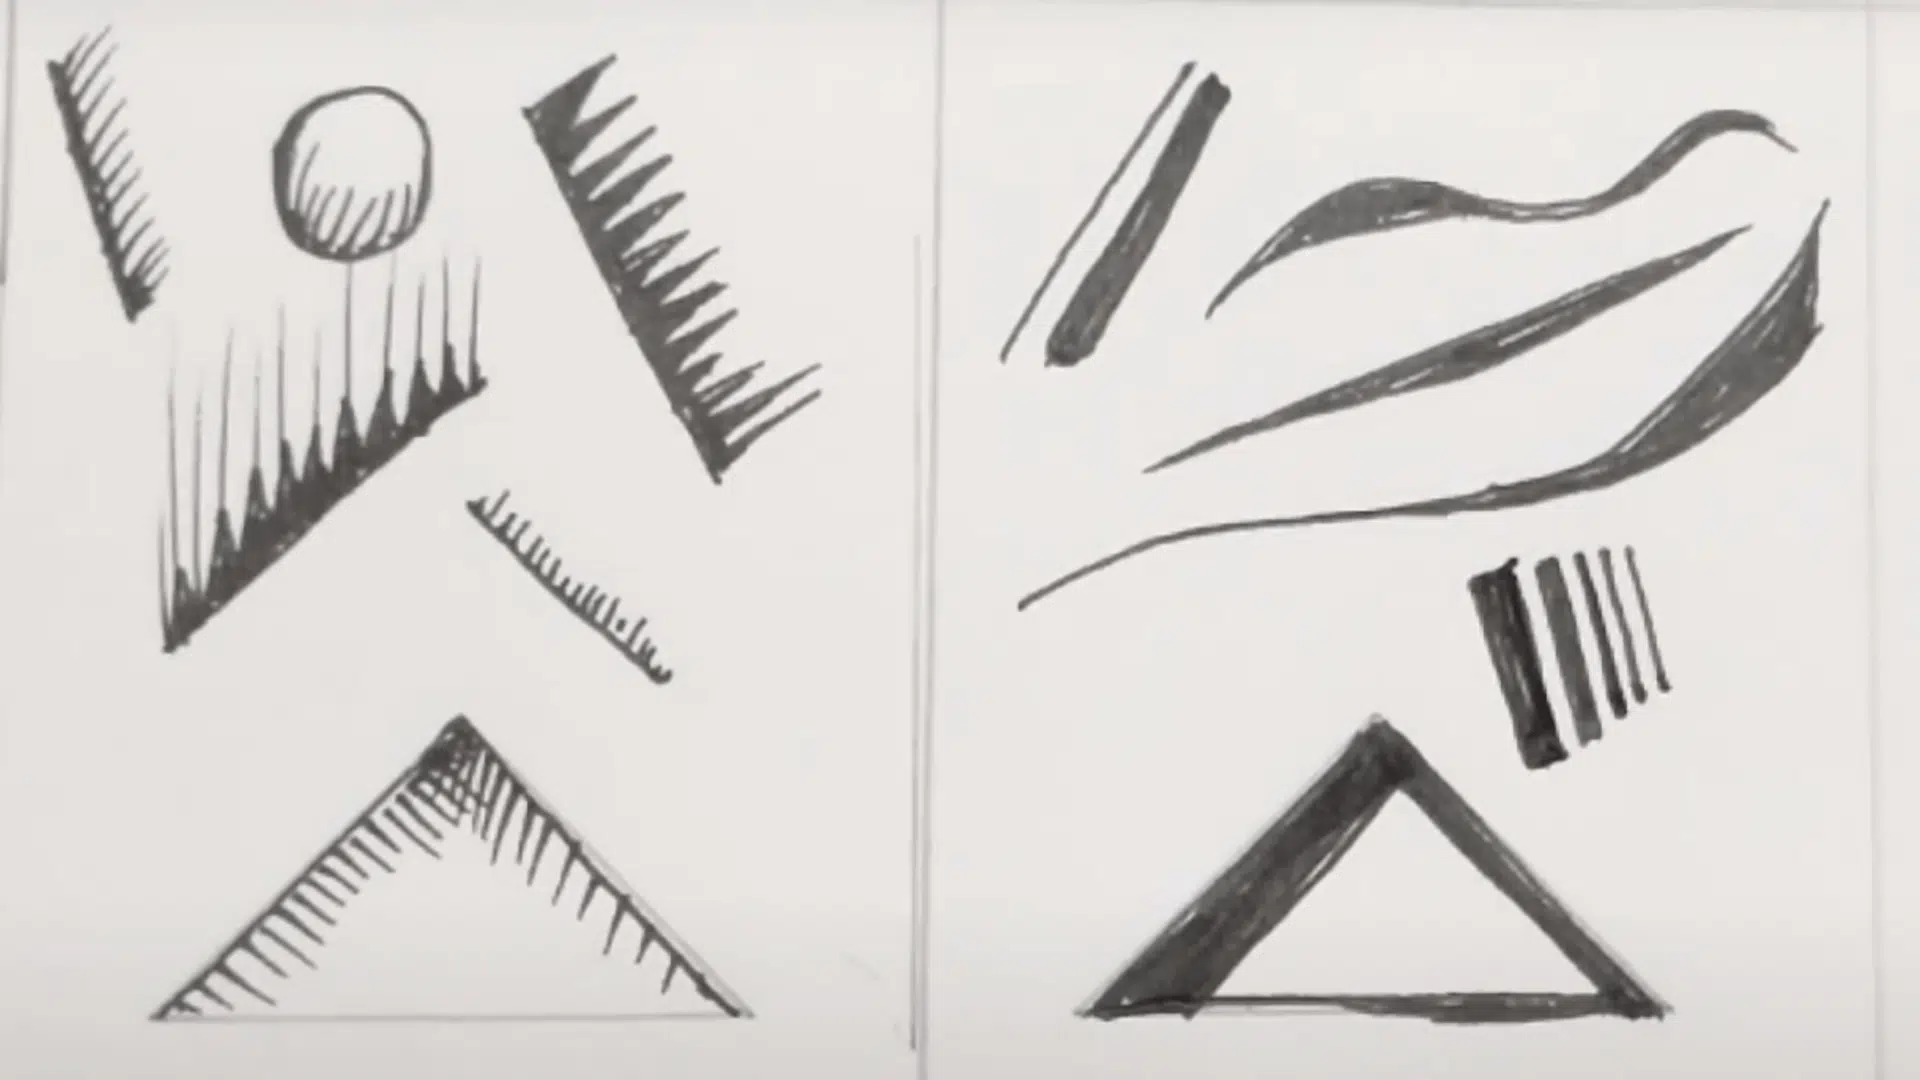
Feathering starts with a dark edge line, then tapers strokes outward into lighter areas. This creates a strong shadow-to-light conversion.
You can also vary line weight (the thickness of your strokes). A heavier, thicker line suggests shadow, while a thinner line suggests light.
Combining line weight with hatching adds contrast and a magnetic sense of depth to your drawings.
4. Experiment and Combine Techniques
Don’t feel limited to one method, play with combinations! Mix hatching with stippling, or use bold line weights with feathering for dramatic results.
Try curving your lines to contour around forms, such as hair or round objects. Some inks may react with water, so experiment if you’re curious.
Remember, lighter tones appear more transparent, while darker tones result from tighter, denser marks. Most importantly, practice, have fun, and let your personal style shine.
For a More Detailed Tutorial, Refer to The YouTube Video Below:
Other Shading Techniques to Try
Different methods, such as scumbling, hatching variations, and mixed-media combinations, can produce unique textures and effects that standard techniques cannot achieve.
Artists often find their personal style through this experimentation process, finding techniques that best suit their artistic vision and preferred subjects. Let’s explore some additional shading techniques to add to your artistic repertoire.
Contour Shading
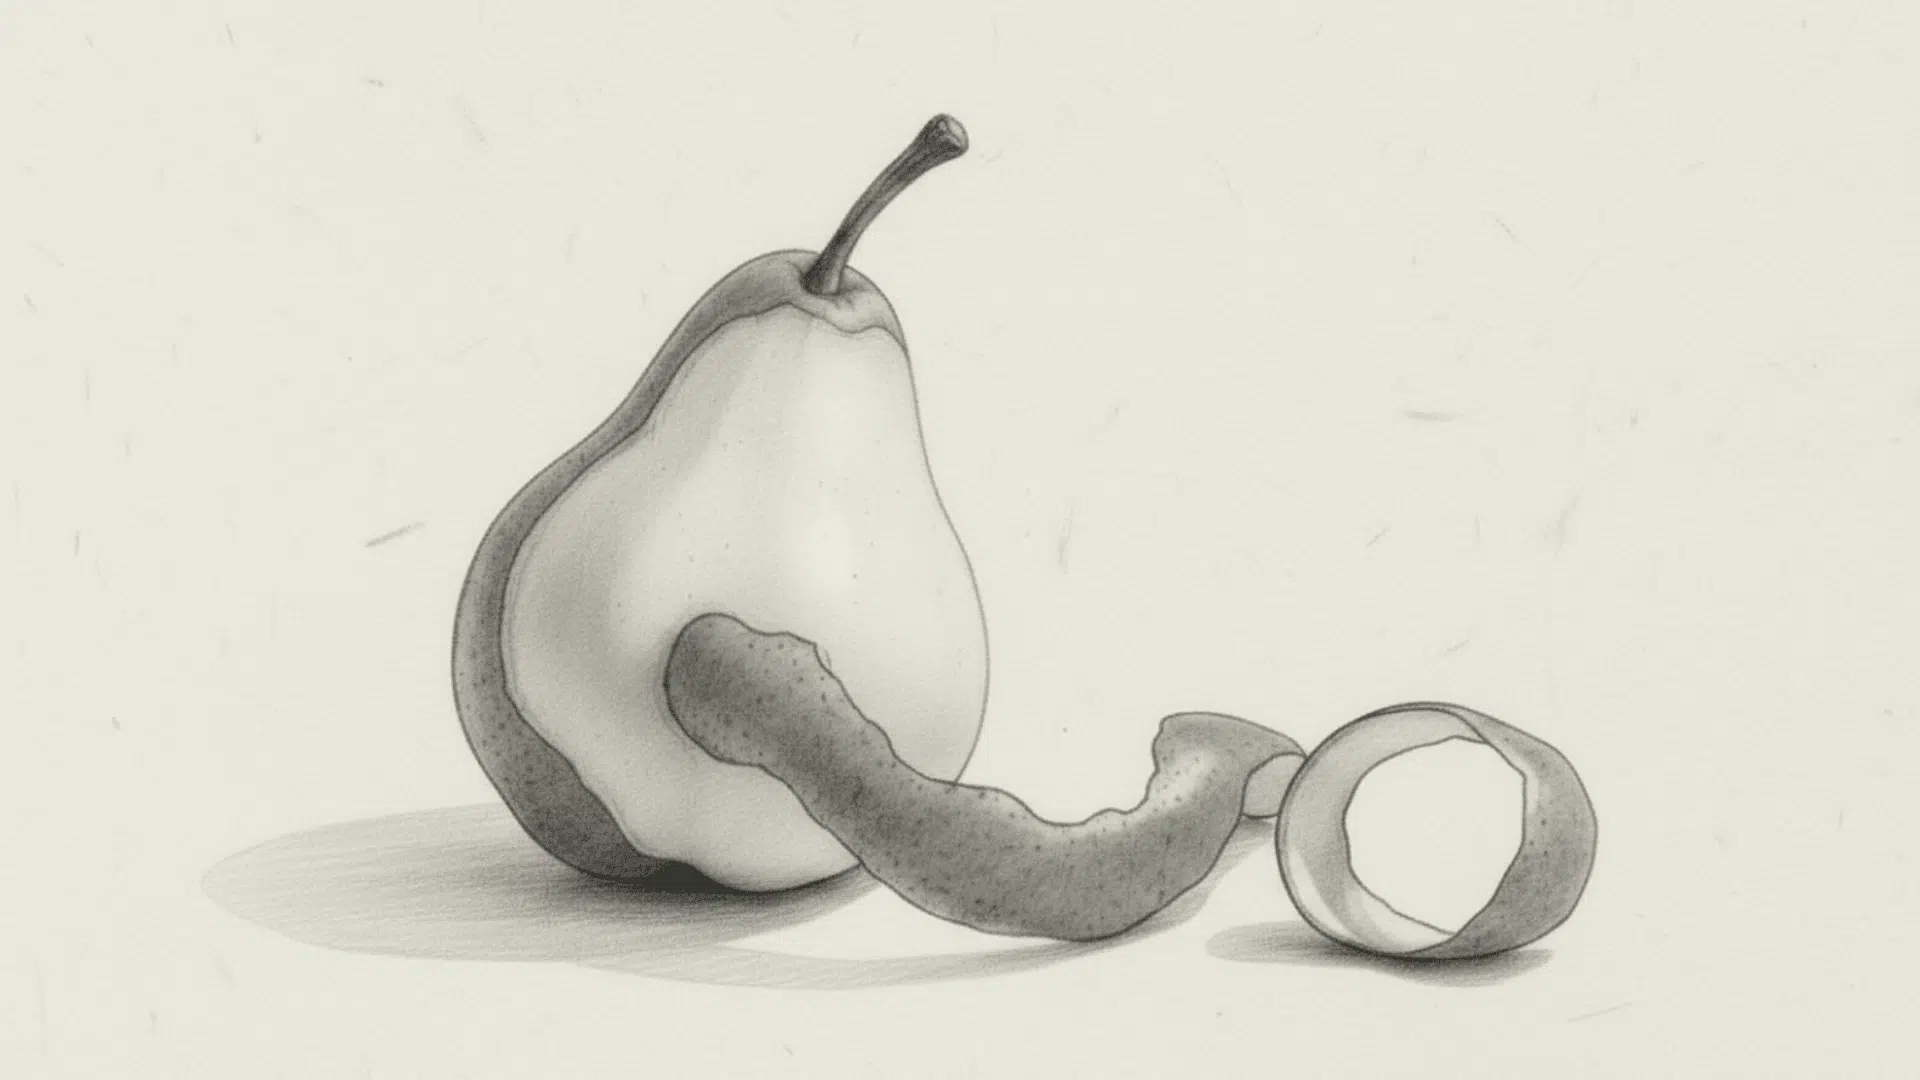
Contour shading follows the natural curves and edges of an object, using directional strokes that wrap around its form.
This technique creates refined dimensionality by following the three-dimensional structure rather than working against it, producing organized, professional-looking results without muddy areas.
Artists develop a stronger structural understanding as the method forces them to analyze how surfaces curve and connect.
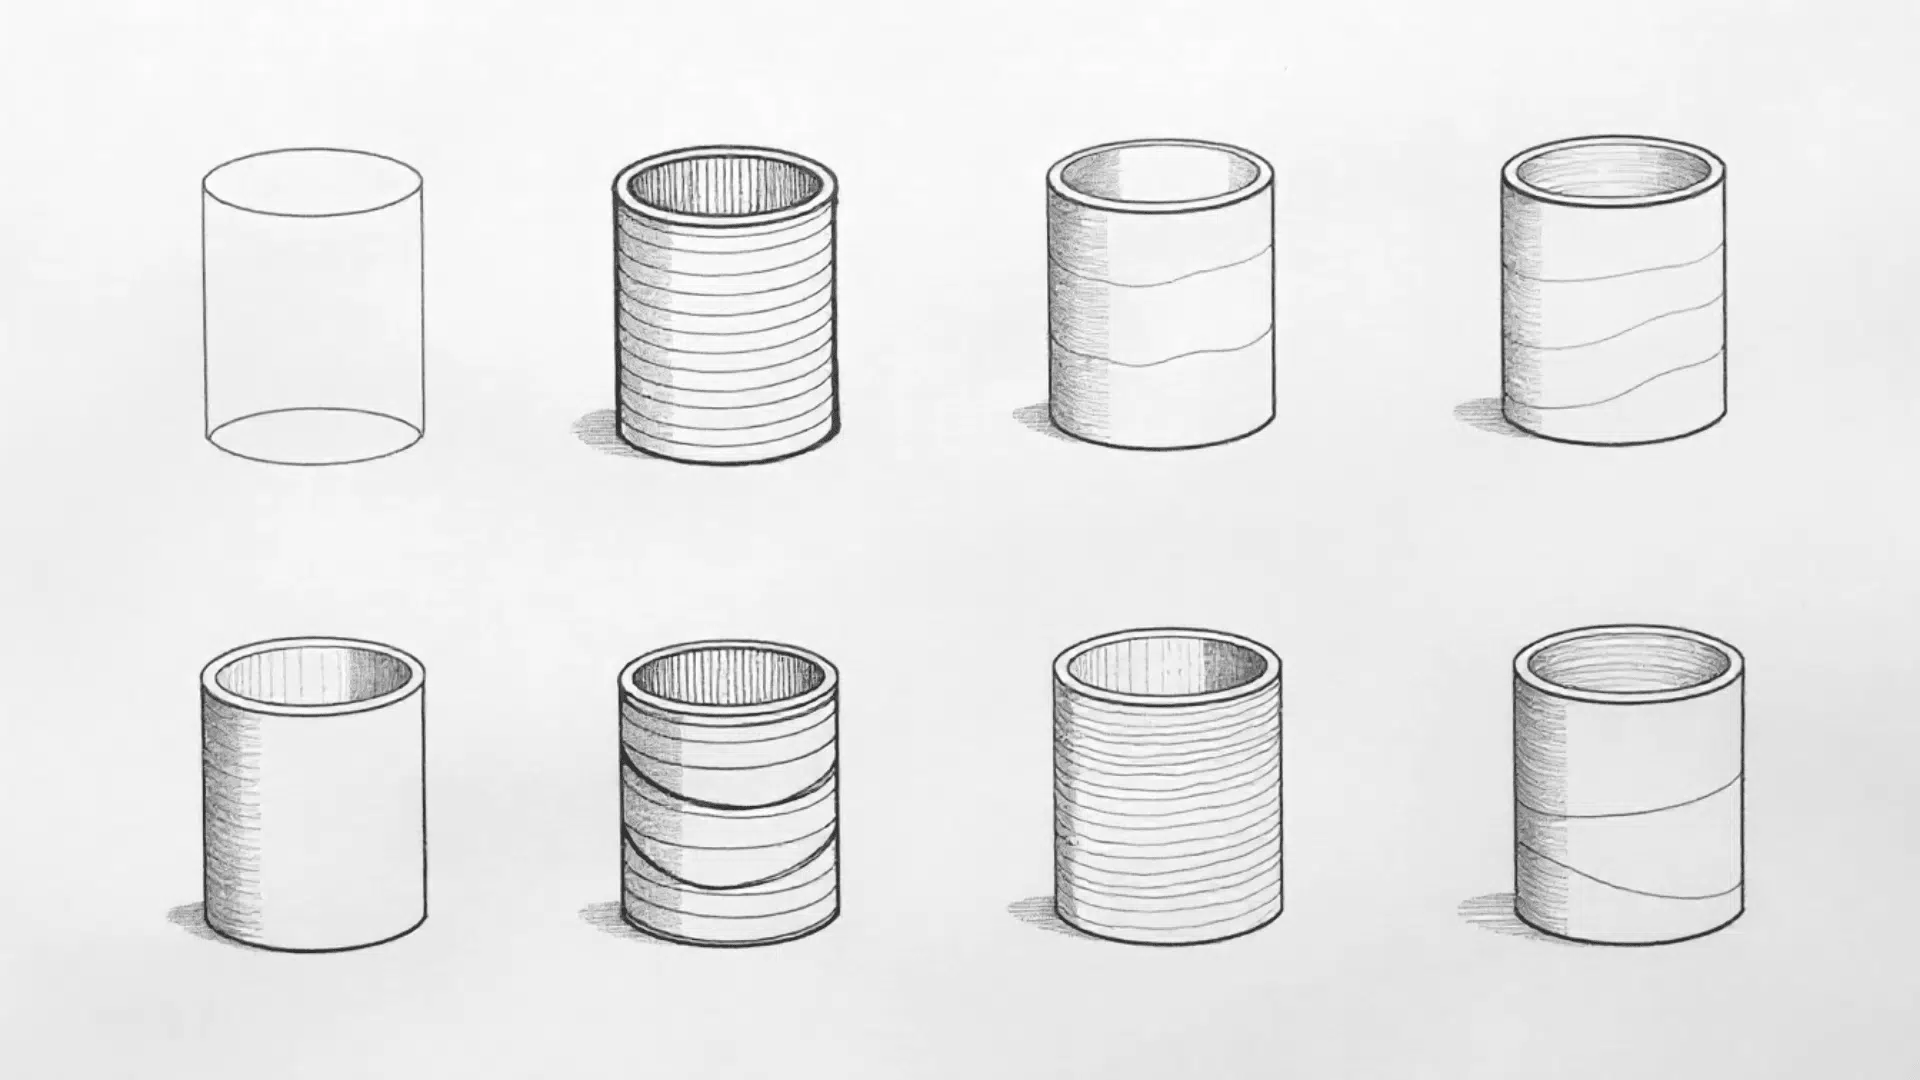
Basketweave / Grid Shading
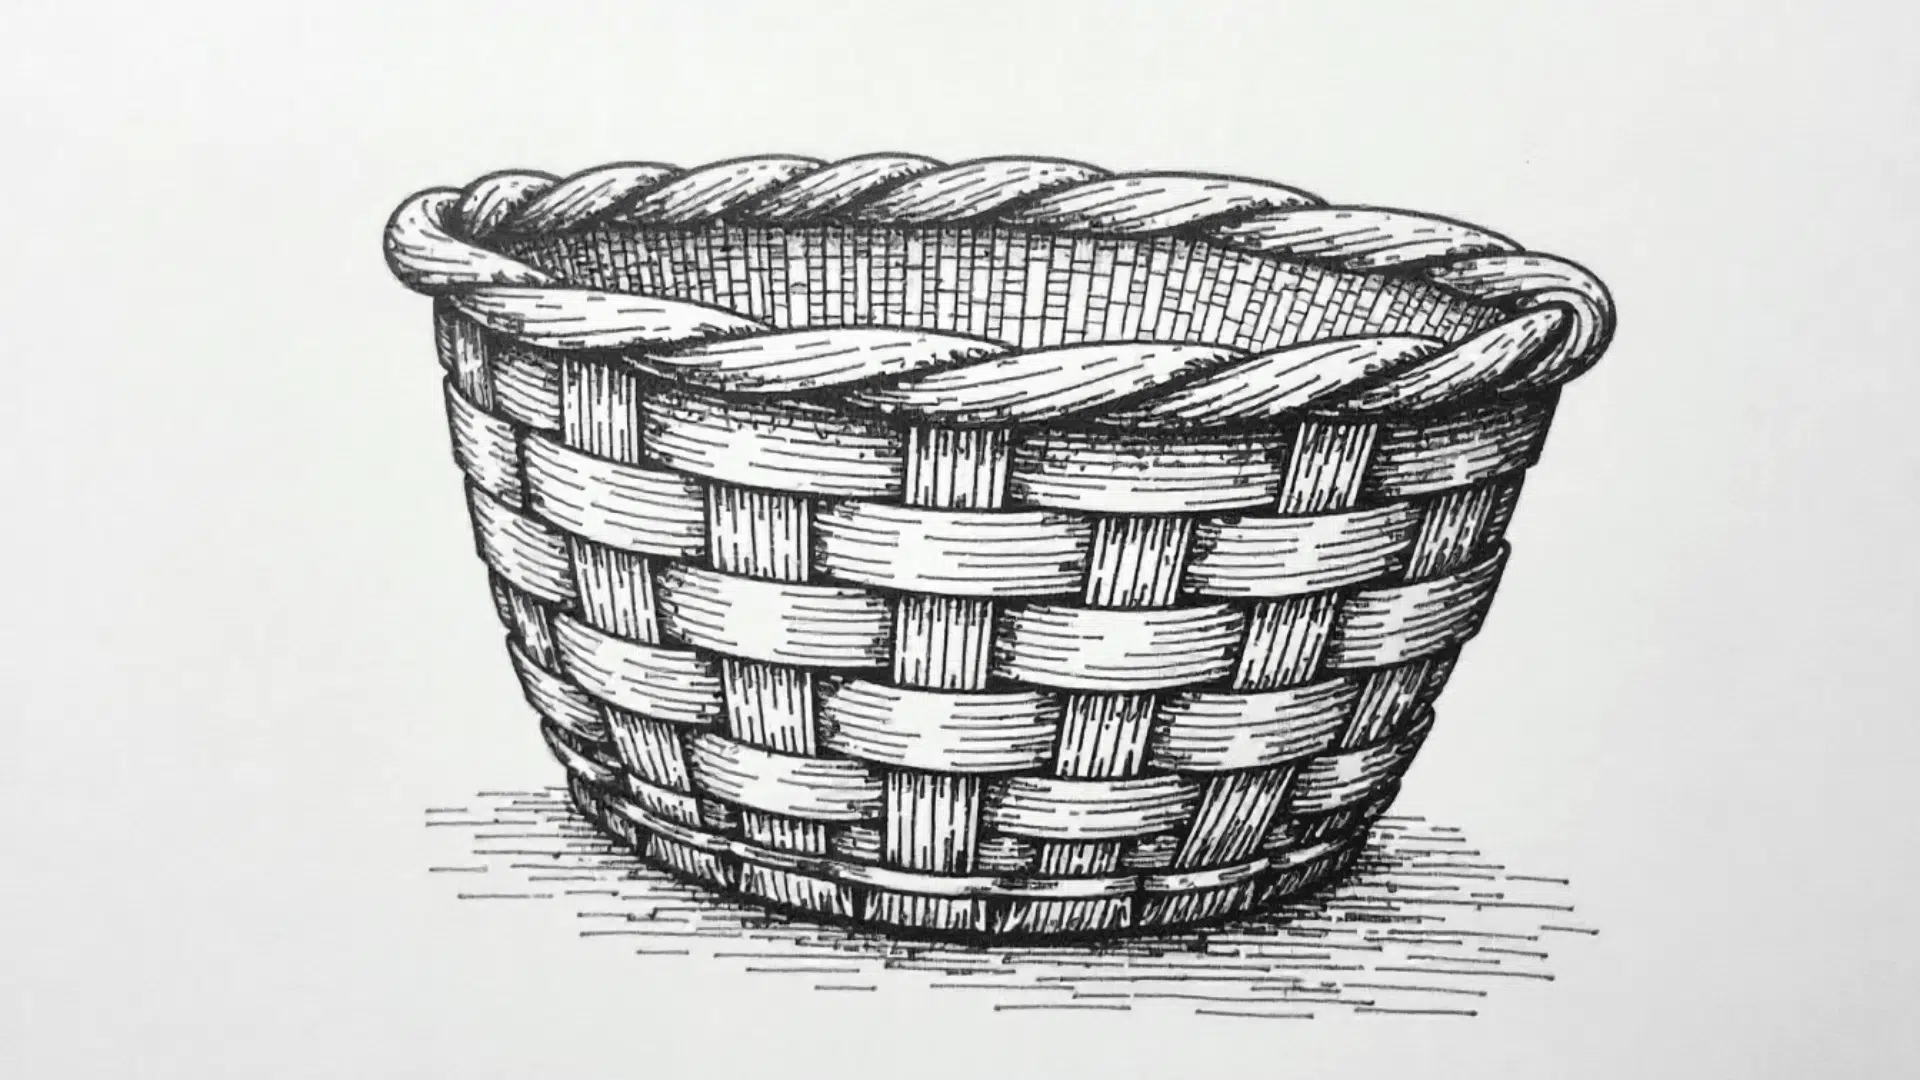
The basketweave technique creates texture and depth using intersecting horizontal and vertical lines that mimic woven patterns.
Artists alternate between drawing parallel horizontal strokes and then perpendicular vertical strokes over them, creating a grid-like structure that builds up gradual tonal values.
The intersection points create darker values while maintaining a structured appearance. Varying line weight, spacing, and pressure controls the overall tone and texture intensity.
Zig-Zag / Wave Shading
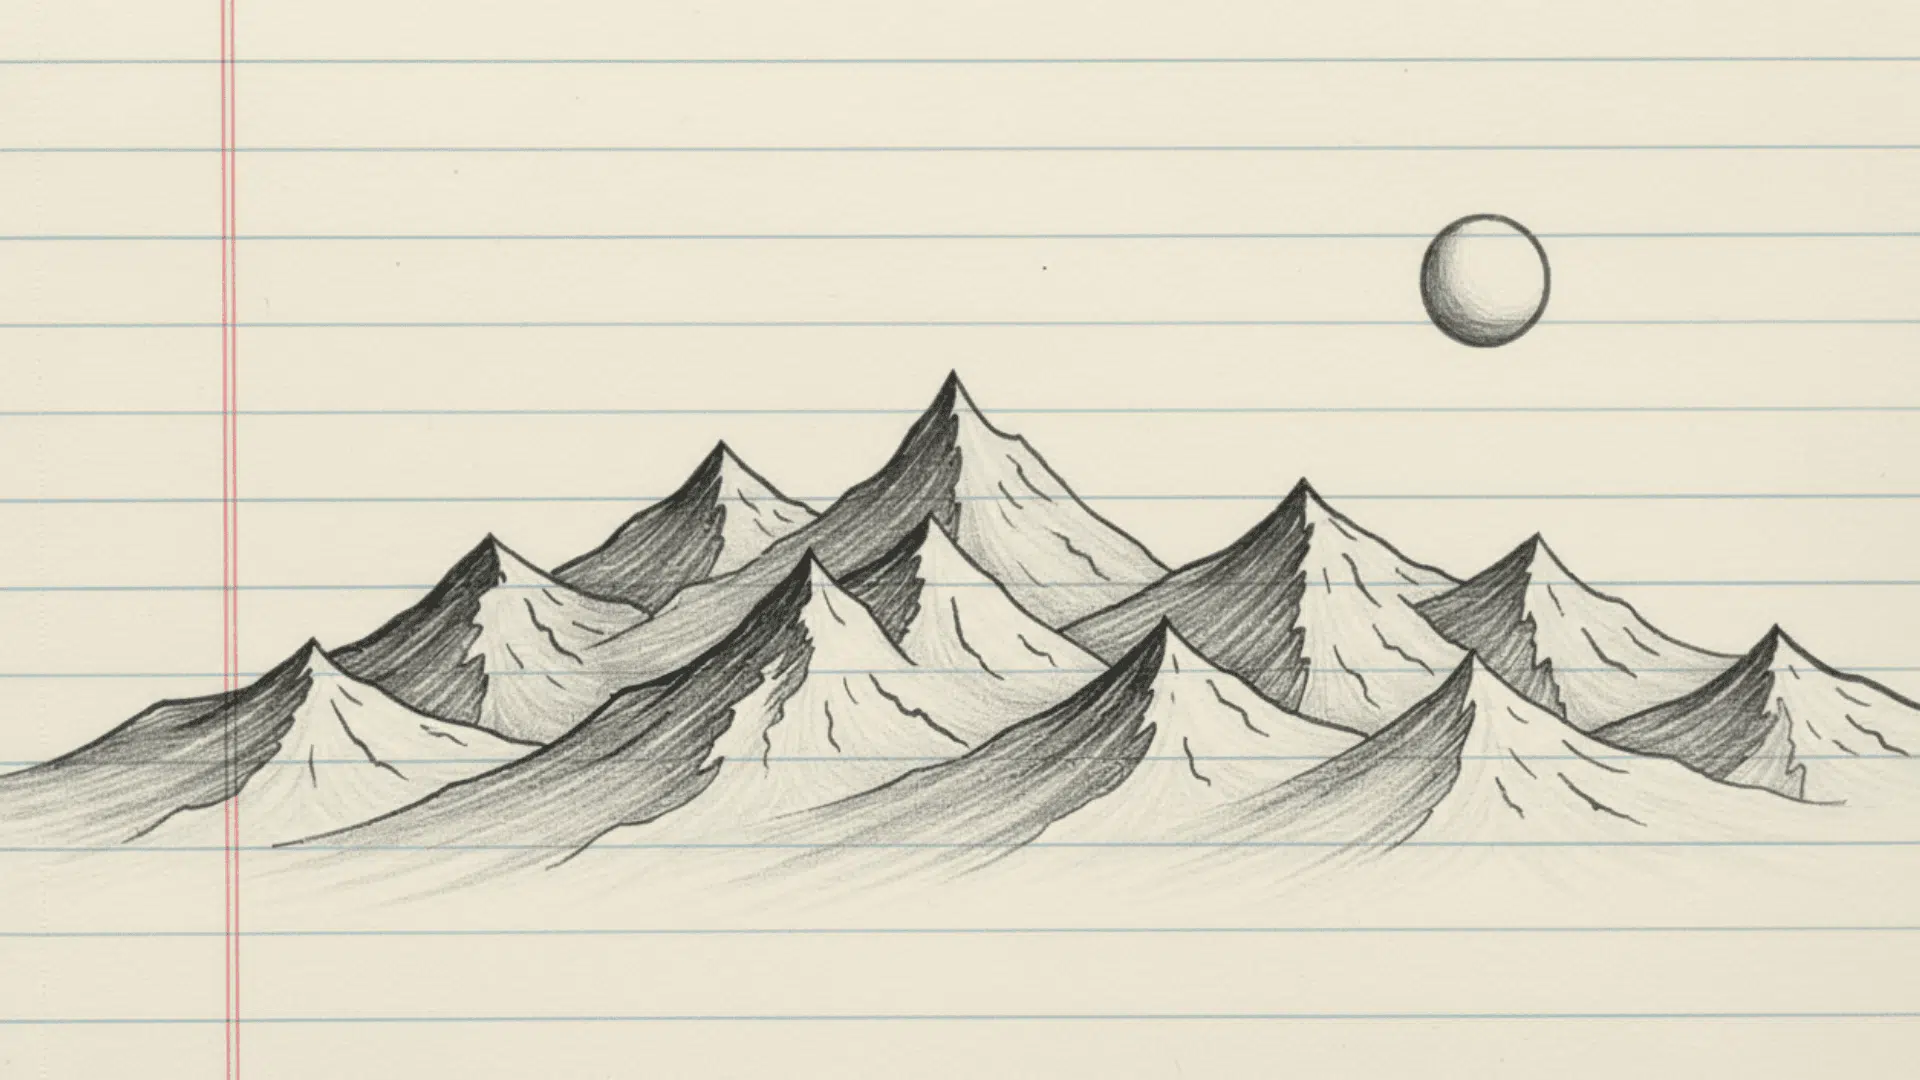
The zig-zag shading technique employs continuous back-and-forth strokes in a connected zig-zag pattern to achieve smooth tonal transitions.
Artists move their pencil in alternating diagonal directions without lifting it from the paper, creating an interlocked series of angular strokes that blend together visually.
This method works by varying stroke density and pressure to control the gradation of values. Closer, overlapping zig-zags produce darker tones, while wider, lighter strokes create highlights.
Circulism
Circulism shading uses small, overlapping circular motions to create smooth tonal conversion and smooth surface textures.
Artists move their pencil in continuous tiny circles, gradually building up layers of graphite that blend naturally together without visible stroke patterns.
The technique works by varying circle size and pressure to control value gradation.
Smaller, tighter circles with increased pressure produce darker tones, while larger, lighter circular motions create subtle mid-tones and highlights.
The Bottom Line
Shading techniques serve as fundamental tools that change basic sketches into three-dimensional art.
Through understanding various approaches, such as contour shading, basketweave patterns, zig-zag methods, and circularism, artists develop the diverse skills needed to tackle any subject successfully.
This variety enables artists to select suitable methods that cater to their artistic needs and medium preferences. The path from flat drawings to dimensional artwork requires consistent practice and experimentation with multiple techniques.
As artists develop these skills, they gain the ability to create convincing depth, realistic textures, and professional-quality results that successfully communicate form and atmosphere.