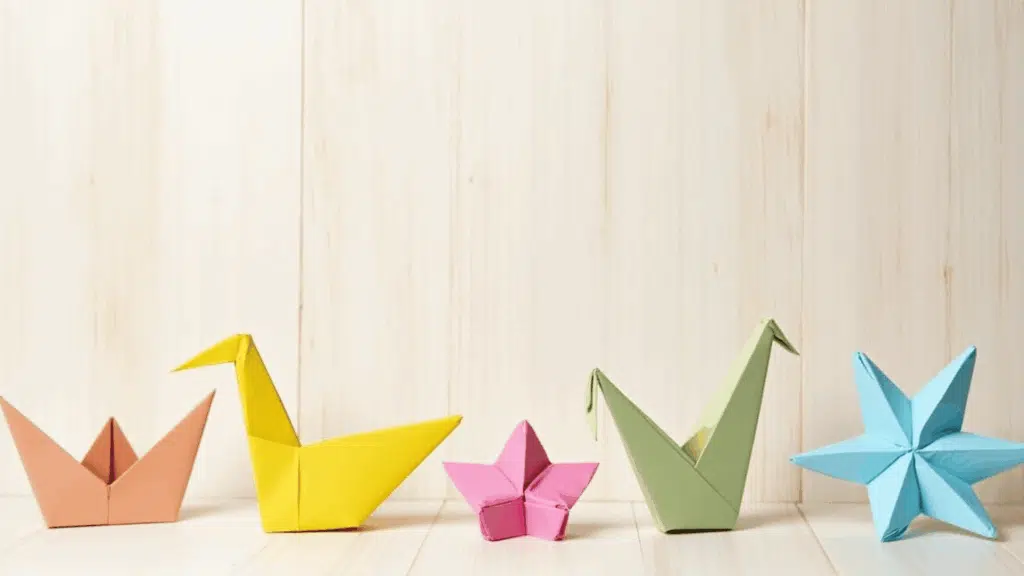
Origami, the ancient art of paper folding, makes simple paper into intricate designs. Users begin with basic folds before progressing to complex creations like paper dragonflies.
This app teaches foundational techniques through step-by-step tutorials. No special tools are required, just paper and patience. The craft offers a relaxing, rewarding, and creative outlet accessible to everyone.
The guided lessons prove that anyone can master origami’s beautiful art form. Readers will find how every complex design starts with simple folds, building confidence through practice.
Start folding today and create something creative.
What is Origami Art? Overview and Origin
Origami is the Japanese art of paper folding. The word itself is derived from two Japanese words: “ori,” meaning “folding,” and “kami,” meaning “paper.”
It’s a creative and relaxing activity that involves changing a flat sheet of paper into a three-dimensional sculpture without using scissors or glue.
Think of it as a puzzle where your hands are the only tools. The practice encourages patience and precision, as each crease and fold must be accurate to achieve the desired shape.
Starting with origami easy projects allows beginners to understand these fundamental techniques before moving on to more intricate designs.
It is a hobby that truly shows how simple actions can lead to stunning results.
Why Origami Is Perfect for Beginners?
For anyone starting a new creative hobby, simplicity is key, and that’s exactly what makes origami easy and appealing for beginners.
Unlike painting or sculpting, origami requires minimal investment; you only need paper. This low barrier to entry means you can start folding right away without the need to visit a craft store.
Furthermore, the step-by-step nature of origami instructions builds confidence with each completed fold.
As you master basic techniques like the valley and mountain folds, you’ll see immediate progress.
This sense of accomplishment is highly motivating and encourages you to try the next, slightly more challenging project. It’s a hobby that teaches patience and rewards small victories.
Origami Crane for Beginners: Step-by-Step Instructions
Disclaimer: The images shown for each step are illustrations intended to guide the folding process. Actual results may vary depending on paper type, folding precision, and individual technique.
Folding an origami crane is a simple and rewarding craft that anyone can try. With just a square piece of paper, beginners can learn the basic folds that lead to this traditional design.
These steps break the process down clearly, so even first-time folders can follow along with ease.
1. Prepare the Paper
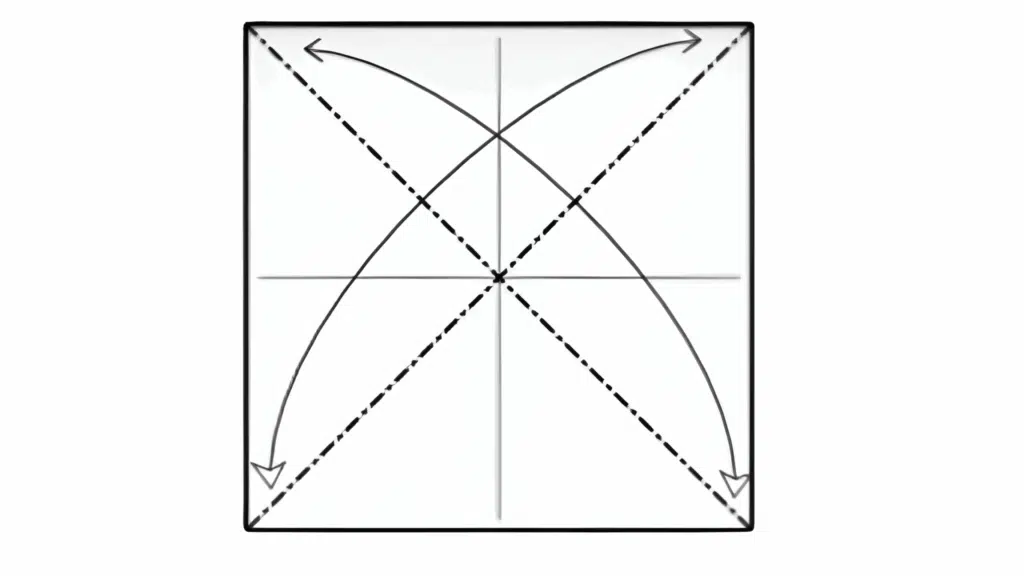
Start with a square sheet of paper (any size or kind will work). Place it flat on a smooth surface. Fold the paper in half vertically, then unfold. Do the same horizontally. You should now see a cross-shaped crease.
Turn the paper and repeat by folding it diagonally in both directions. These folds create guiding creases that will help your paper collapse neatly later.
2. Form the Preliminary Base
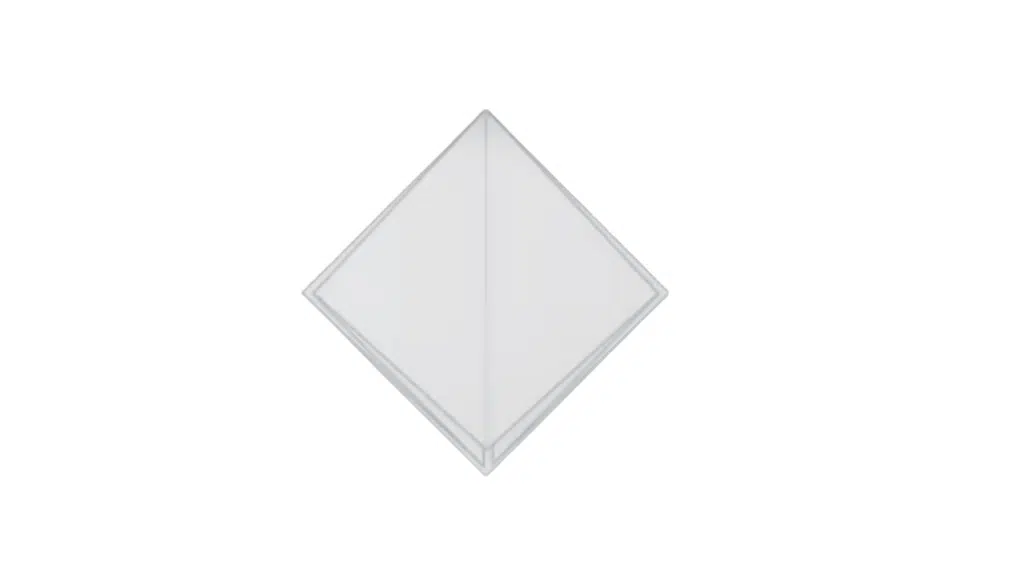
With the paper flat, gently push the center inwards along the diagonal creases. The paper should naturally collapse into a smaller square (called a preliminary base or “waterbomb base”).
Make sure the open end of the square points toward you.
3. Shape the Kite
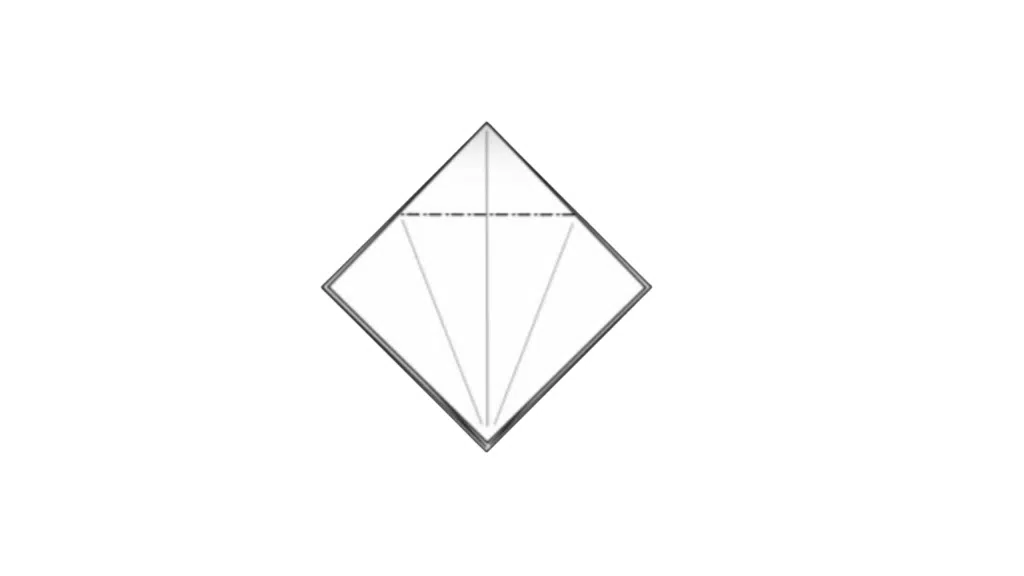
Take the right flap and fold its edge to meet the center crease. Repeat with the left flap.
This creates a kite-like shape. Fold the top triangle (the tip of the kite) downward, aligning it with the horizontal edges. Then unfold these steps you’ve just prepared for the next fold.
4. Create the Petal Fold
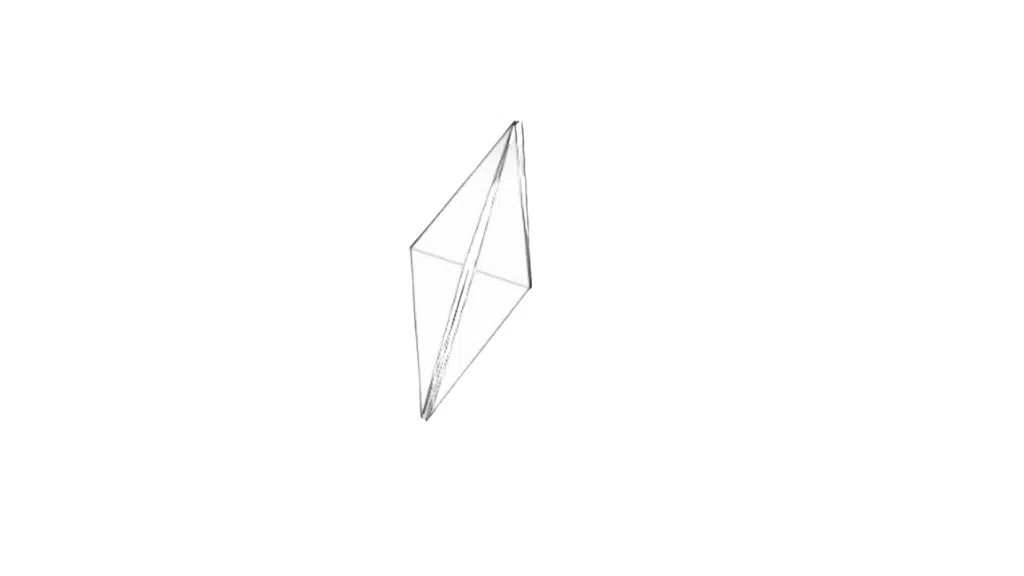
Lift the top layer of paper upward, guiding it along the creases you just made. As you do this, the sides will fold inward like petals. Flatten everything to form a tall diamond shape.
Flip the paper over and repeat the same petal fold on the back. You now have the bird base.
5. Narrow the Wings
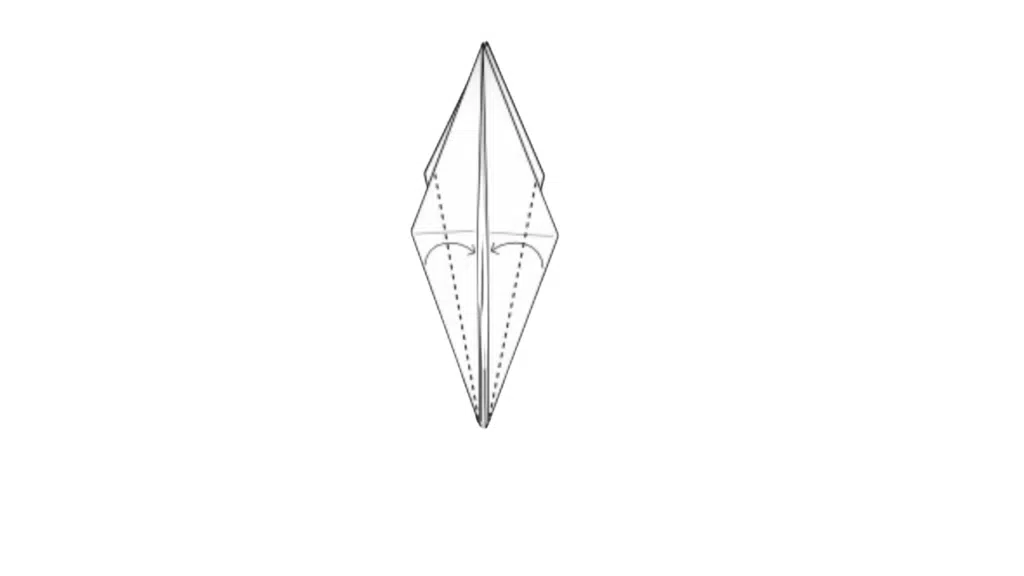
On the bird base, take the right flap and fold its outer edge almost (but not quite) to the center crease. Repeat with the left flap.
Do the same on the backside. Keeping a little space from the center helps later folds tuck in smoothly.
6. Shape the Neck and Tail
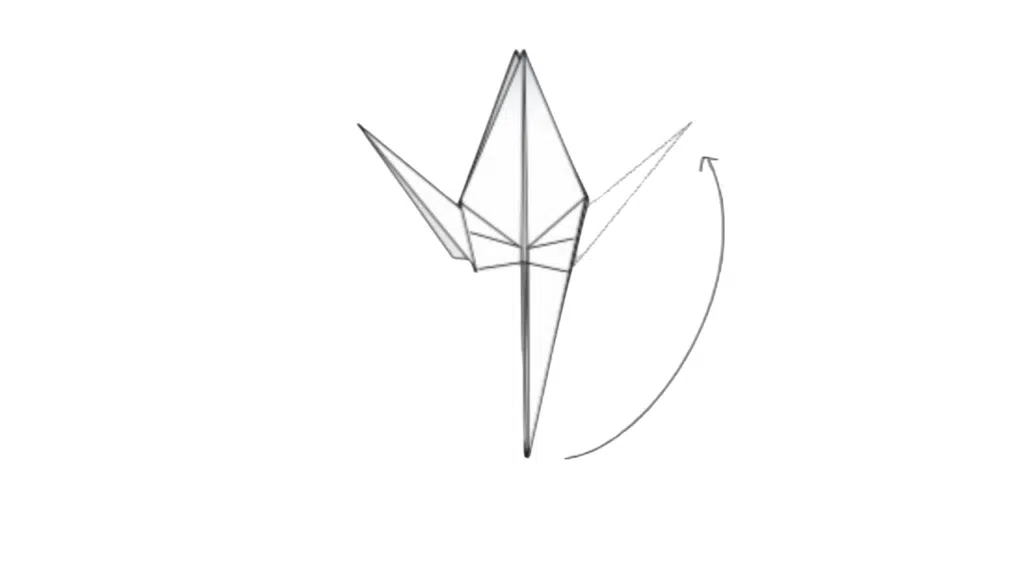
Choose one of the thin flaps to become the neck. Fold it upward, making a crease. Open slightly and perform an inside reverse fold (push the flap inside along the crease). Repeat the same with the opposite flap for the tail.
7. Finish the Crane
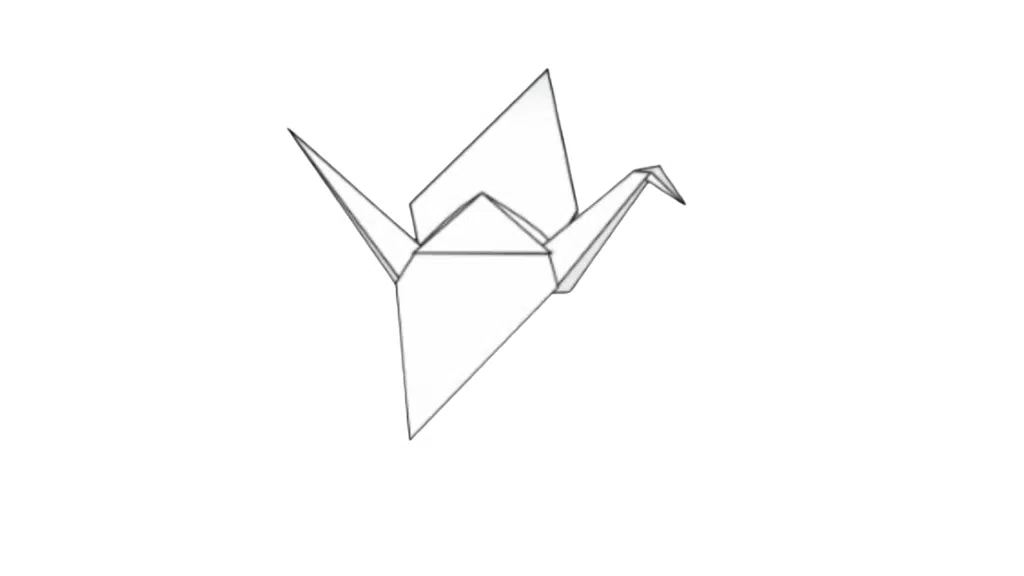
Gently fold down the two large top flaps to form wings. Adjust the angle so they sit evenly. Finally, make a small inside reverse fold at the tip of the neck to form the head.
Your crane is complete, light, graceful, and ready to spread its wings!
For more detailed instructions, refer to the YouTube tutorial:
More Creative and Fun Ideas to Try
Once a beginner has mastered the basic folds, they might be looking for some simple and fun projects to try. These are a few classic designs that are perfect for putting new skills to the test.
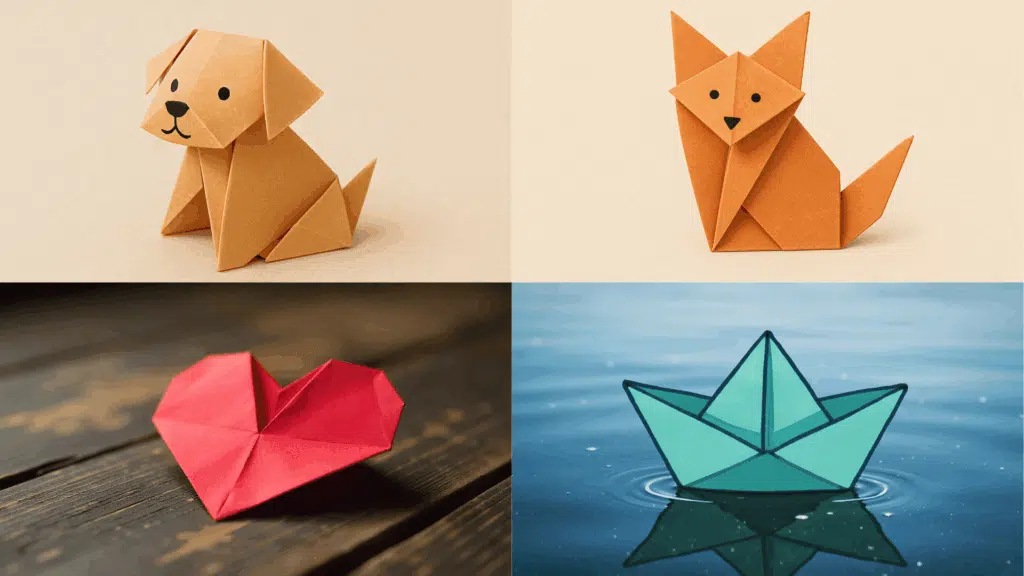
1. Origami Dog
This is a fantastic starter project for anyone who loves animals. It uses simple folds to create a recognizable and cute puppy face, making it a quick and rewarding experience.
Because the folds are straightforward, a person can focus on making precise creases without getting overwhelmed.
2. Paper Boat
A true classic, the paper boat is a simple yet functional fold. It’s a great choice for beginners because it introduces them to some new folding patterns while still being easy to follow.
A person can even test its design by placing it in water to see if it floats.
3. Origami Fortune Teller
Also known as a “cootie catcher,” this interactive fold is a great way to have fun with origami. It’s often one of the first things a person learns how to fold as a child.
With some simple steps, the final outcome is a playful paper toy that can be used to tell fortunes.
4. Paper Heart
For anyone looking to create a thoughtful, handmade gift, a paper heart is an excellent choice. This design uses only a few basic folds to create a lovely, symmetrical shape.
It’s a popular choice for decorating cards or adding a personal touch to presents.
5. Origami Fox
Similar to the origami dog, the fox is another great animal-themed project. It uses simple folds to create a charming animal face with pointed ears.
This project helps a person practice symmetry and precision while creating a delightful little paper friend.
These projects provide an opportunity to apply the foundational techniques learned earlier. With a bit of practice, a person can create a whole collection of paper creations.
Essential Tips for Beginners
Starting any new craft can be exciting, but a few simple tips can make your origami journey smoother and more enjoyable. These pointers will help you get the hang of things quickly and avoid common frustrations.
- Start with Square Paper: Most origami patterns are designed for perfectly square paper. Using a standard 6-inch or 8-inch square is a great way to start.
- Crease Firmly: A clean, sharp fold is the key to successful origami. Use your finger or a bone folder to press down firmly on each crease.
- Follow the Steps Exactly: Pay close attention to the diagrams or instructions. Don’t skip a step, even if it seems small, as each one builds on the last.
- Be Patient with Yourself: It’s okay if your first few attempts aren’t perfect. The goal is to learn and have fun, not to create a masterpiece on day one.
Remember, practice makes perfect. The more you fold, the more intuitive the process becomes, and soon you’ll be creating beautiful paper art with ease.
The Bottom Line
Origami represents a wonderful journey that begins with a single fold. It demonstrates that creators don’t need extensive tools or complex skills to produce something beautiful.
Through simple projects, beginners create fun paper designs while developing patience and precision, the foundation of this ancient craft.
The most important outcome is enjoyment of the process.
Crafters will experience the magic of watching flat paper transform into stunning art pieces right before their eyes, making each fold a rewarding step forward.


