Art projects don’t have to be complicated to be beautiful. With a box of crayons and a little heat, anyone can enjoy the playful process of creating bold, colorful designs.
The fun of watching wax melt and flow across a canvas makes this craft exciting for kids, relaxing for adults, and inspiring for anyone in between.
In this tutorial, readers will learn what this craft is all about, find the necessary tools, see step-by-step methods, and find fresh ideas to try.
By the end, melted crayon art will feel less like a mystery and more like a fun project ready to brighten up any day.
What Is Melted Crayon Art?
This style is a fun and creative way to use everyday crayons in a whole new form. Instead of coloring with the wax.
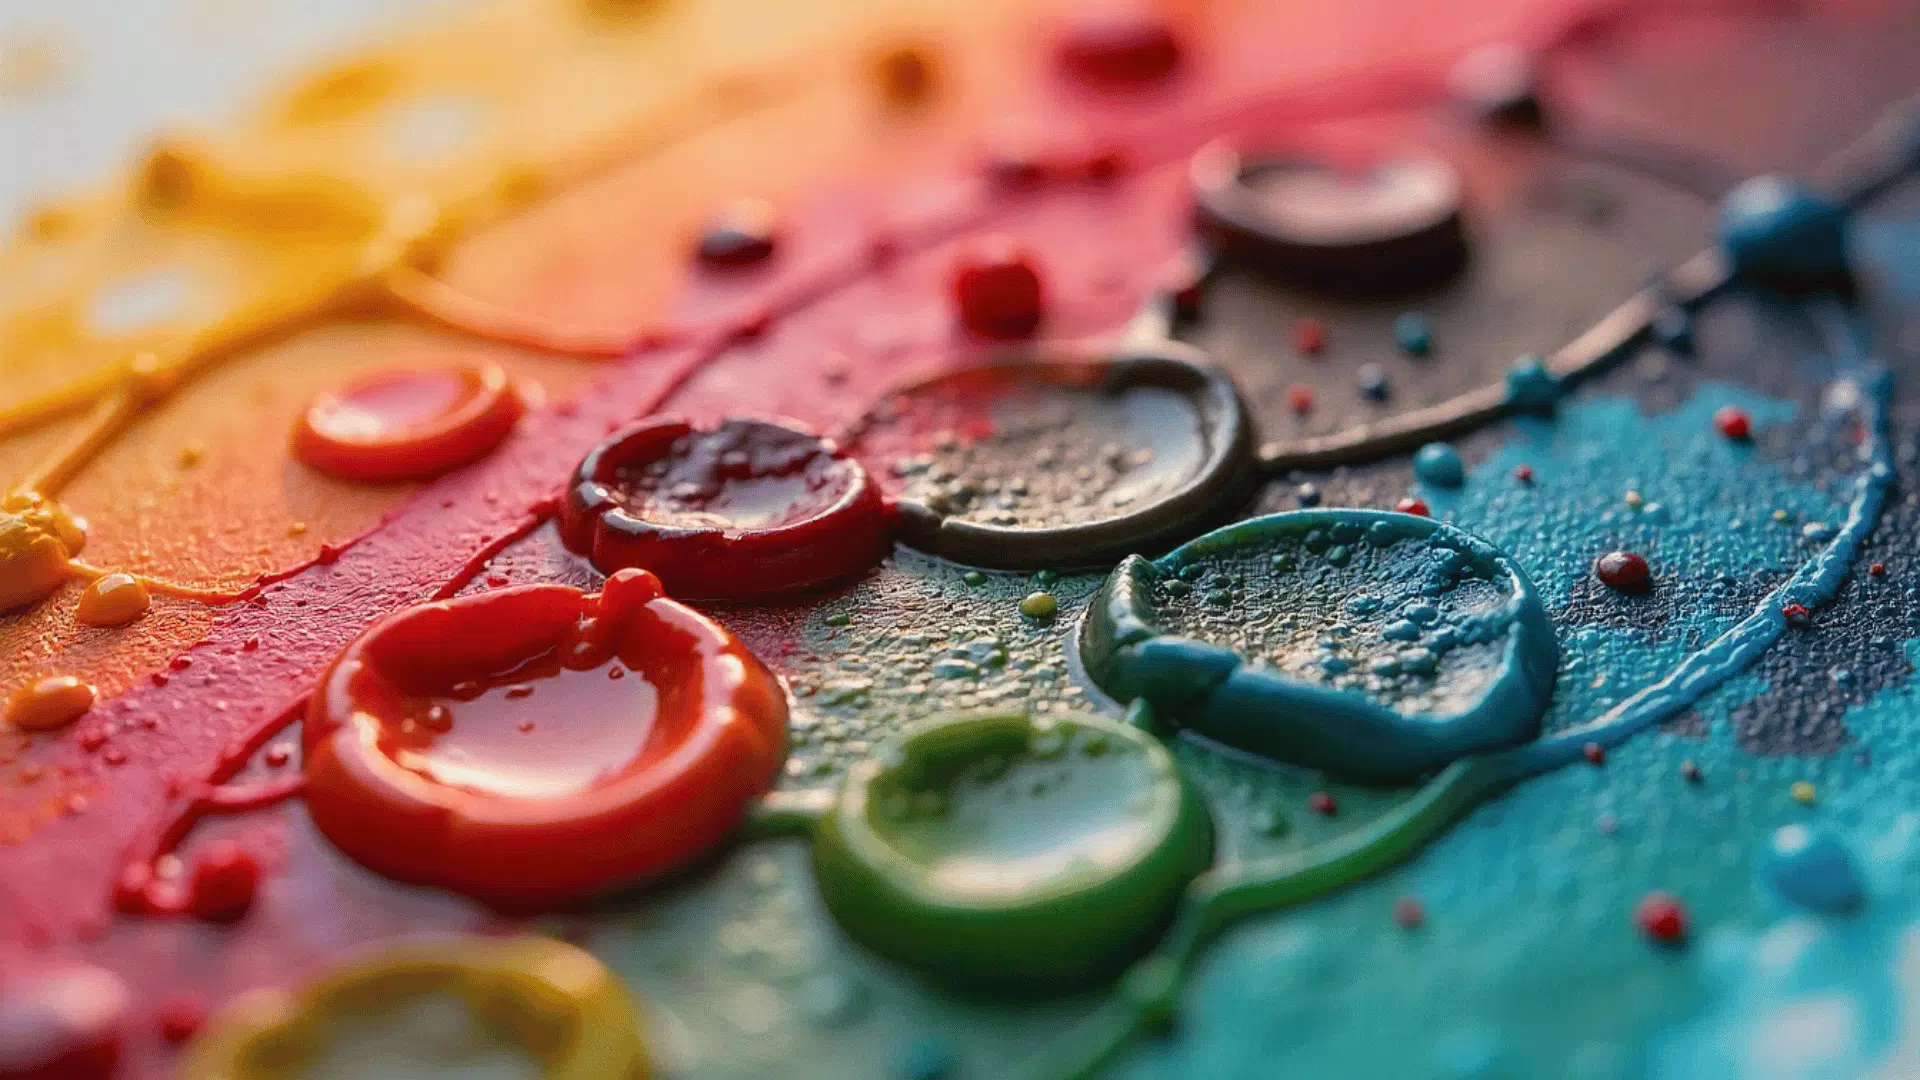
The crayons are heated, causing the colors to melt and drip, creating bold textures and unique patterns on paper, canvas, or other surfaces.
What makes it exciting is that the results are never exactly the same. Sometimes the wax flows in smooth streams, other times it splatters in playful bursts.
It’s simple enough for children to try, yet flexible enough for adults who want to experiment with color and design. Think of it as painting with melted rainbows; it is messy, lively, and always full of surprises.
Painting a Panther Using Melted Crayon Art
Melted crayon art turns ordinary wax into bold, flowing colors that pop on the canvas. In this project, students bring a panther to life with rich textures and dramatic effects.
Materials You’ll Need
| Item | Purpose |
|---|---|
| Watercolor paper (140 lb recommended) | Holds water without warping |
| Round watercolor brush (medium size) | For wetting paper and painting shapes |
| Smaller detail brush | For painting tree branches and fine details |
| Ultramarine blue paint | Base color for cool snow shadows |
| Burnt sienna paint | To gray down the blue for natural shadows |
| Water container | To clean and wet brushes |
| Paper towel/tissue | To blot excess water or soften edges |
| Masking tape | To create a clean horizon or snow ridge |
Painting a panther with melted crayons is both bold and exciting. This step-by-step project demonstrates how heat and wax can combine to create a striking, textured masterpiece.
Step 1: Sketch Your Design

Lightly draw your chosen image directly on the canvas. For logos or shapes, keep the lines simple and clear. You won’t paint the design yet, but just the background around it.
Step 2: Paint the Background

Use acrylic paints in colors that will make your crayons “pop.” Apply them with bold, playful strokes to create energy and contrast. Allow the paint to dry completely before proceeding.
Step 3: Tape Off Your Design

Cover the parts of the canvas you don’t want melted wax on with painter’s tape. Press down firmly along the edges, especially at the top of the design, since melted wax tends to run downward.
Step 4: Glue Down Your Crayons

Line up your chosen crayons across the top of the canvas. Glue them in place with the labels facing forward so everyone can see they’re real crayons. This also keeps them neat and even.
Step 5: Melt the Crayons

Use a heat gun (or hairdryer on high heat). Start by melting the wax until it runs all the way to the bottom of the canvas for your first layer.
Then tilt the canvas and melt again for a second layer. This helps colors blend together beautifully. For a fun effect, hold a single crayon to the heat source and let it splatter across the canvas.
Step 6: Adding Finishing Touches

Carefully remove the painter’s tape to reveal your clean design area. Use acrylic paint to fill in your sketch (like a logo, symbol, or picture).
If thin strands of wax form, gently reheat them and press them flat to prevent them from breaking off later. Once it’s all dry, your melted crayon art is ready to display or give as a gift!
For an in-depth tutorial, refer to the YouTube video below:
Different Techniques and Styles to Try with Melted Crayon
Melted crayon art is colorful, playful, and full of possibilities. Here are some fun techniques and styles you can try at home to spark your creativity.
| Technique | How It Works | Result & Tips |
|---|---|---|
| Hairdryer Method | Glue crayons to the top of a canvas, then aim a hairdryer until the wax melts and drips. | Creates flowing, colorful drips; tilt the canvas to control direction. |
| Heat Gun Method | Use a heat gun for quicker, more intense melting. | Produces bold, dramatic drips; keep the tool moving to avoid overheating. |
| Oven Method | Place crayons on a heat-safe surface in the oven or on a hot plate. | Wax melts evenly, forming smooth, blended pools of color. |
| Stencil Method | Cover parts of the canvas with tape or stencils, then melt crayons over it. | Peel away for clean shapes, patterns, or words outlined by colorful wax. |
| Freeform Flow | Experiment by layering colors and adjusting angles. | Each piece is unique; no two melted crayon artworks look the same. |
The beauty of melted crayon art lies in its unpredictability. Experiment with various tools, angles, and colors to craft unique masterpieces each time.
Common Mistakes and How to Avoid Them
Even the most creative projects occasionally encounter a few snags. When mastering crayon melt art, it’s helpful to know which pitfalls to avoid, so your artwork remains lively and flowing, rather than messy or dull.
- Choosing too many dark crayons: Dark colors create muddy mixtures when they blend, making artwork look dull instead of vibrant.
- Overheating the wax: Excessive heat causes crayons to burn, spatter, or lose their bright color clarity during melting.
- Forgetting workspace protection: Melted wax stains surfaces permanently, so always use newspaper or drop cloths beforehand.
- Ignoring background contrast: Plain backgrounds make bright, melted crayons appear washed out and less impressive.
- Placing crayons too close together: Crowded crayons blend into muddy colors instead of creating distinct, flowing streams.
- Using worn-out crayons: Damaged or paper-wrapped crayons don’t melt evenly, creating uneven drips and poor flow.
- Melting too long in one spot: Focused heat creates excessive pooling and uncontrolled, messy wax dripping.
- Rushing the cooling process: Moving artwork before the wax has cooled completely can cause smudging and unwanted fingerprints.
Wrapping It Up
From colorful drips to playful splatters, melted crayon art proves that amazing creations don’t require expensive materials or advanced skills.
The beauty lies in its unpredictability; no two pieces ever turn out exactly the same. Whether someone chooses the hairdryer method for gentle flows or the heat gun technique for bold splatters, each approach offers its own artistic charm.
Ready to create something interesting? Gather those old crayons sitting in drawers and give this technique a try. Start with bright colors, protect the workspace, and let the wax flow freely.
The results will surprise even the most skeptical beginners. Sometimes the most beautiful art comes from the simplest materials.


