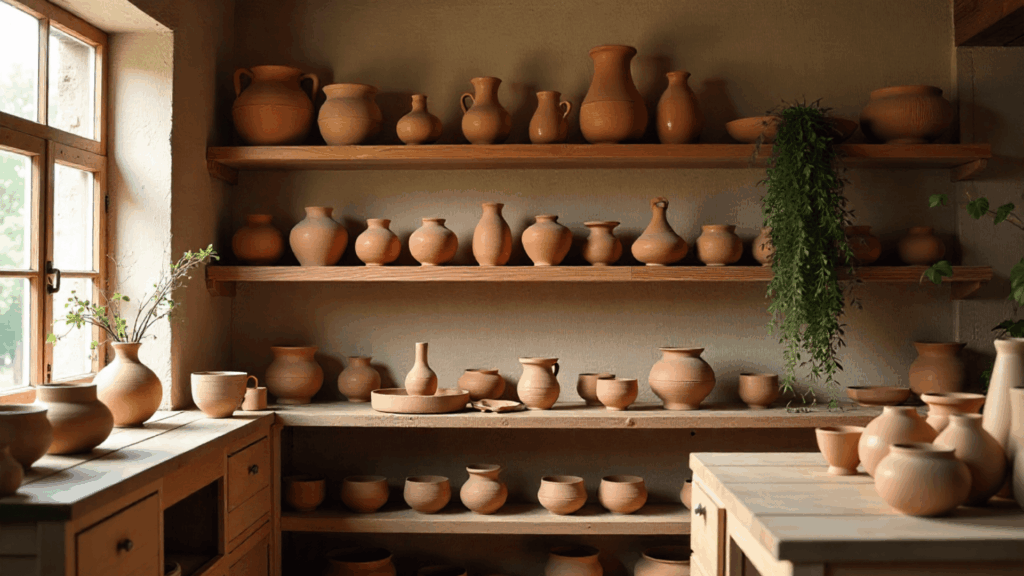
Learning how to make pottery at home has become an increasingly popular creative outlet, offering both therapeutic benefits and the satisfaction of crafting something beautiful.
Regardless of your mood, if you’re drawn to pottery, it’s a meditative activity or an exciting way to craft unique home pieces, an accessible art form that doesn’t require a professional studio to get started.
This handbook will walk you through everything you need to know about starting your pottery from the comfort of your own space.
From necessary tools and materials to fundamental techniques, we’ll cover the practical steps that will help you create your first pieces while building confidence in this rewarding craft.
Why Try Pottery at Home?
There’s something deeply satisfying about turning a lump of clay into something functional and beautiful, using only your hands and creativity.
Learning how to make pottery at home offers a unique escape from our digital world, giving you a tactile experience that engages both mind and body in ways few hobbies can match.
Beyond its therapeutic benefits, it provides complete creative freedom, allowing you to experiment at your own pace, make mistakes without judgment, and develop your own style without the pressure of a classroom.
And nothing beats the sense of accomplishment that comes from serving dinner on plates you’ve crafted yourself or gifting a handmade mug to someone special.
How to Make Pottery at Home: Step-By-Step Process
Ready to get your hands dirty? Let’s walk through the beginning steps that will take you from raw clay to your very first handmade pottery piece.
Prepare Your Workspace and Materials
Set up your pottery area to feel both welcoming and functional. Place your wheel (or table, if you’re hand-building) on a stable surface.
Protect the area with towels or plastic sheeting; it can get messy. Keep all your tools, a water bowl, and a sponge within arm’s reach. Wear comfortable clothes you don’t mind getting clay on.
| Category | Items |
|---|---|
| Clay & Wheel | Clay (air-dry or stoneware), Pottery wheel (optional, for wheel-throwing) |
| Shaping Tools | Wooden/metal sculpting tools, Ribs, Loop tools |
| Cutting & Lifting | Wire cutter (for clay and removal) |
| Water & Support | Sponge, Small bowl of water, Towels |
| Safety & Comfort | Apron or old clothes, High stool or chair (if using a wheel) |
| Decorating | Acrylic paints, Paintbrushes, Gloss/glaze sealant |
| Extras | Fine-grit sandpaper, Cloth for covering while drying |
Creating pottery at home can be both fun and fulfilling. Let’s uncover the process step by step and see how clay takes shape into unique works of art.
Step 1: Wedge and Prepare the Clay
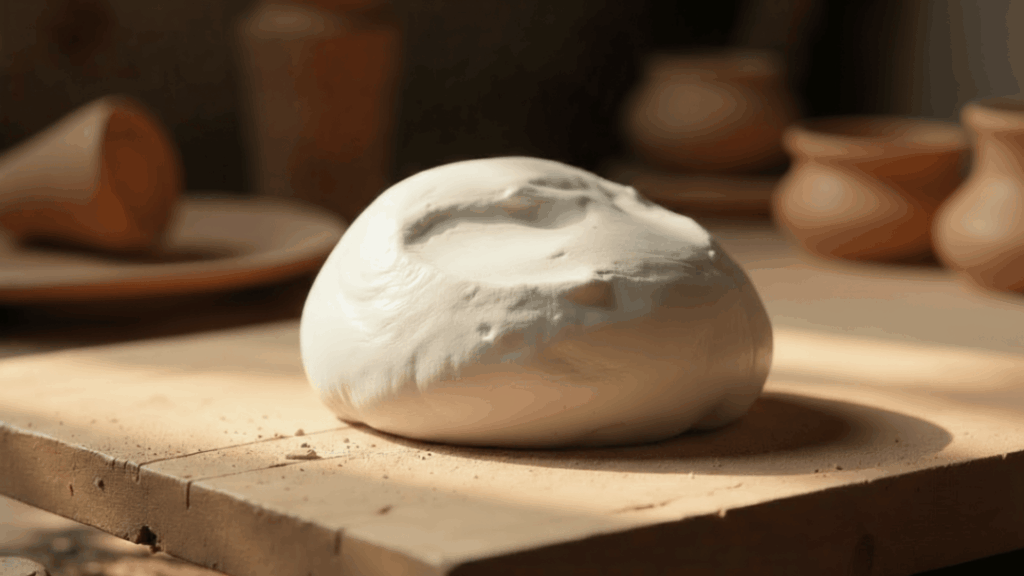
Cut a block of clay with a wire cutter and wedge it (knead and fold repeatedly). This removes air bubbles and ensures a smooth, workable texture.
Think of it like kneading bread dough, you want the clay soft and uniform.
Step 2: Center the Clay on the Wheel
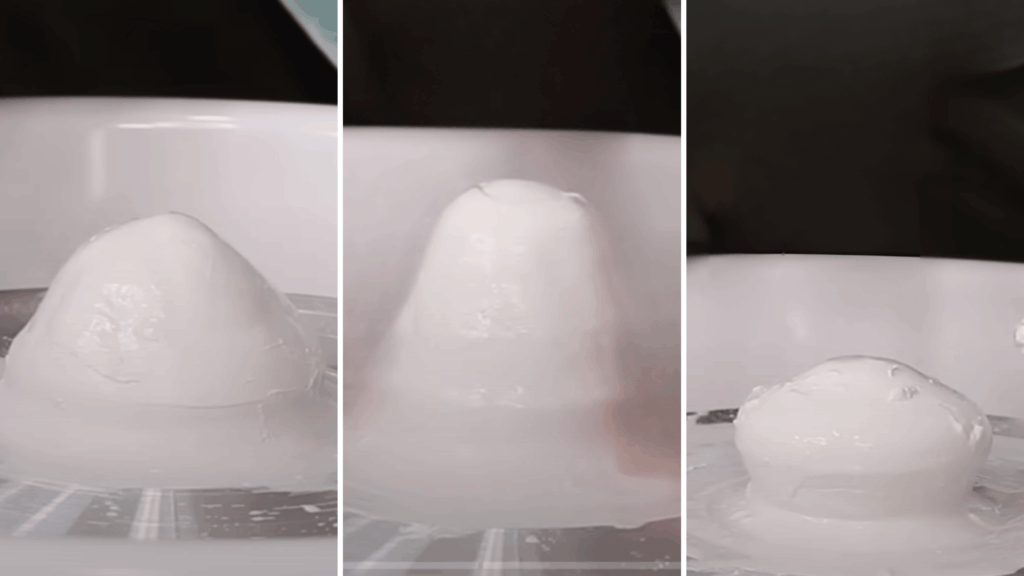
Firmly throw the clay onto the wheel to make it stick. Wet your hands and the clay, then use steady pressure to “cone” the clay upward and then press it back down.
Repeat this a few times until the clay feels stable and doesn’t wobble. Centering takes practice; don’t worry if it isn’t perfect the first time.
Step 3: Open the Clay and Shape Your Piece
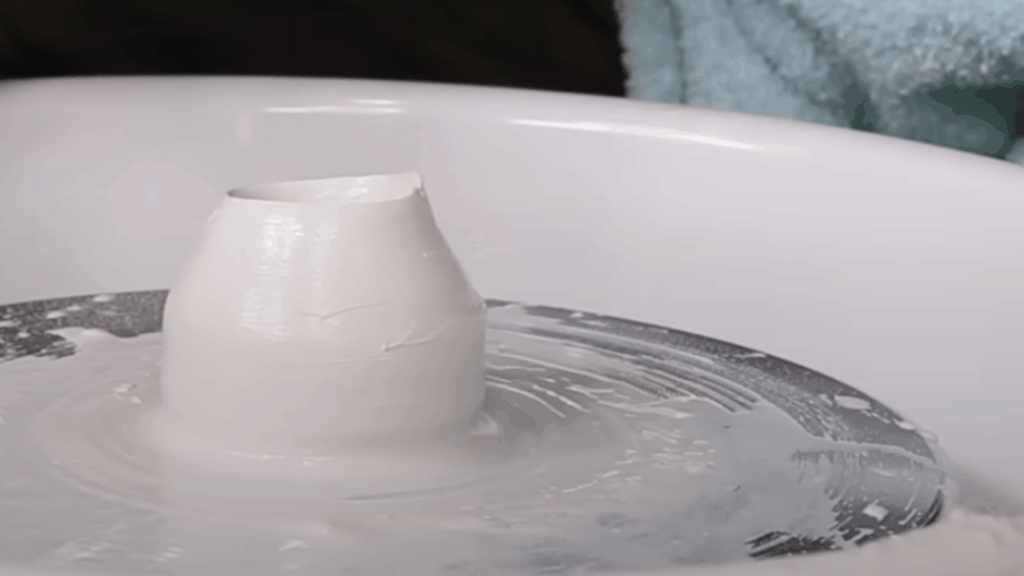
With the wheel turning, press your thumbs gently into the center to create an opening. Slowly widen this space with your fingers while supporting the outer walls with your other hand.
Keep the walls even by pulling the clay upward gradually. Remember, gentle, steady pressure is better than sudden force.
Step 4: Refine and Smooth the Form
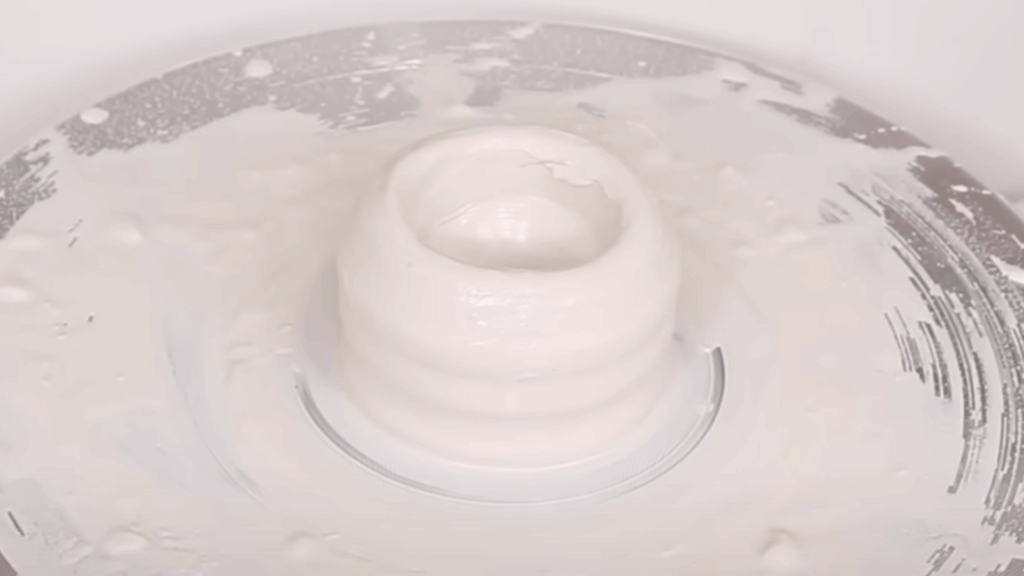
Use your fingers or shaping tools to refine the walls, rim, and base of your pottery. Keep the clay moist with water or a sponge to avoid cracks.
Don’t worry about perfect symmetry; each handmade piece is special because of its unique character.
Step 5: Remove and Dry the Piece
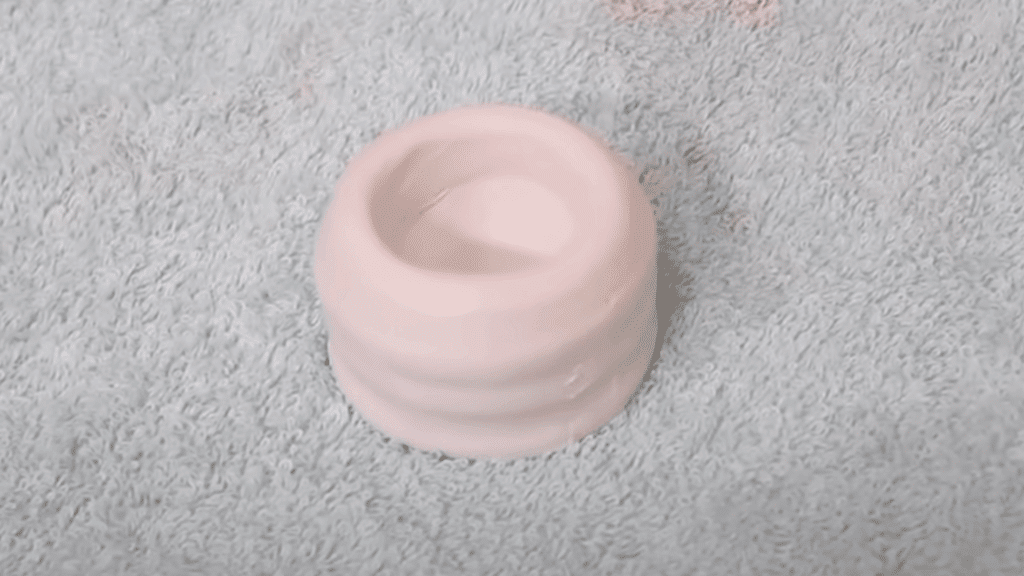
Use your wire cutter to slide it under the finished piece and carefully lift it with both hands (placing your fingers in a peace sign works well). Place it on a wooden board or tray to allow it to dry.
Cover with a damp cloth to allow it to dry slowly and evenly, preventing cracks. Let it dry for several days until leather-hard.
Step 6: Decorate and Seal Your Pottery
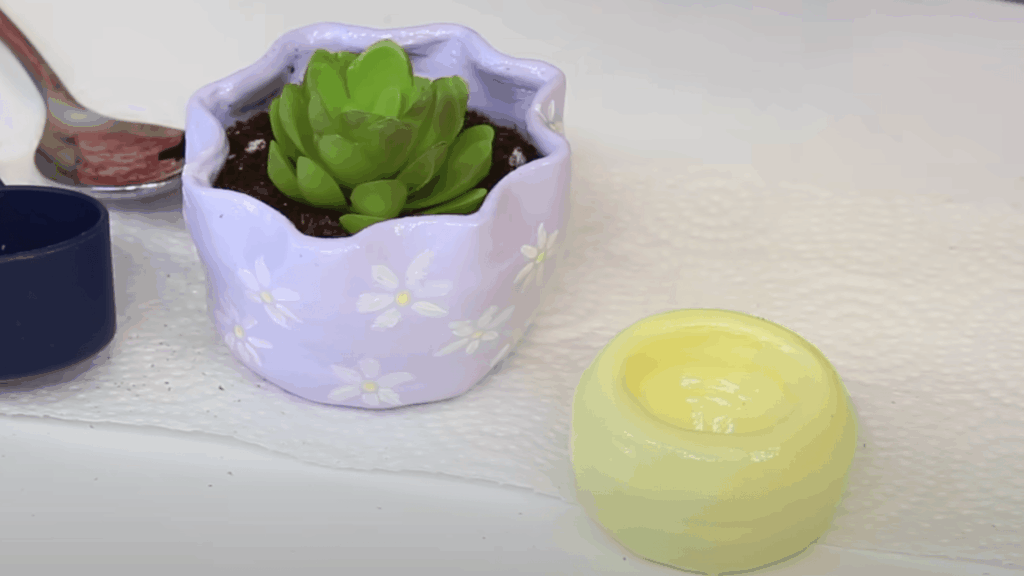
Once dry, you can smooth rough areas with fine sandpaper. Paint with acrylic paints if you don’t have access to traditional glazes and a kiln.
Finish with a clear gloss sealant to protect the surface and give it a professional shine.
Allow at least 24–48 hours for the sealant to cure before using your pottery.
For more detailed Instructions, refer to the YouTube tutorial on how to make pottery at home below:
Tips to Upgrade Your Pottery Skills
Clay is a versatile medium that comes to life with the right care and technique. Here are some essential tips to help you shape, refine, and add creative flair to your projects.
- Knead clay thoroughly to remove air bubbles and achieve a smooth, workable texture.
- Lightly mist clay if too dry, or let it rest if overly wet, for perfect consistency.
- Work slowly, keeping hands damp and rotating pieces for even thickness and symmetry.
- Score and apply slip to surfaces before joining pieces to ensure stronger bonds.
- Dry creations under a damp cloth or plastic, then sand and trim when the leather is hard. Experiment with textures and layered glazes for unique effects.
With patience and practice, these techniques will elevate your clay projects. Every piece you shape becomes a personal work of art, full of texture, balance, and character.
Other Pottery-Related Ideas to Try at Home
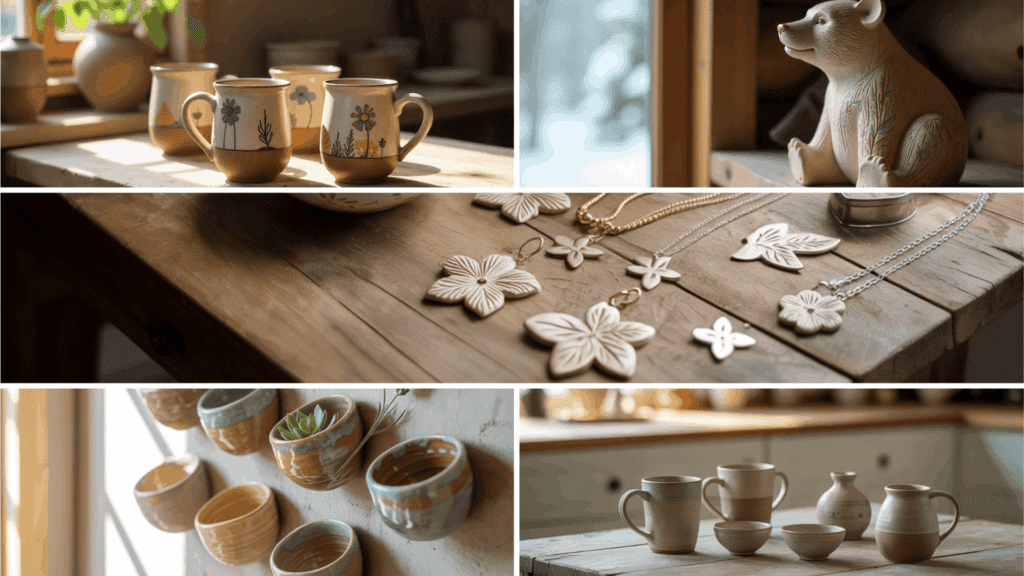
Once you’ve mastered the fundamentals, pottery opens up a world of creative possibilities that can improve your home and make thoughtful gifts.
These practical items not only showcase your skills but also become cherished daily-use pieces.
1. Hand-Built Mugs with Personality
Mugs are a classic pottery project, but they don’t have to be plain. Experiment with playful handles, such as braided coils, twisted ropes, or sculpted animal shapes, and press textures into the clay before attaching them.
With a unique glaze, each mug becomes a piece of everyday art.
2. Slab-Built Wall Planters
Wall planters are perfect for bringing greenery into small spaces. Cut flat slabs and fold them into pocket shapes, then decorate with carved patterns or stamped textures.
Once fired, they can hold herbs, flowers, or succulents while doubling as stylish wall art.
3. Clay Jewelry & Accessories
Small clay projects like pendants, earrings, and charms let you explore detailed work. Use cookie cutters for simple shapes or hand-cut unique designs, then paint and seal for durability.
Add holes before drying so you can thread cords or attach metal findings later.
4. Animal & Character Sculptures
Sculpting small animals or characters helps build your hand-building skills. Try simple creatures like cats or owls, or challenge yourself with detailed pets and mythical figures.
These pieces make charming decorations or heartfelt handmade gifts.
5. Miniature Pottery Collection
Creating tiny bowls, vases, and cups is a fun way to practice precision and detail. Miniatures are quick to make and allow you to refine your technique while experimenting with shapes.
Displayed together, they become a delightful collection for any shelf.
The Bottom Line
From that first wobbly pinch pot to more ambitious projects, each piece you create builds not only your technique but your confidence as an artist.
The beauty of home pottery lies in its forgiving nature and endless possibilities. There’s no right or wrong way to begin, only your unique path of creation and learning.
If you’re seeking a peaceful hobby, planning to create heartfelt gifts, or simply wanting to disconnect from screens and reconnect with tactile creativity, clay is waiting to be shaped by your imagination.
So roll up your sleeves, hold the mess, and let your hands do what they’ve always known how to do: create something beautiful.

