Most aspiring artists want to learn how to draw graffiti and make it eye-catching, but struggle with developing their own distinctive style and mastering the fundamental techniques that distinguish professional street art from amateur tags.
This guide promises to teach you the essential skills needed to create impressive graffiti art, from understanding letter structure and developing your unique style to mastering shading techniques and color theory that will make your work stand out.
You’ll learn all about drawing graffiti, including the core principles of graffiti lettering, finding your personal artistic voice, and getting step-by-step instructions for creating professional-quality pieces.
Understanding the Basics of Graffiti Art
Graffiti art is much more than what most people think. While many see it as vandalism, it’s actually a rich form of creative expression that has grown over many decades.
A Voice for the Voiceless:
For many artists, graffiti provides a voice when society fails to listen. They utilize walls, trains, and previously overlooked spaces as their canvas, revamping dull areas into lively art galleries. Each piece tells a story!
Real Skill Behind the Spray:
Artists spend years learning how to control spray paint, mix colors, and design letters that flow together. They begin with simple signatures and progress to complex pieces that can rival any gallery art.
Building Underground Community:
Graffiti also builds a great community. Artists teach each other tricks and collaborate on large pieces.
This underground world has produced famous artists who started on subway walls and now show their work in top museums.
The art form proves that creativity can come from anywhere. What begins as rebellion often evolves into recognized art, demonstrating that organic expression always finds its way to appreciation.
The Anatomy of a Graffiti Piece
To learn how to draw graffiti, it is essential to understand its anatomy. Graffiti pieces contain distinct elements that form the artist’s visual language, each serving a specific purpose in their expression.
Core Elements:
- Tag: Artist’s signature in stylized script; their personal brand
- Throw-up: Quick bubble letters in two colors
- Piece: Complex masterpiece with intricate, multi-colored lettering
- Supporting Components:
- Fill: Interior colors and patterns within letters
- Background: Decorative elements surrounding the main work
- Characters: Cartoon figures or portraits accompanying letters
- Production: Large collaborative pieces by multiple artists
The progression moves from simple tags to elaborate productions, with each level requiring greater skill and time. Characters often become as recognizable as an artist’s letter style, serving as their visual trademark.
These elements work together to create a sophisticated communication system.
What appears as random marks actually represents careful artistic choices, where every color, curve, and placement carries meaning within the graffiti community’s visual vocabulary.
Essential Tools & Materials
| Tool/Material | Purpose | Beginner Tip |
|---|---|---|
| Pencil & Eraser | Sketching the base structure and making adjustments. | Keep lines light so they erase easily. |
| Sharpies (Fine & Bold) | For bold outlines and final detailing. | Start with a fine tip, then thicken. |
| Alcohol-Based Markers | Adding color, shading, and depth. | Use lighter colors first, then layer darker ones. |
| Ruler or Straight Edge | Creating sharp cuts and clean edges for the letter structure. | Helpful for practicing straight-style letters. |
| Sketchbook or Paper | A consistent surface to build a graffiti journal. | Dedicate one notebook just for graffiti practice. |
Step-by-Step Process: How to Draw Graffiti Letters
Ready to turn ordinary letters into street art masterpieces? Here’s an in-depth guide on drawing Graffiti letters in easy eight steps to help you get started!
Step 1: Gather Your Basic Supplies
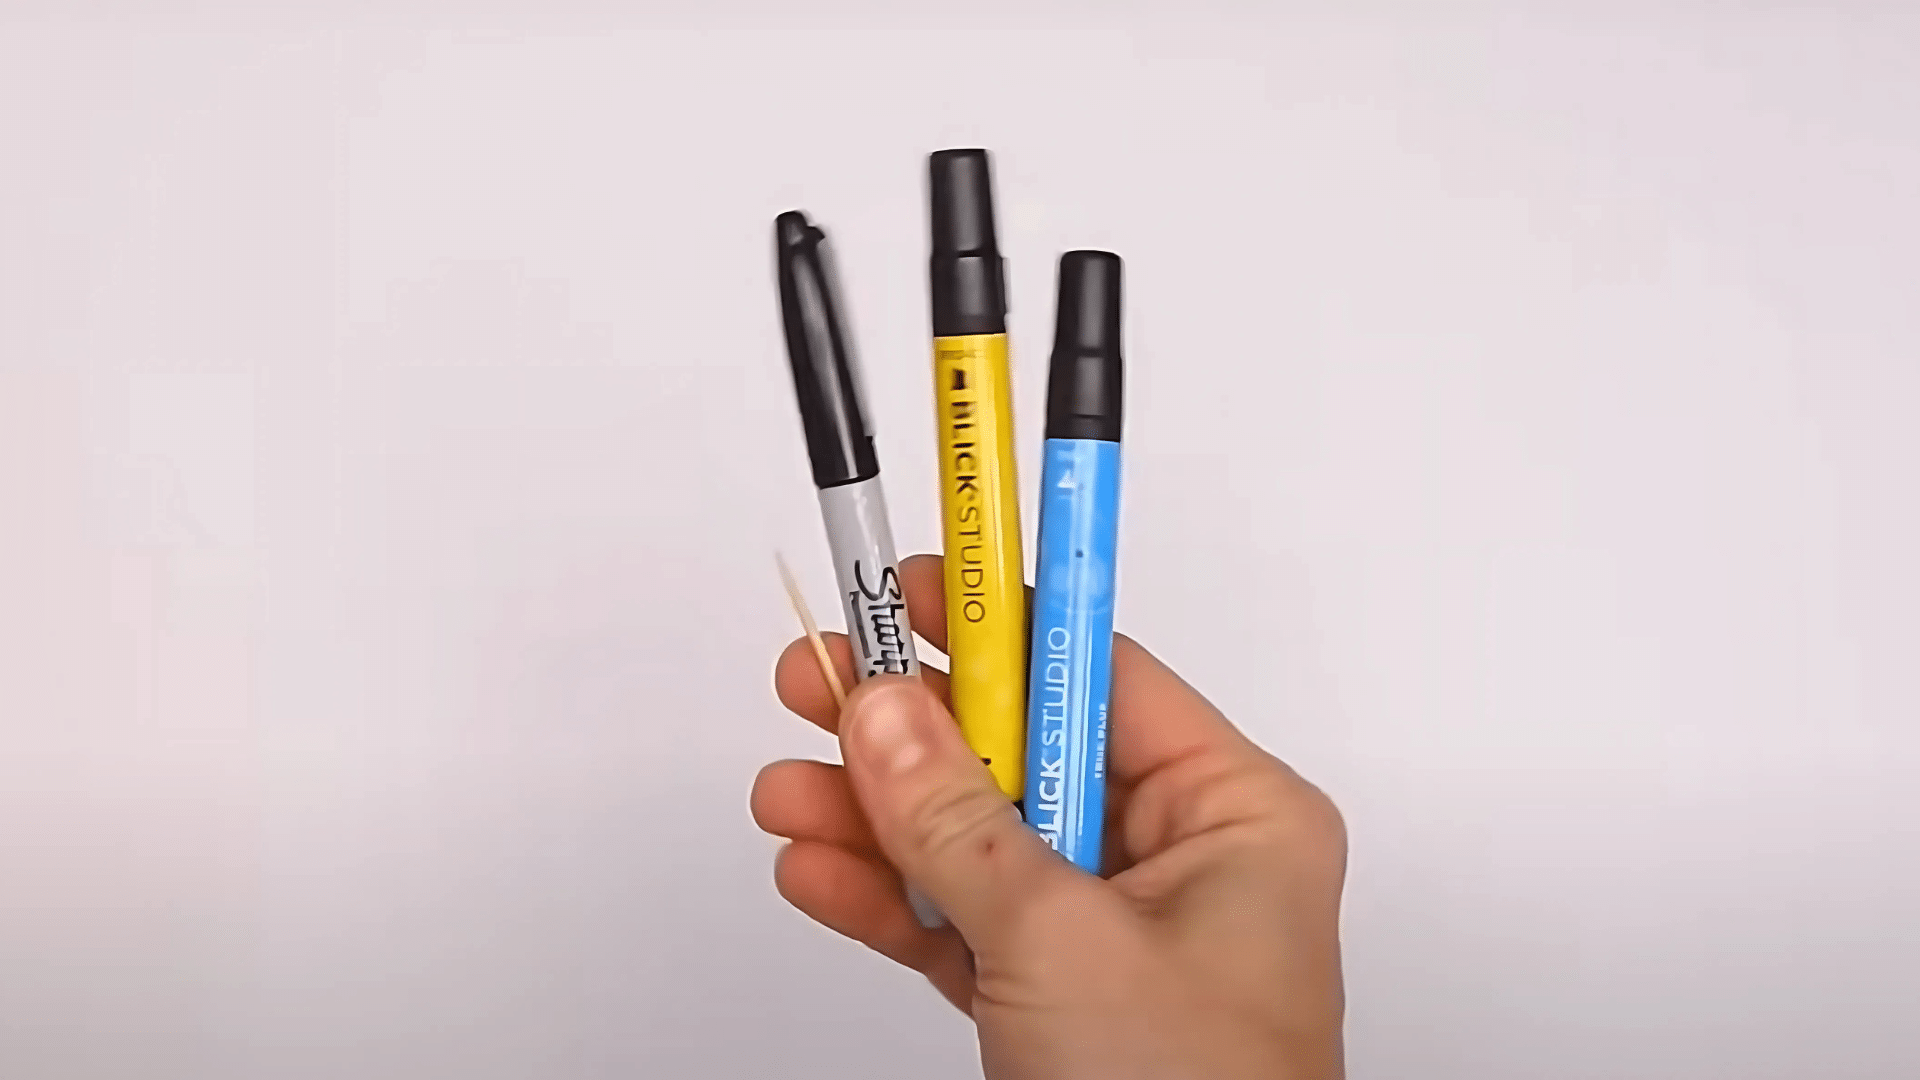
Let’s keep it simple. All you really need to begin is a few Sharpies or other alcohol-based markers and a pencil with an eraser.
A ruler or straight edge can also help you explore clean, sharp lines. There’s no need to overcomplicate; graffiti starts small.
Step 2: Start With a Straight Letter
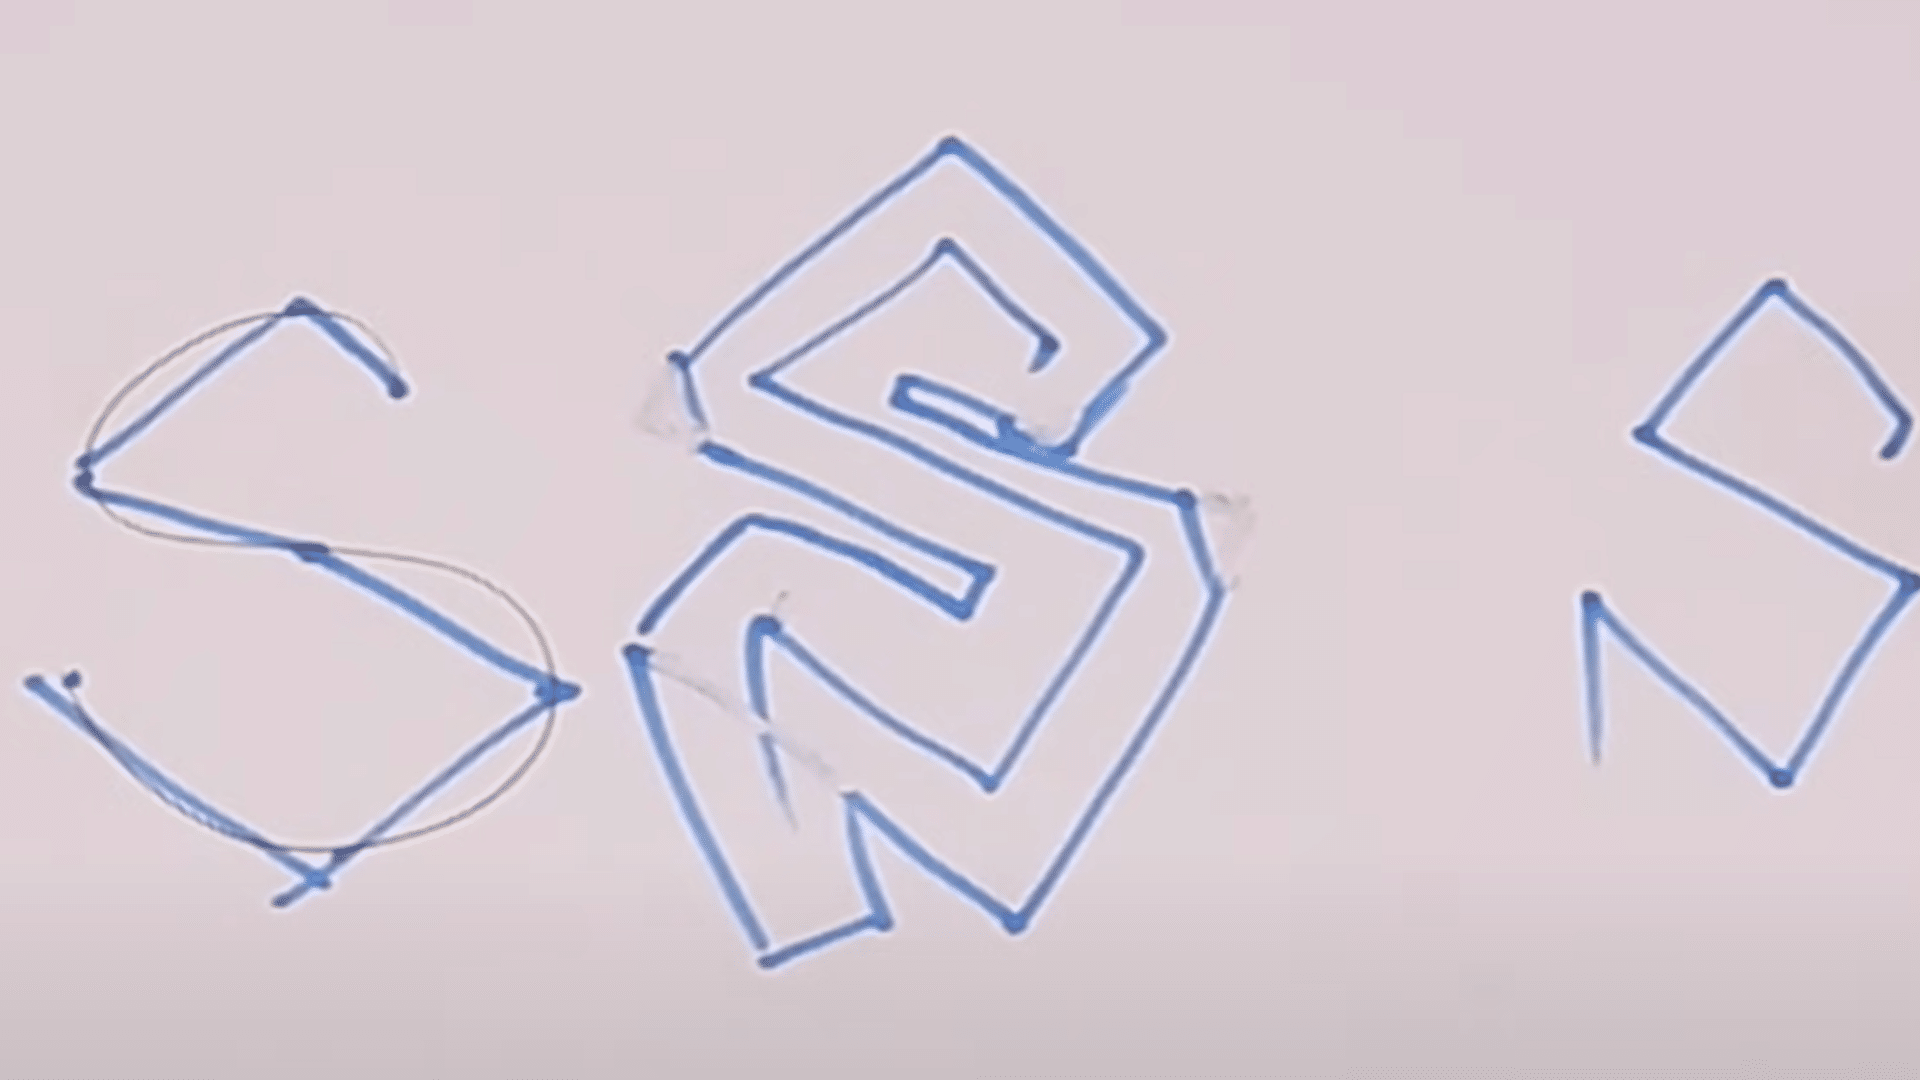
Pick a single letter and sketch it in the simplest, straight-line form. Think of it as your foundation. Don’t worry if it looks plain; this structure is the skeleton that you’ll build style on top of.
Step 3: Add Basic Tracing & Outlines
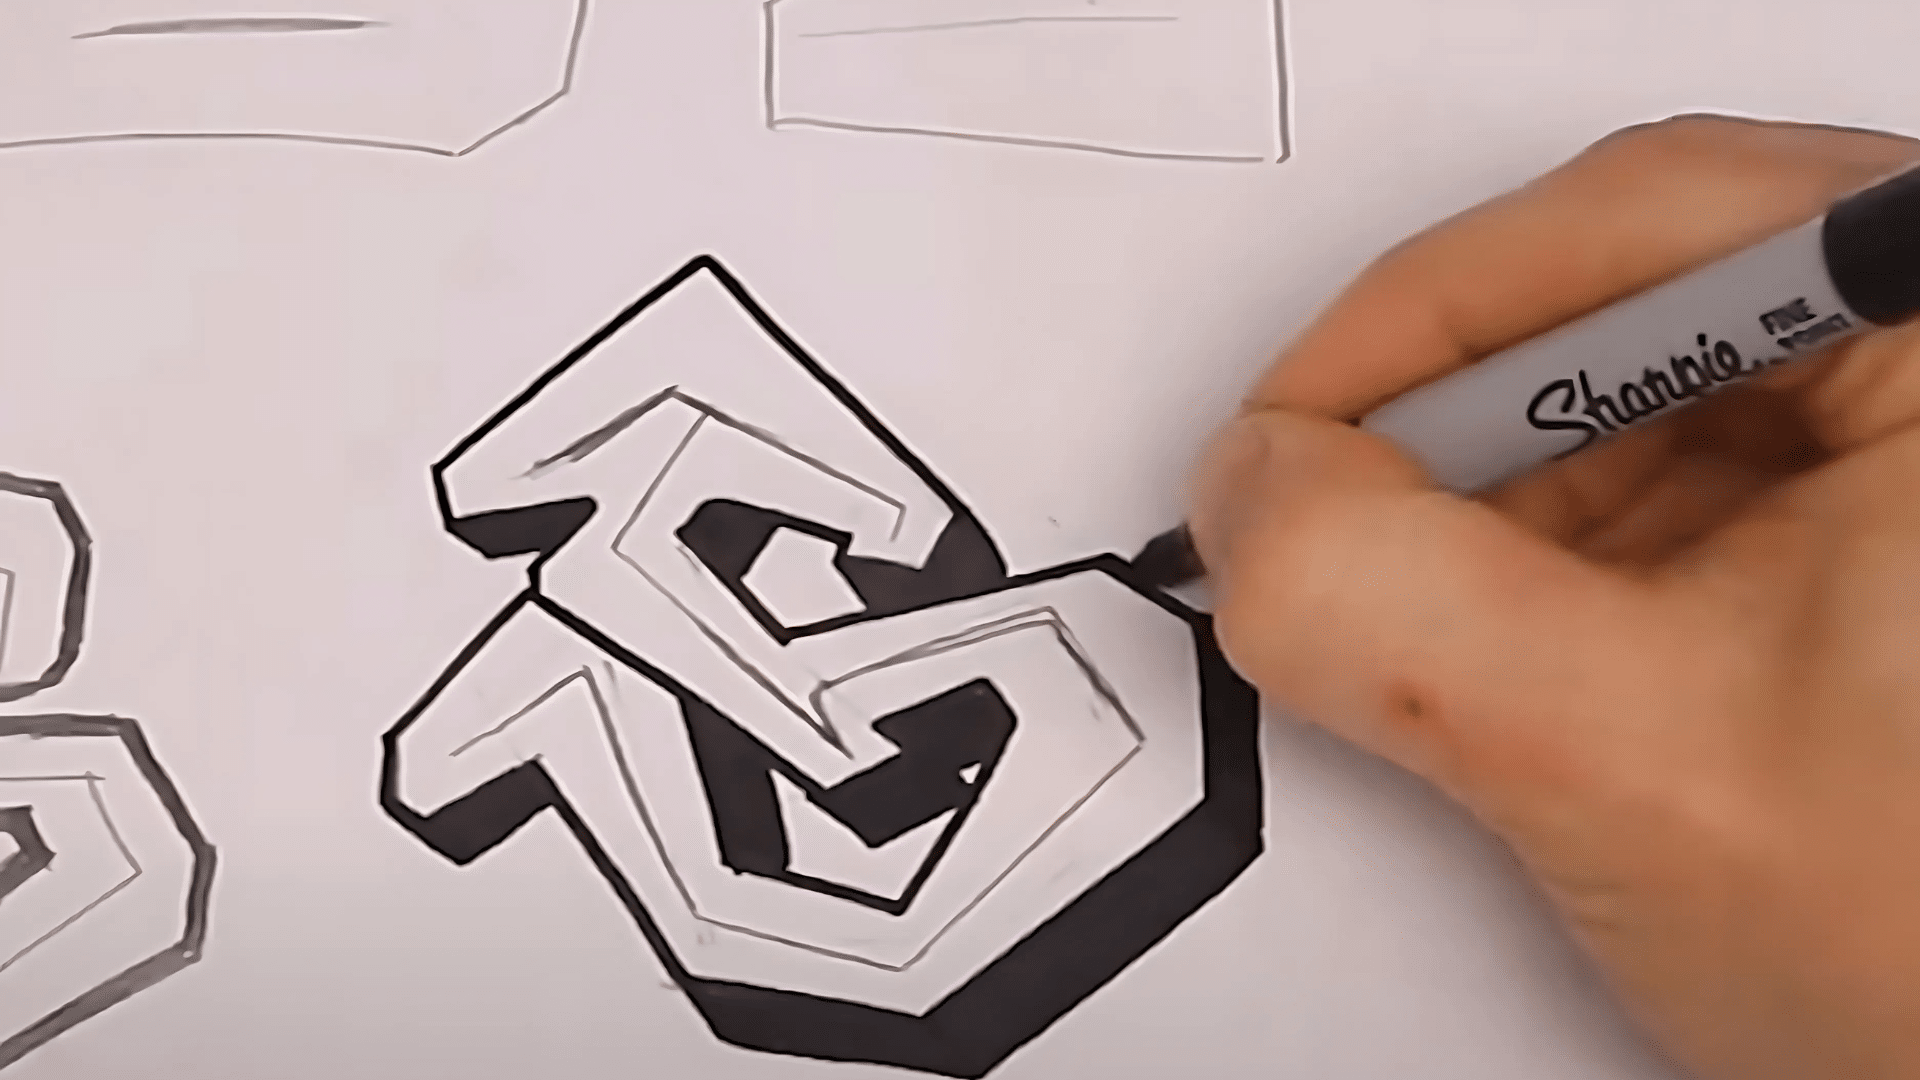
Lightly trace around your letter. Instantly, you’ll notice it already begins to take on a graffiti look.
Experiment by adding small extensions or “tabs” to the corners, or by smoothing sharp edges. These little tweaks make your letter more expressive.
Step 4: Experiment With Shapes & Flow
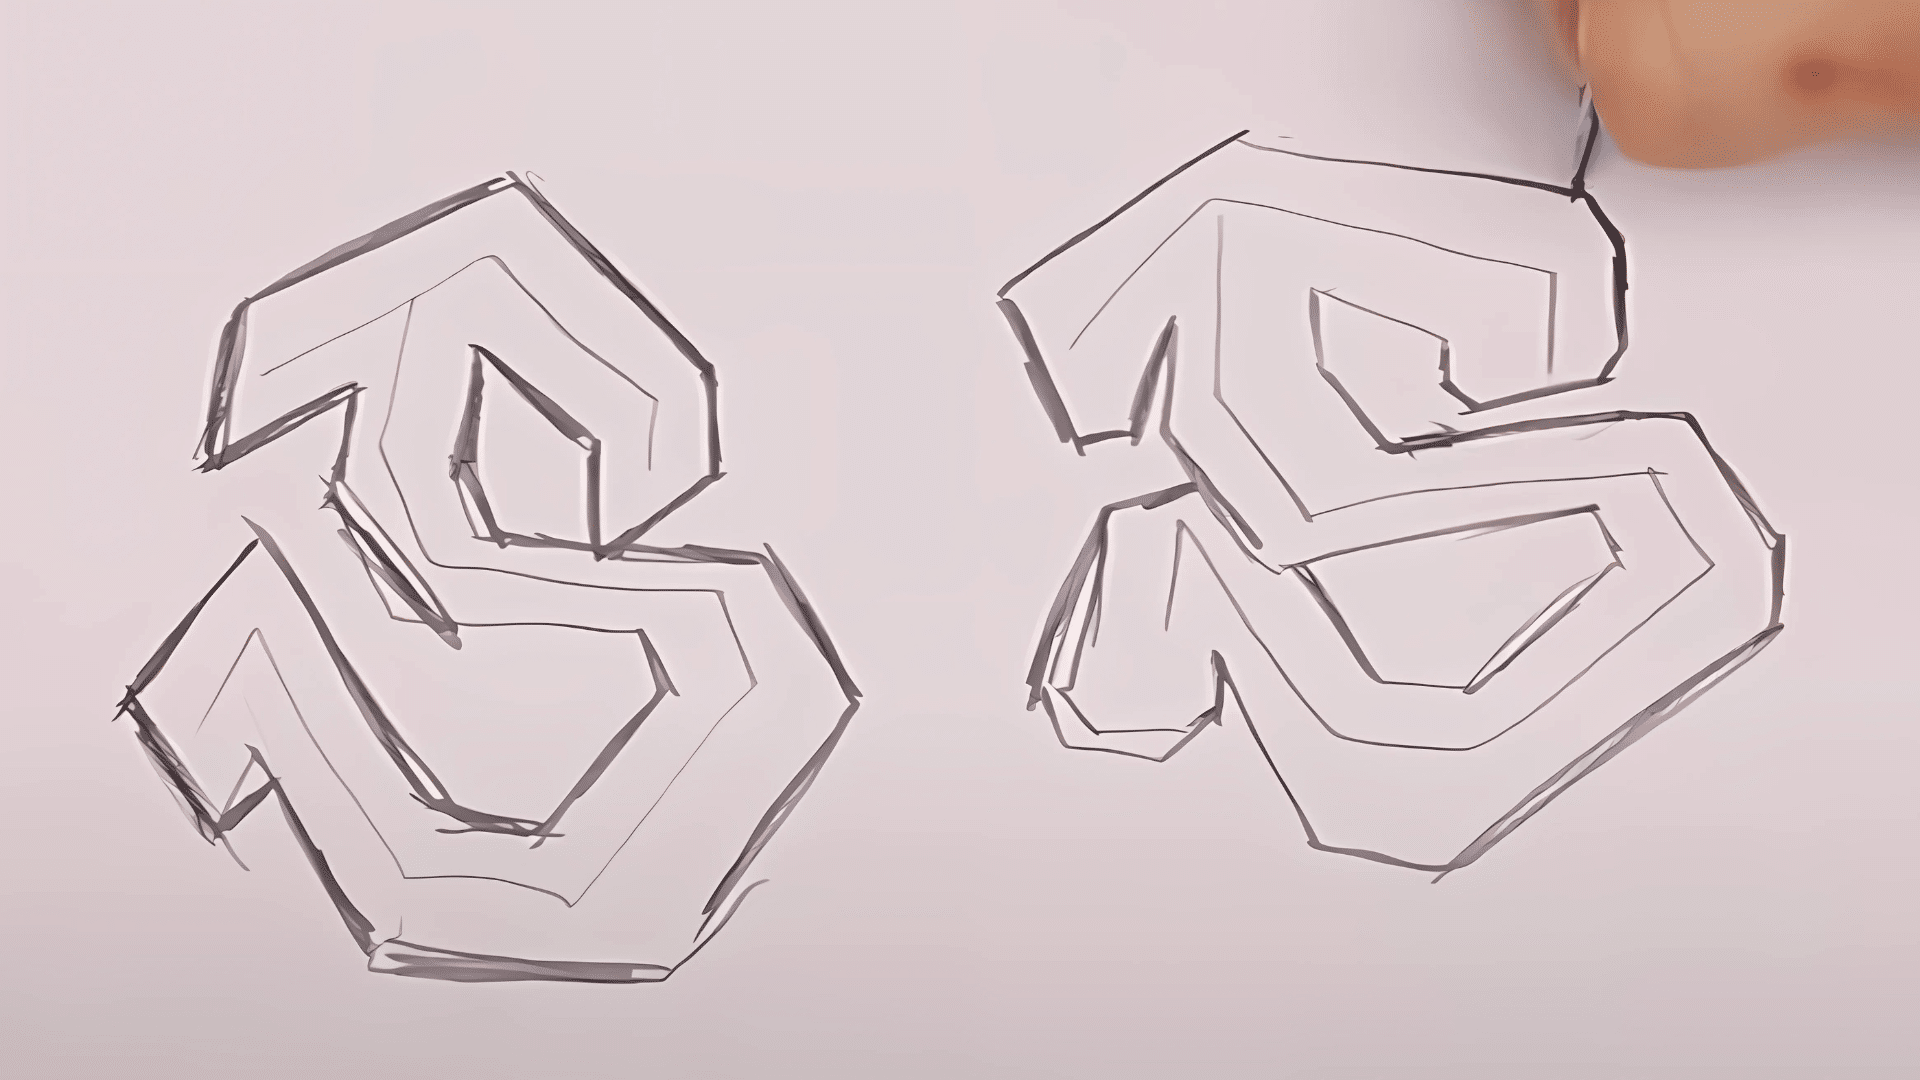
Look at each section of your letter and ask yourself: is it too long, too flat, or too sharp? Try shortening segments, rounding corners, or dividing long parts into smaller ones.
These adjustments keep your letters balanced and add natural rhythm.
Step 5: Create Style Through Consistency
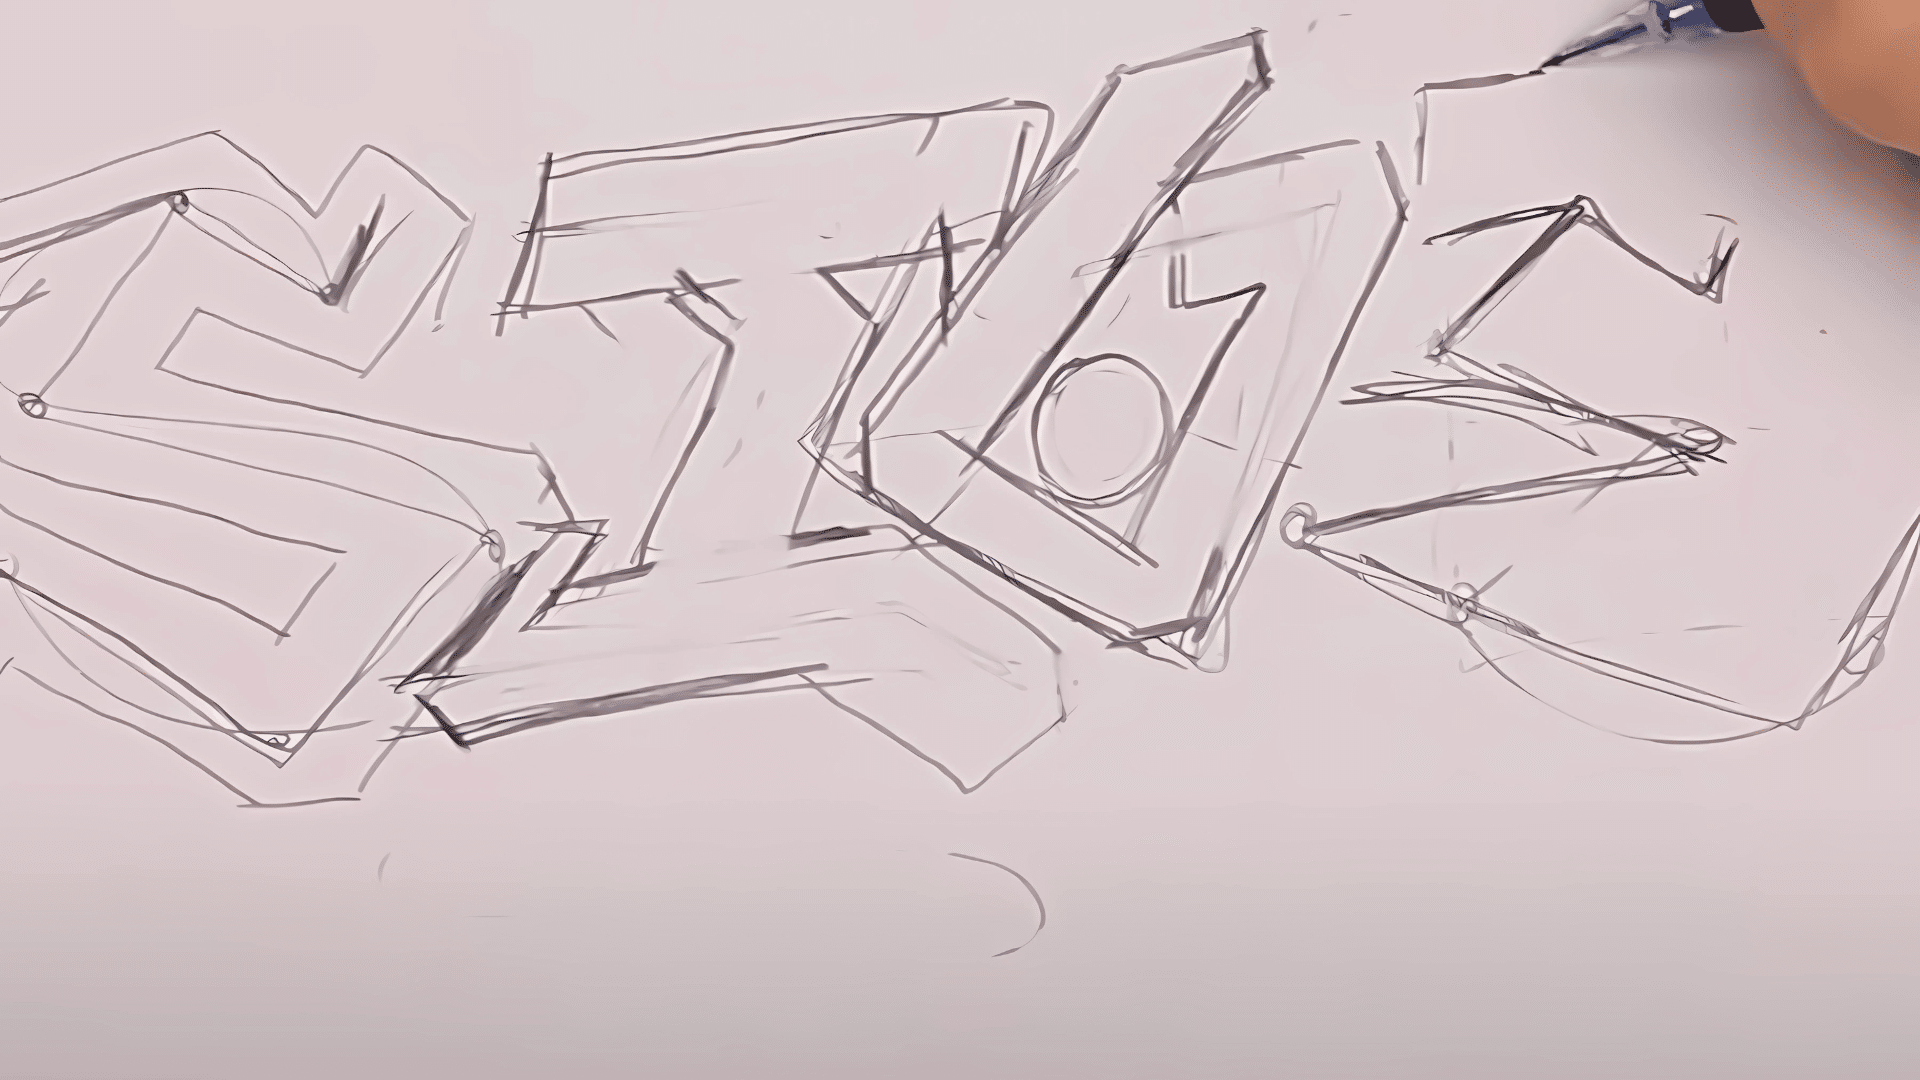
Once you find an angle, curve, or cut that looks good, repeat it in other parts of the letter. This creates flow and symmetry.
For example, if your “S” has a sharp diagonal cut, bring that same angle into your “E” or “V.” It ties the piece together.
Step 6: Build Variations With Letter Boxes
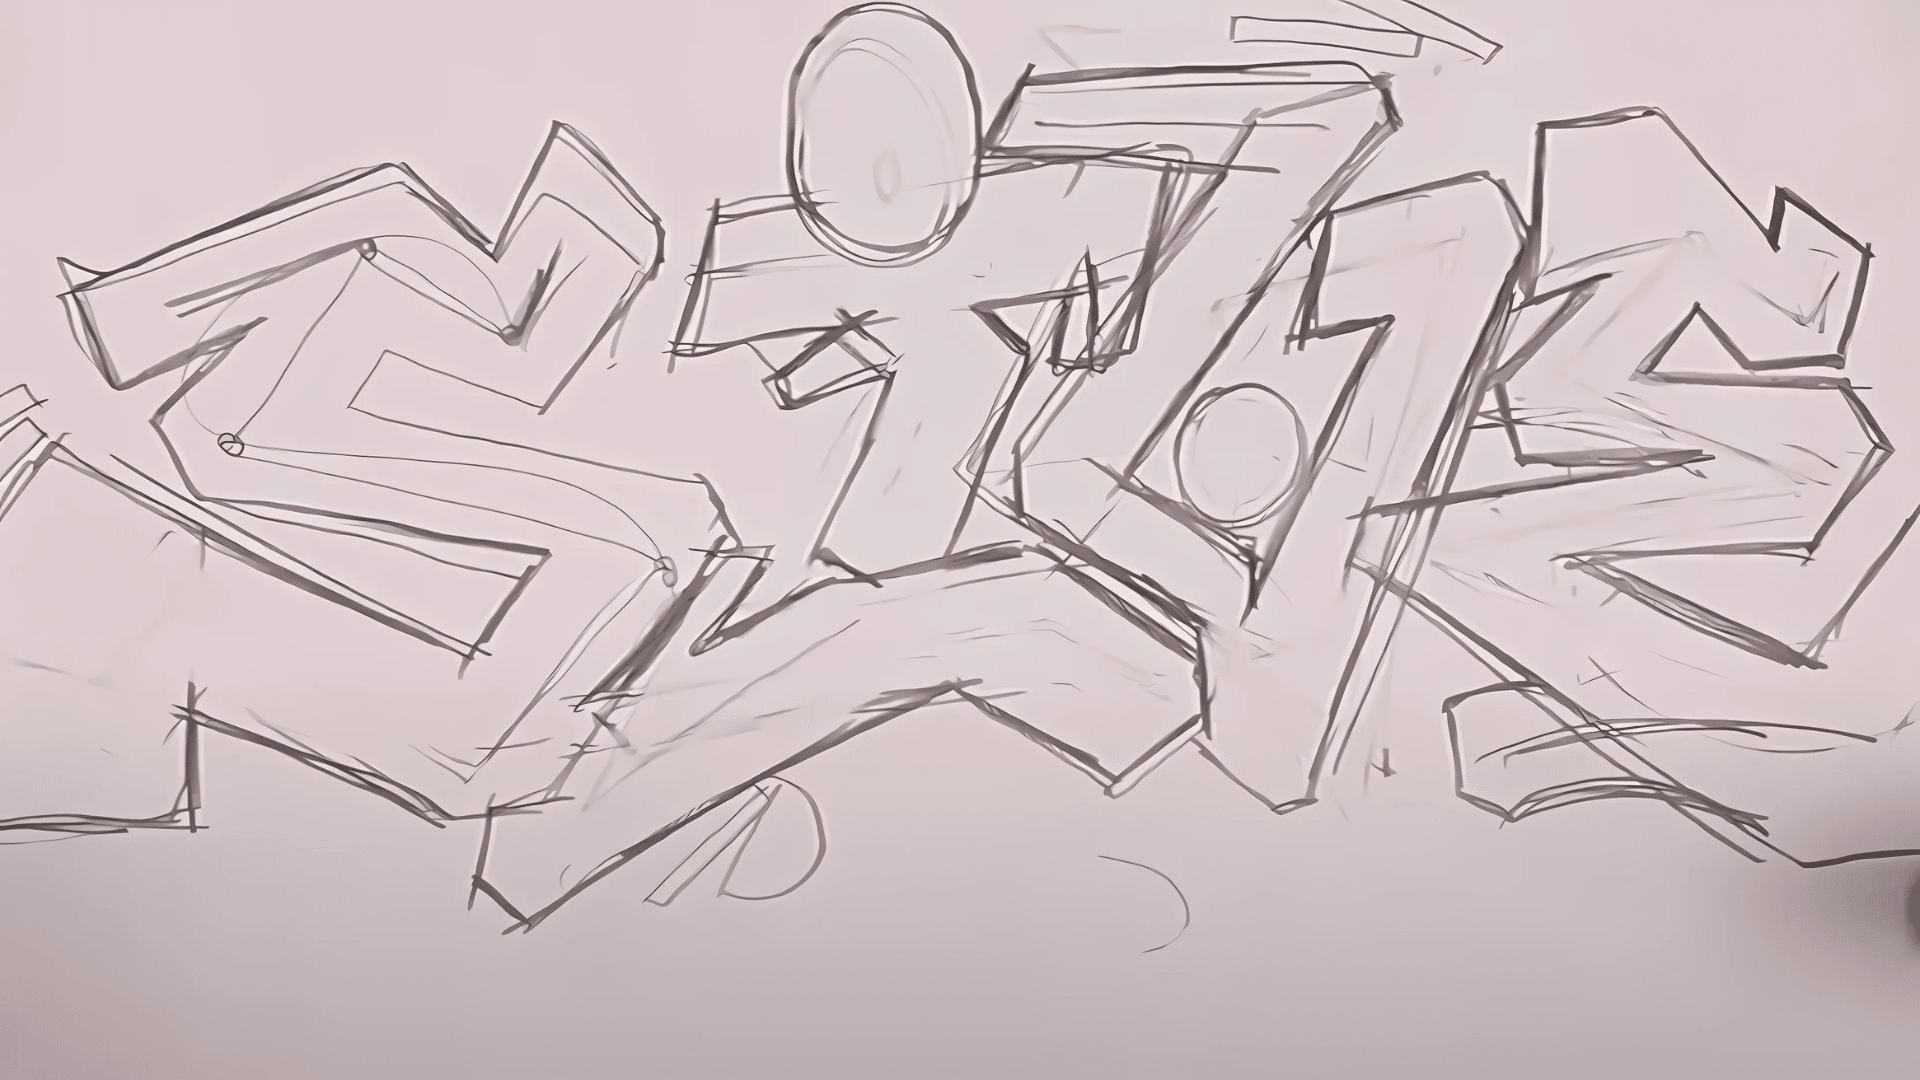
Imagine wrapping parts of your letter in different “boxes.” These can be straight, angled, rounded, or even skewed. Each variation changes the style completely.
Experiment by creating 10 different boxes and see how they convert your letters.
Step 7: Connect Letters Into a Piece
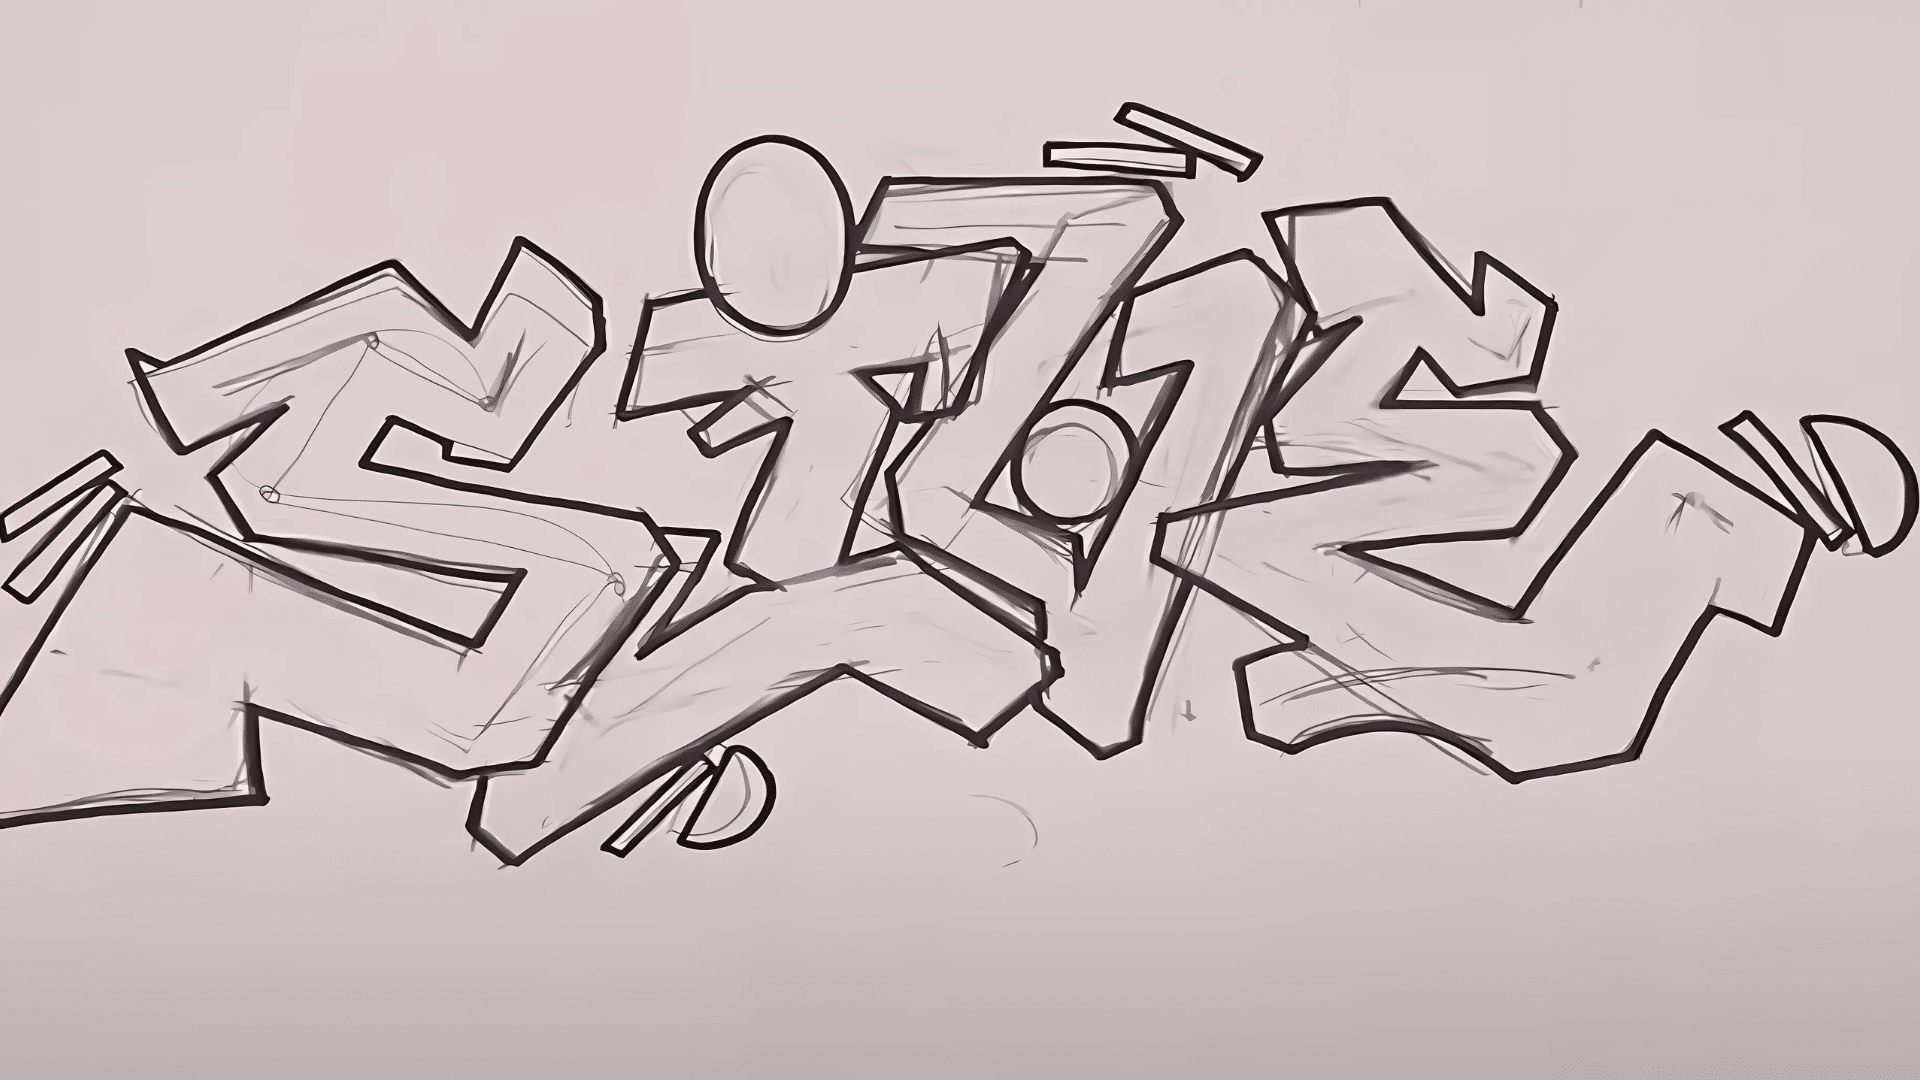
When moving from a single letter to a full word, let the style of your first letter influence the rest.
Keep angles consistent, repeat certain cuts, and leave enough spacing between letters. Try overlapping or crisscrossing letters for more depth and flow.
Step 8: Refine & Add Personality
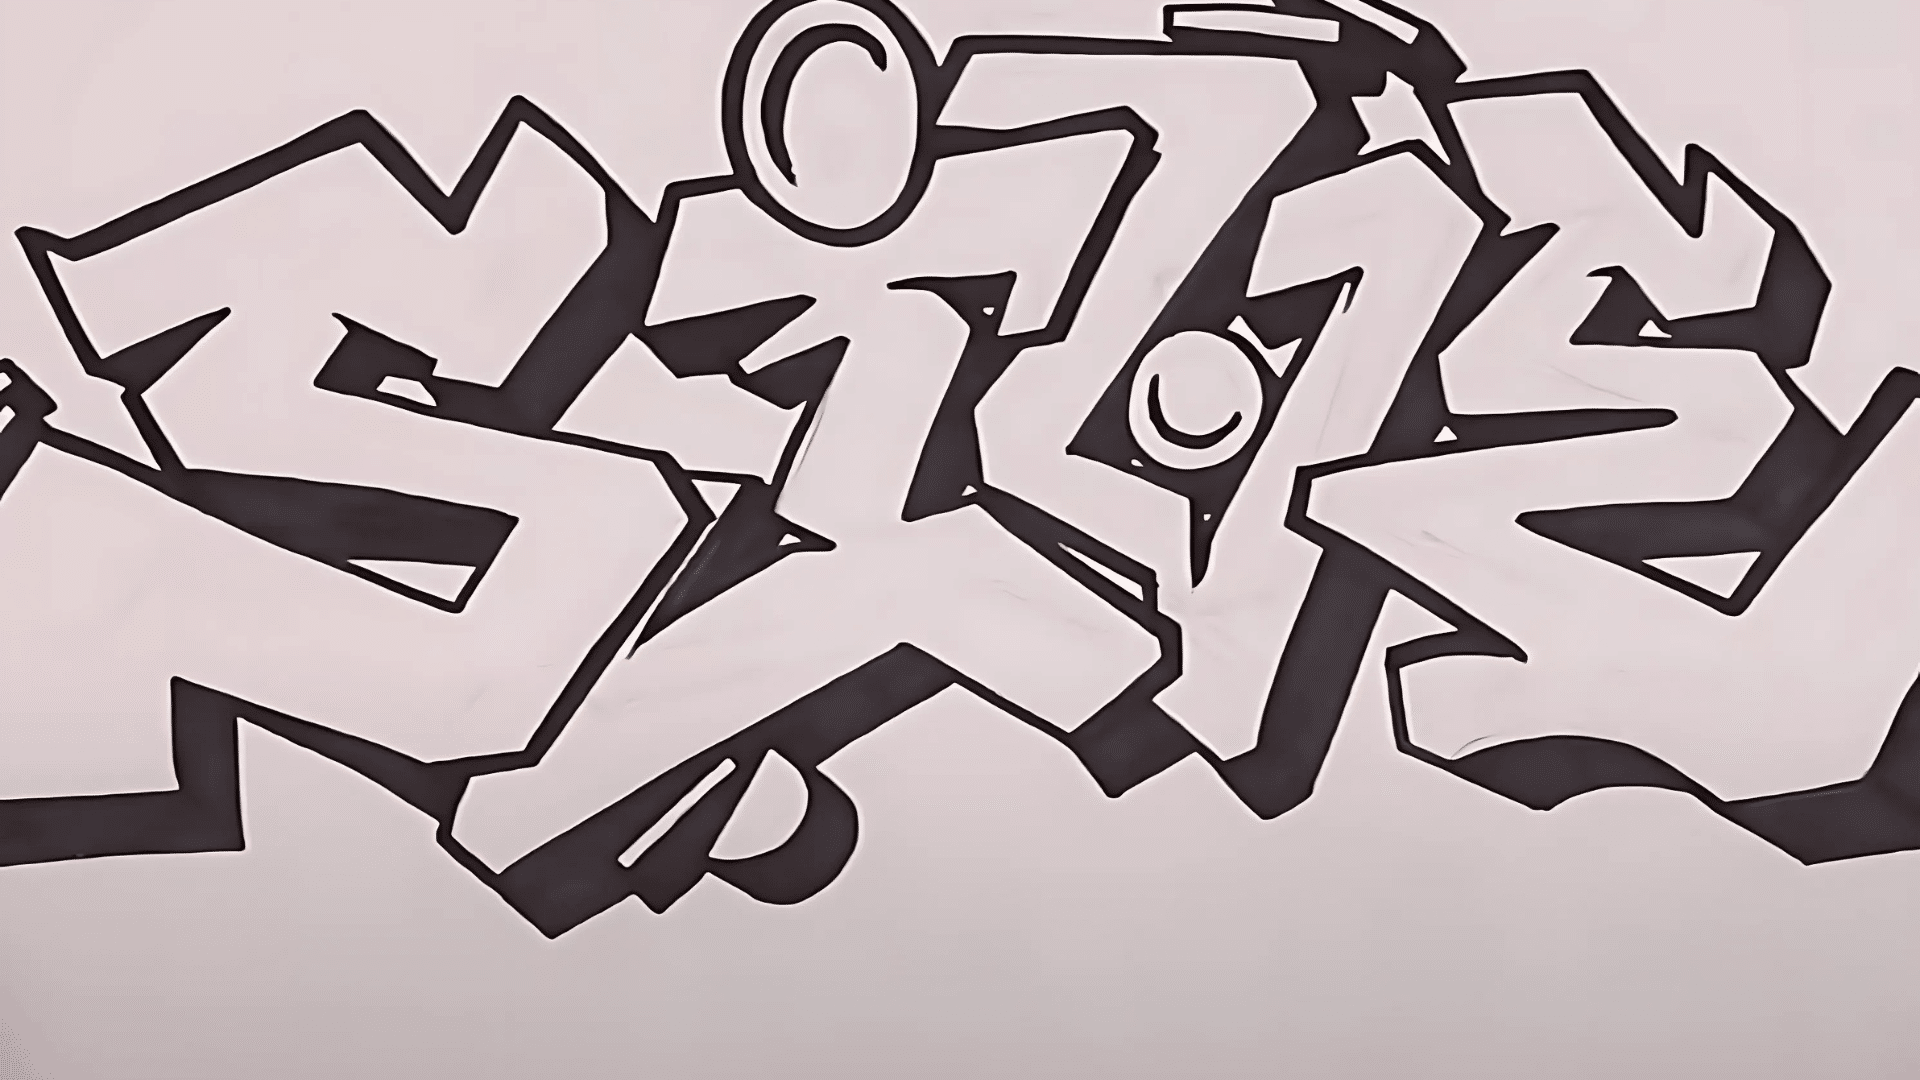
As your piece develops, make small refinements: add extra strokes, smooth transitions, or small “hooks” to fill empty spaces.
Use symmetry, repeated shapes, or little embellishments (like dots or extensions) to make your graffiti truly yours. Over time, your personal style will naturally shine through.
For a more detailed tutorial, refer to the YouTube video below:
Tips to Improve Your Graffiti Drawing Skills
- Start with simple letters: Artists should master basic block letters before attempting complex styles. They can focus on getting clean, readable letterforms down first, then add their own flair.
- Practice tags daily: Writers develop muscle memory by repeatedly practicing their name in various styles. They should carry a sketchbook and use breaks to experiment with letter connections.
- Study other artists: Aspiring writers can analyze pieces they admire to understand the various techniques used by them. They should examine how artists structure letters, use colors, and create depth.
- Focus on consistency: Artists should maintain uniform letter sizes and spacing throughout their piece. This creates a professional look and helps their work appear more polished.
- Sketch everything first: Smart writers plan their piece on paper before hitting the walls. This approach saves time, reduces mistakes, and allows experimentation with layouts and colors safely.
The Bottom Line
Mastering graffiti art requires time, patience, and extensive practice. Artists don’t become pros overnight; they develop their skills through consistent effort and dedication to their craft.
The route from simple tags to complex pieces requires understanding both technical fundamentals and creative expression.
Every professional writer started with basic letterforms and gradually developed their unique style through experimentation.
So grab those markers, start sketching, and don’t worry about messing up; every wonky letter brings artists one step closer to their breakthrough piece!

