Folding a note into something special can turn a simple message into a little work of art. An origami letter is more than just paper; it’s a creative way to share words, thoughts, or wishes in a design that feels personal and fun.
With just a few folds, plain paper can become an envelope, a shape, or even a decorated message ready to surprise someone.
This guide provides easy-to-follow, step-by-step instructions and videos, allowing anyone to follow along.
From a classic square fold to more different styles, each project offers a chance to make writing letters exciting again.
What Makes an Origami Letter Special?
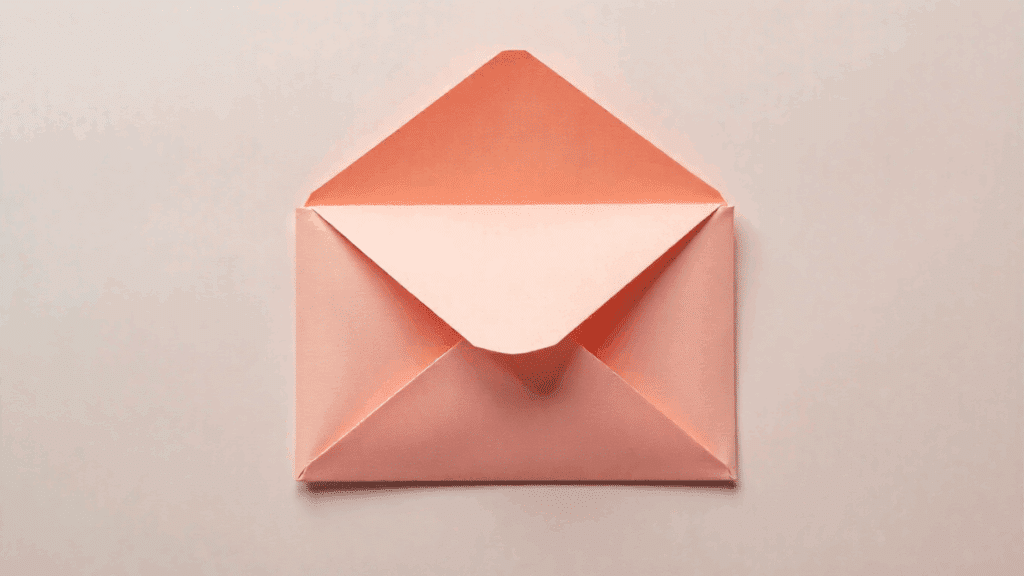
It is more than just a way to fold paper. It is a creative method that turns a simple sheet into its own envelope.
This makes every note feel personal and thoughtful, as the message is tucked neatly inside a handmade design. No glue, tape, or extra stationery is required, which keeps it simple and eco-friendly.
Each fold adds a touch of care, changing an ordinary letter into something memorable that feels like a small gift. Best of all, origami letters are easy to learn, making them a fun and rewarding craft for people of all ages.
How to Craft a Simple Origami Letter?
Folding your note into your desired shape is an easy way to make it feel more special. With just one sheet of paper and a few folds, you can turn your message into its own envelope. Here’s how:
Tools and Materials Needed
| Item | Purpose |
|---|---|
| A4 or Letter-size paper | The main sheet used for folding |
| Flat surface | Keeps folds neat and even |
| Fingernail, ruler, or bone folder (optional) | For pressing sharp creases |
The following fold-by-fold guide shows how to make an origami letter. With just a few simple steps, anyone can turn an ordinary sheet of paper into something creative and personal.
Step 1: Mark the Center
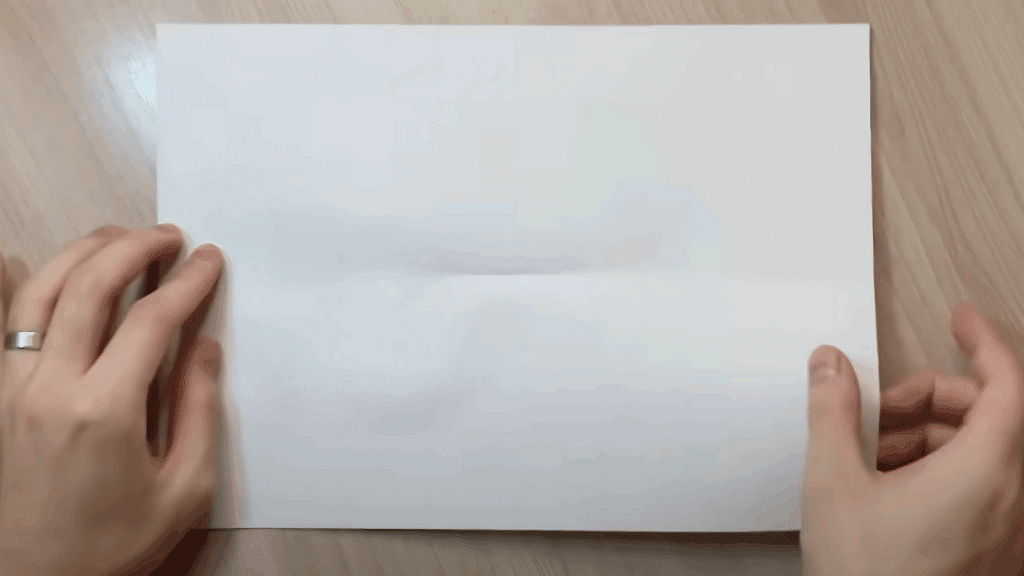
Begin with a sheet of A4 or Letter-size paper. Fold it once lengthwise and once widthwise, pressing only at the middle. This creates small creases that cross at the center point without leaving full folds.
Step 2: Make the Guide Folds
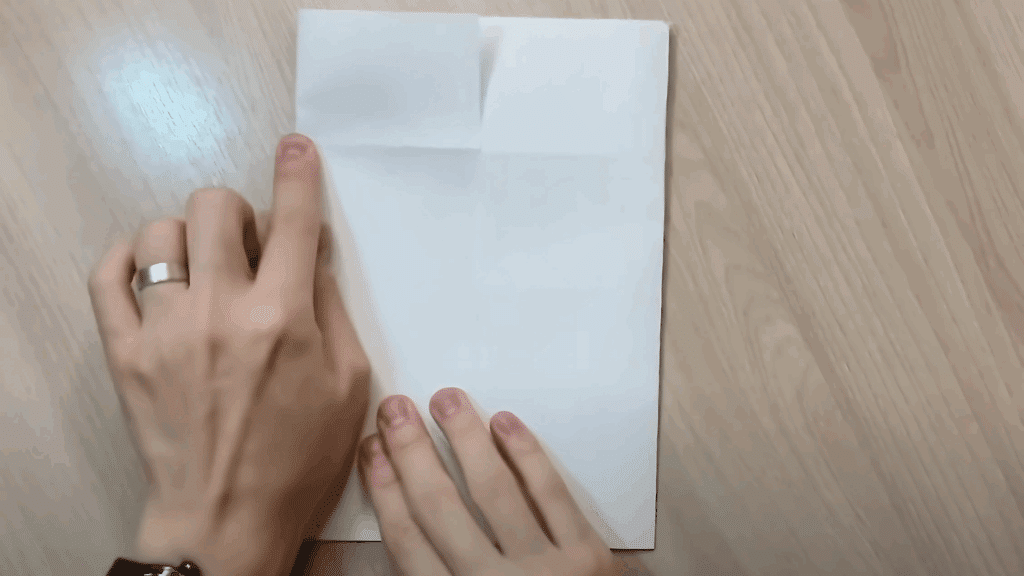
Fold the long edge of the paper toward the center crease, and then unfold it. Next, fold both short sides toward the center crease and unfold again. These guidelines will help shape the letter.
Step 3: Create the First Folds at the Top
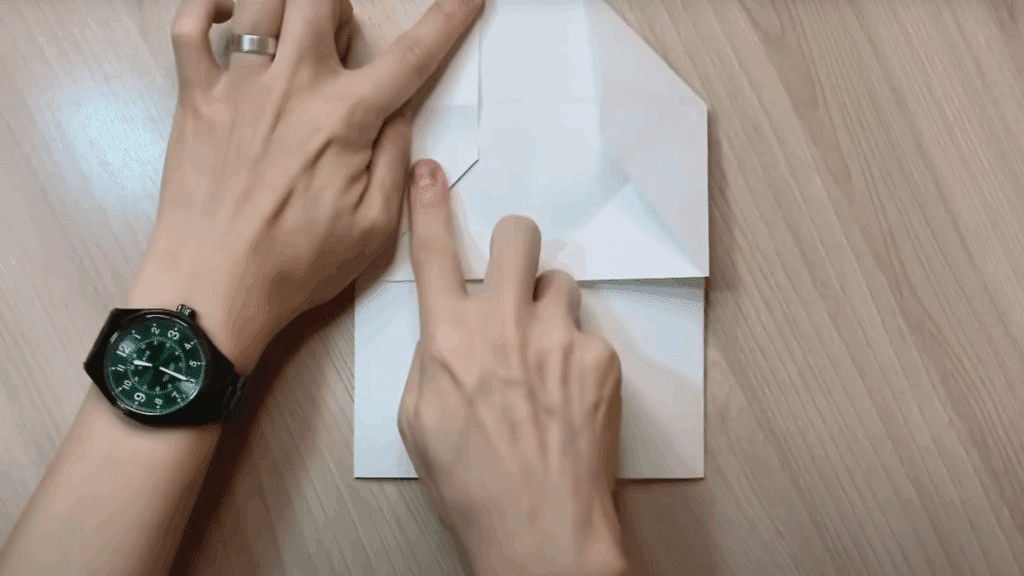
Take one layer from the top edge and fold it toward the center. Repeat on the other side so both flaps meet neatly. Then gently fold these flaps back outward, pinching along the creases to make diagonal folds that angle toward the sides.
Step 4: Fold Up the Bottom Flap
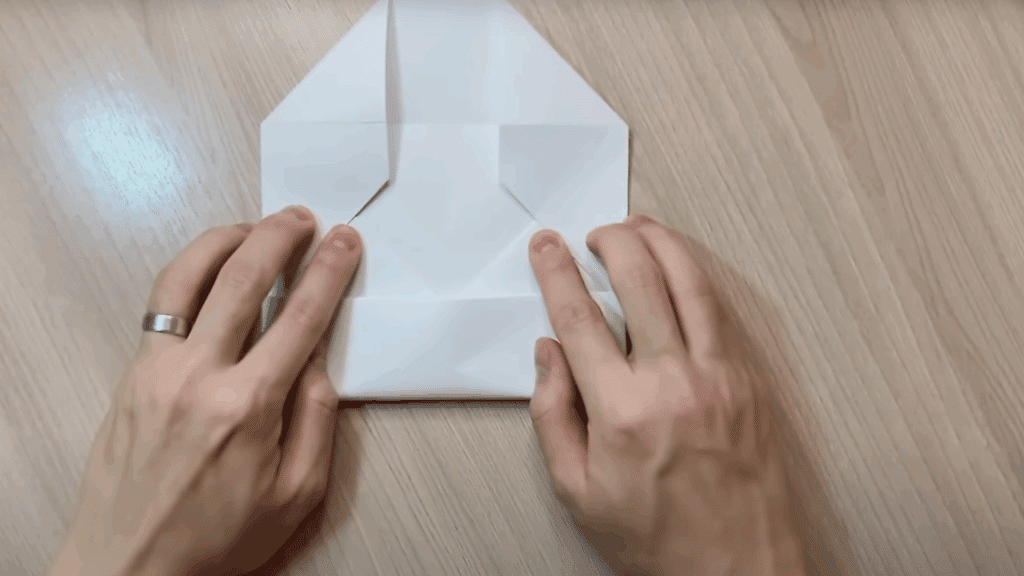
Bring the bottom edge of the paper upward, aligning it with the points created by the diagonal folds. Press firmly and tuck this flap underneath the folded sections to keep it securely in place.
Step 5: Close with the Top Flap
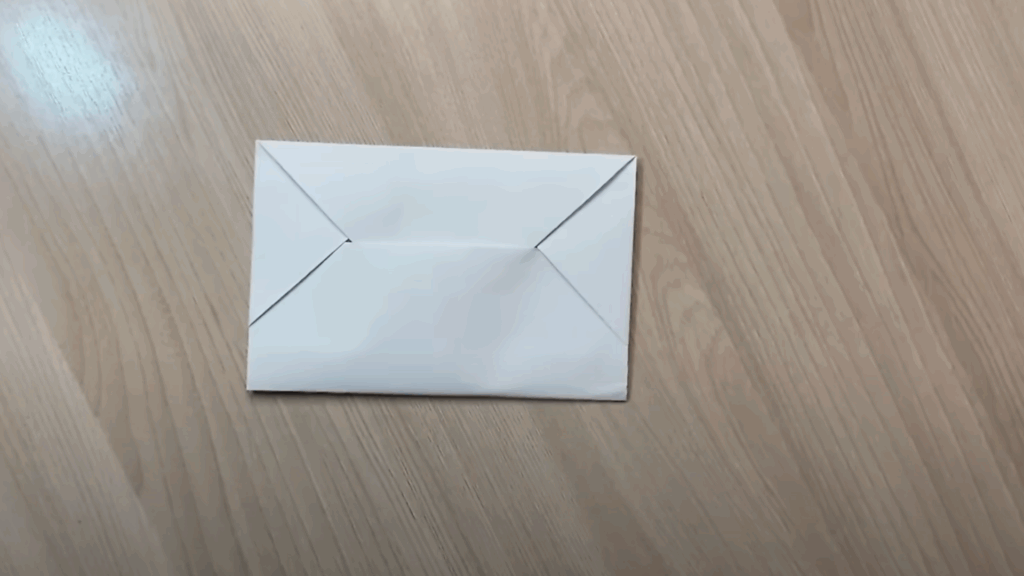
Finally, fold the top edge down and tuck it under the flap below. Smooth it flat with your hand or a ruler. Your origami letter is now complete, looking like a tidy envelope that holds your note safely.
Click here to get an in-depth tutorial on making a very easy DIY letter Envelope
Other Popular Origami Shapes You Can Try
Folding a letter doesn’t have to be ordinary; there are plenty of creative styles that make your message feel extra special. Each fold brings its own look and personality, from simple to stylish.
1. Hexagonal Letter Fold
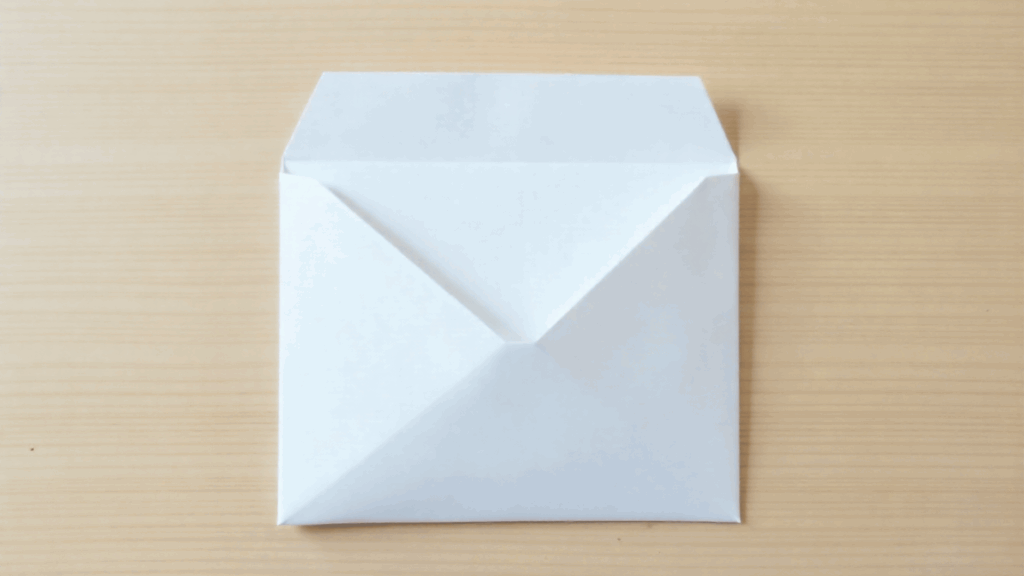
This fold creates a neat six-sided envelope that looks stylish and pretty. The letter is folded into a hexagon shape with overlapping flaps that tuck in securely.
It’s perfect for special notes, invitations, or when you want your message to stand out.
- Best for: Greeting cards, special occasions.
- Tip: Use decorative paper for a more polished look.
2. Bamboo Letter Fold
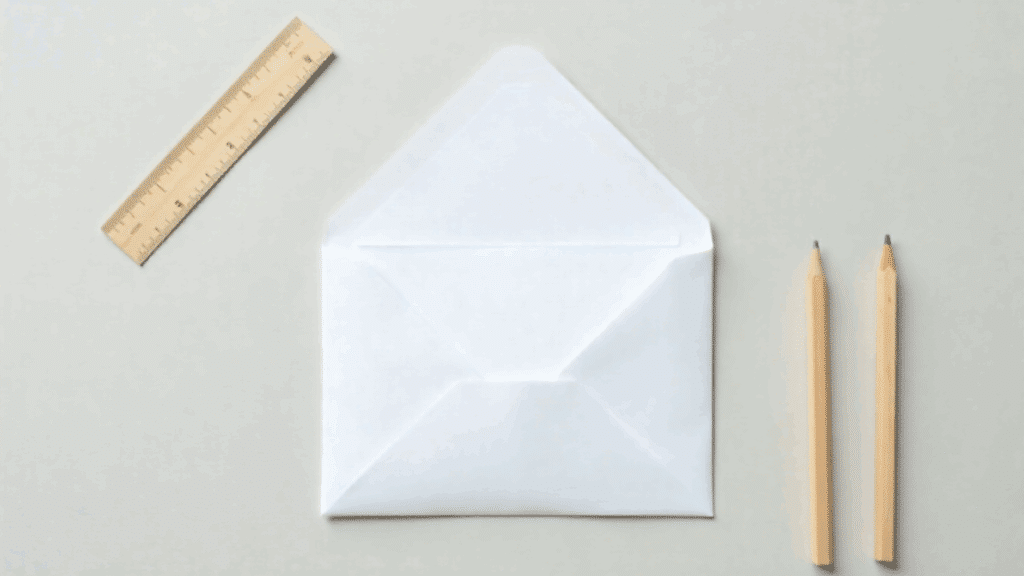
Sleek and stylish, the bamboo fold is one of the most popular origami letter styles. The letter is wrapped into a long, narrow shape that resembles a bamboo stalk. It feels modern and classy, making it a favorite among pen pals.
- Best for: pen pal letters and formal notes.
- Tip: Fold slowly and evenly so the sides stay symmetrical.
3. Simple Pocket Fold
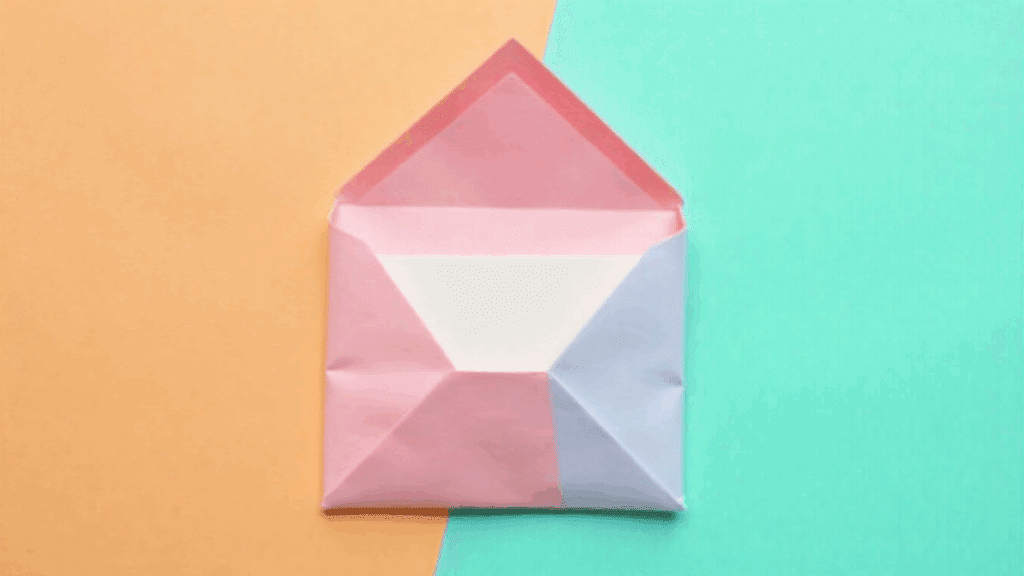
Quick and practical, this fold turns a letter into a small pocket or pouch. It’s one of the easiest folds to learn, and it’s great for keeping small surprises, such as stickers or drawings, tucked inside.
- Best for: Kids’ letters, classroom activities.
- Tip: Try it with colored printer paper to make it more cheerful.
4. Triangle Letter Fold
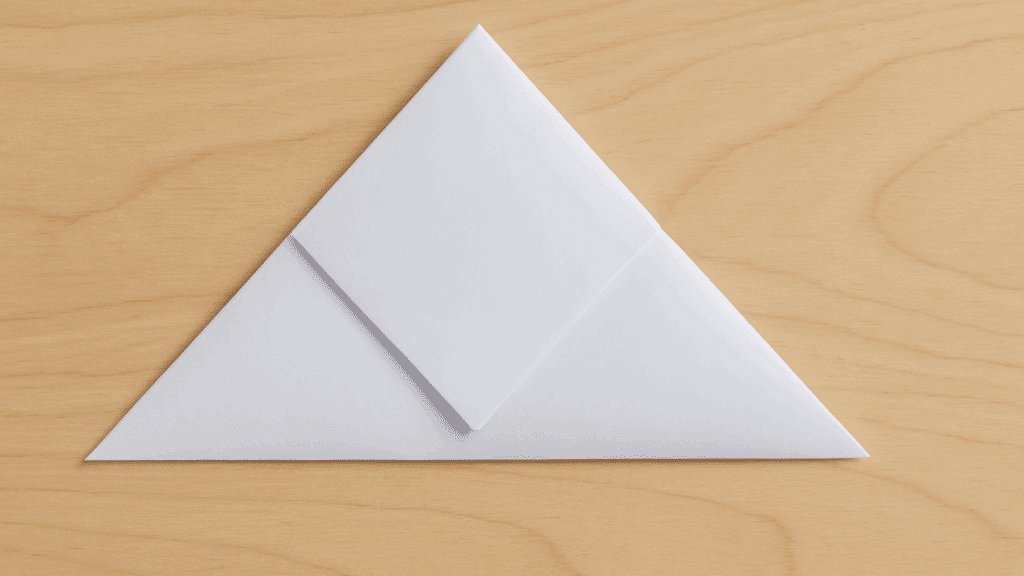
A traditional fold where the paper is shaped into a triangle with the note hidden inside. It’s easy to master and creates a playful design. The final shape resembles a small parcel, making it fun to hand-deliver.
- Best for: Sharing notes with friends, casual messaging.
- Tip: Use washi tape or a small sticker to keep the flap closed.
5. Heart-Shaped Letter Fold
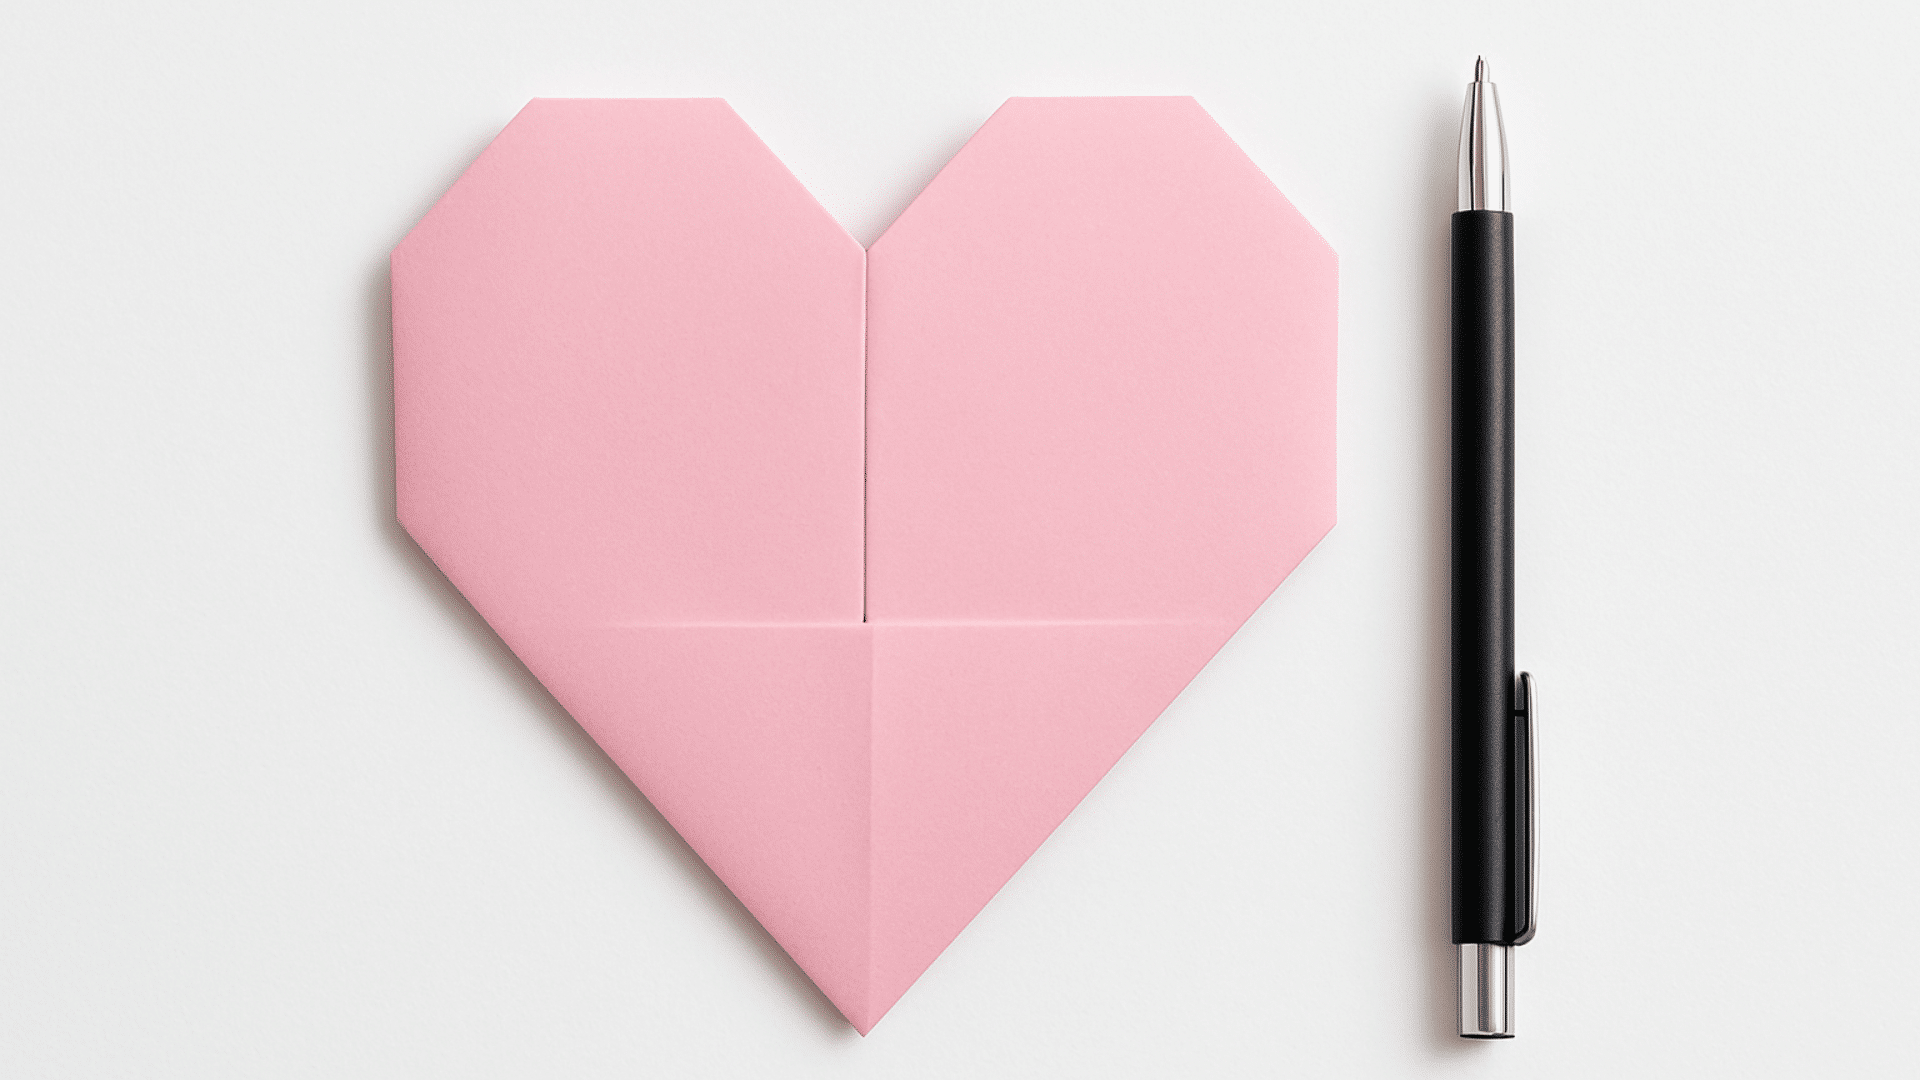
This fold turns your message into a heart, making it ideal for love notes or thank-you cards. Once folded, the letter itself becomes a heart shape without the need for cutting or glue.
- Best for: Valentine’s Day, appreciation notes.
- Tip: Works best with thinner paper so the folds don’t get bulky.
Tips for Perfect Folds
Folding a letter is simple, but a few small tricks can make your envelope look neat and polished.
- Line up the edges carefully so that the corners meet cleanly and the shape remains balanced.
- Press creases firmly using your fingernail, a ruler, or a bone folder for crisp folds.
- Choose the right paper weight. Regular printer paper is ideal, not too thick or too thin.
- Practice on scrap paper before using decorative sheets to build confidence.
- Work on a flat surface to keep folds smooth and avoid smudges or uneven lines.
- Take your time, as careful folding creates both accuracy and relaxation.
- Add personal touches, such as stickers, doodles, or washi tape, once the fold is complete.
With a little patience, every fold can look sharp and professional. Small details make a big difference, turning a simple sheet of paper into something memorable.
Fun Ways to Personalize Your Letters
One of the best things about origami letter folds is how easily you can make them your own. A few creative touches can transform a simple folded note into a heartfelt keepsake. Here are some fun ideas to try:
Add Color with Markers or Watercolors
Before folding, decorate the paper with bright doodles, borders, or watercolor washes. Once folded, the colors will blend and create a beautiful, handmade look.
Use Stickers and Washi Tape
Seal the final flap with a cute sticker or add washi tape as a colorful accent. It not only looks lovely but also helps keep the envelope closed.
Write Little Surprises Inside
Slip in a tiny drawing, a pressed flower, or a favorite quote. These small details make your letter even more personal and memorable.
Play with Paper Choices
Try pastel sheets for a soft, romantic look, or patterned scrapbook paper for a fun, playful vibe. Even recycled wrapping paper can be changed into a beautiful, folded creation.
Decorate the Surface
Use stamps, calligraphy, or metallic pens to add borders, names, or fun designs. This gives your letter a polished finish and shows extra thoughtfulness.
The joy of origami letters is that there’s no single “right” way to decorate them. Follow your creativity, try different colors and materials, and let your letter reflect the care and personality you want to share.
Wrapping It Up
Folding your letters into creative origami shapes is such a simple way to make your messages feel extra special. A note that doubles as its own envelope turns into a little surprise, like receiving a tiny gift!
Whether it’s a triangle, a pocket, or a heart, each fold adds personality and shows just how much care you put into your message.
Every fold is a chance to get creative, and there’s no such thing as “perfect” in origami. Each crease tells its own story.
And now it’s your turn! Try one of these folds today and see how much joy it brings to the person who receives it. You can even add your own touches, such as a little doodle, a favorite quote, or a fun sticker.

