Tired of boring handwriting that looks like chicken scratch? You’re not alone. Most people feel embarrassed about their penmanship, especially when signing important documents or writing cards.
But here’s something exciting: beautiful calligraphy isn’t just for artists or people with natural talent. Anyone can learn to write with style and grace.
Imagine creating stunning wedding invitations, personalized greeting cards, or journal entries that resemble artwork.
Ready to turn your messy scrawl into stylish script? Let’s find the fundamentals of Easy calligraphy and get you started on this rewarding, creative path today
What is Calligraphy?
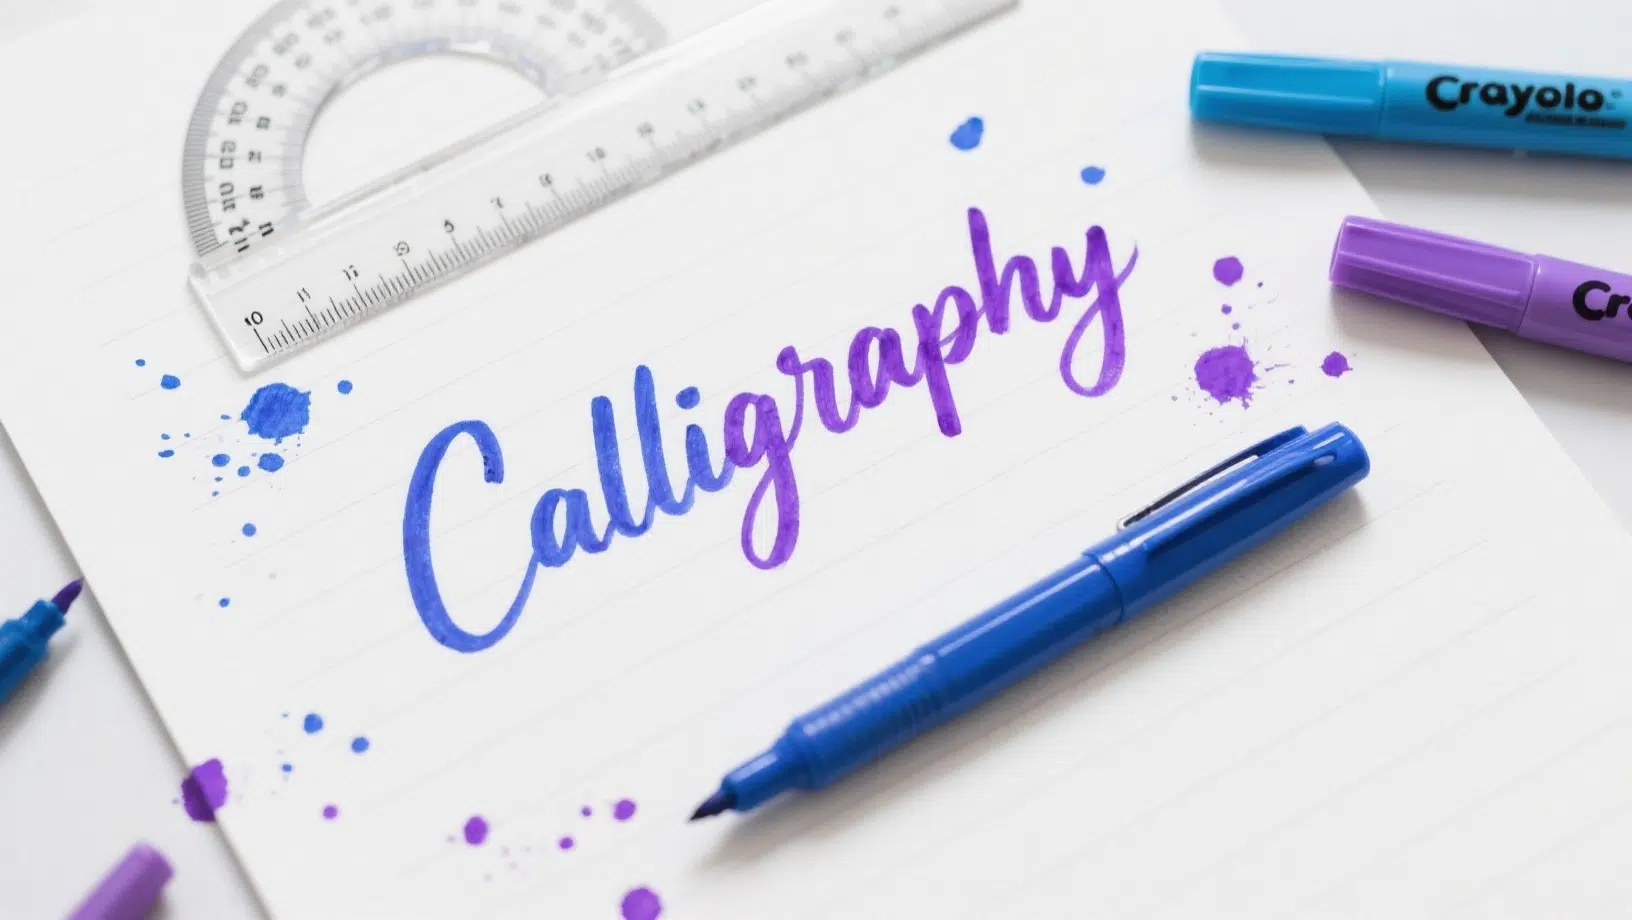
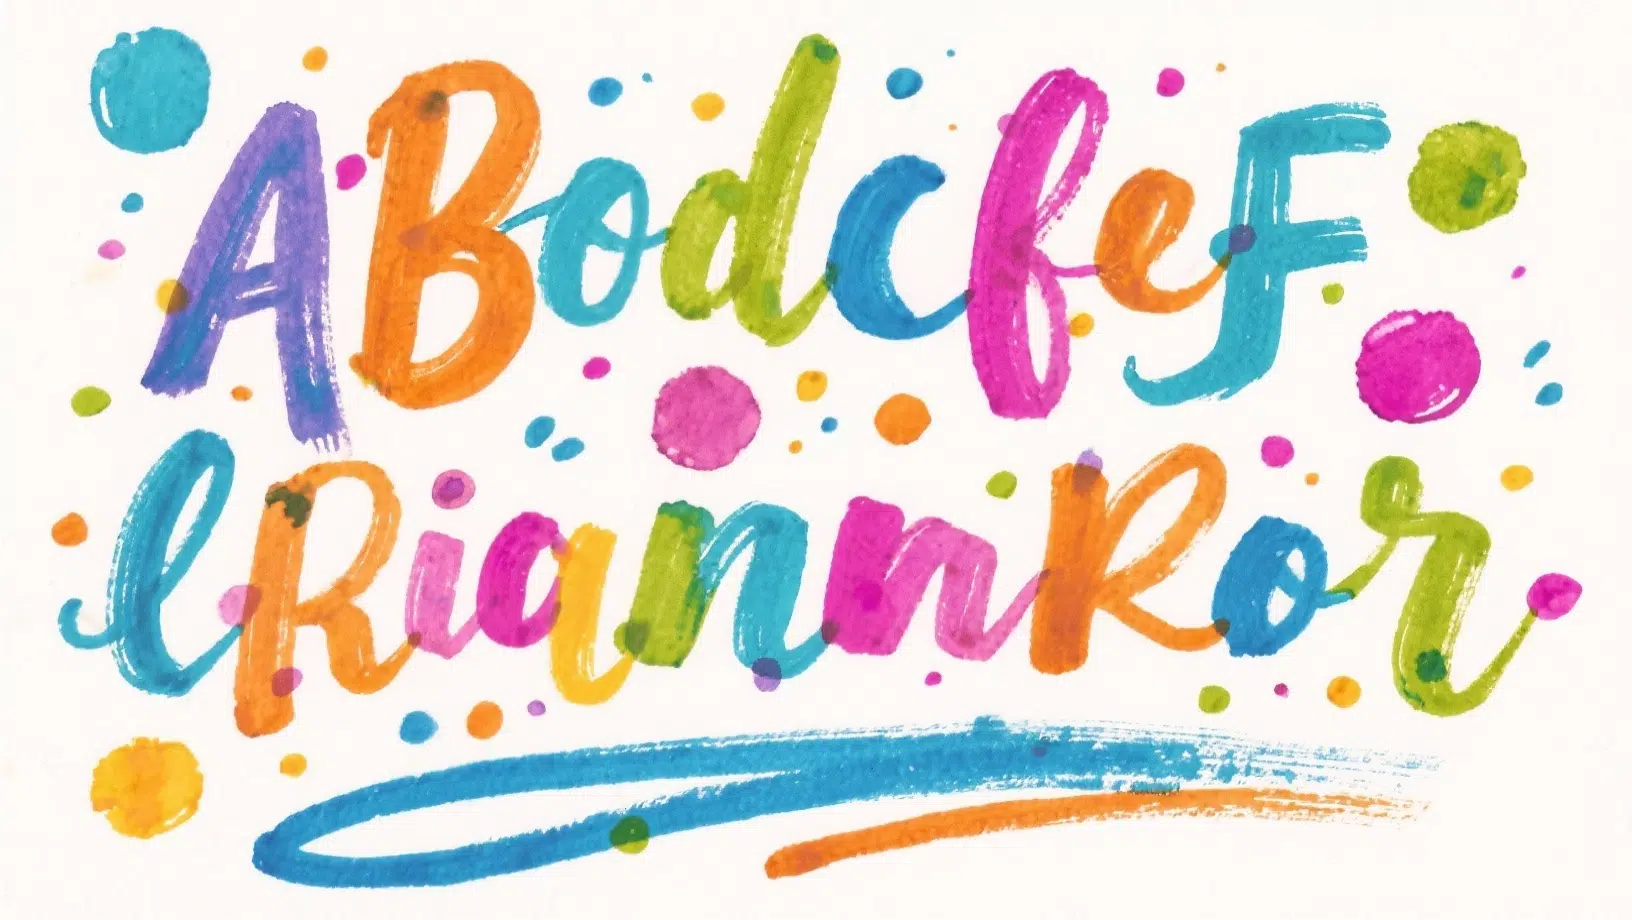
Calligraphy is the art of beautiful handwriting. The word comes from Greek, meaning “beautiful writing.” It’s basically fancy lettering that turns ordinary words into visual art.
Think of calligraphy as decorative writing with style and flair. Unlike regular handwriting, calligraphy focuses on creating letters that are not only readable but also visually pleasing. Each stroke is deliberate and carefully crafted.
People use calligraphy for wedding invitations, certificates, greeting cards, and artistic projects. It’s also popular for personal journals and social media posts.
The practice involves special pens, brushes, or markers designed to create thick and thin lines.
What makes calligraphy special is its combination of writing and art. You’re not just communicating words, you’re creating something beautiful.
Modern calligraphy has evolved from traditional styles, making it more accessible for beginners. Anyone can learn basic techniques and develop their own unique style with practice
Easy Calligraphy in Some Simple Steps
This step-by-step guide walks beginners through the essentials, from tools to techniques, making the art of easy calligraphy simple and approachable.
Step 1: Recognize the Difference Between Handwriting and Calligraphy
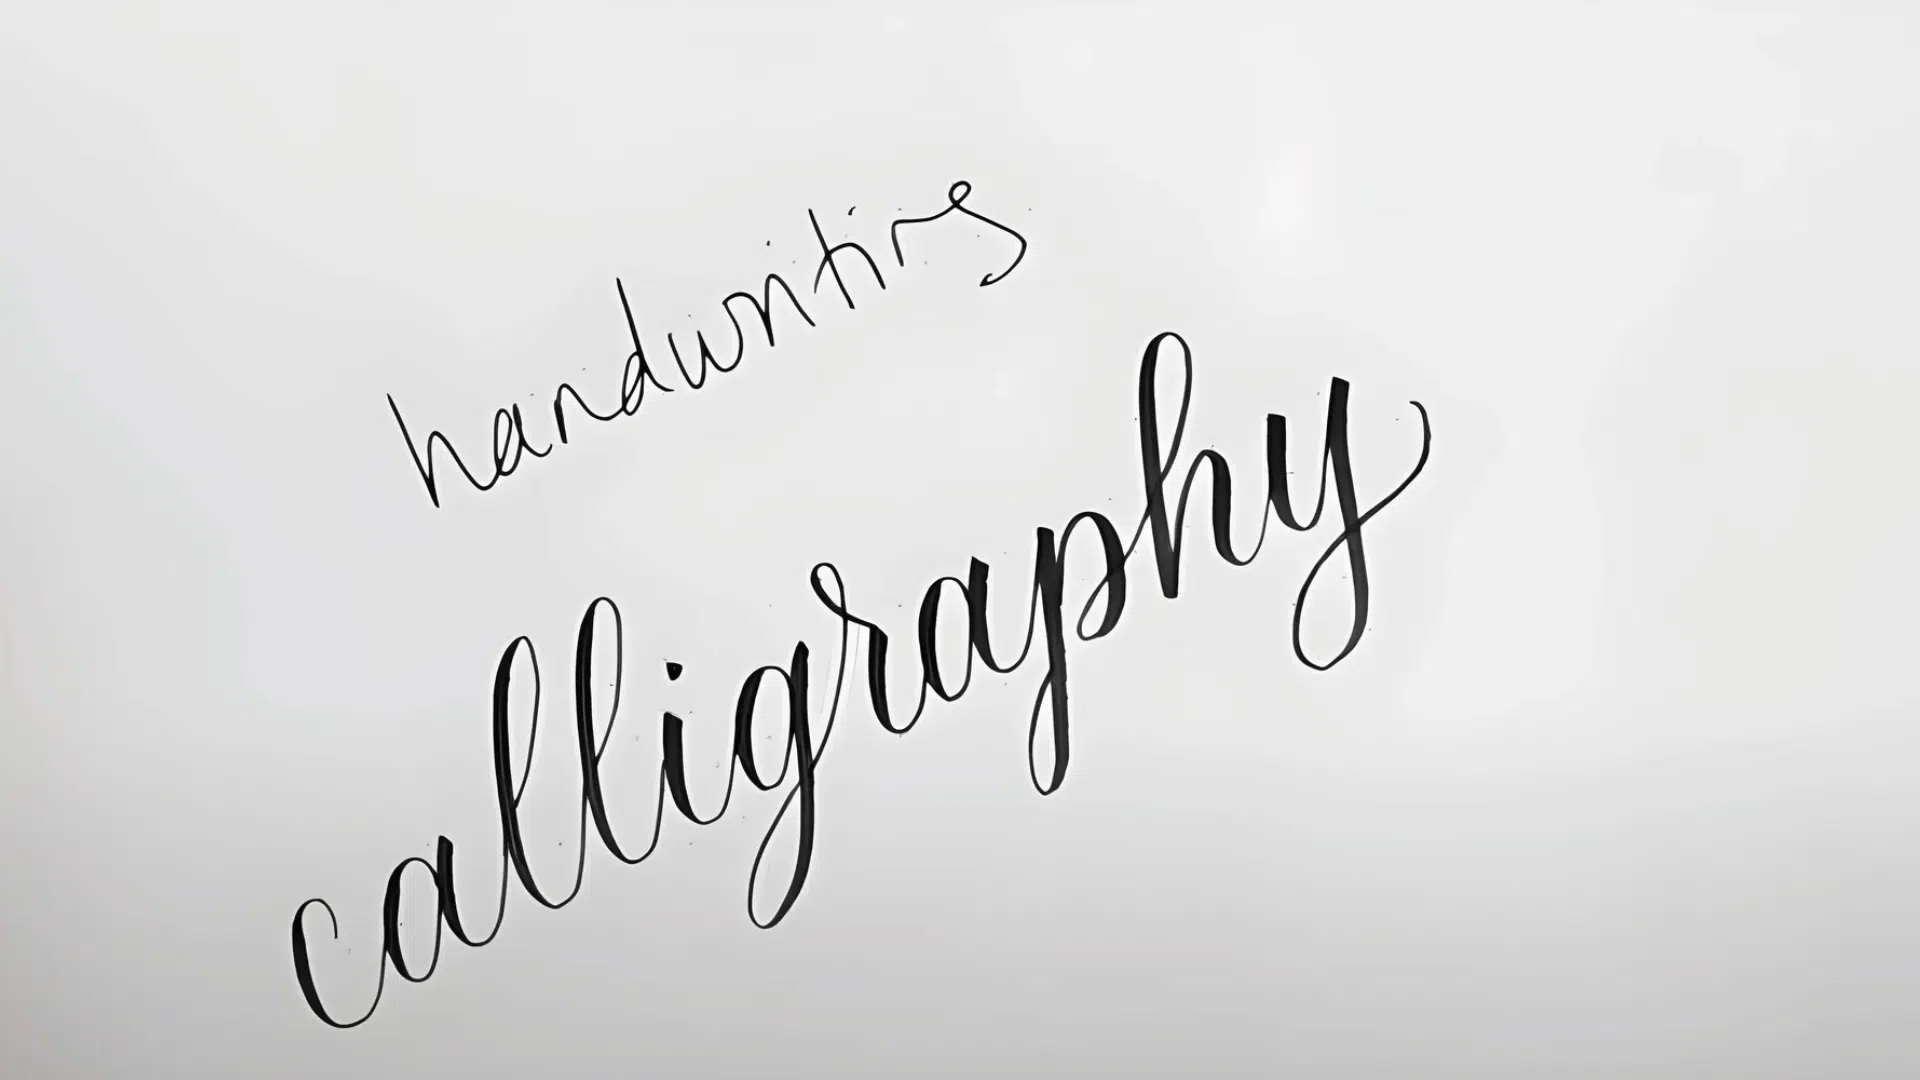
Beginners often assume good handwriting is a prerequisite for calligraphy, but that’s not the case.
Handwriting is quick and natural, while calligraphy is slow and deliberate, more like drawing shapes that resemble letters.
Understanding this difference helps learners approach calligraphy with confidence.
Step 2: Gather the Right Tools
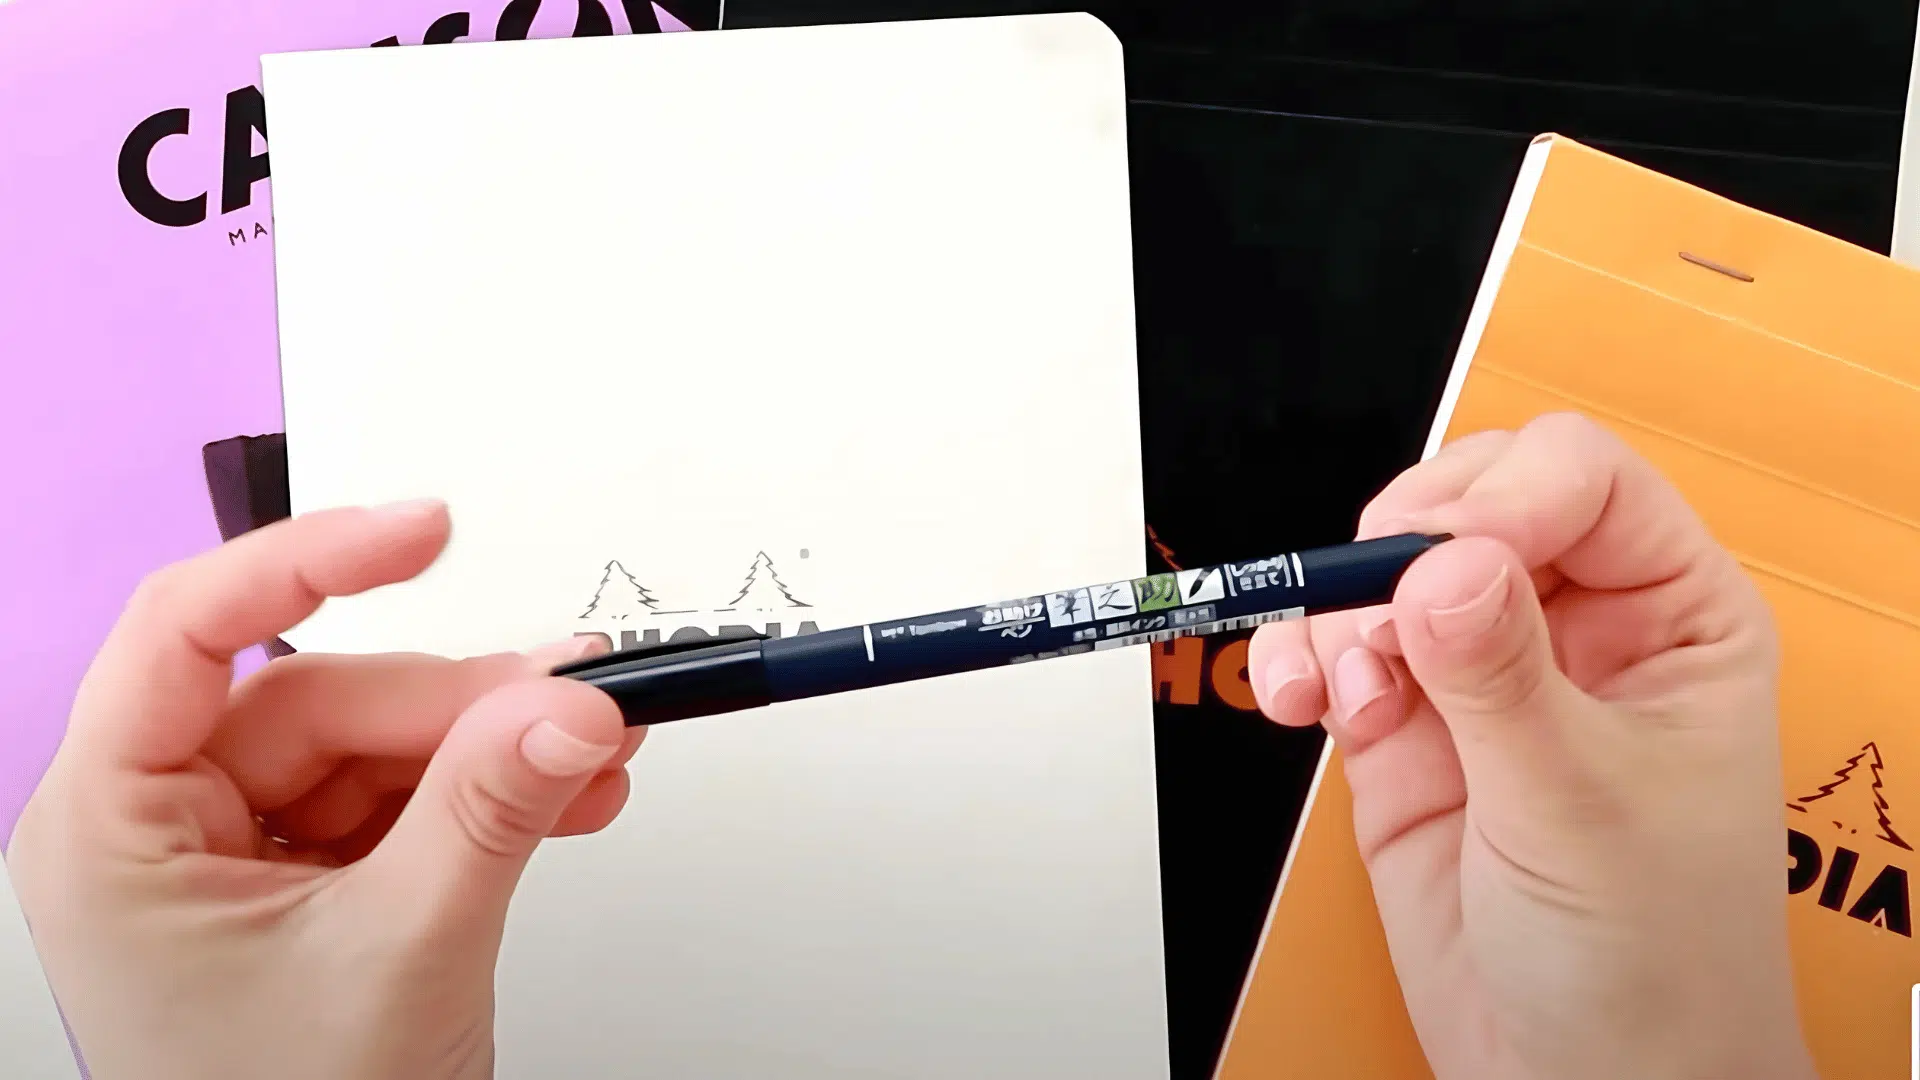
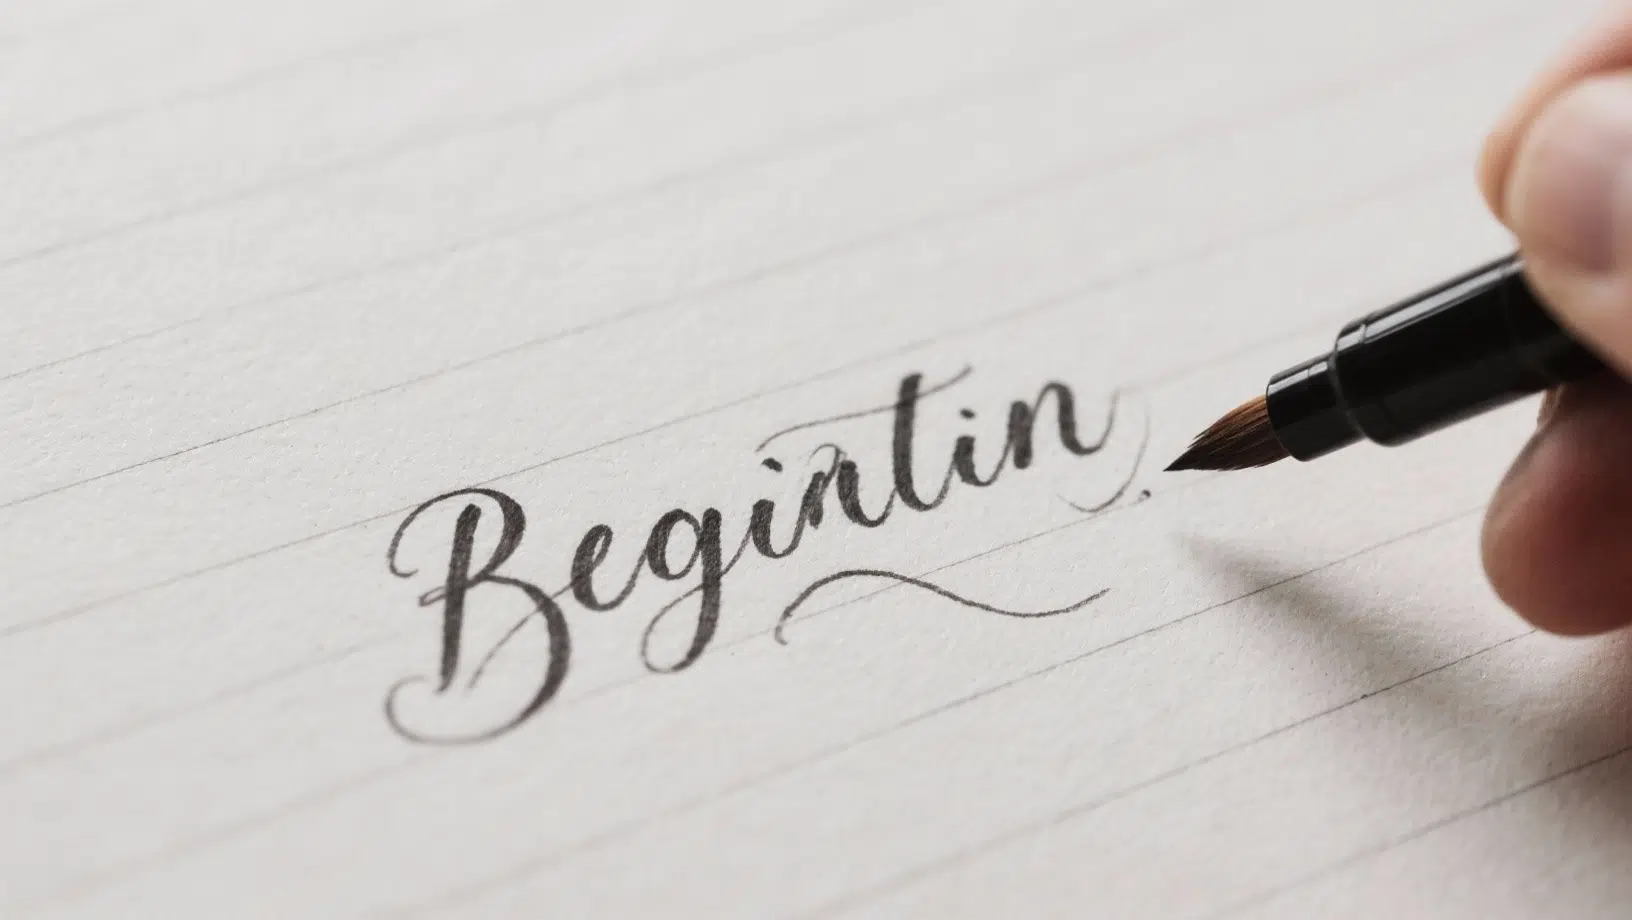
The right supplies make calligraphy much easier to learn. A small-tip brush pen with a flexible nib provides control without being overwhelming.
Smooth, bleed-proof paper such as Rhodia pads or marker paper keeps strokes crisp and protects pen tips. Beginners may also use faux calligraphy with a simple pencil or ballpoint pen if brush pens aren’t available.
Step 3: Learn the Basics of Pressure Control
In calligraphy, pressure creates the signature contrast in strokes. Light pressure produces thin, upward lines, while heavy pressure produces thick, downward lines.
Once a learner grasps this simple principle of “light up, heavy down,” they have the foundation for every letter style.
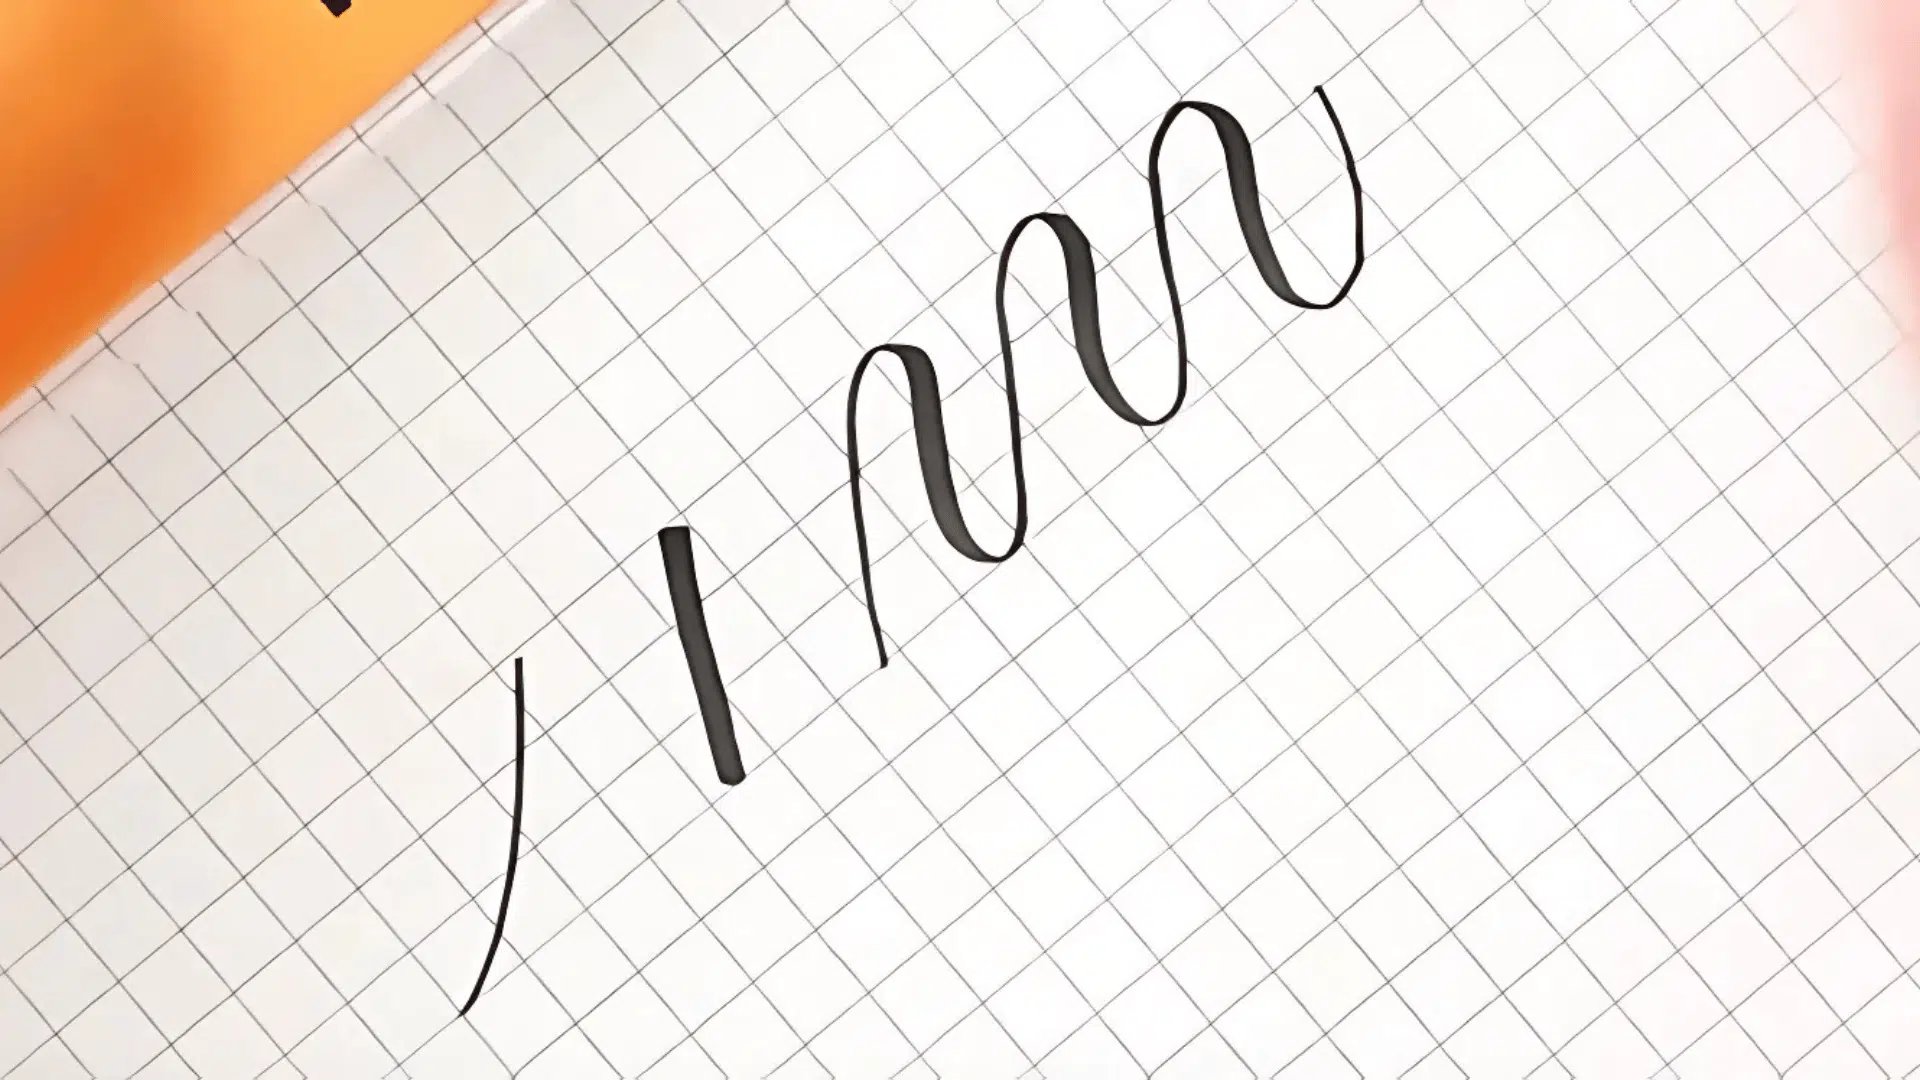
Step 4: Master Basic Strokes Before Letters
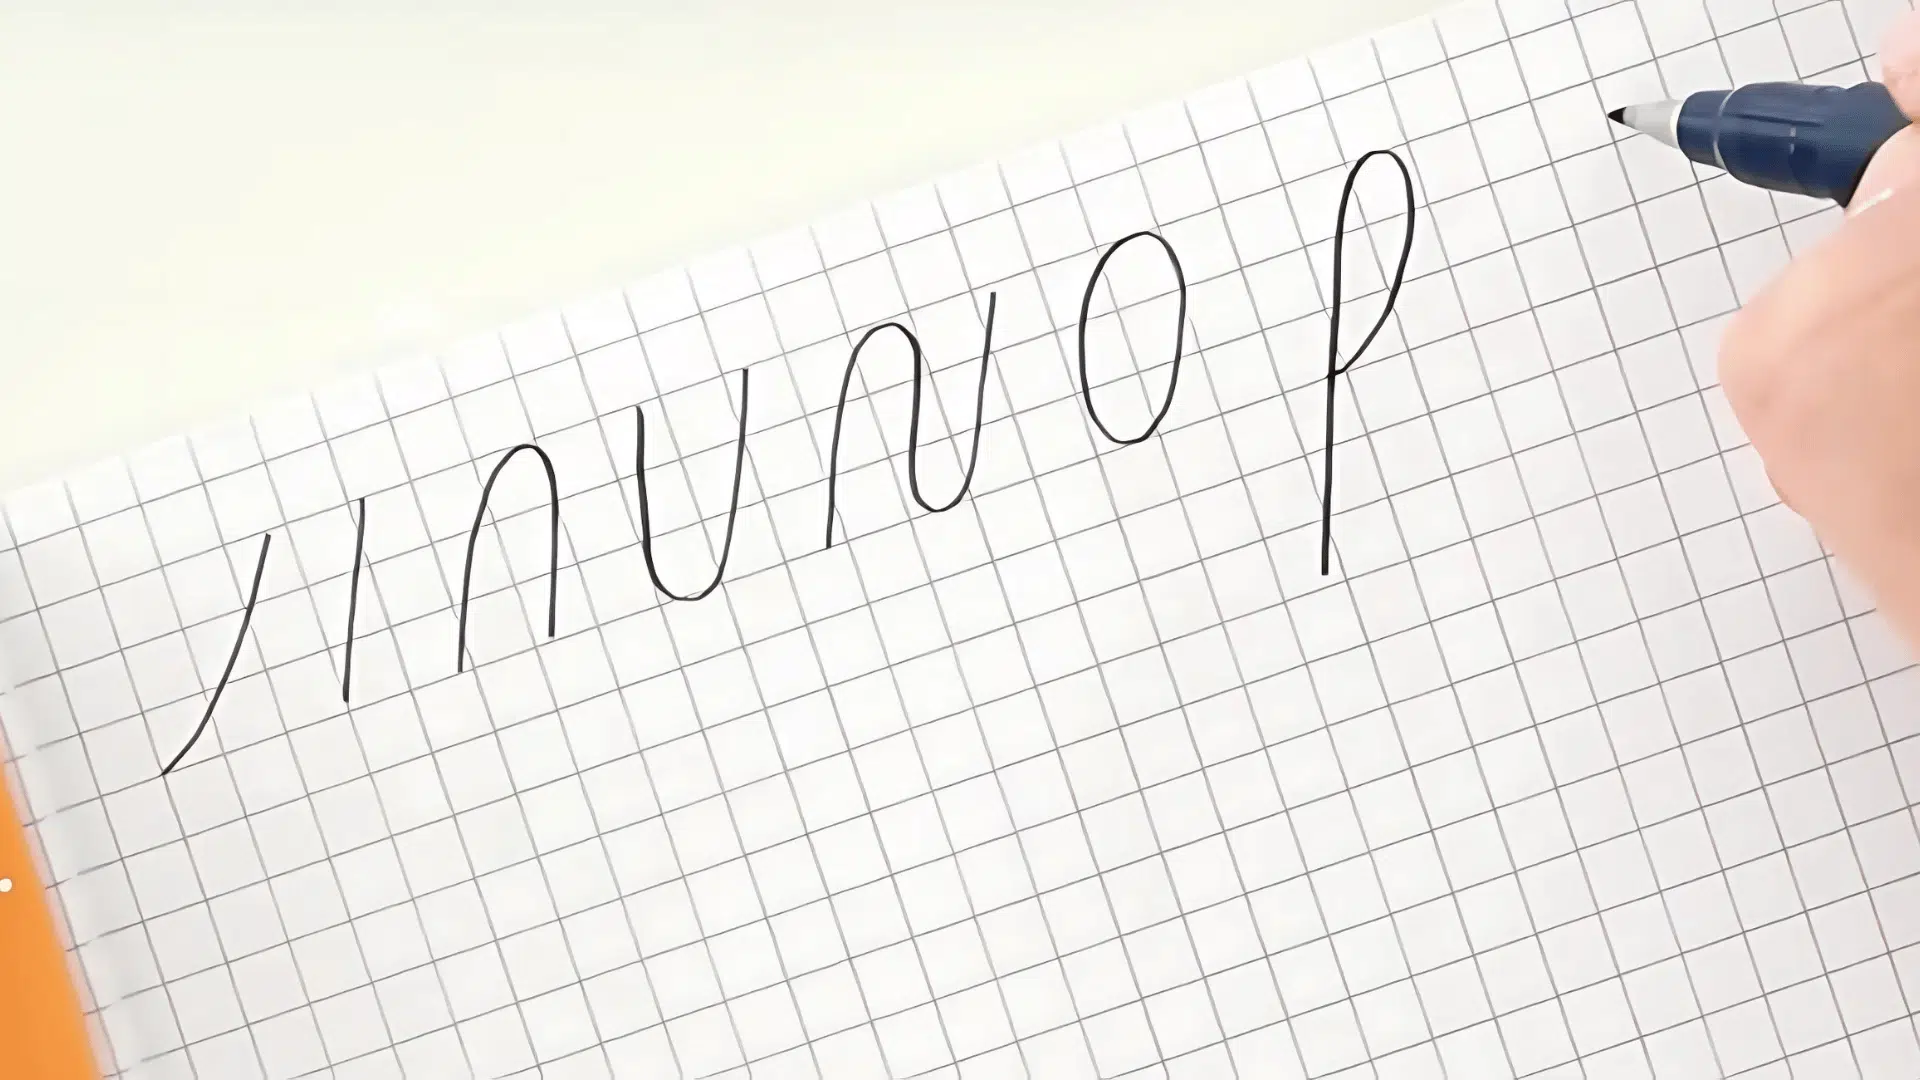
Every letter in calligraphy is built from a combination of fundamental strokes, loops, ovals, lines, and curves.
Practicing these strokes first ensures smoother, more consistent letters later. Skipping this step often leads to uneven writing, so patient repetition is key.
Step 5: Combine Strokes into Letters
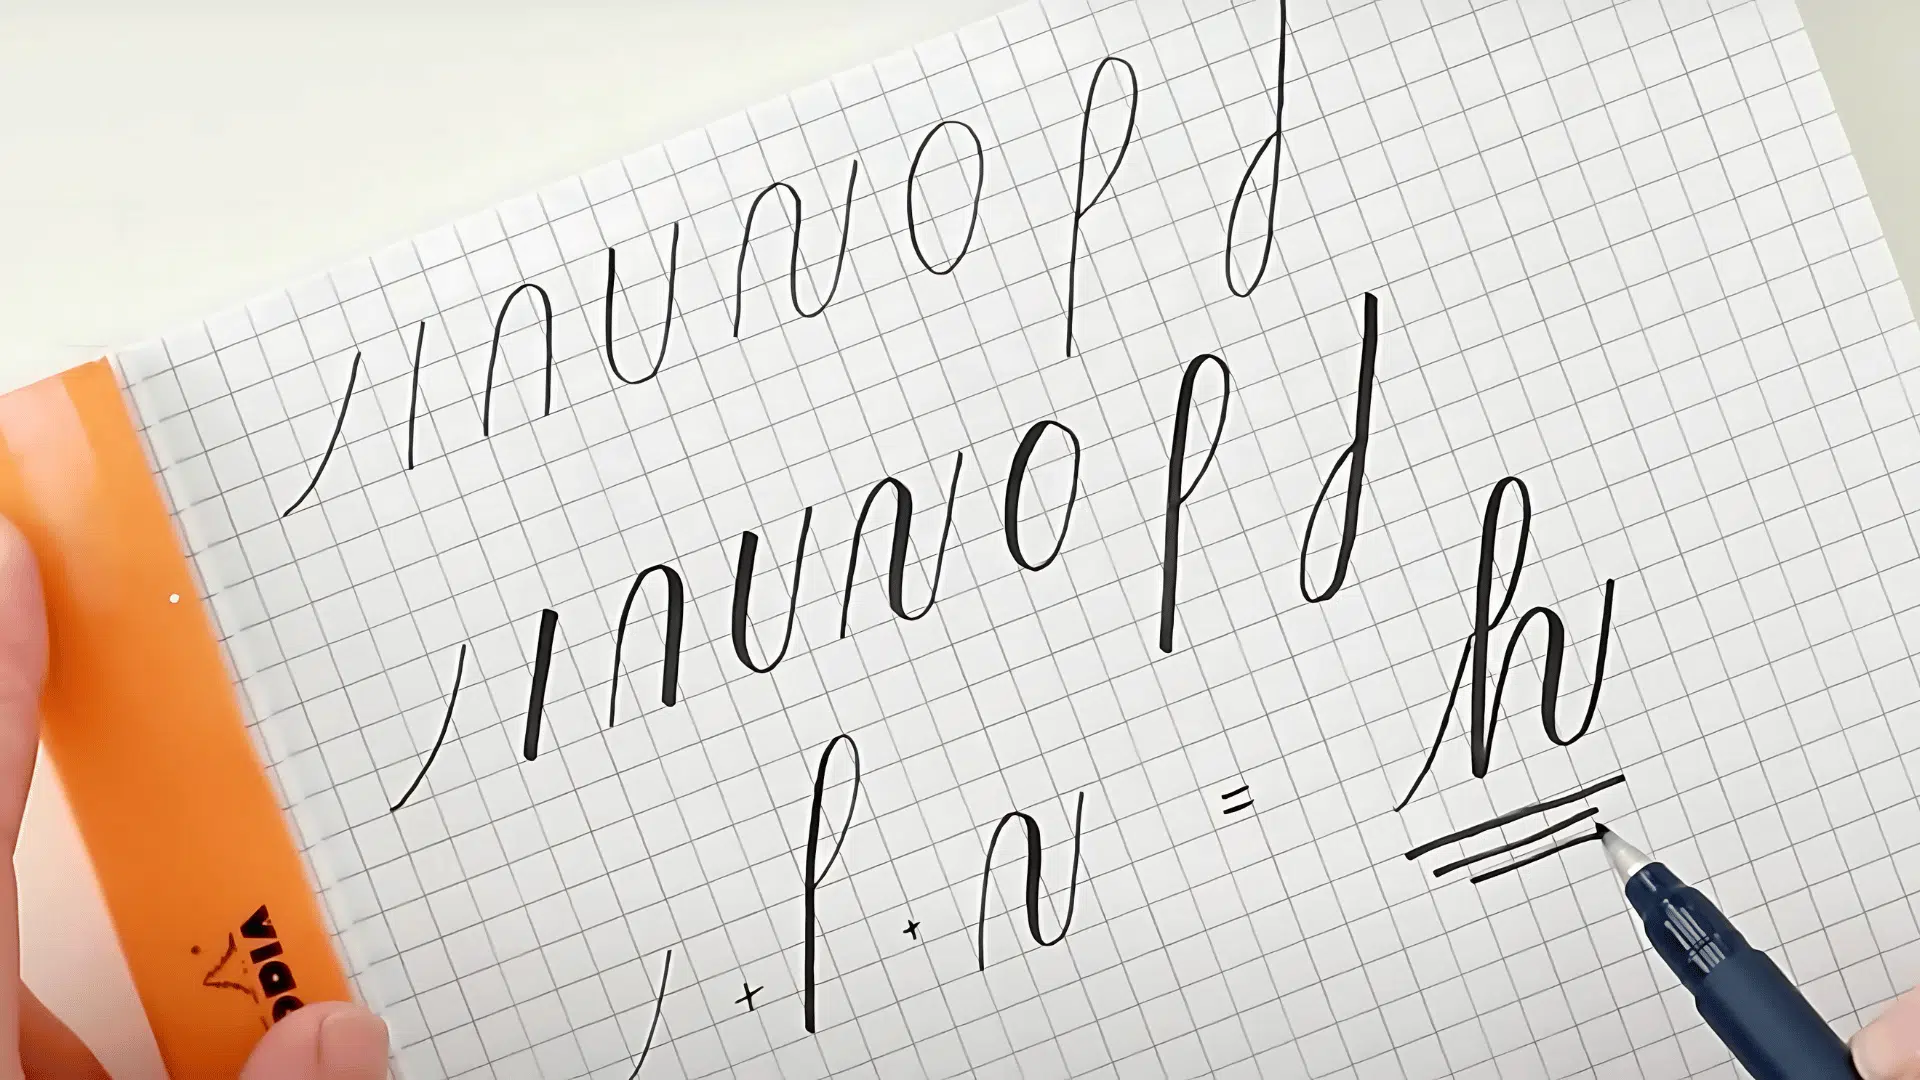
When the strokes feel natural, it’s time to piece them together into letters. Starting with lowercase letters helps build rhythm before moving to uppercase.
Practicing slowly, tracing guides, and focusing on spacing allow learners to form clean, balanced words.
Want to see this in action? The YouTube video below provides a detailed explanation:
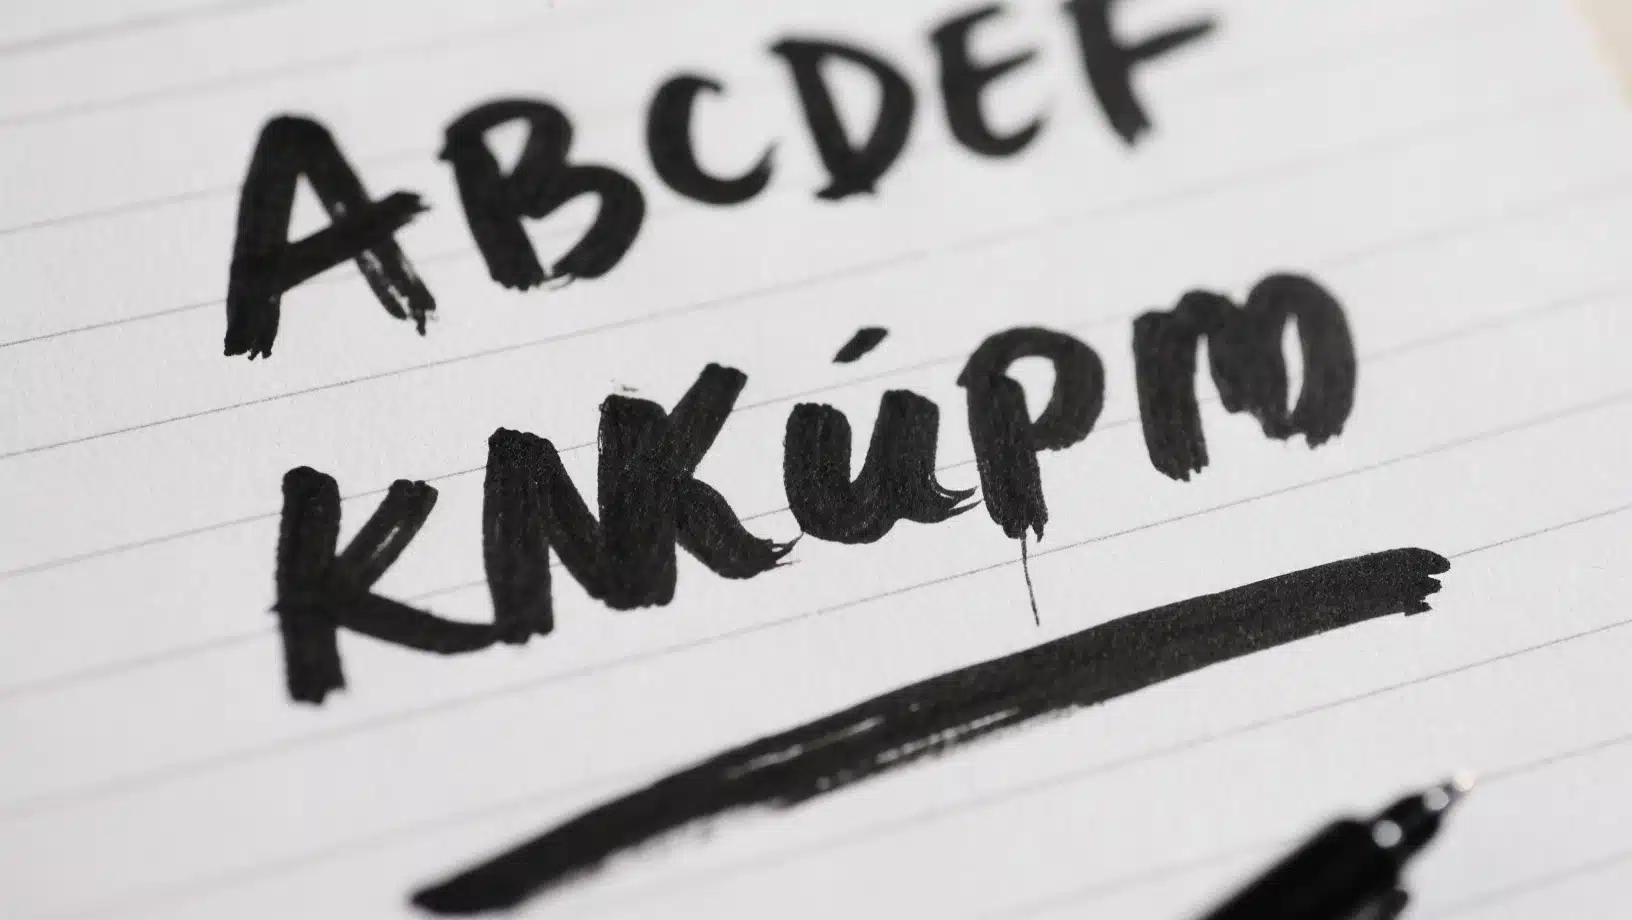
Easy Calligraphy Styles for Beginners
From playful bounce lettering to stylish italics, beginners can explore a variety of calligraphy styles without feeling overwhelmed. Let’s jump into the most beginner-friendly options.
1. Faux Calligraphy
This style mimics brush calligraphy using any regular pen or pencil. Beginners simply draw letters and then thicken the downstrokes for a calligraphy effect.
2. Modern Calligraphy
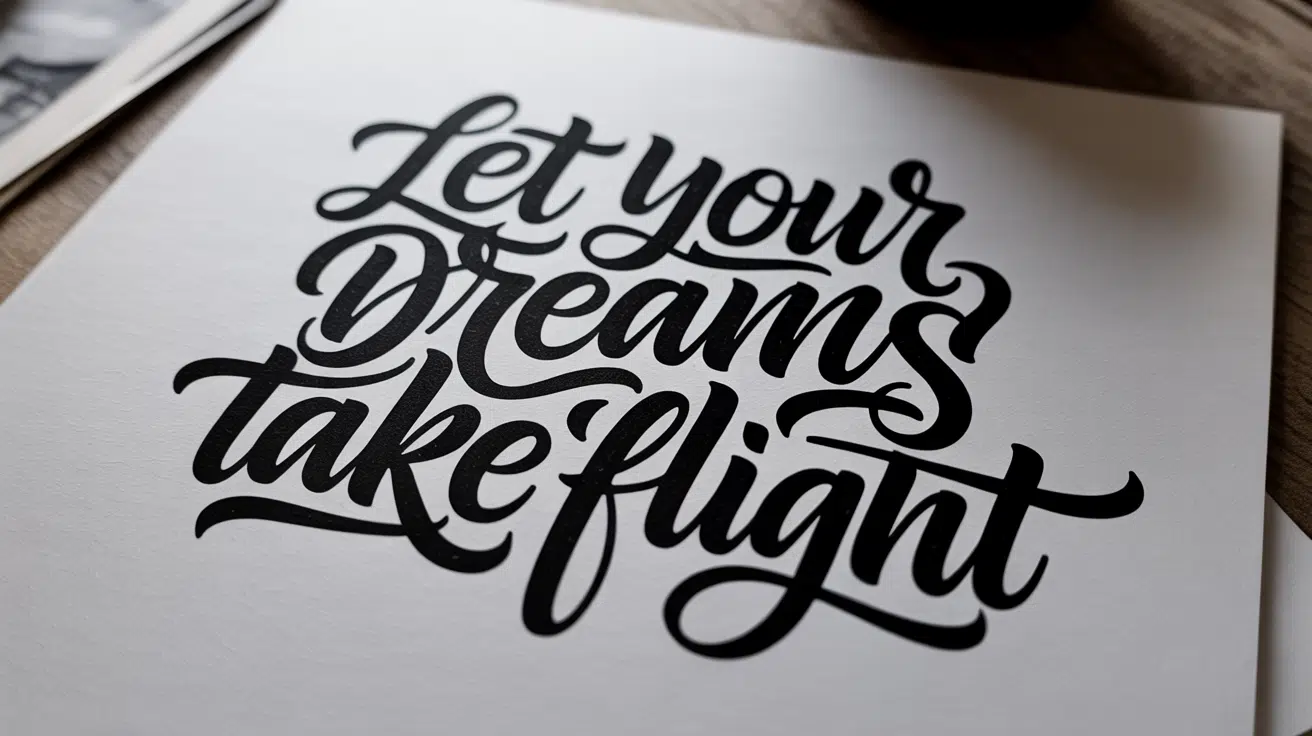
A free-flowing, less structured style that allows for creativity and personal flair. Perfect for learners who don’t want to feel restricted by traditional rules.
3. Bounce Calligraphy
A playful variation of modern calligraphy where letters “bounce” above and below the baseline, creating a stylish and relaxed look.
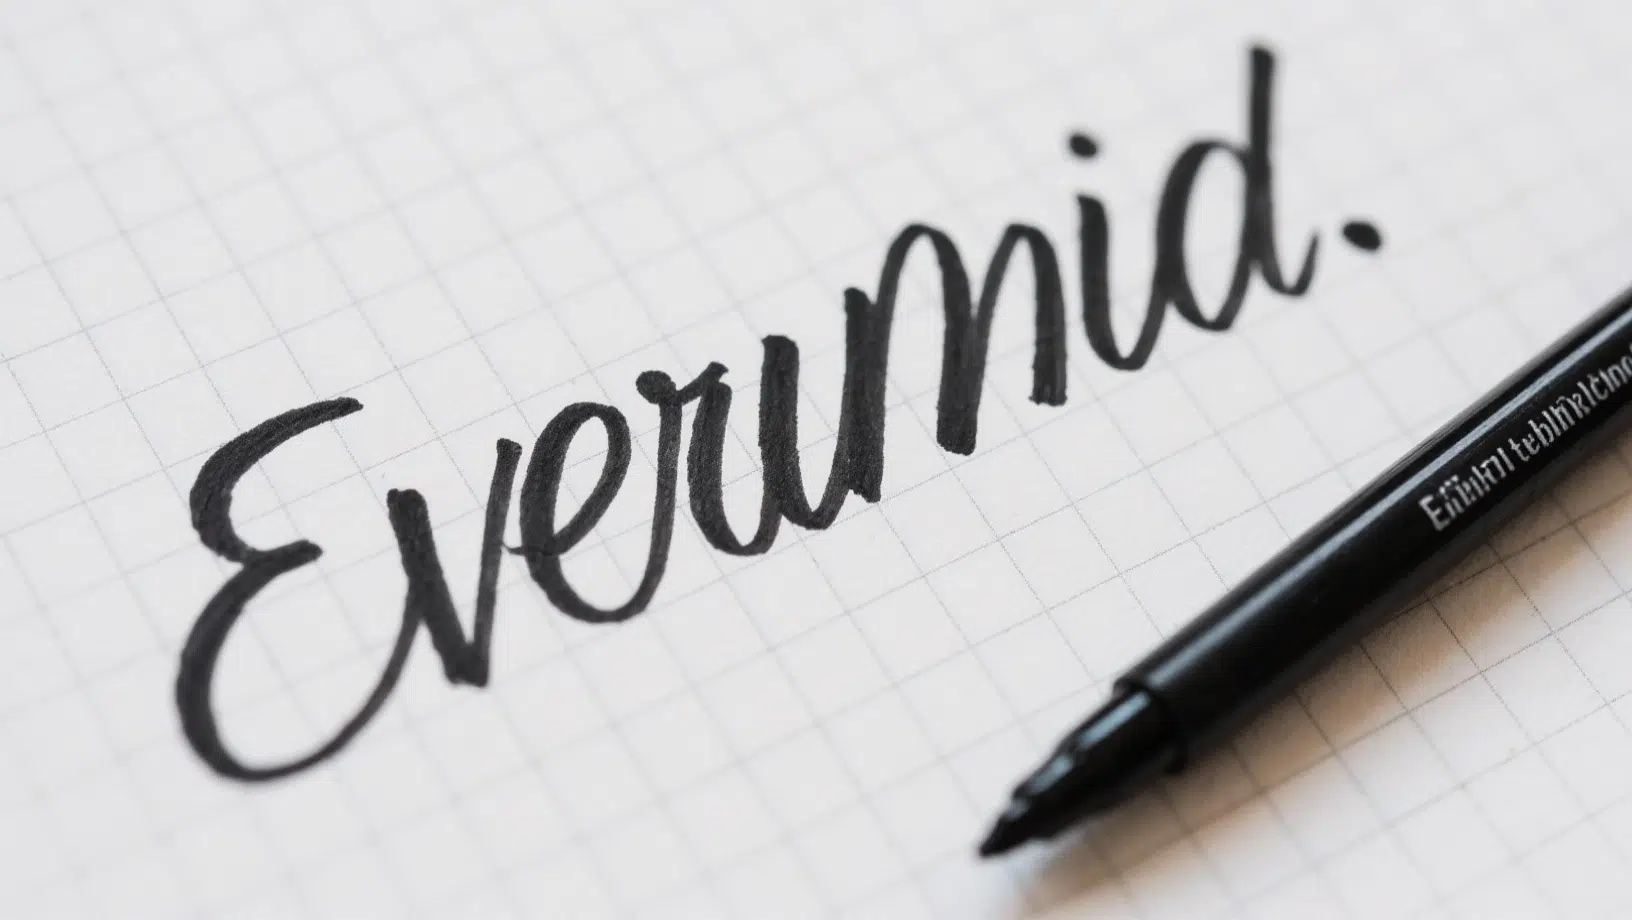
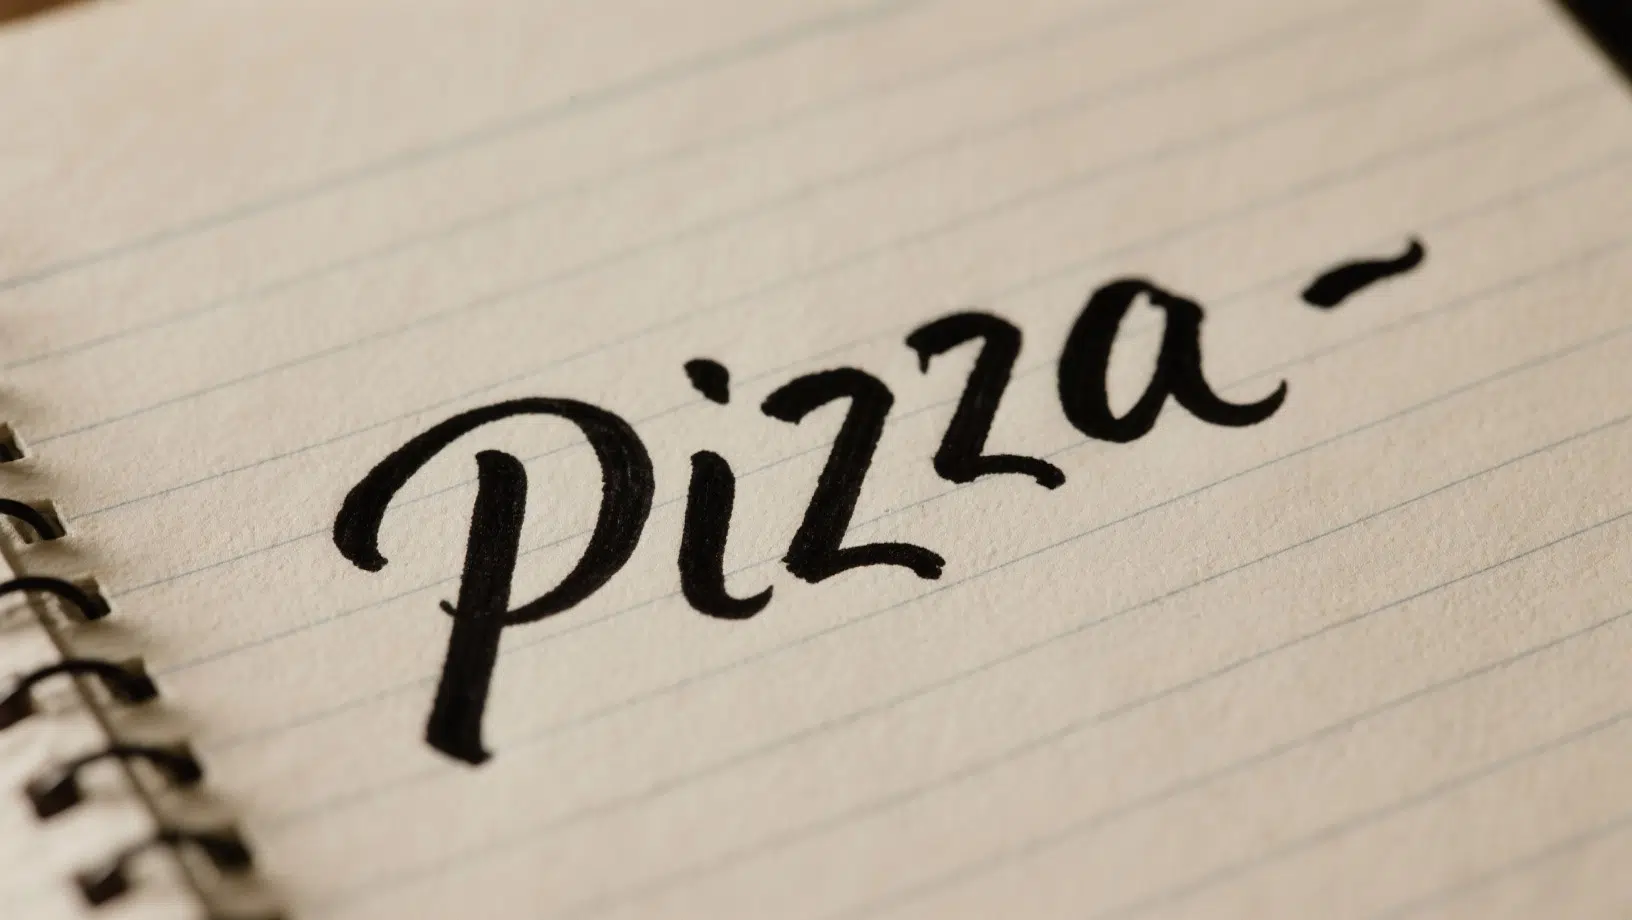
4. Brush Pen Calligraphy
The most popular beginner style involves using flexible brush pens to create both thick and thin lines. It’s intuitive and widely taught in beginner resources.
5. Monoline Calligraphy
All strokes remain the same thickness, usually created with a fine liner or marker. It removes the complexity of pressure control, making it very approachable.
6. Cursive Calligraphy
A neat, flowing script that resembles elegant handwriting. It’s ideal for those who enjoy writing in cursive and want a smooth transition into calligraphy.
7. Serif-Inspired Calligraphy

This style adds small decorative “feet” (serifs) to letters, making them look polished and structured without being too complex for beginners.
8. Gothic-Inspired Calligraphy
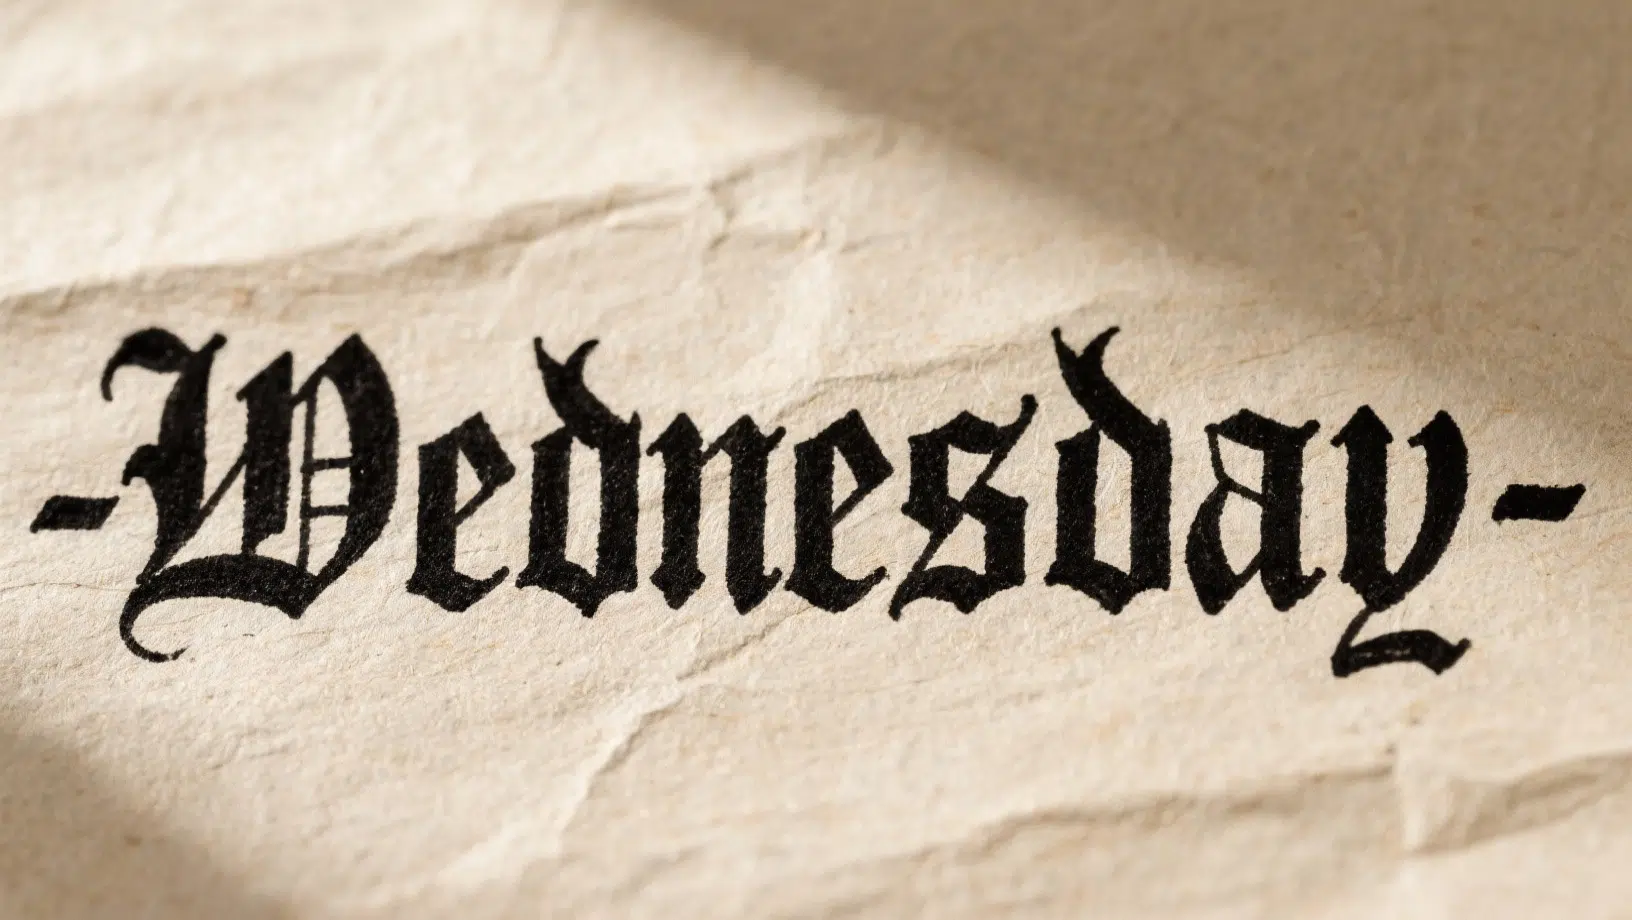
A beginner-friendly take on traditional Gothic lettering. With thicker markers and simple block shapes, it offers bold results without advanced skills.
9. Italic Calligraphy
A clean, slanted style that balances elegance with readability. Its structured angles make it easier to learn than ornate scripts, while still looking professional.
Common Mistakes Beginners Make and How to Fix Them
| Mistake | Why It Happens | How to Fix It |
|---|---|---|
| Pressing too hard on upstrokes | Beginners often apply the same pressure in all directions | Practice “light up, heavy down” drills to train muscle memory |
| Inconsistent spacing between letters | Rushing or skipping guidelines | Use grid or dot paper and trace worksheets for alignment |
| Skipping warm-up drills | Impatience to start writing full words | Dedicate 5 minutes daily to strokes before letters |
| Using the wrong type of paper | Regular paper causes pen tips to fray and ink to bleed | Choose smooth, bleed-proof paper like Rhodia or marker pads |
| Holding the pen at the wrong angle | Treating brush pens like ballpoint pens | Keep a relaxed grip and hold the pen at a 45° angle |
| Writing too fast | Trying to write like normal handwriting | Slow down; calligraphy is about control, not speed |
| Ignoring basic strokes | Jumping directly into letters without foundations | Practice loops, ovals, and lines until they feel natural |
Ready to Start Your Calligraphy Thrill?
Learning calligraphy doesn’t have to be intimidating or perfect from day one.
The key is consistent practice and patience with yourself. Start with just 10-15 minutes daily, focus on basic strokes, and gradually build your skills.
No matter if you choose faux calligraphy with a regular pen or jump into brush pen techniques, you’re already on the right path.
Your handwriting modification won’t happen overnight, but with each practice session, you’ll notice improvement.
So grab your pen, find some smooth paper, and start creating something beautiful today. Your future self will thank you for taking this first step.