Ever scrolled through craft videos at 2 AM and thought, “I could totally make that”? With air-dry clay, you actually can, and the best part is you don’t need a kiln or any fancy equipment to get started.
This diverse material is essentially magic mud that hardens on its own, requiring no baking or complicated tools, just you and your creativity.
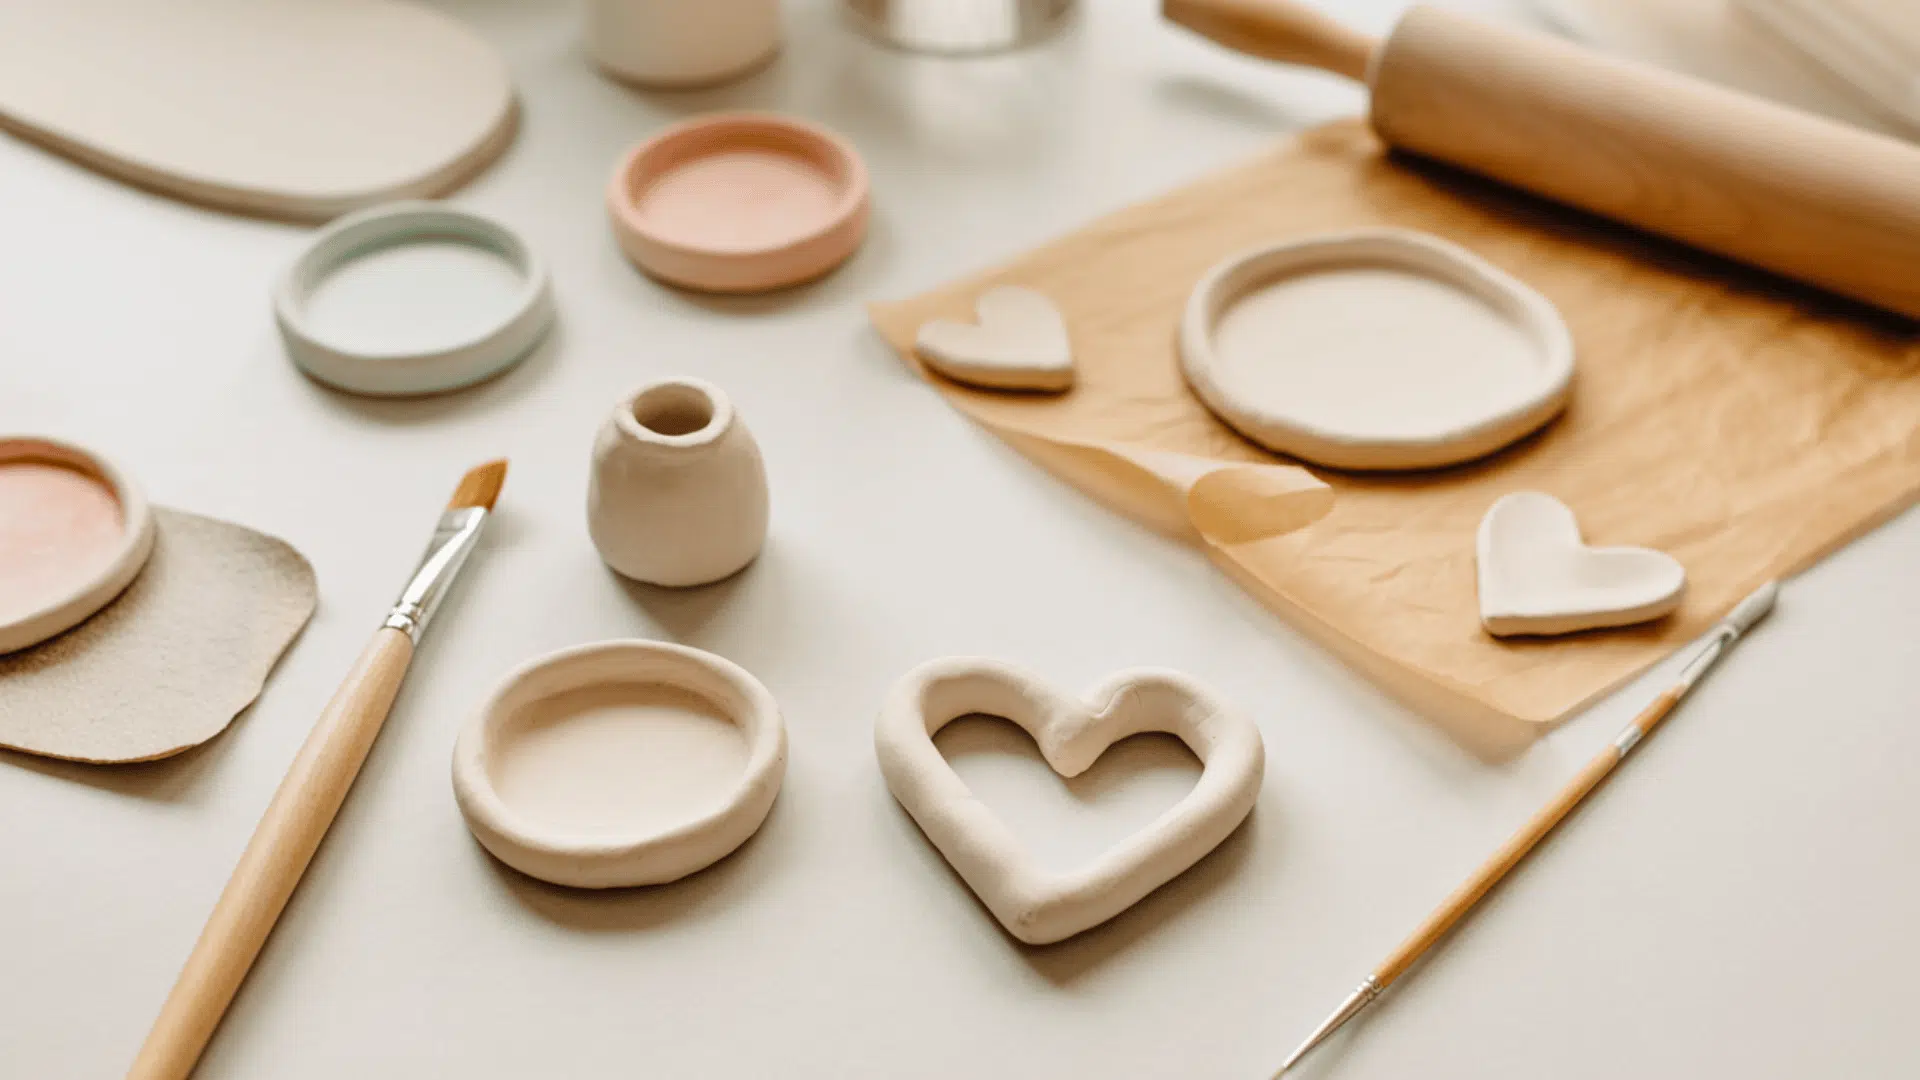
No matter if you’re making cute plant pots, jewelry dishes, or those minimalist sculptures taking over Pinterest, air-dry clay makes it simple.
But before you jump in, it helps to know how to use air dry clay the right way. While it’s beginner-friendly, a few smart tricks will save you from cracks and crumbles. Let’s break down everything you need to know.
Air Dry Clay: The Complete Overview
Air-dry clay is essentially modeling clay that hardens without heat; it simply needs time and air. Think of it as the craft world’s answer to Play-Doh for adults.
Shape it, leave it alone for a day or two, and it will solidify. Here’s what makes it different from other clays:
- No kiln needed: Regular pottery clay needs firing at crazy high temperatures, but this stuff hardens at room temperature
- Water-based formula: Made from natural materials like paper fibers, glue, and minerals that bind together as the water evaporates
- Lightweight when dry: Perfect for decorative pieces that won’t weigh down your shelves
- Can be rehydrated: Mess up? Add water and start over (before it fully dries, of course)
Most brands take 24-72 hours to dry completely, depending on thickness. Although it’s not waterproof or food-safe without sealing, it’s ideal for decorative projects, ornaments, and practice pieces before transitioning to ceramic clay.
Tools and Materials Needed
Before you begin, ensure you have the necessary tools on hand. Having everything ready will make the process smoother and help you achieve a clean, professional finish.
| Category | Items You Can Use at Home | Optional Upgrades (For Later) |
|---|---|---|
| Work Surface | Parchment paper, wax paper, old sheet | Silicone mat |
| Rolling Tools | Wine bottle, glass cup | Rolling pin with guide rings |
| Scoring Tools | Fork, toothpick | Needle tool, wire tool |
| Sanding | Any fine sandpaper from the hardware store | Multi-grit sandpaper pack |
| Stencils | Paper cutouts, printed outlines | Acrylic or plastic stencils |
| Sealers | None (if you want a natural finish) | Triple Thick Gloss Glaze, matte varnish |
Step-by-Step Process of Using Air-Dry Clay
Working with air-dry clay is fun and relaxing, but a little prep and technique will make your projects last longer and look more polished. Here are five steps you can follow :
1. Prep Your Workspace

Before touching the clay, set up your surface so your project doesn’t stick or get ruined when drying. You can cover your table with parchment paper, wax paper, or even an old sheet.
A silicone mat is especially useful because you can leave your project on it while it dries without worrying about it sticking.
2. Get the Right Thickness

The thickness of your clay depends on what you’re making. Rolling pin guides or wooden dowels placed on each side of your clay will help you roll it out evenly.
A quarter-inch thickness is a great size for dishes or plates.
Thinner clay dries faster but is more likely to break, while thicker clay is stronger but takes longer to dry. With practice, you’ll start to judge thickness by eye without needing tools.
3. Attach Clay the Right Way (Score & Slip)

When joining two pieces of clay, simply pressing them together won’t hold for long and can lead to cracks. Instead, lightly scratch both surfaces with a fork, needle tool, or toothpick.
Then, apply a slip made of clay mixed with water onto the scored areas. Once pressed together firmly, the pieces will bond securely and stay intact as they dry.
4. Smooth, Sand, and Shape

Even if your clay looks rough at first, you can refine it with a few simple steps. Use your fingers and a little water to blend edges while the clay is soft.
After it dries, sandpaper will help smooth out bumps and make the piece look more professional.
If you’re shaping tricky designs like hearts or moons, sketch them on paper first, cut them out, and use the cutout as a stencil to manage your clay.
5. Finish & Protect Your Creations

A strong finish keeps your clay projects safe and polished. After painting, seal your work with a clear glaze like DecoArt Triple Thick Gloss Glaze for shine and durability, or use matte varnish for a softer finish.
Regular Mod Podge is not recommended, since it feels more like a thin layer of glue than a true sealer.
If you have leftover dried clay, you can recycle it by soaking it in water for a few days, kneading it back to life, and using it again in a future project.
For more detailed instructions, refer to the YouTube video below:
Other Air Dry Clay Techniques to Try
Once the basics are down, these techniques can take projects from simple to stunning. Each method adds its own flair, and they’re easier than they look. Best part? They work with the same clay and tools already on hand.
Coil Building

Stack rolled clay snakes to build bowls, vases, or sculptures. Roll coils about pencil-thick, score where they meet, and blend the seams smooth. It’s an ancient pottery technique that works perfectly with air-dry clay.
Slab Construction

Roll flat sheets and cut shapes to build boxes, houses, or geometric designs. Join edges with the score-and-slip method, then reinforce corners from the inside with small clay coils.
Texture Stamping

Press lace, leaves, or textured fabric into soft clay for instant, patterned effects. Rubber stamps, buttons, and even pasta shapes create interesting designs. Just press firmly and lift straight up.
These techniques complement each other well. A coil-built vase with stamped patterns? Why not. The only limit here is drying time and imagination.
Common Mistakes and Quick Fixes
Even experienced crafters sometimes mess up with air-dry clay. The good news? Most problems have simple solutions, and catching them early saves the whole project. Here’s what usually goes wrong and how to fix it.
| Mistake | What Happens | Quick Fix |
|---|---|---|
| Clay cracking while drying | Edges dry faster than the center, causing splits | Cover loosely with plastic wrap or a damp cloth for slower, even drying |
| Pieces won’t stick together | Parts fall off after drying | Always score and slip before joining – water alone won’t cut it |
| Surface feels chalky | Unsealed clay leaves dusty residue | Sand lightly, then seal with varnish or glaze |
| The clay is too wet and sticky | Can’t shape it without it sticking to everything | Let it air out for 10-15 minutes, or knead in small amounts of cornstarch |
| Warping during drying | Flat pieces curl up at the edges | Flip pieces every few hours, or dry between two sheets of parchment with a light weight on top |
These fixes work for most brands, though drying times might vary. And remember, if something’s beyond saving, just soak it and start fresh. That’s the beauty of air-dry clay.
The Bottom Line
Working with air-dry clay doesn’t have to be complicated, especially once you learn the basics of how to use air dry clay.
From preparing your workspace to sealing finished pieces, these simple steps make it easy for anyone to create something they’re proud of.
The beauty of this medium is that mistakes aren’t permanent; every project teaches you something new.
Start small with a simple dish or ornament, and as your hands get used to the clay’s texture and drying time, bigger projects won’t feel so intimidating. Remember, even seasoned artists had plenty of unpolished first attempts.
Best of all, most supplies are already at home. Just grab some clay from the craft store, clear off the table, and let your creativity flow


