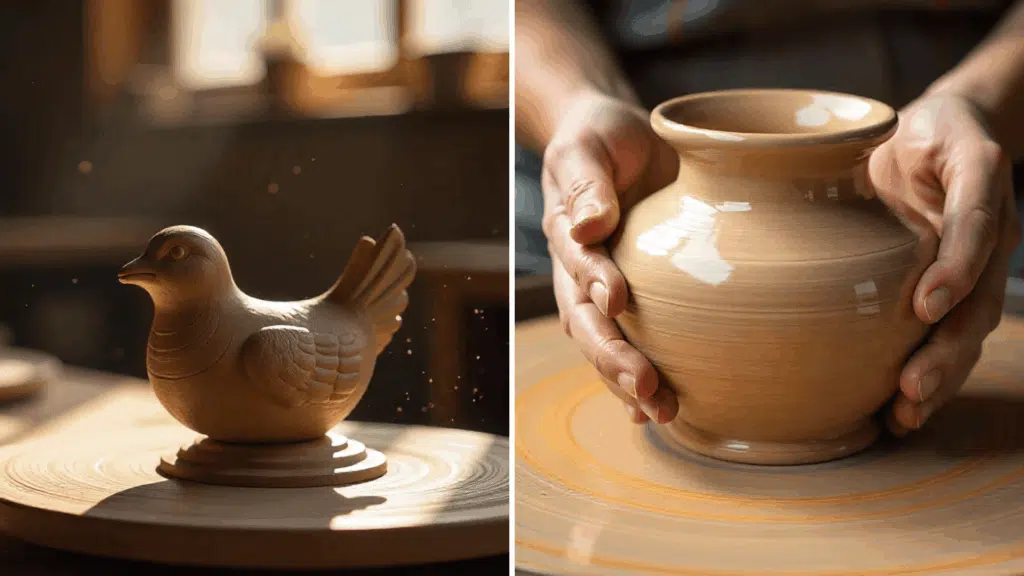
Working with clay is one of the oldest and most creative art forms in history.
People have shaped clay for thousands of years to make pottery, sculptures, and everyday objects. Clay techniques refer to the various methods artists and crafters use to mold and build with clay by hand.
Some of the most popular hand-building techniques include pinching, coiling, and slab building. Each method offers its own style and possibilities, letting you create both simple and detailed pieces.
If you want to form a small bowl or an intricate sculpture, learning these techniques will unlock limtless creative potential.
Clay in your hands, imagination in your heart!
Rising Popularity of Clay Artwork
Clay art is absolutely having a moment right now! There are several reasons behind this surge in popularity.
First off, shows like “The Great Pottery Throw Down” have played a pivotal role in popularizing pottery, making it feel accessible and exciting to mainstream audiences.
There’s something deeply satisfying about watching clay change on screen.
Consumers are drawn to the uniqueness, craftsmanship, and personal touch associated with handmade pieces, shifting away from mass-produced items.
Clay Techniques: Your Creative Foundation
These fundamental clay techniques form the foundation of all clay work, encompassing both functional pottery and sculptural art. Each method serves a specific purpose and opens different creative doors.
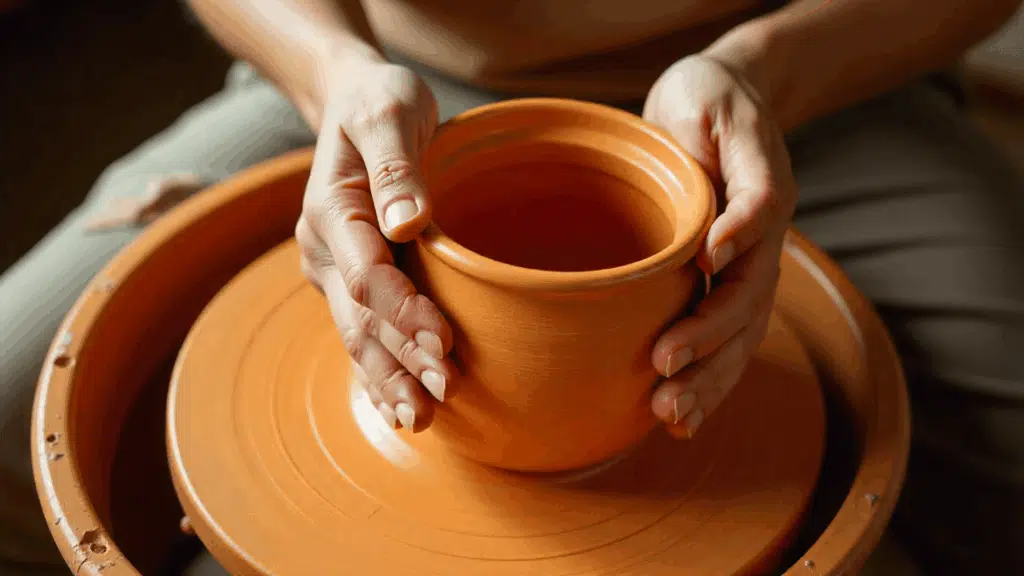
1. Pinching Technique
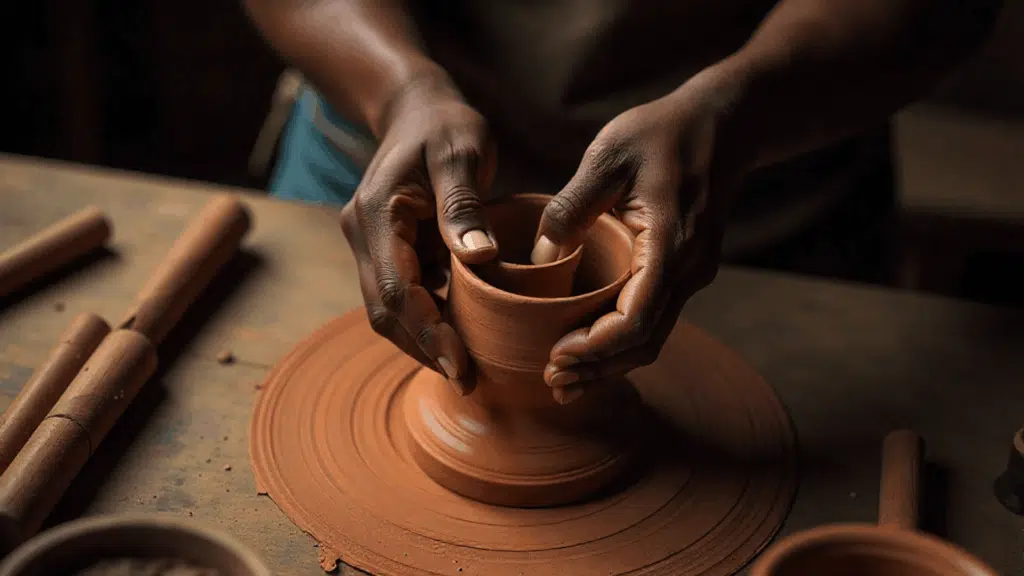
The pinch method is where most clay work begins, and for good reason. It’s the most direct connection you can have with clay, just you, your hands, and the earth.
Pinching is precisely what it sounds like: using your thumb and fingers to shape clay by pinching and squeezing.
Step-by-Step Process for Pinching Clay:
- Start with an orange-sized ball, press your thumb into the center, leaving a ½-inch bottom
- Pinch between thumb and fingers while slowly rotating the piece
- Work around in small increments, keeping the rim level throughout
- Support outer walls with fingers as the clay thins, mist if drying
- Maintain consistent pressure and patience for even wall thickness
Best Pinch Pot Projects:
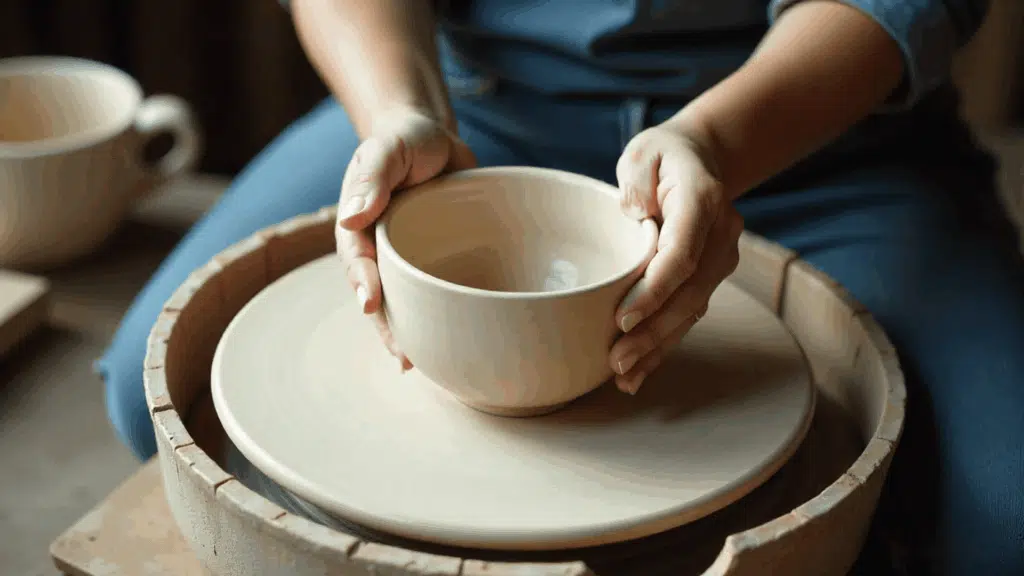
- Small bowls and tea cups (perfect for beginners)
- Nested bowl sets for serving or display
2. Coil Building Technique
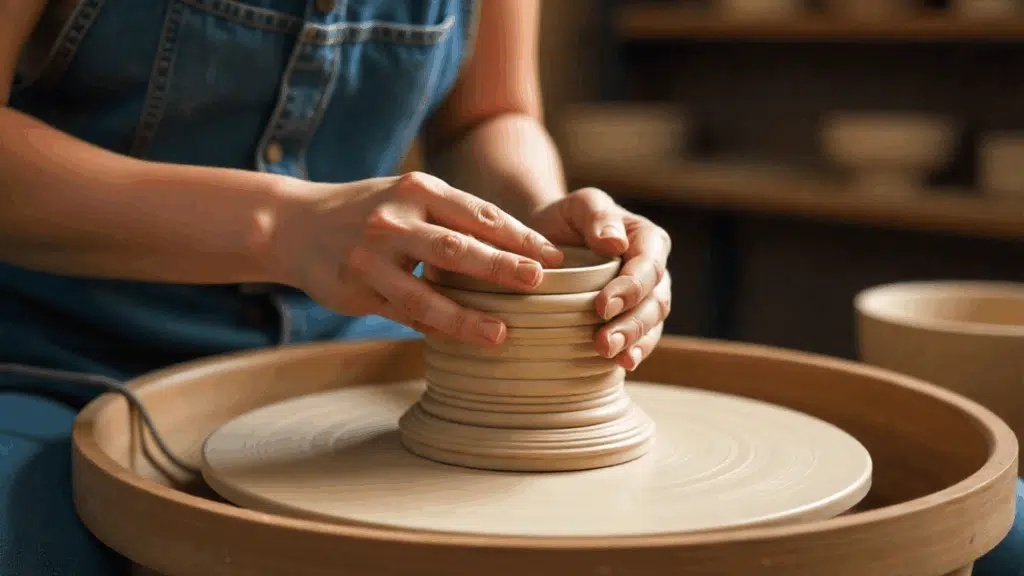
Coil building is one of humanity’s oldest clay techniques, and it’s still incredibly relevant today. This method involves rolling clay into long, rope-like coils and stacking them to build up the walls of the vessel.
What makes coiling special is its incredible versatility; you can create everything from tiny bowls to massive structural pieces, all without needing a pottery wheel.
How Coil Pots Are Made:
- Create a flat base and roll consistent thumb-width coils
- Place the first coil around the base edge, score, and add a slip at all joints
- Stack coils one at a time, varying placement to shape your form
- Blend each coil thoroughly into the one below (inside and outside)
- Keep unused coils covered and build gradually to prevent collapse
Best Coil Pot Projects:
- Leave coils unblended for a textural, basket-like appearance
- Vary coil thickness within the same piece for visual rhythm
3. Slab Technique
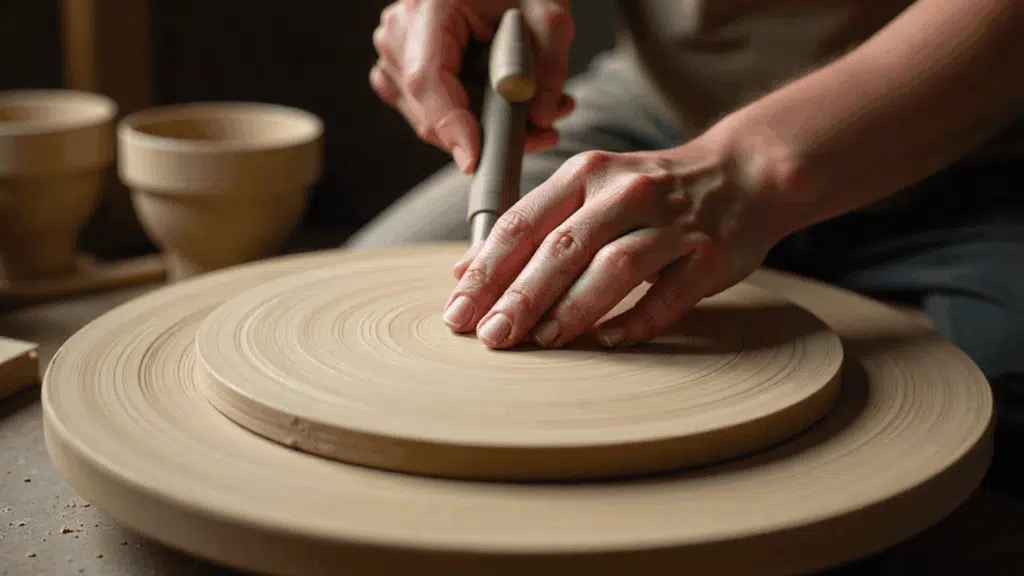
Slab construction opens up a whole different world of clay possibilities. Instead of building organically, as with pinching or coiling, slab work allows you to create geometric forms, structural pieces, and clean-lined vessels.
It’s also beneficial for making templates and creating multiples of the same piece. The precision and control you get with slabs make it a favorite among contemporary ceramic artists.
Building Steps For Slab:
- Cut pieces while soft, using templates and sharp tools
- Score all joints heavily and apply a generous slip
- Use internal supports during construction and drying
- Assemble methodically, supporting each joint as you work
- Build large pieces in stages, allowing sections to firm up
Best Slab Technique Projects:
- Rectangular planters and garden boxes for a clean, modern look
- Decorative tiles for backsplashes, coasters, or wall installations
- Geometric vases and vessels with sharp, architectural lines
4. Scoring and Slipping
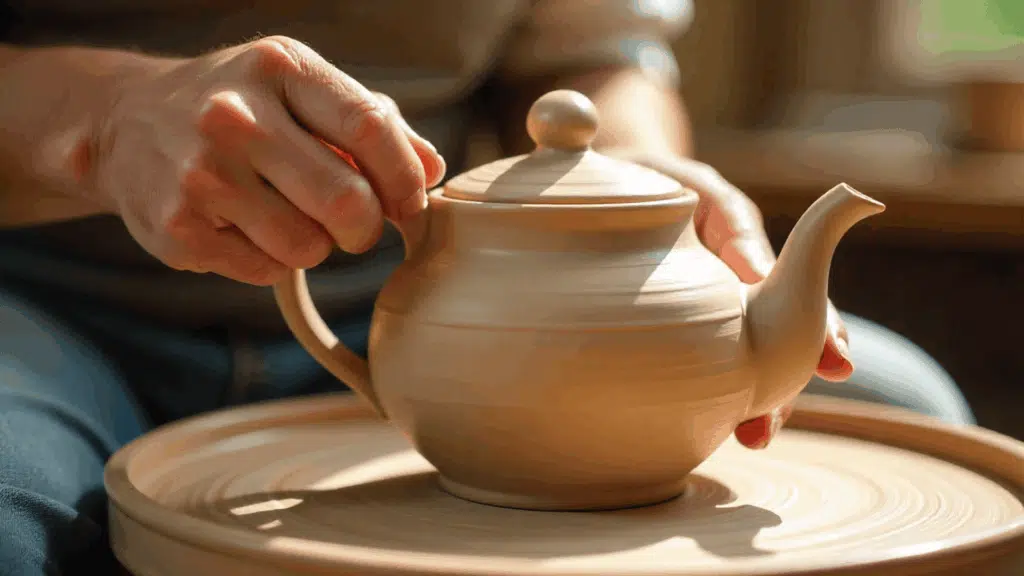
Scoring and slipping may sound like pottery slang, but they’re key skills. Without proper scoring and slipping, your pottery will fall apart at the seams.
Once you master scoring and slipping, you’ll have the confidence to create complex, multi-part pieces that stay together beautifully.
Scoring and Slipping Steps:
- Score both surfaces with crosshatch patterns 1/8 inch apart
- Mix clay scraps with water for a thick cream consistency for slip
- Apply slip generously to both scored surfaces with a brush or fingers
- Press pieces together firmly and work the seam by blending clay
- Add a reinforcing coil along the interior seam and smooth the exterior carefully
Best Projects for Scoring and Slipping:
- Mugs and cups with attached handles
- Teapots with spouts, handles, and lids
- Decorative vessels with applied elements like feet or knob
5. Carving and Incising
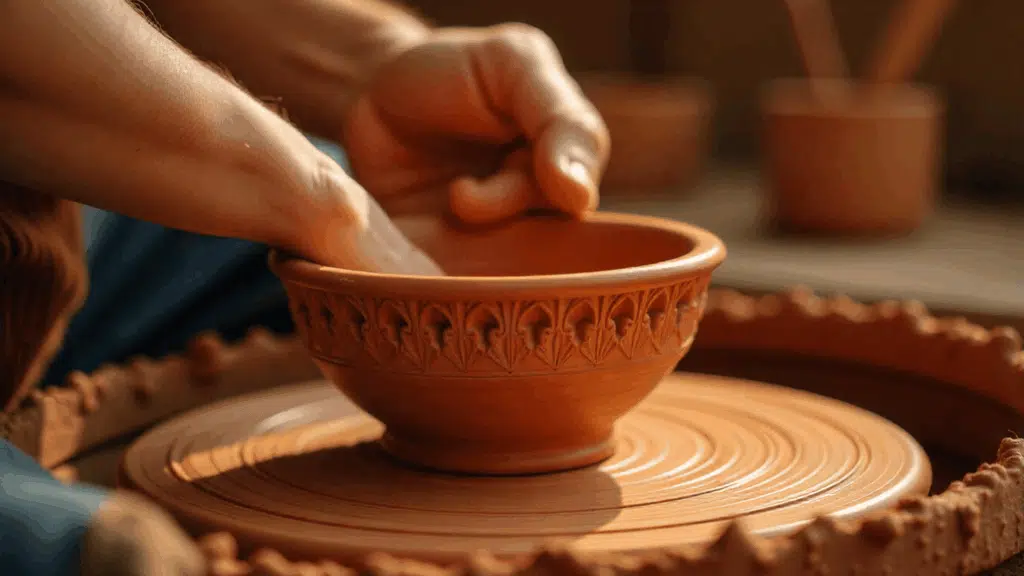
Carving and incising turn plain clay surfaces into textured masterpieces full of personality and visual interest.
This decorative technique involves cutting into the clay surface to create patterns, textures, and designs that catch light and shadow beautifully.
Carving Steps:
- Start with simple patterns and test clay consistency first
- Plan depth of cuts based on desired visual impact
- Work systematically across pieces for consistency
- Consider function – avoid deep carving inside food vessels
- Think about the glaze interaction and the pooling effect
Carving Best Practices:
- Decorative bowls and vessels where texture adds visual interest
- Functional pieces like mugs, where carved handles improve grip
- Sculptural work requiring surface detail and dimensional depth
6. Burnishing Technique
Burnishing is basically compacting and polishing the clay surface by rubbing it with smooth, complex tools. This process aligns the clay particles, creating a dense and soft surface that reflects light.
When done correctly, burnishing creates a surface that is so smooth it almost appears glazed, but with a warmer, more organic quality that connects you directly to the clay itself.
Burnishing Steps:
- Work on leather-hard clay that’s cool and firm
- Use completely smooth tools like stones, bone, or metal spoons
- Apply firm, consistent pressure in overlapping strokes
- Work systematically across the entire surface in small sections
- Clean the tool frequently and maintain a steady, patient rhythm
Best Uses for Burnishing:
- Sculptural pieces and decorative vessels for an organic finish
- Traditional or primitive-style pottery for an authentic look
- Pieces with carved details that burnishing will highlight
- Outdoor garden pottery that needs a weather-resistant finish
- Projects showcasing natural clay colors and variations.
7. Molding and Pressing
Molding and pressing open up a world of precision and consistency that’s difficult to achieve with hand building alone.
The technique involves shaping clay using pre-made forms or molds, allowing you to create identical pieces, complex curves, or intricate details that would be nearly impossible by hand.
Molding Steps:
- Clean the mold and apply the release agent to prevent sticking
- Roll clay to a consistent thickness (typically 1/4 inch)
- Press clay evenly from the center outward, eliminating air bubbles
- Work clay into all corners and detailed areas thoroughly
- Trim excess cleanly and remove when leather hard
Best Molding Uses:
- Production dinnerware sets require identical pieces
- Architectural ceramics and decorative building elements
- Complex curved forms are difficult to achieve by hand
Extra Tips for Clay Artists
Working with clay is both a technical and creative venture. The more you experiment, the more you’ll find unique ways to express yourself through form and texture. Here are some added insights to help refine your practice:
- Blend multiple techniques in one piece, start with pinch or slab work, then add coils, or use wheel-thrown forms as sturdy bases for hand-built details.
- Play with contrasts by combining smooth, burnished areas with carved textures for a striking visual effect.
- Match clay types to methods: stoneware offers strength and flexibility, porcelain is perfect for precision but can be tricky, and earthenware is friendly for hand-building, although less durable.
- Control the drying process by keeping moisture levels even, covering the pieces loosely with plastic, and letting them reach a bone-dry state before firing.
- Support larger works by using props during drying to reduce warping and ensure their survival in the kiln.
By balancing creativity with careful technique, your clay work can reach new levels of artistry. Continue to look, experiment, and let each piece teach you something new.
Challenge Yourself This Week
Clay techniques are a simple but powerful way to turn raw clay into something lasting and meaningful.
Traditional hand-building methods, such as pinch, coil, and slab, give both beginners and experienced artists the freedom to explore shape and design without needing a wheel.
Each approach teaches patience and creativity, whether you are stacking coils for height, pressing slabs into bold forms, or pinching clay into delicate bowls.
The more you practice, the more confident you’ll feel mixing these methods and developing your own style. With clay techniques, your imagination is the only limit; every piece you create is a new story in your hands.
Your next masterpiece starts with simple clay techniques. Why not begin shaping it now?


