Most beginners think making detailed, high-contrast artwork requires years of training and expensive tools.
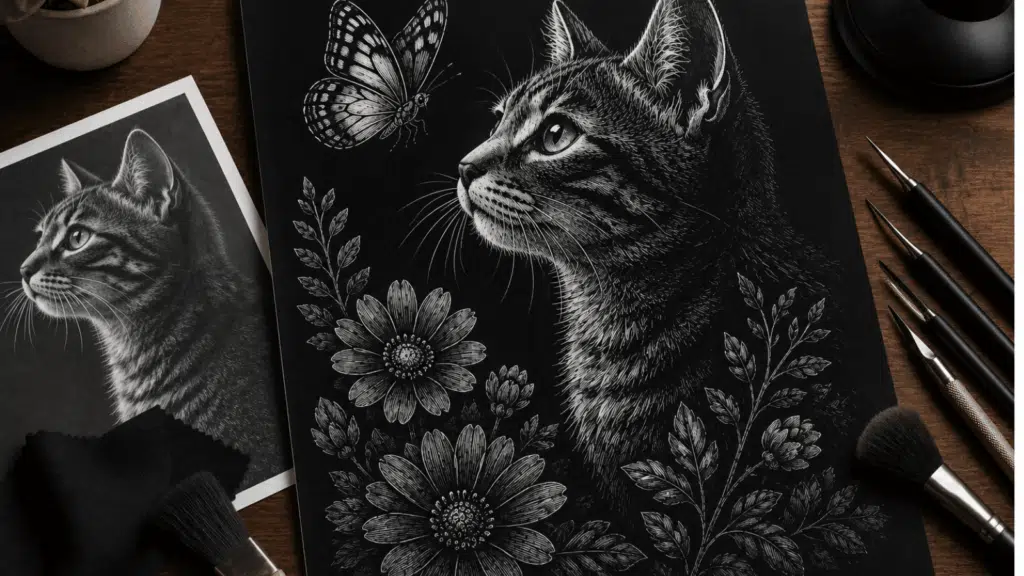
But scratchboard art flips that idea on its head. Instead of adding color to a blank canvas, artists scratch away a dark surface to reveal the light beneath, and the results can look truly remarkable.
This guide covers everything a beginner needs to know, from what scratchboard is to the tools required and simple techniques to get started.
Everything here gives beginners a solid starting point to create their first scratchboard piece.
What is Scratchboard Art?
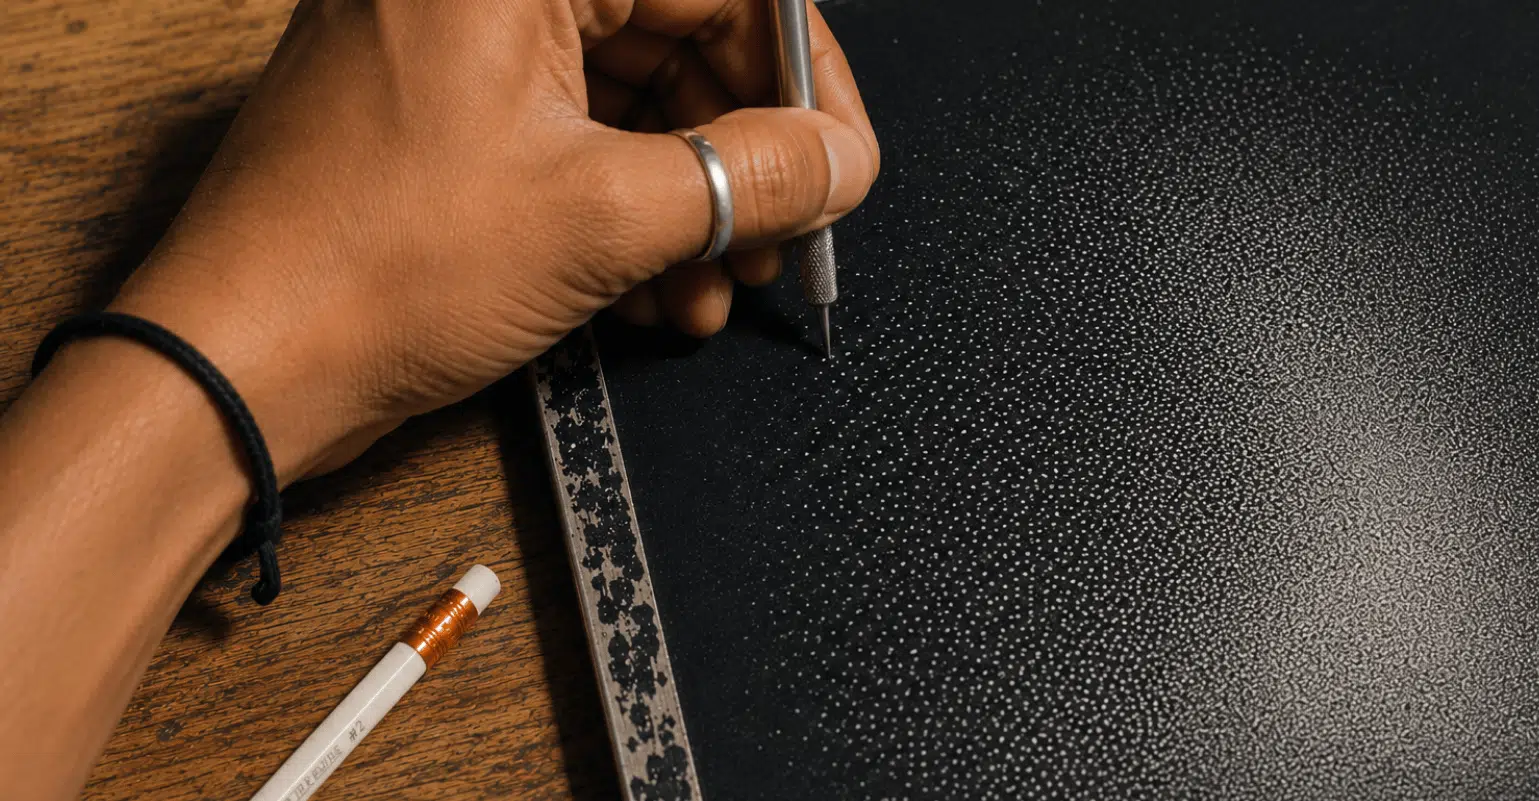
It’s a technique in which scratch lines and textures are made into a surface coated with dark ink. Beneath the black layer is usually a white clay surface, which becomes visible as you scratch away the top coating.
Unlike traditional drawing, where you add dark lines onto white paper, scratchboard works in reverse.
Darkness is removed to create light, which creates highly detailed artwork with striking contrast and dramatic effects.
The art is commonly used for animal, nature, and floral paintings. The medium is popular among hobbyists and professional illustrators because it allows for incredible detail and texture
Why Scratchboard Art is So Popular?
It has gained popularity because it offers a unique artistic experience that feels both relaxing and rewarding. It has gained popularity for:
- Highly Detailed Results: Scratchboard art creates fine lines and detailed textures, making hair, fur, feathers, and intricate patterns look striking and realistic.
- Beginner-Friendly: Even simple designs can look impressive thanks to the bold contrast between the black surface and the white scratched lines.
- Therapeutic and Relaxing: The slow, rhythmic scratching process feels calming, improves focus, and encourages creativity through repetitive, mindful artistic movements.
- Diverse Art Style: Scratch art works beautifully for realistic, abstract, decorative, and playful designs across a wide range of artistic themes and subjects.
Basic Scratch Art Ideas You Need to Try
Learning a few simple techniques can help improve your artwork quickly. These techniques form the foundation of the art and allow beginners to experiment with different artistic styles:
1. Line Scratching
Line work is the most common scratchboard technique. It uses thin, controlled scratches to build shapes, shadows, and textures across the board.
How to do it:
- Hold the tool lightly for better control and cleaner lines
- Scratch slowly so each line looks intentional and neat
- Practice both curved and straight lines to build hand confidence
- Layer lines gradually to create darker shading without damaging the board
2. Cross-Hatching
Cross-hatching builds depth and realistic shading by scratching lines in multiple directions. It works especially well for portraits, fur textures, and dramatic lighting effects.
How to do it:
- Scratch lines in different directions to create shadows and depth
- Keep lines evenly spaced for a smooth, controlled texture
- Add extra layers gradually to build contrast without over-scratching
3. Stippling
Stippling uses tiny individual dots instead of lines to build texture and shading. It creates soft gradients and works beautifully for nature-themed artwork.
How to do it:
- Place small dots close together for darker areas and spread them out for lighter tones
- Use stippling for realistic shadows, skin textures, and atmospheric backgrounds
- Keep a steady hand and work slowly, as rushing can make the dots look uneven
- Build up dot layers gradually to deepen contrast without over-scratching the surface
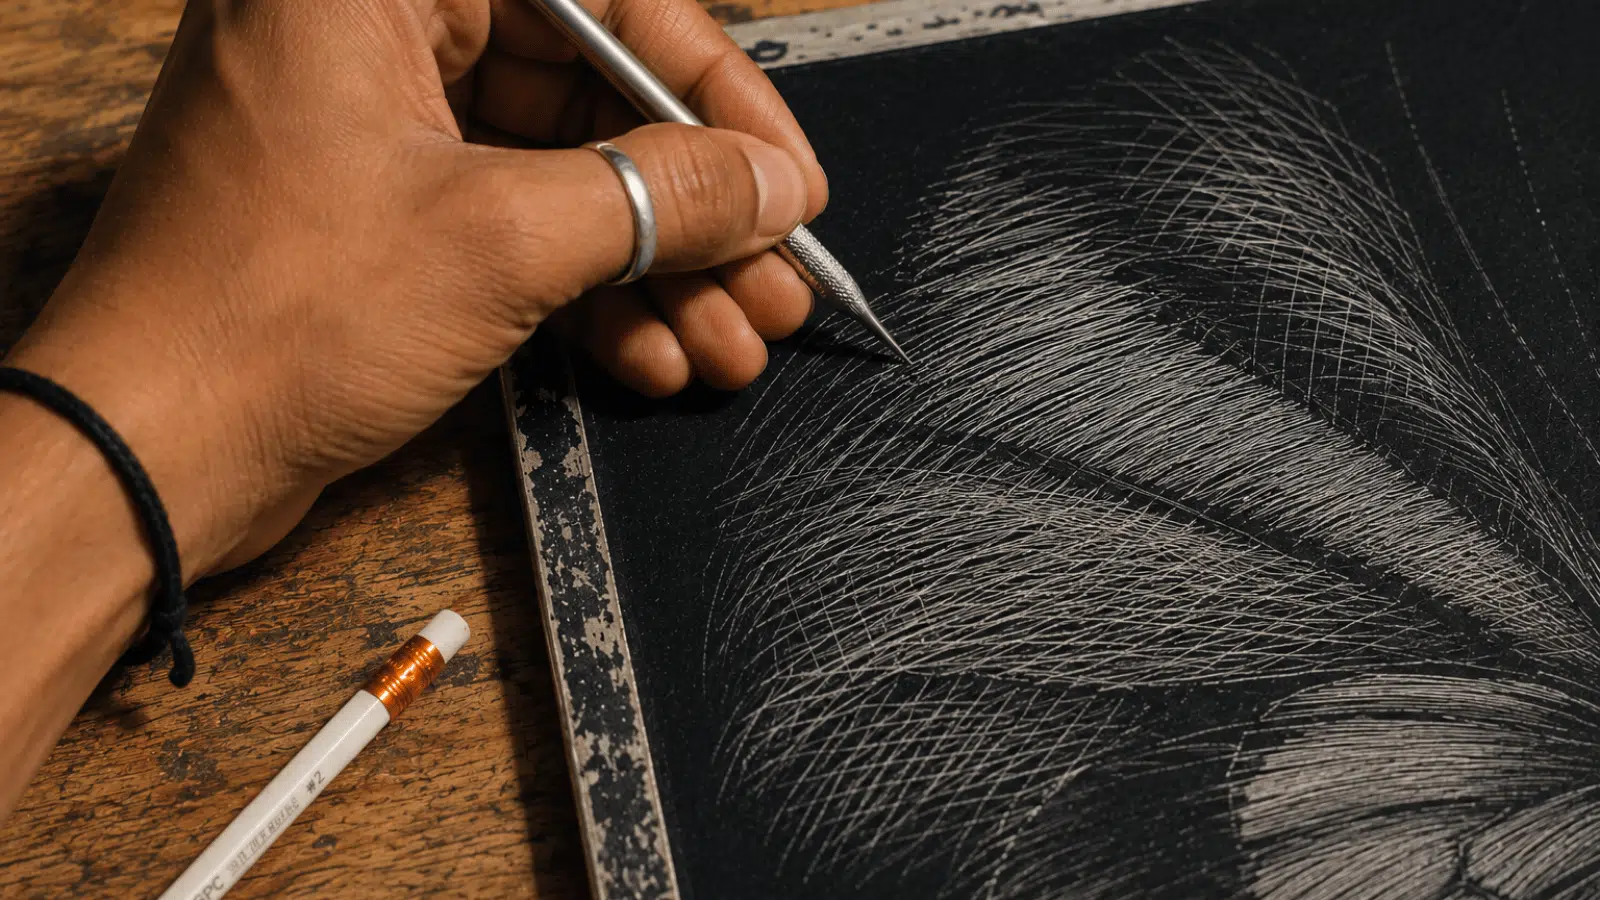
4. Feathering
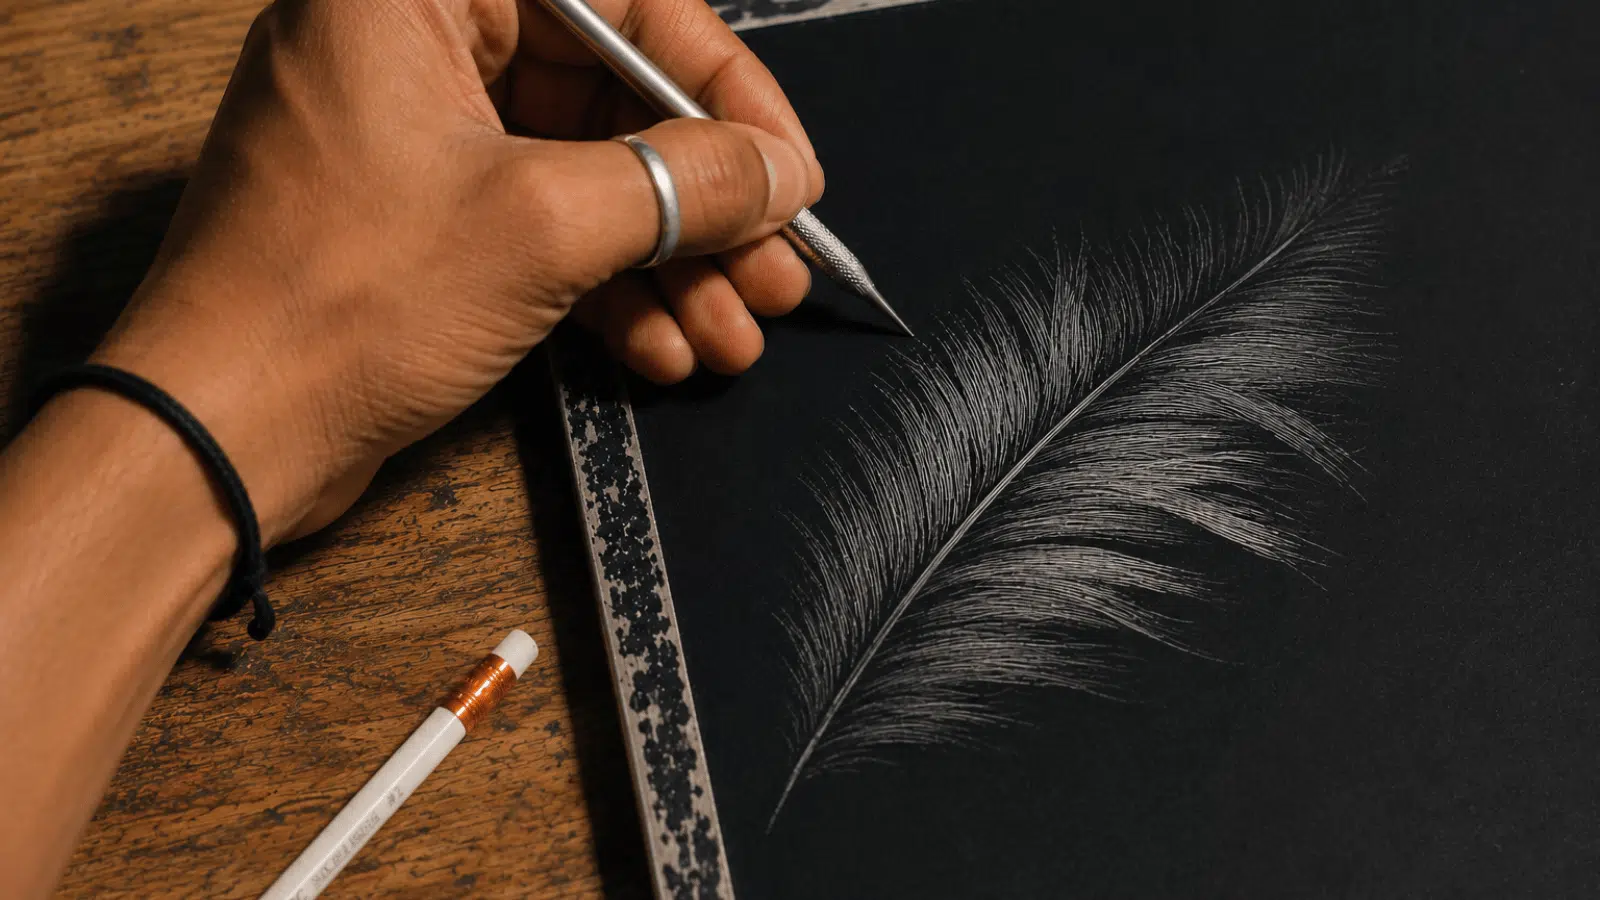
Feathering creates short, soft strokes that mimic the look of feathers, fur, or hair. It adds natural movement and softness to any scratchboard design.
How to do it:
- Create short, light strokes that taper at the ends
- Use this for animal fur, bird feathers, grass, and hair textures
- Vary stroke length and pressure to blend highlights and shadows smoothly
Tools and Materials Needed for Scratch Art
Having the right tools makes a big difference in scratchboard art. Without the proper materials, even a skilled artist can struggle to get clean, precise results. The basic part is that the basic supply list is short and affordable.
| Tool/Material | Purpose |
|---|---|
| Scratchboard Panel | The main surface for scratching |
| Scratching Tool/Nib | Creates lines, dots, and textures |
| Ruling Pen | For long, straight lines |
| Burnisher | Smooths and polishes the surface |
| Ink (Black) | To re-ink areas if needed |
| Soft Brush | Removes loose debris while working |
| Lightbox (optional) | Helps trace reference images |
| Eraser | Cleans up pencil sketch marks |
Step-by-Step Guide to Creating Scratchboard Art

Creating scratchboard art does not have to feel overwhelming. With the right tools and a clear process, even a complete beginner can produce artwork that looks polished and detailed.
Here is a simple step-by-step breakdown to get started.
Step 1: Choose and Prepare Your Scratchboard
Not all scratchboards are the same, and picking the right one matters more than most beginners realize.
Scratchboards come in two main types: clay-coated and wood-based, and each gives a slightly different feel when scratched.
Clay-coated boards are generally smoother and better suited for fine detail work, making them a popular choice for beginners. It is worth testing a small piece before committing to a full composition.
Step 2: Sketch Your Design
Before any scratching begins, having a clear plan on the board saves a lot of time and frustration later.
A light pencil sketch works well as a guide, and some artists prefer to use a lightbox to trace a reference image directly onto the surface.
Keep the sketch simple and avoid pressing too hard, as deep pencil marks can interfere with the scratching process. The goal here is just to map out the basic shapes and key areas of the composition.
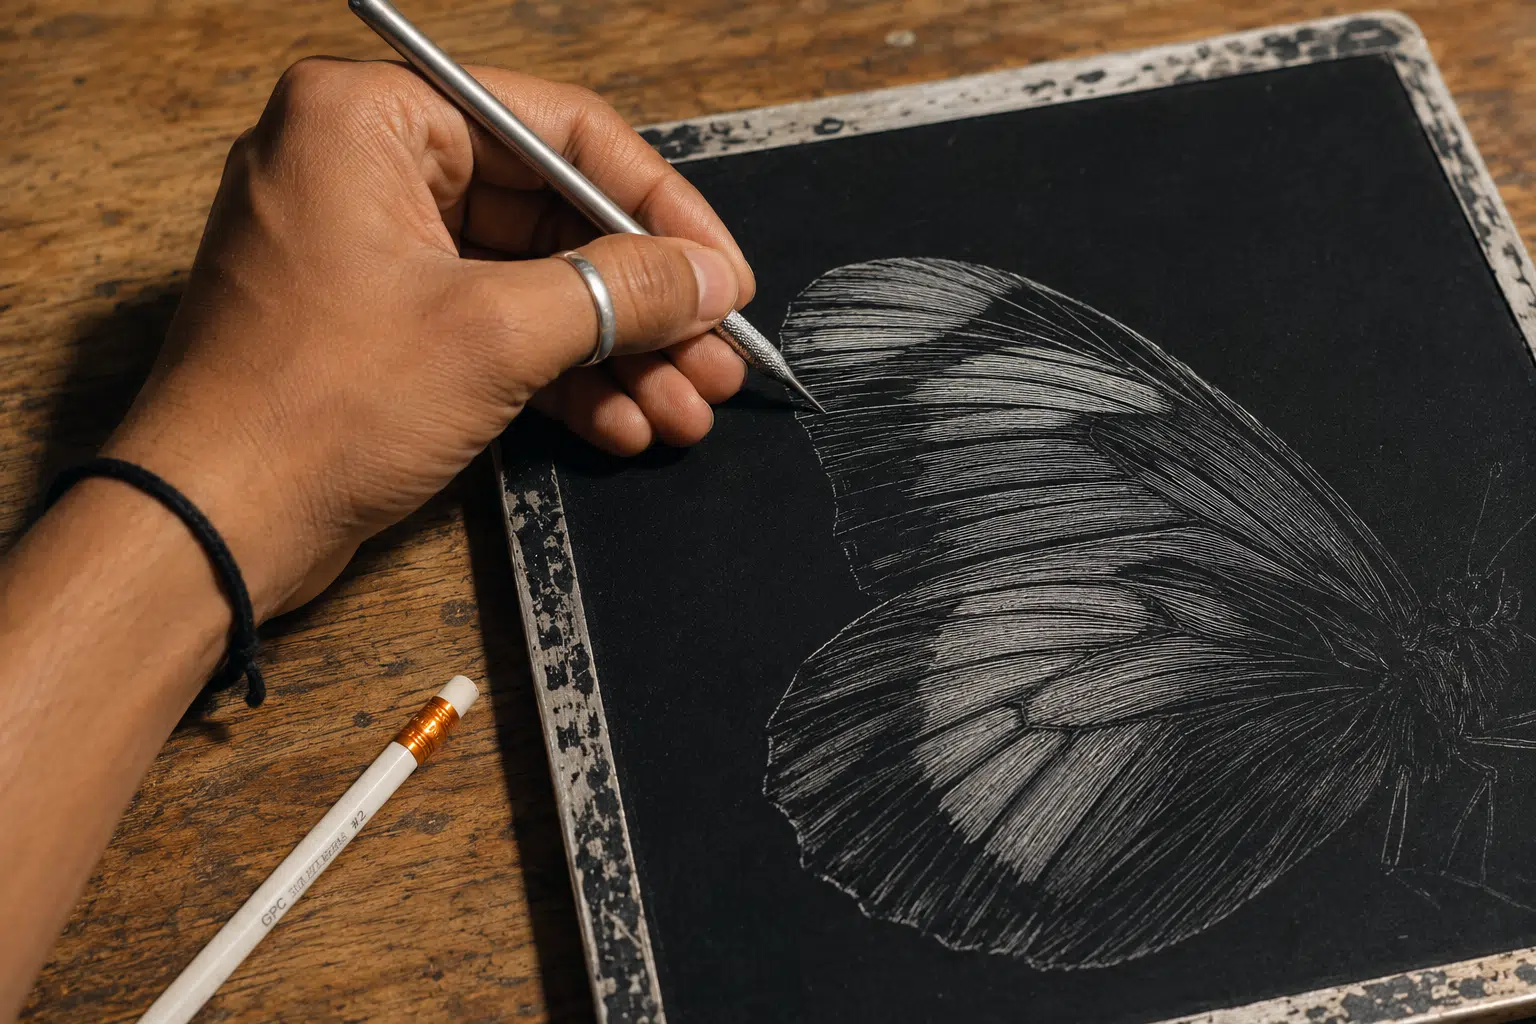
Step 3: Start Scratching
This is where the real work begins. Start with the lightest areas of the design first, since those will require the most scratching to bring out.
Work slowly and use light pressure at the start; it is much easier to scratch more than to fix an over-scratched area.
Moving from broad strokes to finer details as the piece develops helps maintain better control throughout the process.
Step 4: Build Texture and Shading
Once the basic shapes are in place, it is time to add depth and dimension. Use techniques like line work, cross-hatching, or stippling to create shadows and highlights across different parts of the design.
Varying the pressure and spacing of scratches makes the shading look more natural and less mechanical. This stage takes patience, but it is also where the artwork really starts to come to life and show its full potential.
Step 5. Review and Add Final Details
Take a step back and look at the full composition before calling it finished. Check for any areas that need more contrast, sharper lines, or additional texture.
A magnifying glass can help spot small imperfections that are easy to miss with the naked eye.
If needed, black ink can be applied over any area that was accidentally over-scratched, allowing that section to be reworked once the ink dries completely.
Other Scratchboard Art Ideas Worth Trying Out
Picking the right subject is half the battle when starting out with scratchboard art.
Some themes naturally suit the medium better than others, and starting with those can make the learning process much smoother and more rewarding.
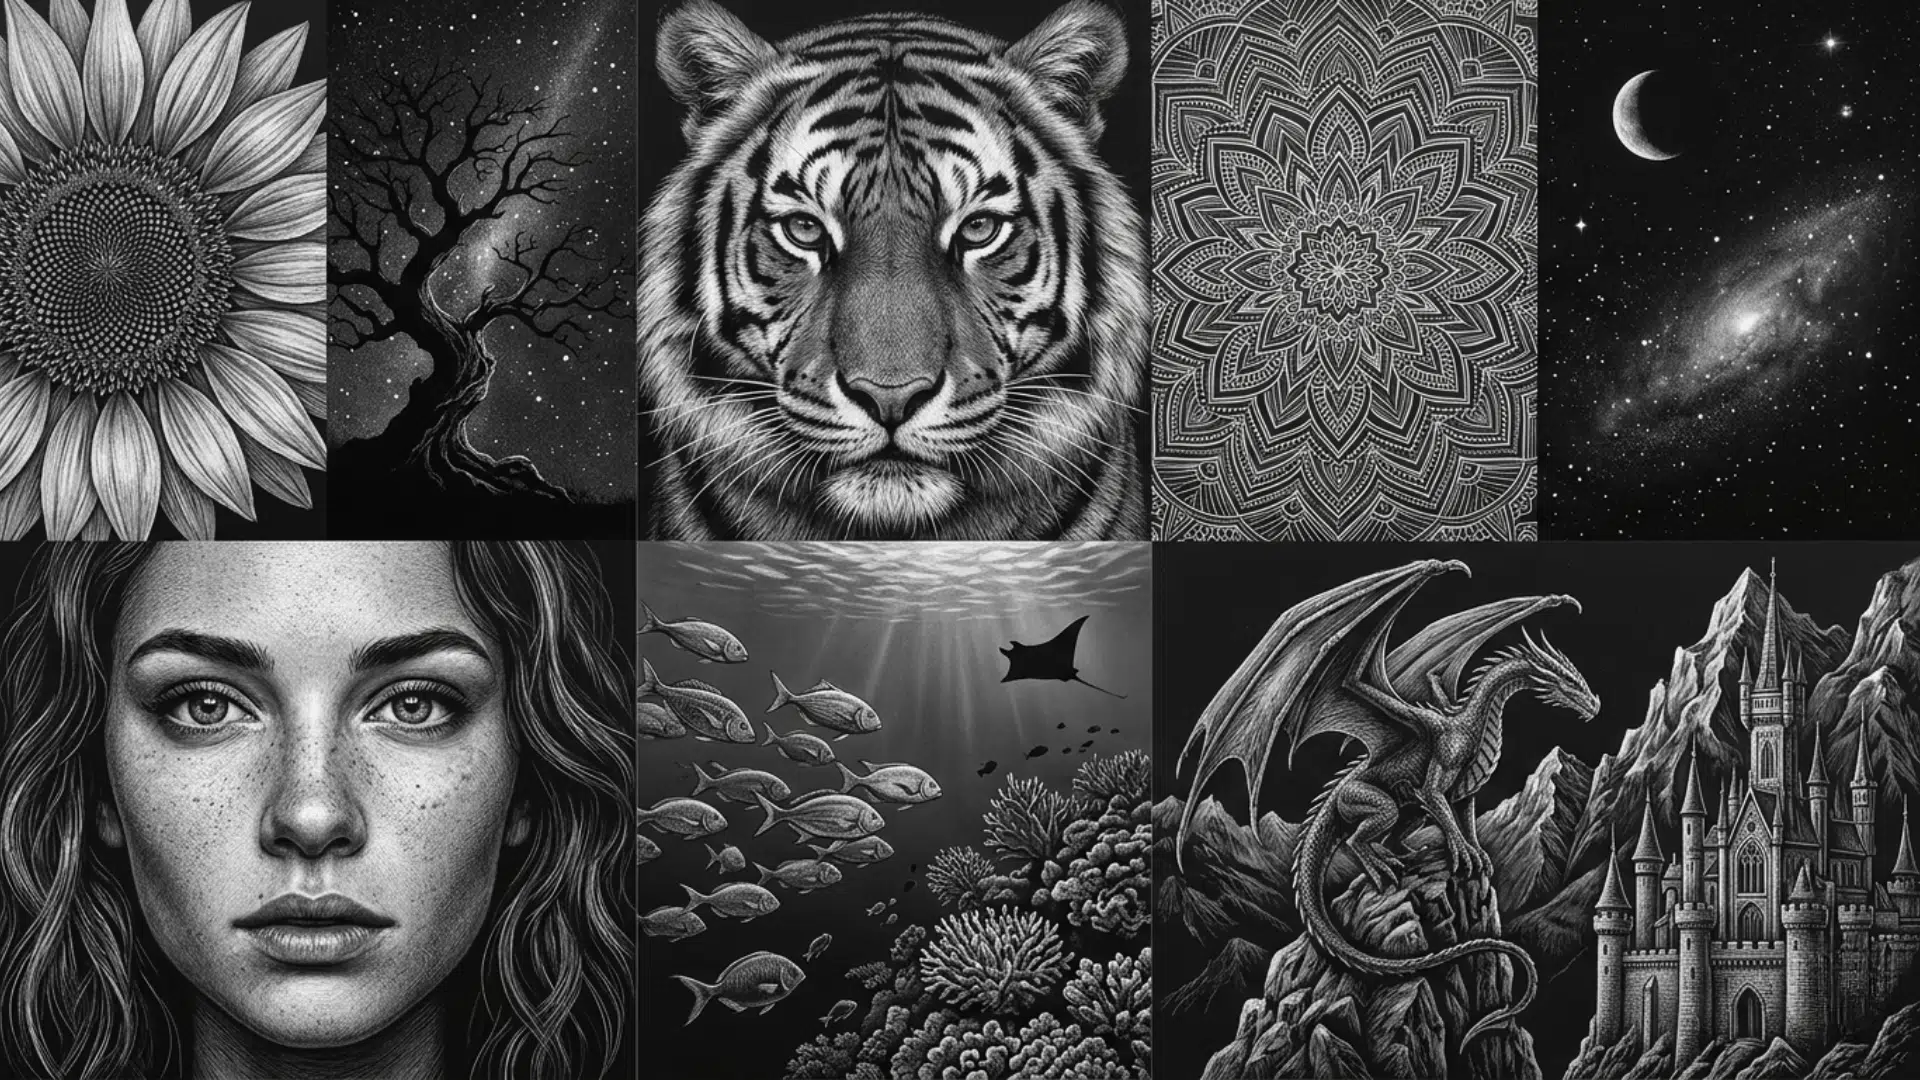
1. Nature-Inspired Art
Nature subjects are among the easiest and most beautiful options for art as they naturally contain textures and patterns.
You can create:
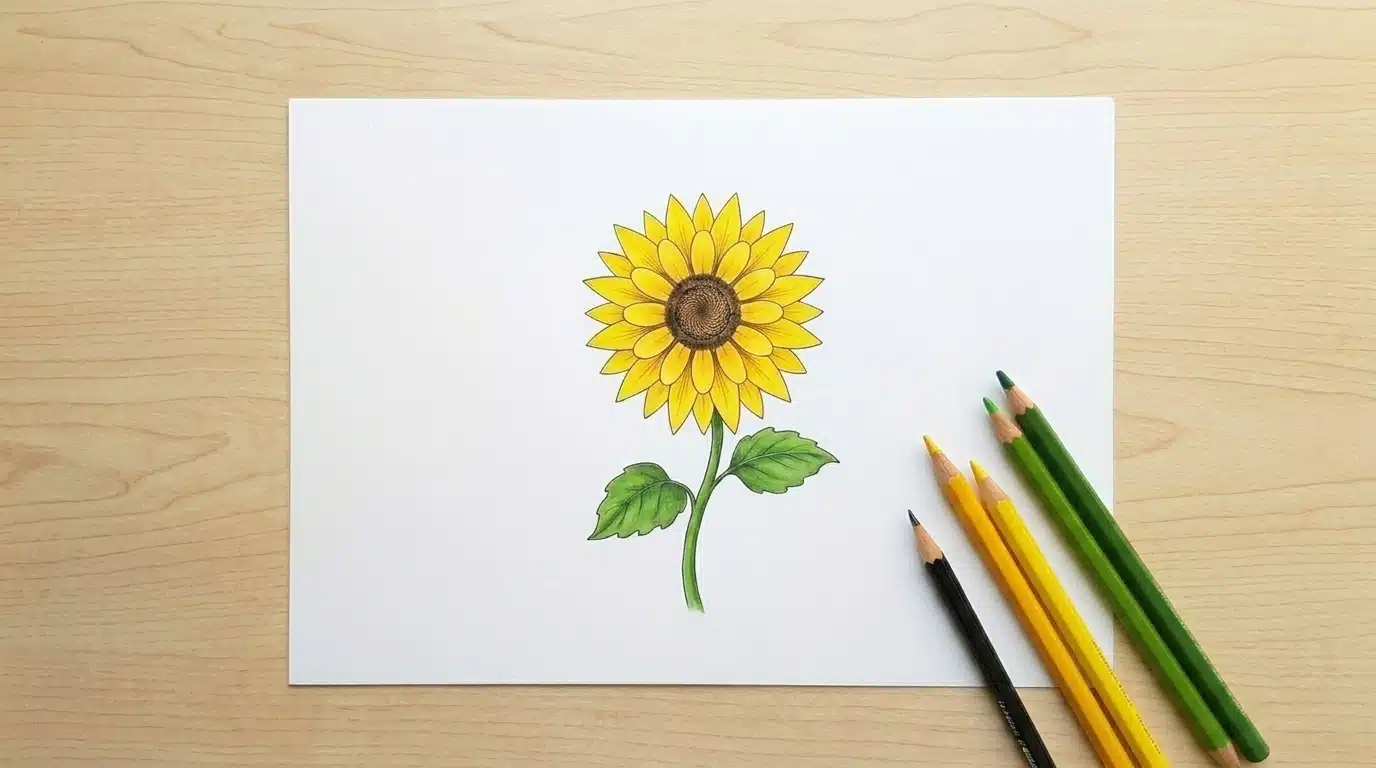
- Sunflower designs with detailed petals
- Tree silhouettes against dark skies
- Tropical leaf patterns
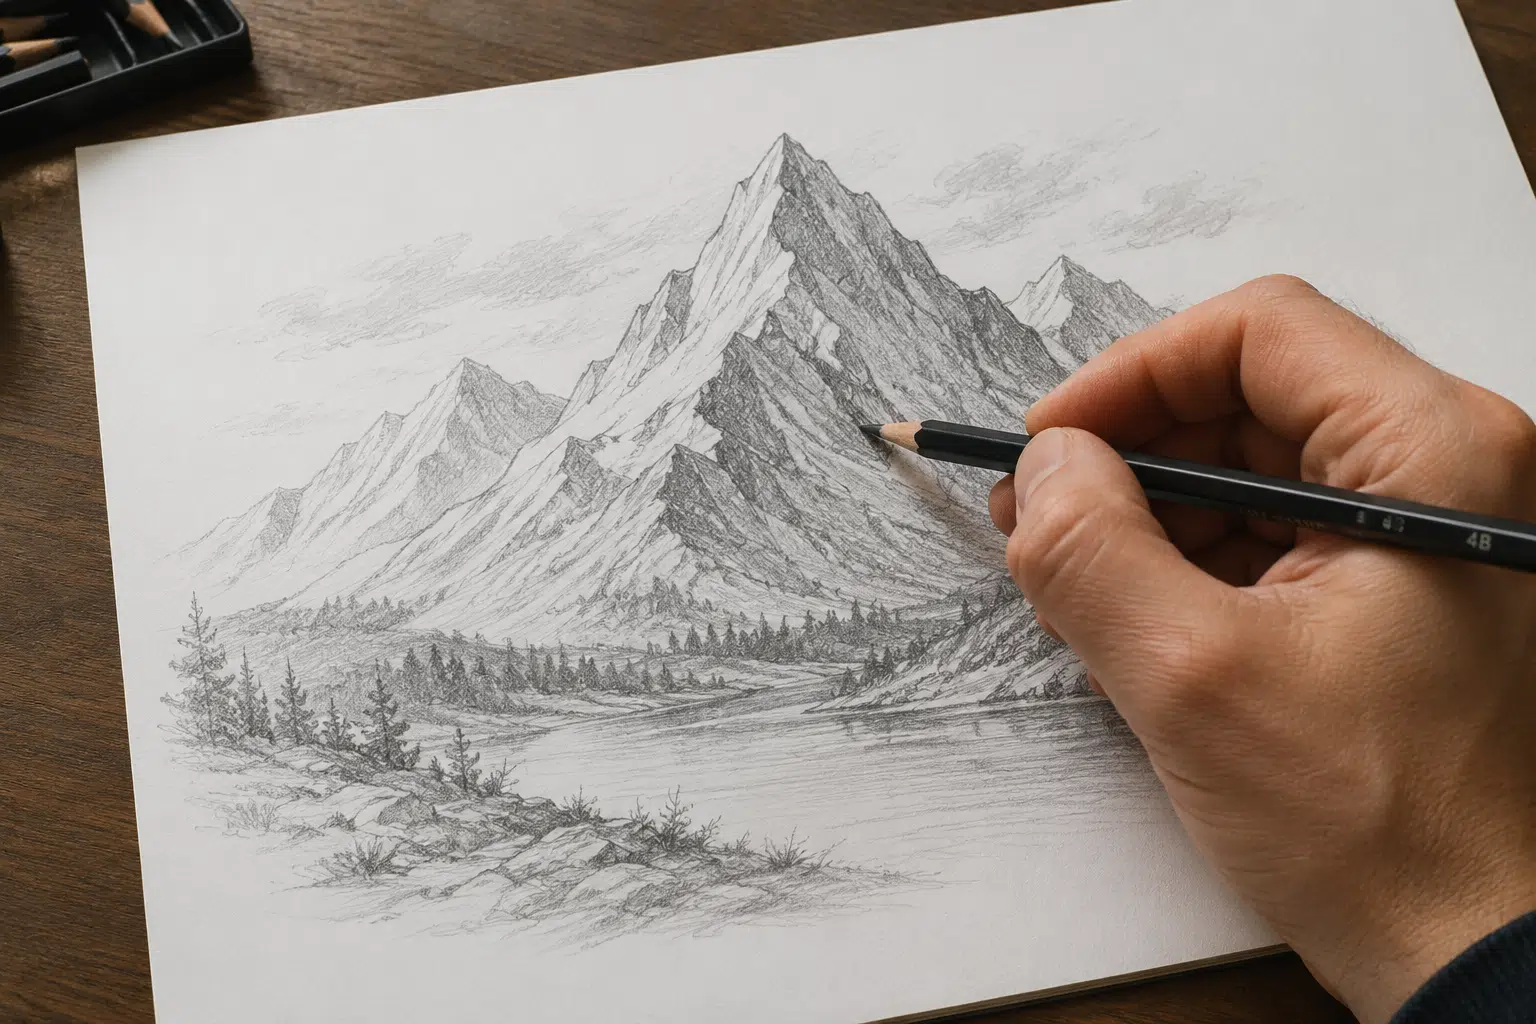
- Mountain scenes with stars and moons
2. Animal Portraits
Animals are among the most popular subjects for scratch art because fur, feathers, and scales look incredibly detailed on scratchboard.
Beginner-friendly animals include:
- Cats and dogs
- Owls and parrots
- Butterflies
- Fishes and sea animals
- Birds
3. Mandalas and Geometric Patterns
Geometric patterns look visually striking because of the high contrast in scratchboard art.
Some Mandalas and Geometric Patterns include:
- Circular mandala designs
- Zigzag patterns
- Tribal-inspired artwork
- Repeating floral patterns
- Abstract line art
4. Night Sky and Space Themes
Scratchboard art naturally complements dark themes like outer space because of its black color.
Creative space-themed ideas include:
- Crescent moons
- Star constellations
- Galaxies
- Shooting stars
- Planet illustration.
5. Portrait and Face Art
Portrait-style scratch art can look incredibly dramatic, with the white lines standing out beautifully against the black surface.
Beginner-friendly portrait ideas include:
- Side-profile face silhouettes
- Eyes with detailed eyelashes
- Minimal line-art portraits
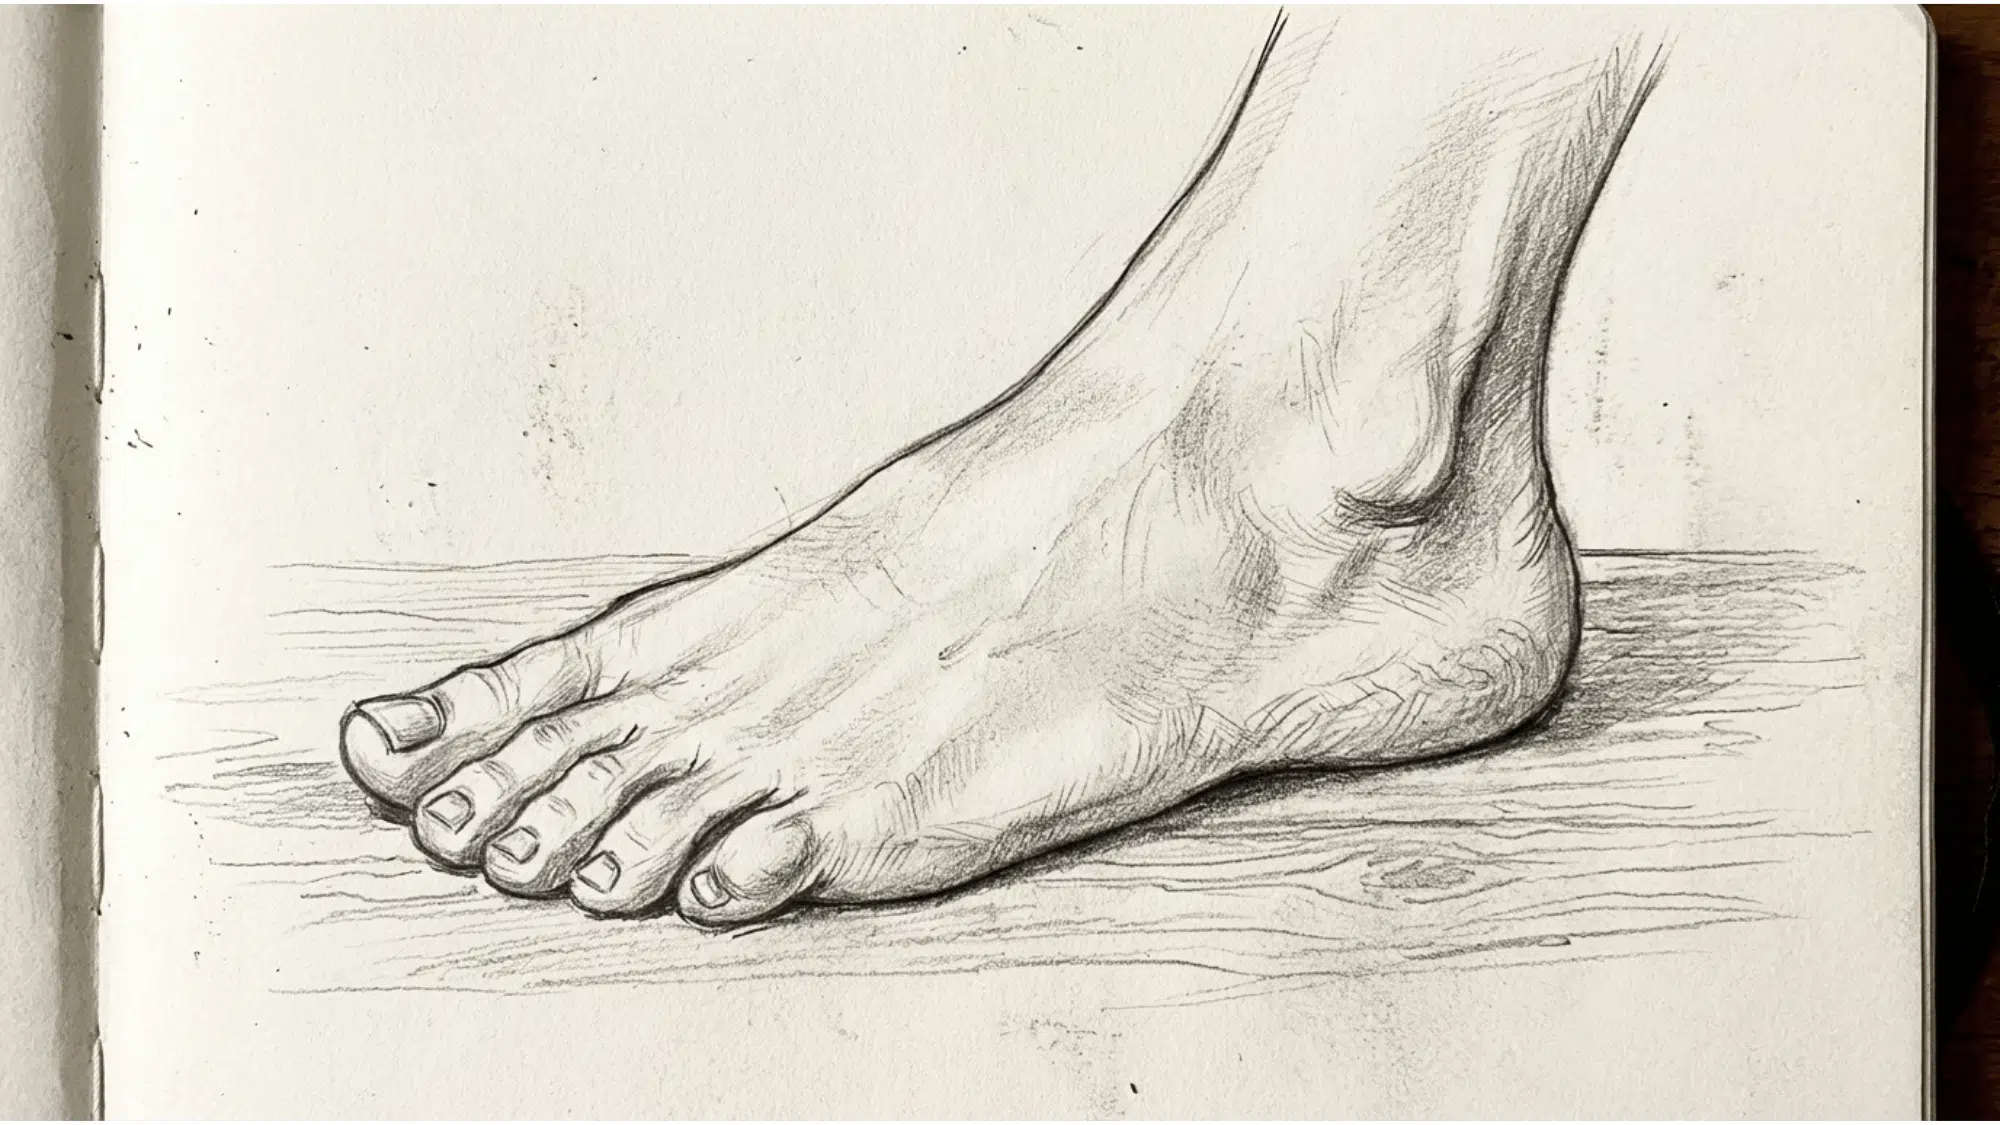
- Hands and facial expressions
- Vintage-style character sketches
6. Ocean and Underwater Scenes
Underwater themes work perfectly for scratchboard art because flowing lines and textured details create a sense of movement and depth.
You can create:
- Coral reef patterns
- Jellyfish with flowing tentacles
- Ocean waves and foam textures
- Sea turtles and dolphins
7. Fantasy and Magical Designs
Fantasy-inspired scratch art allows you to experiment with glowing effects, dramatic contrast, and imaginative textures.
Creative fantasy ideas include:
- Dragons with textured scales
- Fairy silhouettes with glowing wings
- Magic potion bottles
- Castle scenes under moonlight
Tips to Improve Your Scratchboard Art
Mastering it takes patience, precision, and practice. These simple tips can help you improve your control, create cleaner textures, and make your artwork look more detailed and professional:
- Practice Line Control: Practice smooth, curved, and straight line control.
- Study Textures Carefully: Study natural textures for realistic scratch details.
- Experiment with Different Tools: Test tools for varied scratch effects.
- Start with Simple Subjects: Begin with simple shapes and patterns.
- Use Light Pressure First: Scratch lightly to avoid harsh marks.
- Work from Light to Dark Areas: Build contrast gradually with layered shading.
- Keep Your Workspace Clean: Remove dust and scratches for clear visibility.
- Use Reference Images: Follow references for accurate textures and proportions.
- Practice Consistent Strokes: Maintain even strokes for cleaner detailing.
- Take Breaks Frequently: Prevent hand strain during detailed scratching.
Final Thoughts
Now you know that the art is a wonderful creative outlet for artists of all skill levels. It encourages patience, attention to detail, and experimentation, resulting in visually striking outcomes.
Irrespective of what you want to create, whether realistic portraits or decorative patterns, scratchboard offers never-ending opportunities for creativity.
The bold contrast and textured effects make every piece unique and eye-catching.
So, enjoy the process and always remember it’s one scratch at a time. Eventually, you’ll just realize how diverse and satisfying the art form can be.