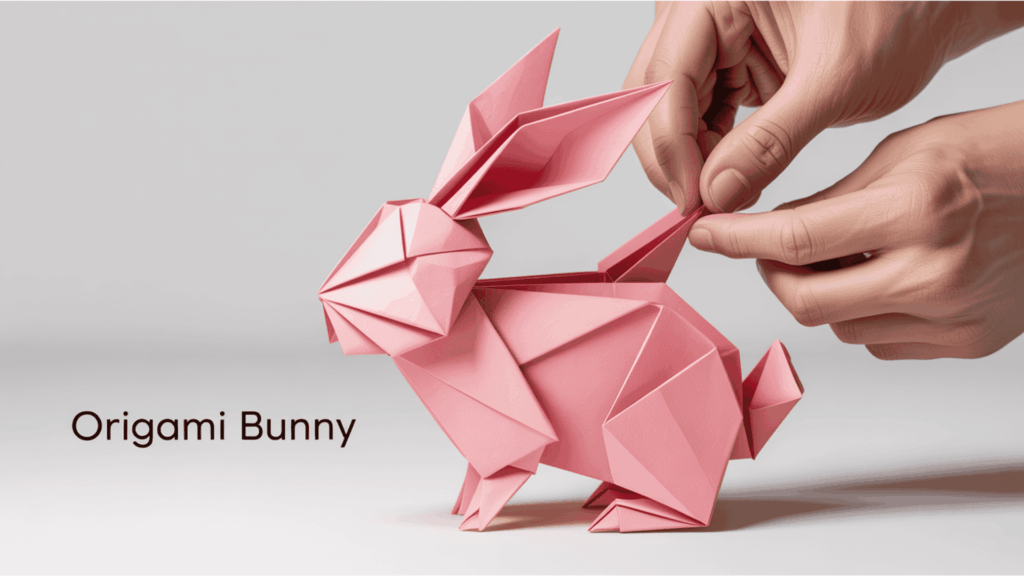
Origami is an art that converts a simple square sheet of paper into charming creations using just folding techniques.
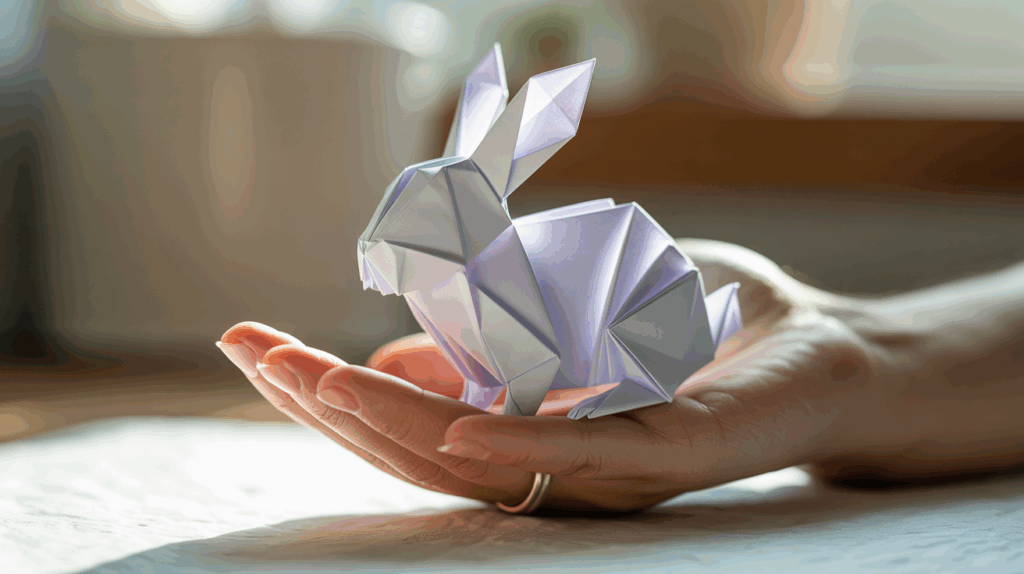
People everywhere enjoy this ancient Japanese craft because it combines creativity with a sense of calm focus. In this blog, readers will learn how to fold a delightful bunny origami, finding essential folds such as the swivel and squash.
This project is suitable for those with some experience, yet remains accessible to a wide range of individuals. Along the way, they’ll find how each fold adds personality to the bunny, from its perky ears to a soft cotton tail.
Origami opens a world of possibilities where patience and fun meet. Whether making gifts or decorations, anyone can enjoy folding these paper rabbits.
Disclaimer: Please note that origami models can vary widely based on paper type, size, folding precision, and angles. The images shown in this blog are for illustrative purposes only and may differ from your finished origami bunny.
Why Is Origami Art so Famous Among Children?
Origami interests children worldwide because it changes a simple piece of paper into magical creatures and objects using only their hands.
This ancient art form appeals to young minds by combining creativity with achievable challenges. Kids experience instant satisfaction when a flat square suddenly changes into a jumping frog or a flapping bird.
The beauty of origami lies in its accessibility. Children don’t need expensive supplies or special tools; they just need paper and patience.
Each fold teaches spatial reasoning and following directions while building fine motor skills essential for writing and drawing.
Step-by-Step Process for Folding a Bunny Origami
The following instructions break down each fold into simple, manageable steps. You’ll start with basic folds that form the foundation, then gradually shape the distinctive features, such as perky ears and a cute cottontail.
Each step builds naturally on the previous one, so take your time and focus on making clean, precise creases.
Step 1: Preparing the Base

Start with a Diagonal Fold
Begin your bunny journey by positioning your paper correctly. Place the paper color side down on your work surface. This is crucial because the color facing down will become the visible exterior of your finished bunny.
- Fold the paper diagonally from corner to corner
- Crease firmly to create a clean, sharp triangle
- Unfold to reveal the center guideline
Position and Fold Corners
Now you’ll create the foundational shape that will change into your bunny. This step sets up the entire structure, so take your time to align everything precisely.
- Bring both lower corners upward to meet at the top point
- Align edges carefully for symmetry
- Ensure the open part of your fold points downward
- Press creases firmly for crisp, defined edges
- These initial folds might seem simple, but they’re the backbone of your bunny’s structure.
Step 2: Shaping the Sides
Fold to the Center
Take your diamond-shaped paper and create the classic kite formation. This step narrows the model and prepares it for the three-dimensional folds ahead.
- Fold the left edge into the center line
- Fold the right edge to meet at the center
- Press firmly to create a kite or ice cream cone shape
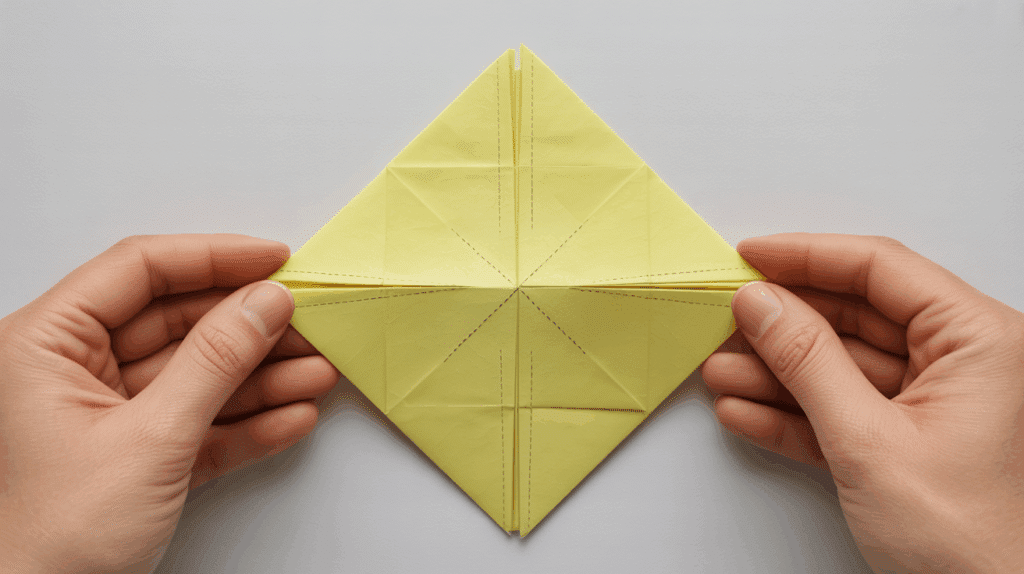
Prepare for Squash Fold
Adding guide creases now will make the next step much easier. Though optional, these reference lines help ensure accuracy.
- Create a light angle bisector crease on each side
- Fold at 45 degrees, crease gently, then unfold
- These marks will guide your squash folds
Step 3: Squash Folds for Structure
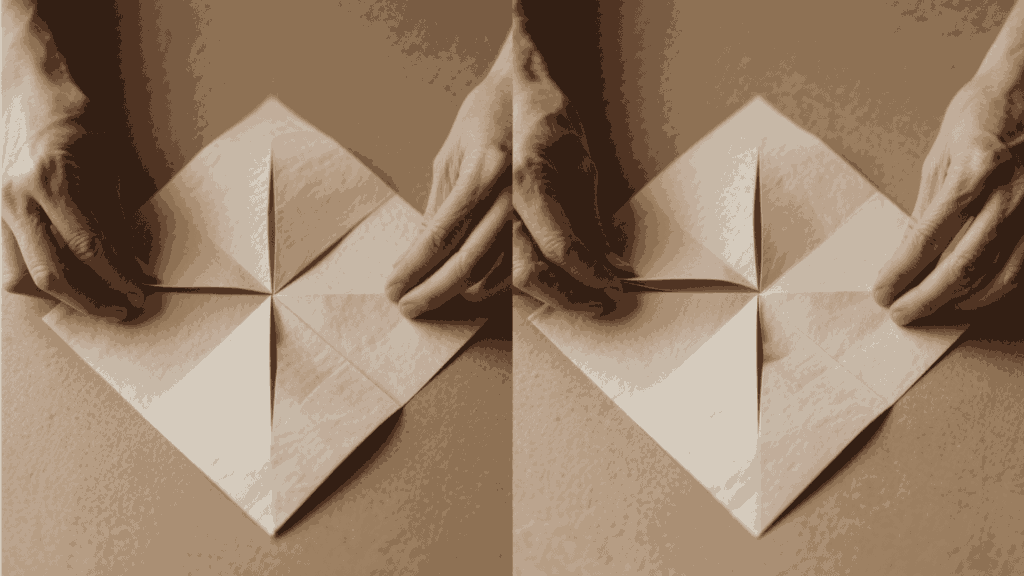
Open and Squash the Layers
This crucial step changes your flat model into a dimensional form. Work slowly to avoid tearing the paper.
- Locate the four layers (two on each side)
- Gently separate and open these layers
- Press down from above while guiding the paper flat
- Ensure the fold creates a symmetrical diamond shape
Repeat on the Other Side
Consistency is key for a balanced bunny. Match your second squash fold exactly to the first.
- Mirror the same technique on the opposite side
- Check that both sides align perfectly
- Adjust if needed before moving forward
Step 4: Forming the Bunny’s Ears
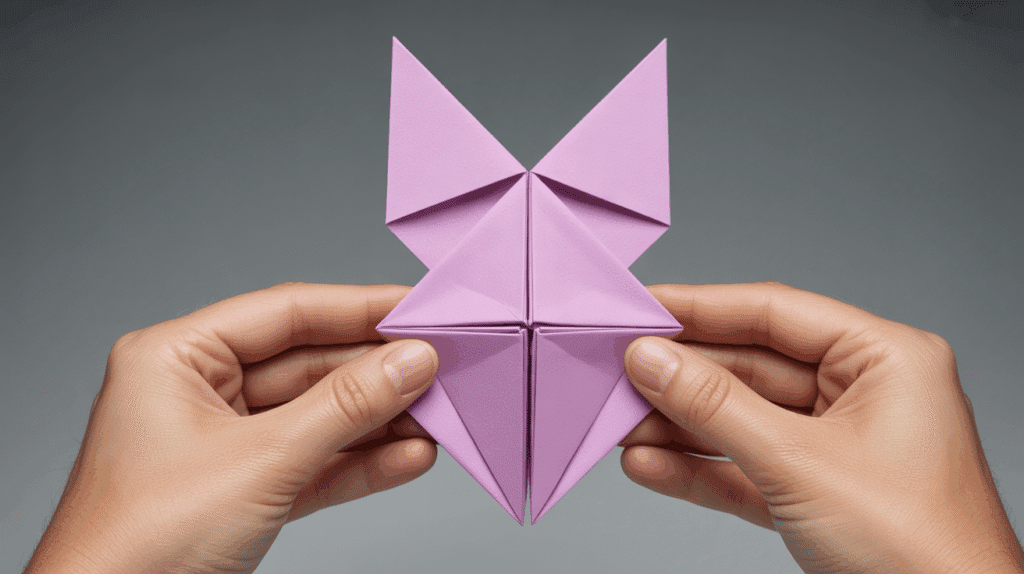
Fold the Model in Half
Bring your model together lengthwise. The pointed sections that will become ears should be clearly visible.
- Fold the model in half along its length
- Position the ear sections at the top
- Keep the body compact and aligned
Swivel Fold the Ears
This distinctive fold gives your bunny its characteristic alert appearance. Take care to make both ears match.
- Grasp one ear section and swivel outward
- Create approximately a 45-degree angle
- Flatten and secure the fold
- Repeat with the second ear for symmetry
Step 5: Shaping the Head and Body
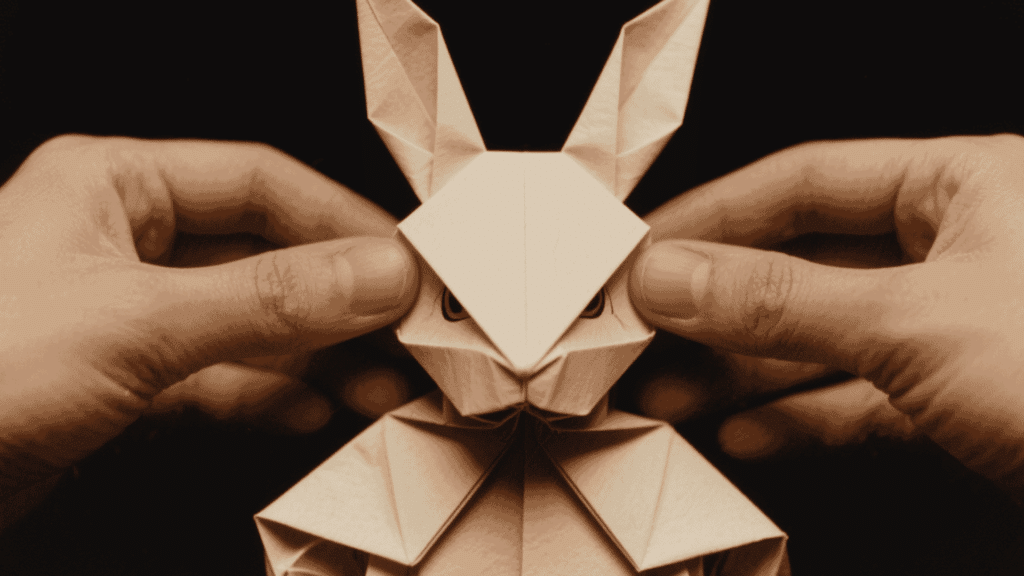
Fold and Align the Ears
Refine the ear position for a more realistic look. This step creates the proper angle between the ears and the head.
- Fold each ear inward toward the center
- Create a 90-degree angle where the ears meet the head
- Ensure inner edges align properly
- Press creases firmly to hold position
Create the Bunny’s Head
The head formation requires patience. Work gently to avoid damaging the delicate paper layers.
- Locate and separate the front layers below the ears
- Identify the natural fold line
- Crease and fold downward to form the face
- Adjust until the head sits at a natural angle
Step 6: Adding Final Details
These finishing touches bring character to your bunny. Handle thin paper sections with extra care.
- Inside-reverse fold the face tip to create a small nose
- Gently curve each ear for a natural appearance
- Avoid pulling too hard on ear tips (they tear easily)
- Adjust ear angles for personality
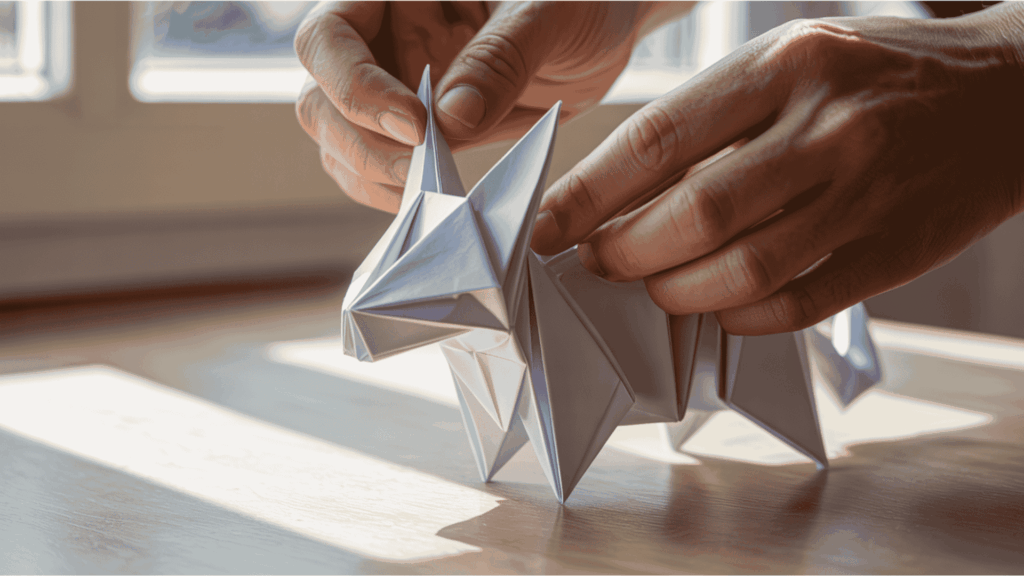
Step 7: Finish with Tail and Body
Complete Your Bunny with Realistic Body Features. the Tail and Curved Posture Make All the Difference.
- Add Two Reverse Folds at The Back for The Tail and Haunches
- Inside-Reverse Fold to Expose White Paper for A Cottontail Effect
- Shape the Spine with A Gentle Curve
- Press Lightly Along the Body for A Sitting Posture
Other Bunny Origami Projects to Try
Once you’ve mastered the basic bunny, a whole world of rabbit origami awaits, from simple five-minute designs like the inflatable balloon bunny to complex creations featuring detailed paws and realistic curves.
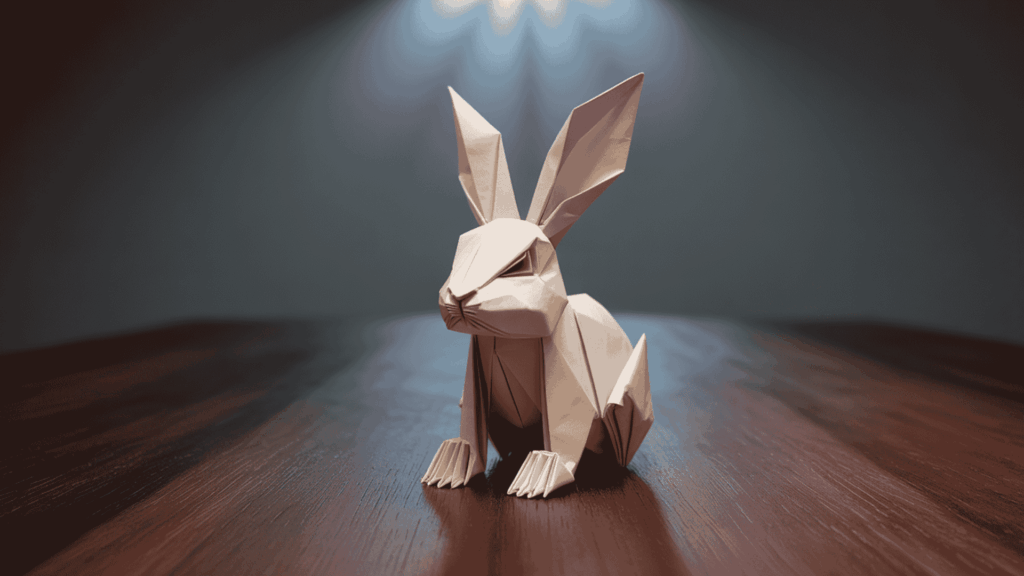
Traditional Japanese Sitting Bunny
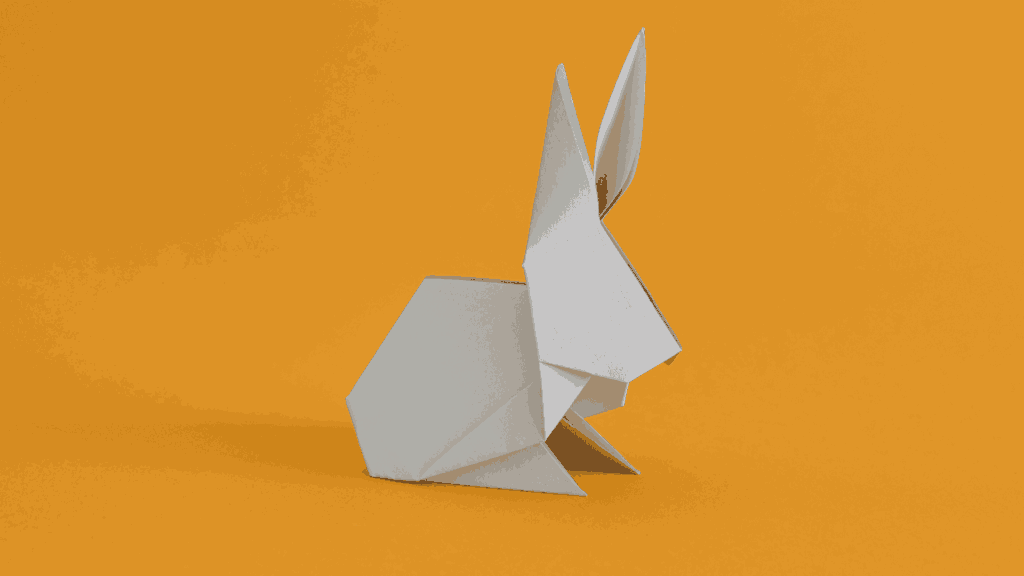
This never-ending design captures the serene posture of a resting rabbit with its legs tucked beneath its body, embodying the minimalist elegance of classic Japanese origami.
Using just basic valley and mountain folds, this model creates a peaceful bunny that sits perfectly upright, making it ideal for display or as a calming desk companion.
Long-Eared Lop Bunny

This charming variation features dramatically elongated ears that droop naturally beside the bunny’s face, mimicking the distinctive lop-eared appearance of the beloved breed.
The design requires an extra length of paper for the ears and utilizes gravity-assisted folds to achieve the signature drooping effect.
Bunny in A Basket Design
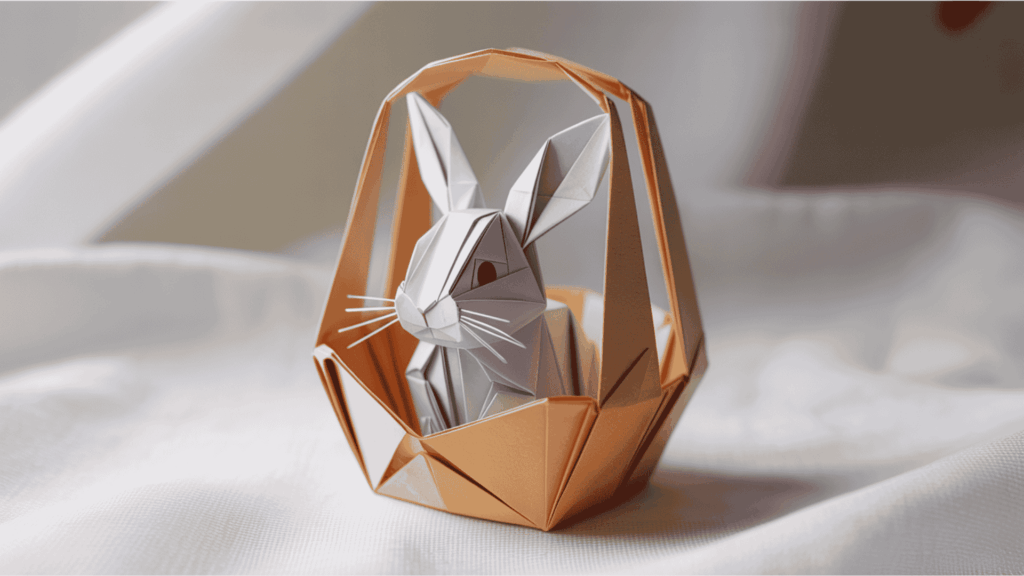
This charming intermediate-level project combines two origami elements into one delightful creation, featuring a small bunny nestled inside a woven-style paper basket.
The design requires two square sheets of paper, one for the basket base and another for the bunny, and takes about 20-30 minutes to complete, making it perfect for easter decorations or spring gift presentations.
Cartoon-Style Chubby Bunny
This adorable round bunny features an oversized head, tiny legs, and comically large cheeks, giving it a kawaii-inspired appearance.
The design employs inflation techniques similar to those used in traditional origami balloons, creating a plump, three-dimensional body that stands on its own and makes viewers smile with its exaggerated, cute proportions.
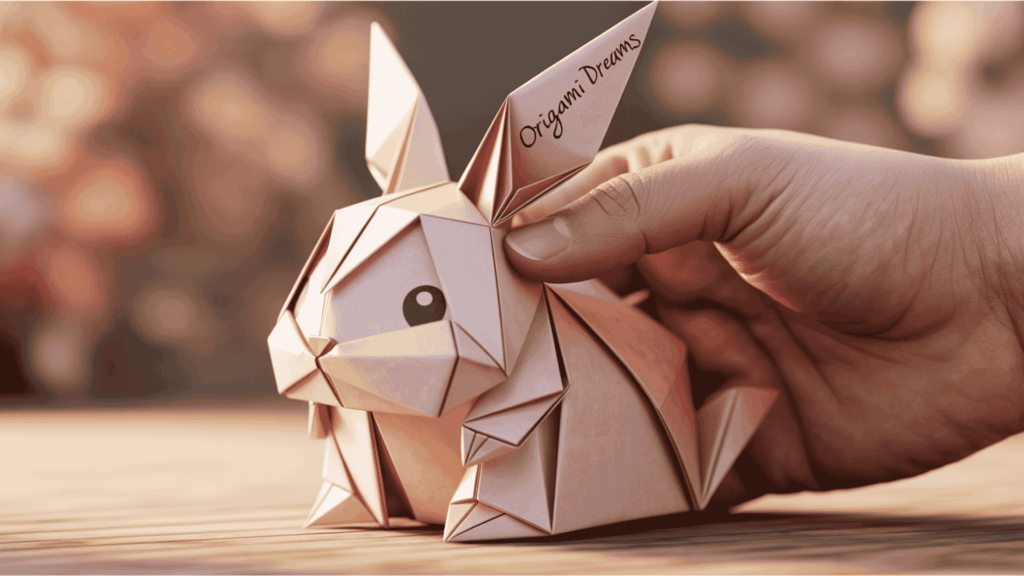
Full-Body Detailed Rabbit
This isn’t your average paper bunny; we’re talking about an origami masterpiece complete with individual toes, realistic body proportions, and details that’ll make you do a double-take.
Fair warning, though: this advanced project takes serious patience and probably a few practice runs, but the end result is a display-worthy rabbit that looks like it could hop right off your shelf.
Origami Bunny Garland Chain
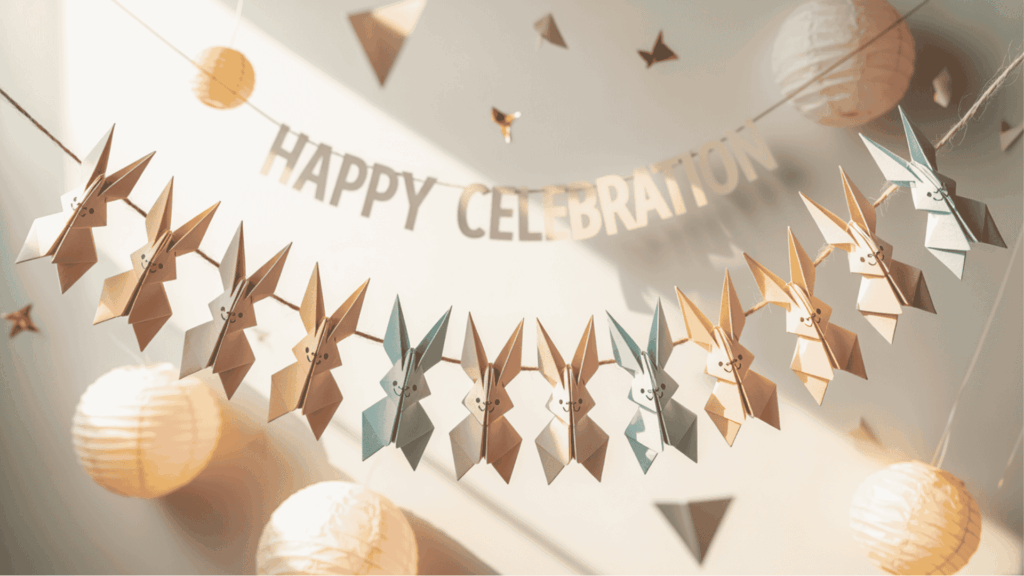
Create a Charming Decorative Garland by Folding Multiple Small Origami Bunnies and Connecting Them with String or Ribbon Threaded Through Their Ears or Bodies.
This Delightful Project Works Perfectly for Easter Celebrations, Spring Parties, or Nursery Decorations, Requiring Just Basic Bunny Folding Skills Repeated Across 8-12 Paper Squares in Coordinating Colors.
Bunny Hand Puppet
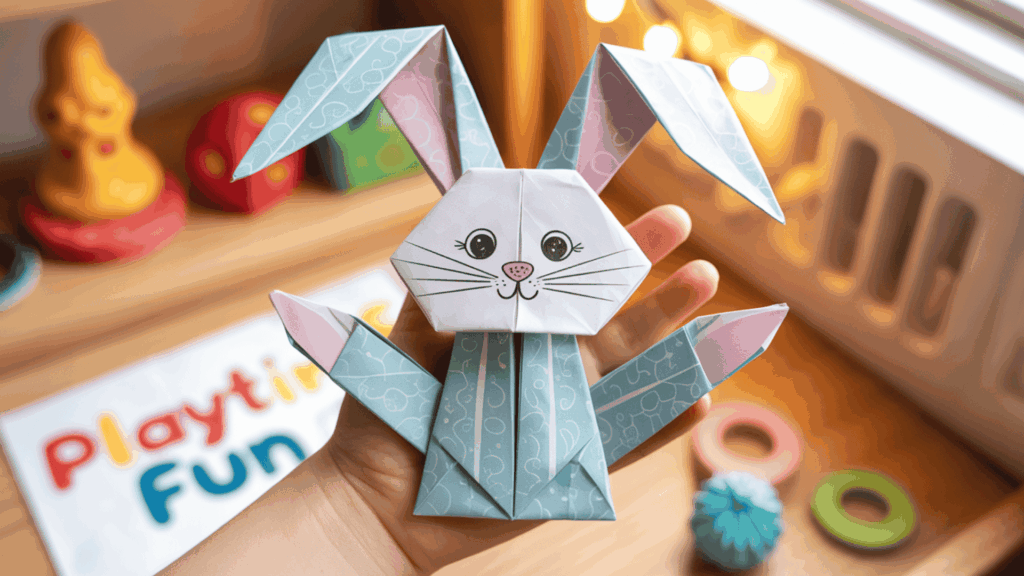
Change a Simple Square of Paper Into an Interactive Bunny Puppet that Fits Perfectly Over Your Fingers, Bringing Storytelling to Life with Movable Ears and An Animated Mouth.
This playful Design Uses Basic Folds to create a Pocket for Your Hand, Allowing You to make the Bunny “hop” and “talk” by Moving Your Fingers up And Down.
Origami Bunny Box with Lid
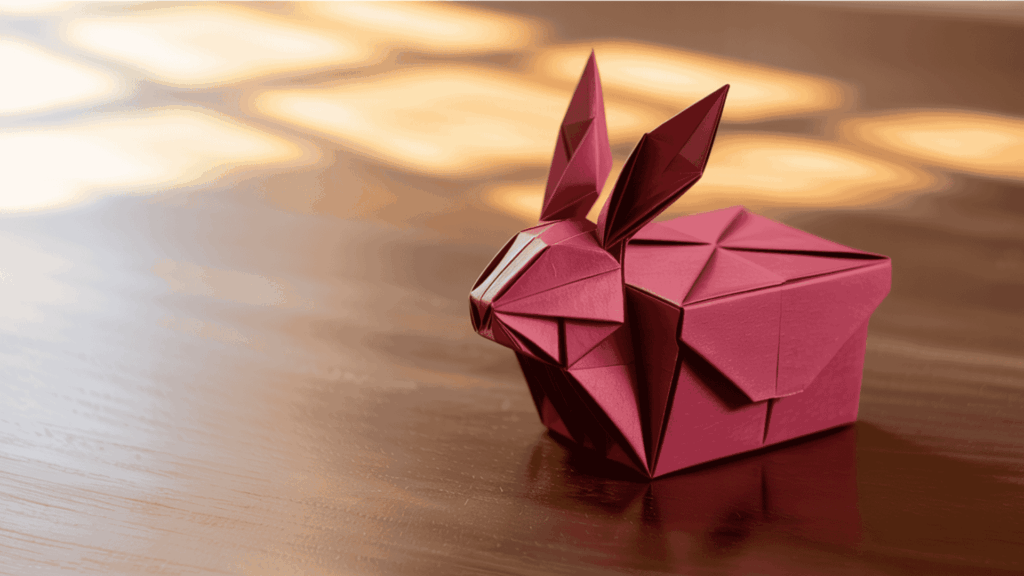
This Charming Functional Origami Project Combines a Decorative Bunny Design with Practical Storage Space, Perfect for Holding Small Gifts, Candy, or Jewelry.
The box features a Bunny-Shaped Lid with Upright Ears that doubles as A Handle, while the Base Provides a Hidden Compartment, Making It an Ideal Easter Basket Alternative or Party Favor that Guests Can Take Home and Actually Use.
Bunny Envelope for Letters
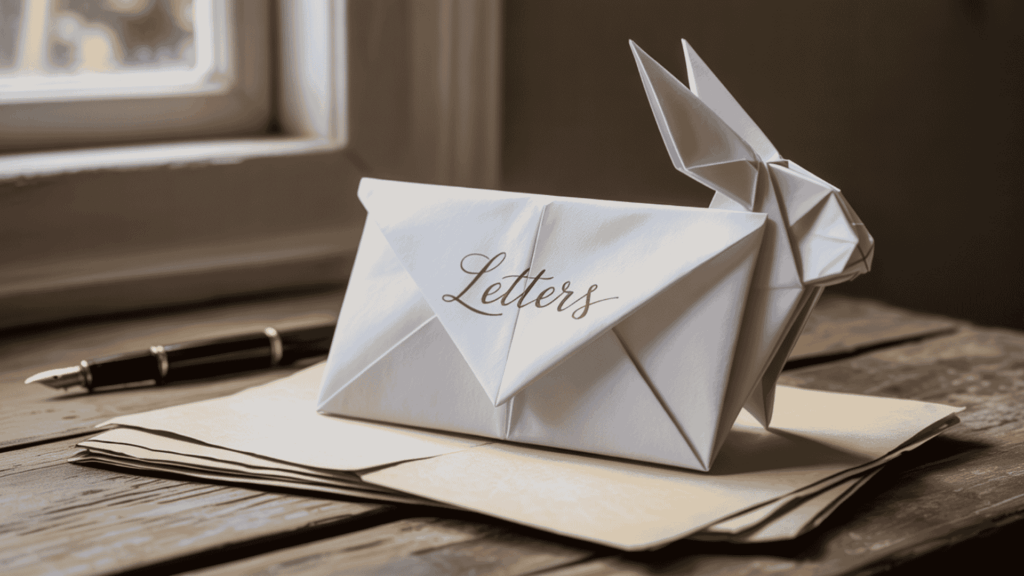
The Bunny Envelope changes a Standard Square of Paper Into a Charming Envelope Featuring Rabbit Ears that pop up when opened, Making It Perfect for Easter Cards, Children’s Party Invitations, or Special Spring Messages.
This Functional Origami Design Combines the Practicality of A Working Envelope with The Whimsy of A Bunny Face, Using the Flap Closure to Create Ears While the Body Forms a Pocket that Securely Holds Notes, Letters, or Small Flat Gifts.
The Last Fold
Creating origami bunnies offers a delightful blend of creativity and mindfulness that anyone can enjoy.
From simple five-minute projects to intricate designs, these paper rabbits bring charm to any space while teaching valuable folding techniques.
The beauty of bunny origami lies in its diversity. You can craft Easter decorations, create handmade gifts, or simply enjoy a relaxing afternoon of paper folding.
Don’t worry if your first attempts aren’t perfect; even wonky ears and crooked noses add character to your creations. Start with basic designs and gradually challenge yourself with more complex patterns.