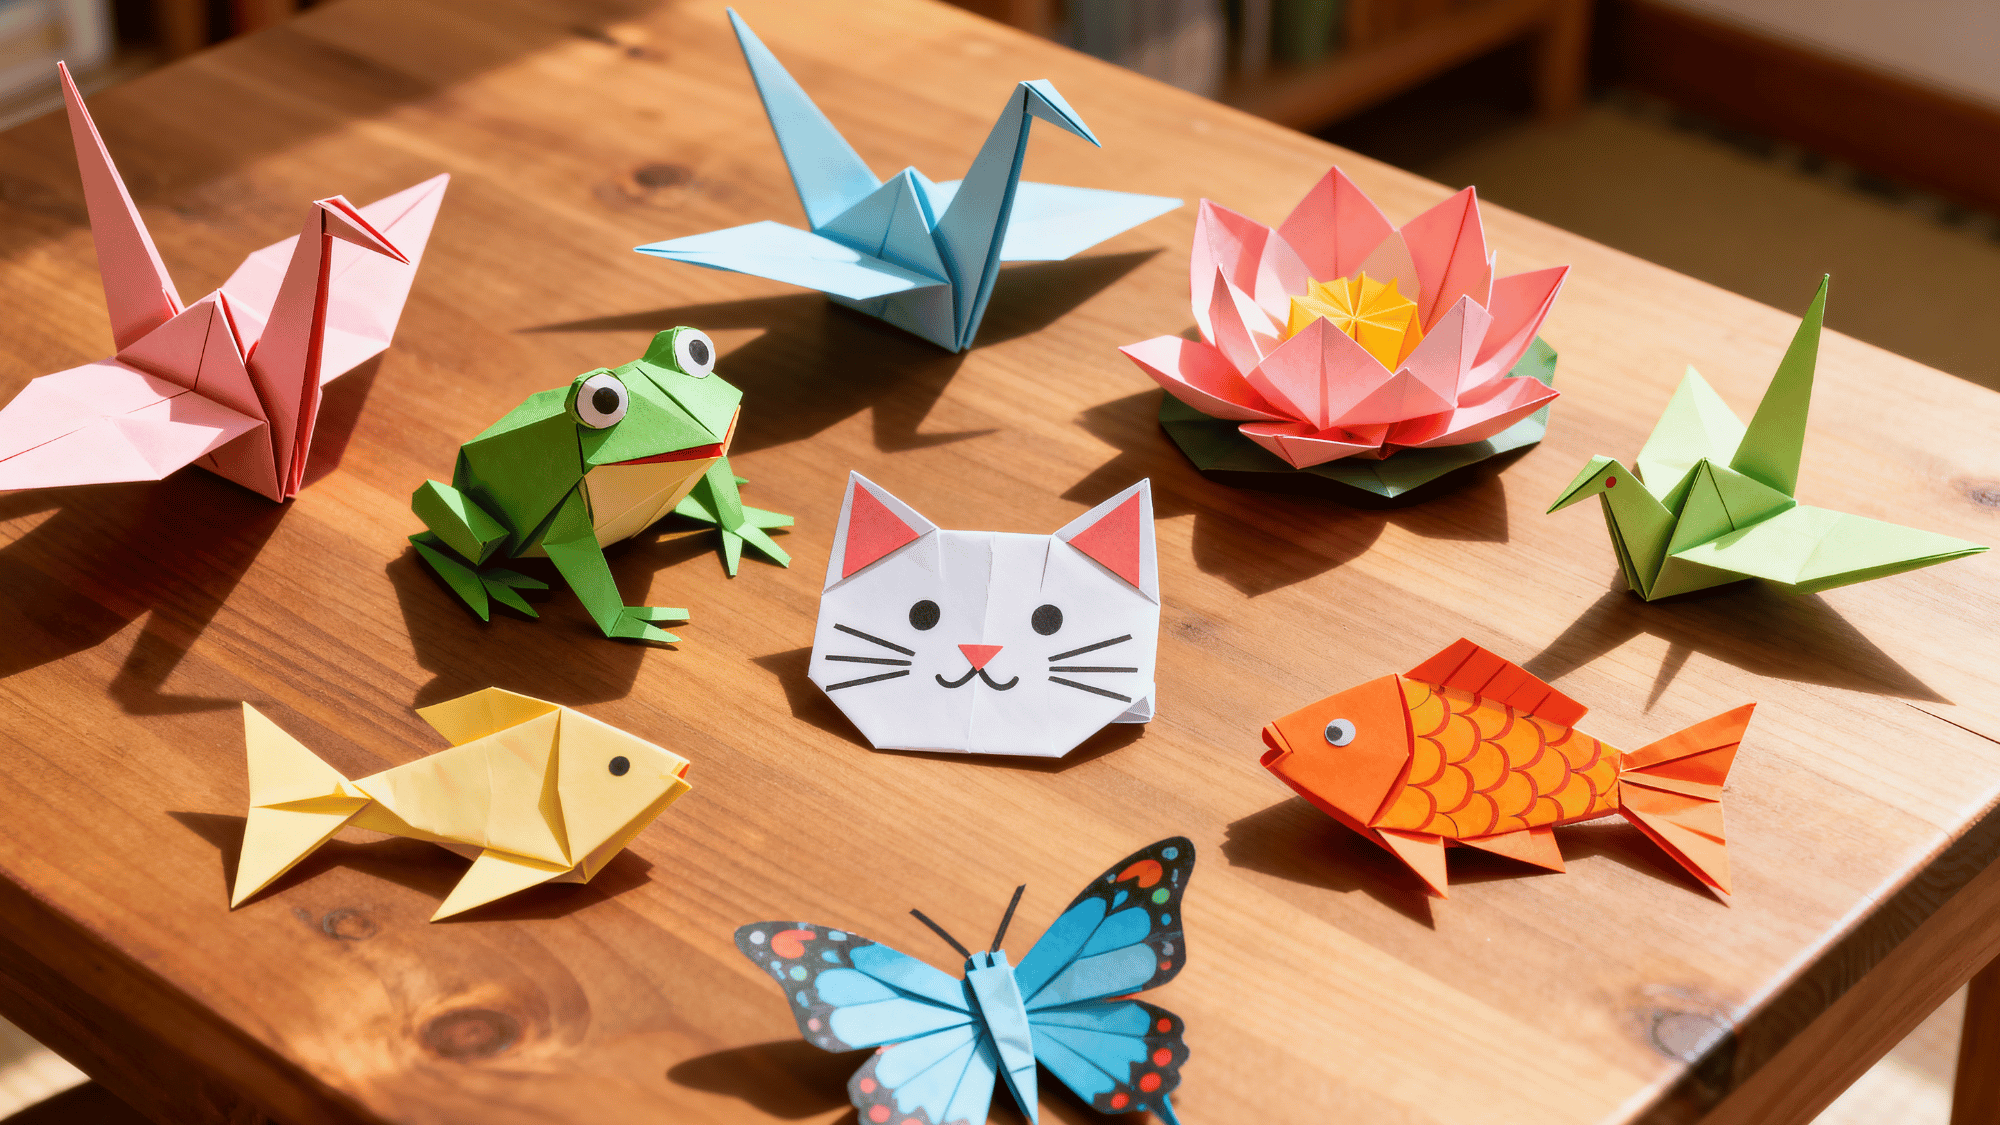
Origami is a beautiful and intricate art form that involves folding paper into a variety of shapes. For those new to the craft, starting with paper flowers is an excellent choice.
Their simple folds make them a perfect entry point into the world of origami, allowing beginners to practice basic techniques without feeling overwhelmed.
This tutorial offers a beginner-friendly, step-by-step handbook to creating a simple origami lotus. It provides a clear list of materials, detailed instructions for each fold, and helpful tips on shaping your finished flower.
By the end, anyone can create their own elegant paper lotus.
Why Start with Origami Flowers?
Beginning your origami journey with flowers is a fantastic choice. The folds are simple and easy for newcomers to master, yet the final result is stunningly beautiful and amazing.
This allows you to quickly achieve a sense of accomplishment, building confidence as you learn the foundational techniques of origami.
The type of paper you choose can make a big difference. Traditional origami paper is ideal, as it’s thin, crisp, and cuts to a perfect square.
For more variety, you can also use thin scrapbook paper or even gift wrap. Just make sure the paper isn’t too thick or glossy, as this can make folding difficult, and the creases won’t hold well.
Origami Flower Step by Step Process
Now, let’s begin folding your beautiful origami lily. Follow these simple steps carefully, making each crease sharp and precise to ensure your final flower is perfect.
Take your time and enjoy the process of watching your paper transform.
Step 1: Prepare Your Paper

Begin with a perfect square sheet of paper. If you only have a rectangular sheet, trim it down (or check a guide/video on how to fold a square from a rectangle).
Step 2: First Folds

Fold the square diagonally from one corner to the opposite corner, then unfold. Repeat the fold with the other two corners. When you open the paper again, you’ll notice a neat “X” crease pattern that marks the center of your square.
Step 3: Fold Corners to the Center (Round 1–3)

Begin by taking each of the four corners of your paper square and folding them neatly into the center point. Press the creases firmly and then unfold.
Now, repeat this process by taking the four new corners and folding them to the center once more. For a final time, fold the corners of the resulting, smaller square into the center.
This creates a small, multi-layered square with a crisp “X” of creases in the center.
Step 4: Flip and Fold Again

Turn the model over. Once again, fold all four corners to the center.
- The paper will feel thicker now, fold firmly but carefully.
- Flatten each crease as much as possible.
Step 5: Create Small Triangle Folds

Now, fold each of the corners back slightly, forming small triangles at the edges. These will help in shaping the petals later.
Step 6: Pull Out the Petals (Outer Layer)

- Place your thumb on the small triangle you just folded.
- Slide your index finger underneath the flap at the back.
- With your other hand, gently pull the flap forward. It will rise up and form a petal.
- Don’t worry if the paper feels thick or crumples slightly; that’s normal.
- Repeat this step for all four petals.
Step 7: Shape the Inner Petals

For the second layer:
- Place your thumb at the base of each inner flap, then carefully pull the inner petals forward, just as you did before.
- Once all petals are lifted, curve them outward slightly to create a beautiful lotus bloom.
And there you have it, you’re finished Origami Lotus Flower.
For more detailed instructions, refer tothe YouTube tutorial:
Essential Tips for Beginners
When starting out with origami, a few simple tips can make all the difference:
- Start with larger paper: It’s easier to fold and gives you more room to practice your precision.
- Keep your folds sharp: Run your fingernail along each crease to ensure your final flower holds its shape beautifully.
- Practice first: Use a sheet of plain paper to practice the folds before moving on to your final patterned designs.
- Experiment with different paper: Once you’ve mastered the basic lotus, try different colors or patterns to create a unique bouquet.
More Ideas to Try with Origami

Ready to go beyond the basics? You can take your origami skills to the next level by trying out more complex folds and designs, from bouquets to single, intricate blossoms.
- Tulips: This is one of the most popular and easiest origami flowers for beginners. The design is simple and looks great in a bouquet.
- Kusudama flowers: These are beautiful, modular flowers. You fold several identical petals and then glue or interlock them to form a spherical flower, which can be made into a beautiful hanging ornament.
- Origami animals: You can create a variety of simple animals, like a flapping bird, a jumping frog, or a dog or cat face. These are great for adding personality to your paper collection.
- Origami boxes: Learning to fold a simple box is a useful skill. These can be used as small gift boxes or to store your other origami creations.
- Origami hearts: These are quick and easy to make, perfect for decorating a card or giving to a friend.
Conclusion
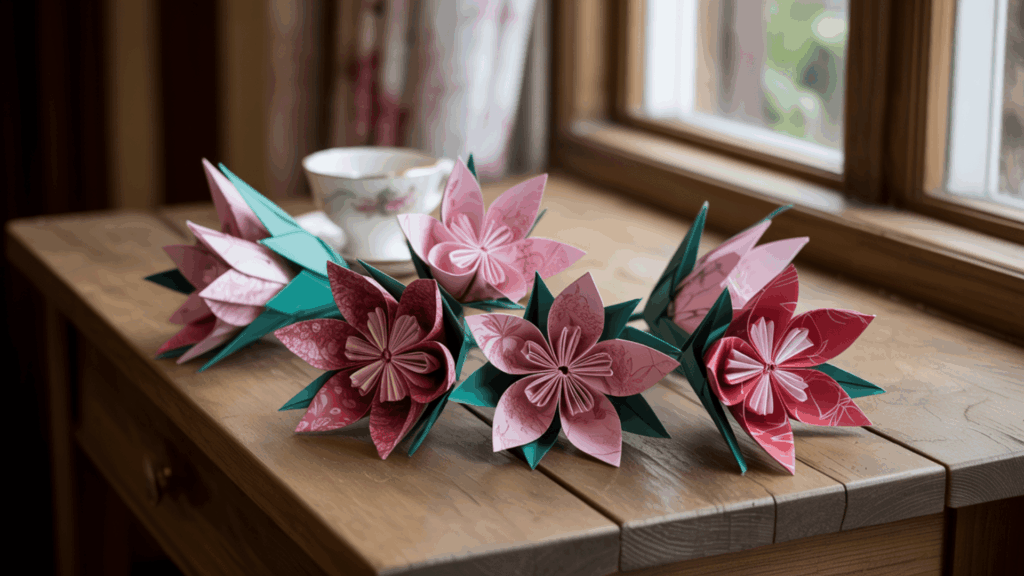
Creating origami flowers is a rewarding and beautiful experience. By following this simple tutorial, you’ve not only learned a new skill but also crafted something delicate and lasting with your own hands.
The process of folding and shaping paper into a floral masterpiece is a testament to the beauty of patience and precision.
These handmade blossoms serve as a unique decoration, a thoughtful gift, or a personal reminder of the joy of creation.
Continue finding the world of origami, as each new fold offers an opportunity for learning and an infinite garden of possibilities.