Do you ever feel a little bit frustrated when you’re trying to draw a circle, only to end up with a wobbly, potato-like shape?
We’ve all been there! Drawing a perfect circle can be surprisingly tricky, but it’s a fundamental skill that will improve your art, whether you’re sketching a character’s eyes or designing a logo.
Don’t worry, you don’t need a compass to achieve a flawless result. This guide is packed with simple, game-changing hacks that will have you drawing perfect circles in no time.
Let’s get started and level up your drawing skills!
Why Drawing a Circle Matters in Art and Design
Drawing a circle might seem basic, but it’s a foundational skill that plays a huge role in both art and design.
For artists, the ability to create a perfect circle is key to capturing realism and life in their work. Consider drawing eyes, a head, or even a simple object like a plate; a well-executed circle lends these elements a sense of structure and accuracy.
In design, especially graphic design, circles are incredibly diverse. They can represent unity, community, or even a sense of timelessness.
Logos, icons, and many other graphic elements rely on the precision of a circle to look clean and professional.
So, no matter if you’re sketching a portrait or designing a logo, mastering the humble circle is a crucial step toward creating work that is both polished and effective.
How to Draw a Circle Using Simple and Effective Techniques
A circle looks deceptively simple, yet it is one of the hardest shapes to sketch freehand. Even experienced artists rarely manage a flawless circle in one stroke.
Here are three reliable methods to try. The goal is steady improvement rather than robotic perfection.
Technique 1: Building with Small Arcs
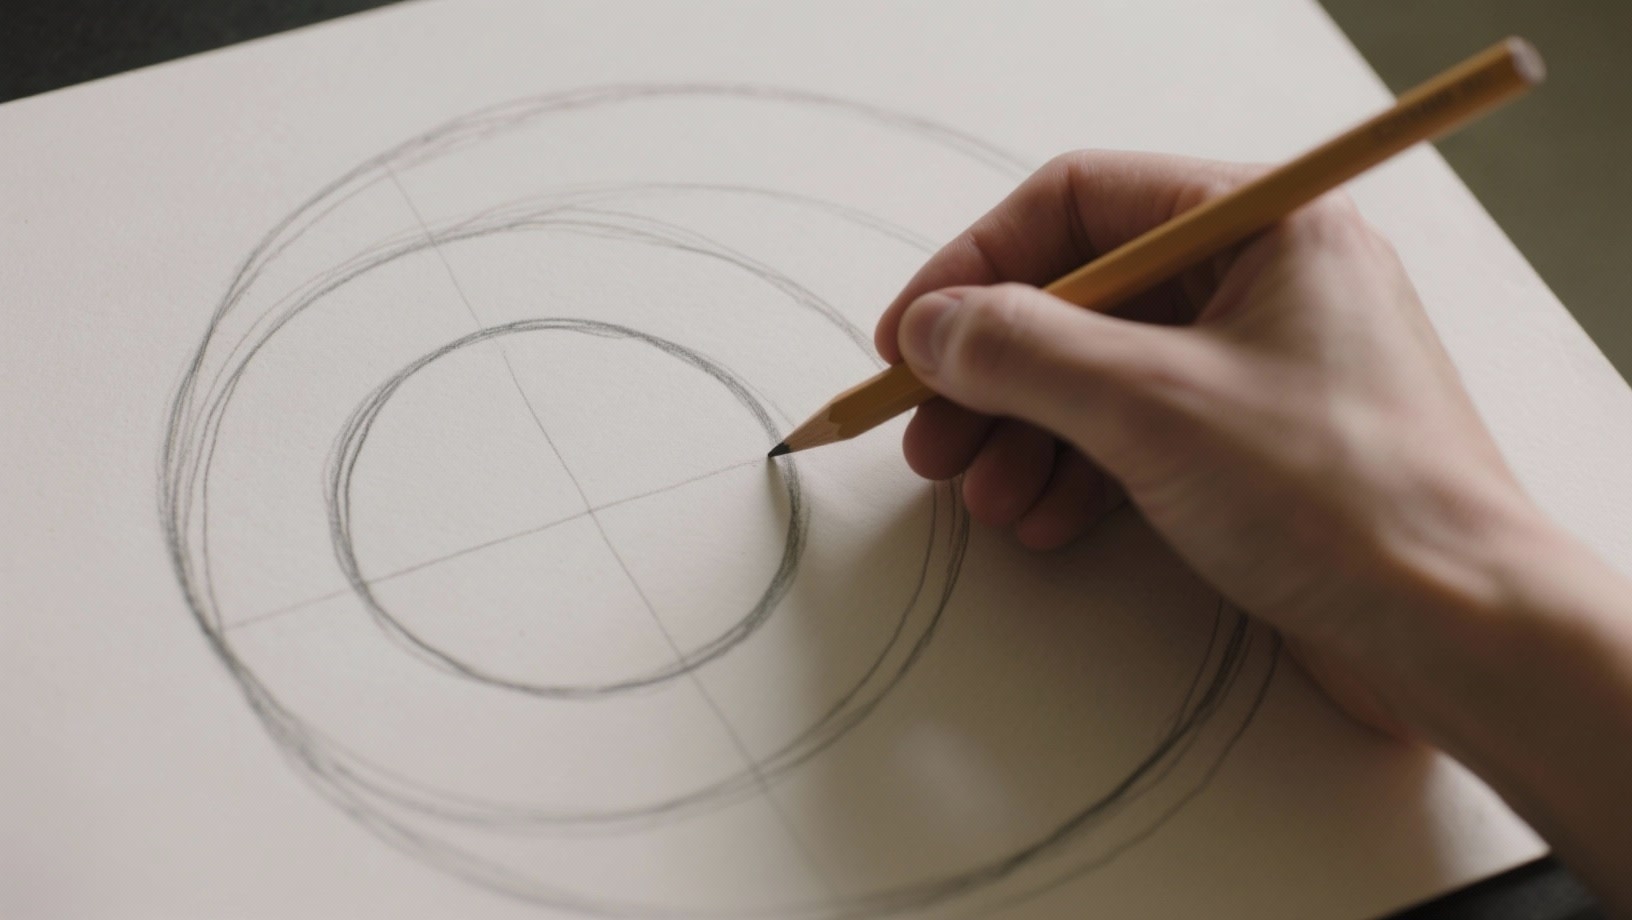
This approach offers stability and is well-suited for beginners.
Step-by-step Process:
- Rest the side of the hand gently on the paper to anchor the wrist.
- Instead of attempting a single sweep, draw short, light arcs around the intended circle.
- Move the hand gradually around the page or rotate the page itself while maintaining soft, shallow curves.
- After completing the shape, smooth out uneven spots by lightly tracing over them.
- Once the outline looks balanced, reinforce it with a darker line and erase extra construction marks.
Why it works: Using the wrist naturally produces curved motion, while short strokes allow for greater control. The circle can be gradually “edited” into a clean shape.
Technique 2: Plotting Points and Connecting Them
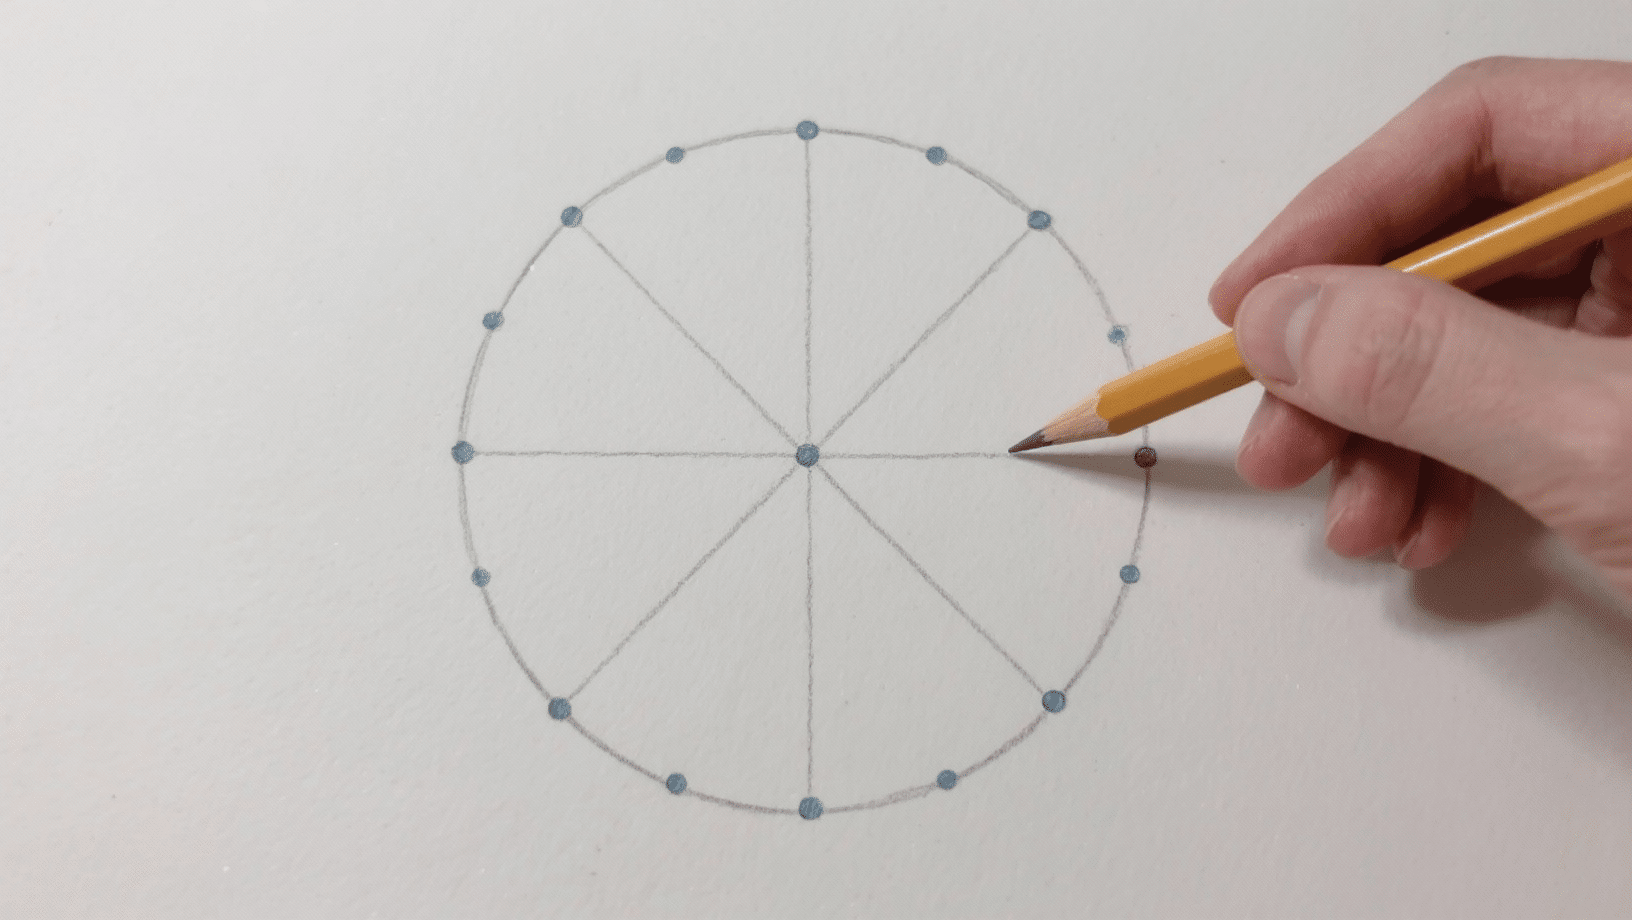
This structured method is ideal for anyone who prefers clear guidance.
Step-by-step Process:
- Lightly sketch a vertical and a horizontal line crossing at the center.
- Mark points at the ends of each line, keeping the distance equal from the center.
- Add additional guide points if desired, like numbers on a clock face.
- Connect the points with shallow arcs, avoiding sharp corners.
- Continue linking points until the circle closes.
- Refine by smoothing over bumps, then darken the corrected outline.
Why it works: Dividing the circle into arcs helps maintain symmetry and prevents lopsided results.
Technique 3: Rhythmic Circles

This is the quickest method once rhythm and confidence develop.
Step-by-step Process:
- Begin by moving the pencil just above the paper in circular motions, practicing the rhythm.
- Keep the wrist straight in line with the forearm, allowing the elbow and shoulder to guide the movement.
- Once the motion feels smooth, lower the pencil and draw several overlapping rotations in the same spot.
- Practice in both clockwise and counterclockwise directions to determine which feels more natural.
- A clean circle will appear among the overlapping lines; this can be traced and finalized.
Why it works: Repeated rhythmic movement trains muscle memory, making circles easier and quicker to sketch.
For more detailed instructions, refer to tha YouTube video below:
Creative Circle Drawing Exercises to Make a Perfect Circle
- Concentric Circles Challenge: Practice drawing multiple circles inside one another, focusing on keeping the spacing even and smooth as the rings grow larger.
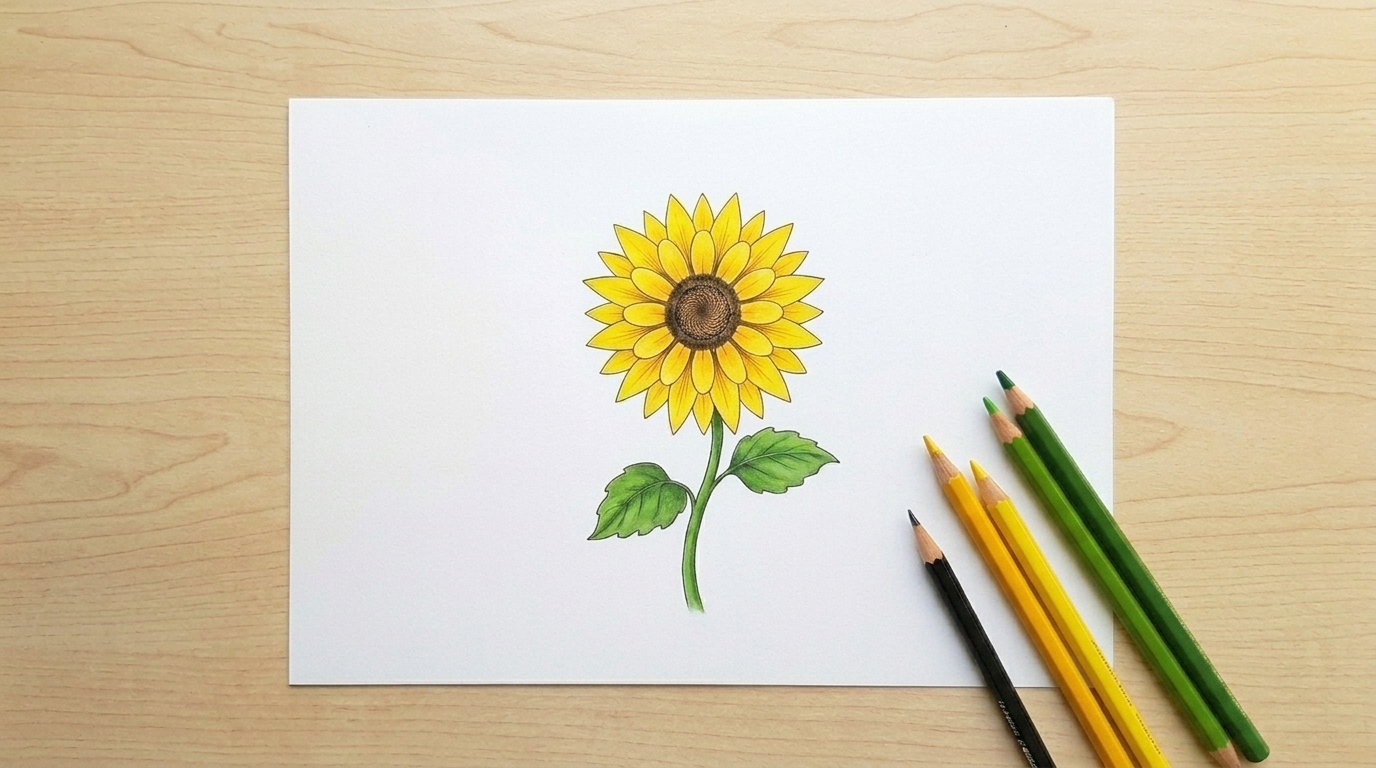
- Circle-to-Object Doodles: Start with a simple circle and transform it into objects like faces, flowers, suns, or wheels to mix accuracy practice with creativity.
- Speed Circles Drill: Fill an entire page with circles in under a minute, training the hand to move quickly and confidently without overthinking each line.
- Both-Hand Circles: Try drawing circles with the non-dominant hand to improve coordination, strengthen control, and balance out motor skills.
- Circle Web Exercise: Place one circle in the center and then draw overlapping circles spreading outward, creating a ripple effect that sharpens spacing judgment.
- Spiral-to-Circle Practice: Begin with a spiral motion and gradually refine it into a clean circle, which helps correct wobbly lines and builds motion control.
- Timed Accuracy Test: Draw circles of a consistent size within a set time limit, comparing results over several sessions to measure progress.
- Circle Mandalas: Use circles as a base to create patterns, petals, or geometric designs, combining precision practice with a calming and creative activity.
Common Mistakes in Circle Drawing and How to Fix Them
| Mistake | Why It Happens | How to Avoid or Correct It |
|---|---|---|
| Gripping the pencil too tightly | Creates stiff, shaky, or uneven lines | Relax the grip, let the wrist or arm move more fluidly |
| Drawing the circle in one stroke | Increases chances of wobbling or uneven curves | Use multiple light passes or arcs, then refine gradually |
| Pressing too hard at the start | Makes mistakes harder to erase and correct | Begin with soft, light lines and darken only at the end |
| Forgetting to rotate the paper | Causes awkward angles and uneven curves | Turn the page to keep strokes smooth and comfortable |
| Using only the fingers to move | Limits the range of motion, leading to angular circles | Engage the wrist, elbow, or shoulder for smoother arcs |
| Skipping guide points or lines | Results in uneven proportions or lopsided circles | Lightly plot cross lines or dots as reference points |
| Dull pencil tip | Produces thick, messy, or unclear outlines | Keep the pencil sharpened for precision and control |
| Rushing the process | Leads to sloppy, inconsistent results | Slow down, build rhythm, and focus on steady practice |
The Last Arc
Learning to draw a circle takes patience, but every attempt builds control and confidence. Short arcs, plotted points, and rhythmic motions each provide practical ways to smooth out shaky outlines and turn them into steady curves.
Simple habits, such as keeping the wrist relaxed, rotating the page, or starting with lighter strokes, help correct mistakes before they become permanent.
Over time, these small improvements create visible progress, proving that consistency matters more than perfection.
Circles are not just practice drills; they form the base for ellipses, mandalas, and countless creative designs. With steady effort, anyone can move from uneven attempts to graceful shapes.
The more often artists sit down to draw a circle, the easier it becomes, turning a once-frustrating challenge into an enjoyable skill.