Many people feel stressed and disconnected in today’s fast-paced world. They search for ways to calm their minds and find inner peace. Traditional meditation can feel hard or boring for some folks.
Neurographic art offers a simple yet powerful solution. This flowing, organic drawing method helps anyone create beautiful patterns while naturally entering a mindful state.
In this blog, you’ll learn how neuro art works as a meditation tool. We’ll explore the science behind why drawing these flowing lines calms your mind. You’ll also get practical tips to start your own art practice today.
By the end, you’ll understand why this creative method is changing how people approach mindfulness and stress relief.
What Is Neurographic Art? Origins and Definition
Neuro art is a simple drawing method that creates flowing, organic patterns. Artists use curved lines and natural shapes instead of straight edges.
The technique was developed in 2014 by Russian psychologist Pavel Piskarev. He combined psychology with creative expression to help people relax and focus.
The word “neurographic” comes from “neuro,” meaning brain, and “graphic,” meaning drawing. This art form works by engaging both sides of the brain. When someone draws these flowing lines, their mind enters a calm, meditative state naturally.
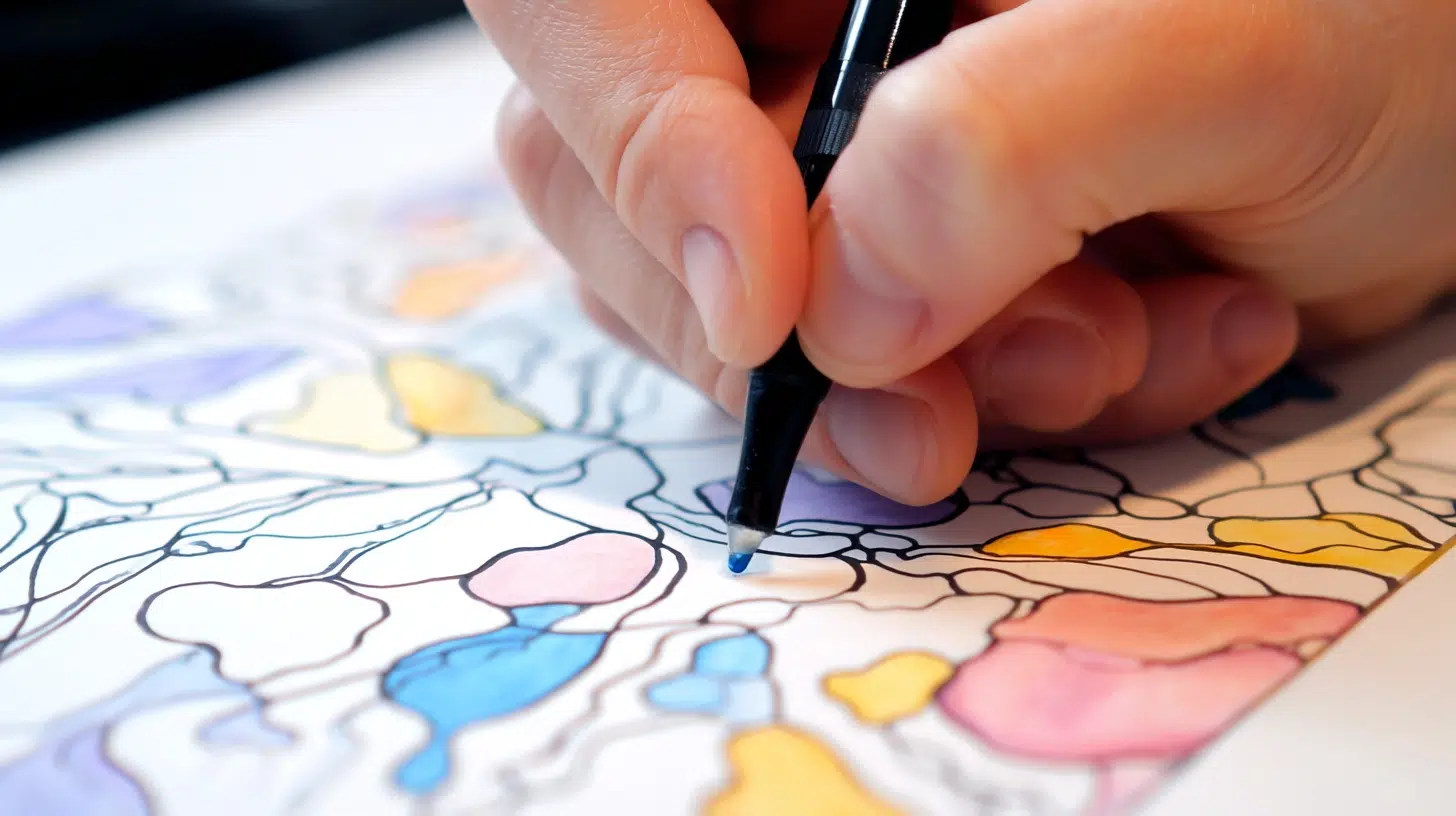
The basic process is straightforward. You start with random scribbles or shapes. Then you soften all the sharp corners with curved lines. Finally, you add circles and round out any harsh edges. This creates beautiful, flowing patterns that look like neural networks or organic growth.
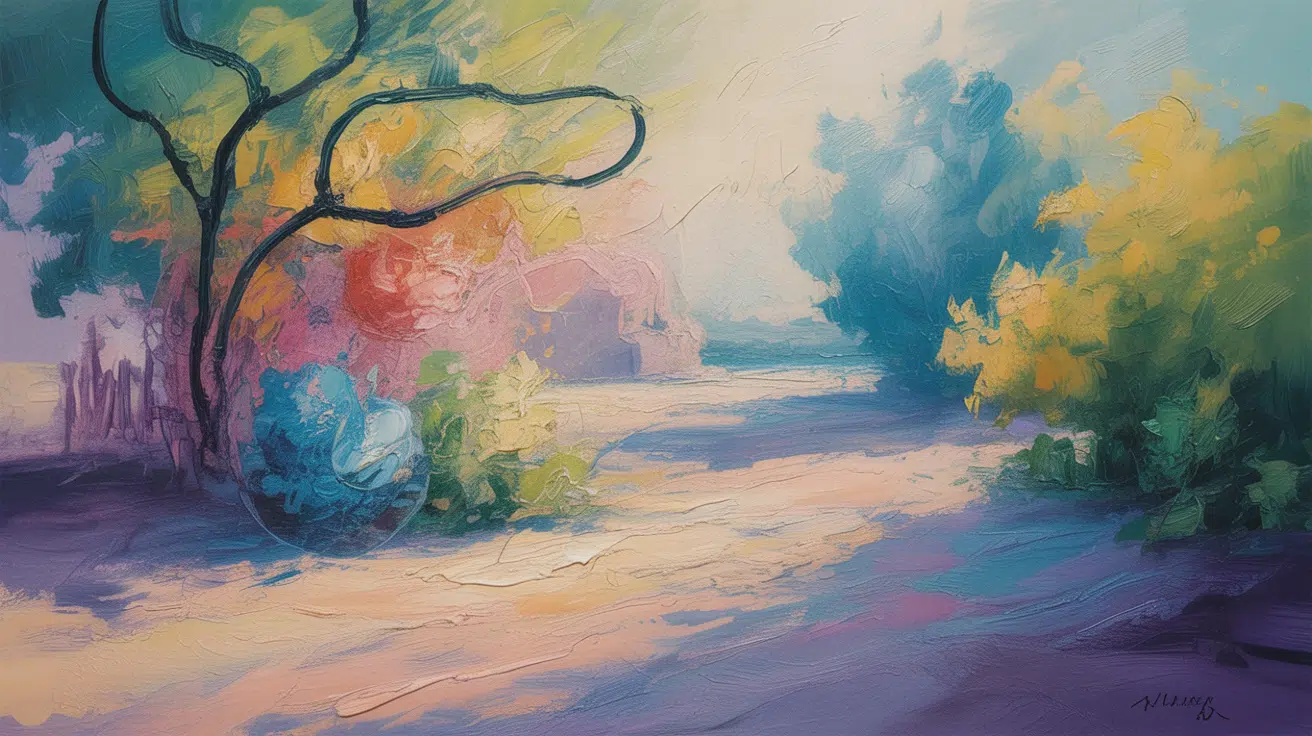
The finished artwork often resembles tree roots, water flows, or brain connections.
Benefits of Neuro Art You Didn’t Know About
- Reduces stress and anxiety – The flowing motions calm your nervous system and lower cortisol levels naturally.
- Improves focus and concentration – Drawing these patterns trains your brain to stay present and ignore distractions.
- Boosts creativity and problem-solving – The right brain activation helps you think outside the box in daily life.
- Creates social connections – Sharing your practice with others builds community and reduces feelings of isolation.
- Promotes better sleep quality – The relaxation response carries over into nighttime, helping you fall asleep faster.
- Lowers blood pressure – The meditative state during drawing can reduce hypertension and heart rate naturally.
- Strengthens willpower – Regular practice builds mental tools to handle stress and challenges more effectively throughout your day.
- Increases self-awareness – The mindful drawing process helps you understand your thoughts and feelings better.
- Builds confidence and self-esteem – Creating beautiful art without needing special skills boosts your sense of accomplishment.
Know About Core Principles & Process of Neurographic Art
Understanding the foundation of neurographic art starts with three simple rules that change random scribbles into flowing masterpieces.
This step-by-step process guides you from creating your first curved line to adding the final touches that bring inner calm.
Core Principles That Make It Work
- This Art follows three main rules. First, no straight lines allowed. Every line must flow and curve naturally.
- Second, all intersections get circles. When lines cross, you draw small circles at those points.
- Third, sharp corners disappear. You round out any pointed edges to create smooth connections.
These principles work because they mirror how our brain processes information. Curved lines feel more natural to our minds than rigid shapes. The flowing patterns help reduce mental tension and stress.
The Step-by-Step Process
We’ll set a simple intention, let the pen wander into free-flowing lines, then soften intersections, add color, and close with a short reflection. Ready to turn calm into curves?
Step 1: Start With Random Lines
Begin by drawing continuous, flowing lines on paper. Don’t think too much about what you’re creating. Let your hand move freely across the page. Use a black pen or marker for best results.
Draw at least 5-8 interconnected lines that flow naturally. These lines can curve, loop, and spiral in any direction.
The key is to keep your hand moving without lifting the pen. This creates the foundation for your neurographic pattern.
Step 2: Add Circles at Intersections
Find places where your lines cross each other. Draw small circles at these intersection points. Make the circles different sizes for visual interest. Some can be tiny dots, others can be larger circles.
This step changes sharp crossing points into gentle connections. The circles help your eyes flow smoothly around the artwork. They also represent neural connections in your brain, creating a sense of unity and balance.
Step 3: Round Out Sharp Corners
Look for any pointed or sharp areas in your drawing. Soften these edges by adding curves and smooth transitions. Use your pen to create gentle arcs instead of harsh angles.
This process is called “neurographication.” It removes visual stress from your artwork.
As you smooth out these edges, you’ll notice your mind becoming calmer too. Take your time with this step – it’s the most therapeutic part of the process.
Step 4: Fill and Modify
You can add shading, colors, or patterns inside the shapes you’ve created. Try cross-hatching, dots, or wavy lines to fill different sections.
Use colored pencils, markers, or watercolors if you want. Some artists prefer black and white designs. Others love adding bright colors. You might fill some areas completely while leaving others empty.
This creates contrast and depth. This final step is purely for enjoyment and personal expression.
How to Practice Neurographic Art
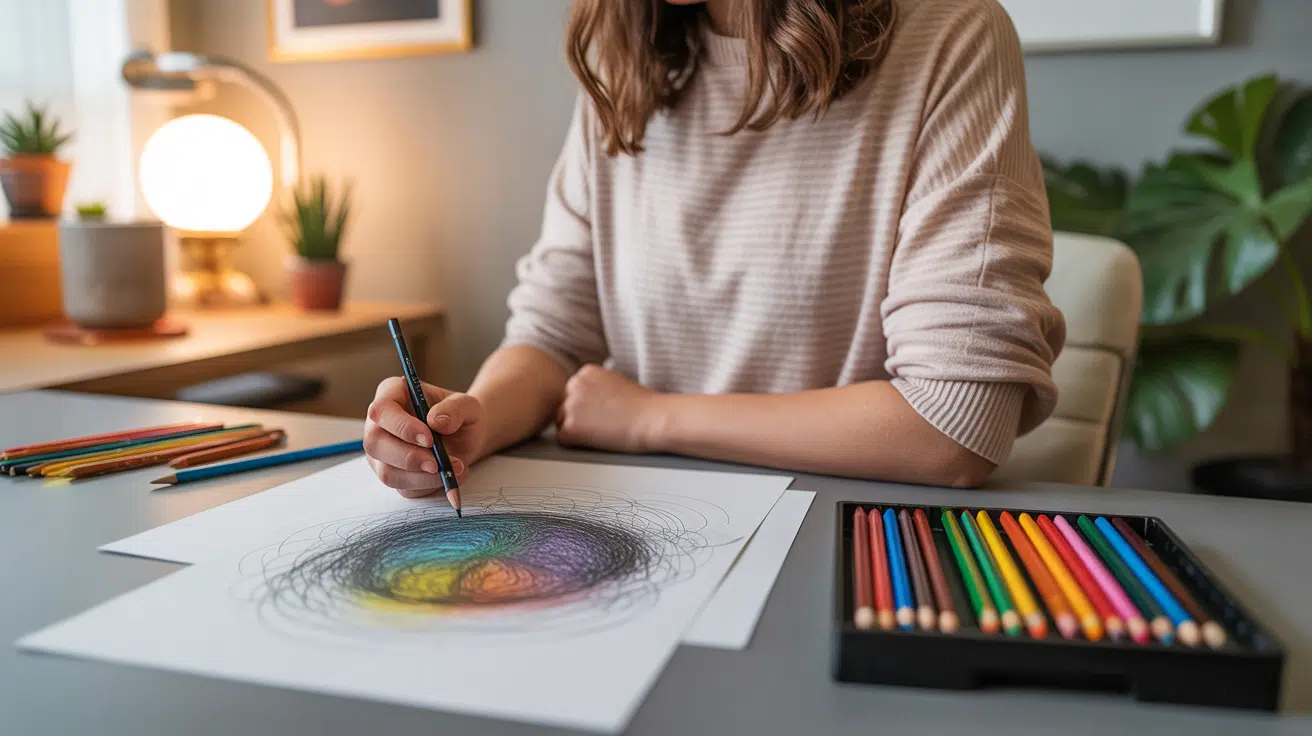
Starting your neurographic art practice requires just paper, a pen, and 15 minutes of your time. These practical tips will help you build a consistent routine that fits seamlessly into your daily life for maximum mindfulness benefits.
Getting Started: Your First Session
- Set up your space: Find a quiet corner with good lighting and a flat surface to work on.
- Gather basic supplies: You only need paper, a black pen or marker, and, optionally, some colored pencils.
- Start with 15 minutes: Set a timer to help you focus on creating your first piece without worrying about time.
- Take three deep breaths: Clear your mind before starting to draw your flowing lines.
- Draw your first line: Make one continuous, curved line across your paper without thinking about the outcome.
Building Your Practice
- Practice daily for consistency: Even 10 minutes each day works better than long sessions once a week.
- Create a routine: By choosing the same time each day, such as morning coffee or before bed.
- Keep supplies ready: Store your materials in one place so you can start immediately when inspired.
- Try different paper sizes: Start small with postcards, then work up to larger sheets as you gain confidence.
- Experiment with tools: Test various pens, markers, and pencils to find what feels most comfortable.
Advanced Techniques to Explore
- Add meditation music: Play soft instrumental sounds while you create your neurographic patterns.
- Focus on breathing: Match your line-drawing rhythm to your natural breathing pattern.
- Create themed pieces: Draw while thinking about specific emotions, memories, or intentions you want to process.
- Join online communities: Share your work and learn from other neurographic artists for inspiration and feedback.
- End each session mindfully: Take a moment to observe your finished piece and notice how you feel afterward.
The Connection Between Neurographic Art and Mindfulness
Neuro art and mindfulness work together like perfect partners. When you draw flowing lines, your mind naturally shifts into the present moment.
The repetitive motions of creating curves and circles act like a moving meditation. Your breathing slows down, and racing thoughts begin to quiet. The process demands your full attention. You can’t worry about tomorrow’s meeting while focusing on softening sharp edges.
This single-pointed focus is exactly what mindfulness teachers talk about. Your brain waves actually change during neurographic drawing, moving into alpha and theta states associated with deep relaxation.
The circular motions mirror ancient meditation practices. Drawing these organic patterns creates the same effect as chanting or walking meditation. Your nervous system relaxes as stress hormones decrease.
The result is a peaceful, centered feeling that lasts long after you put down your pen.
Wrapping It Up
Neurographic art offers a practical path to mindful living that anyone can follow. The simple act of drawing flowing lines creates profound changes in how you feel and think.
You don’t need artistic talent or expensive supplies to start this practice today.
The benefits extend far beyond the drawing session itself. Regular practice builds mental resilience and emotional balance that helps you handle life’s challenges.
Many people find that their stress levels decrease and their sleep improves within just a few weeks of starting.
Ready to begin your own neurographic art practice? Grab a pen and paper right now. Start with just five minutes of flowing lines. Notice how your mind shifts into a calmer state.