Here’s something most people don’t realize: Acrylic paint does weird things. Good weird.
It can look like watercolor, it can behave like oil, or it can build up into thick, chunky layers or thin out into smooth, glassy finishes. And yet, most artists stick to the same two or three moves and call it a day.
This blog breaks down painting techniques that acrylic artists actually use to get creative, interesting results. Some are simple, some are a little odd. But every single one is worth trying at least once.
Things to Know Before You Start with Acrylic Painting
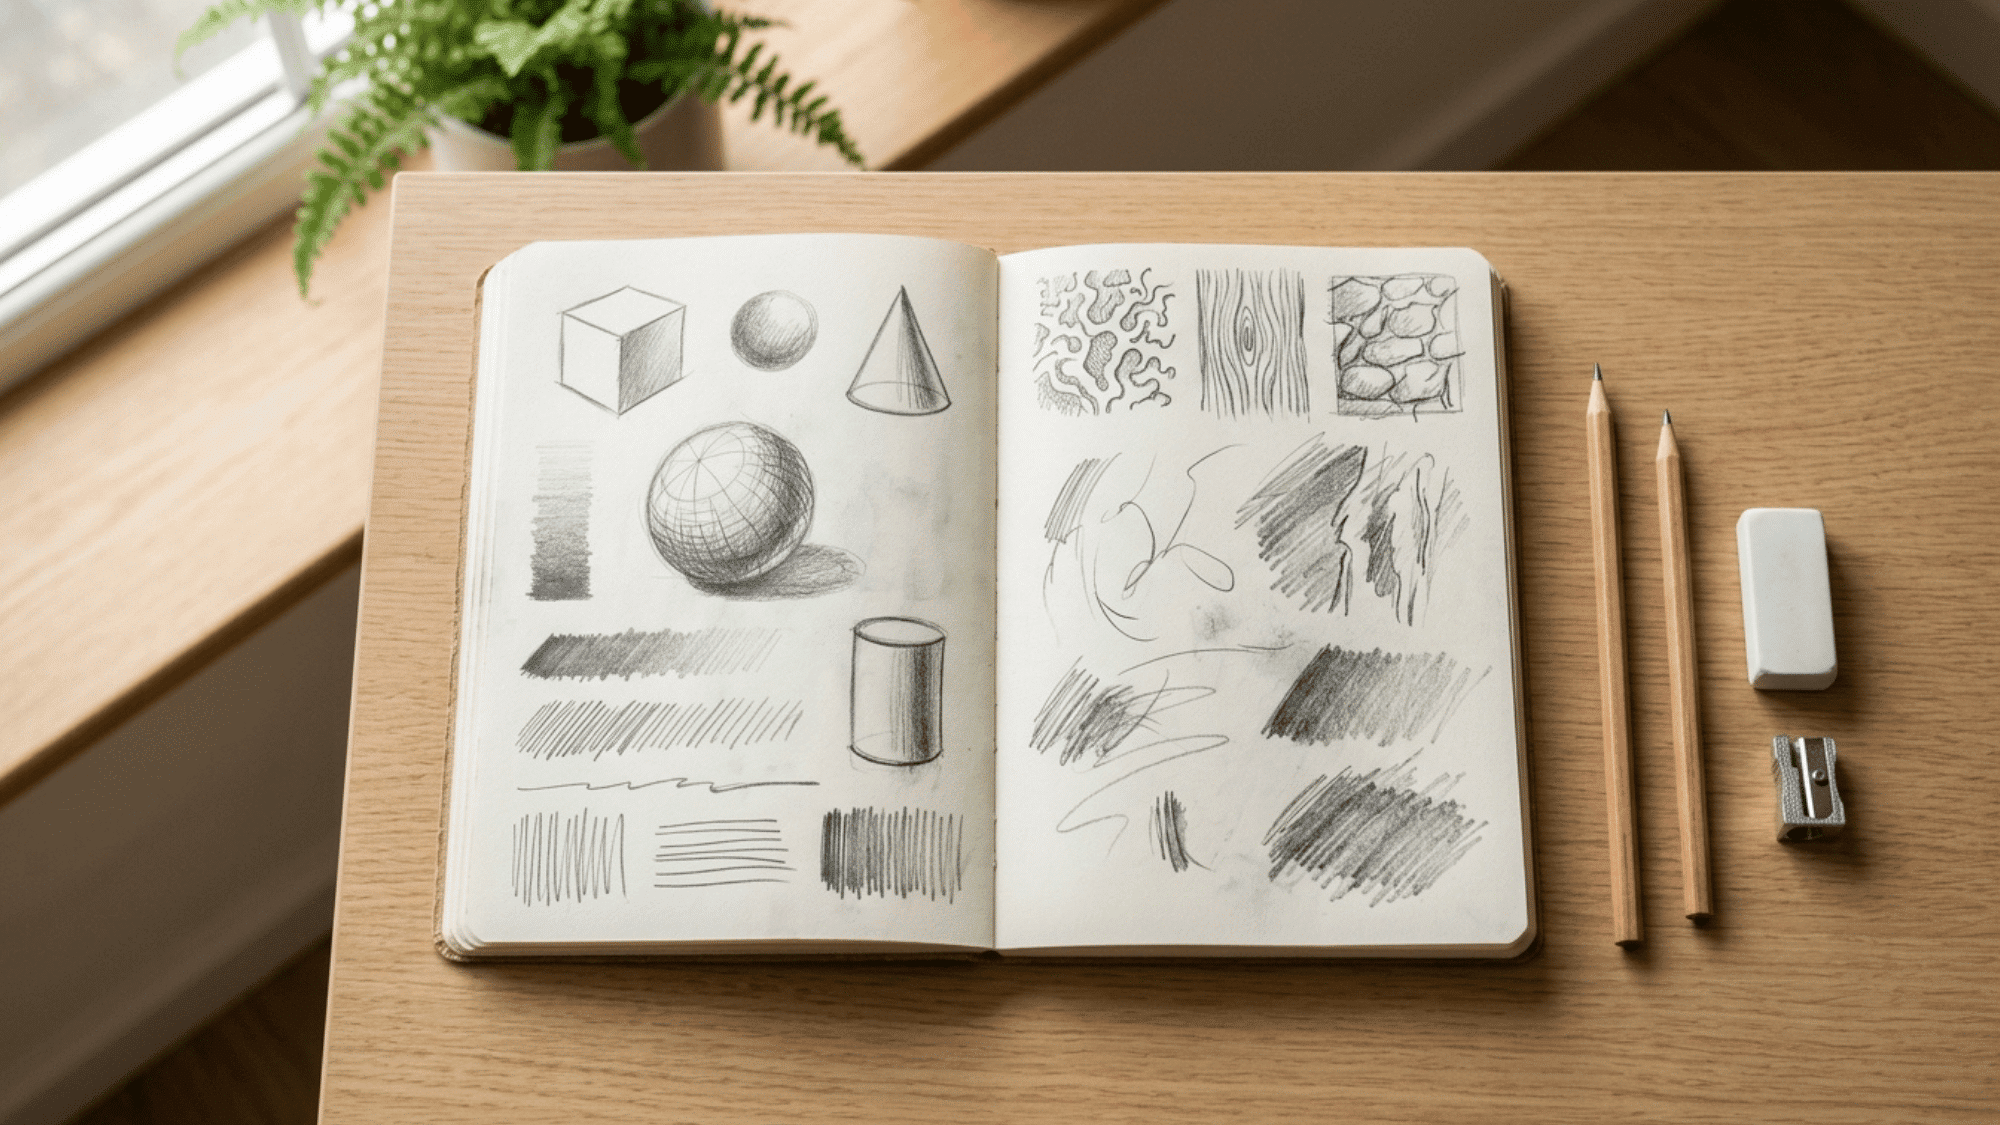
Before trying any of the painting techniques that artists rely on, there are a few basics worth understanding.
Acrylics dry fast, which means working in layers and keeping brushes clean matters more than most beginners expect. Starting with a primed surface also helps the paint stick better and last longer.
Water control is another thing that catches many people off guard. Too much water makes the paint thin.
Working in thin, controlled layers rather than applying heavy coats all at once yields far better results and makes the whole process easier to manage.
Acrylic Painting Techniques You Can Practice
Learning how to paint with acrylics becomes much easier when each technique is broken down into simple, actionable steps. Here are the painting techniques every painter should know.
1. Dry Brush Technique
- Start with a light sketch and draw a simple outline of your subject on a slightly textured surface.
- Mix the paint with very little water, then remove excess moisture from the brush.
- Use light, quick strokes; apply them gently so the paint catches only on the surface texture.
- Build layers gradually, beginning with light tones, and slowly add darker shades while keeping the brush dry.
2. Wet-on-Wet Technique
- Apply two colors side by side on the canvas with a good amount of paint before you start blending.
- Use a dry mop brush to scumble the colors together while the paint is still wet on the canvas.
- For smaller areas, switch to a filbert or angle shader brush and dab the colors together.
- Keep cleaning the brush on a paper towel to remove excess paint and avoid muddying the colors.
3. Wet-on-Dry Technique
- Place all the paint colors you plan to use on your palette before you start blending on the dry surface.
- Dab the wet paint at the edges of the dry area using the pointed tip of an angled shader brush in small circular motions.
- Clean the brush with water, dry it on a paper towel, and keep working the edges until the blend looks even.
- For a softer, more textured blend, use an old flat brush to scumble the wet paint lightly over the dry layer.
4. Layering Technique
- Start with a thin base coat of paint and let it dry completely before adding the next layer.
- Build up colors gradually by applying one thin layer at a time across the surface.
- Always let each layer dry fully before moving on to avoid muddy or mixed-up colors.
- Add darker tones in the early layers, then gradually work toward lighter colors and details on top.
- Keep repeating the process until the painting has enough depth and dimension to look complete.
5. Glazing Technique
- Start with a light white underpainting to block in basic shapes first.
- Thin the paint with water to make it transparent and apply base colors over the dry layer.
- Let each layer dry fully before adding shadows with a dark desaturated mix.
- Add opaque layers over the transparent glazes to give the painting a solid feel.
- Finish with refined shadows and highlights to bring out the final details.
6. Impasto Technique
- Paint the background first with a thin layer of your chosen colors using a brush.
- Build the wave shapes using multiple colors and add thick white paint where light is brightest.
- Load a generous amount of heavy-body acrylic paint onto the palette knife, then layer it gently onto the canvas.
- Create different textures by dabbing and dragging the knife in different directions over the thick paint.
7. Scumbling Technique
- Use a frayed flat brush, dampen it slightly, and dry it off on a paper towel before starting.
- Load paint onto the flat side of the brush and rub it across the dry base layer for soft blends.
- Work the brush in circular rubbing motions to create light, fluffy layers over dried paint.
- Switch between scumbling and light washes, using the painting techniques acrylic artists use to create varied textures.
8. Sgraffito Technique
- Apply a thick wet layer of structure paint over a completely dry base layer.
- Use the back of a brush or pencil to etch into the wet paint, revealing the color beneath.
- Work quickly while the paint is wet, as dry paint records the etching lines more permanently.
- Cover unwanted scratch marks with a palette knife and add fresh layers to etch into.
- Try different color combinations to create interesting contrast through the etched lines.
9. Splattering Technique
- Use a fan paintbrush and mix acrylic paint with water to get a fluid but not too thin consistency.
- Test the paint on paper first to make sure the consistency is right before splattering it on the painting.
- Pull the bristles back with your finger to create subtle, small specks of paint across the surface.
- Hold the brush above the surface and tap it gently with your other hand for thicker, more visible splatters.
10. Pouring Technique
- Protect your work surface and raise the canvas on small supports before starting the pour.
- Mix each paint color with a 50/50 blend of glue and water until it reaches a buttermilk consistency.
- Pour each color onto the canvas one at a time using these acrylic painting techniques for even coverage.
- Tilt the canvas in different directions to guide the paint and fill any empty areas.
- Spritz rubbing alcohol onto the bubbles, then let the painting dry for 24 to 36 hours.
11. Stippling Technique
- Load a small amount of paint onto the tip of a medium flat brush before starting.
- Use only the brush tip to apply short vertical dots across the surface for texture.
- Hold the brush lightly and avoid making any long brush strokes while working.
- Build up dots gradually and cherish imperfect spacing as it creates a more natural texture.
12. Dabbing Technique
- Load a small amount of paint onto the brush and apply it straight up and down onto the surface.
- Keep dabbing the same area to build up thicker color and blend without worrying about brush direction.
- Try dry dabbing with the remaining paint on the brush for a lighter, more subtle texture.
- Layer colors on top of each other while wet for blending or once dry for a more defined texture.
13. Cross-Hatching Technique
- Plan where each color will go on the canvas before starting to avoid muddy mixed colors.
- Use a square brush and make strokes in different directions, varying between long and short marks.
- Keep the paint wet while blending, and use light pressure with a damp brush to merge colors.
- Let the first layer dry completely before adding a second layer to enhance color and texture.
14. Blending Technique
- Wet the mop brush until damp but not dripping before starting any blending with acrylics.
- Apply the first color to the top of the canvas and the second to the bottom.
- Work quickly while both colors are still wet to keep them blendable on the surface.
- Use figure-eight strokes where the two colors meet to blend them smoothly.
- Go over the entire surface lightly with a large dry wash brush in different directions.
15. Color Blocking Technique
- Start by blocking in the darkest shapes first, using a near-black mixture to anchor the whole painting.
- Paint each section as a single, solid, flat area of color, without softening or blending edges.
- Mix colors carefully on the palette and paint them right next to each other as separate hard-edged shapes.
- Go back and refine any areas by cutting back in with neighboring colors to sharpen the edges between shapes.
16. Underpainting Technique
- Mix yellow ochre with a tiny bit of burnt umber and enough water to get a light cream consistency.
- Apply a thin, even coat over the entire canvas, including the edges, to cover the white surface.
- Go over the layer lightly with the brush to smooth out any brush marks and give it a cleaner finish.
- Let it dry completely before drawing your reference lines on top of the toned surface.
17. Wash Technique
- Dampen a soft synthetic flat brush, then dry it slightly before starting.
- Add water to the paint on the canvas, then spread it using acrylic painting techniques, such as washes.
- Keep adding more water to thin the paint and adjust the concentration as needed.
- Play with different paint concentrations to create interesting textures across the surface.
- Use a clean, wet brush to lift and erase areas of the wash while still wet.
18. Spreading Color With Flat Brush
- Use a new flat brush with bristles in good shape to avoid leaving lines on the surface.
- Load a small amount of paint onto the brush and apply it with gentle, even strokes across the surface.
- If lines appear, go back over them in the opposite direction to smooth them out completely.
- Apply two to three coats with student-grade paint or one coat with professional soft-body paint for full coverage.
19. Masking Technique
- Choose a low-tack artist’s tape and press the edges down firmly to prevent paint from seeping underneath.
- Apply drops of different acrylic paint colors onto each taped section, then spread them with a sponge.
- Clean the brush after each color change, and let the entire canvas dry thoroughly before removing the tape.
- Peel off the masking tape carefully at a 45-degree angle to reveal clean, sharp edges between sections.
20. Negative Painting Technique
- Paint the subject, including flower stems and leaves, onto the canvas first before touching the background.
- Mix the background color, then carefully paint around the flowers and stems with a larger brush.
- Avoid being too precise around the edges, as organic shapes and small color specks add more character.
- Build contrast by gradually darkening the background areas to make the subject stand out naturally.
- Use a watered-down glaze of color over specific areas, using negative painting techniques to add depth.
21. Fine Line Technique
- Thin the paint with a small amount of water to make it more fluid before starting fine-line work.
- Use a zero-round brush for controlled lines, such as whiskers, and a rigger brush for longer, continuous lines, such as grass.
- Apply light pressure for thinner lines and more pressure for thicker lines to control the width as needed.
- Use a damp brush or Q-tip to erase and thin out any lines that are too thick after applying the paint.
22. Reflection Technique
- Paint the sky with a light pastel blue tone and mirror the same colors in the water below.
- Match the shapes and tones of the tree line by repeating them downward in the reflection area.
- Use a flat brush to poke horizontal lines of sky color into the water for a ripple effect.
- Keep reflections slightly darker than the original subject using acrylic painting techniques for realism.
- Add bright highlights to the tree line and match them in the water reflection below.
23. Shadow Layering Technique
- Start with a thin watery wash of a dark base color to establish the shadow areas across the surface.
- Build up the shadow gradually by adding thin layers of darker tones on top of each dried layer.
- Keep edges soft where the shadow transitions into the light by using the side of the brush lightly.
- Add a cool blue tone to the darkest shadow areas and a warm tone where reflected light hits the edges.
24. Dragging Technique
- Load the fan brush with two colors, without fully mixing them, to create natural tonal variation across the surface.
- Use the full width of the brush for broad sweeping strokes and turn it sideways to create thin, separate lines.
- Tap and stipple with the brush tip to create texture for grass trees and flowers in different areas.
- Add water to the brush to help the paint release more smoothly and create longer, more fluid strokes.
25. Double Loading Technique
- Load one side of an angular brush with one color and the other side with a second color before starting.
- Use short curved strokes to apply both colors onto the canvas in a single confident stroke.
- Clean the brush between color changes to keep each double load fresh and prevent muddy mixes.
- Change the angle of the brush as you work to create natural variation in the shapes and strokes.
- Use thick paint throughout the process, as thin paint will not hold the two color separations properly.
26. Blotting Technique
- Apply paint to the canvas with at least two colors and add a little water to keep it wet before blotting.
- Wrap a tissue or piece of scrap paper around one finger and gently press it onto the wet paint surface.
- Use light pressure without pressing too hard to allow the material to absorb some of the paint naturally.
- Experiment with different materials like tissue or scrap paper, as each one leaves a different texture behind.
27. Palette Knife Technique
- Load a small bead of paint onto the edge of the palette knife before starting any acrylic painting techniques.
- Hold the knife at a 30-degree angle and stroke in one consistent direction for clean, even marks.
- Wipe the knife clean on a paper towel between every color change to avoid muddy mixes.
- Blend two colors on the canvas by working the knife back and forth in parallel strokes.
- Use the tip or edge of the knife to scrape away paint and reveal the base color underneath.
28. Sponging Technique
- Load the sponge with paint, then move it in circles and up-and-down motions to avoid visible square impressions.
- Squeeze the sponge into a smaller shape to reach tighter areas and achieve finer, more controlled marks.
- Use a lighter touch as the painting progresses to build up softer and more detailed areas on the surface.
- Apply a translucent color over darker areas to let the paint underneath glow through naturally.
29. Stenciling Technique
- Secure the stencil flat onto the canvas and use a stencil brush or makeup sponge to apply the paint.
- Load a small amount of paint and use a dabbing or pouncing motion to avoid paint seeping under the edges.
- Repeat the stencil pattern in different areas of the canvas rather than placing it in just one spot.
- Keep the application random and light, as too much paint at once will bleed under the stencil edges.
30. Grisaille Technique
- Paint the darkest shadows first with a black-and-white mix to establish the 3D structure and depth.
- Match gray tones on scrap paper against your reference to ensure accuracy before applying them to your canvas.
- Merge mid-tone grays while the paint is wet to create smooth, realistic transitions between different light levels.
- Add bright white highlights last to define the light source and give the subject a professional finish.
31. Broken Color Technique
- Apply unblended dabs of different hues side by side so the eye blends them optically for a vibrant look.
- Shift color temperatures by adding blues or violets while keeping the original light and dark values.
- Avoid over-mixing on the palette to keep brush marks distinct and prevent colors from turning muddy.
- Layer contrasting tones like orange against green to mimic flickering light across textured surfaces.
- Use small brushes to tuck different tones together, enhancing the overall 3D energy of the piece.
Acrylic Painting Techniques: An All-in-One Approach
Seeing these techniques in action makes it far easier to understand brush control, paint consistency, and timing.
This video breaks down several key methods step by step, showing exactly how each one works on canvas.
It is one of the most practical ways to get a clear visual understanding of how to paint with acrylics before picking up a brush.
Final Thoughts
Acrylic painting techniques don’t click overnight. It takes a bit of practice, some patience, and a willingness to make mistakes along the way, but that is exactly how real progress happens.
Start with two or three methods that feel approachable. Get comfortable with those before moving on to others.
Over time, combining different painting techniques that acrylic artists use daily will start to feel natural rather than forced.
Start with one or two techniques from this list and practice them consistently. The more you apply these techniques, the more natural they will feel over time.