Looking to add texture and depth to your artwork? Stippling might be the perfect technique for you.
This traditional art method involves creating images using thousands of tiny dots instead of continuous lines or solid areas of color.
This handbook will walk you through the fundamentals of stippling, covering essential tools, basic techniques, and practical tips to help you master this rewarding art form.
You’ll learn how to control dot density for different tonal values, develop patience for the process, and create compelling artwork that showcases the distinctive beauty of pointillistic technique.
What is Stippling Art?
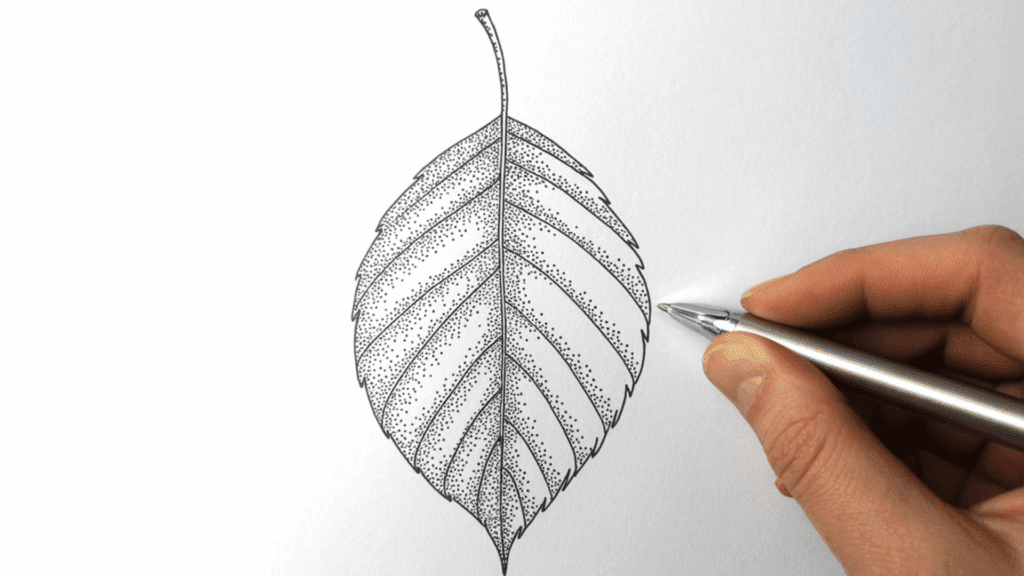
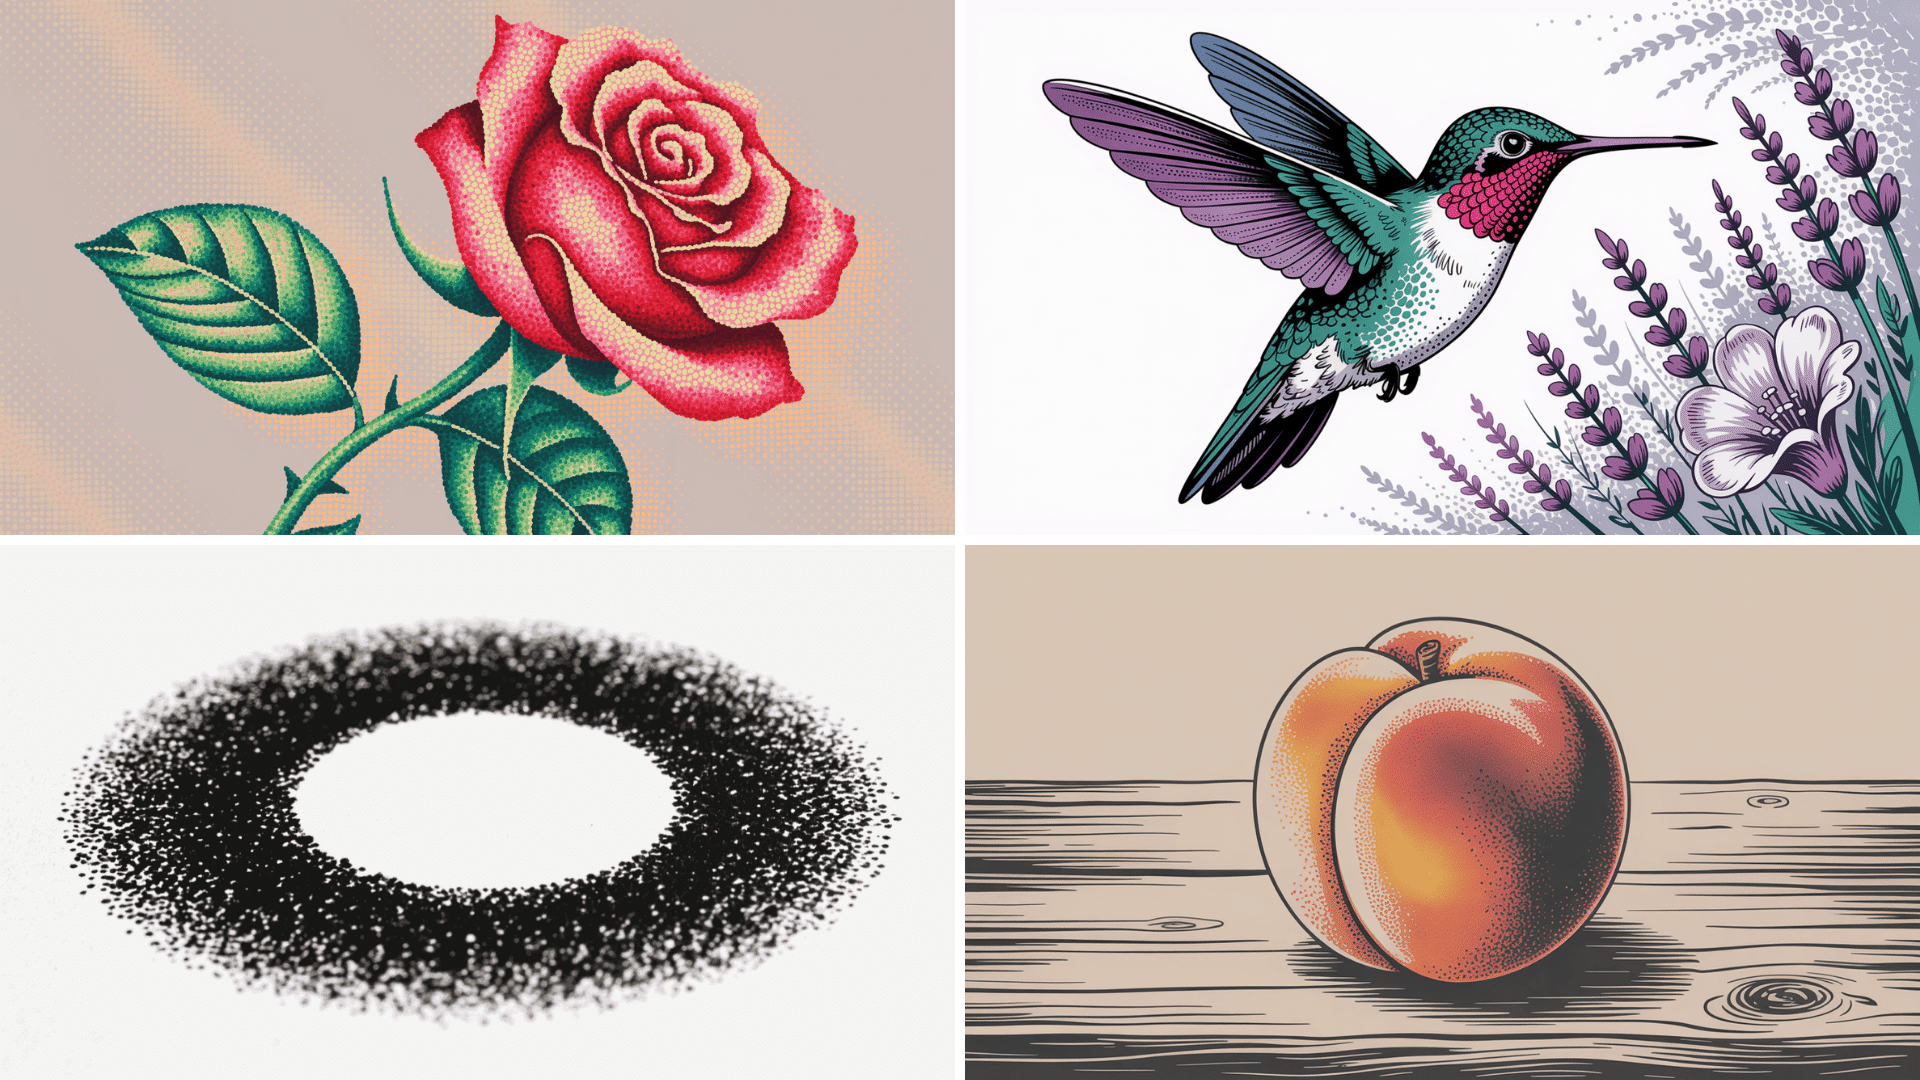
Stippling art is a drawing technique that creates images through the strategic placement of small dots.
Artists use pointed tools to make individual marks on paper, building up areas of light, shadow, and texture through careful dot positioning.
Understanding the stippling definition in art as a dot-based mark-making technique is essential before exploring the systematic approaches that transform simple points into calm visual expressions
The technique requires no blending or continuous lines; instead, it involves the systematic application of dots in varying densities.
The method works by placing dots closer together to create darker areas and spacing them farther apart for lighter tones.
The Appeal of Stippling
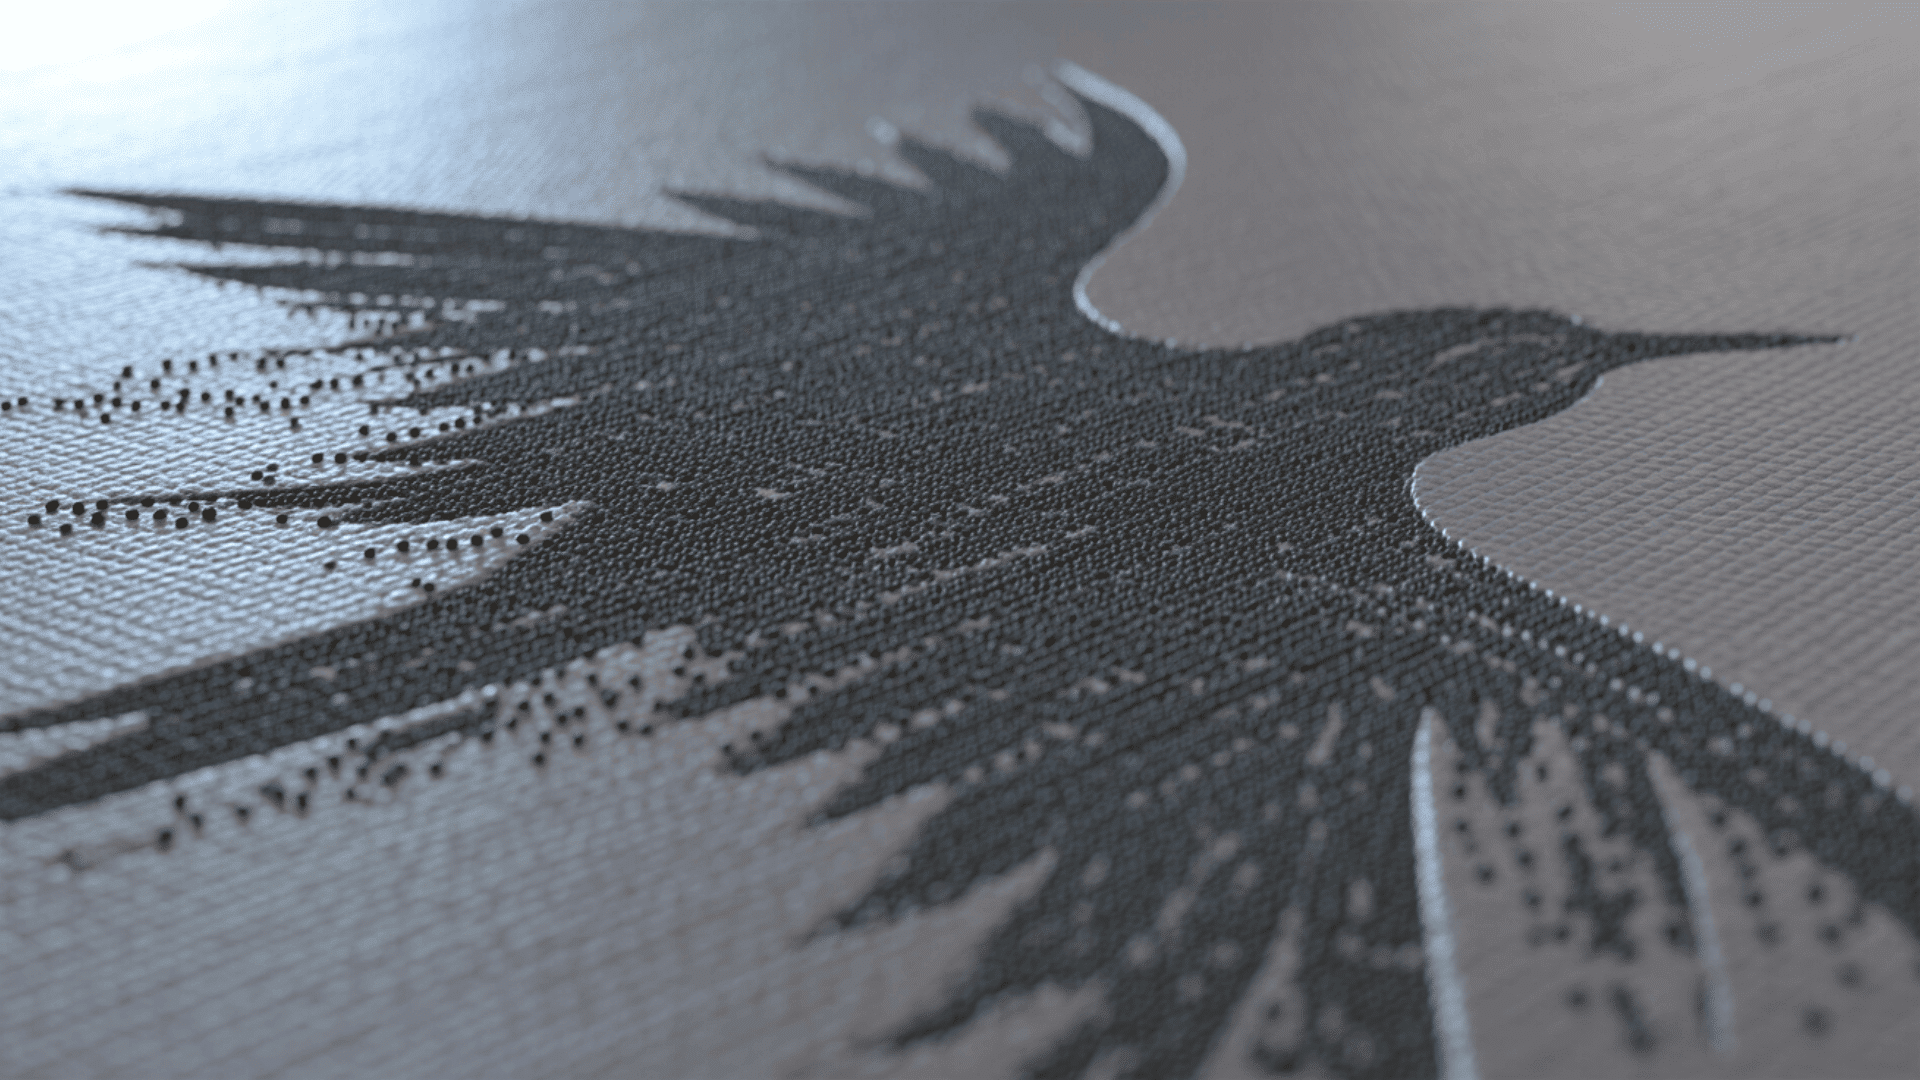
The visual appeal of stippling lies in its ability to create rich, textured surfaces that draw viewers closer for examination.
The technique produces artwork with inherent visual interest; the individual dots create a tactile quality that invites closer inspection while maintaining overall coherence from a distance.
Modern artists appreciate stippling for its diversity and accessibility.
The technique requires minimal equipment and works effectively across various subjects, from portraits to landscapes to abstract compositions.
This simplicity makes it attractive to both beginners seeking to develop fundamental skills and experienced artists looking for distinctive visual effects.
The History and Origins of Stippling
The story of stippling is one of technical innovation, artistic rebellion, and the relentless pursuit of visual perfection through the simplest of marks, a single dot.
Early Uses in Printmaking and Engraving
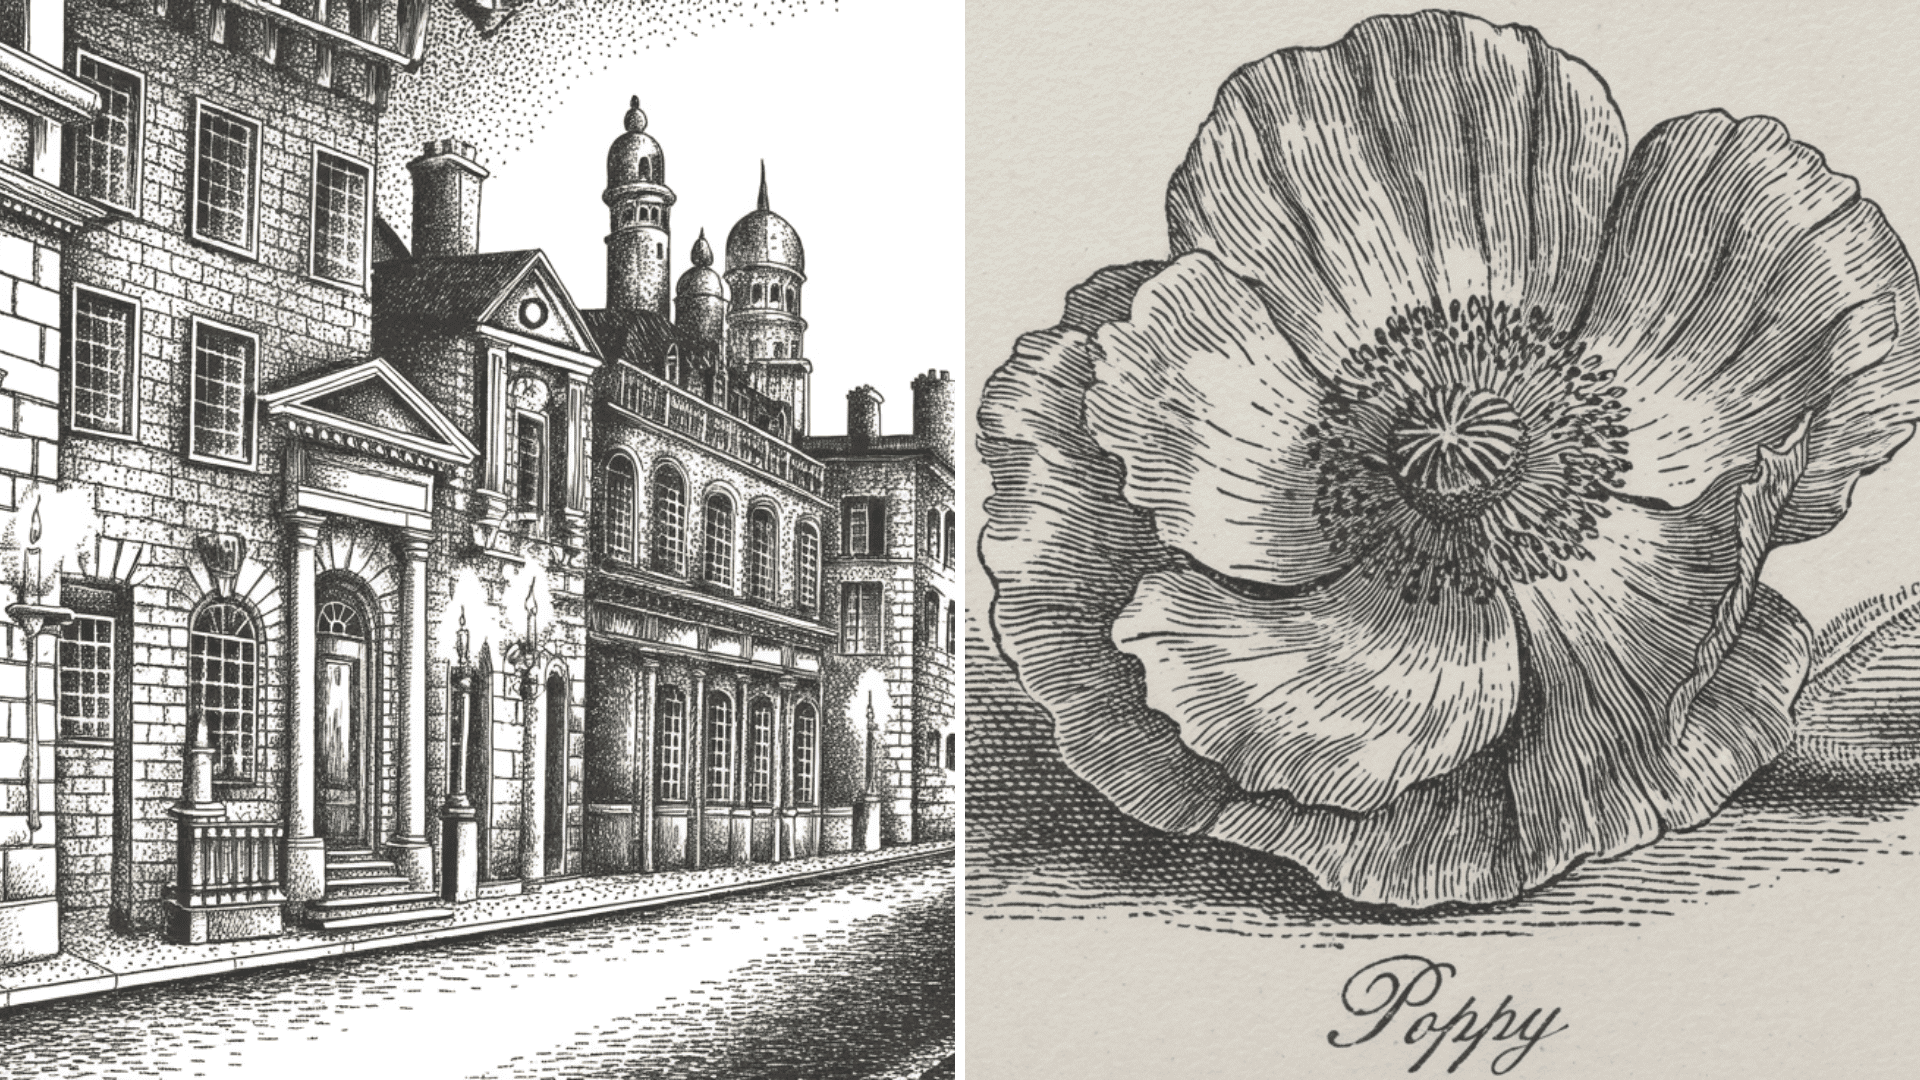
Stippling emerged as a prominent technique in 18th-century printmaking, where engravers sought methods to create subtle tonal variations in black-and-white reproductions.
The technique gained particular recognition through the work of Francesco Bartolozzi, an Italian engraver who perfected stipple engraving in the 1760s.
Key developments in early printmaking included:
- Engravers used stippling to reproduce oil paintings with remarkable fidelity
- Publishers employed stippled engravings for book illustrations and portrait reproductions
Stippling in Renaissance and Classical Art
While stippling reached its technical peak in the 18th century, its origins can be traced back to Renaissance drawing practices.
Early masters experimented with dot-based techniques as preparatory methods for larger works, though they rarely used pure stippling for finished pieces.
Classical period contributions included:
- Renaissance artists used stippling for preliminary studies and cartoons
- Medieval scribes employed dot patterns for decorative borders and textural elements
The Technique’s Evolution into Modern Art Forms
The 19th and 20th centuries witnessed a shift in the use of stippling from a primarily reproductive technique to an expressive artistic medium.
Modern artists began exploring the aesthetic potential of stippling beyond its traditional commercial applications. Today’s artists appreciate stippling for its meditative qualities and distinctive visual texture.
The technique has found new relevance in an era where handmade processes carry particular value, offering artists a way to create work that clearly demonstrates time, skill, and deliberate craftsmanship.
Know About the Techniques and Best Practices
Successful stippling relies on systematic approaches that build from fundamental dot control to calm artistic expression.
Mastering these techniques requires understanding how dot density, spacing, and placement work together to create compelling visual effects.
Starting Simple: Practicing with Basic Shapes
Begin your stippling practice with fundamental geometric forms to develop dot control and spacing consistency.
- Circle: Maintain even dot distribution around curves, create smooth gradations following circular contours
- Square/Rectangle: Practice clean straight edges, master corner transitions, and maintain uniform density across flat surfaces
- Triangle: Handle sharp angular points precisely, taper dot density toward tips, maintain straight edge alignment
- Cylinder/Sphere: Create three-dimensional form through dot variation, master smooth light-to-shadow transitions on curves
Mastering Gradients, Shading, and Texturing
Successful stippling requires systematic control of dot density for both smooth tonal gradation and distinctive surface textures. The key lies in understanding how dot spacing and layering create different visual effects.
Tonal Value System:
- Light to dark progression: Progress from sparse dots (3-4 widths apart) in highlights to touching/overlapping dots in deep shadows
- Gradient building: Start with the lightest areas first, gradually increasing density toward the darker regions through careful layering
- Systematic approach: Map tonal areas with a pencil, build slowly to avoid over-darkening, and assess balance frequently
Texture Creation Methods:
- Surface-specific patterns: Use uniform fine dots for smooth surfaces, irregular, varied sizes for rough textures, directional patterns for metal/reflective surfaces
- Organic textures: Create clustered dot groups for fabric patterns, linear arrangements following hair/fur growth direction
Common Beginner Pitfalls and Fixes
Critical errors that compromise stippling quality and their solutions:
| Common Mistake | Problem Result | Solution |
|---|---|---|
| Working too fast | Inconsistent dot placement | Take breaks, maintain a steady rhythm |
| Starting too dark | Cannot achieve lighter tones | Begin with sparse dots, build gradually |
| Inconsistent dot size | Uneven texture appearance | Practice consistent pen pressure |
| Poor planning | Unbalanced compositions | Sketch tonal map before stippling |
| Impatience with drying | Smudged or blended dots | Allow complete drying between layers |
Benefits of Learning Stippling
Stippling art offers comprehensive artistic development through its unique combination of technical demands and creative possibilities.
- Patience and precision development: Methodical dot-by-dot approach builds focus, fine motor skills, and meditative practice while reducing artistic anxiety
- Technical foundation mastery: Develops a deep understanding of value relationships, form construction, and three-dimensional thinking that transfers to all drawing techniques
- tool control: Improves pen/pencil proficiency and hand-eye coordination, benefiting overall artistic performance across mediums
- Distinctive creative expression: Creates a recognizable style with a unique visual texture while allowing personal interpretation through dot patterns and spacing choices
Applications and Notable Artists in Stippling
Stippling art finds widespread application across diverse artistic and commercial fields, from traditional fine art to modern digital media.
| Application Field | Primary Uses | Notable Practitioners |
|---|---|---|
| Fine Art & Illustration | Portrait work, landscapes, still life compositions, and editorial illustrations with distinctive texture and smooth tonal transitions | Chuck Close, Kumi Yamashita (contemporary fine artists) |
| Commercial & Print Media | Logo design, book illustrations, advertising materials, and packaging, utilizing excellent reproduction quality and vintage style | Various commercial illustrators and graphic designers |
| Specialized Arts | Tattoo artistry using dot work principles, decorative arts, including ceramics and textiles | Paul Booth, Thomas Hooper (tattoo artists) |
| Technical Documentation | Scientific and botanical illustrations, medical drawings, archaeological documentation, and engineering drawings requiring precision | Contemporary scientific and medical illustrators |
| Historical Printmaking | Stipple engraving, reproduction of paintings, portrait work in the 18th-19th centuries | Francesco Bartolozzi (1727-1815), Giulio Campagnola (1482-1515) |
Pro Tips for Beginners
Success in stippling art requires proper preparation, consistent practice, and realistic expectations about skill development.
- Skill development approach: Practice 5-10 minute daily warm-ups with dot exercises, maintain consistent pen pressure and proper grip, start with large dots and wide spacing before progressing to finer details
- Session management: Begin with 30-45 minute work periods, take regular 5-minute breaks every 20-30 minutes, maintain good posture, and rest eyes frequently to prevent fatigue
- Progress tracking and goals: Set weekly objectives like mastering one basic shape, completing small 2×2 inch studies monthly, and allowing 2-3 months for basic proficiency development
- Sustainable practice habits: Break large projects into manageable sections, focus on personal improvement rather than comparing to others, celebrate small victories, and document progress through photography
The Bottom Line
Mastering stippling art changes more than just your artistic technique; it fundamentally changes how you approach creativity itself.
Through disciplined dot placement, you develop technical precision, patience, and mindfulness that uplift all artistic attempts.
The path from hesitant first dots to confident, textured masterpieces reflects broader artistic growth.
Each stippled piece becomes a meditation on process over product, teaching persistence and attention to detail.
Whether pursuing stippling for illustration, personal expression, or therapy, this ancient technique offers rewards far beyond paper. Start with a single dot, your artistic change begins there.